Update – January 25, 2025
This time around I’ve been working on the 1970s office building which is going to be the yard office, and some more fiddly bits for detailing.
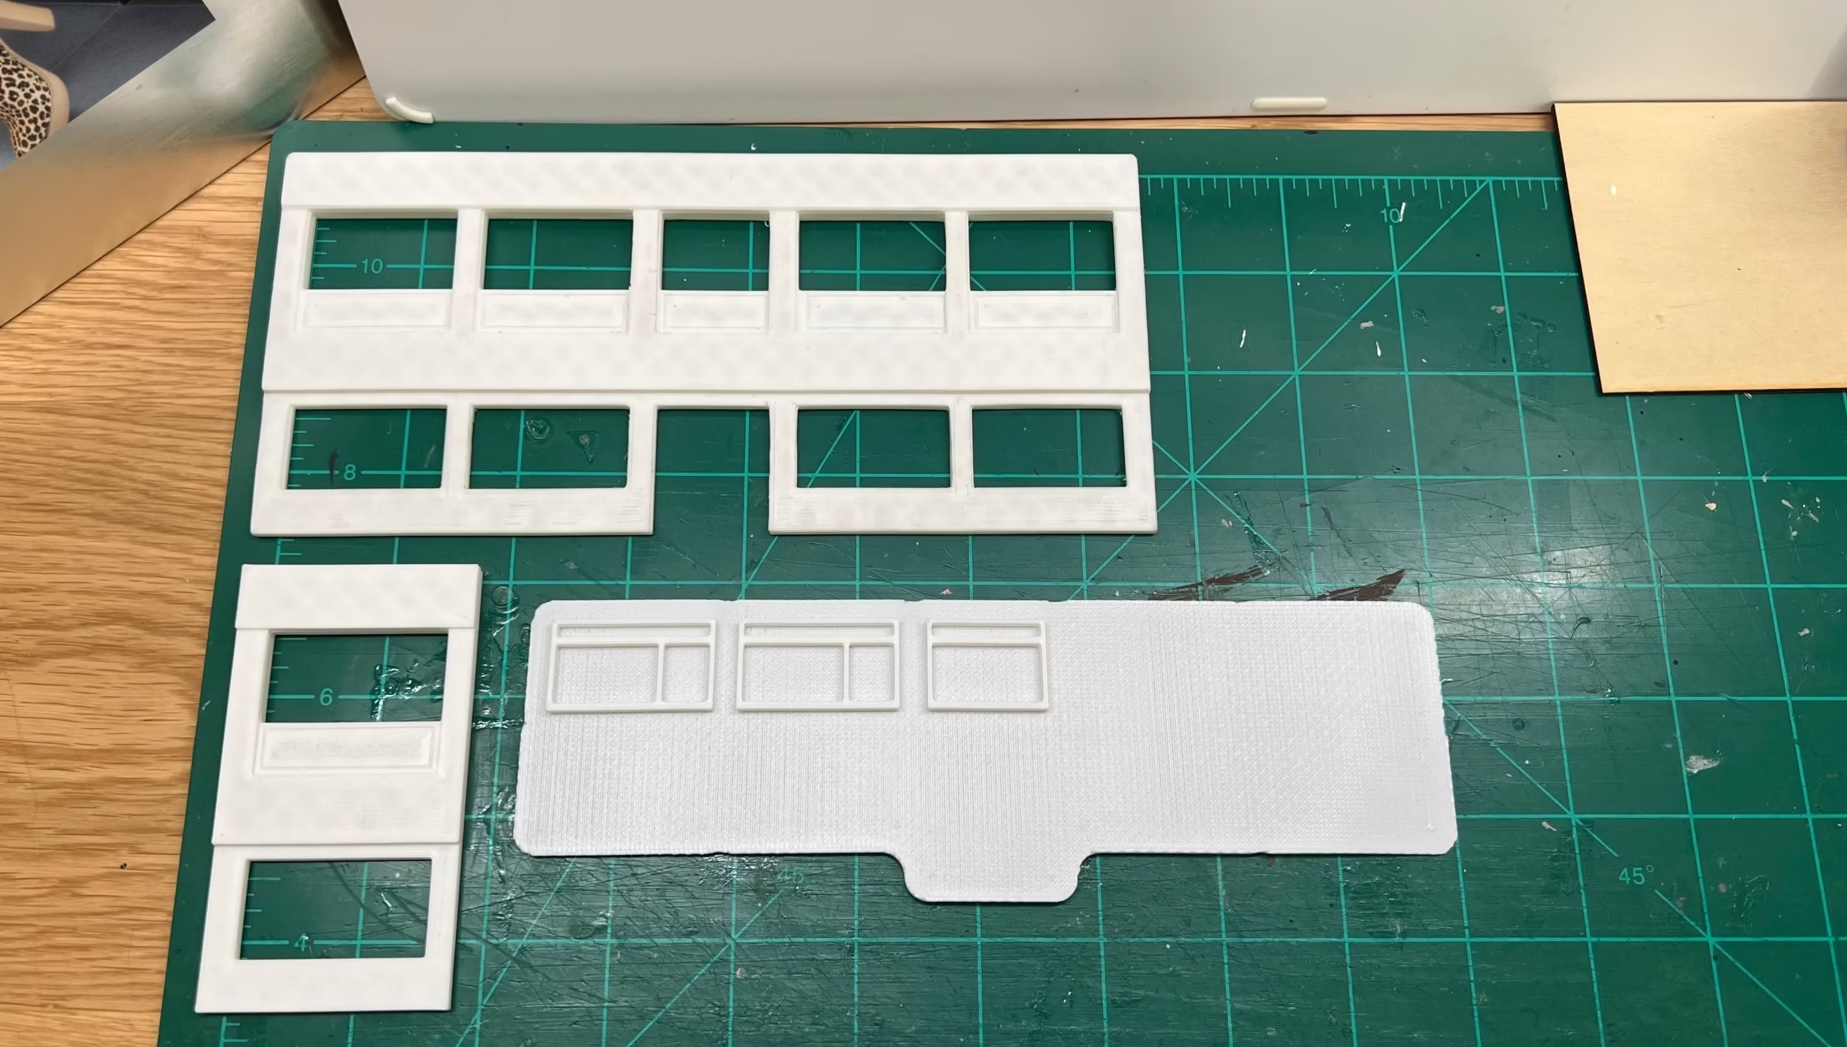
Let’s start with the office building. I created a 1970s style office front. You cant see it very well here, but there is some “relief” detail in the panels below the upper windows.
…and to keep it true to the 1970s, some of the fascia was painted brown.
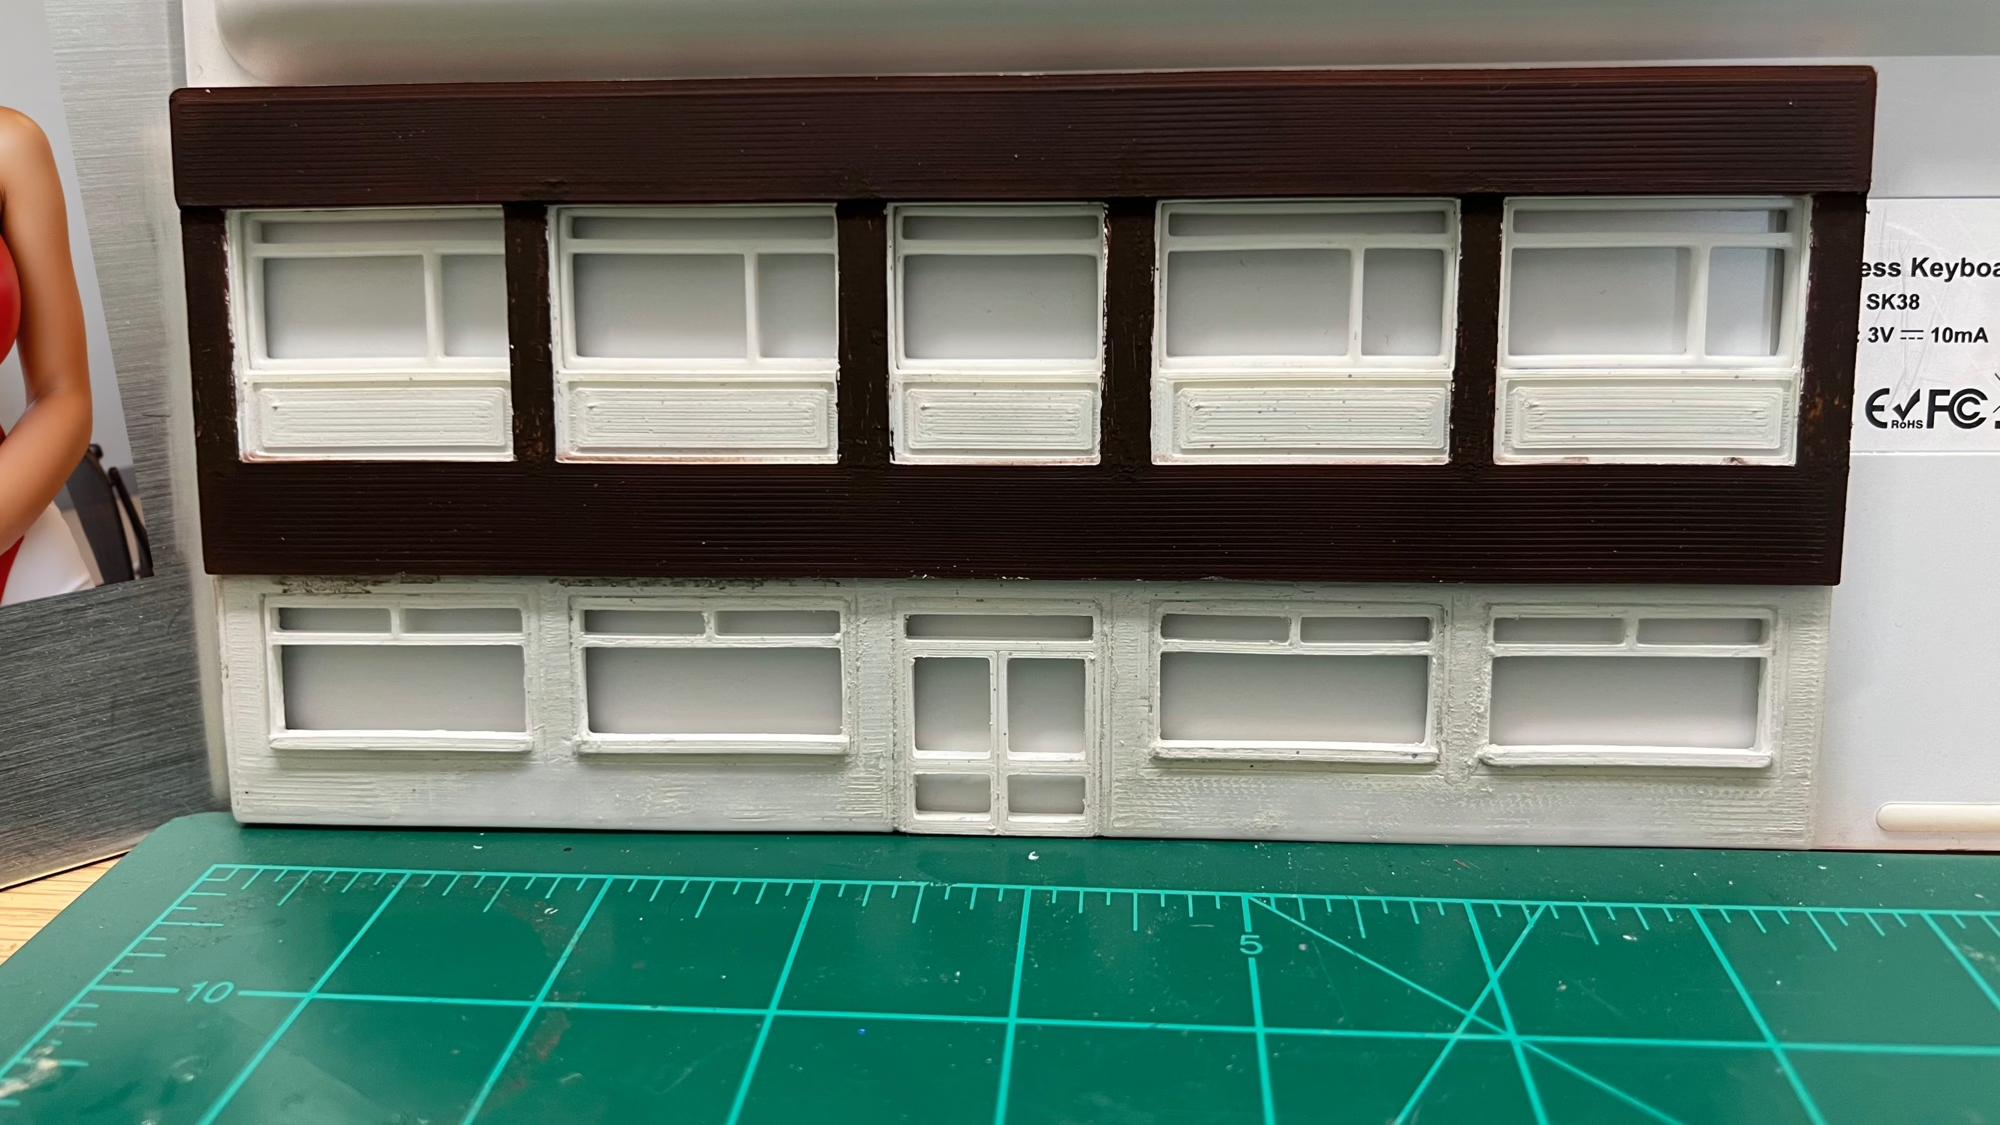
I need to sand down the front some more. Too much of the 3D print process is showing through.
In my typical ADD style, here is a new 3D print item. It’s an oil tank with brick bund.
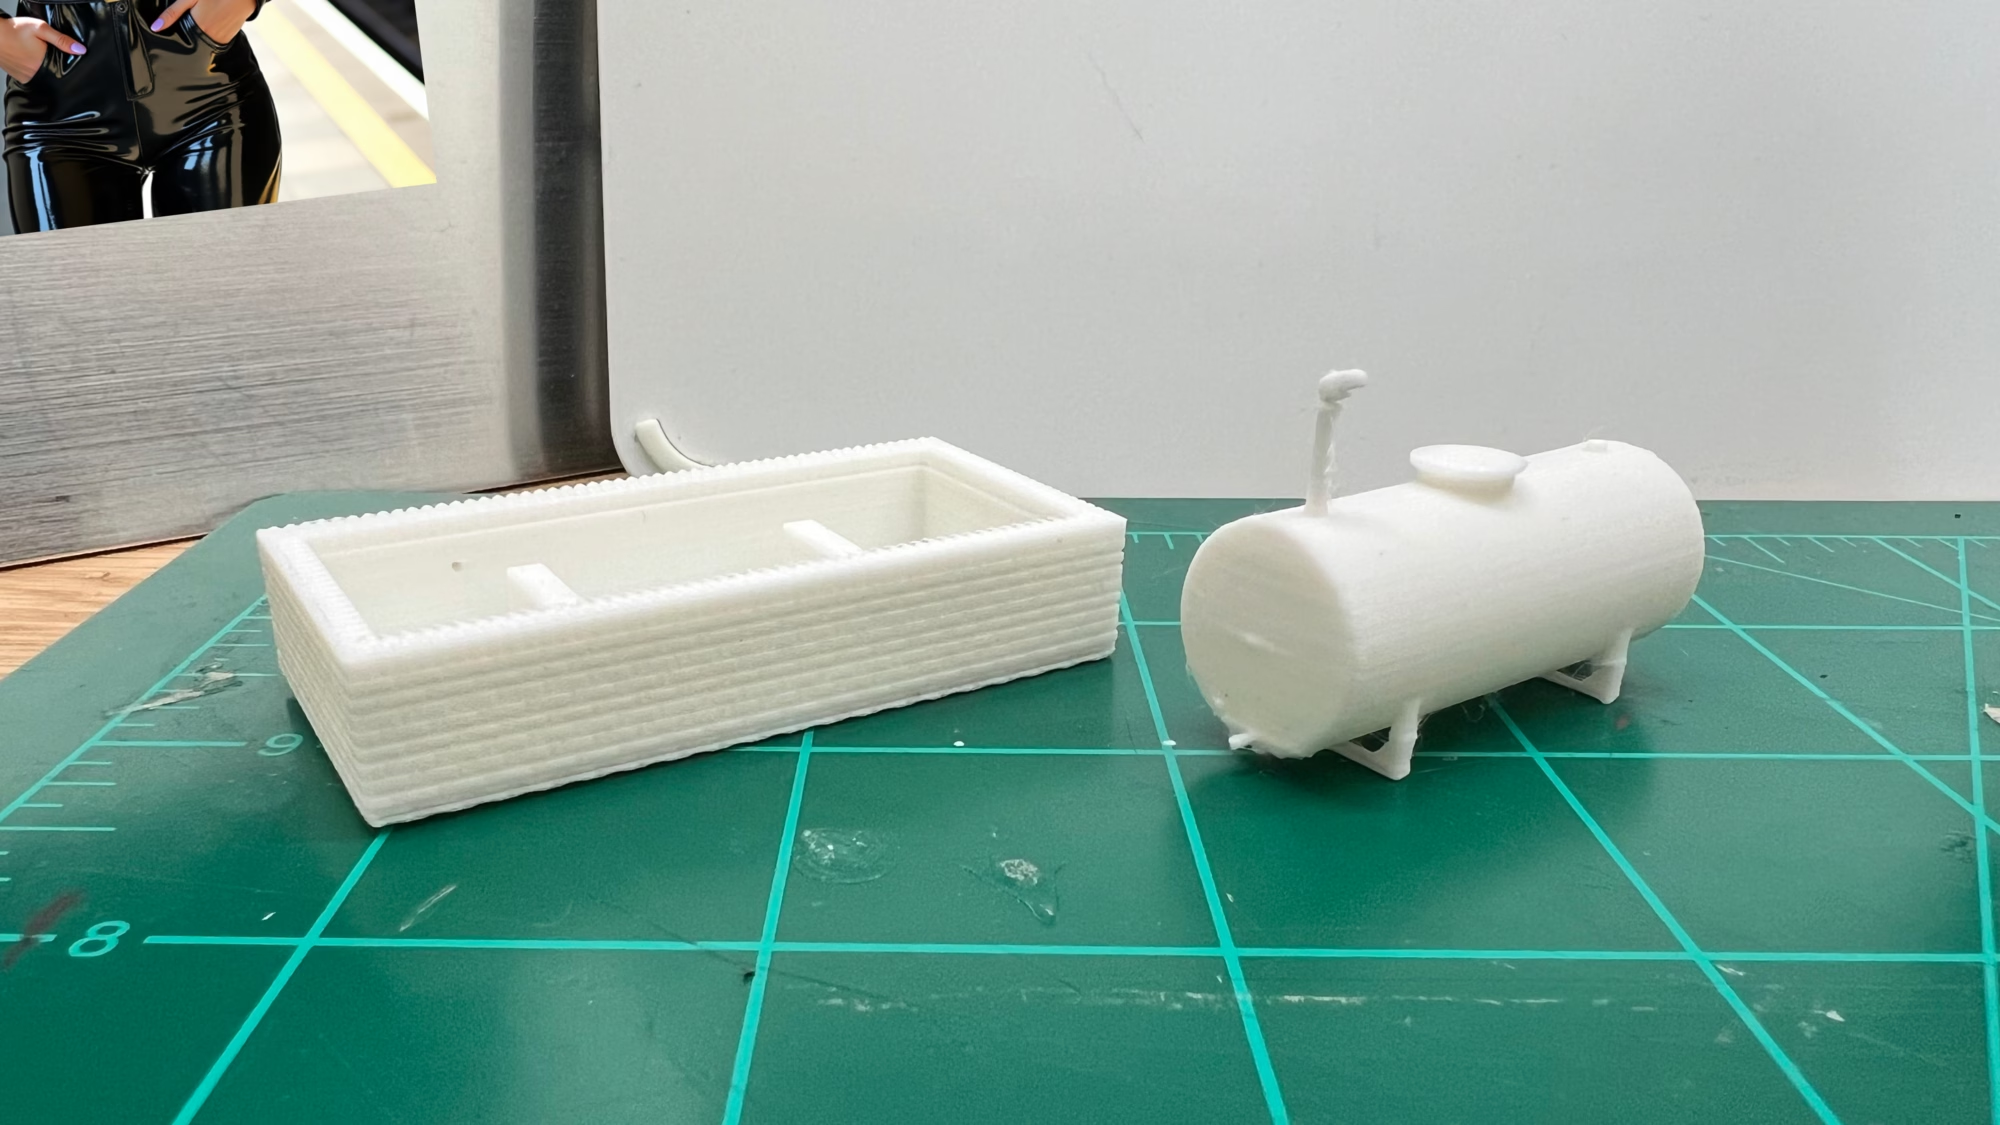
I bought the 3D print files off the Cults3d.com website, the designer is PJD1974
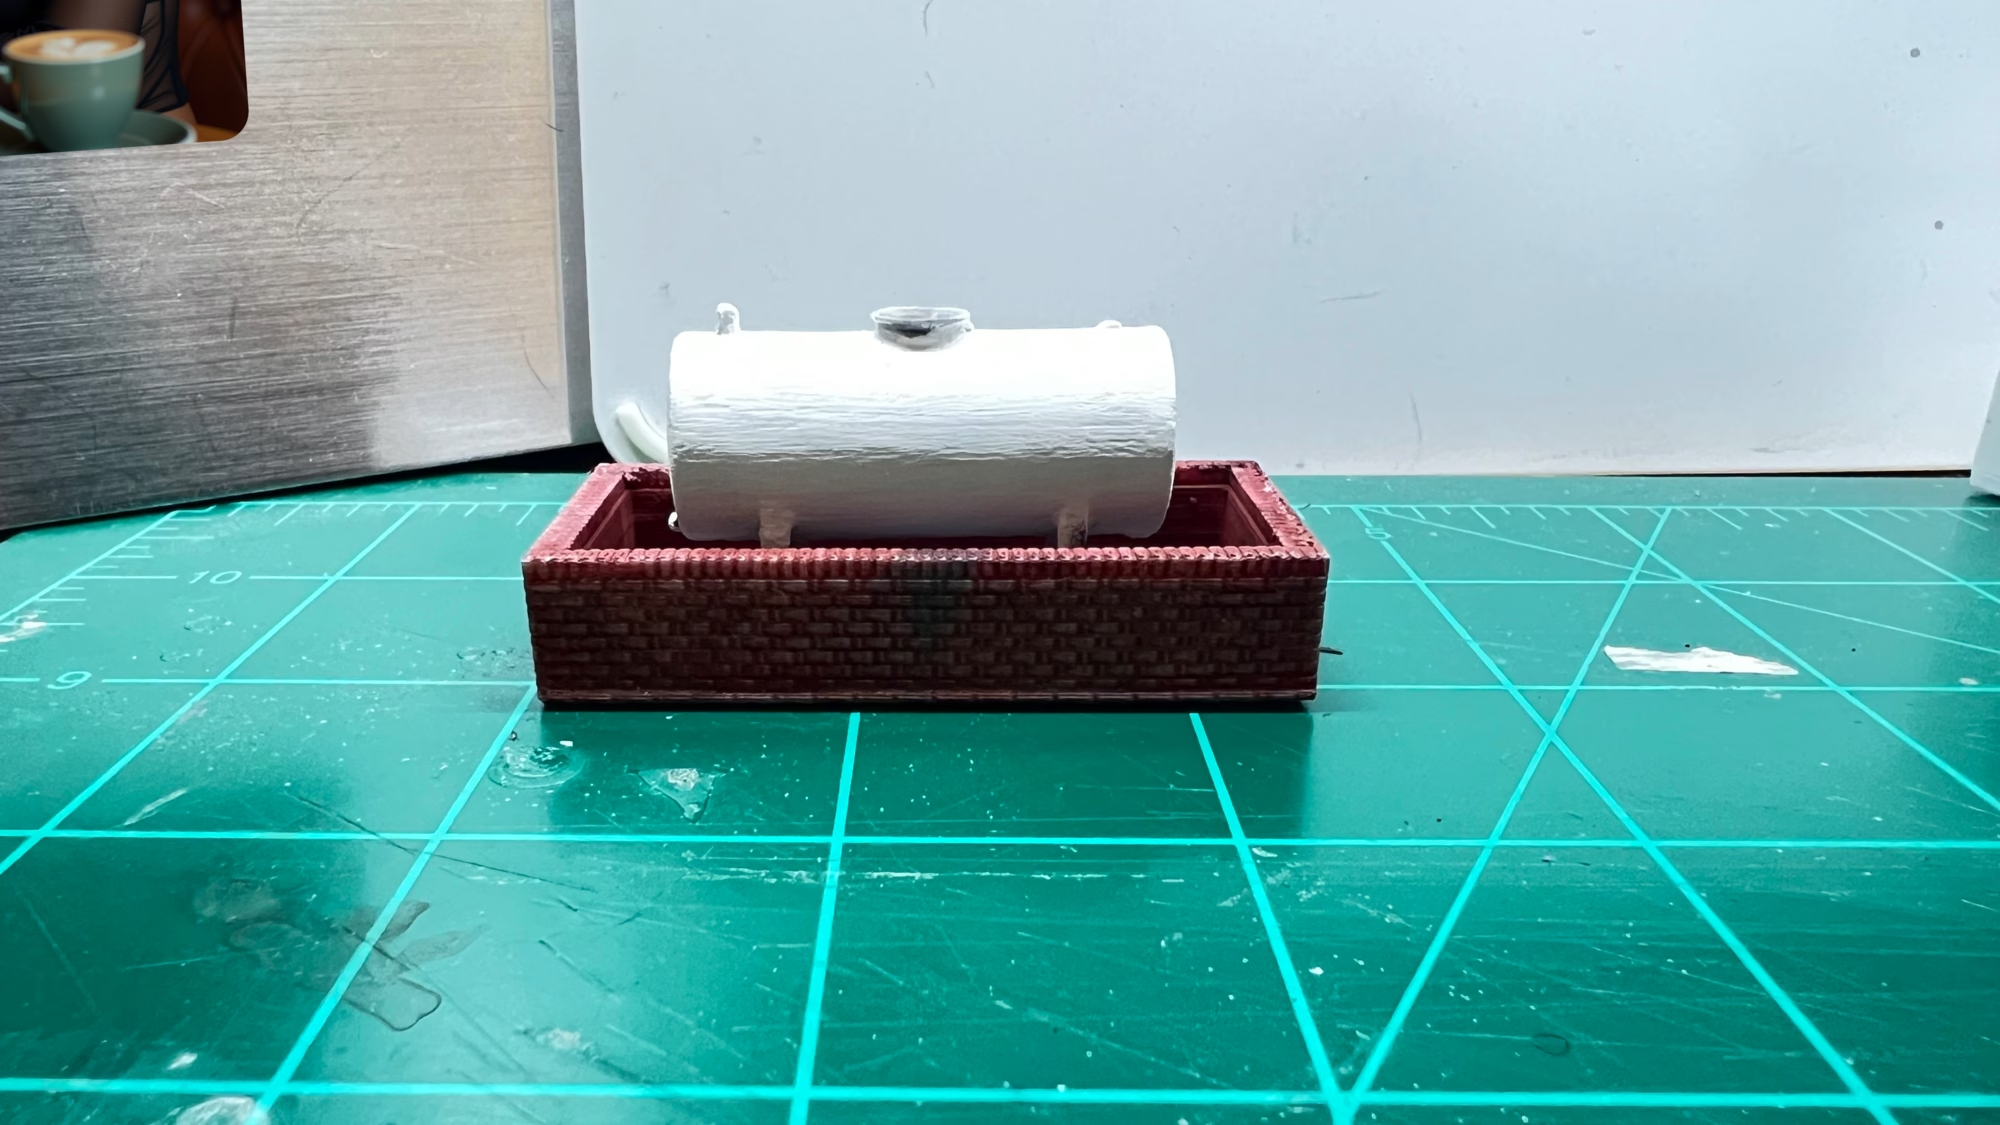
I had a go at making one myself, and I was struggling with the brickwork on the walls, after a couple of hours and some failed 3D prints, it was clearly more cost effective to spend $3.89 (£3.20) on the downloadable file. I didn’t like my first attempt at painting and weathering.

So I sanded down and tried again.
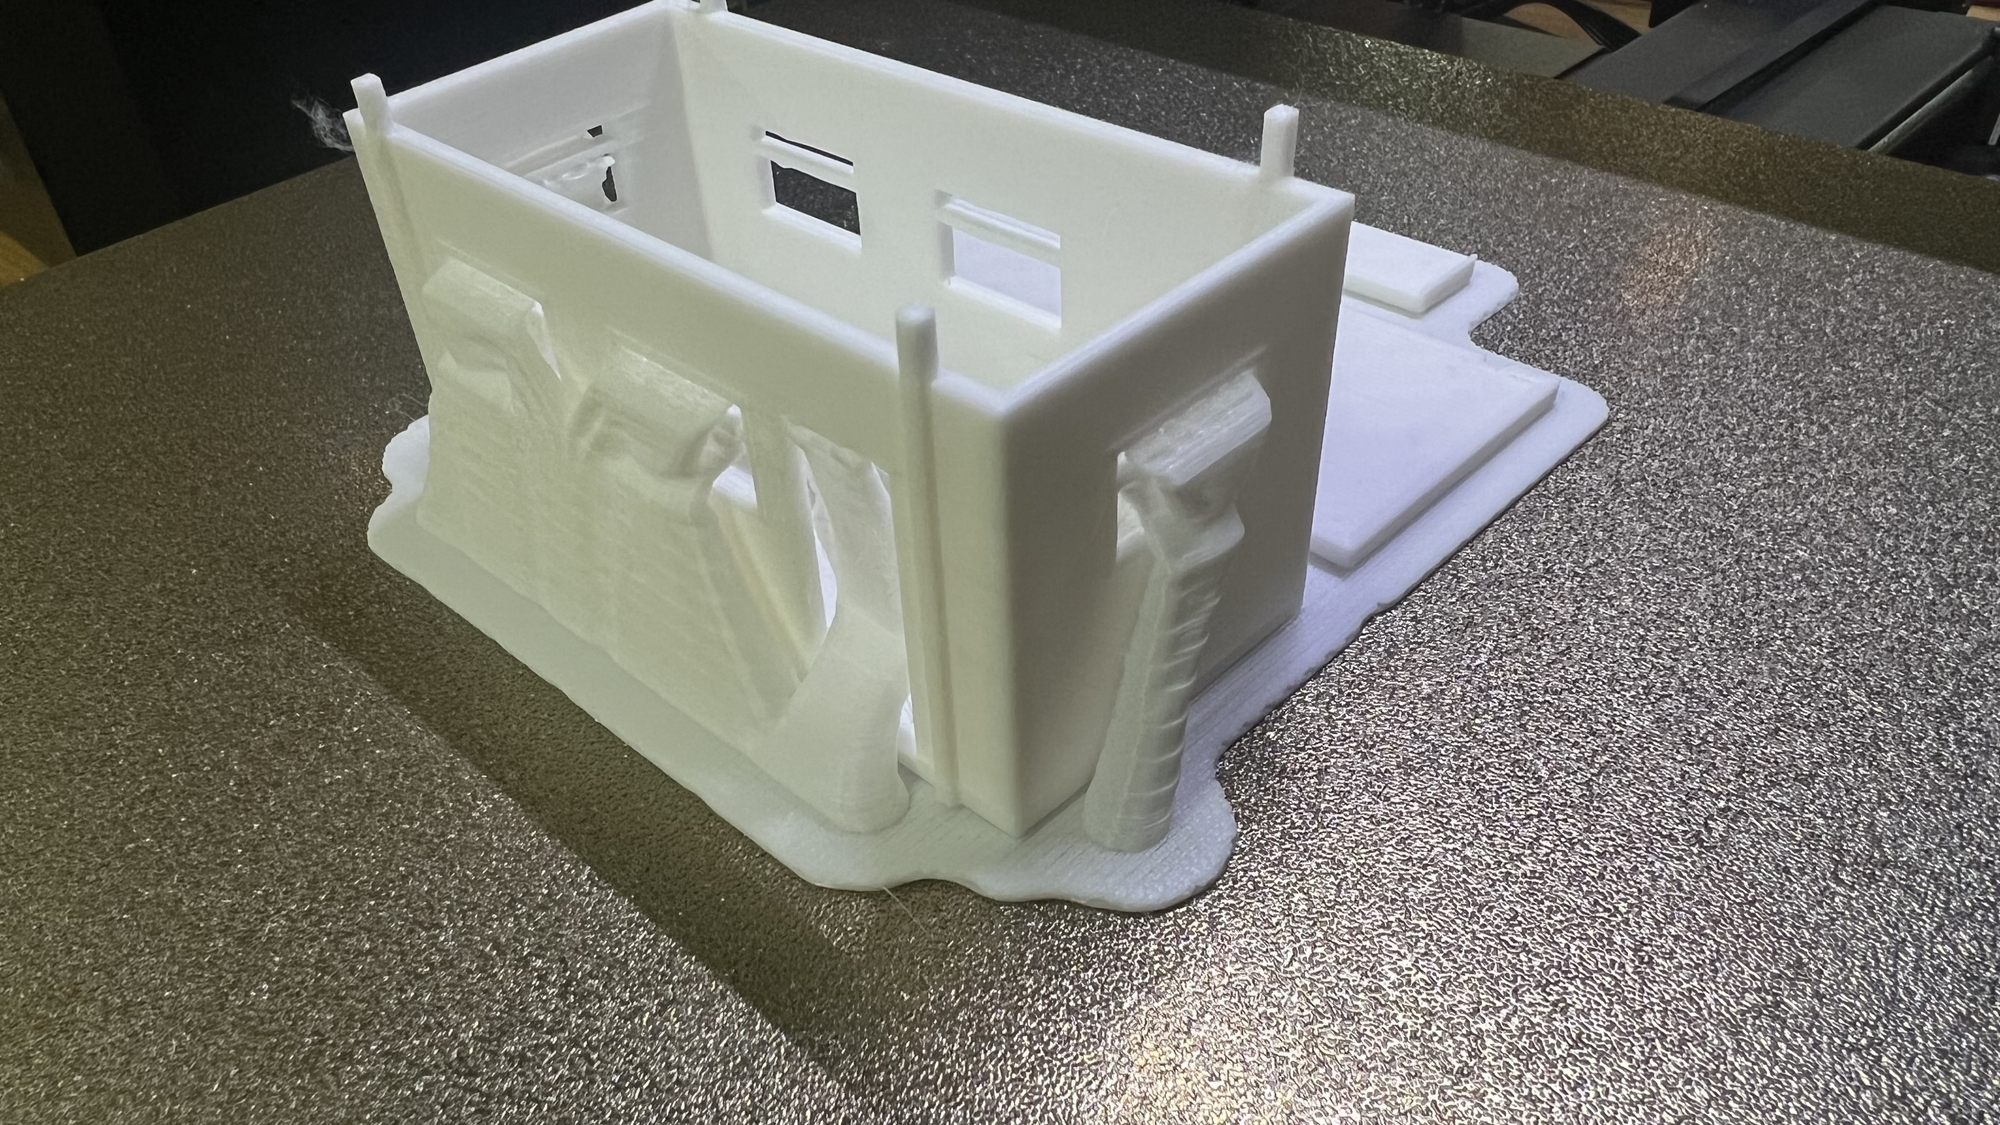
What a surprise, more 3D printer action in the last week. Remember I tried mincing about with a PortKabin? I originally created the 40ft version. It was just too big… that of course led me to creating a 20ft version. Much better.


I’m going to add this to my shop as a printed model.
I printed this on the Filament printer, and I’m very happy with the result. I’m always fascinated how the “slicer” software creates the supports for windows and doors.

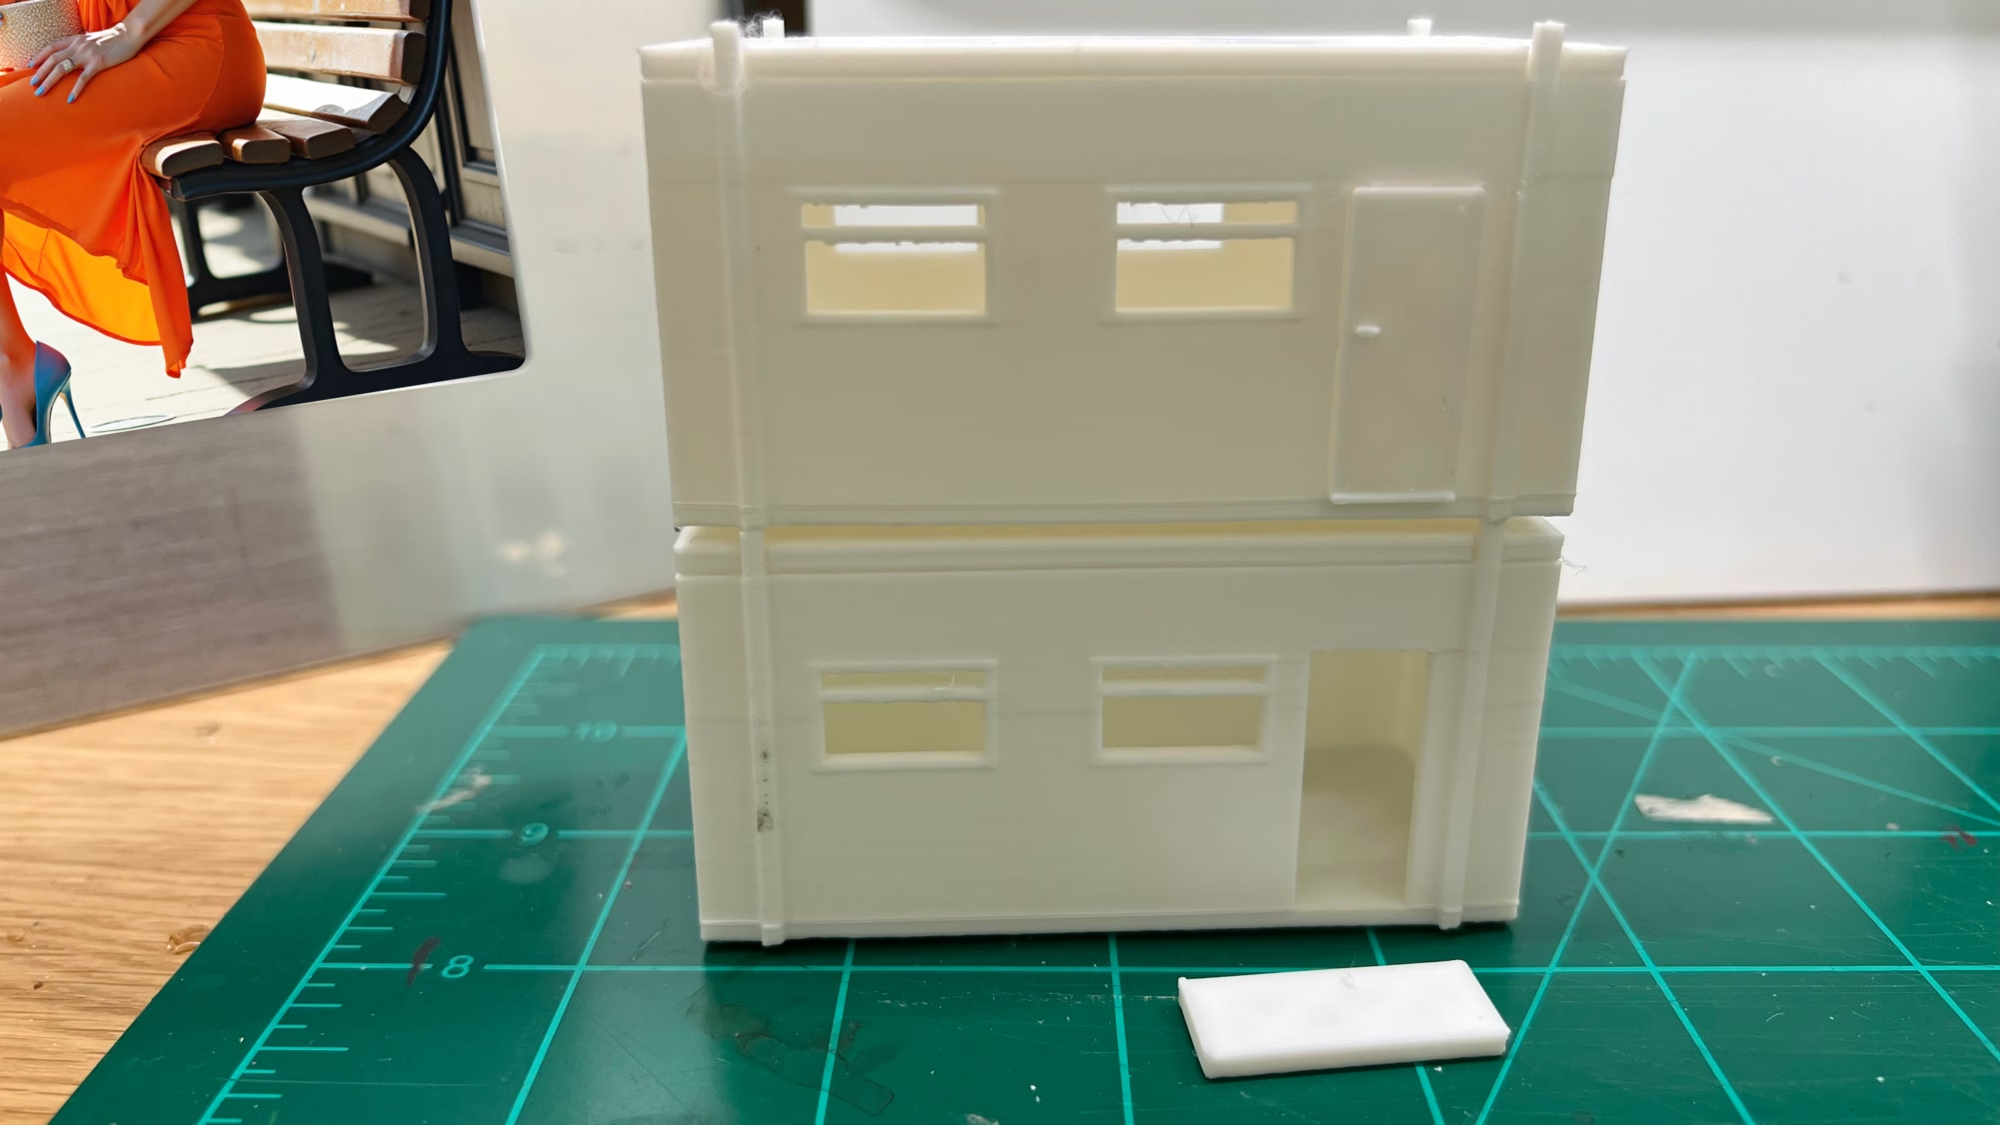
Here they are with the roof and door in place. Now it’s time to paint them.
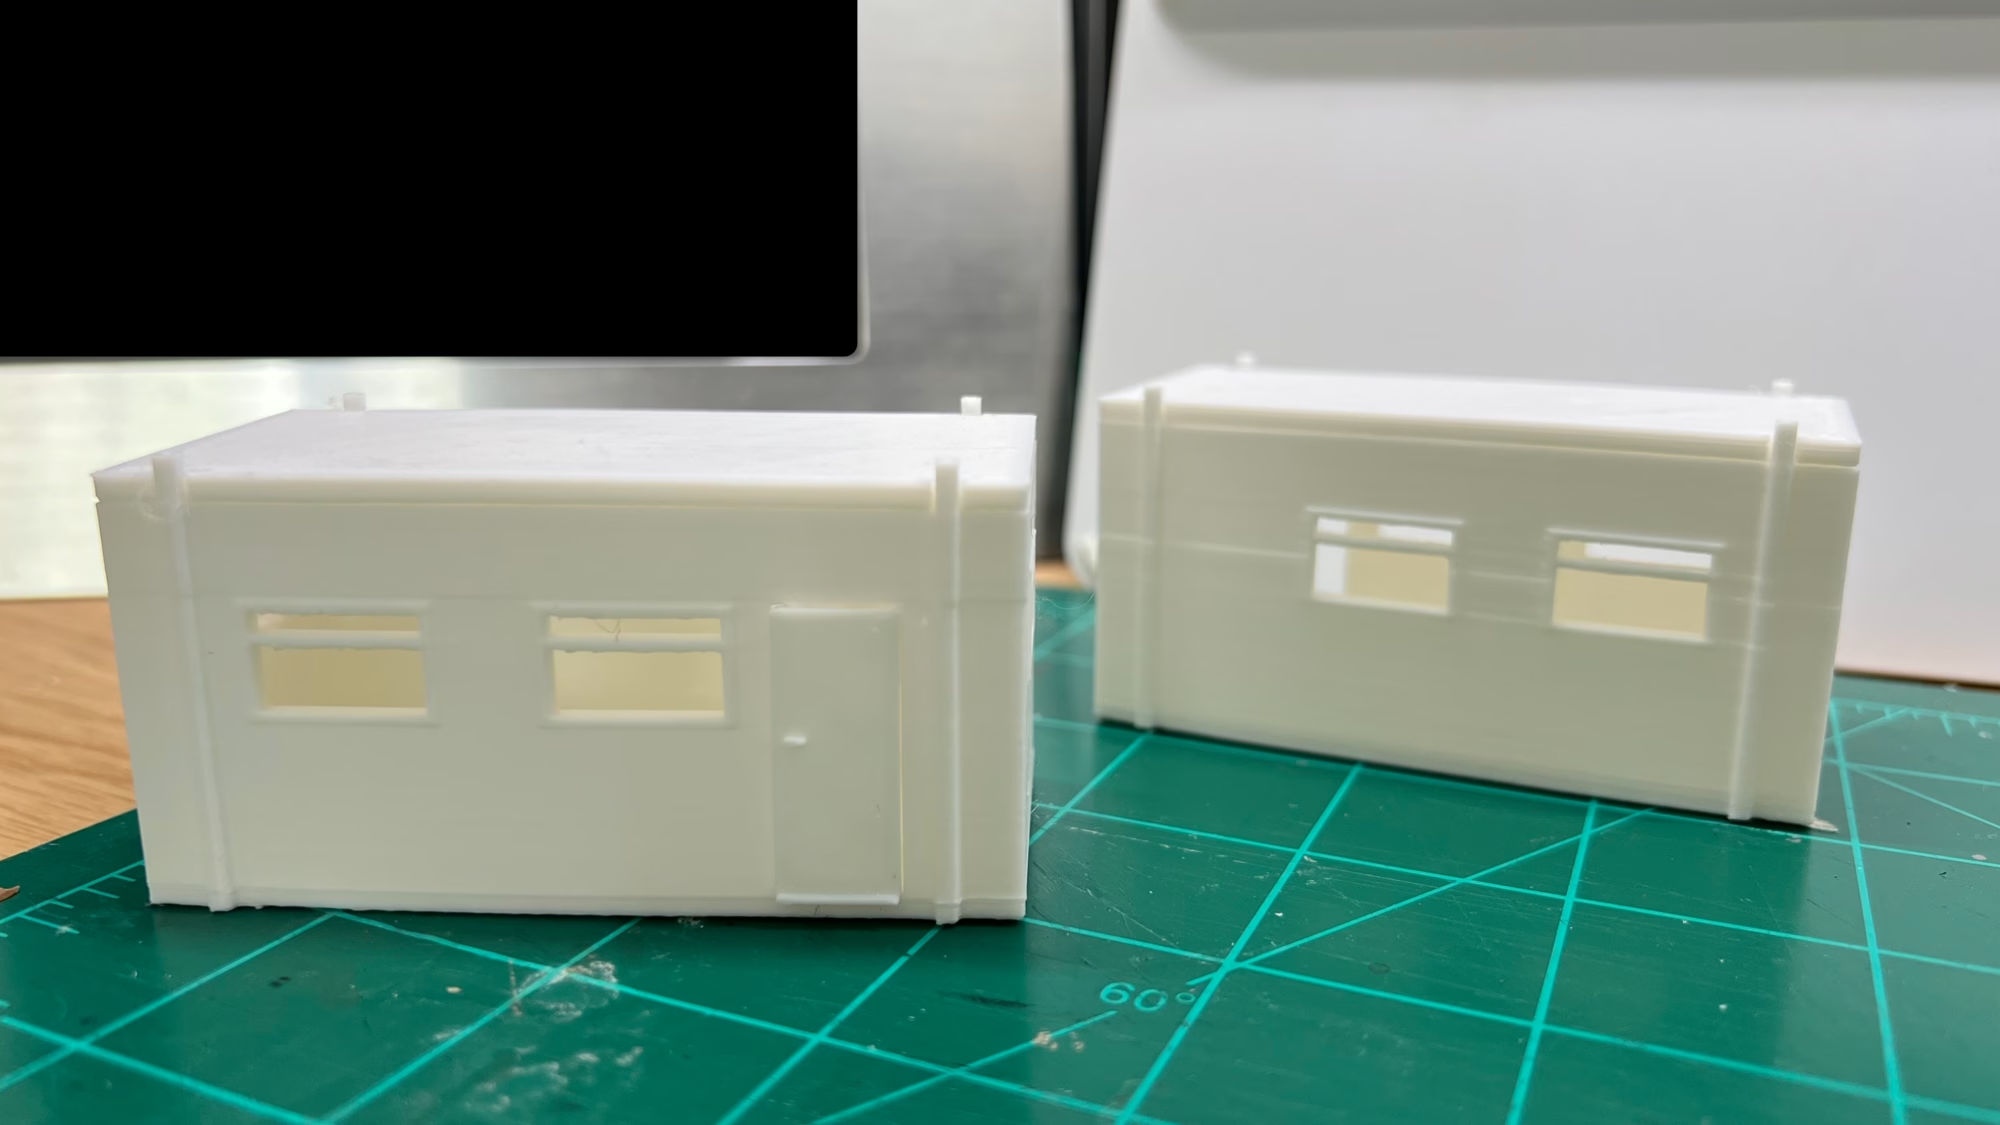
You can see in the image below I purposely included the window trim and openers as part of the print. I wanted to see how this worked as opposed to printing out a set of windows to fit. They need filing down to smooth the edges but I think when I’ve glazed them they will be ok.
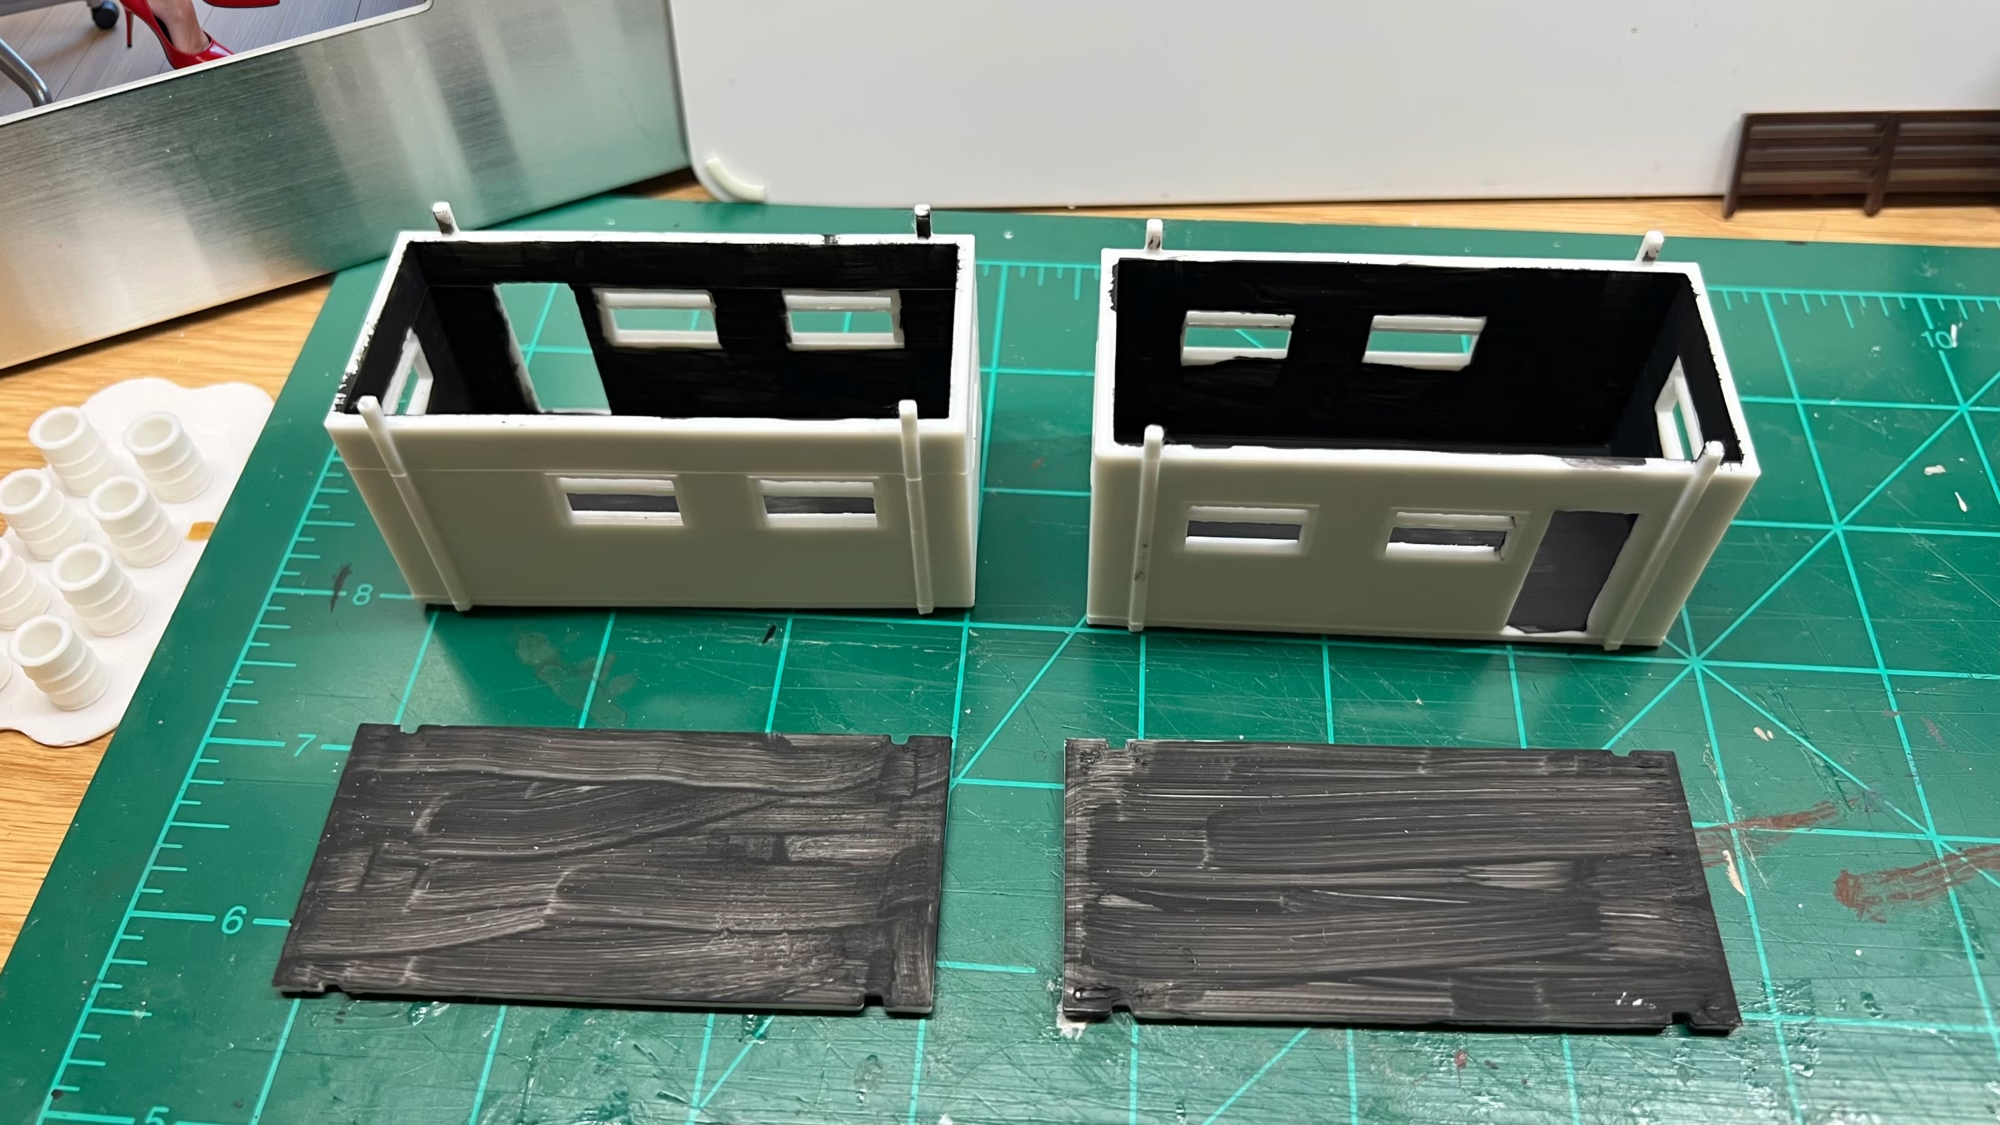
Painting the inside as usual to stop light bleed.
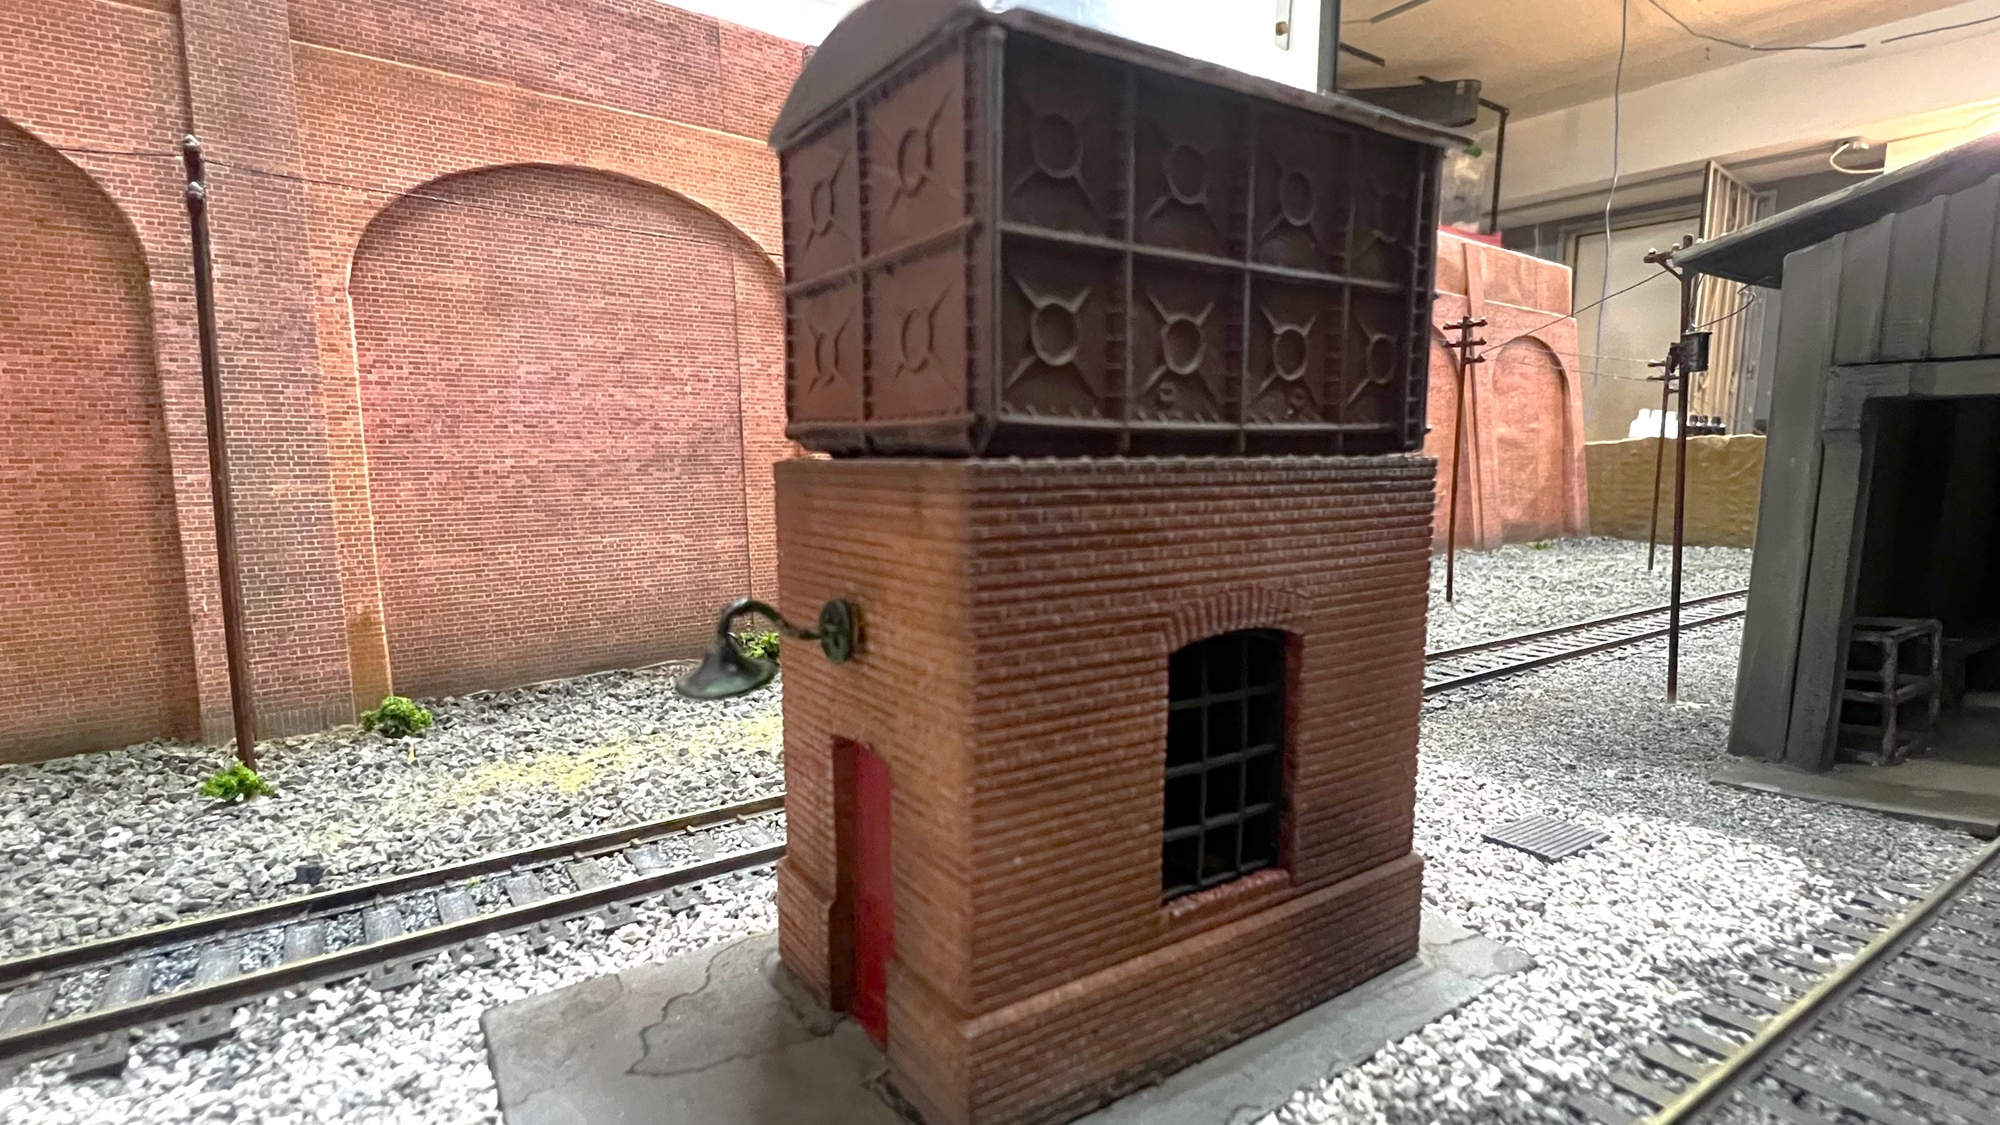
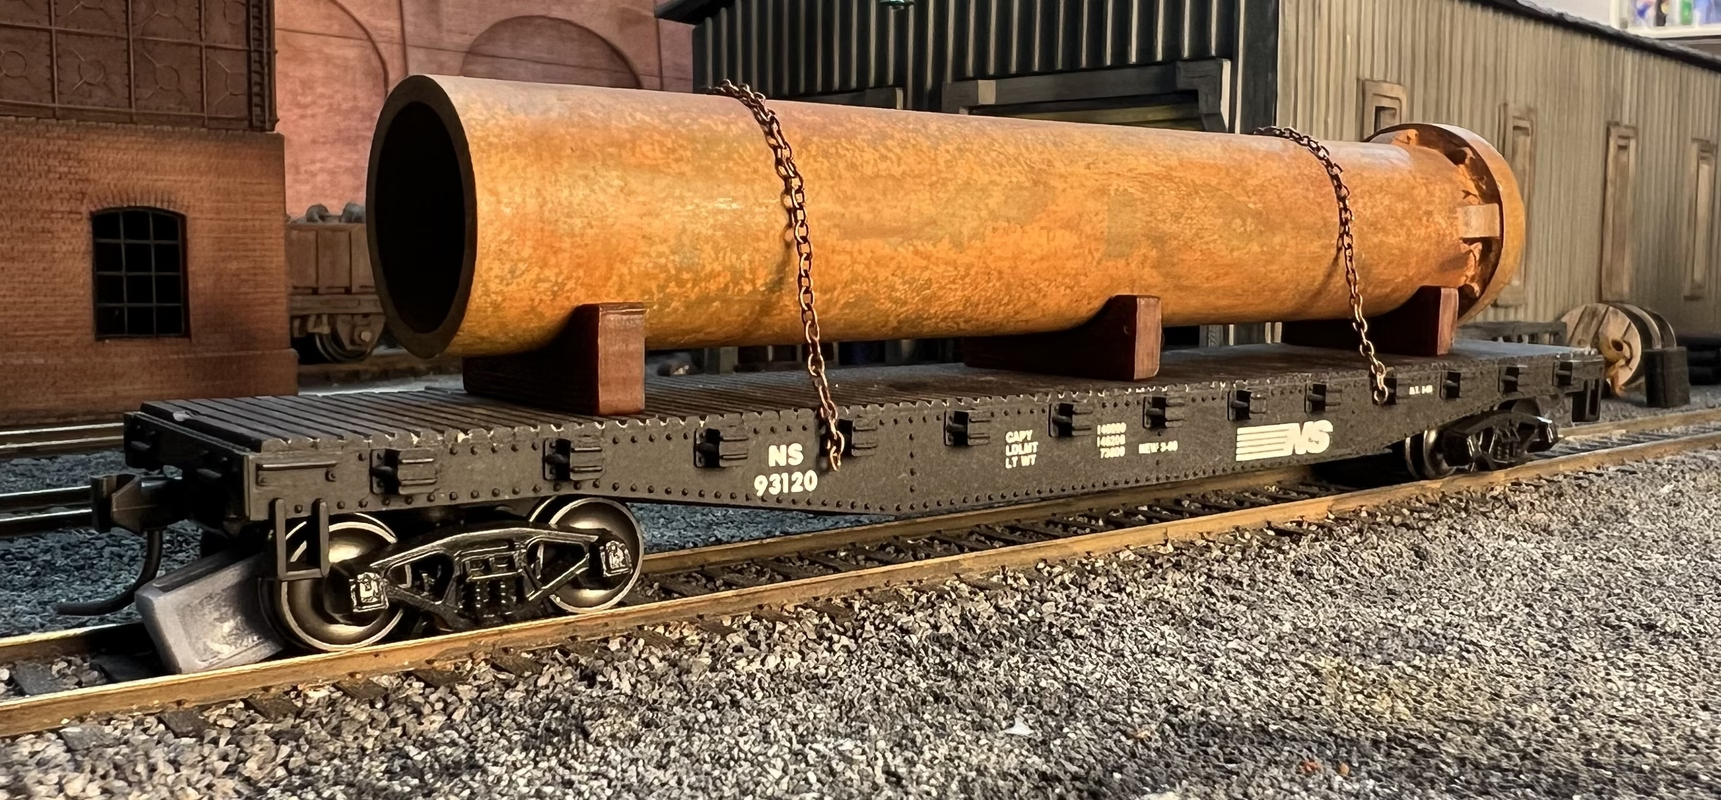
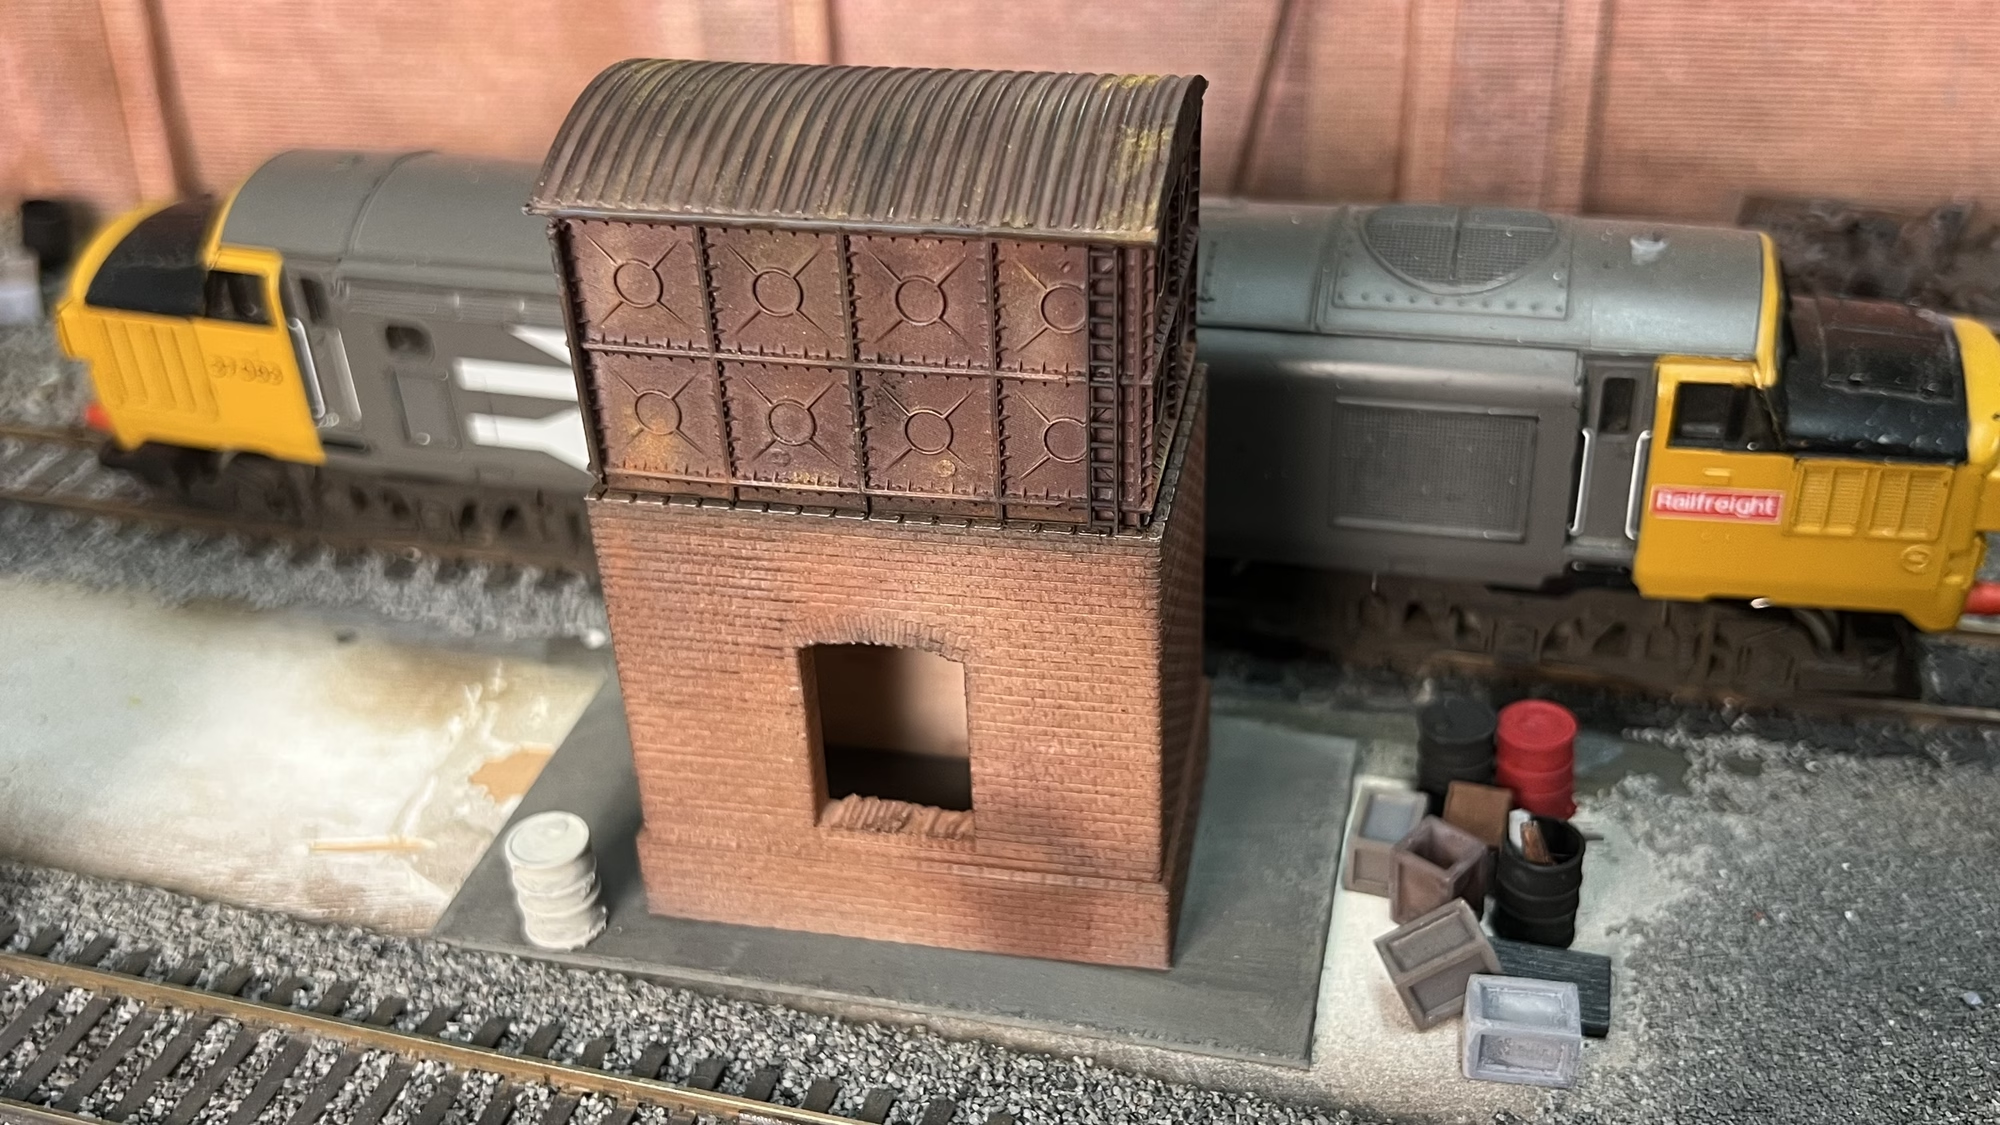
…and finally for this time around, here are some pictures I took after adding some detailing items.
Leave a Reply