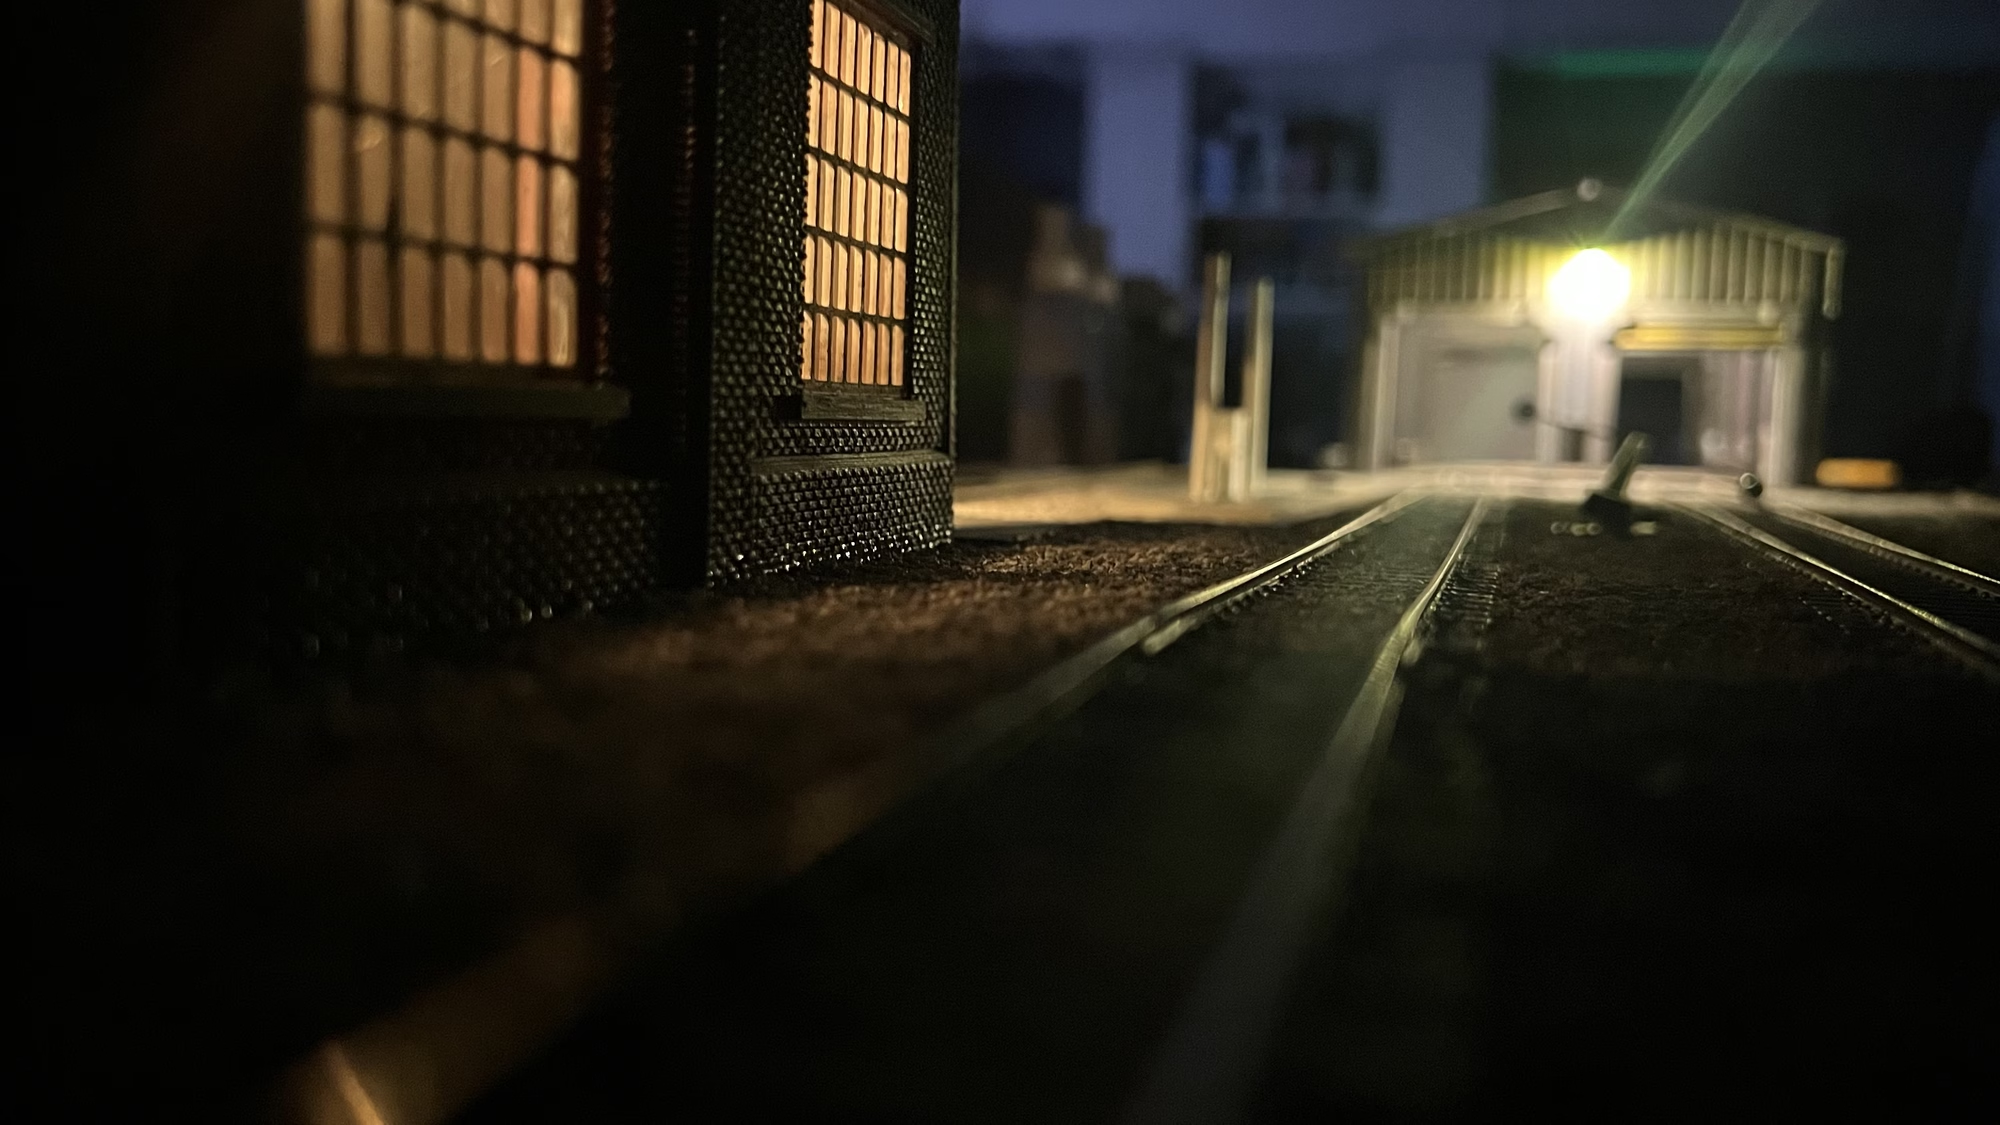
Update – October 19, 2024
I finally finished the maintenance shed. Click here to read about that.
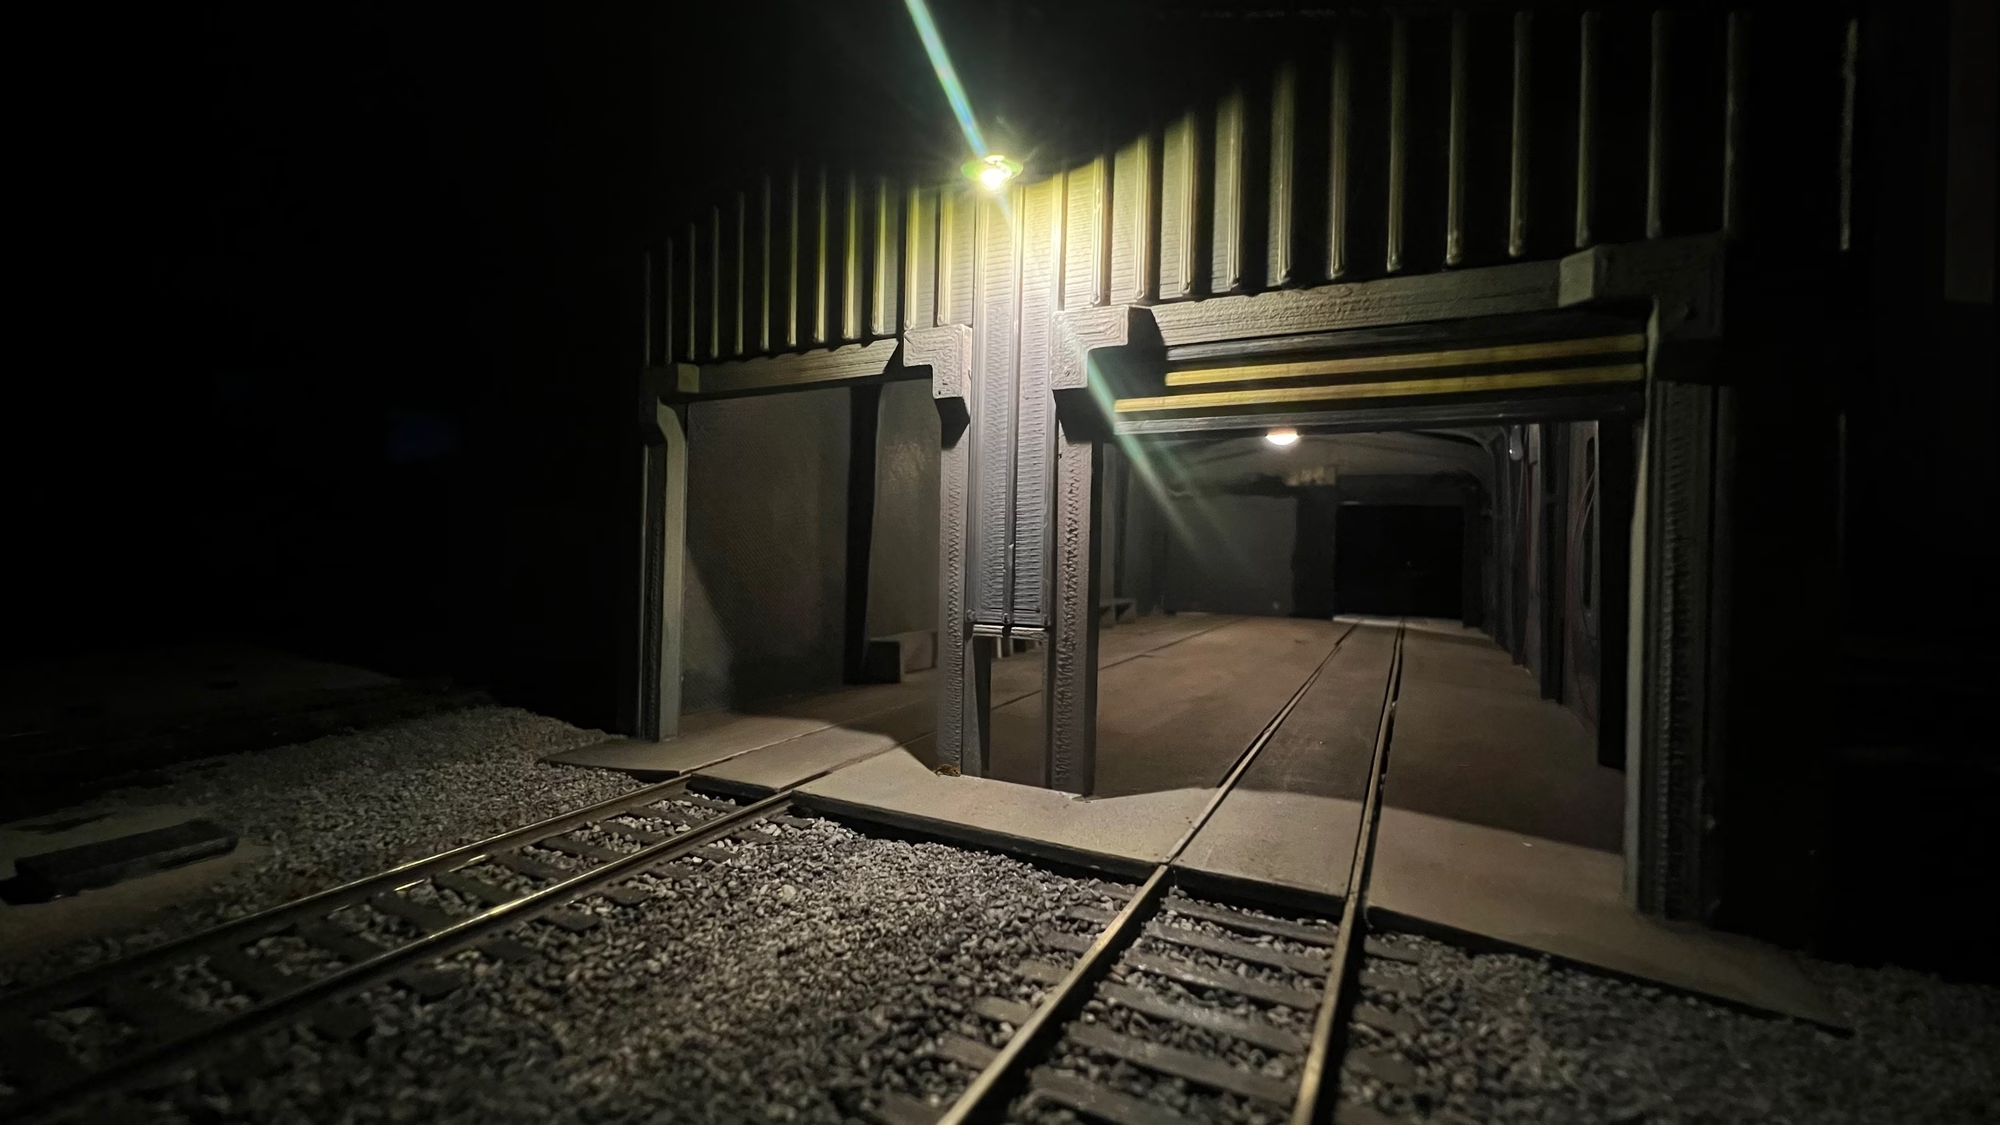
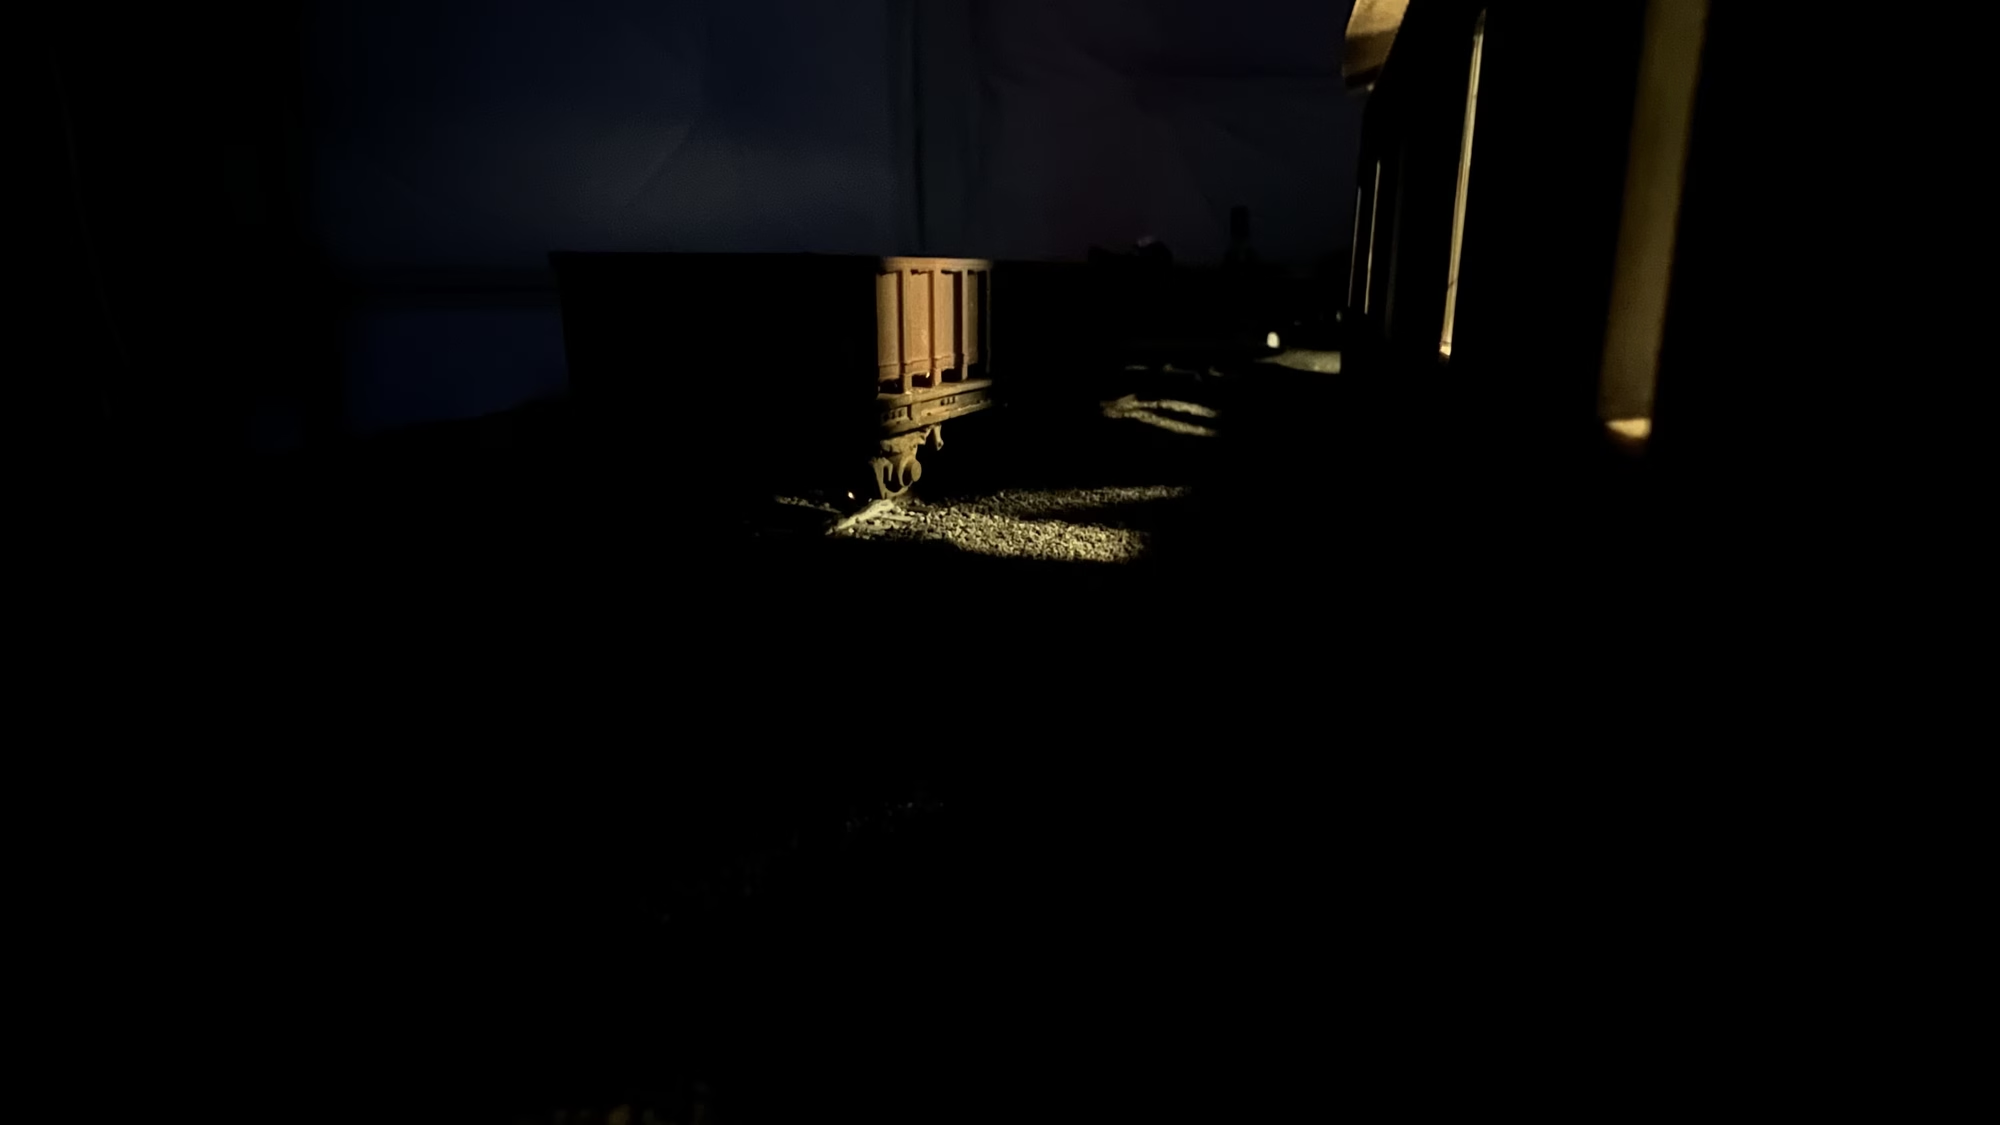
I also prepped and wired up the board to enable the LEDs to work.
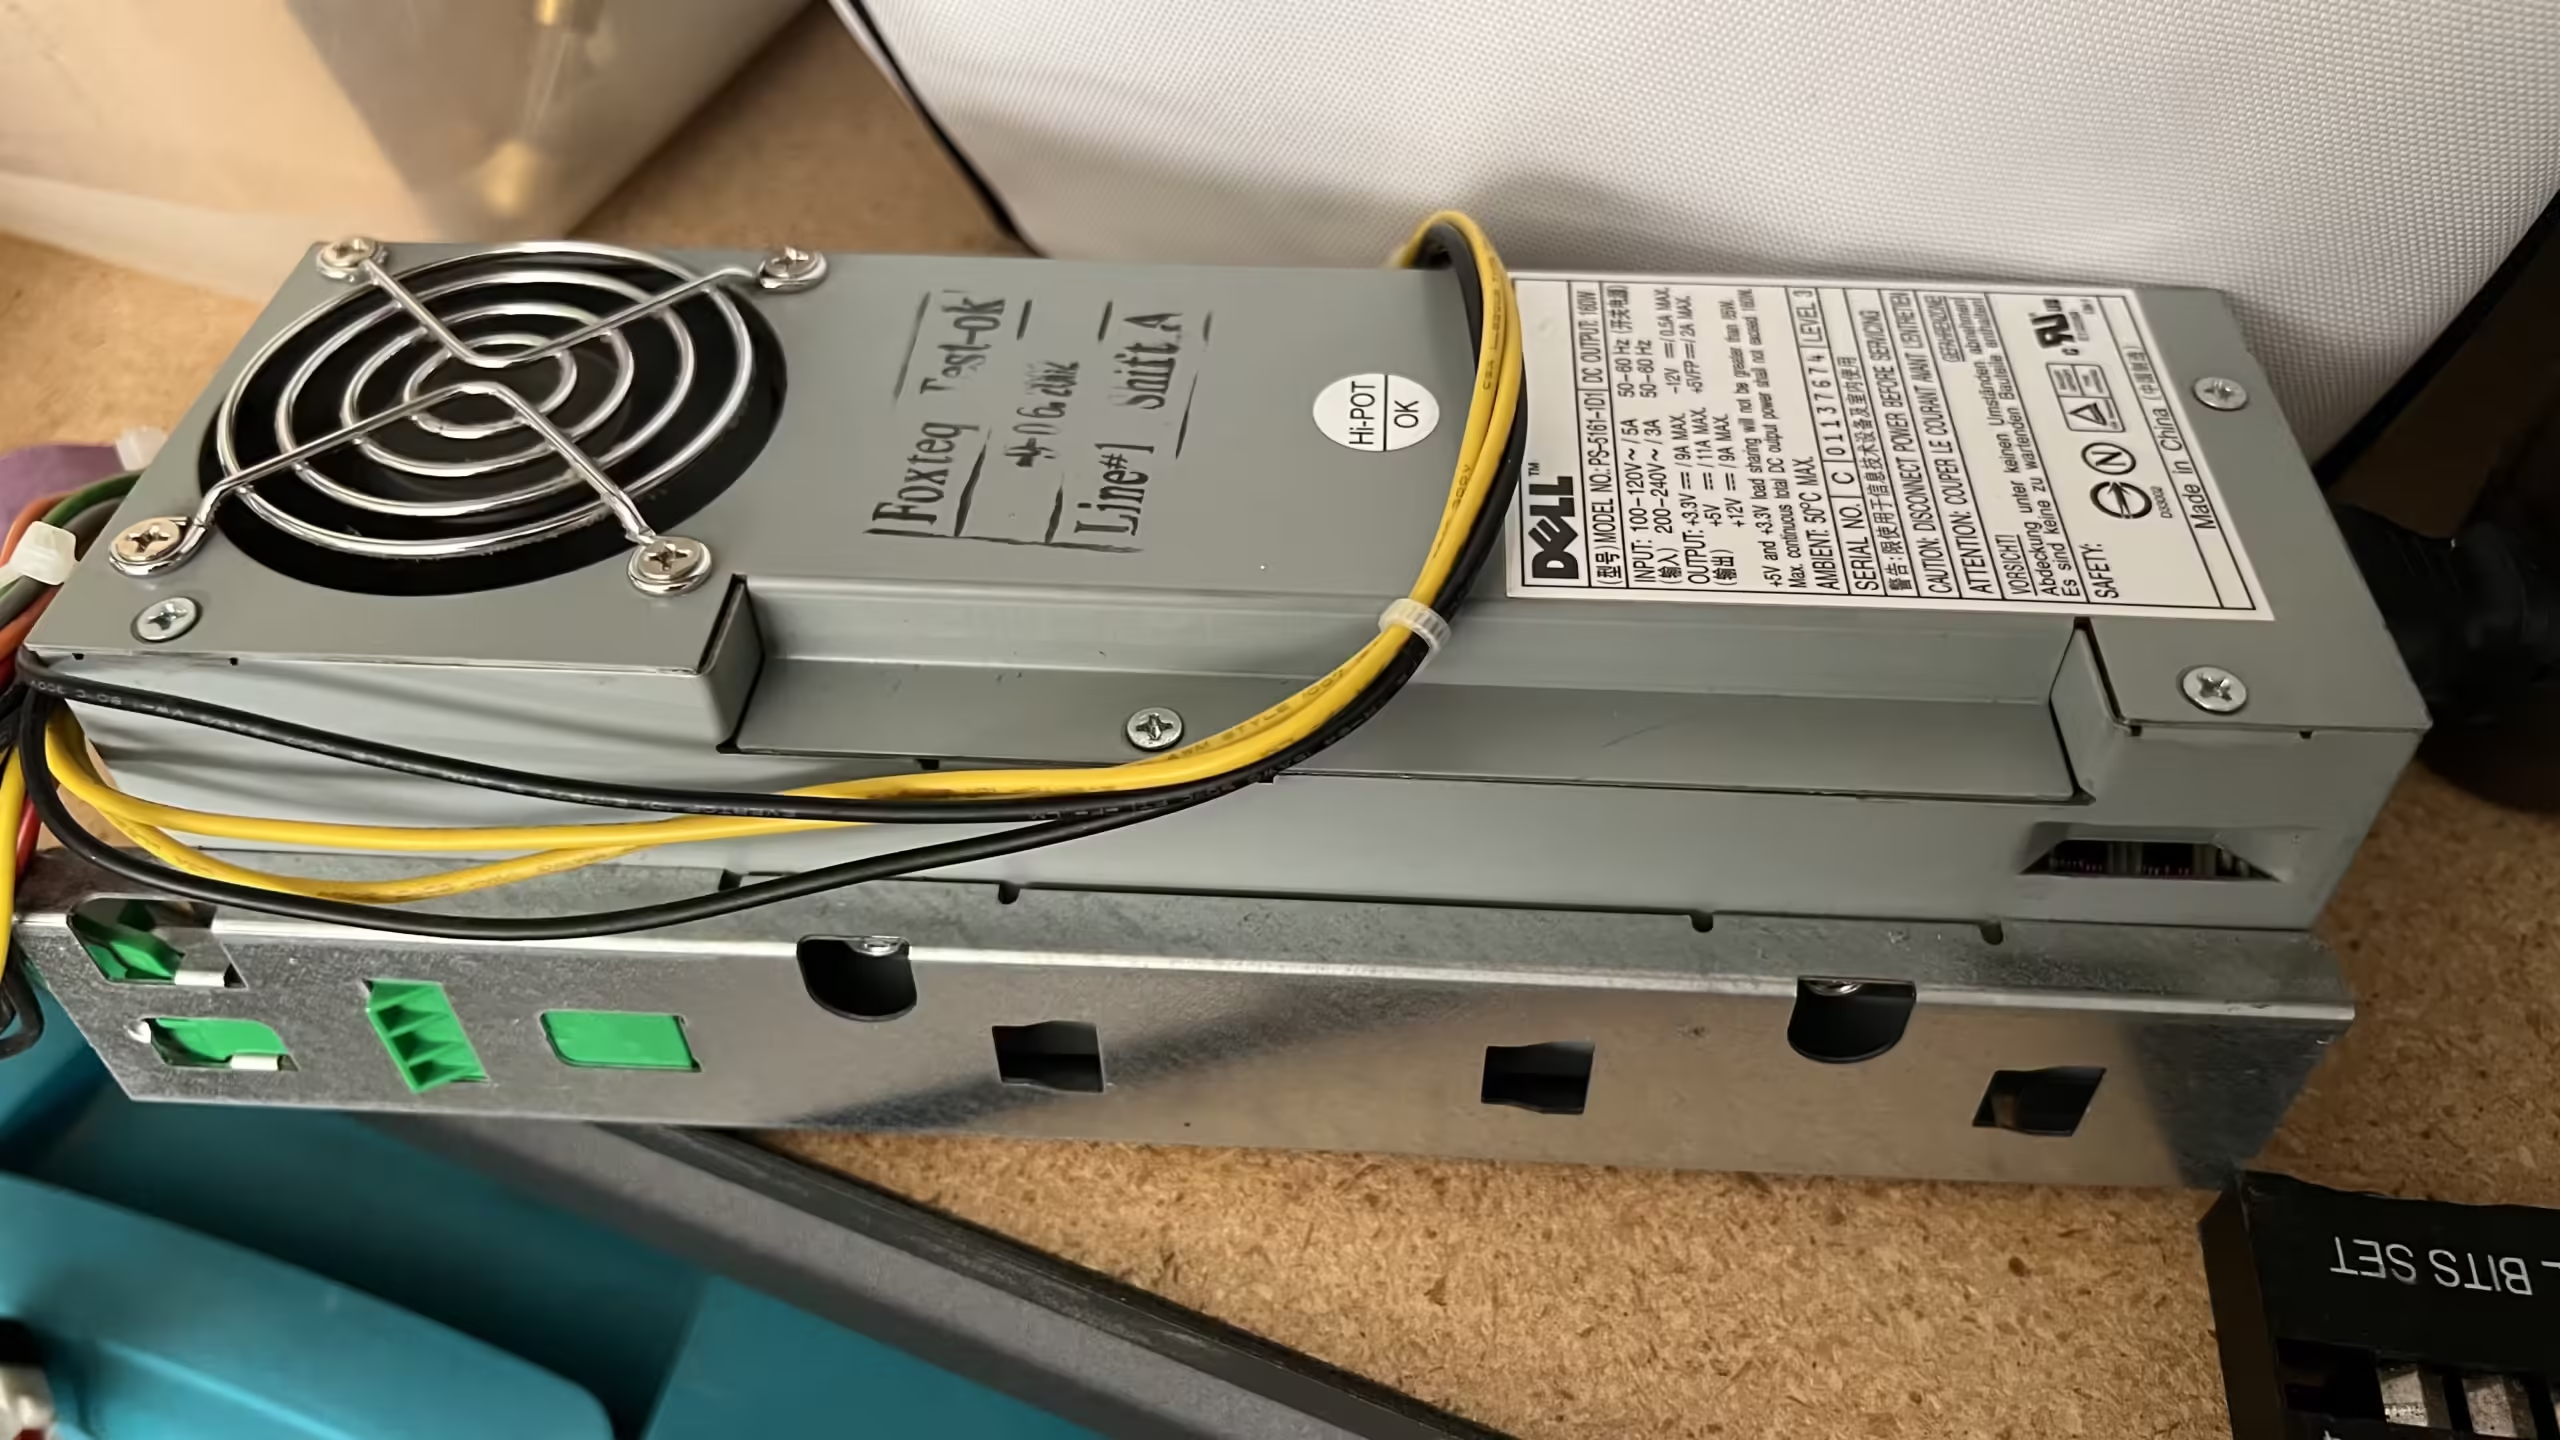
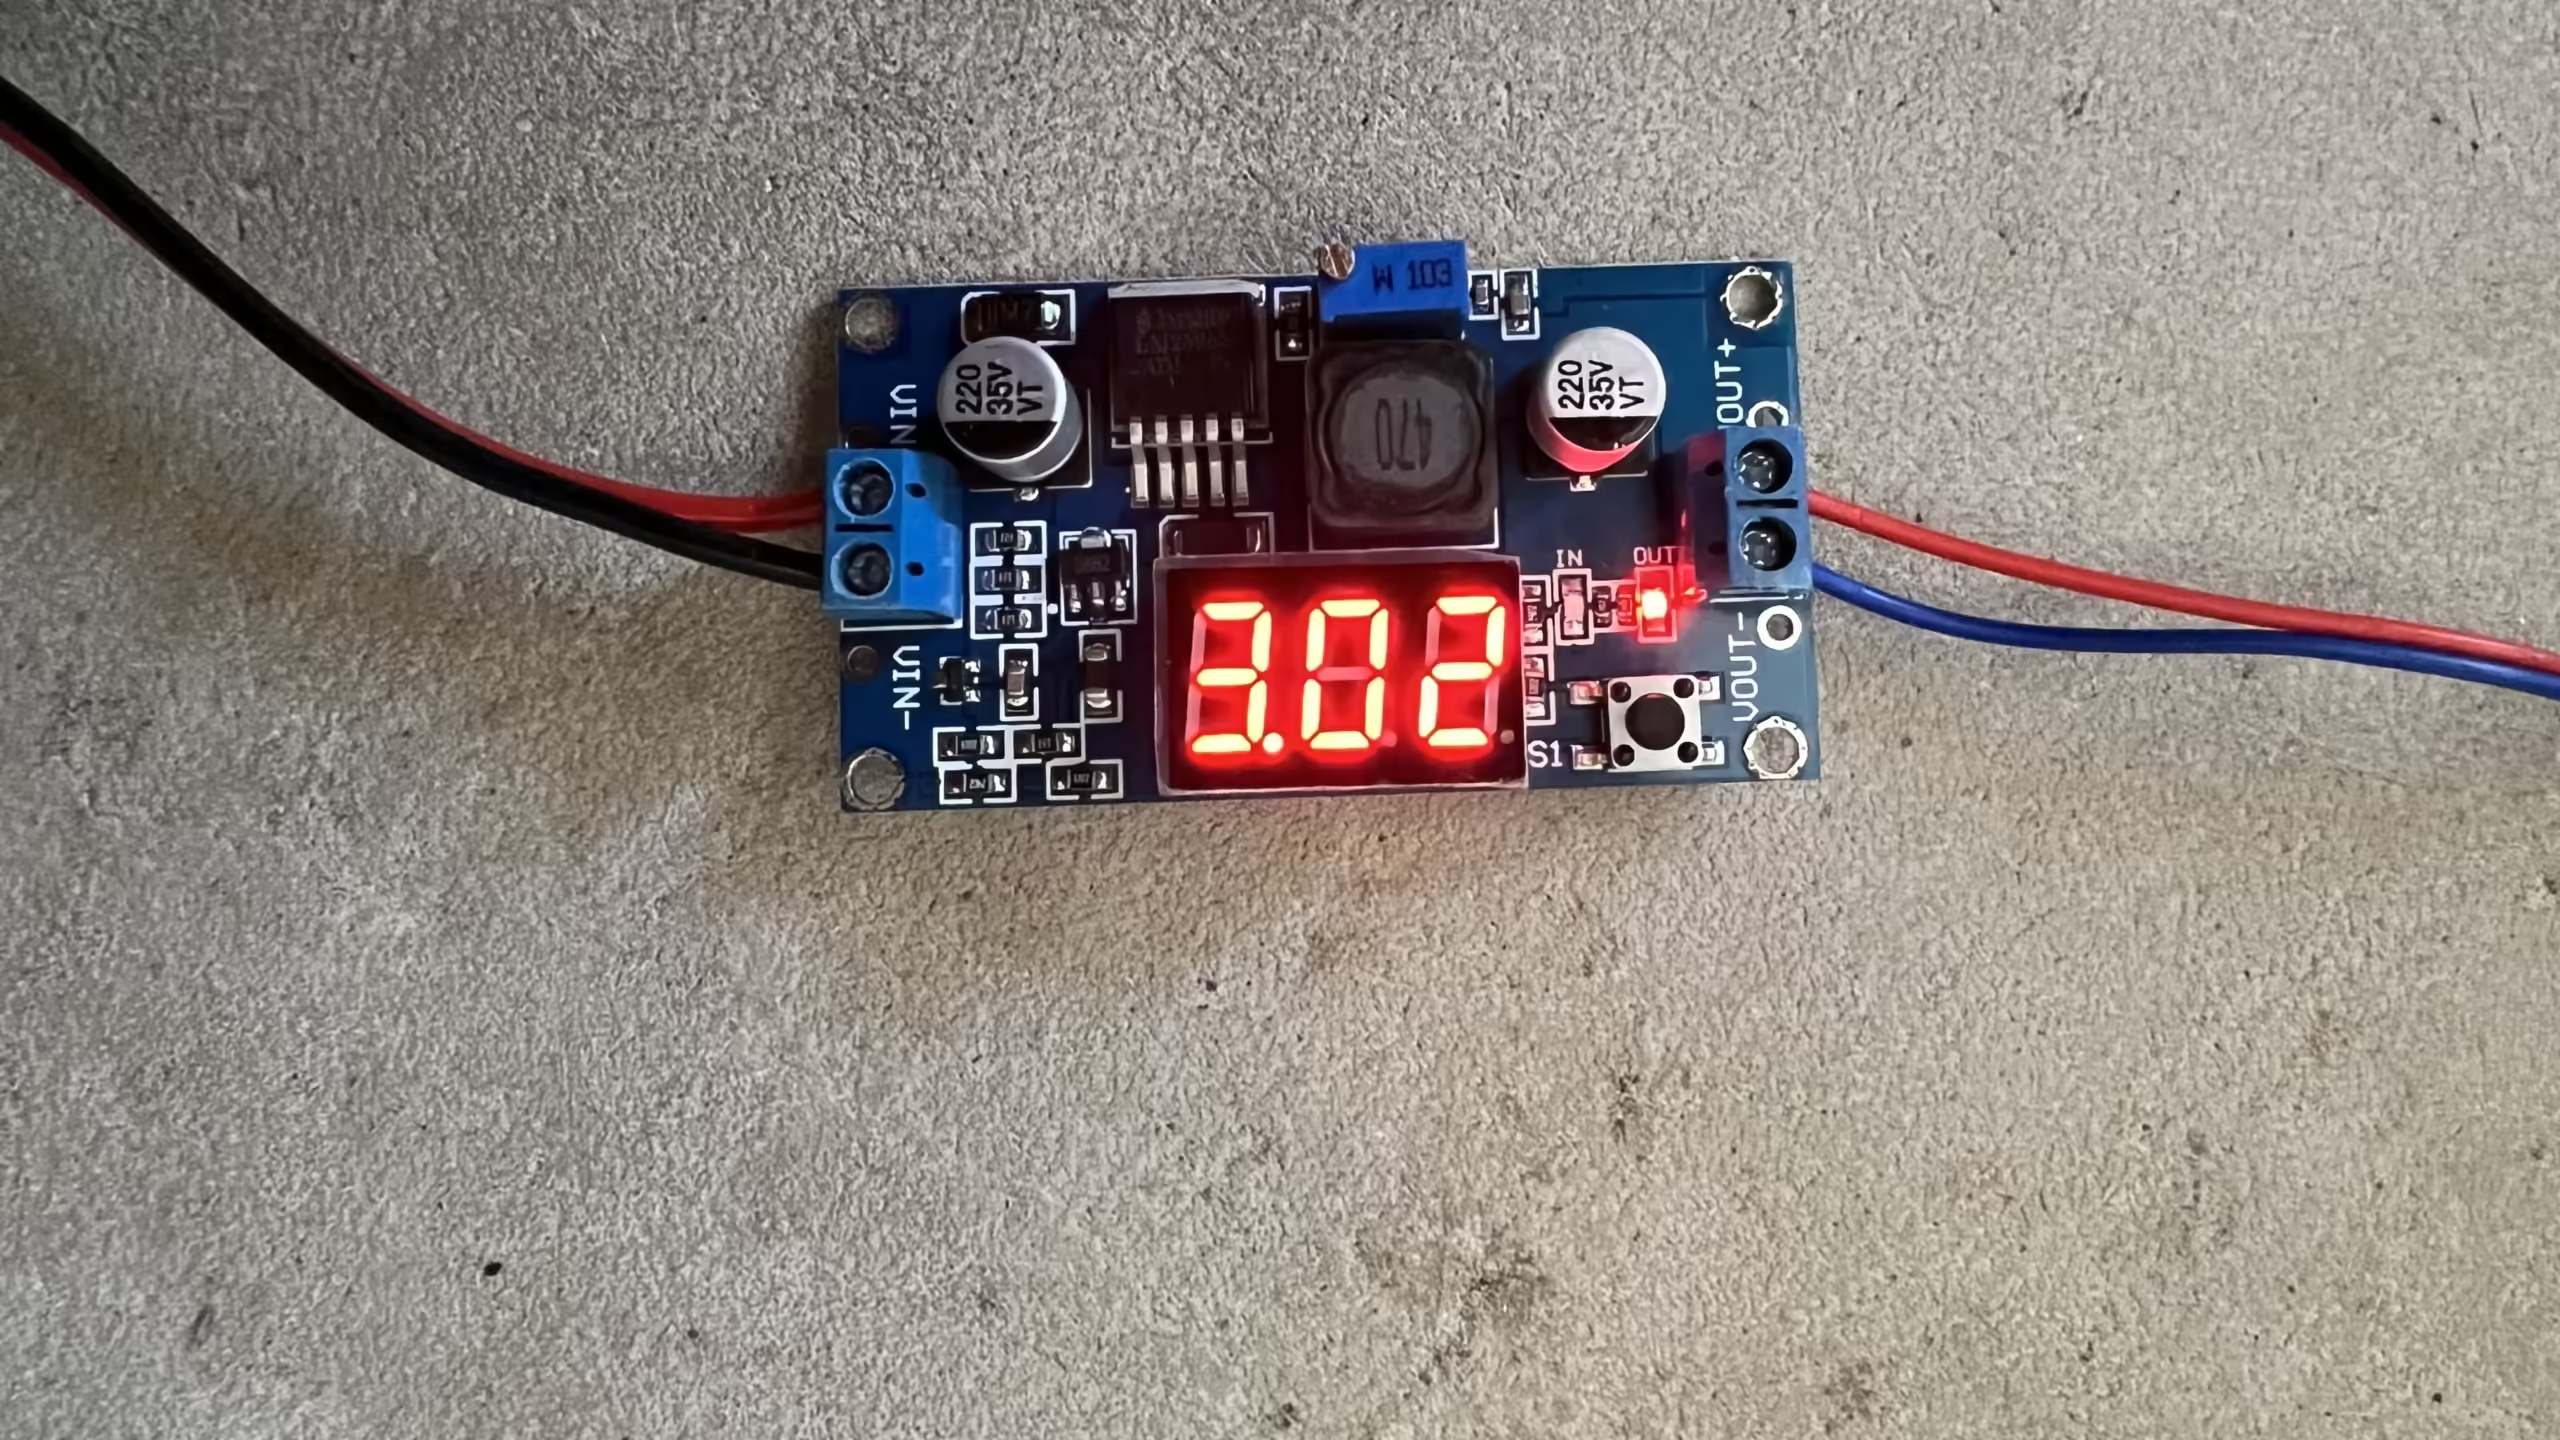
Using an old Dell PC power supply, I fed the 12v DC output into a step-down voltage converter set to 3v output. This means I don’t have to bugger about with resistors on the impossibly thin LED wires.
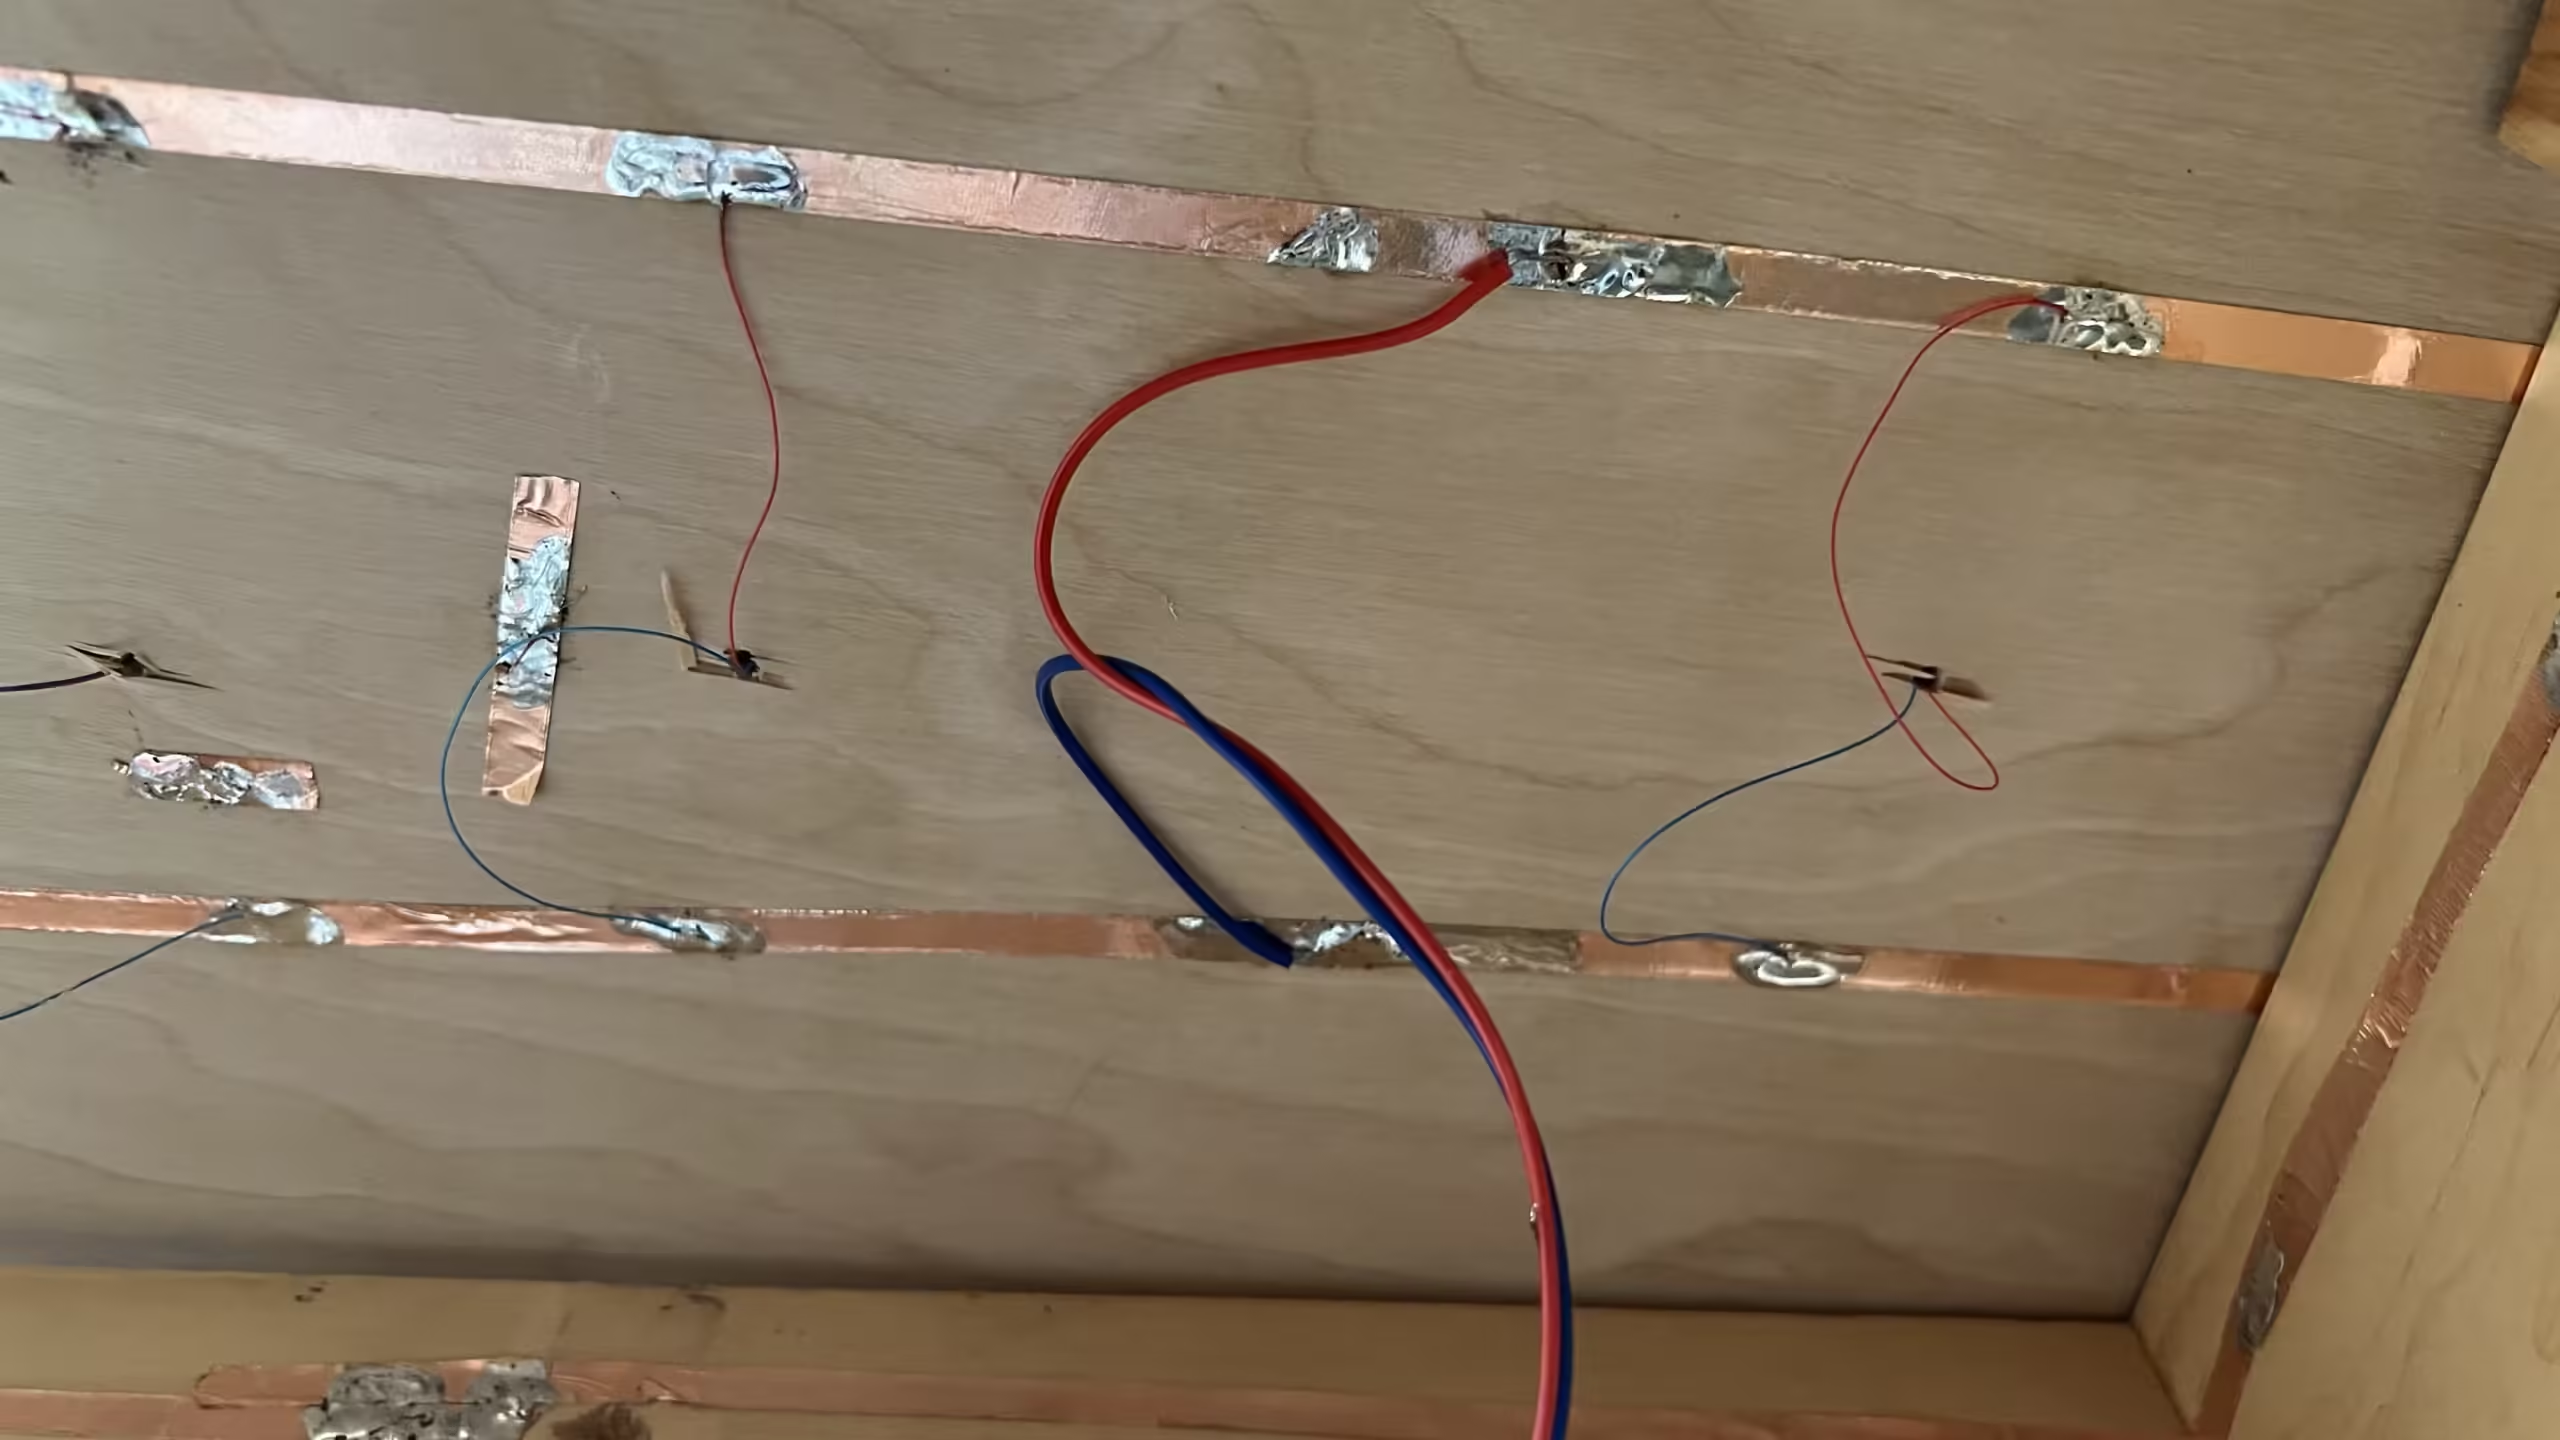
Then I stuck some copper tape underneath the board, making life much easier.
Now I can finally see the effects of the LEDs in the buildings.
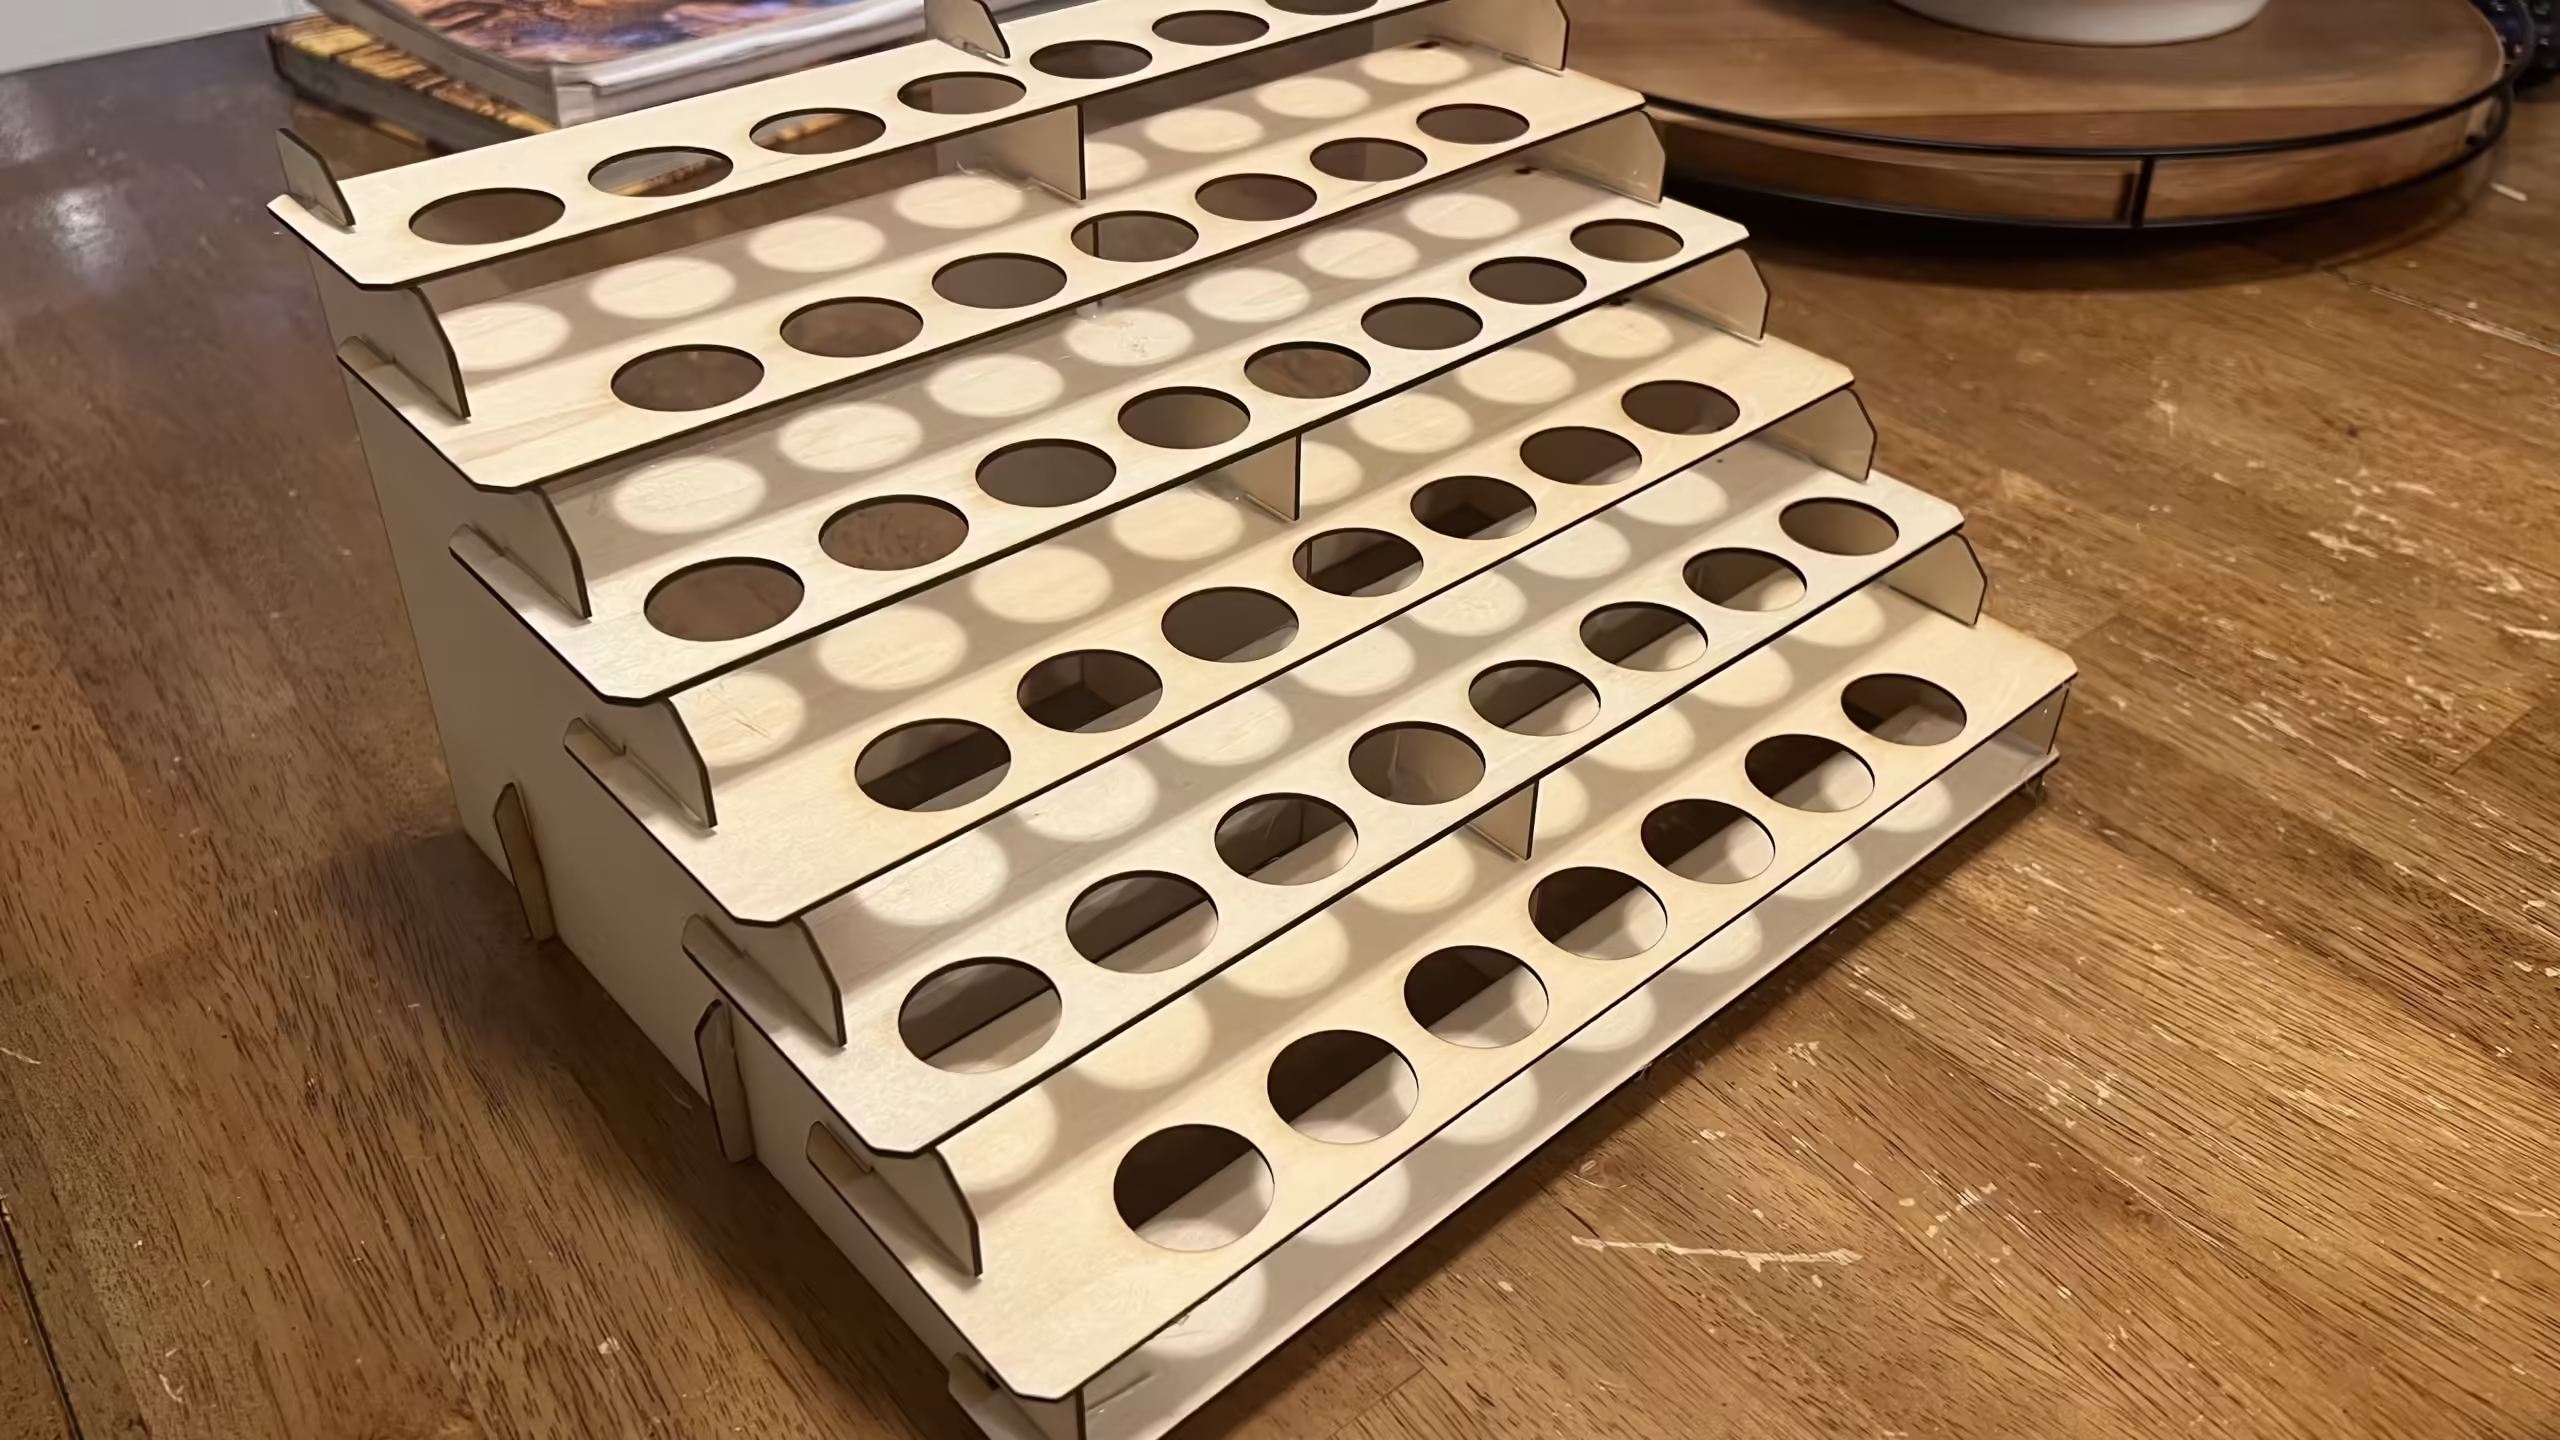
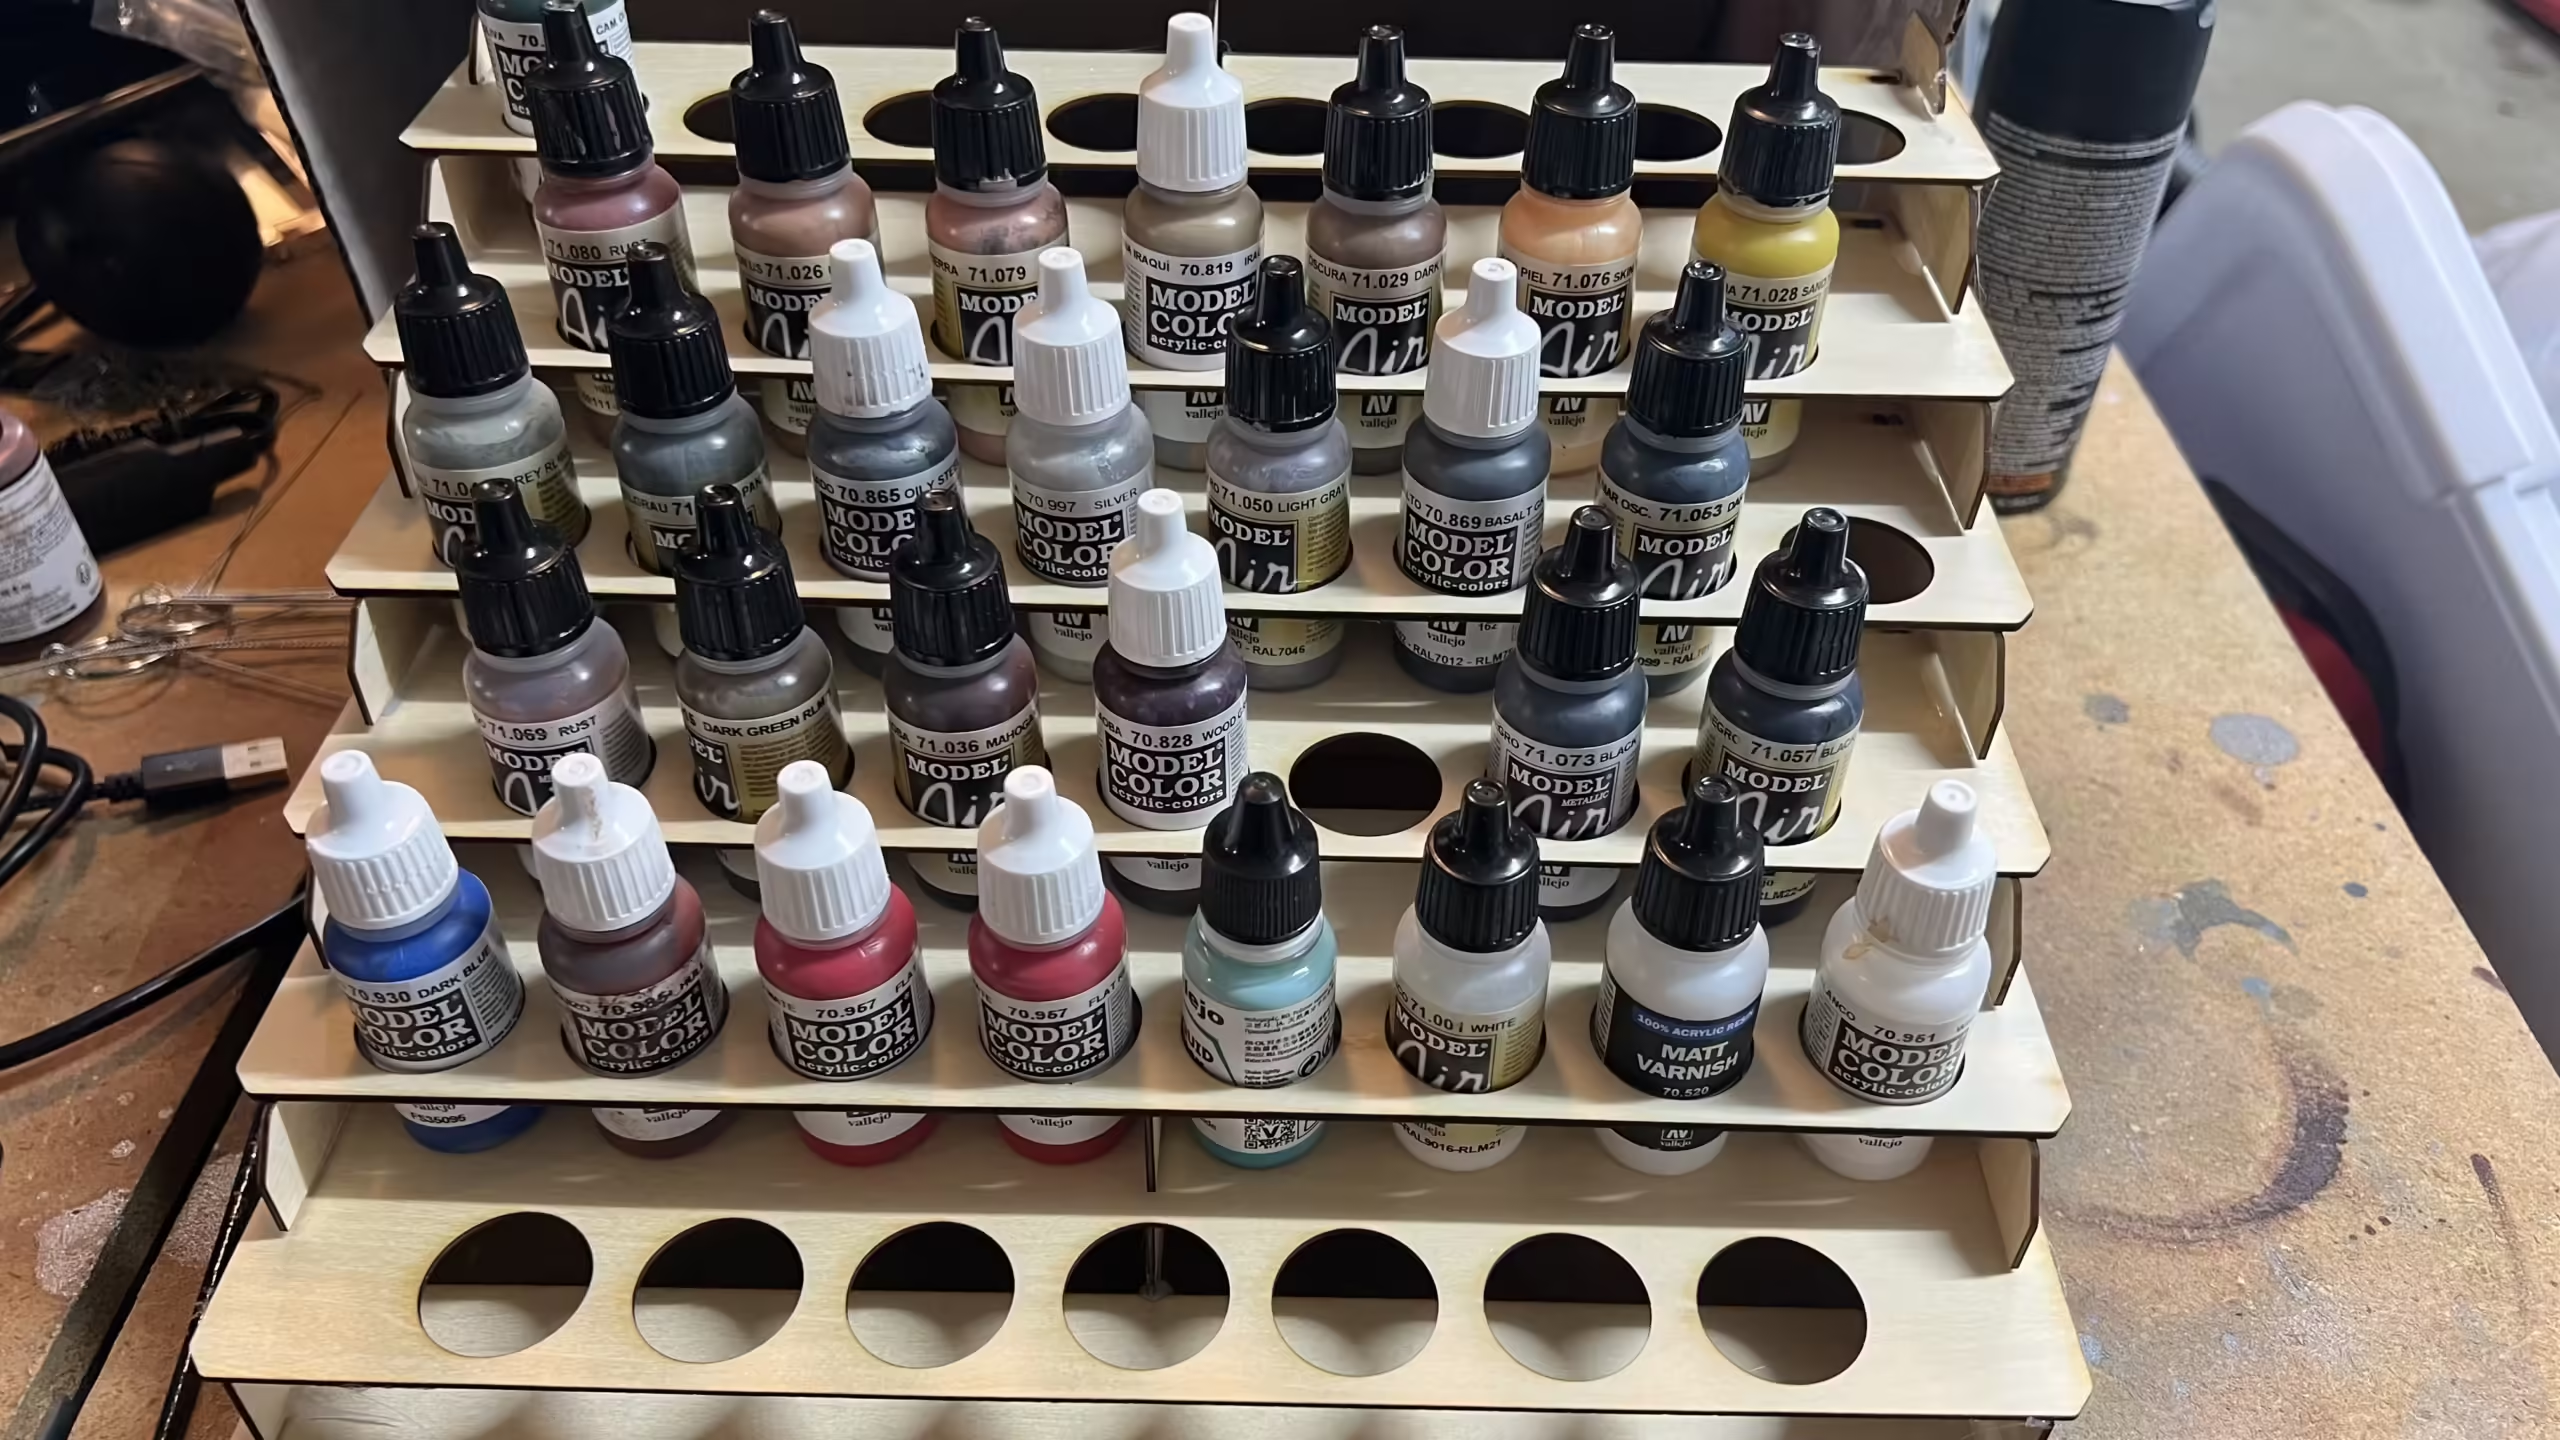
I also fired up the Laser Cutter to create a rack for the Vallejo paints I use with the airbrush.
I’m really pleased with how this turned out.
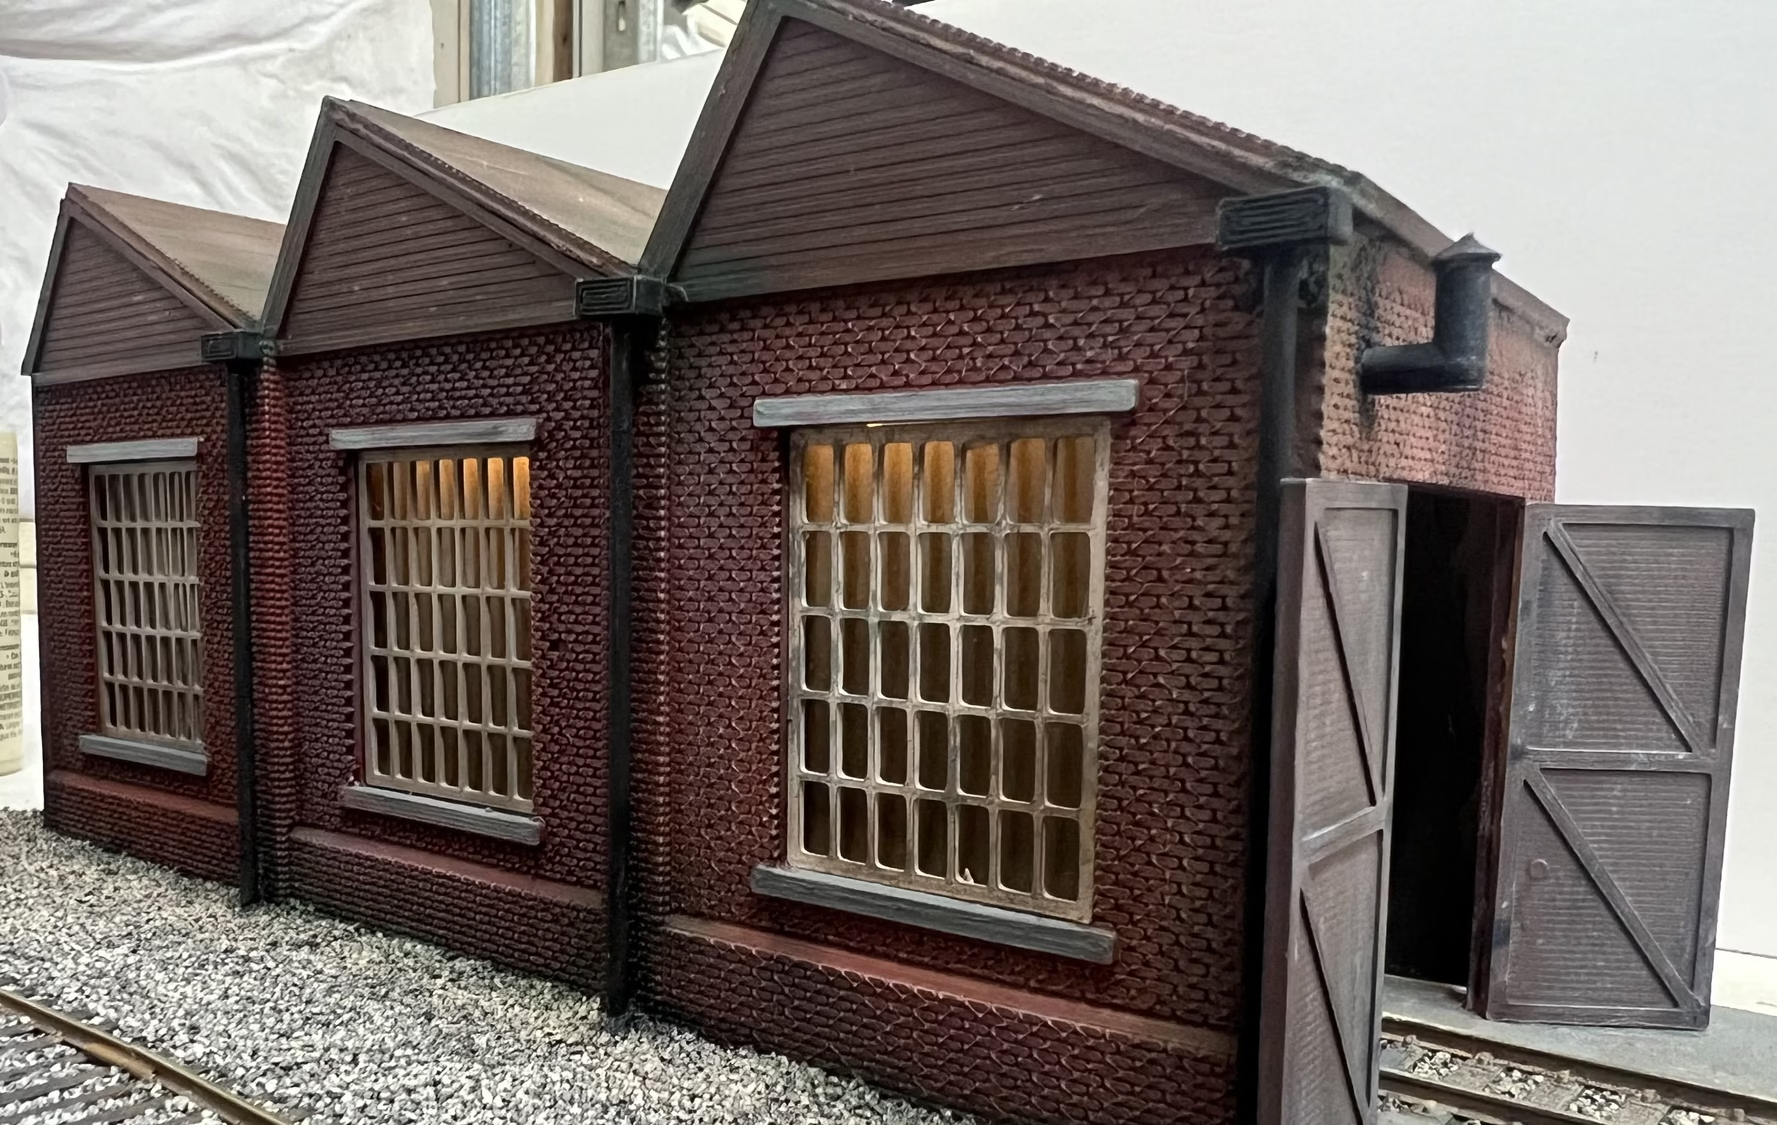
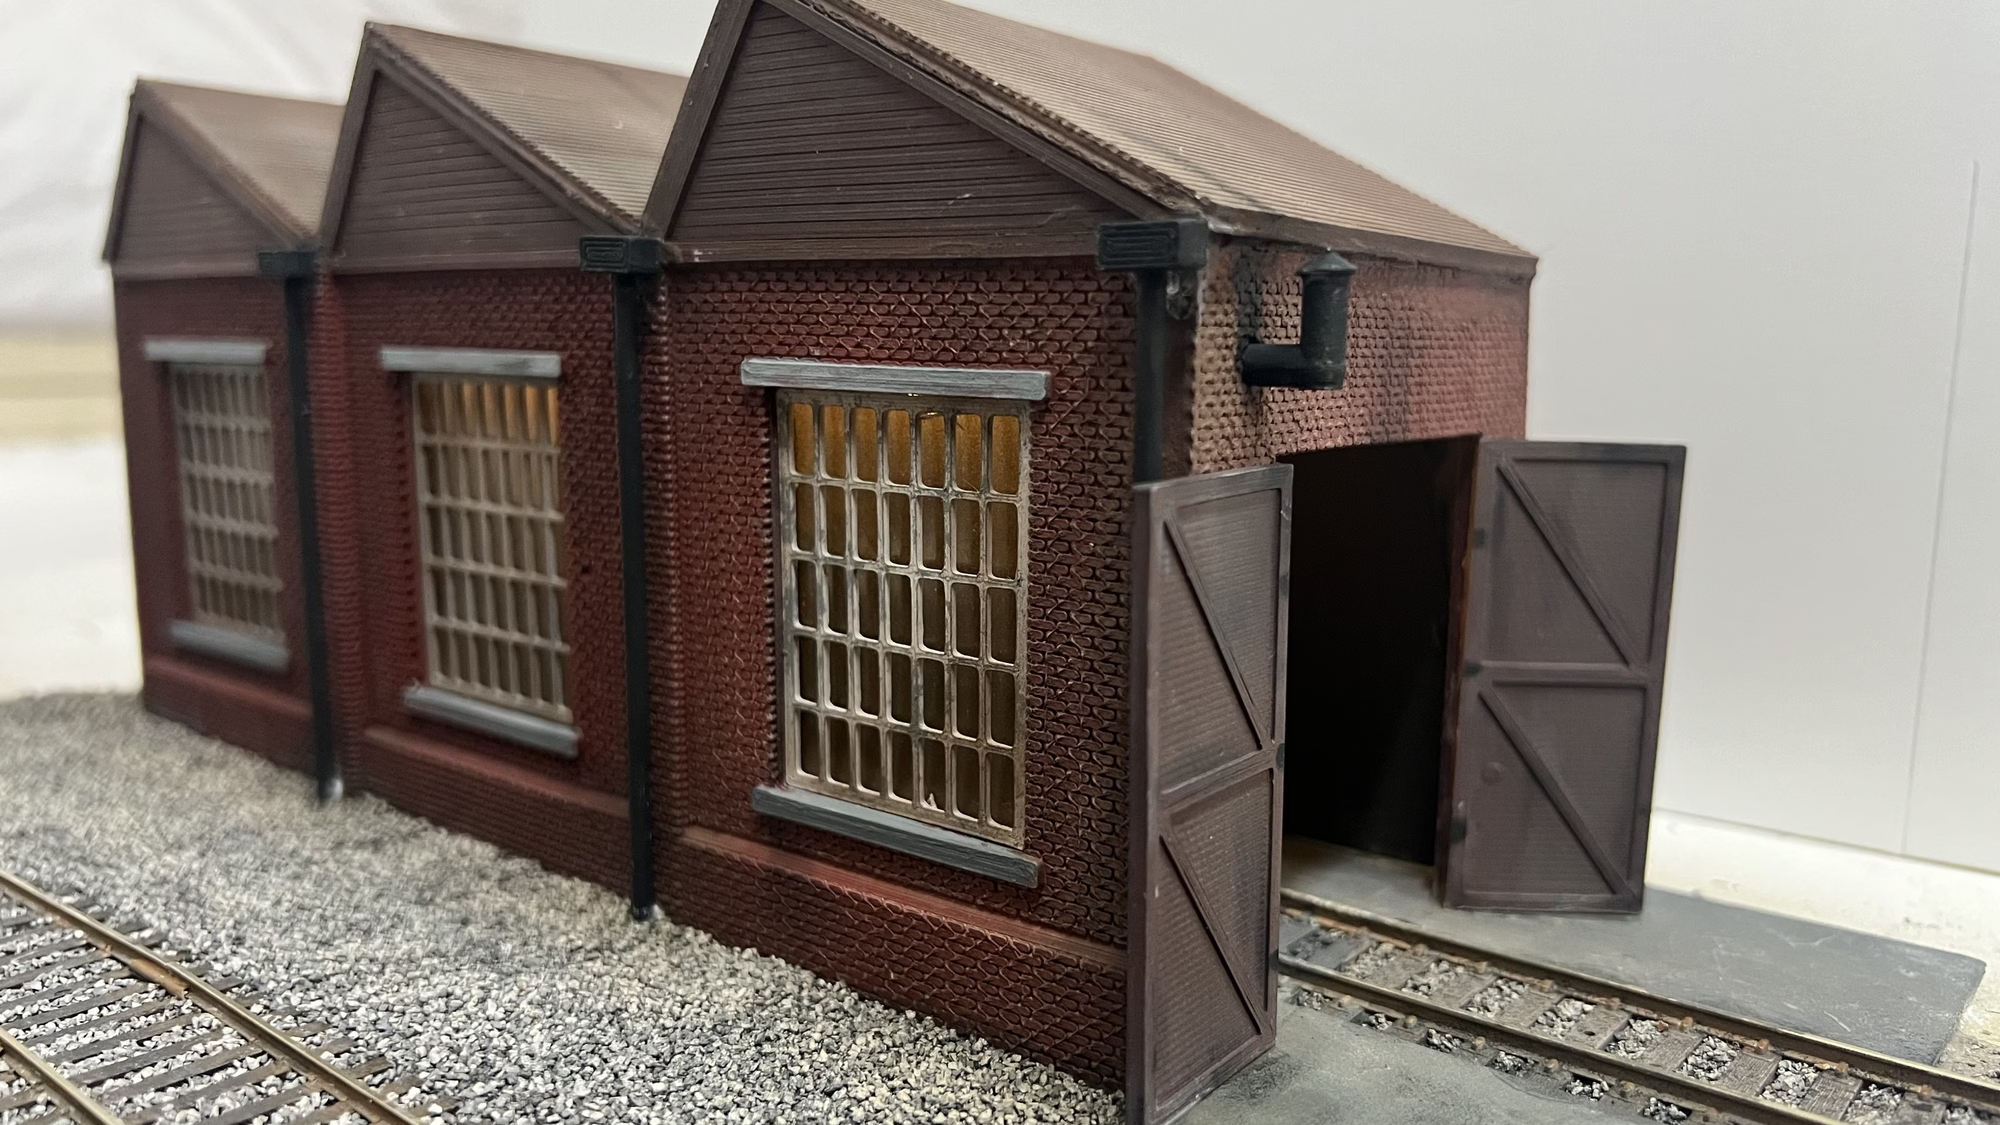
A few small changes on the diorama. I 3D printed rain downpipes, a chimney, and some doors for the OO Scale Workshop.
I painted them black and then airbrushed them with some Vallejo grime.
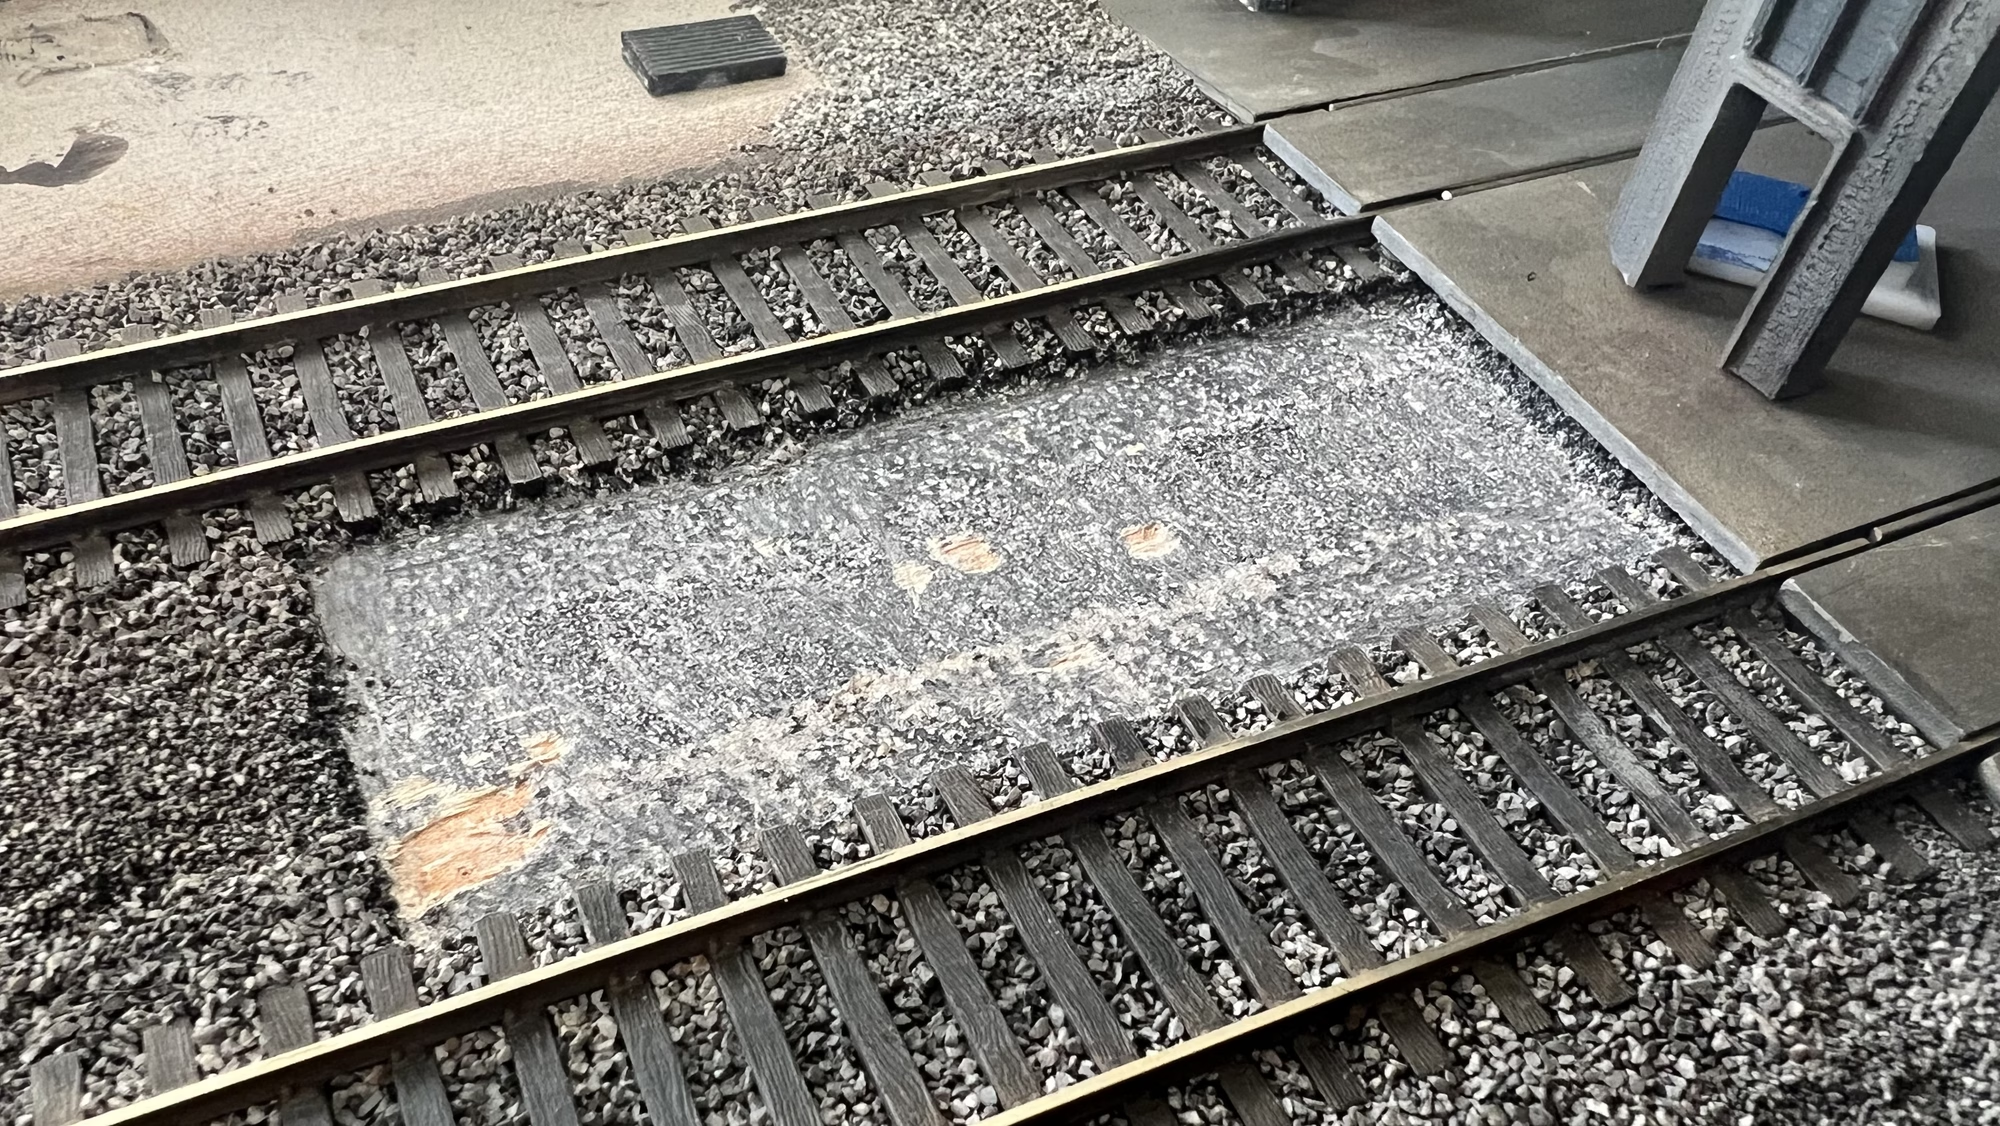
I also decided that I wanted a bit more concrete outside the front of the engine shed. A quick chisel away of the ballast and a piece of 2mm plywood cut to size.
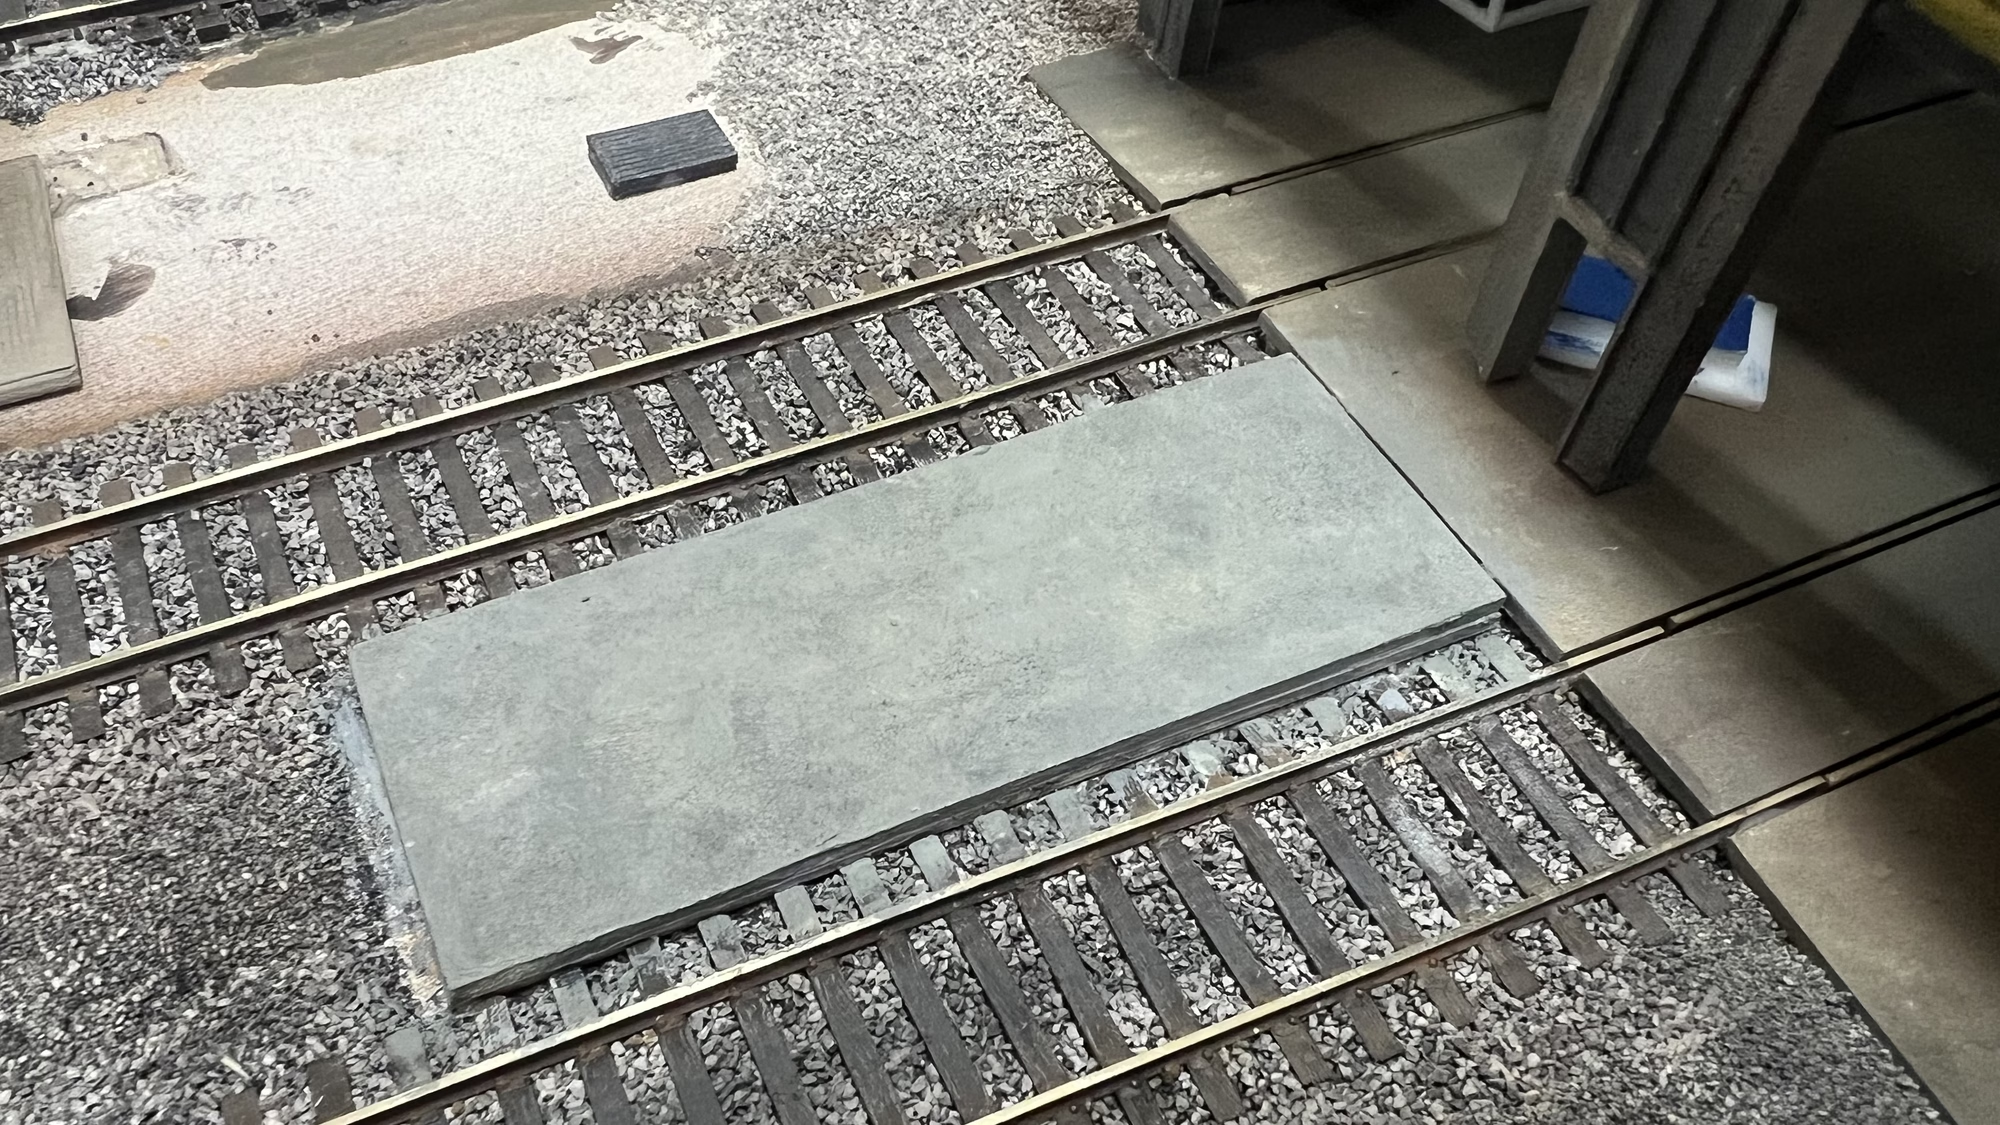
In the pic above you can see the start of the concrete colouring and weathering.
The next thing I tackled was something I’ve been putting off because I found it tedious, especially when I could have been fiddling around with the 3D printers.
I’ve finally wrapped all the arches in ScaleScenes papers and stuck them to the retaining wall.
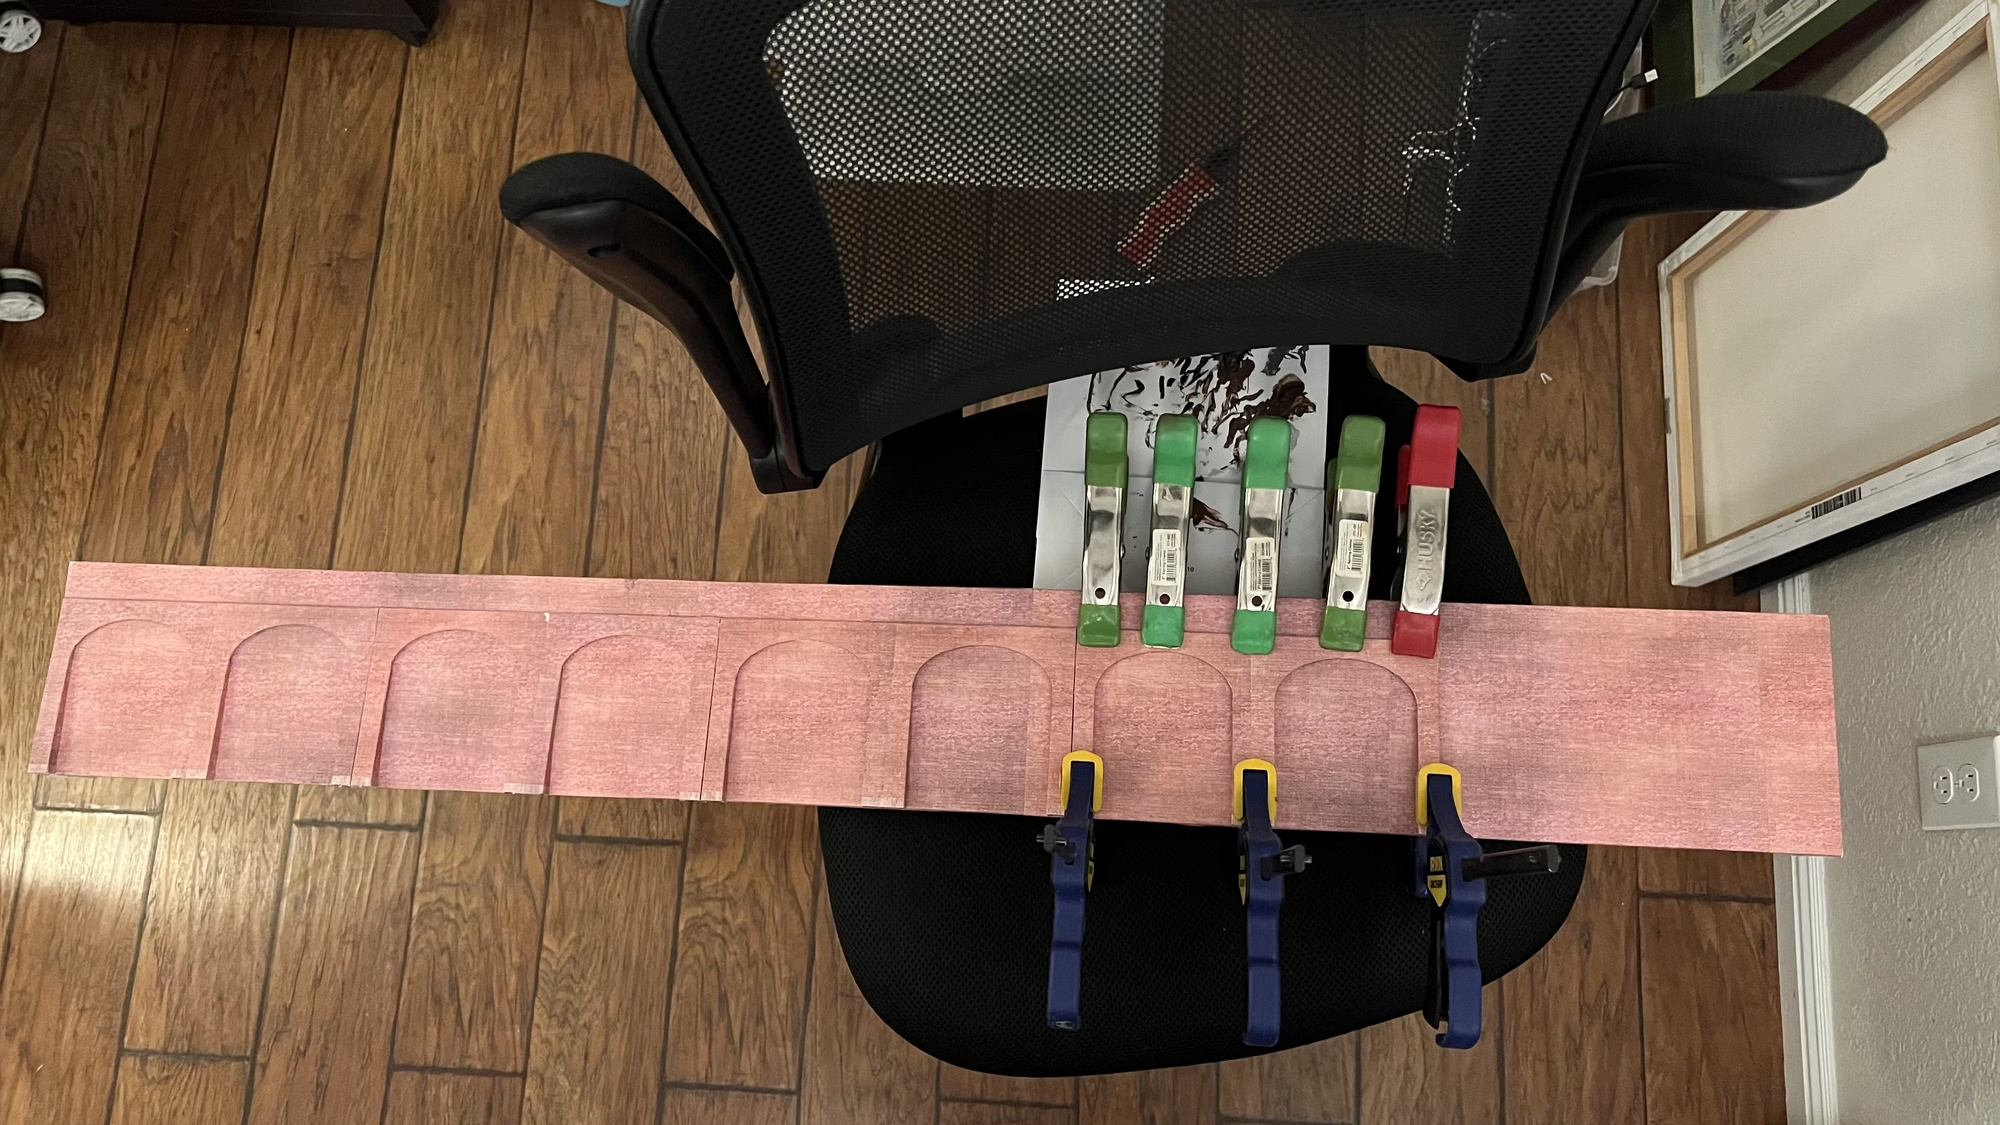
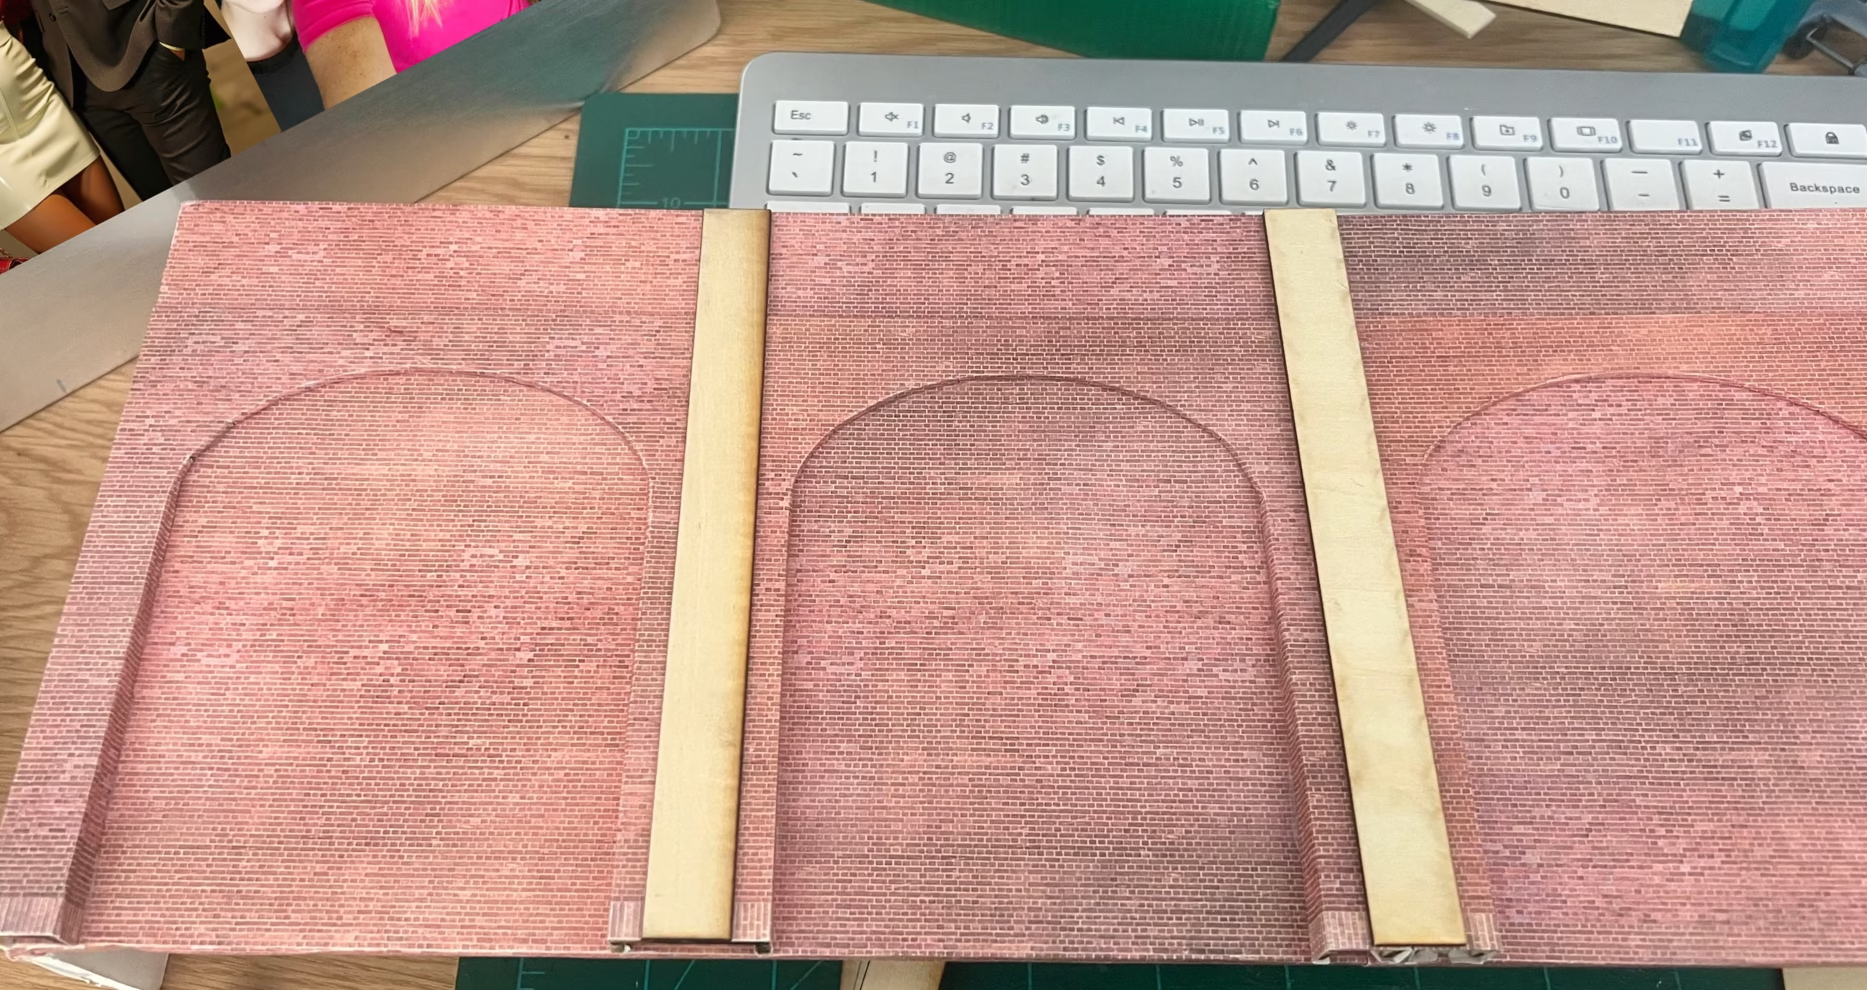
I then used my laser cutter to create 9 strips of plywood which will be covered in more ScaleScenes papers, this will cover the joins in the arches.
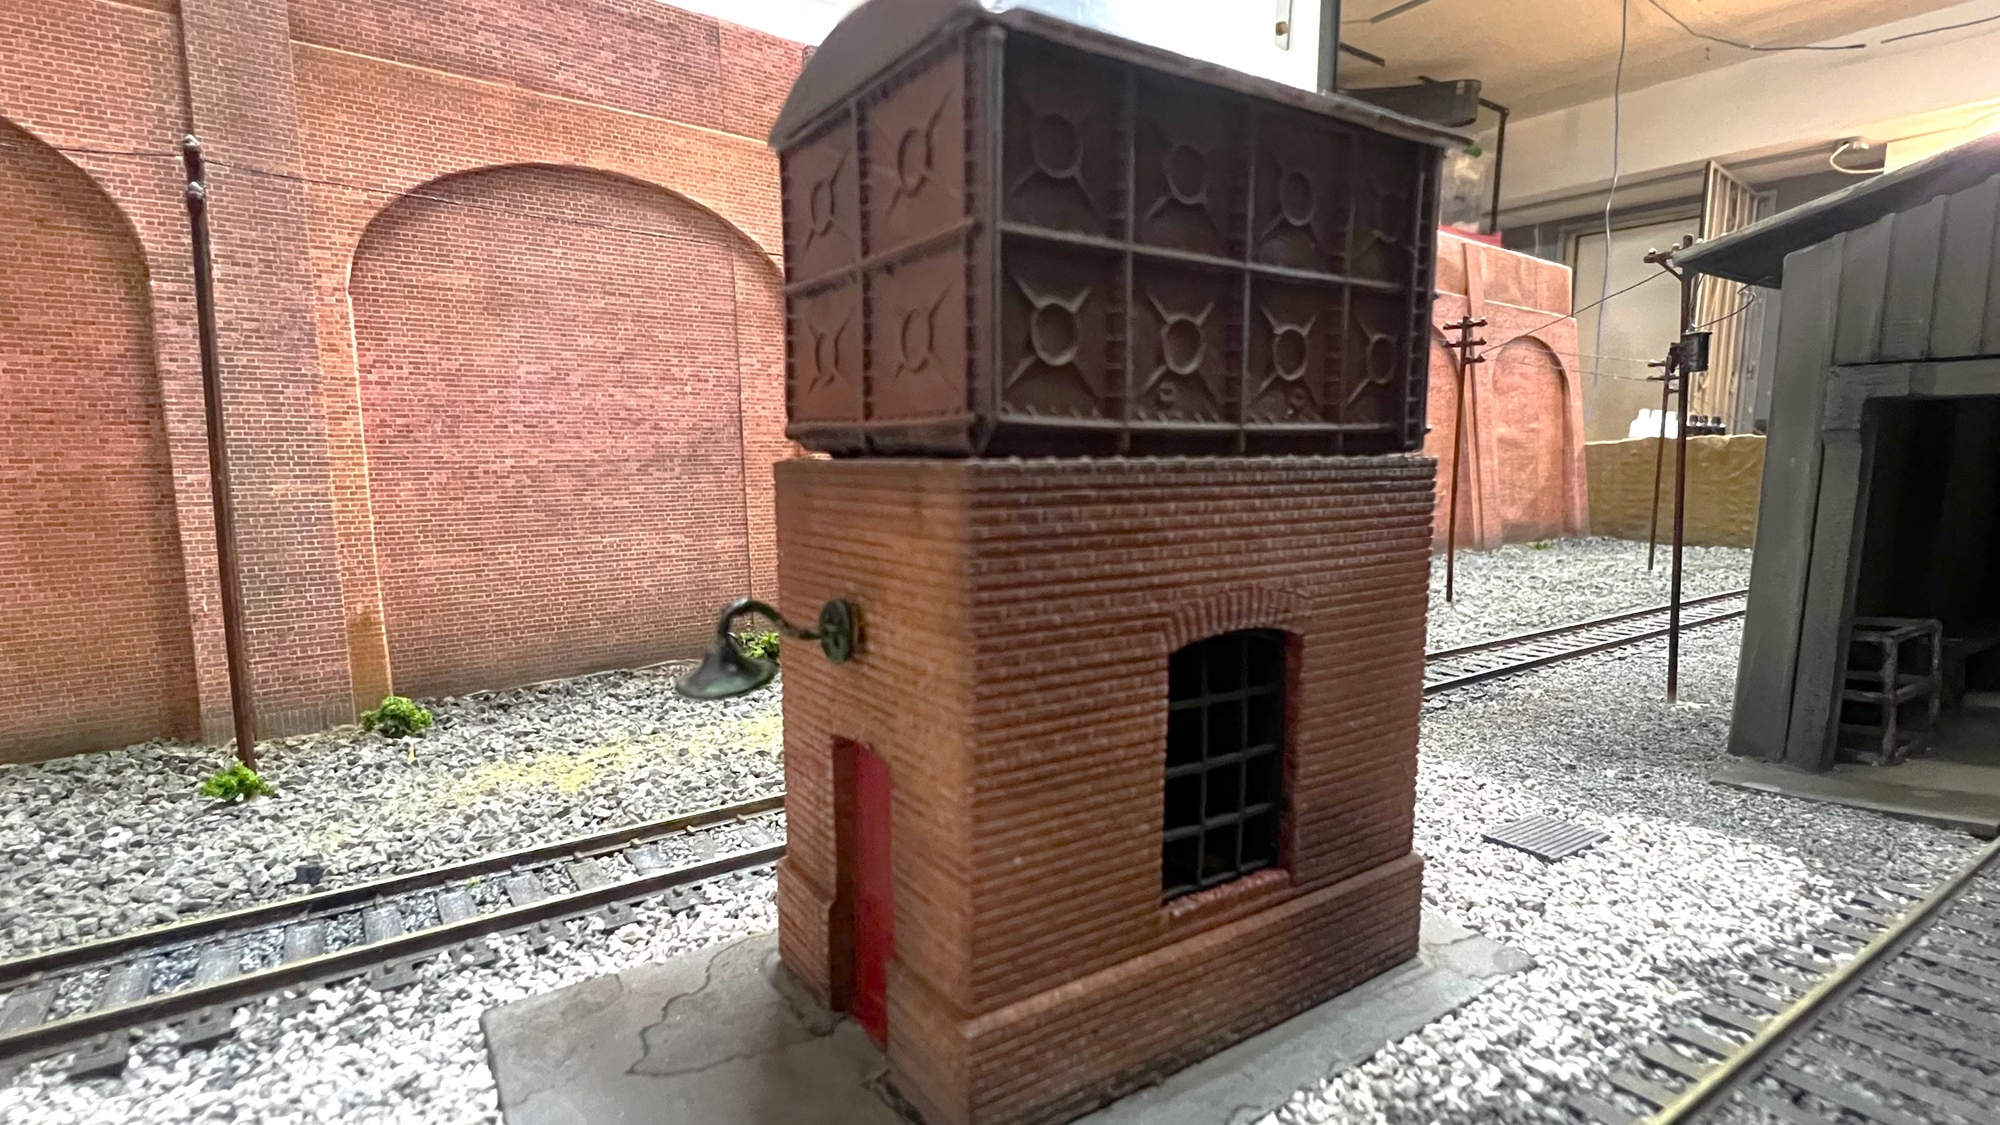
It’s been a while since I touched the arches, just a quick reminder, the arches were cut on the laser cutter, an I’m really pleased with how they turned out.
Leave a Reply