
OO Scale Maintenance Shed
As I started to build out the Diorama, I decided I wanted something with some height and depth to give some perspective. After a mooch around the Cults.com website that lists 3D printing items. I landed on this. Credit for this design goes Kabrumble. At the time of writing, this is the biggest thing I have printed out on the 3D printer. I started printing out the basics. I had to change the base layer on the printer to “Raft” which creates a layer or material beneath the actual printed parts. Without this, the print wasn’t working right and didn’t want to stick. I’m still learning 3D printing, I’m sure there are other ways to get the print to adhere better to the plate, feel free to comment below. After the above parts printed OK, I printed the rest of the items. As you can see, I ran out of grey filament and switched to white. I like the white, it takes less coats of paint to get the right shades I’m looking for. I now needed to find somewhere to put the shed. Out came the dremel and I removed 2 sections of track, then removed the ballast. I wanted the floor of the engine shed to resemble concrete so I fired up the Laser Cutter and created sections of “Concrete” from 2mm plywood. These were airbrushed and weathered with some powders to give the effect of age and dirt. With the “Concrete” floor laid, it was time to glue the frame of the shed in place. In this picture you can see the roof on. It’s only lying on the frame. I want to make the roof removable because I’m sure I’ll end up detailing the inside at some point. The shed is now glued in place. Here I am test fitting an LED lamp I got off eBay. …and here is the elevated platform for the maintenance crew that will be placed inside the shed, fresh off the 3D printer. Back in Tinkercad I created some roller shutter doors for the maintenance shed. 25 minutes later hot off the 3D printer here they are test-fitting into the doorways. Next, I airbrushed the doors black on both sides, when that was dry I cut 5mm strips of painter’s tape and stuck them on, then gave multiple coats of yellow to create the “Wasp Effect” While making the shutter doors I also 3D printed the access door. I’m not quite sure what colour to paint this. There is so much grey all over the diorama. In the picture above you can also see the workbenches also 3D printed. I think the maintenance shed doors turned out well. I still need to “weather” them down a bit. I fitted the dirty windows on the maintenance shed and started to “weather” the building with some Vallejo Grime Wash. I’m impressed with the grime wash. I was trying to get this colour correct and was failing. It’s finished… …well, is any model ever finished? To prove to myself that I actually could finish a model, I did this today. Glued the roof sections together Painted the inside of the roof black for light bleed Glazed all the windows and the skylights with clear plastic. Re-jigged an old Dell PC power supply to work without being plugged into the motherboard. Stuck copper tape underneath the board and soldered wires Set up the step-down voltage transformer to go from 8v to 3v so I don’t have to bugger around with resistors. Fitted 2x overhead LEDs inside with custom 3D printed brackets, and 2x LEDs that overhang the entrance Wired all the LEDs up 3D printed some new skylight frames for the roof. Painted them with grime. (still drying, so not installed) I got the roof on. I used thin strips of sticky back velcro to keep it in place. …and finally, some shots of the finished shed. This was a fun build to do, I’m very happy with how the 3D printer performed for this model, and considering the Walthers model is $43 (33GBP) and I spent about $3.00 in plastic filament, I would say that’s a win.
OO Scale PortaKabin

The humble PortaKabin as seen across many railway yards and stations across the UK. You can buy the 3D printer file for this model by clicking here. Often a bastion of British workers’ breakrooms, with a paraffin heater and a stained Formica-topped table with several chipped mugs, an electric kettle, a huge box of tea bags, a pound bag of sugar and a dubious bottle of milk with the tinfoil cap stuck back on the top. The PortaKabin was the refuge from the cold and rain where you could get a hot brew while the rainwater puddled on the Lino-covered floor from your boots. I remember the overwhelming heat and smell of these in winter and again the overwhelming heat in summer with the little hopper windows all open not making a blind bit of difference to the temperature inside. Working from the many images on the Internet I created a simple version in Tinkercad, 4 walls, a roof, and a floor. About 30 minutes later the 3D printer churned out the parts. Into my makeshift spray booth. AKA a cardboard box, painted in a mix of sand yellow, dark earth, and grey. Here they are stacked on the Diorama awaiting the windows and doors to be fitted. After the PortaKabins sat on the Diorama for a while I decided I didn’t like the colour. I resprayed them a light grey, and then finished off the support/stacking bars in black. As you can see, after painting them, the 3D print lines are more pronounced. I will probably re-print these in resin. I 3D printed it again in resin OK, I had to do it. I sent the file to my Resin 3D printer. The difference is night and day. It’s not painted yet, but it’s been over 42C here this week (109F) and it’s just too hot to be in the garage. Latest updates… OK, I know. I can’t make my mind up. With the ones I printed on the resin printer, I painted them “beige” I still have more to do with the windows, doors, and detailing.
OO Scale Workshop – 3D Print
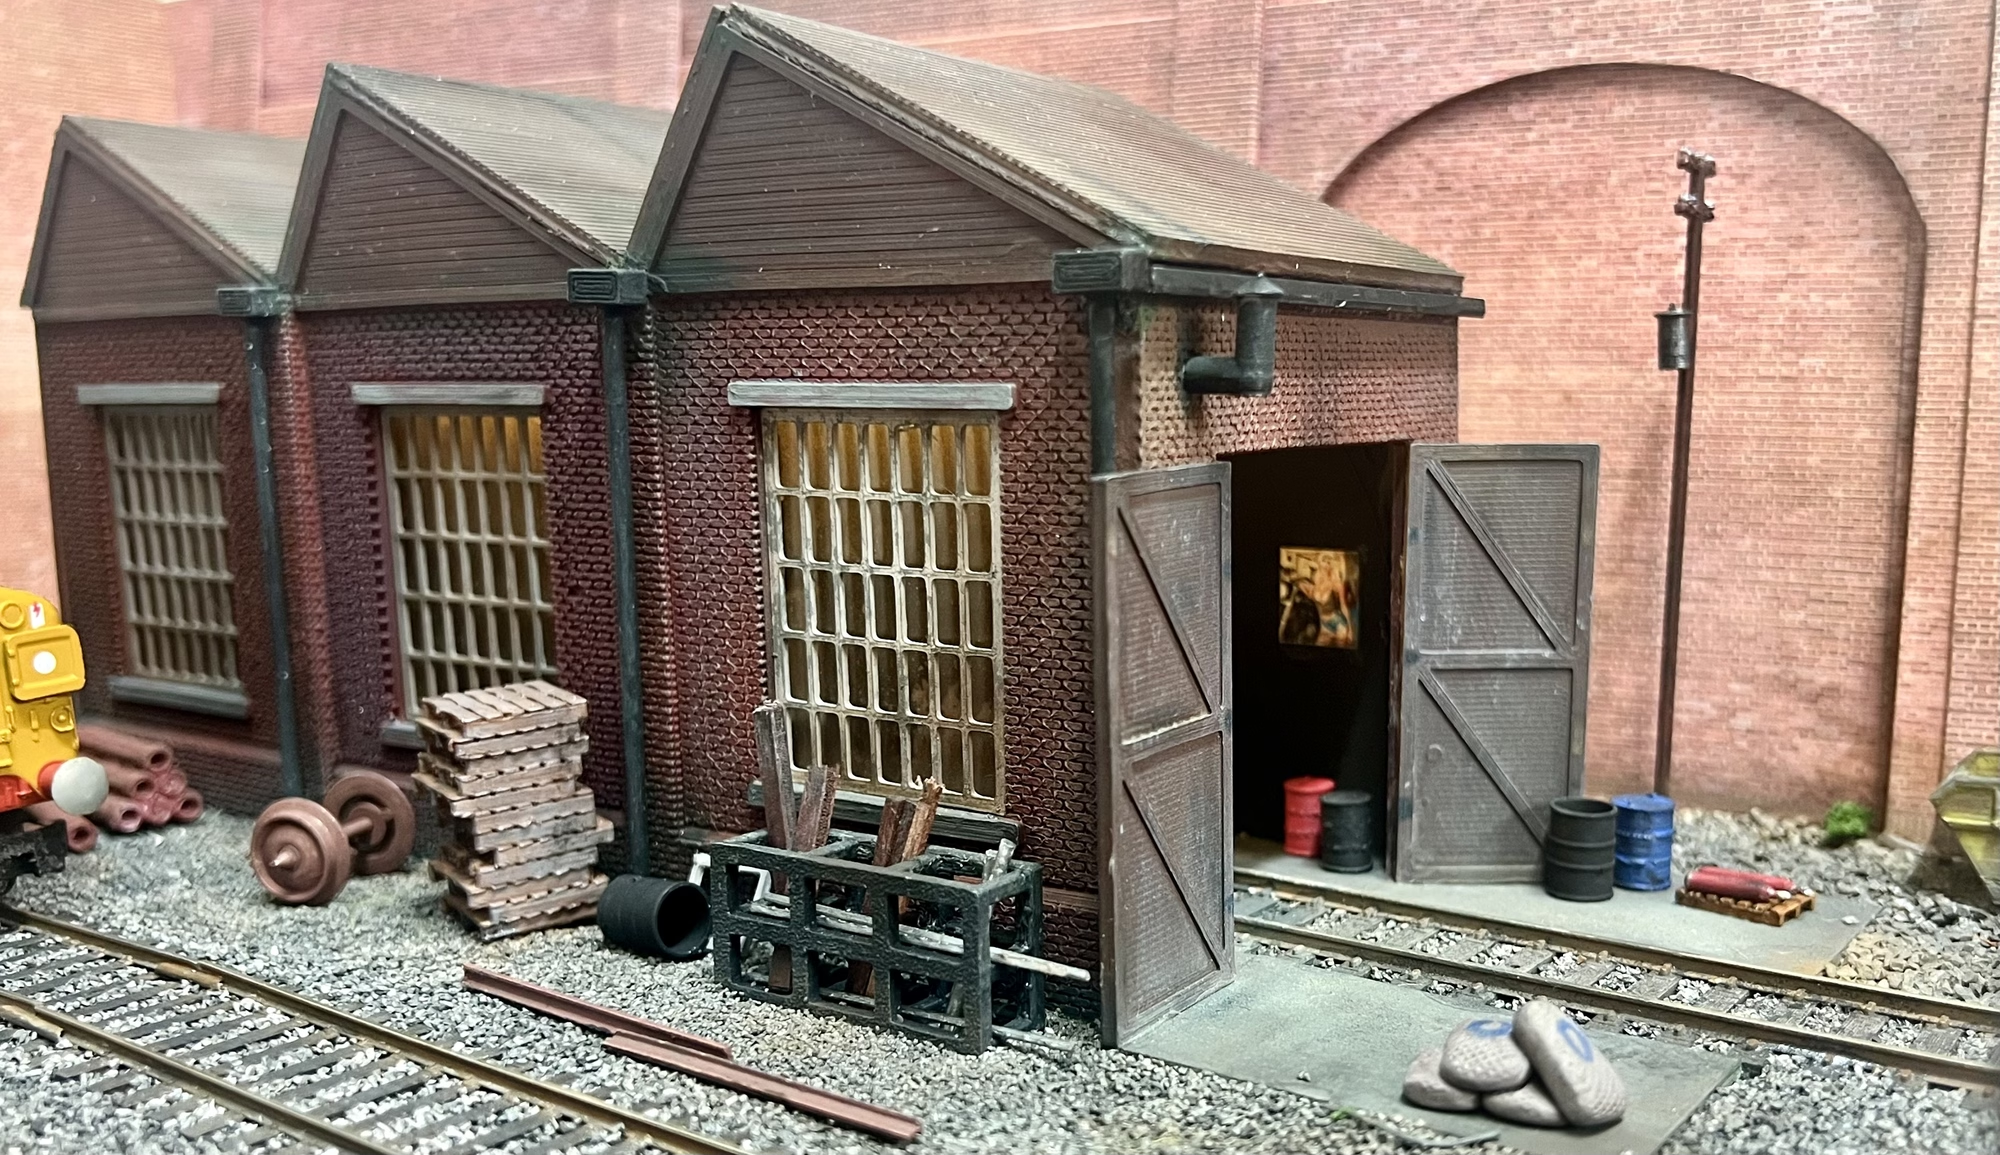
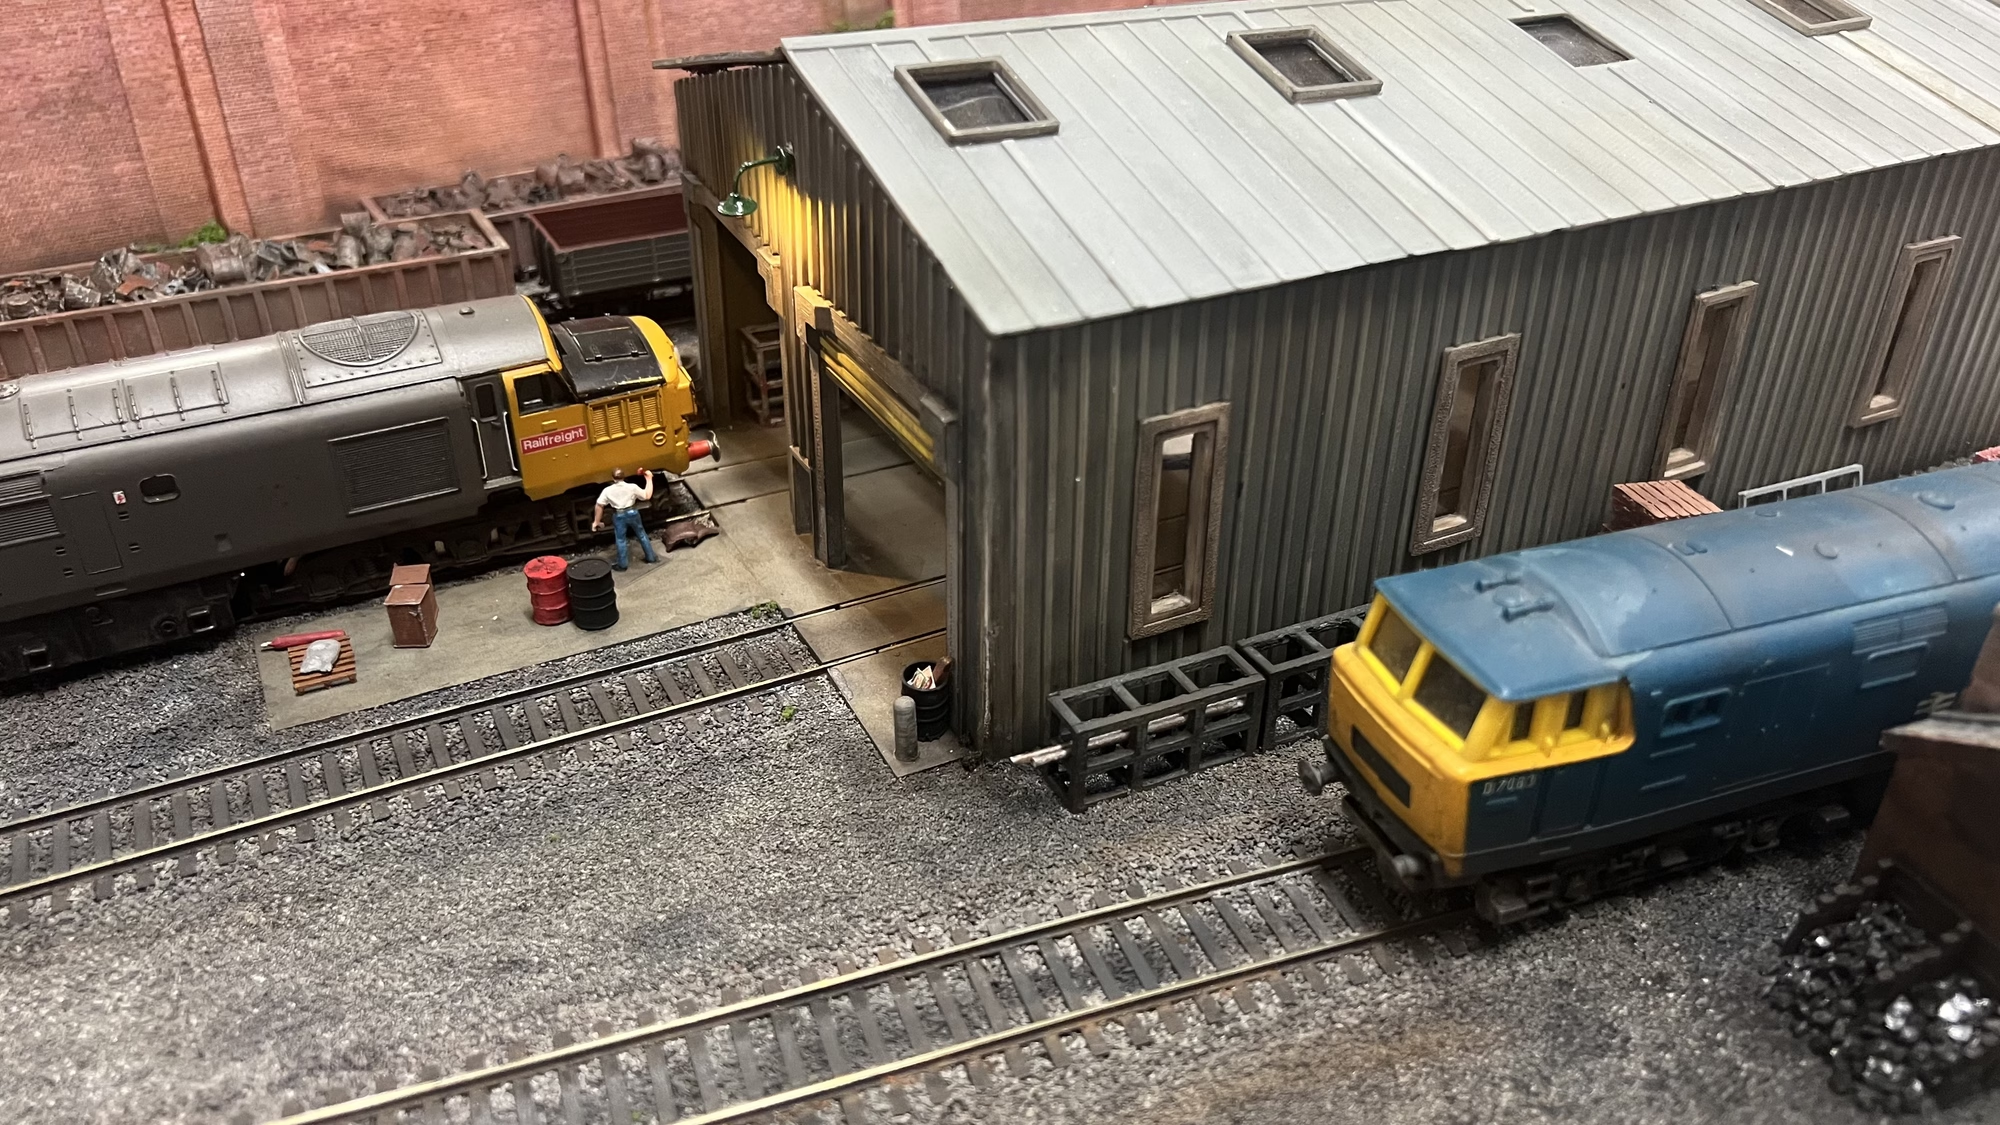
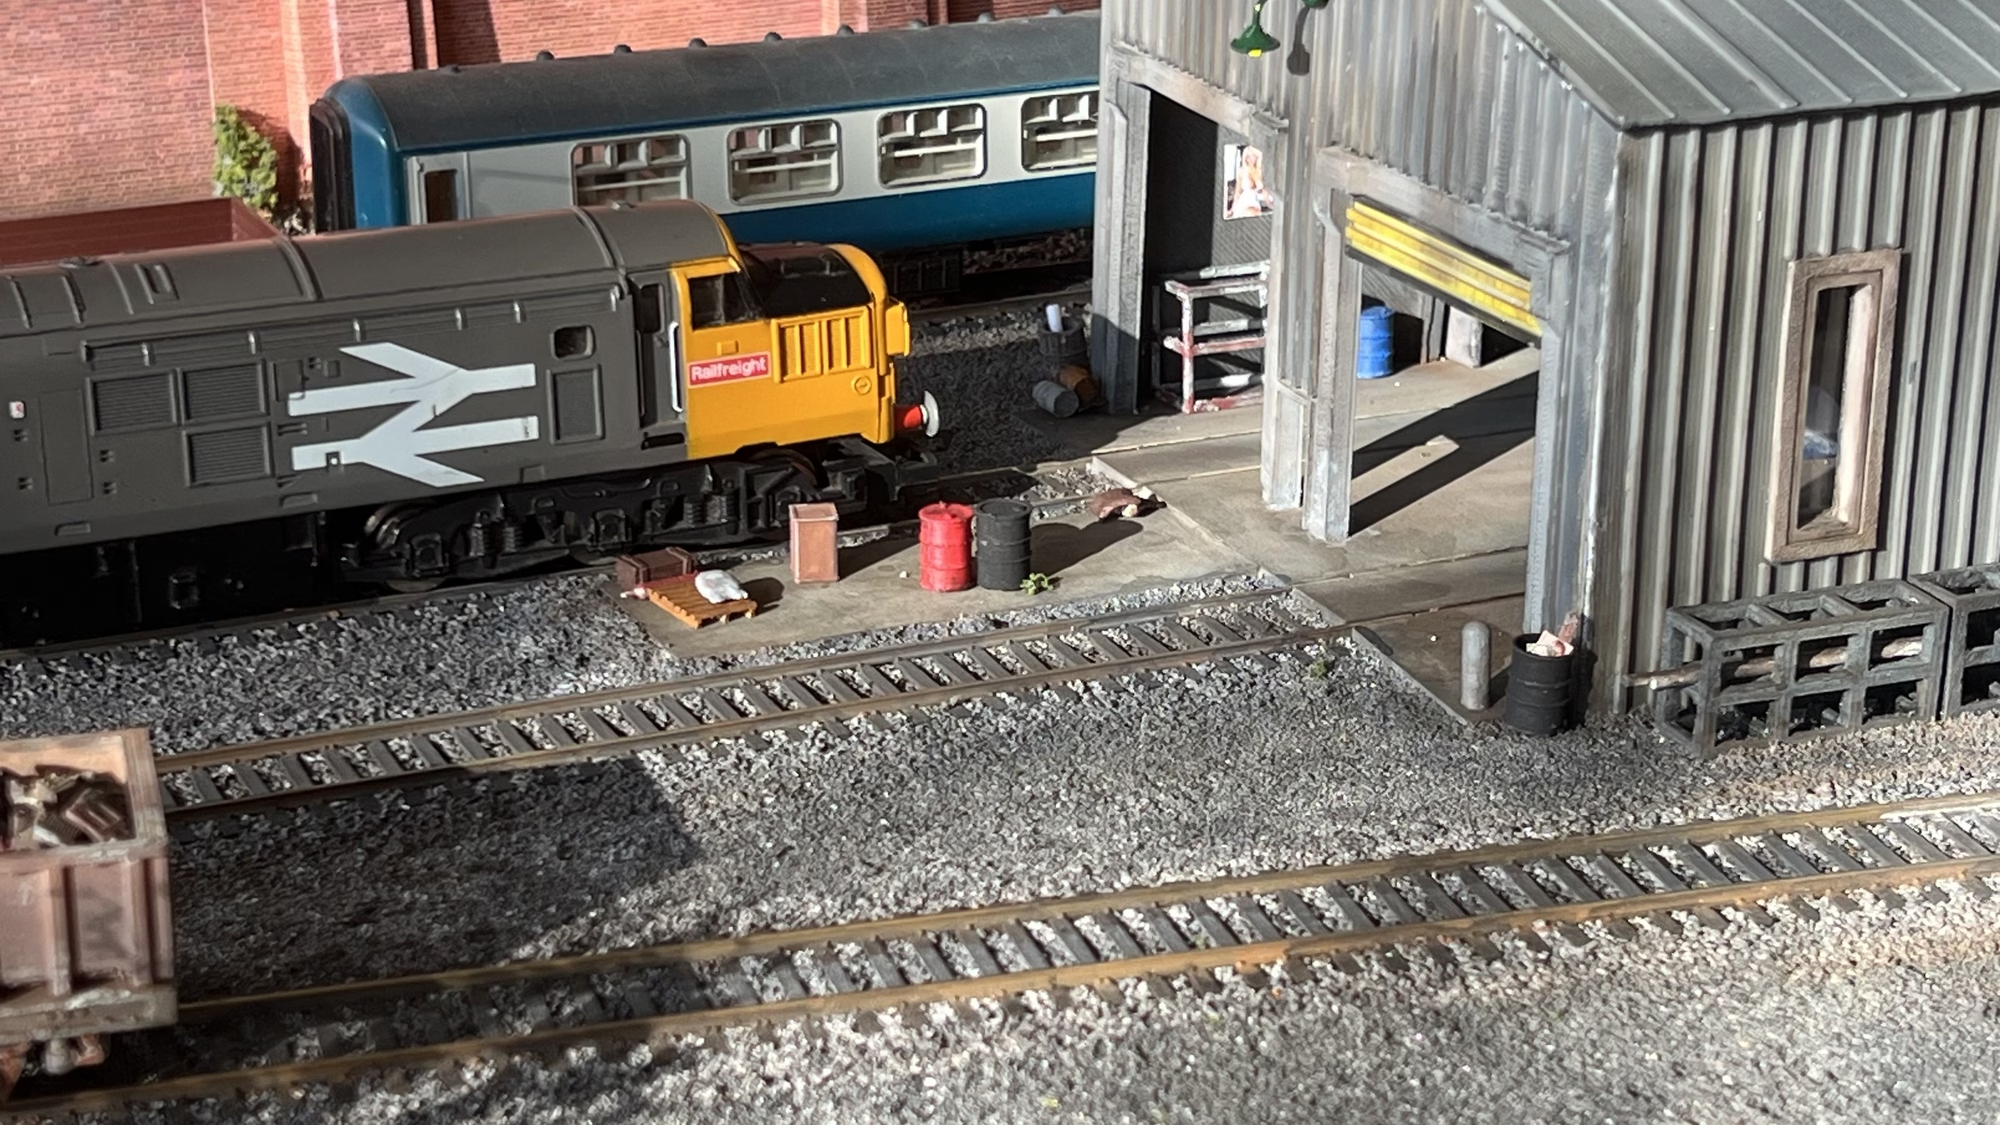
OO Scale Workshop – 3D Print I needed something to break up the expanse of brick wall on the side of the Diorama. A few weeks ago I had 3D printed a low-relief warehouse which I didn’t end up using. After a bit of faffing about with some cardboard to get the dimensions right, I came up with the idea of turning the warehouse into a OO Scale Workshop to place on the rail yard diorama. The original 3D print was only about 25mm deep. So I had to create new roof panels and the north light glazed section. I 3D printed 3 sections for the OO Scale Workshop and spray painted them brick red. I will need to tone down the colour a bit. The back wall of the workshop is not going to be visible, so instead of using up a lot of plastic filament to print the wall, I created a version of the wall in Inkscape and sent the file to the Laser Cutter which was cut out in 2mm plywood. Here it is painted grey. I painted it on this side because you will be able to see the inside through the windows. Below you can see the brick wall after I had toned the red paint down with a mix of grey and beige paint forced into the mortar joins then wiped off the brick face. Finally, I used weathering powders to create a varied look to the brickwork. Test fitting the roof sections. For the North Lights I used the Laser Cutter and for the roof section, I 3D printed. Fitting It All Together With all the walls and roof sections fitted to this OO Scale Workshop, it was time to install the glazing. This was glued on the inside of the windows using scraps of clear plastic taken from packaging containers. In the next set of pictures, you can see the workshop is nearly complete. After filling the gaps and repainting where needed, I used the airbrush to apply Vallejo grime wash. The workshop is now glued to the base board, the next thing is to scatter with Woodland Scenics ballast. OK, that’s done, when it’s dry I will make it dirty like the rest of the yard. …and before I glued the workshop in place, I added a couple of LEDs. You can see in these pictures I’ve started to dirty the ballast around the OO Scale Workshop. I now need to work on the rain gutters, downpipes and making the doors look a bit more realistic. Update on the Workshop. I think I’m nearly finished with this. I added the rain gutters, painted the window lintels and used a little more weathering powders to tone it down. The bits and bobs, details items and general crap bring it to life. The oil drums, water pipes, telegraph poles and the racking are all my own 3D print design. If you’re interested, you can obtain them here. Everything you see on this workshop model was 3D printed. I’m really happy with how this came out. Here are a few more pictures.
OO Scale Rolling Stock / Coach Washing Station

What self-respecting rail yard would be complete without somewhere to wash the rolling stock? Whether it’s coaches, wagons, diesel locomotives or DMUs, This OO Scale “Coach Washing Plant” would be similar to what would be seen in Motive Power Depots or maintenance depots around the UK. Armed with pictures from the Internet and a desire not to spend £53 GBP/$68 USD on the Bachmann version, I fired up my favourite 3D imaging program on the PC. Tinkercad. Yes, I know it’s basic, but it really does what I need for now. At the time of printing this, it was the biggest/tallest thing I had printed and I was worried about lateral shift. I made sure to re-level the print bed before starting, and after about 3 hours I was very happy with the results. The sub-floor section was printed separately, I took the visual cues from the Bachmann model. The model was airbrushed in a variety of greys and weathered with grime. I then added the water pipes… …and installed the separately printed top section that houses the brush spindles and the water pipes. This was a really easy 3D Print. All I have to do now is install the “brushes” I made them from cut up pieces of “J-Cloth” Google that one my US friends.
Diorama Update 2 – Maintenance Depot

In this update I add a new siding and ballast the track on the OO Scale Maintenance Depot Diorama. High resolution photos document the progress
Diorama Update 1 – Maintenance Depot
OO Scale Diorama This is an ongoing build with updates posted as and when. Scroll down for the latest updates or you can “Jump” to the update sections by clicking on the buttons below. Before we get started, I want to say this Diorama is not meant to be based on a real place, or even remotely accurate in its content, layout and realism. It’s more about me revisiting techniques and learning new things about a hobby I hadn’t touched for 12 years. It’s also me buggering about with my 3D printer. Hopefully that “sets the stage” a bit. I wanted a way for me to enjoy looking at my locos and rolling stock. While I’m still deciding on where to build Trenton, I decided to make a 4×3 ft diorama. March 1, 2024 This should be interesting, I literally haven’t used any of these skills for 12 years. I had some track lying around so that was the start. I wanted the diorama to edge more towards realistic colours with dirt and grime. I glued the track to the board with white PVA glue then I got my airbrush out, I was happy to see it was still working OK after sitting in a box for 10 years. That thing certainly makes quick work of painting the track. ….and then I set about ballasting. I had forgotten how boring that is to do. I need to go over the rails with some rust colours. Now the ballasting is out of the way, what to do next? I’m still not sure what buildings will be on this diorama, but I know I do want a high brick retaining wall in the background. I always liked the Diorama that John Wiffen at ScaleScenes built. Image Credit – John Wiffen -ScaleScenes With John’s diorama in mind, I used foam/card sandwich board, it’s very rigid, lightweight, and easy to cut. I’m pretty sure the ScaleScenes papers will be being used again. Above you can see the back wall cut to size. I’m going to cut a tunnel opening and use the Laser Cutter to create the tunnel portal. That way I can obtain a perfect opening shape rather than my ham-fisted attempts with a blade. The photo above shows the perspective that the Diorama will have. That Deltic is from my childhood. I remember getting it for my birthday in 1977. It still runs. As we all know, a retaining wall is usually sloped with buttresses, I didn’t want to just cover the 4ft of foam board with ScaleScenes brick paper, I wanted to give some depth and variation so after an hour or so using the Inkscape program, I created the shapes I wanted for the arches. I sent the file to the Laser Cutter and within a few minutes, I had 6 perfectly cut sets of arches. I bloody love that machine. I also created the sloping supports in Inkscape and cut those out too. You can see in the photo above where I’ve hot-glued the supports in place on one of the arches. Now I need to wrap the arches in more ScaleScenes paper. It took 6 sheets to cover the foam board wall, and due to the nature of the cutting and pattern alignment needed, I’m going to need another 12 sheets to wrap the arches. Good job I printed out 30 sheets last time on my office colour laser printer. Thanks for checking in, more updates to come.