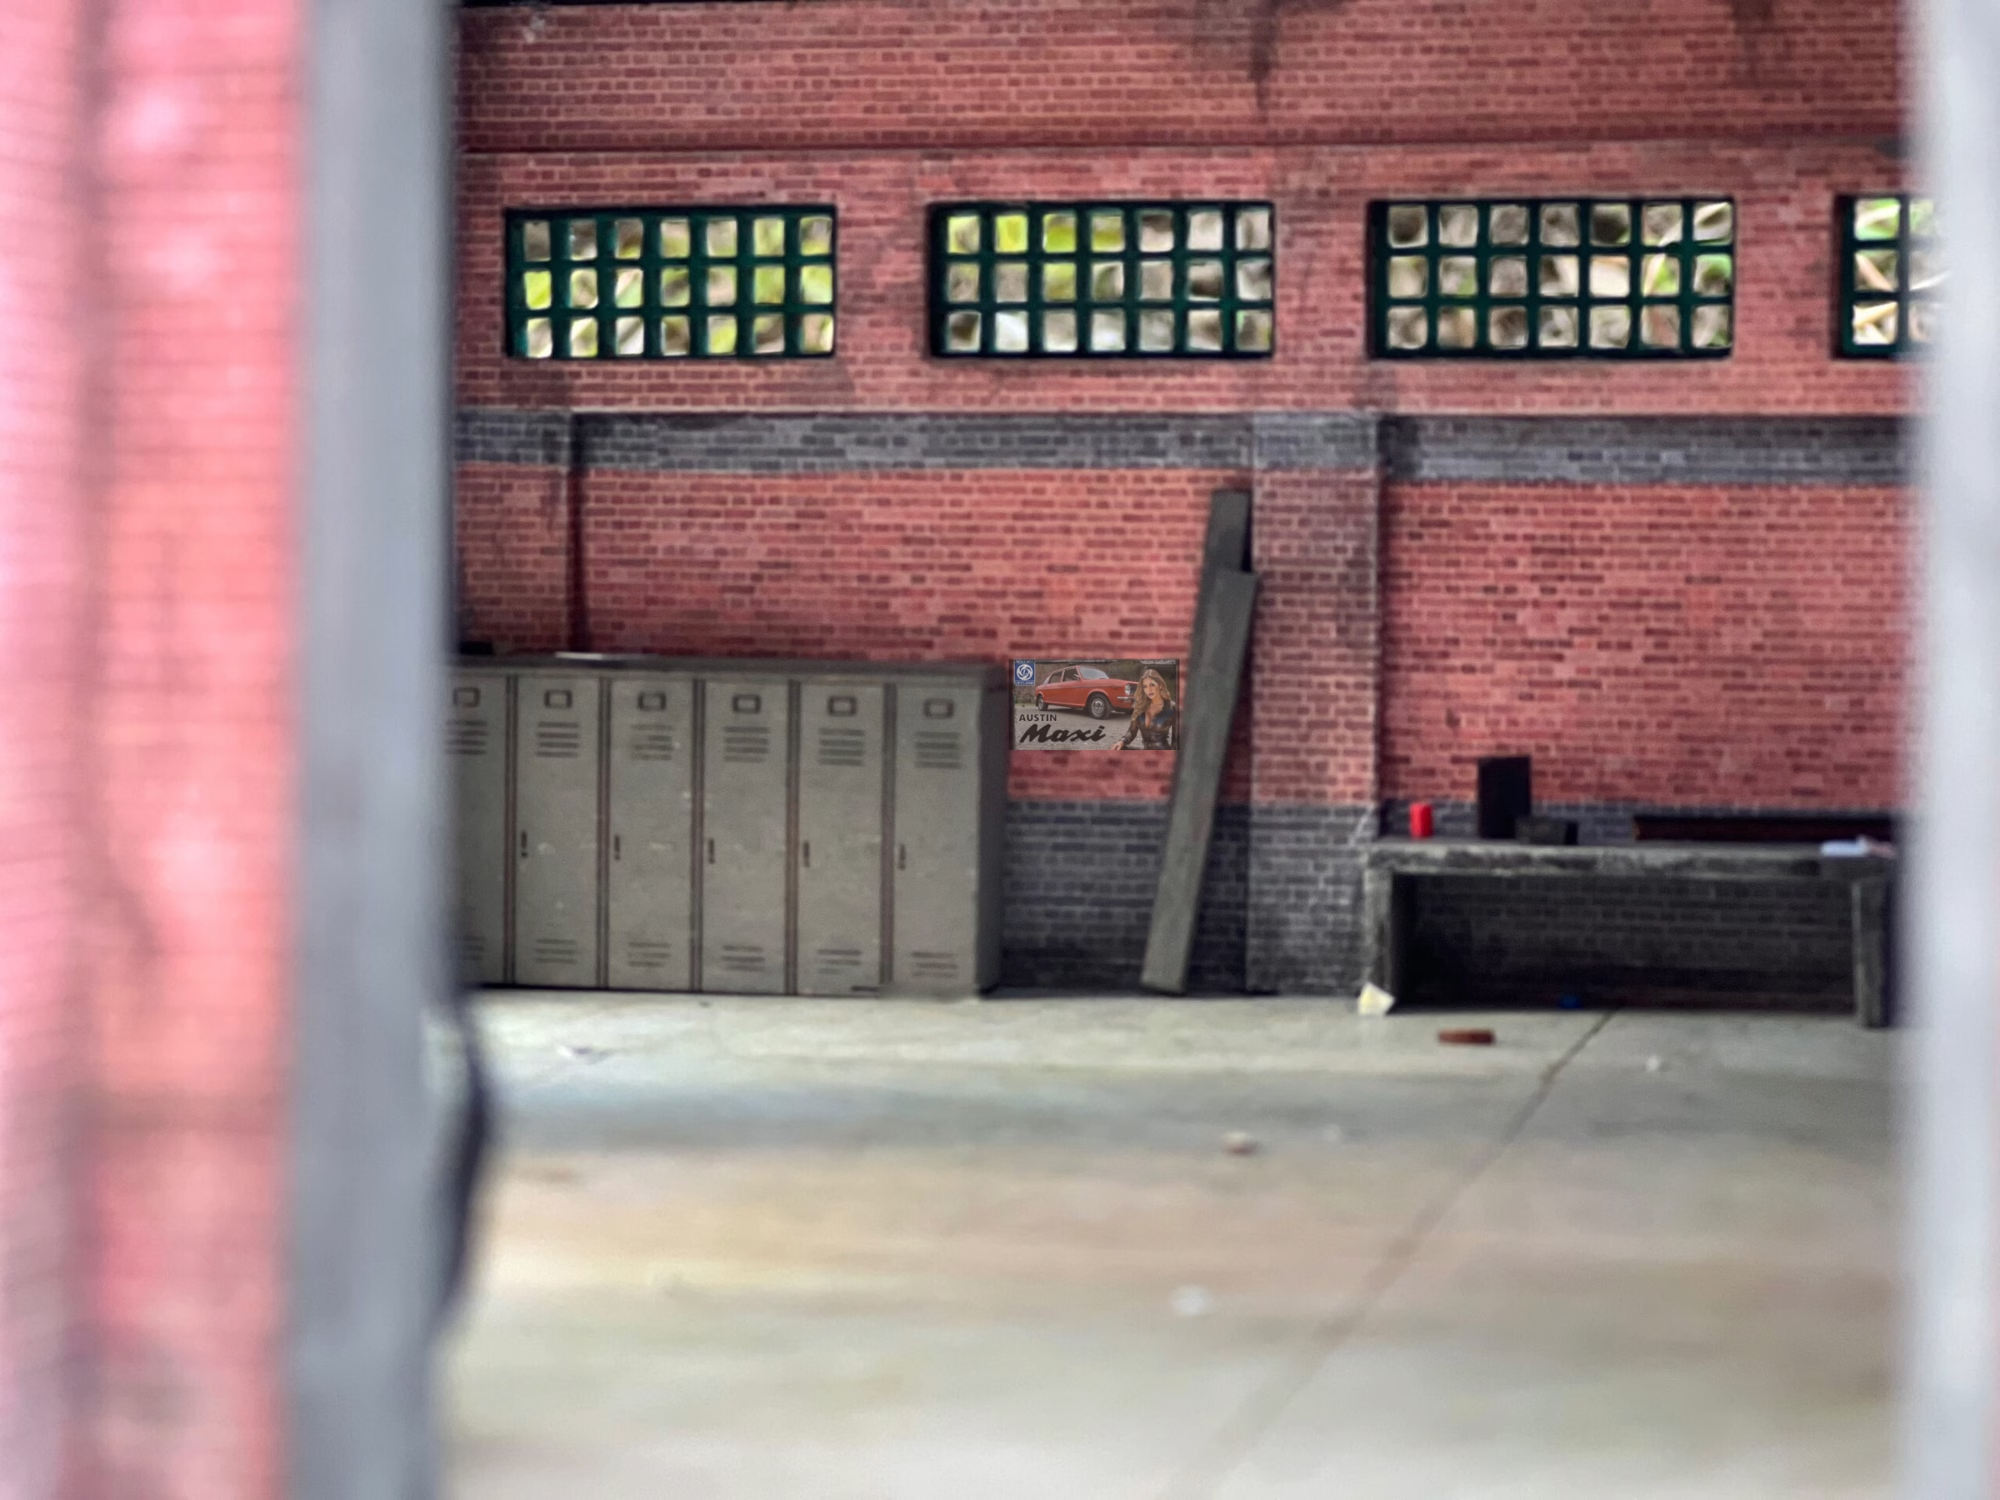
OO Scale Workshop - 3D Print
I needed something to break up the expanse of brick wall on the side of the Diorama. A few weeks ago I had 3D printed a low-relief warehouse which I didn’t end up using.
After a bit of faffing about with some cardboard to get the dimensions right, I came up with the idea of turning the warehouse into a OO Scale Workshop to place on the rail yard diorama.
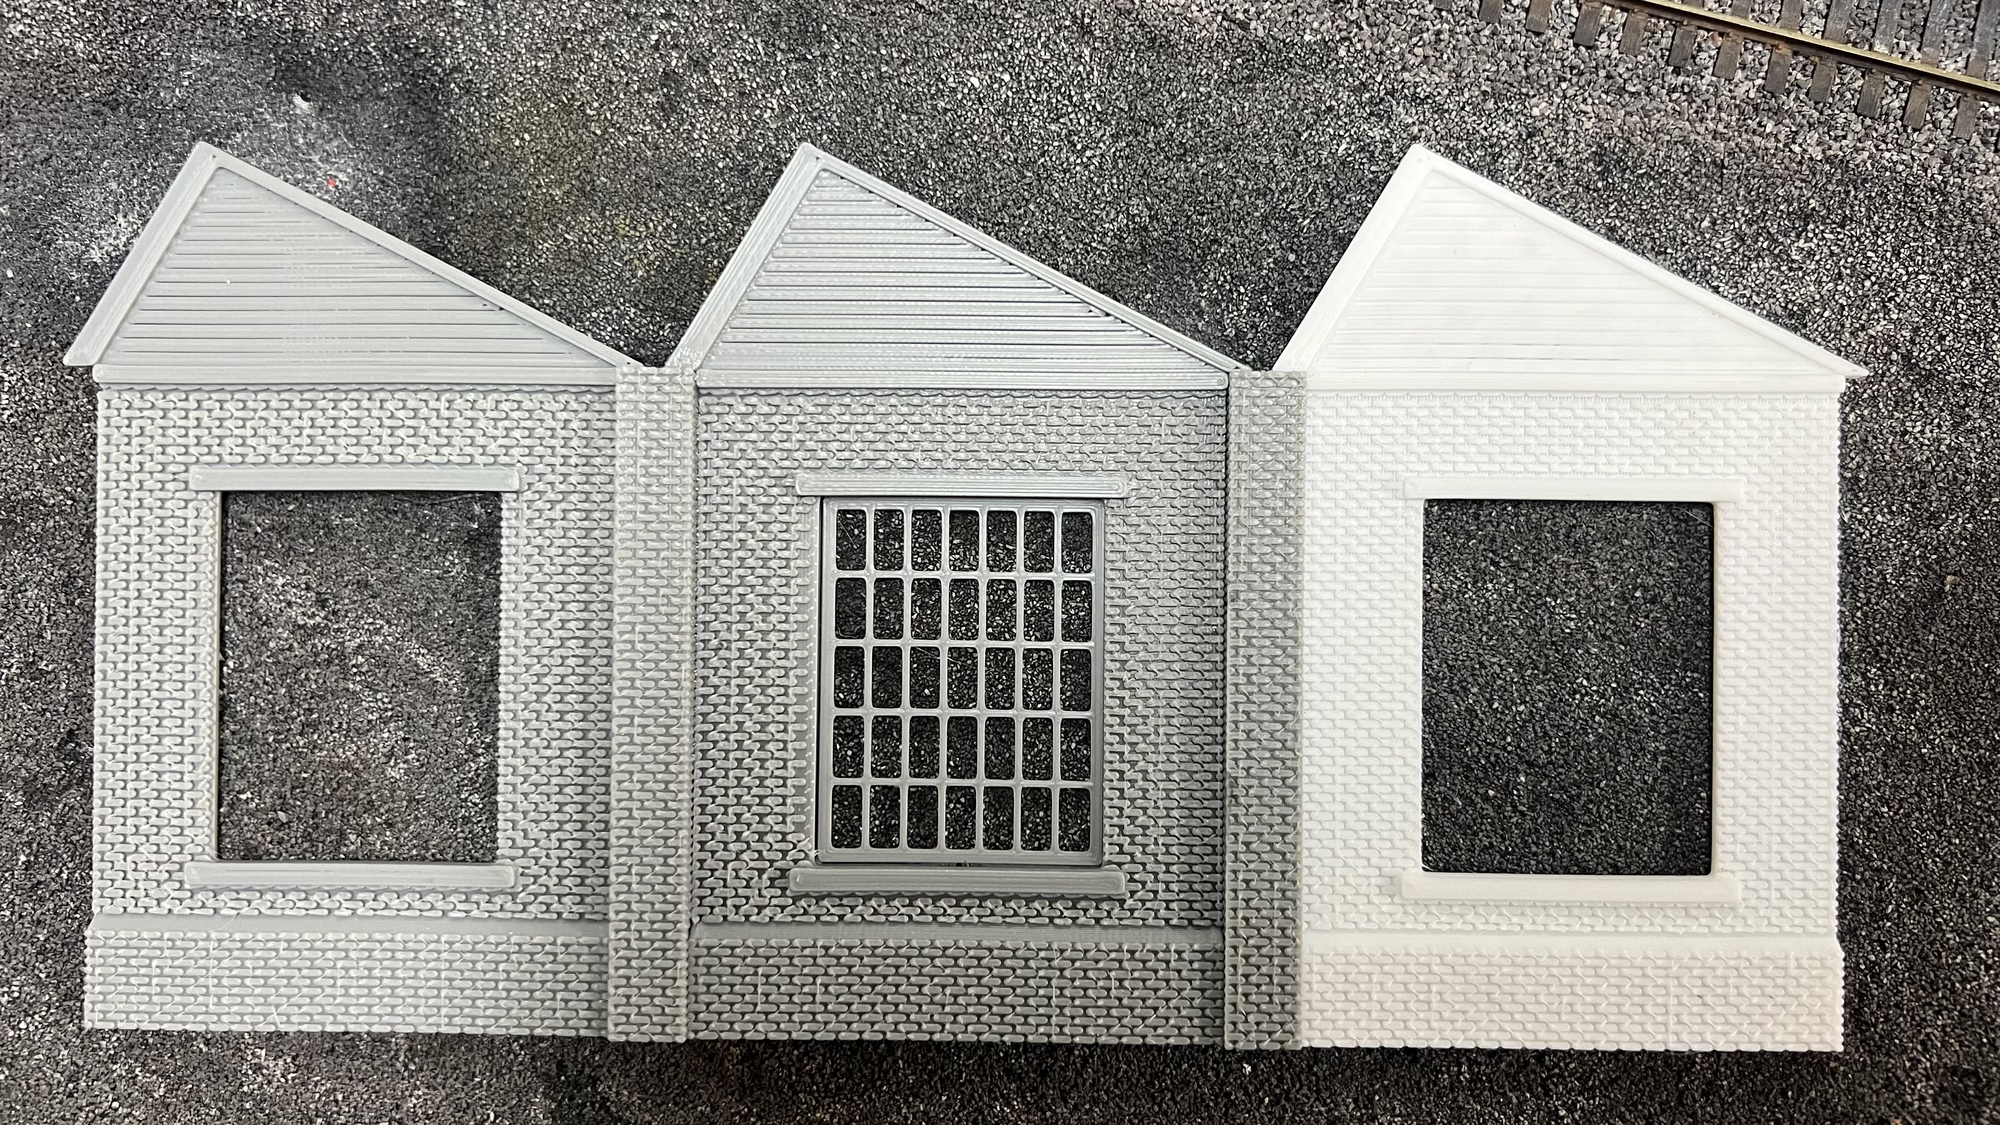
The original 3D print was only about 25mm deep.
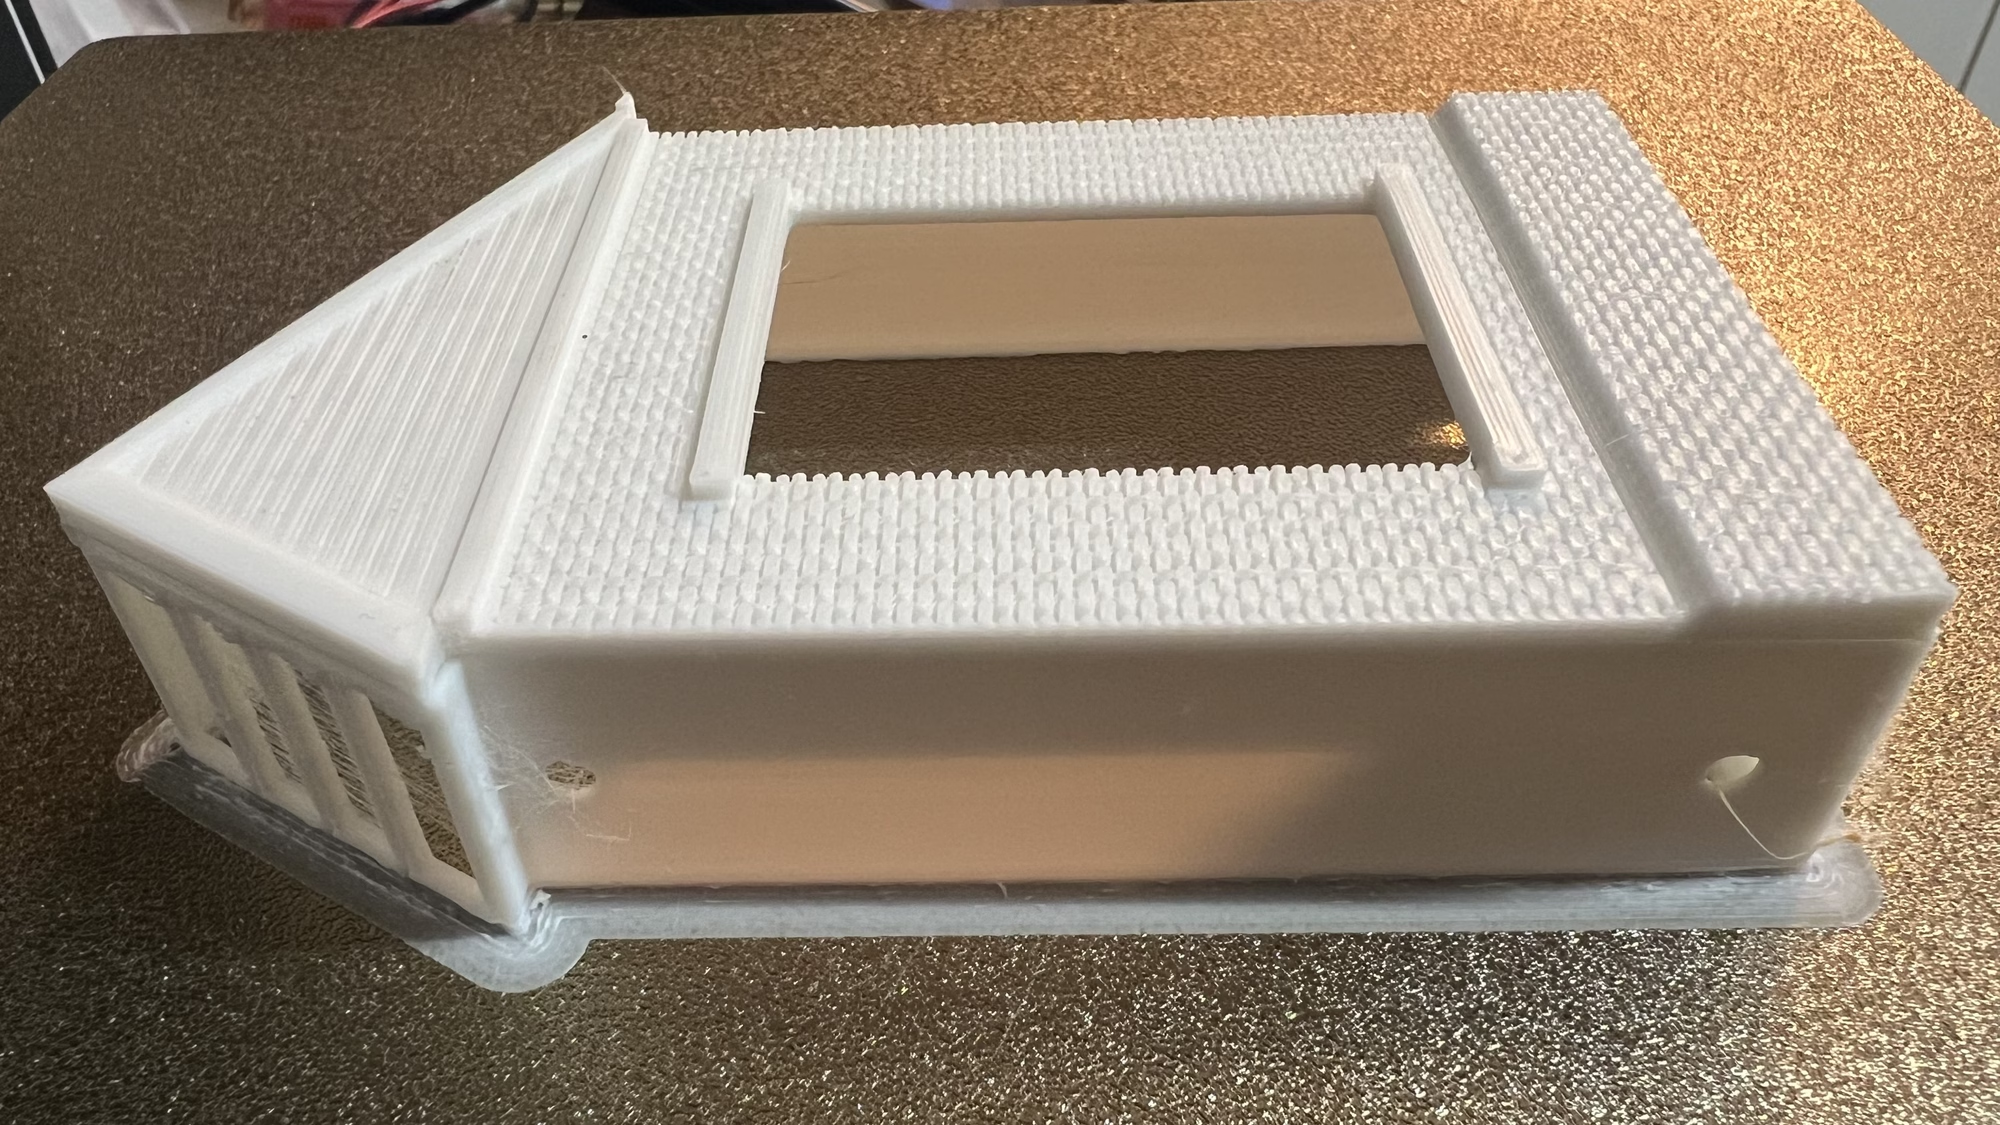
So I had to create new roof panels and the north light glazed section.
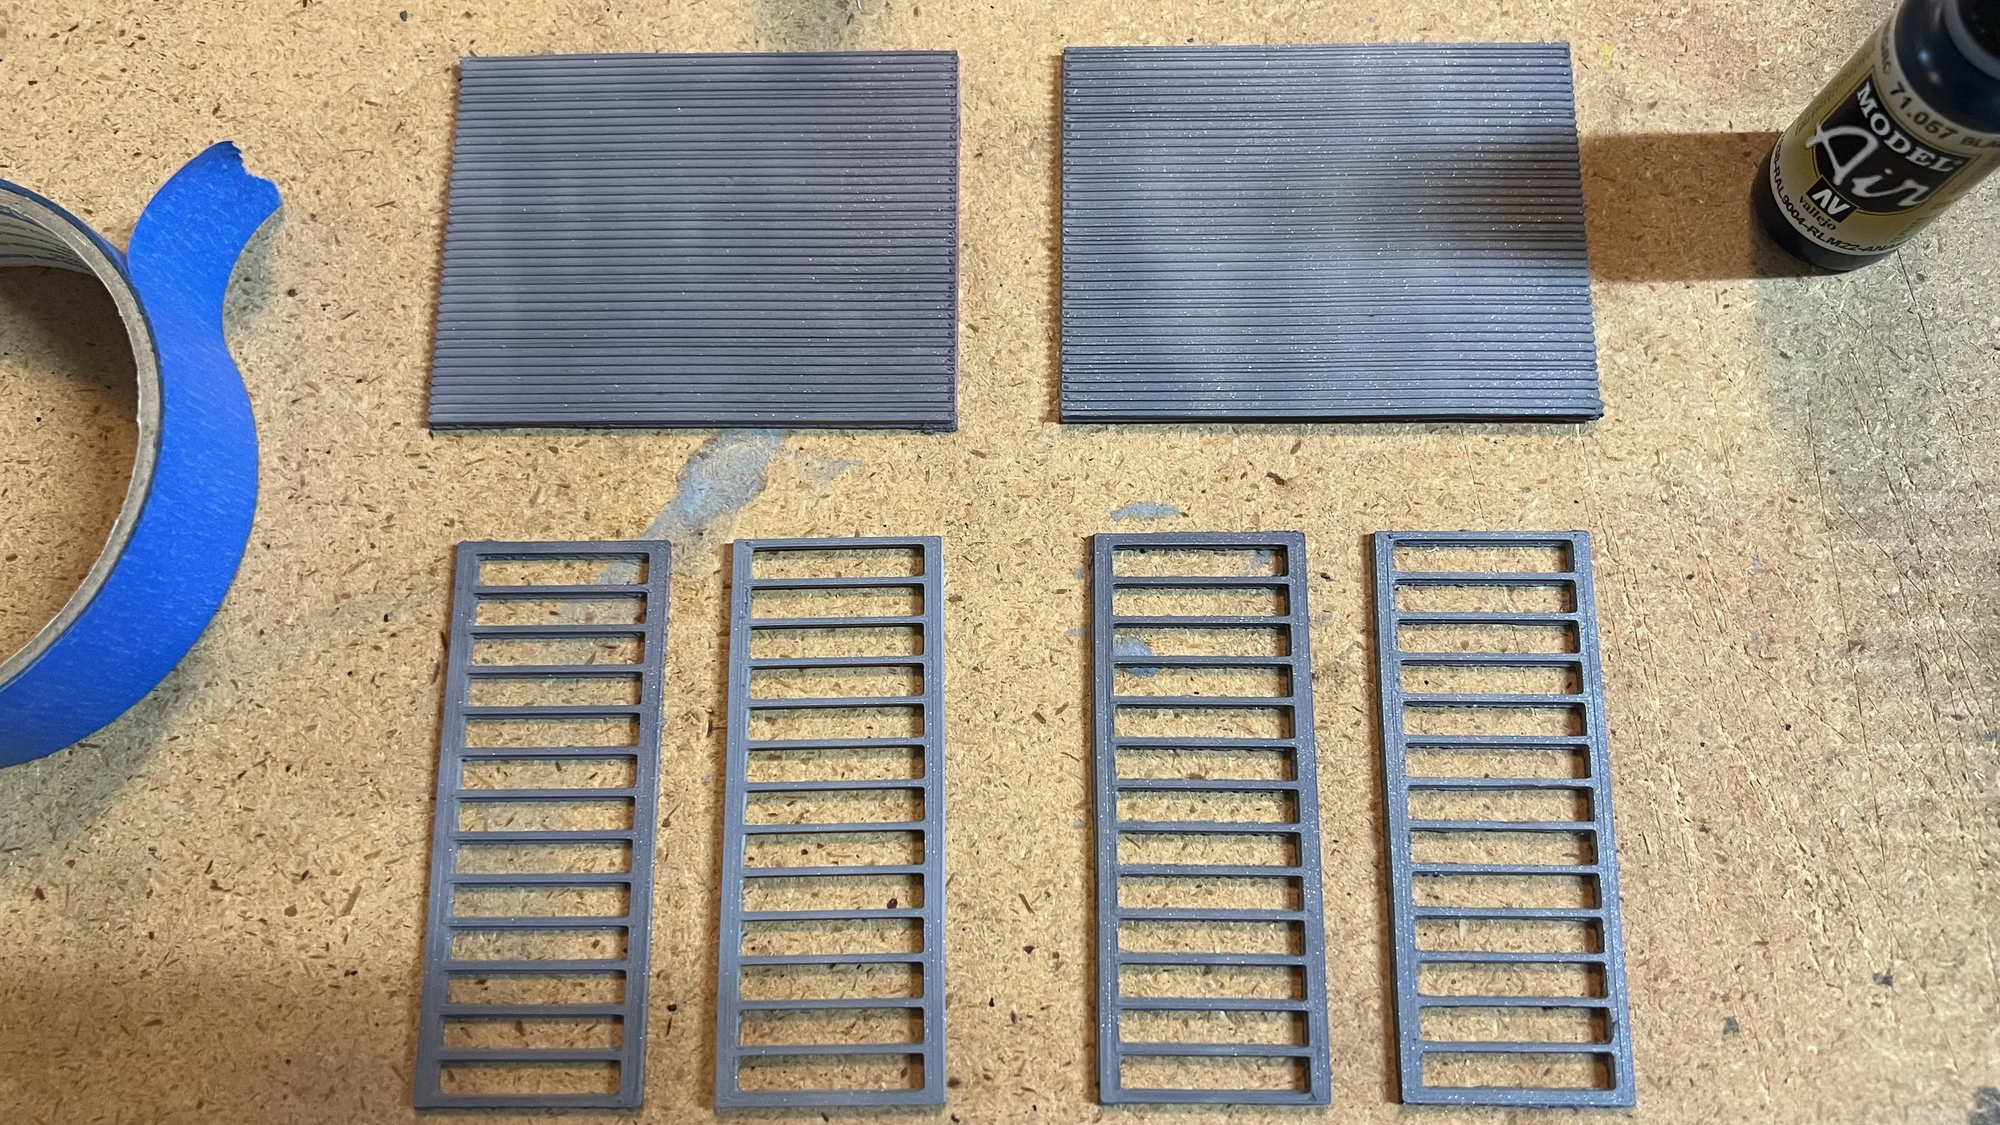
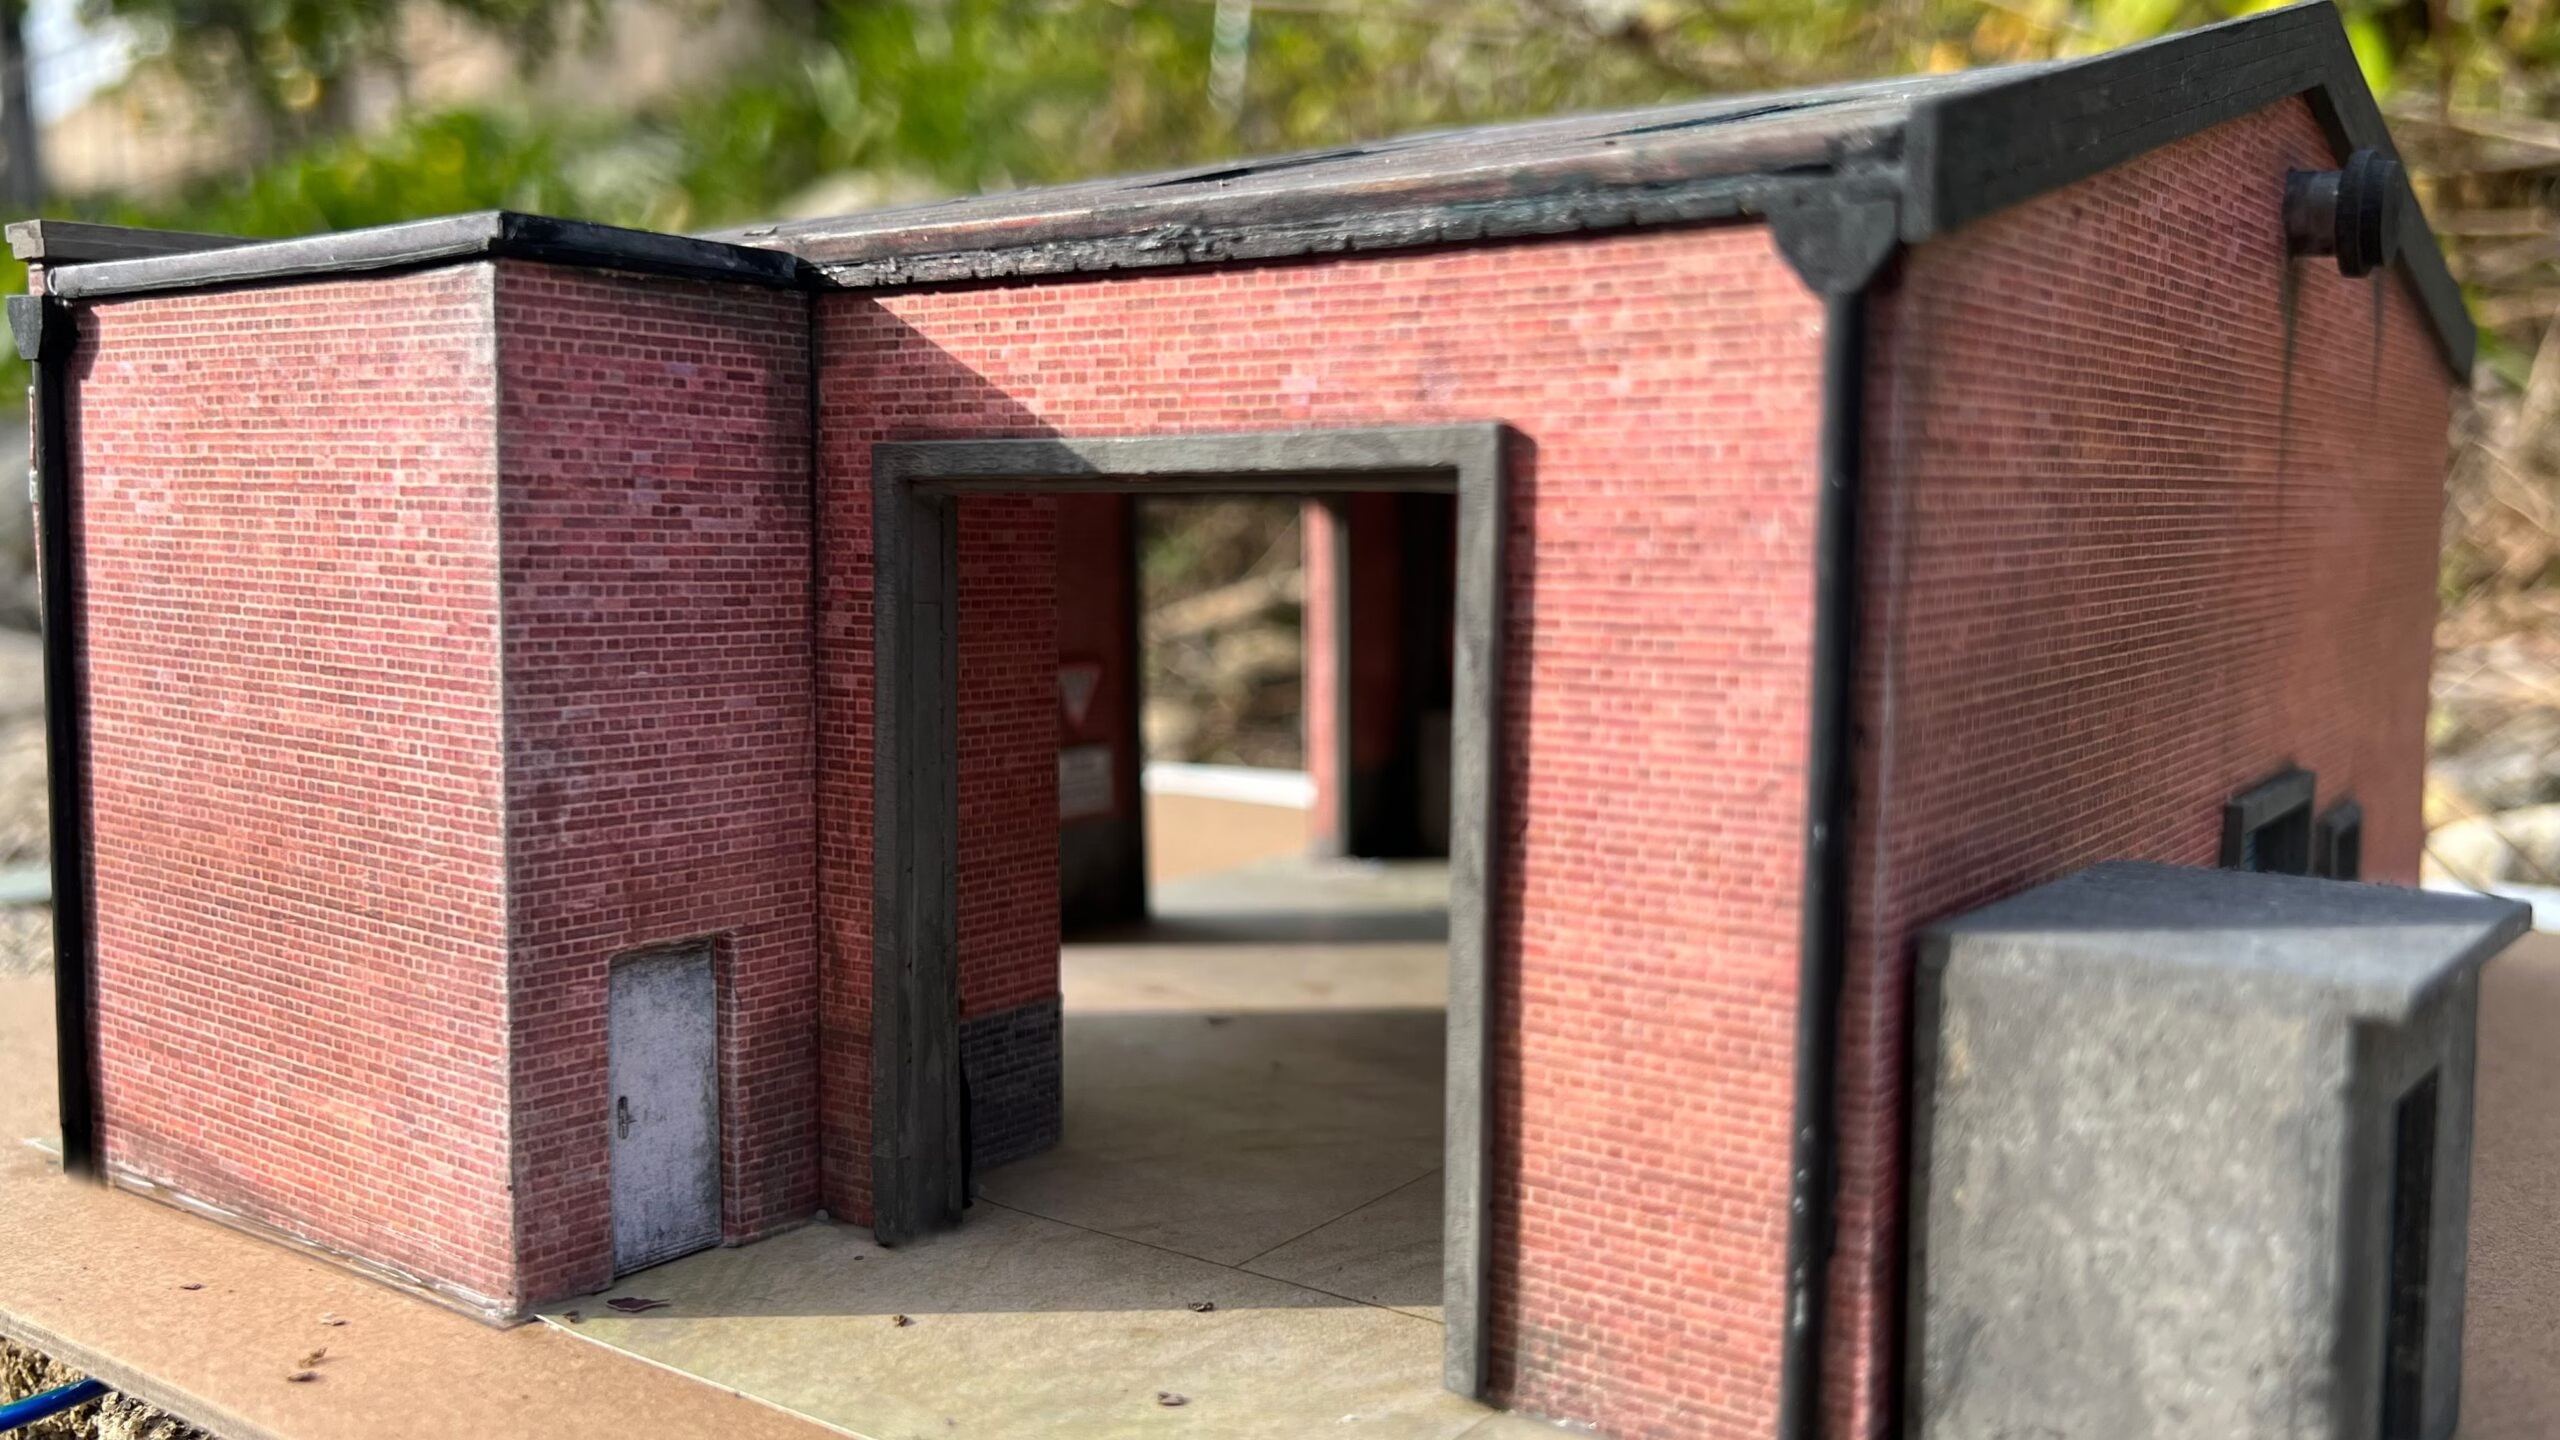
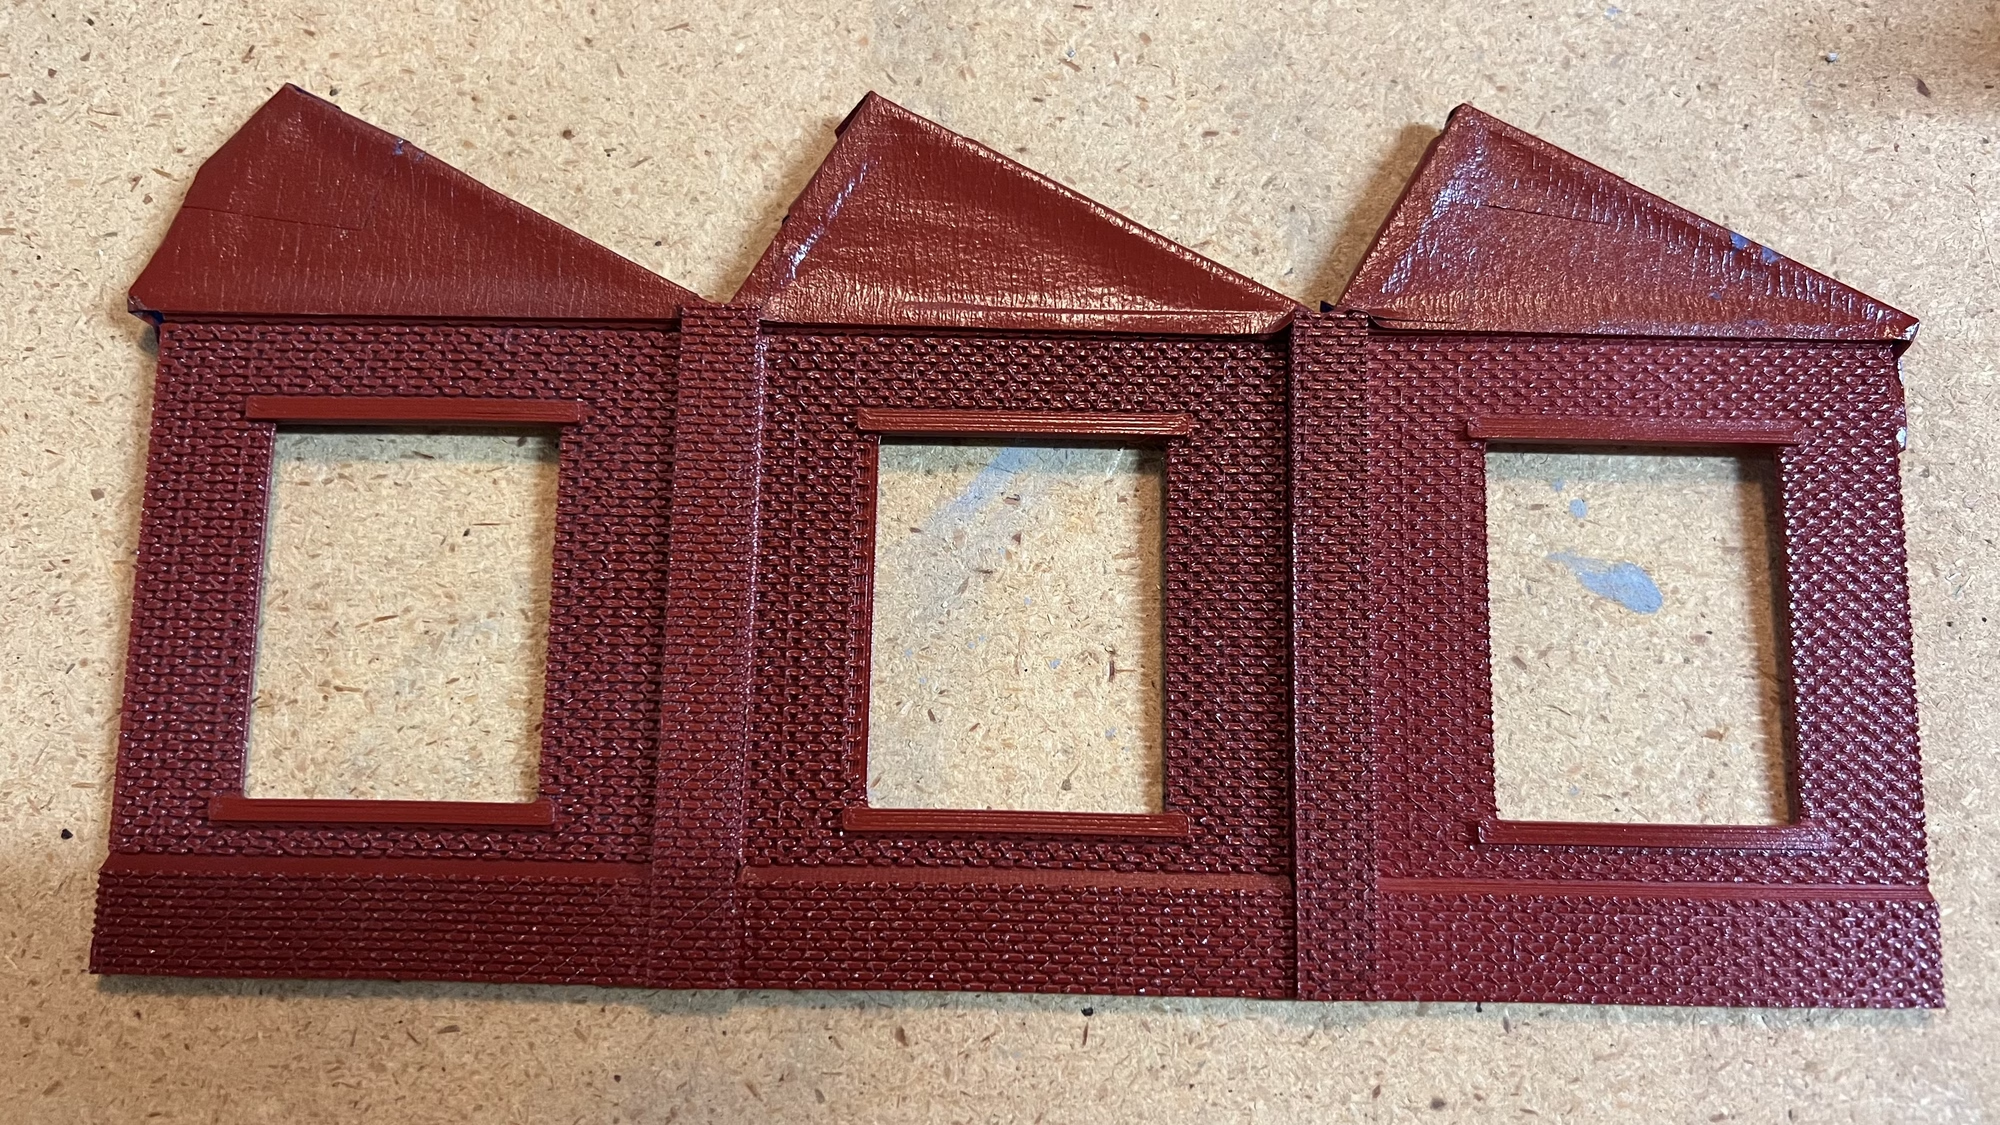
I 3D printed 3 sections for the OO Scale Workshop and spray painted them brick red. I will need to tone down the colour a bit.
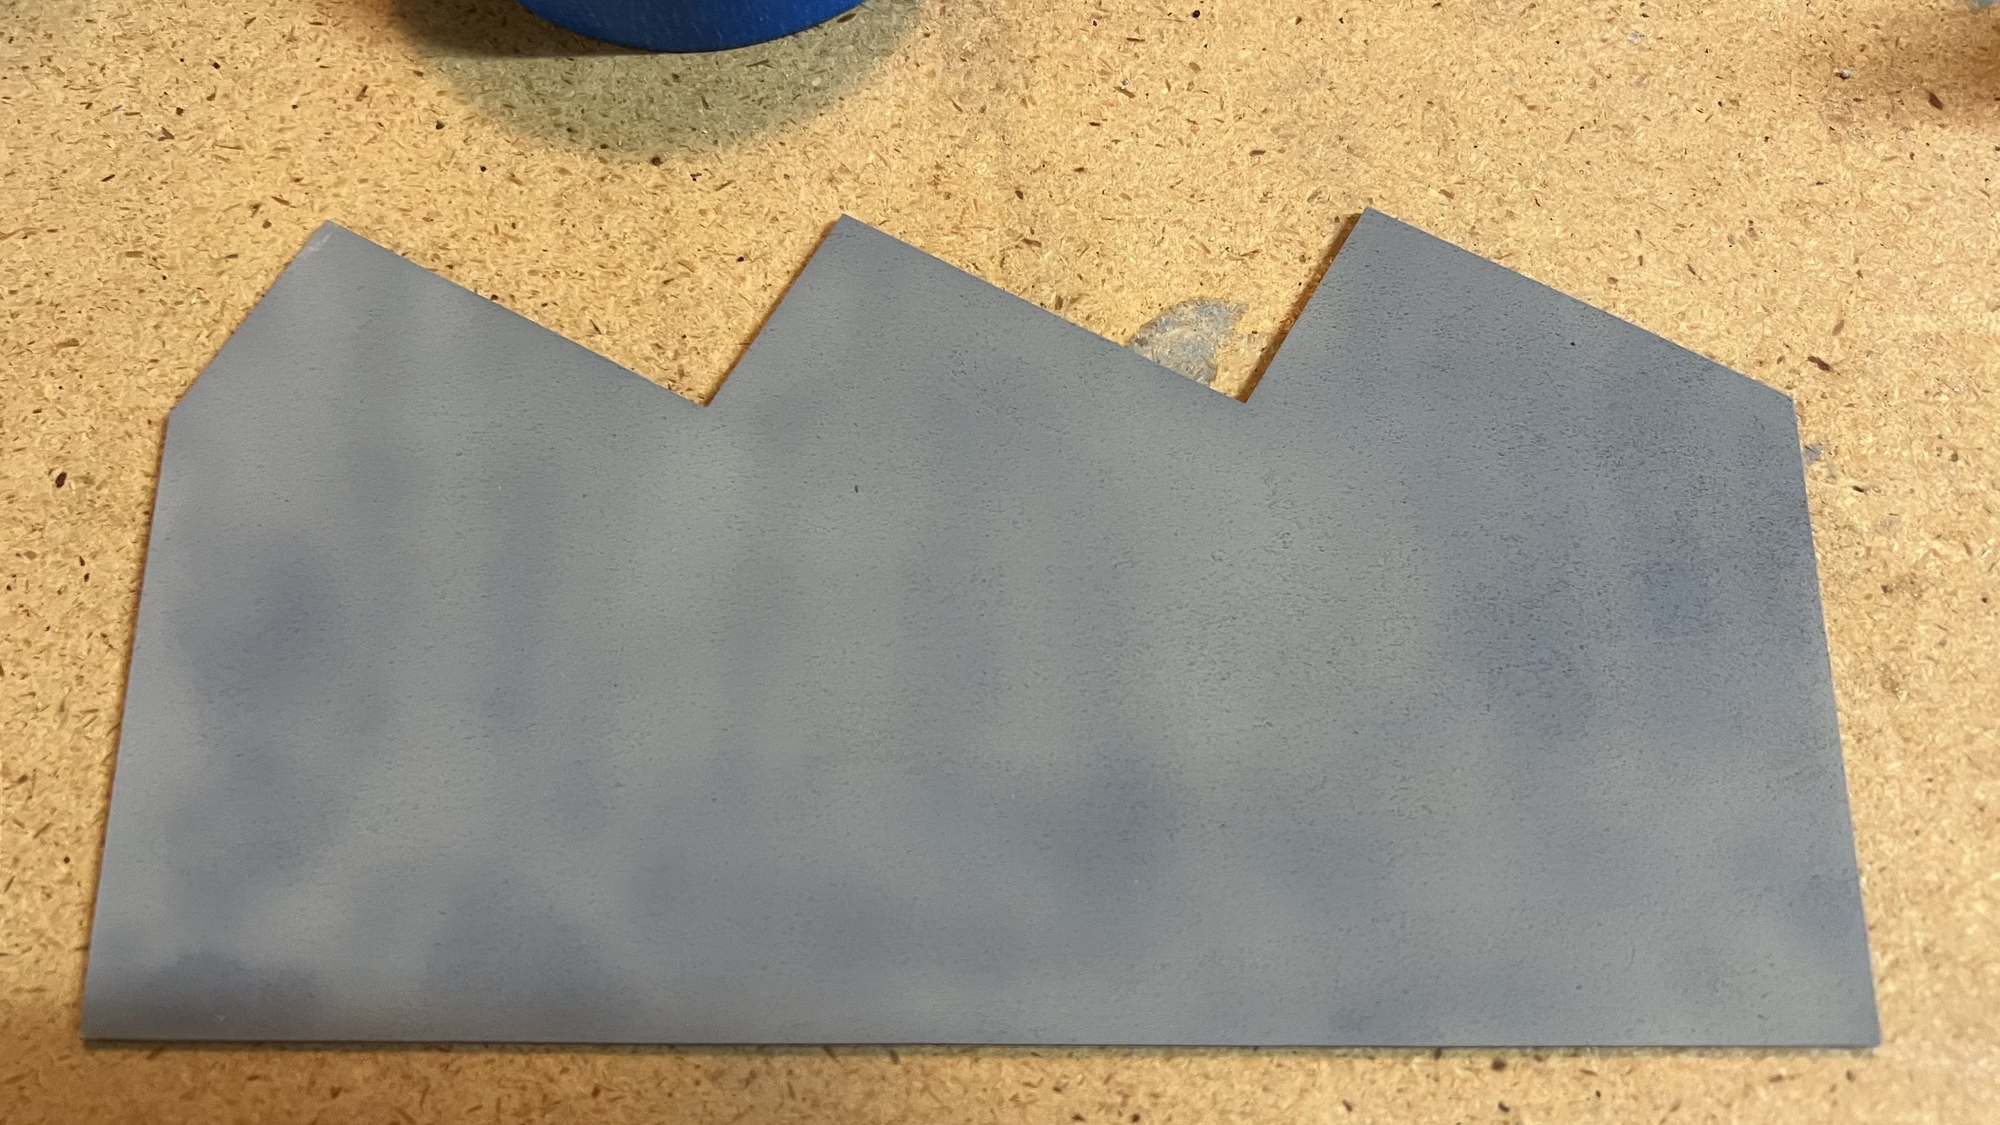
The back wall of the workshop is not going to be visible, so instead of using up a lot of plastic filament to print the wall, I created a version of the wall in Inkscape and sent the file to the Laser Cutter which was cut out in 2mm plywood.
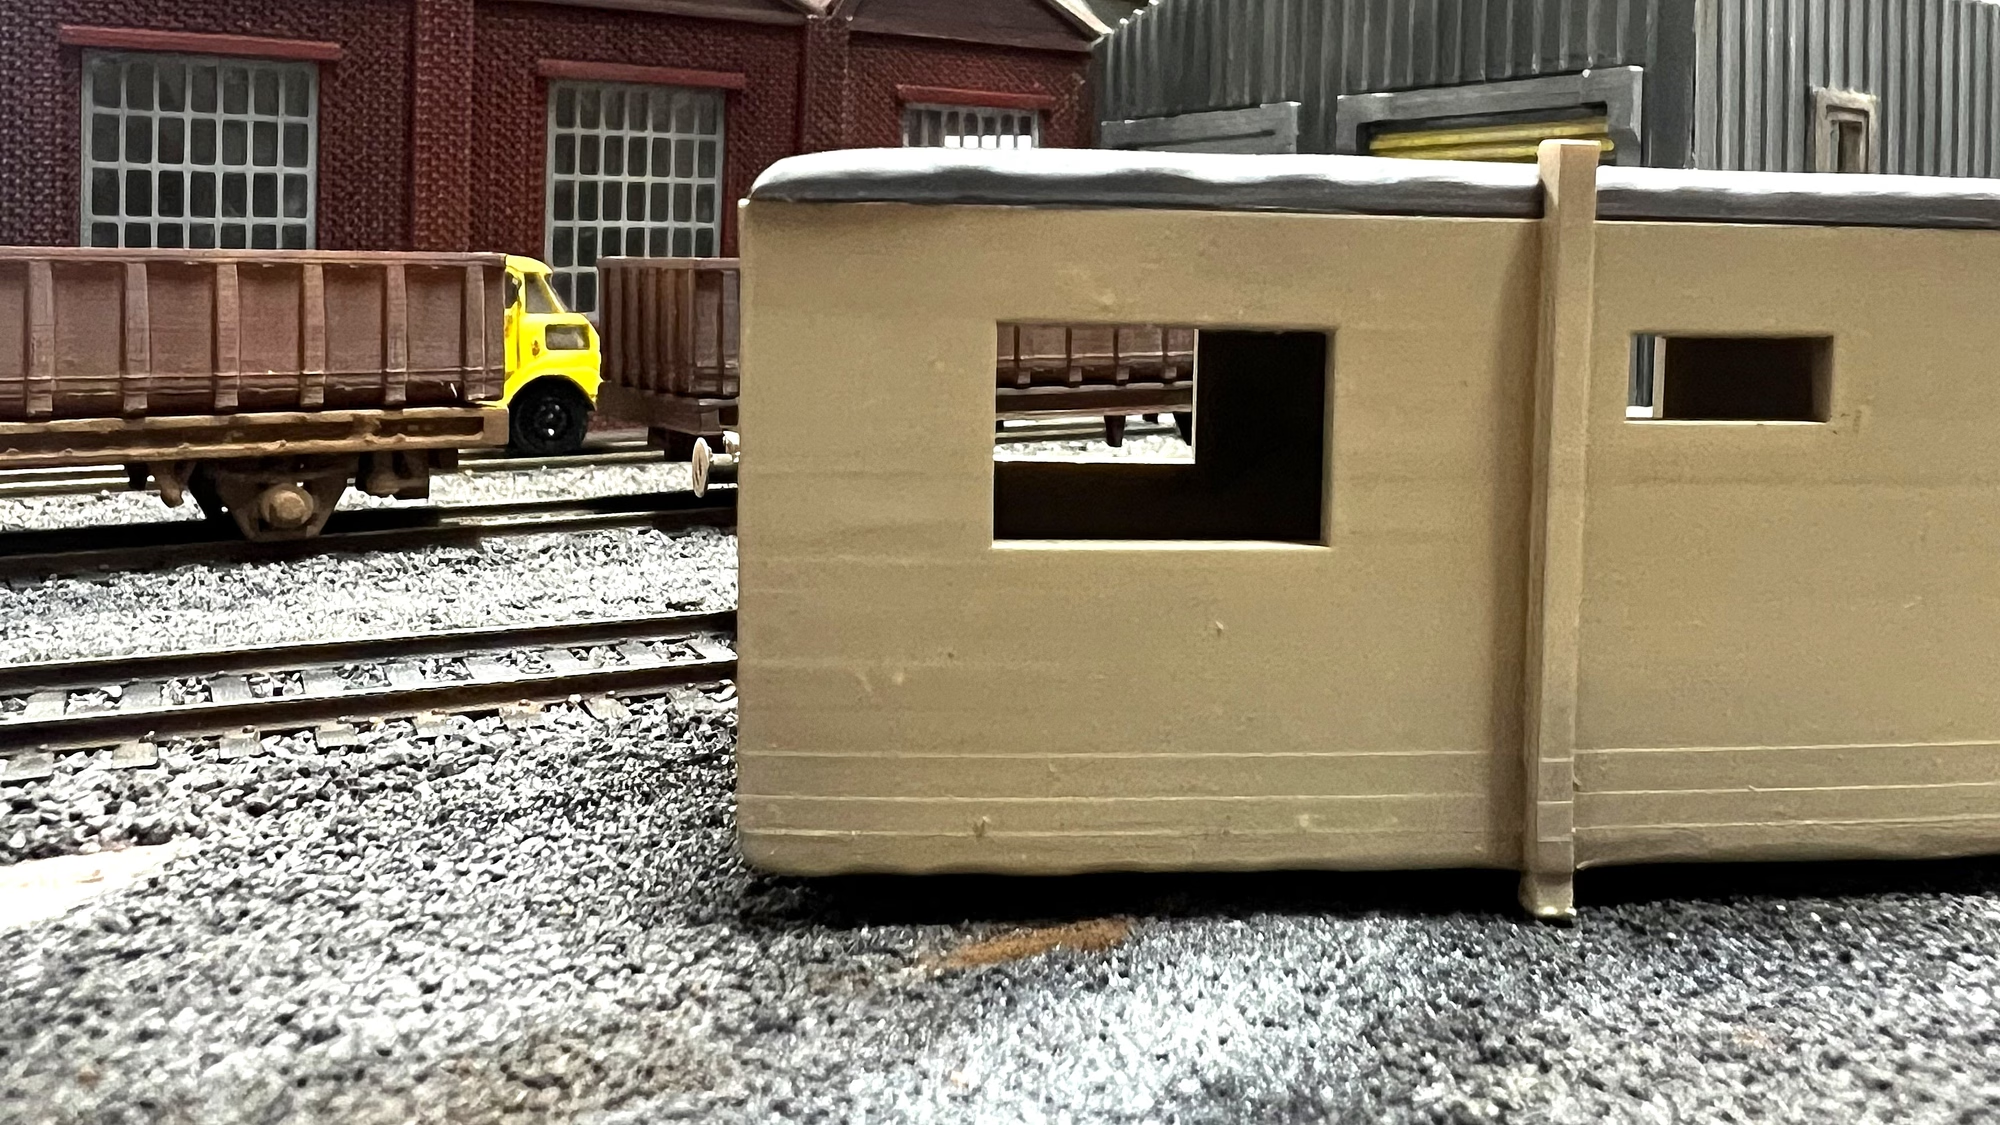
Here it is painted grey. I painted it on this side because you will be able to see the inside through the windows.
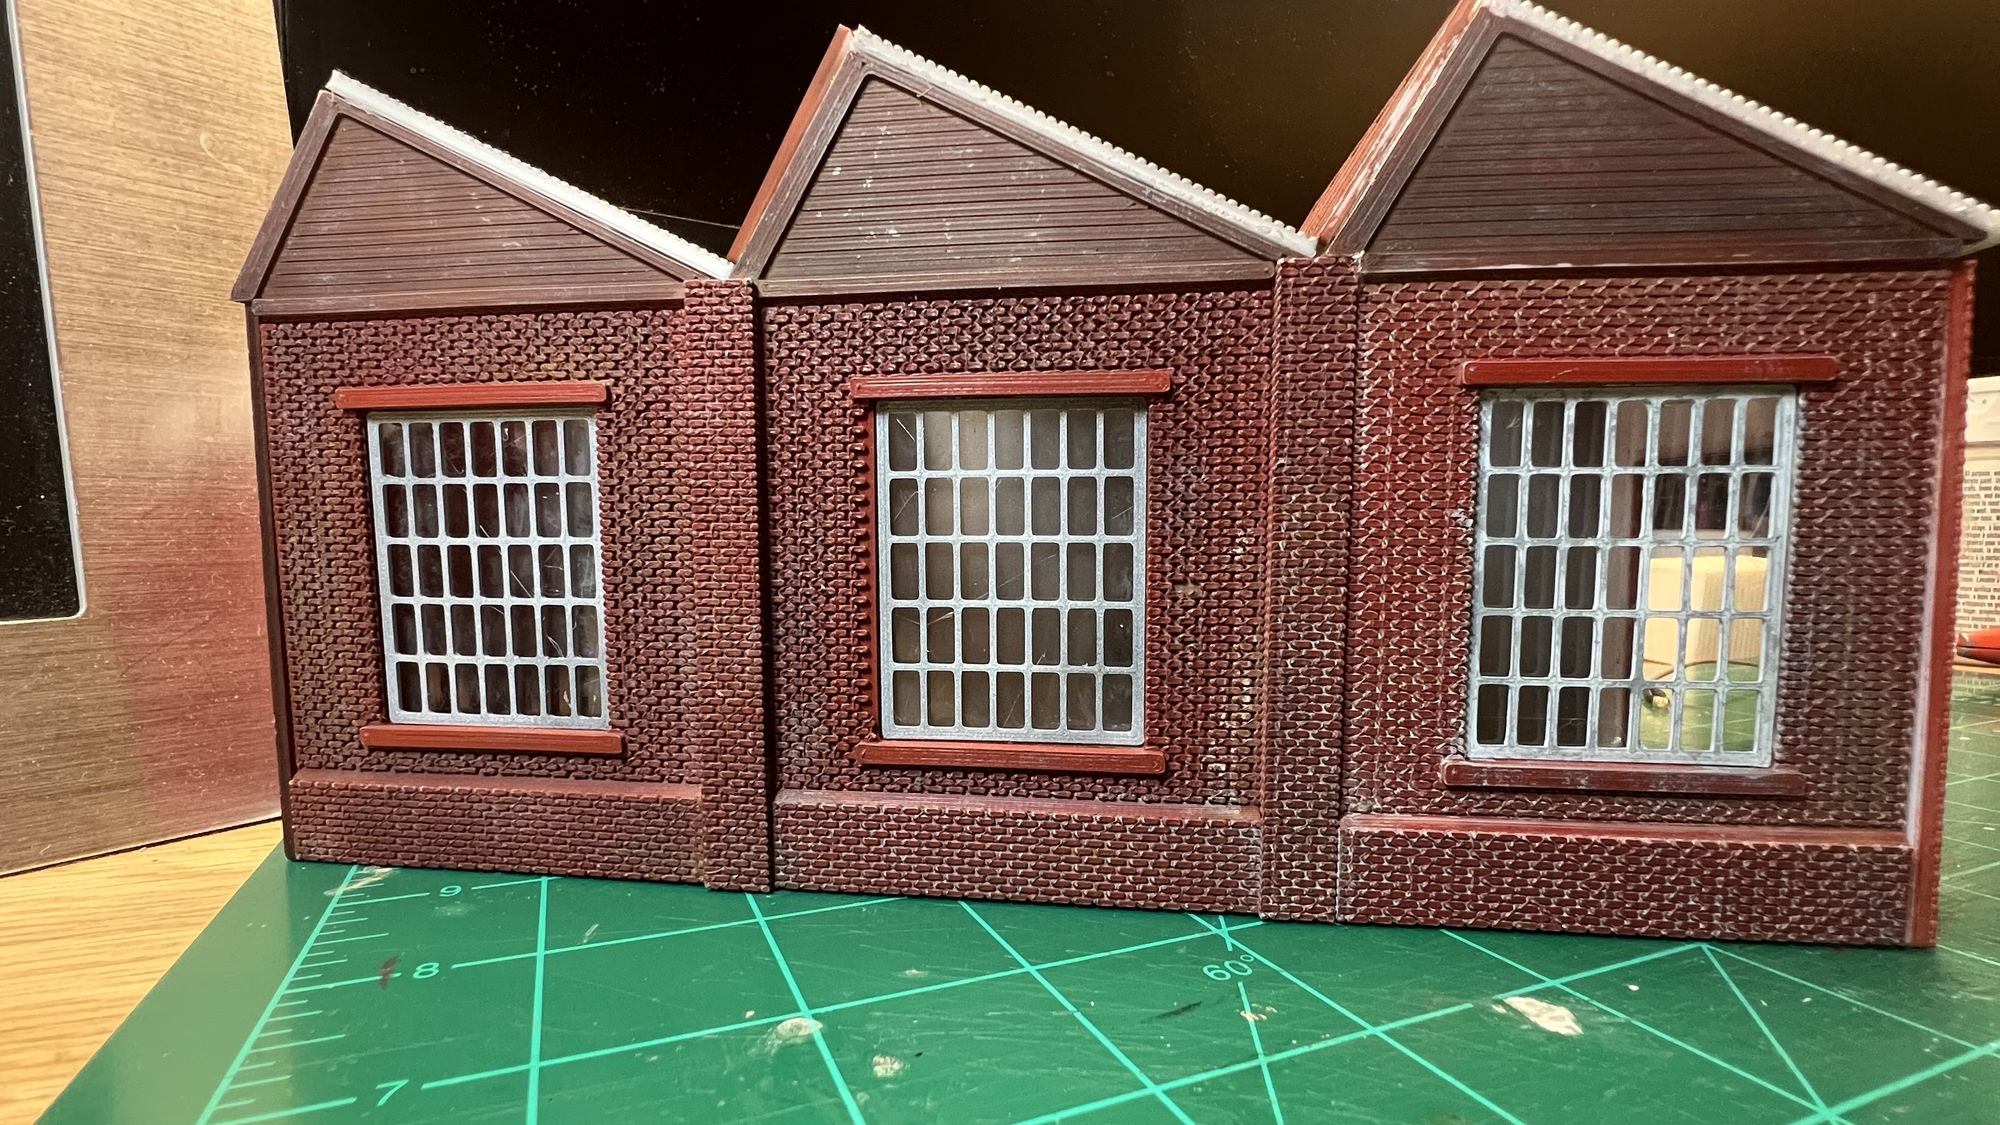
Below you can see the brick wall after I had toned the red paint down with a mix of grey and beige paint forced into the mortar joins then wiped off the brick face. Finally, I used weathering powders to create a varied look to the brickwork.
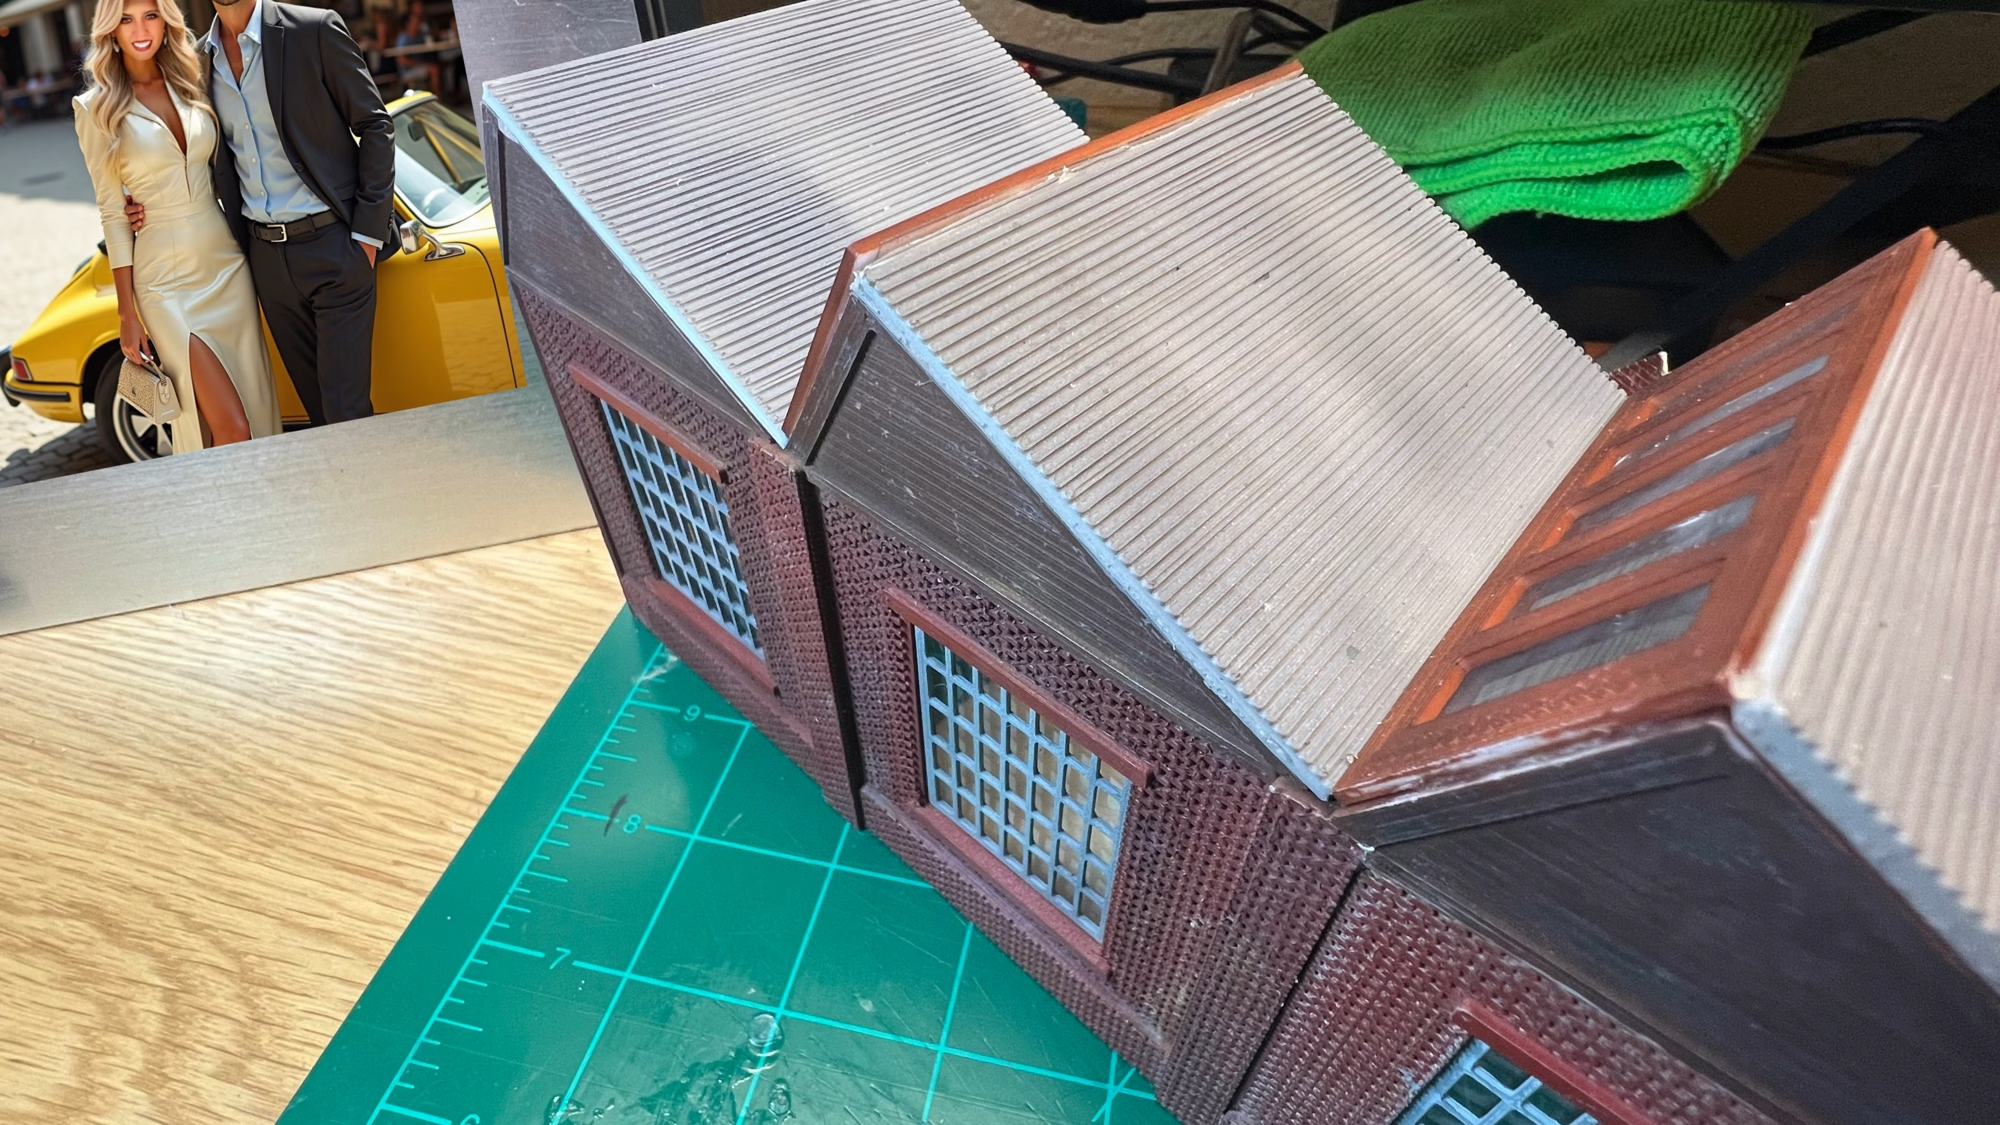
Test fitting the roof sections. For the North Lights I used the Laser Cutter and for the roof section, I 3D printed.
Fitting It All Together
With all the walls and roof sections fitted to this OO Scale Workshop, it was time to install the glazing. This was glued on the inside of the windows using scraps of clear plastic taken from packaging containers.
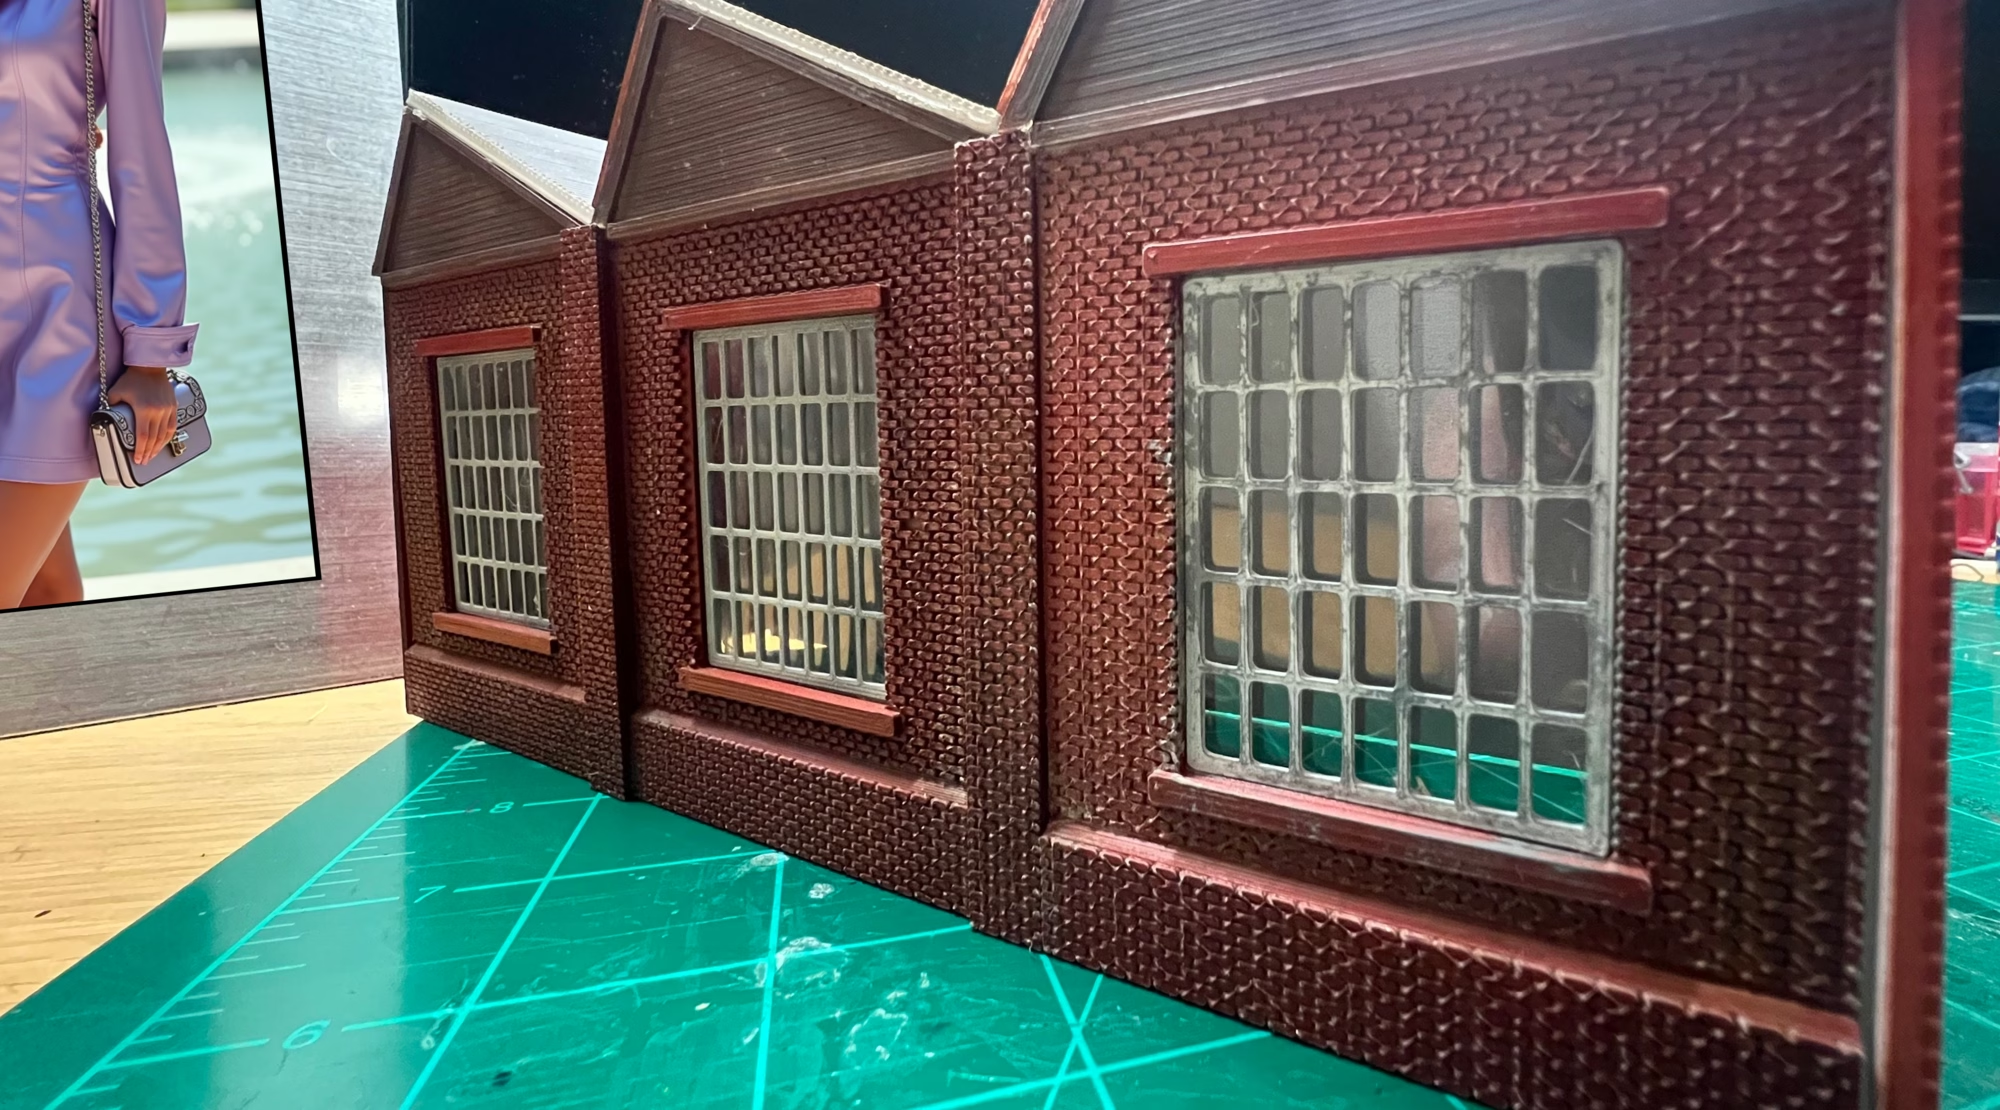
In the next set of pictures, you can see the workshop is nearly complete. After filling the gaps and repainting where needed, I used the airbrush to apply Vallejo grime wash.
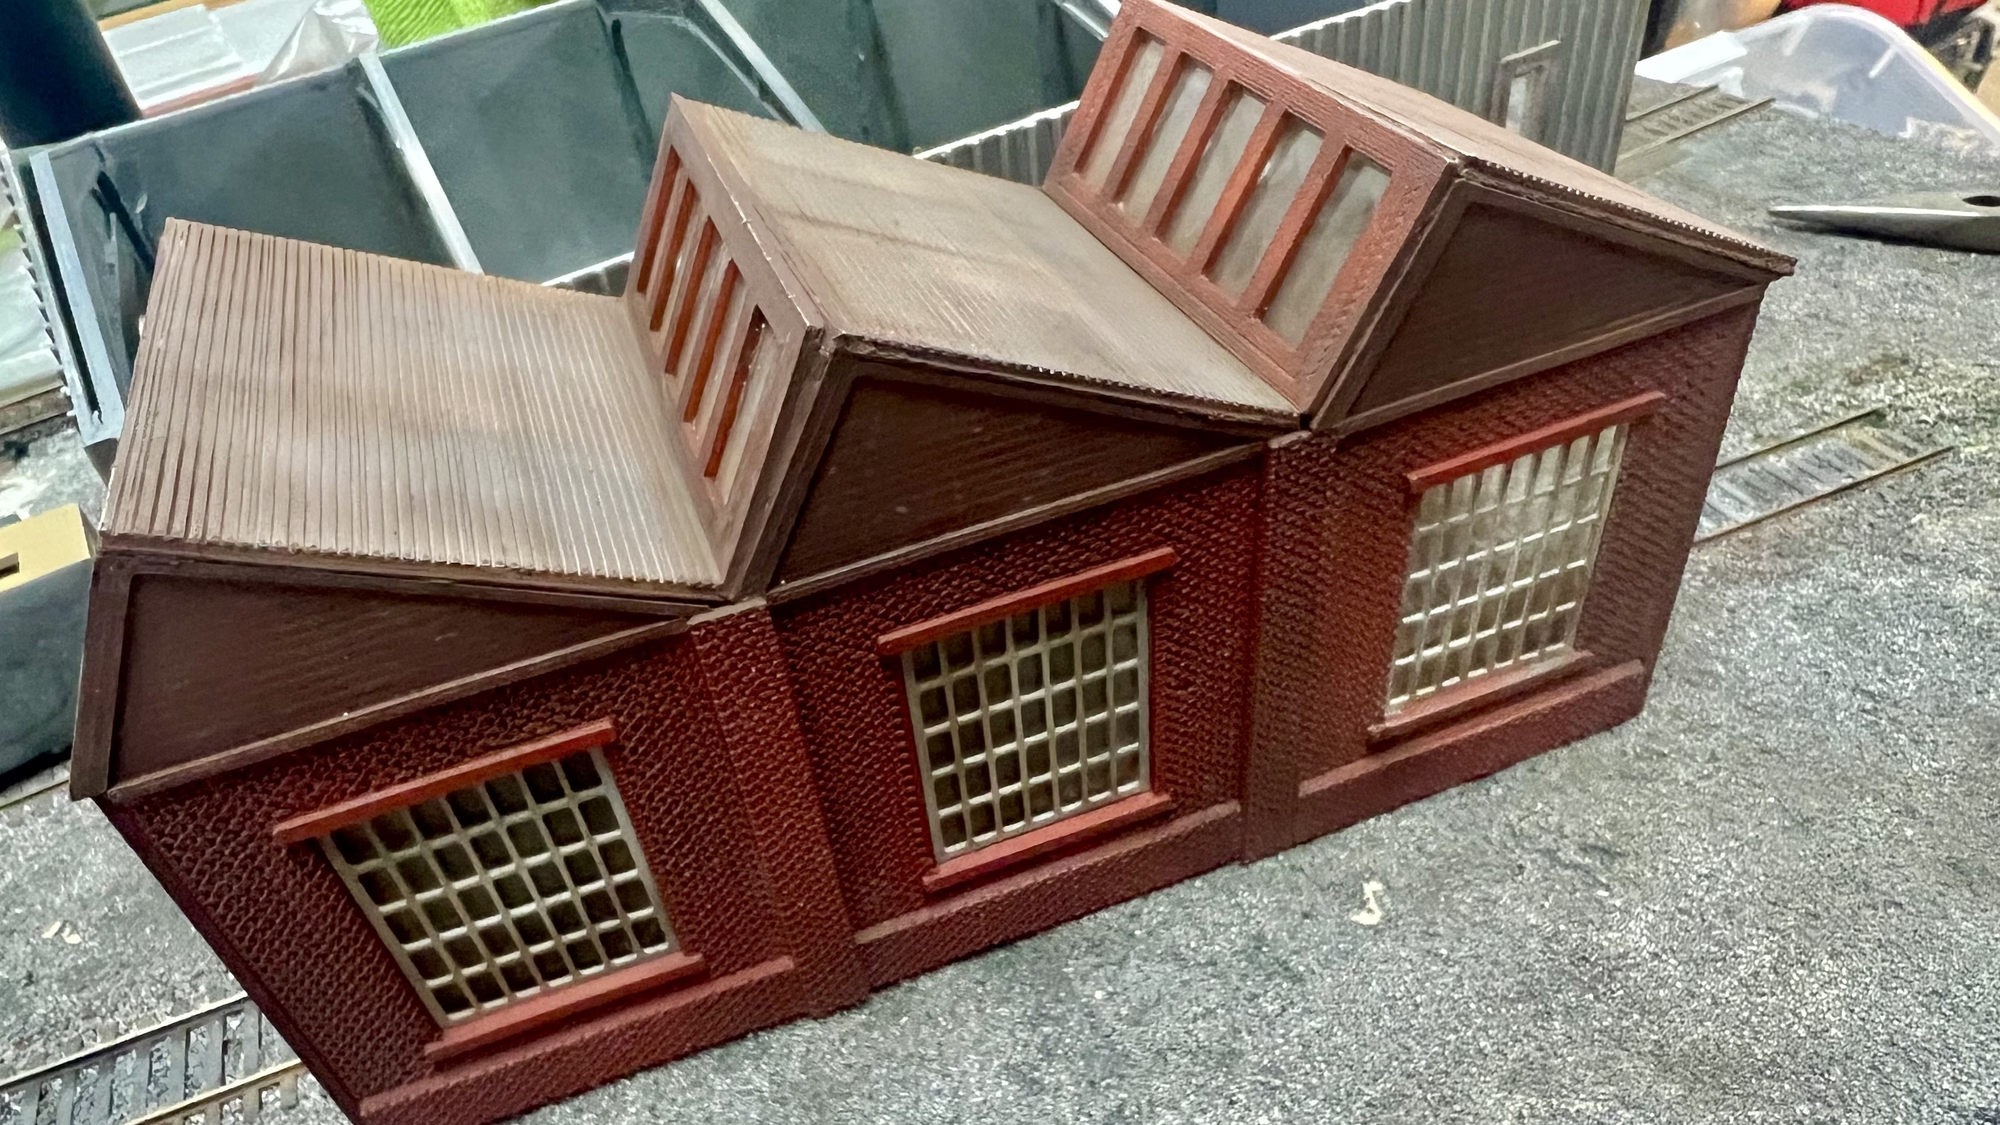
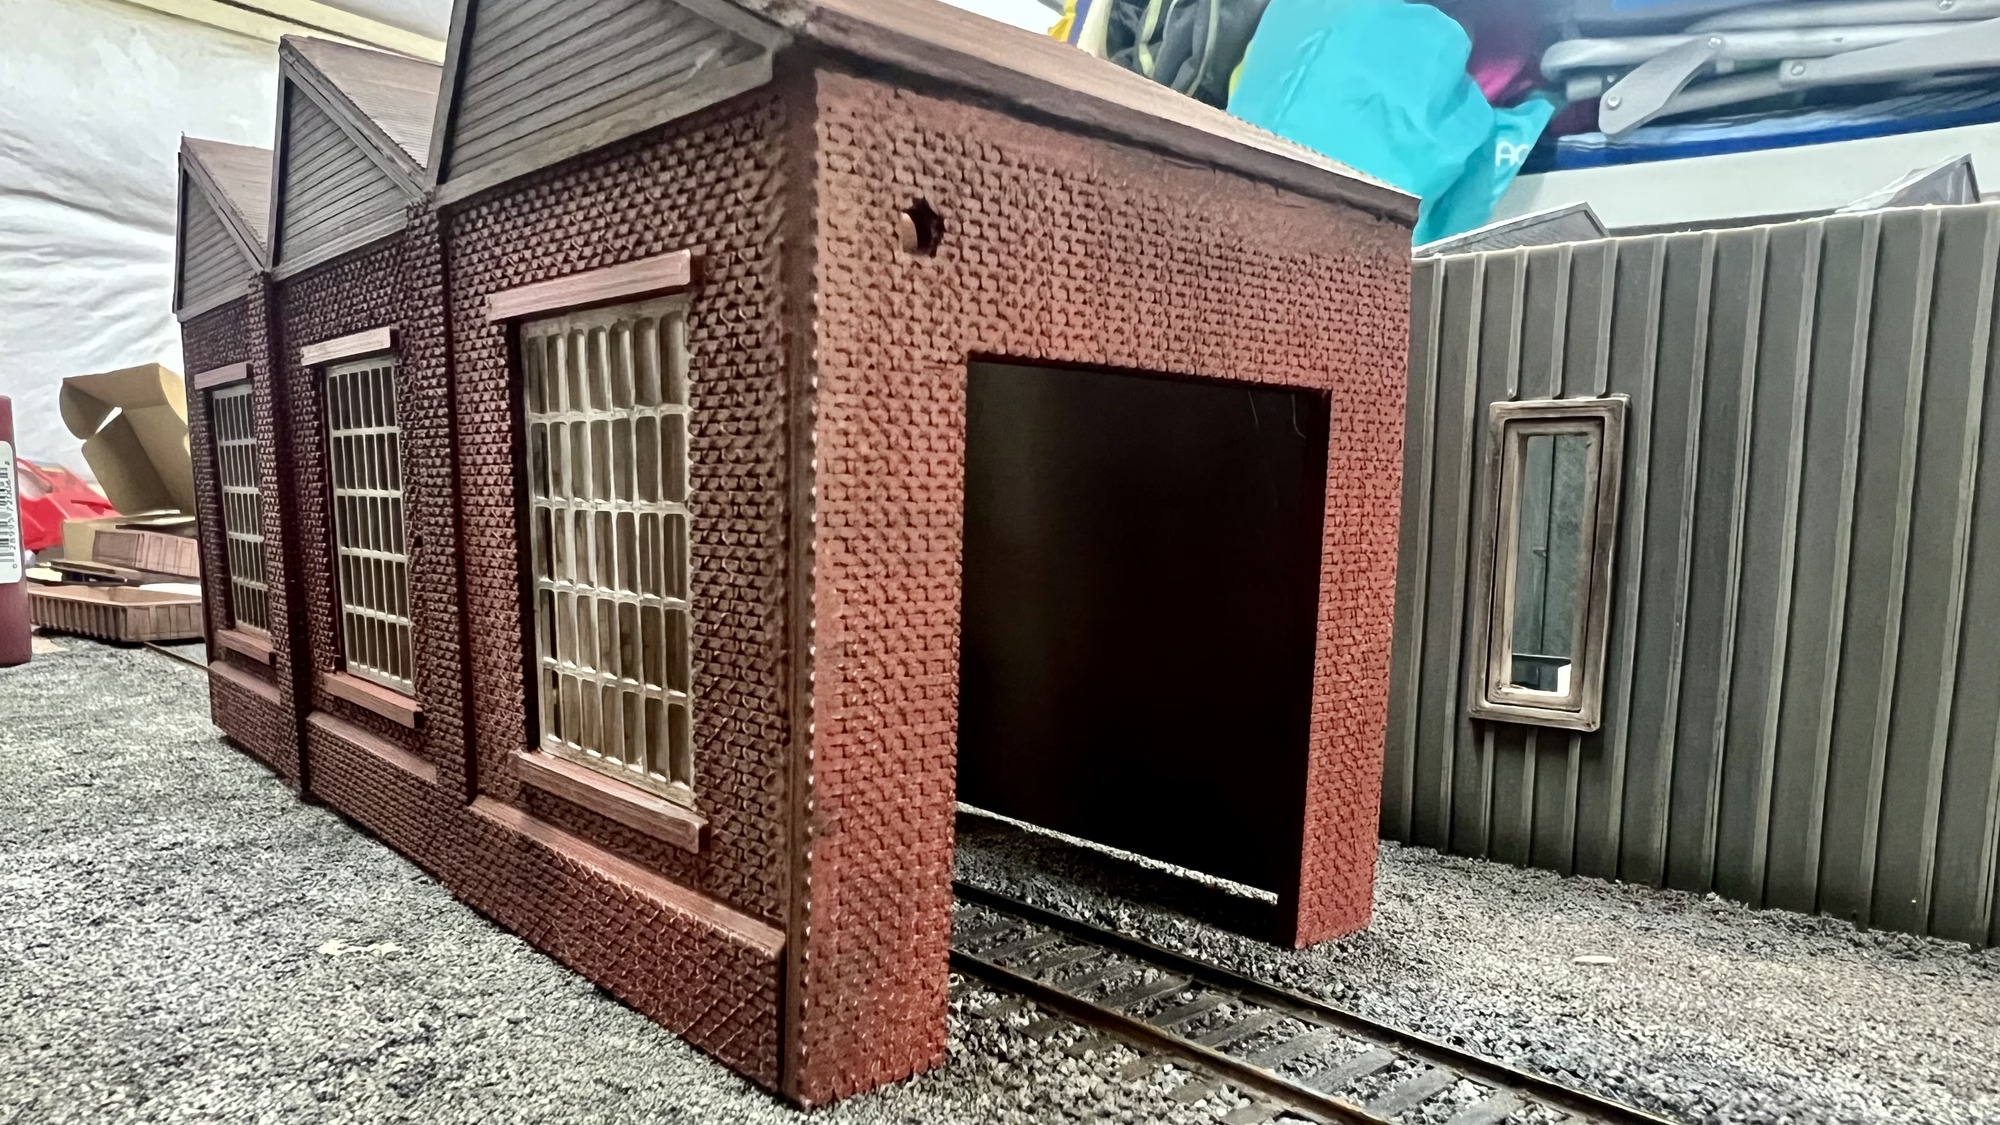
The workshop is now glued to the base board, the next thing is to scatter with Woodland Scenics ballast.
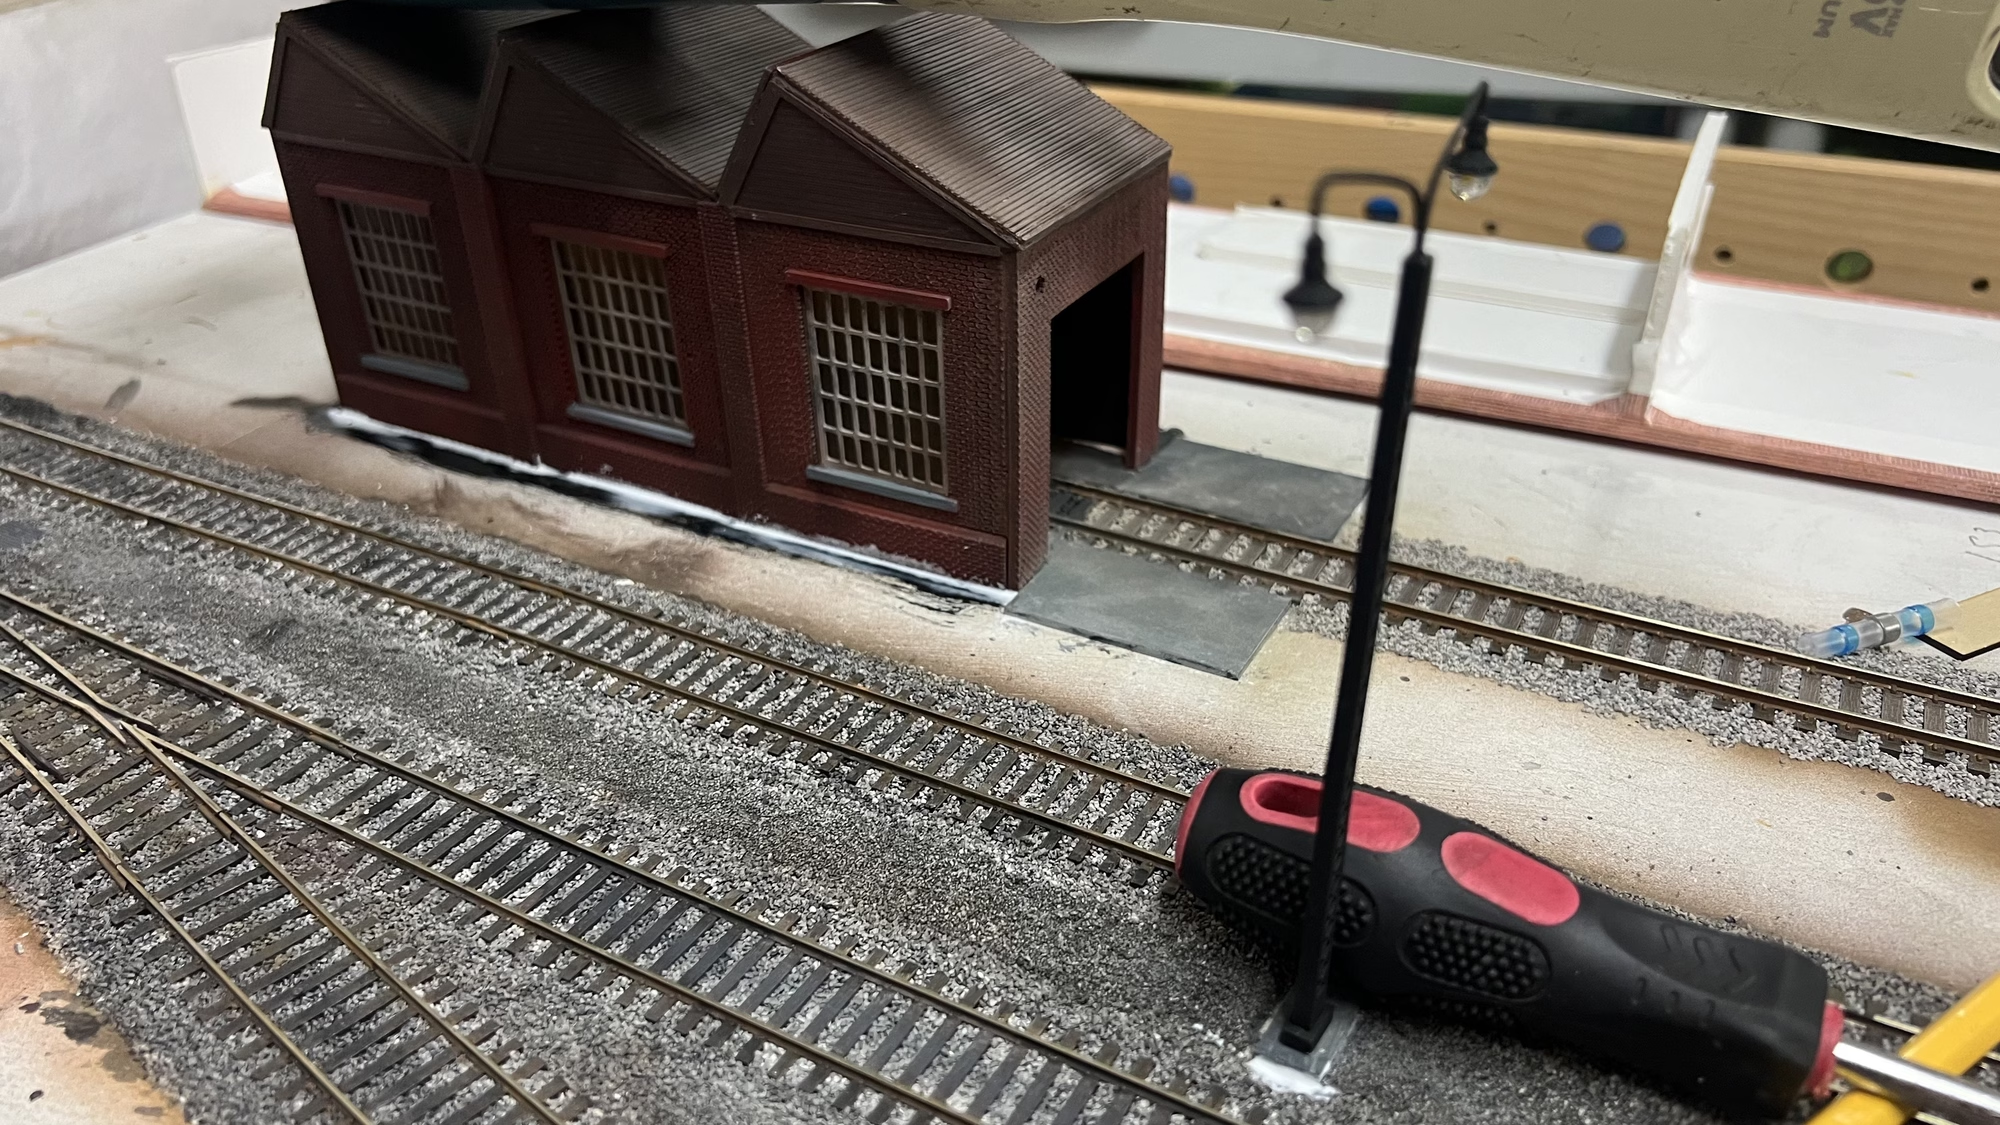
OK, that’s done, when it’s dry I will make it dirty like the rest of the yard.
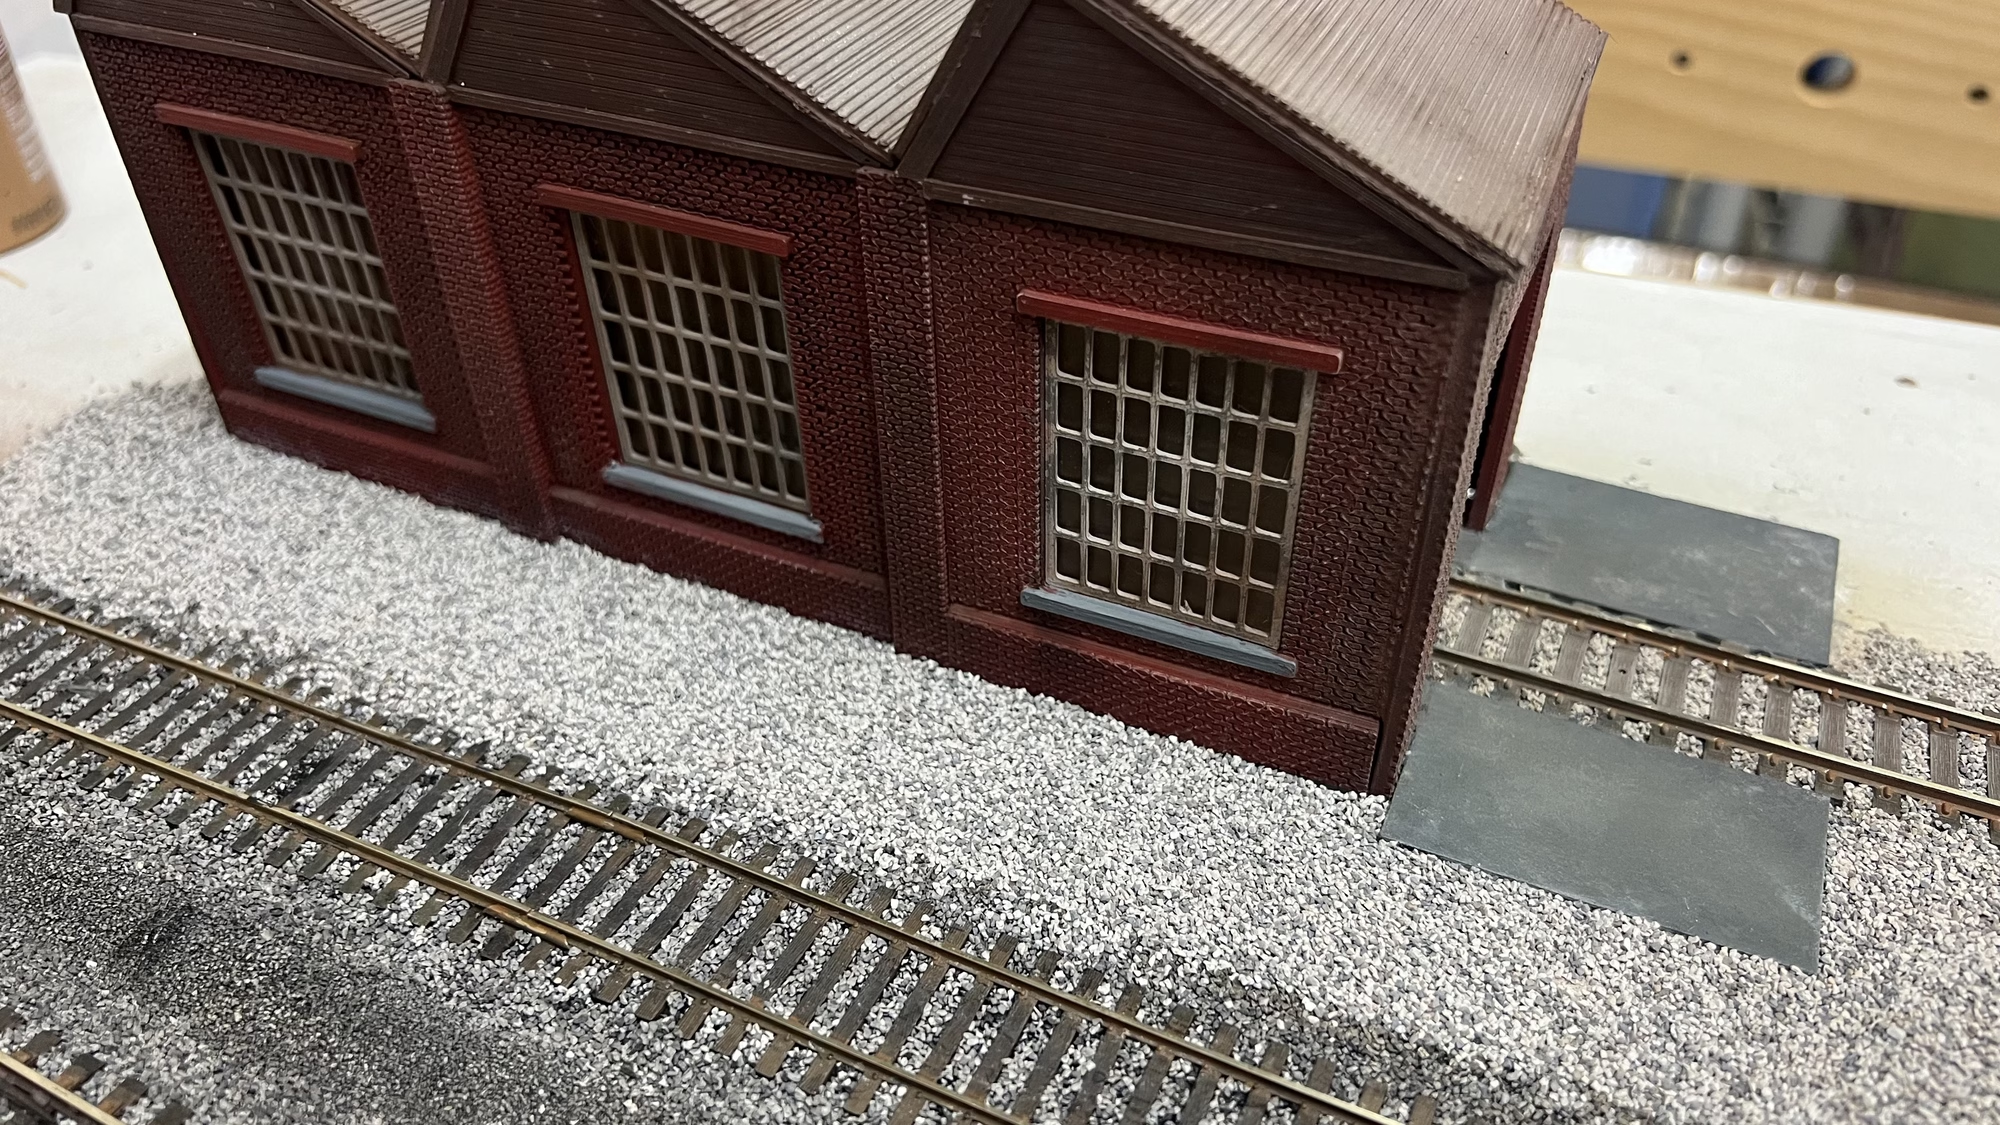
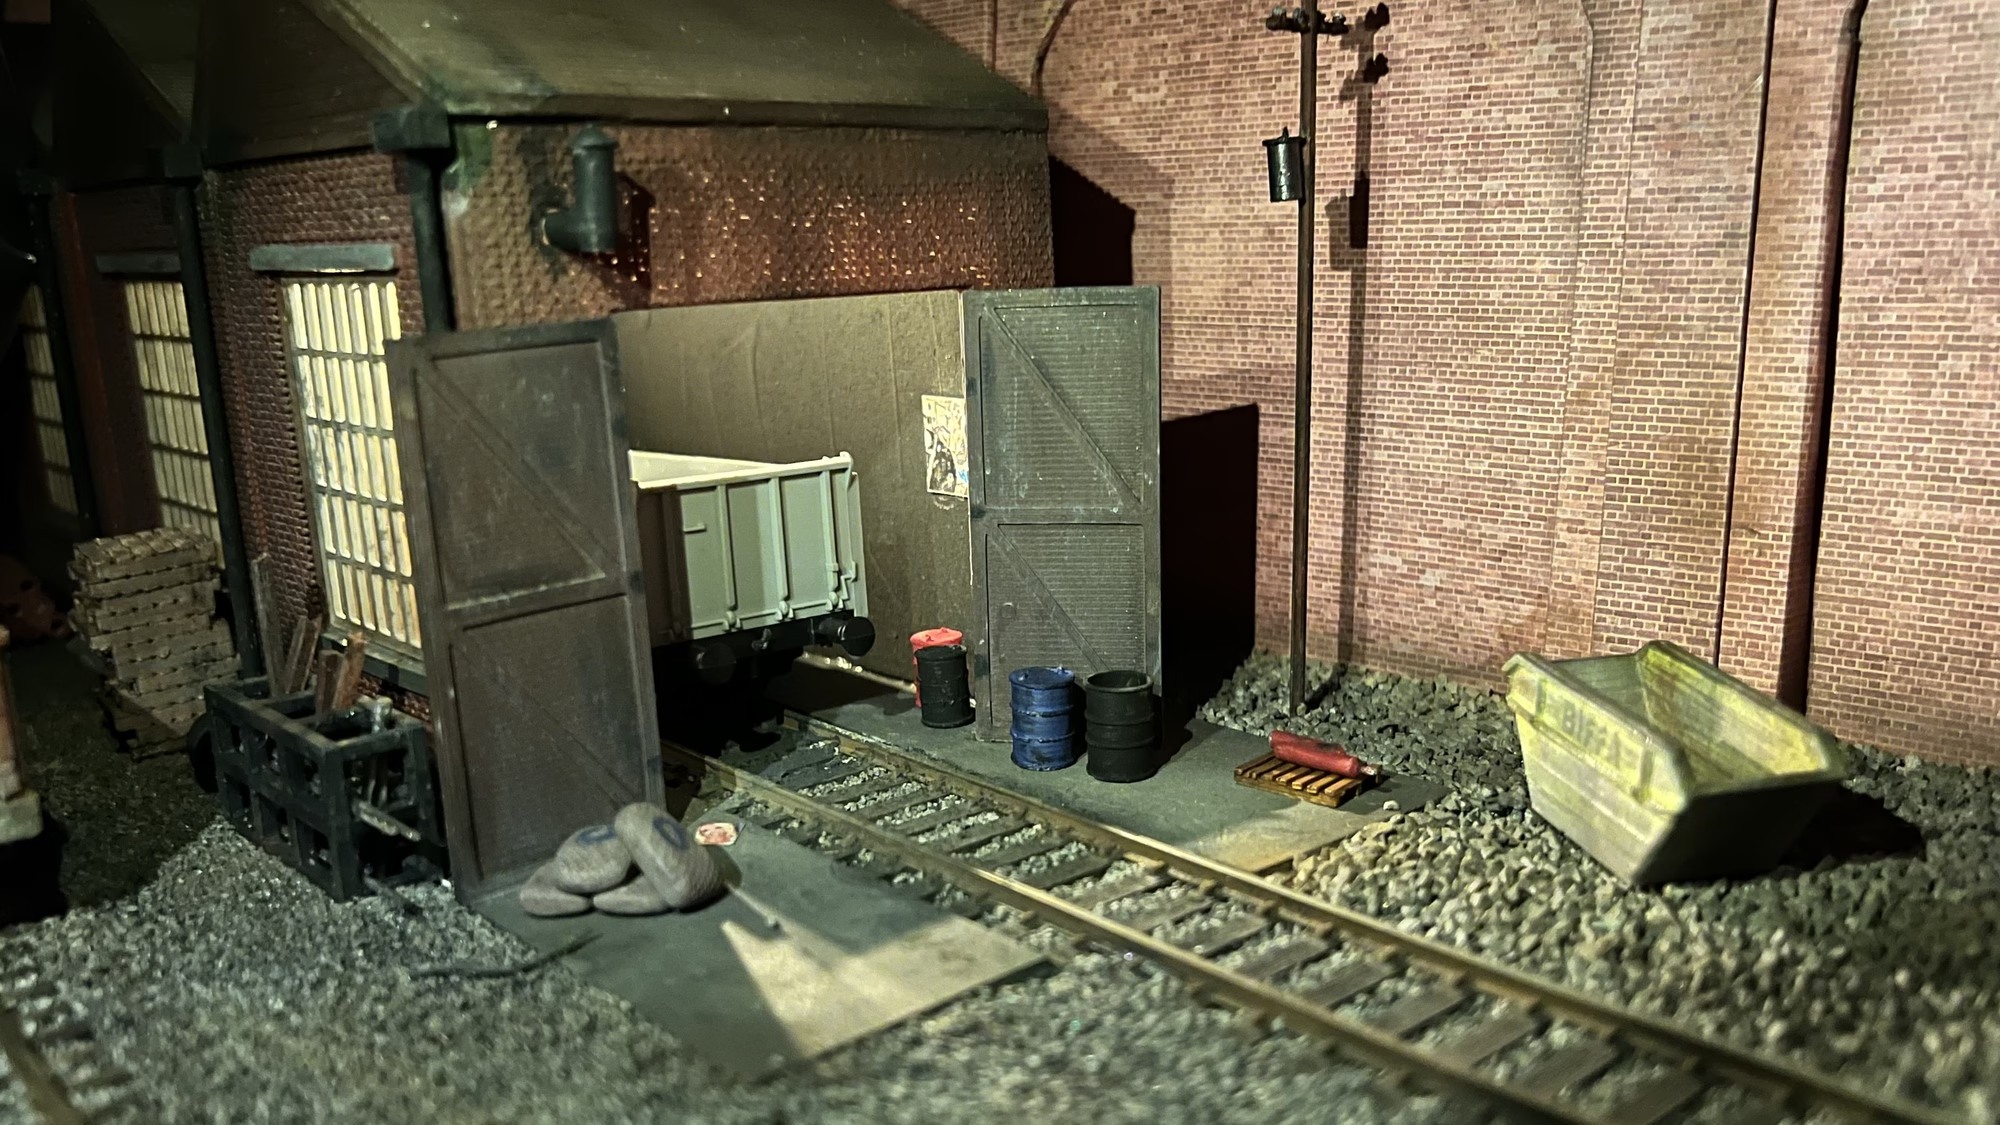
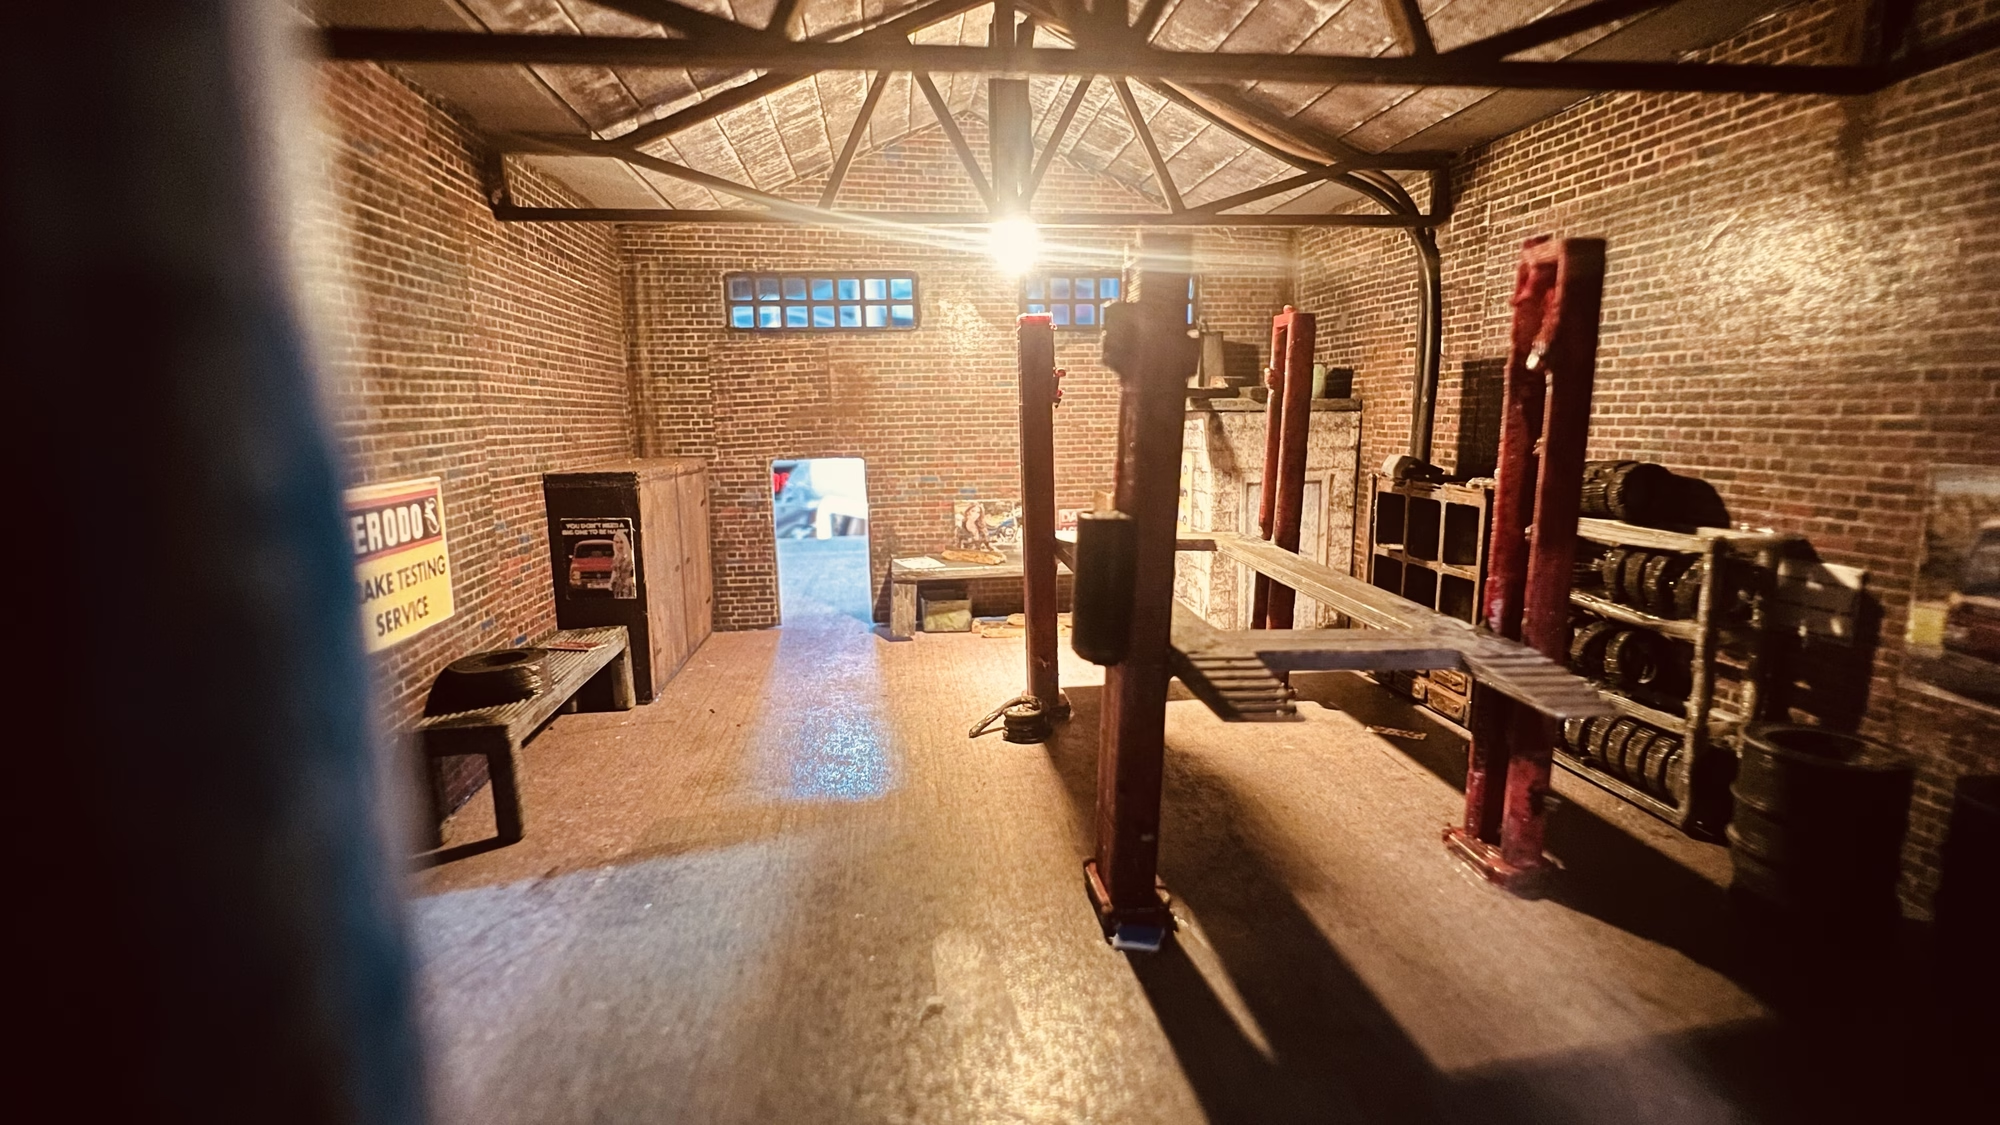
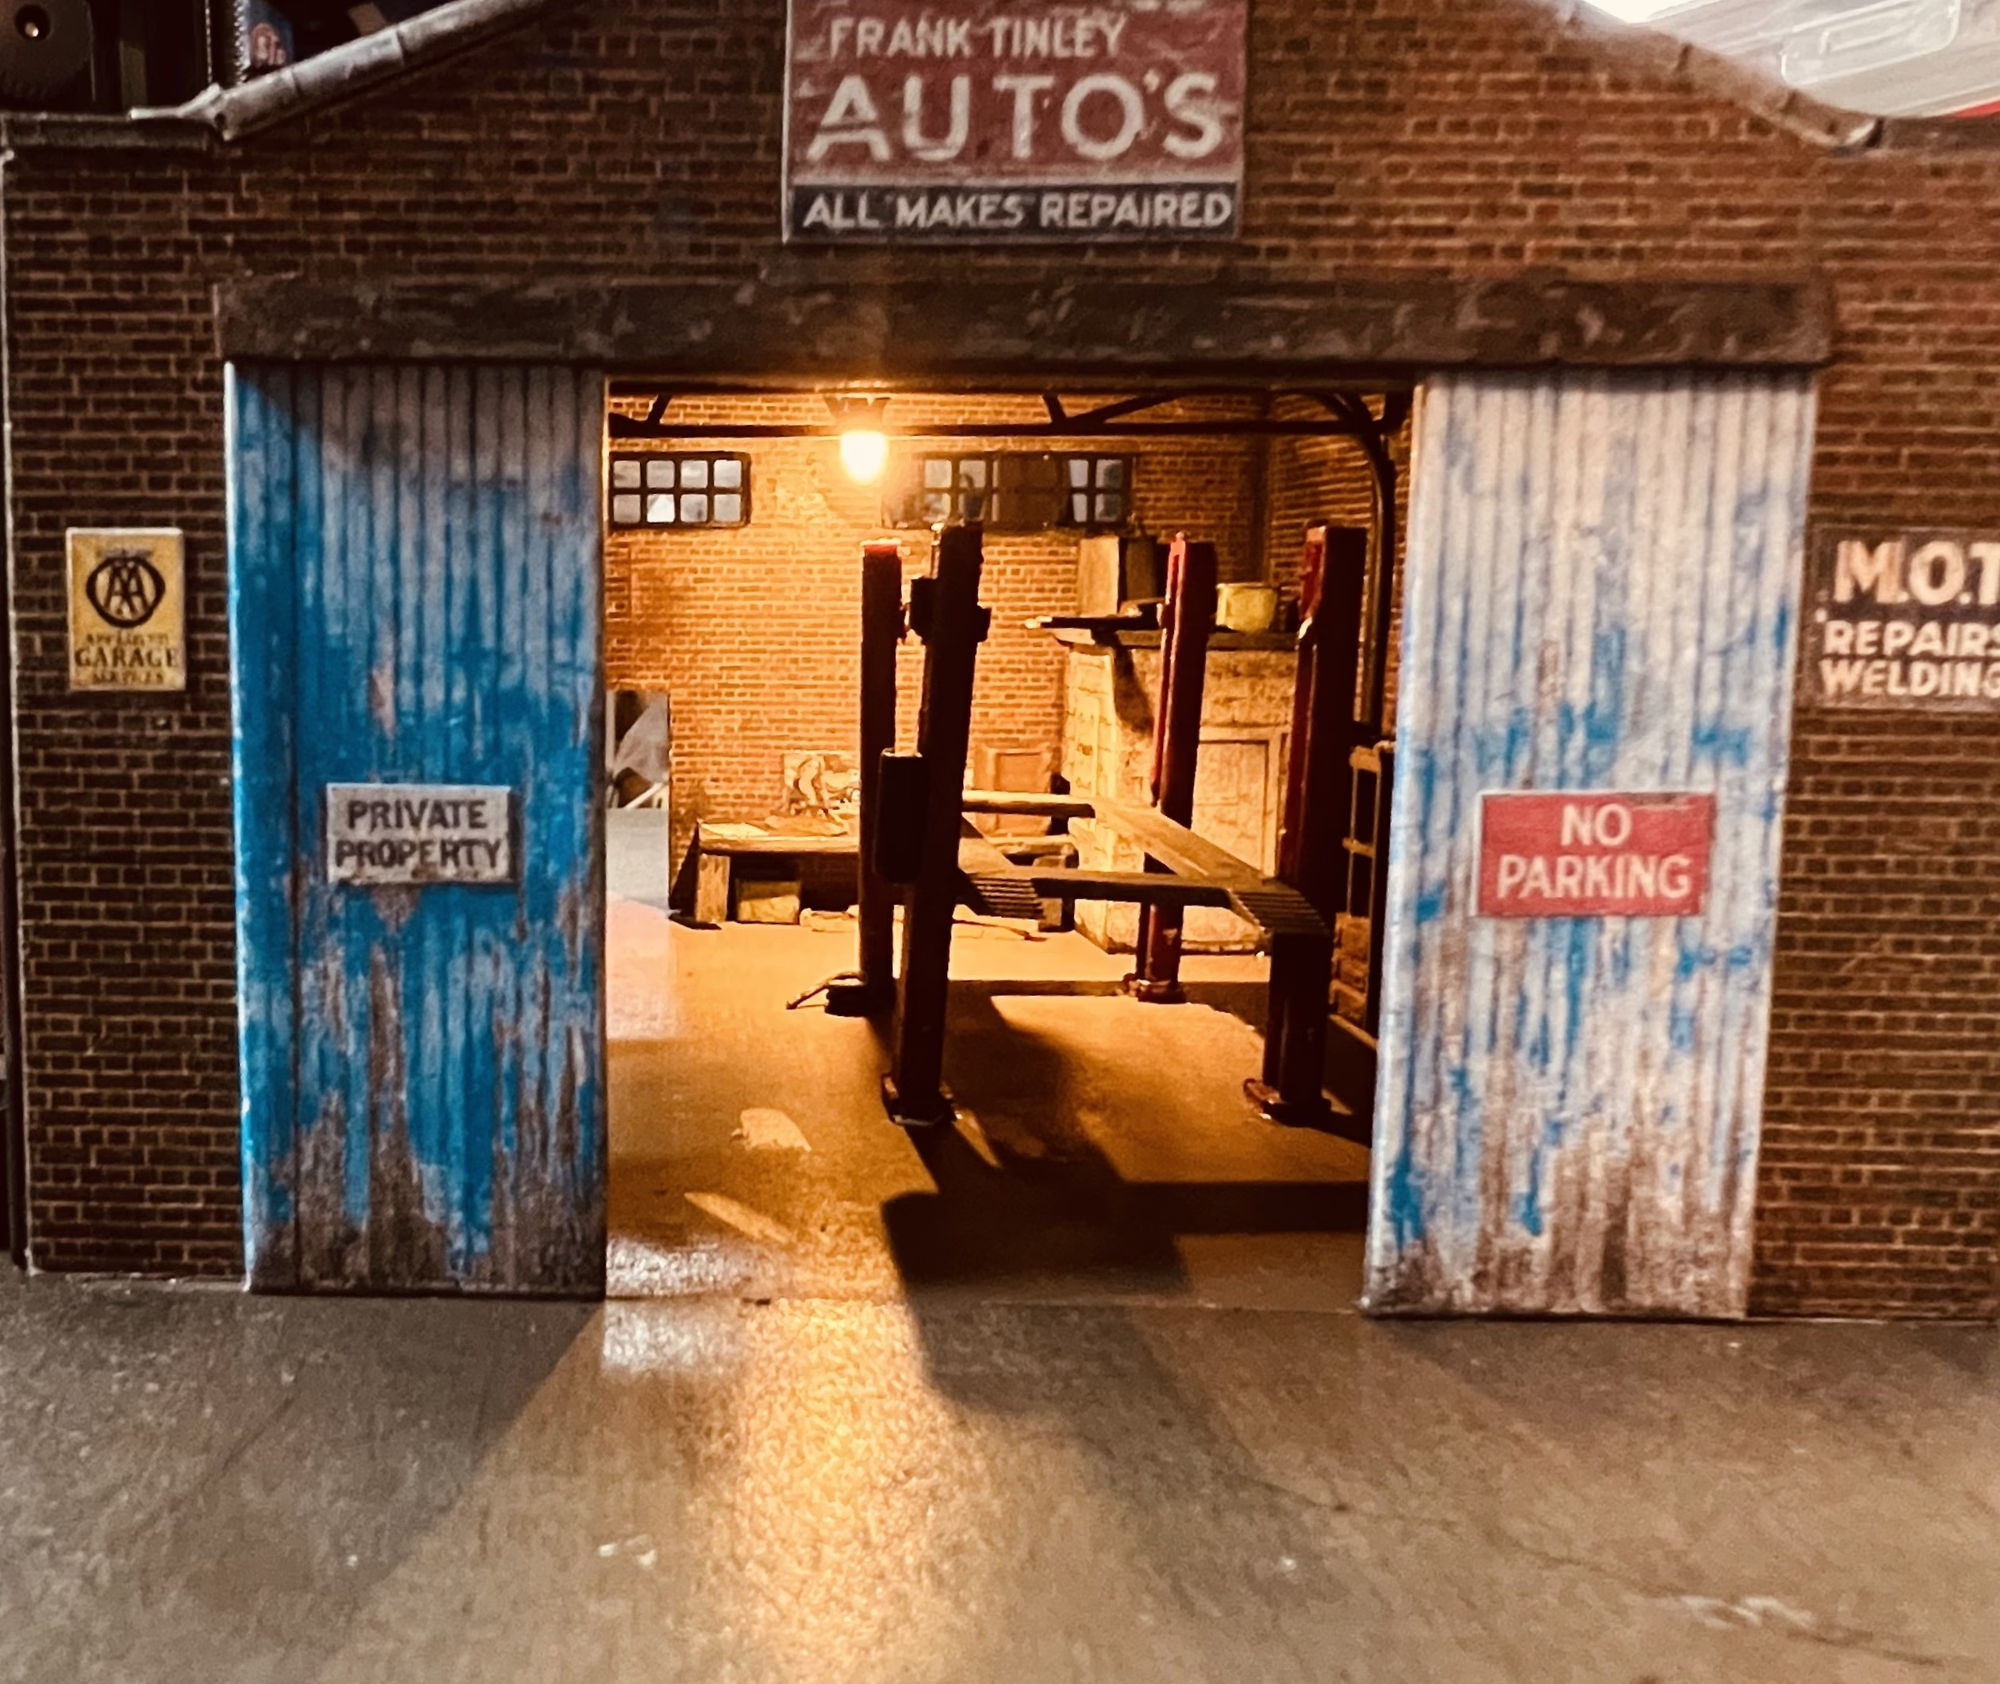
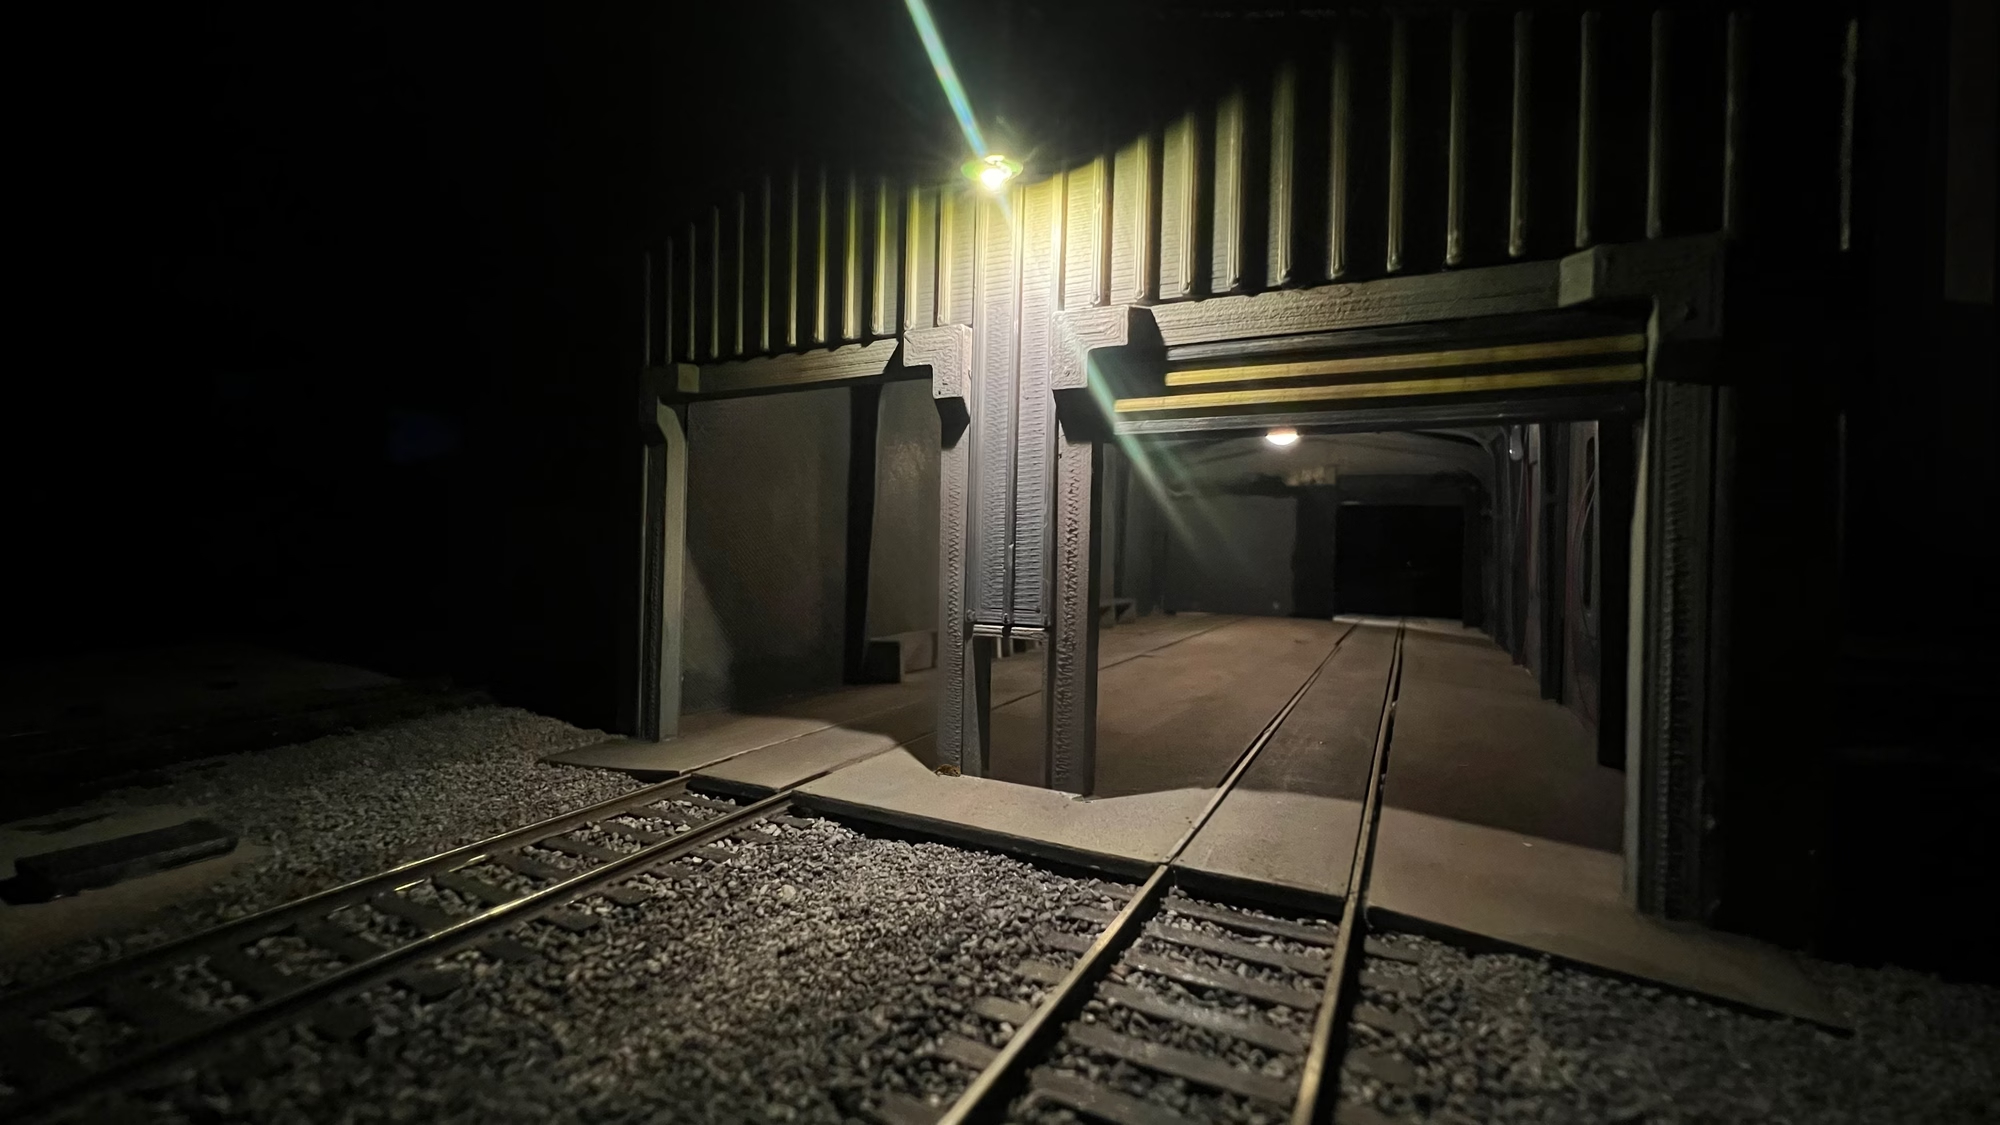
…and before I glued the workshop in place, I added a couple of LEDs.
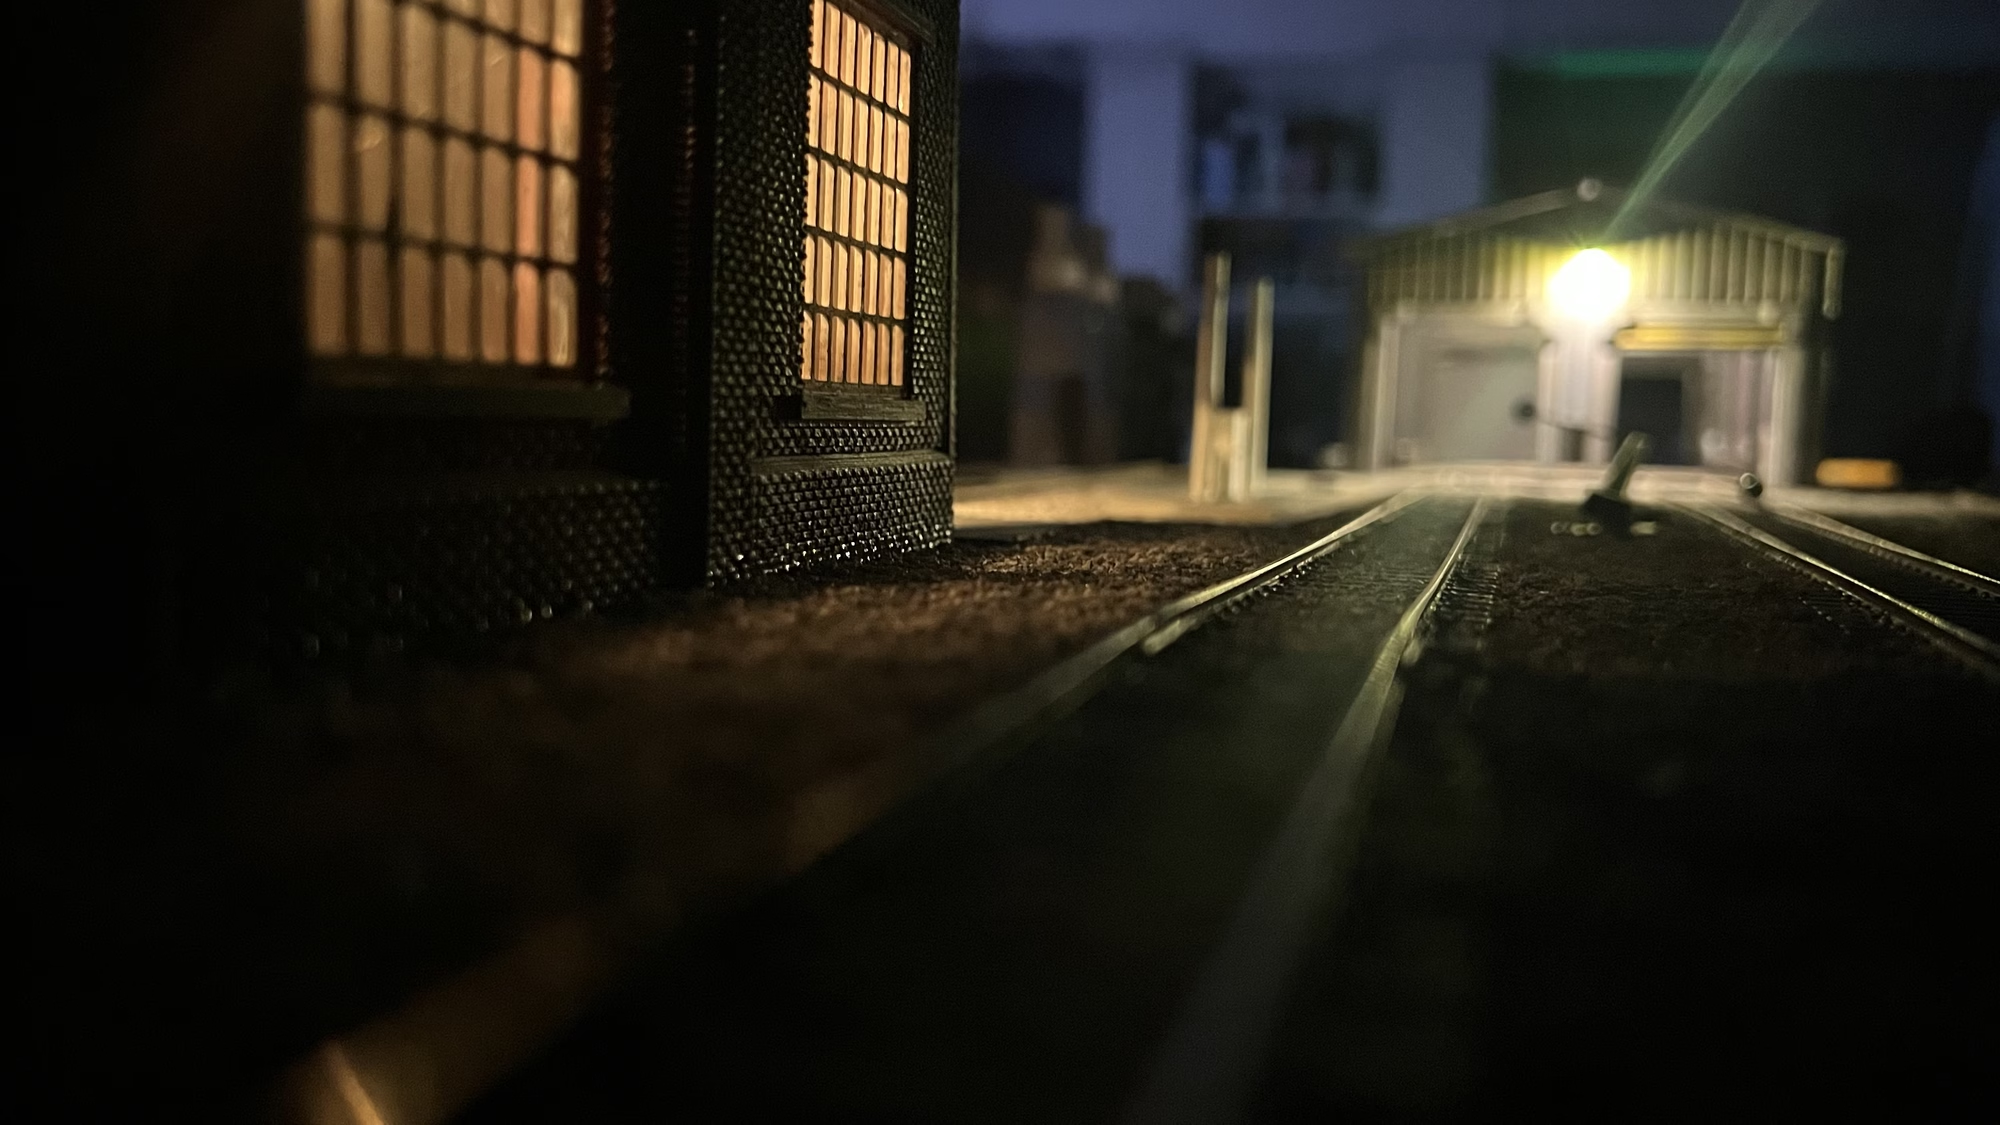
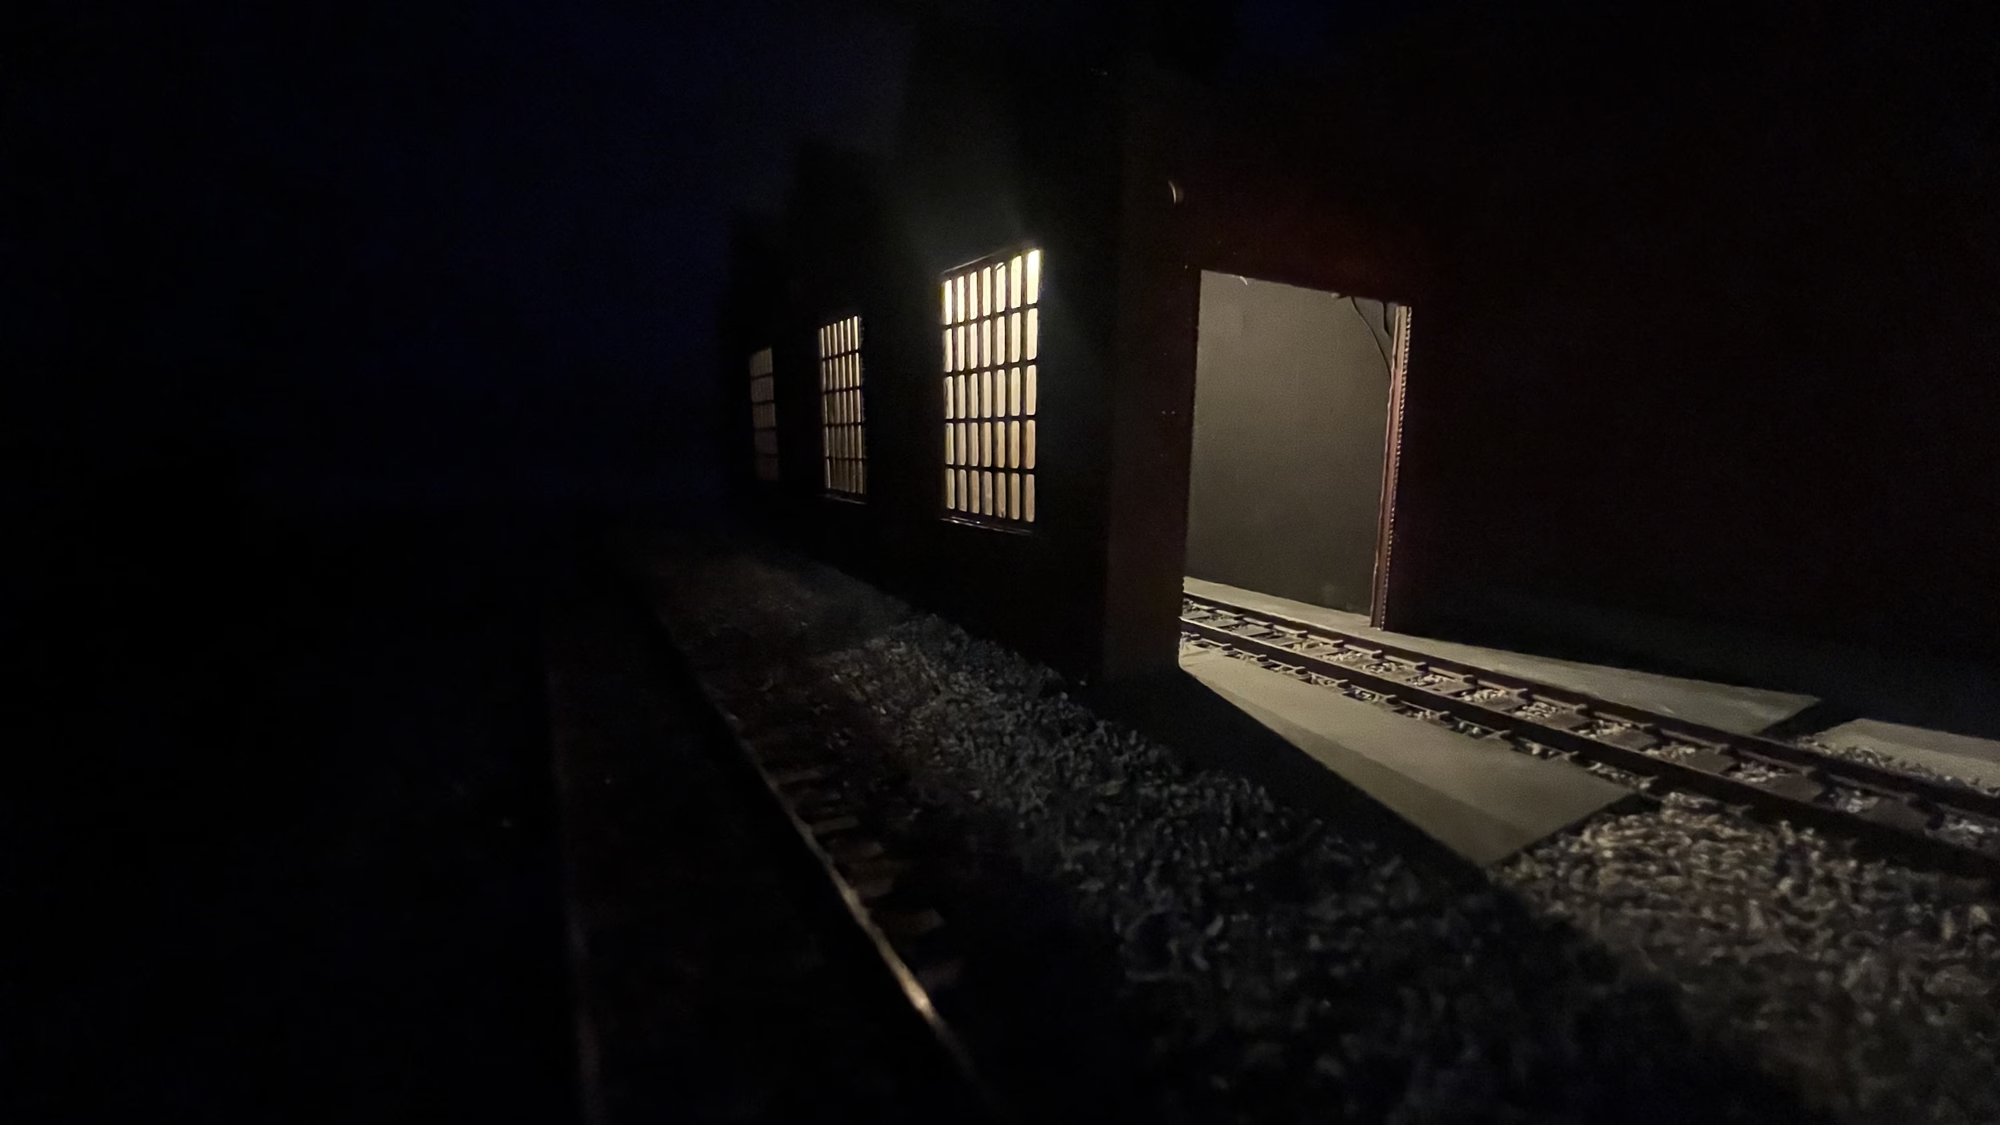
You can see in these pictures I’ve started to dirty the ballast around the OO Scale Workshop.
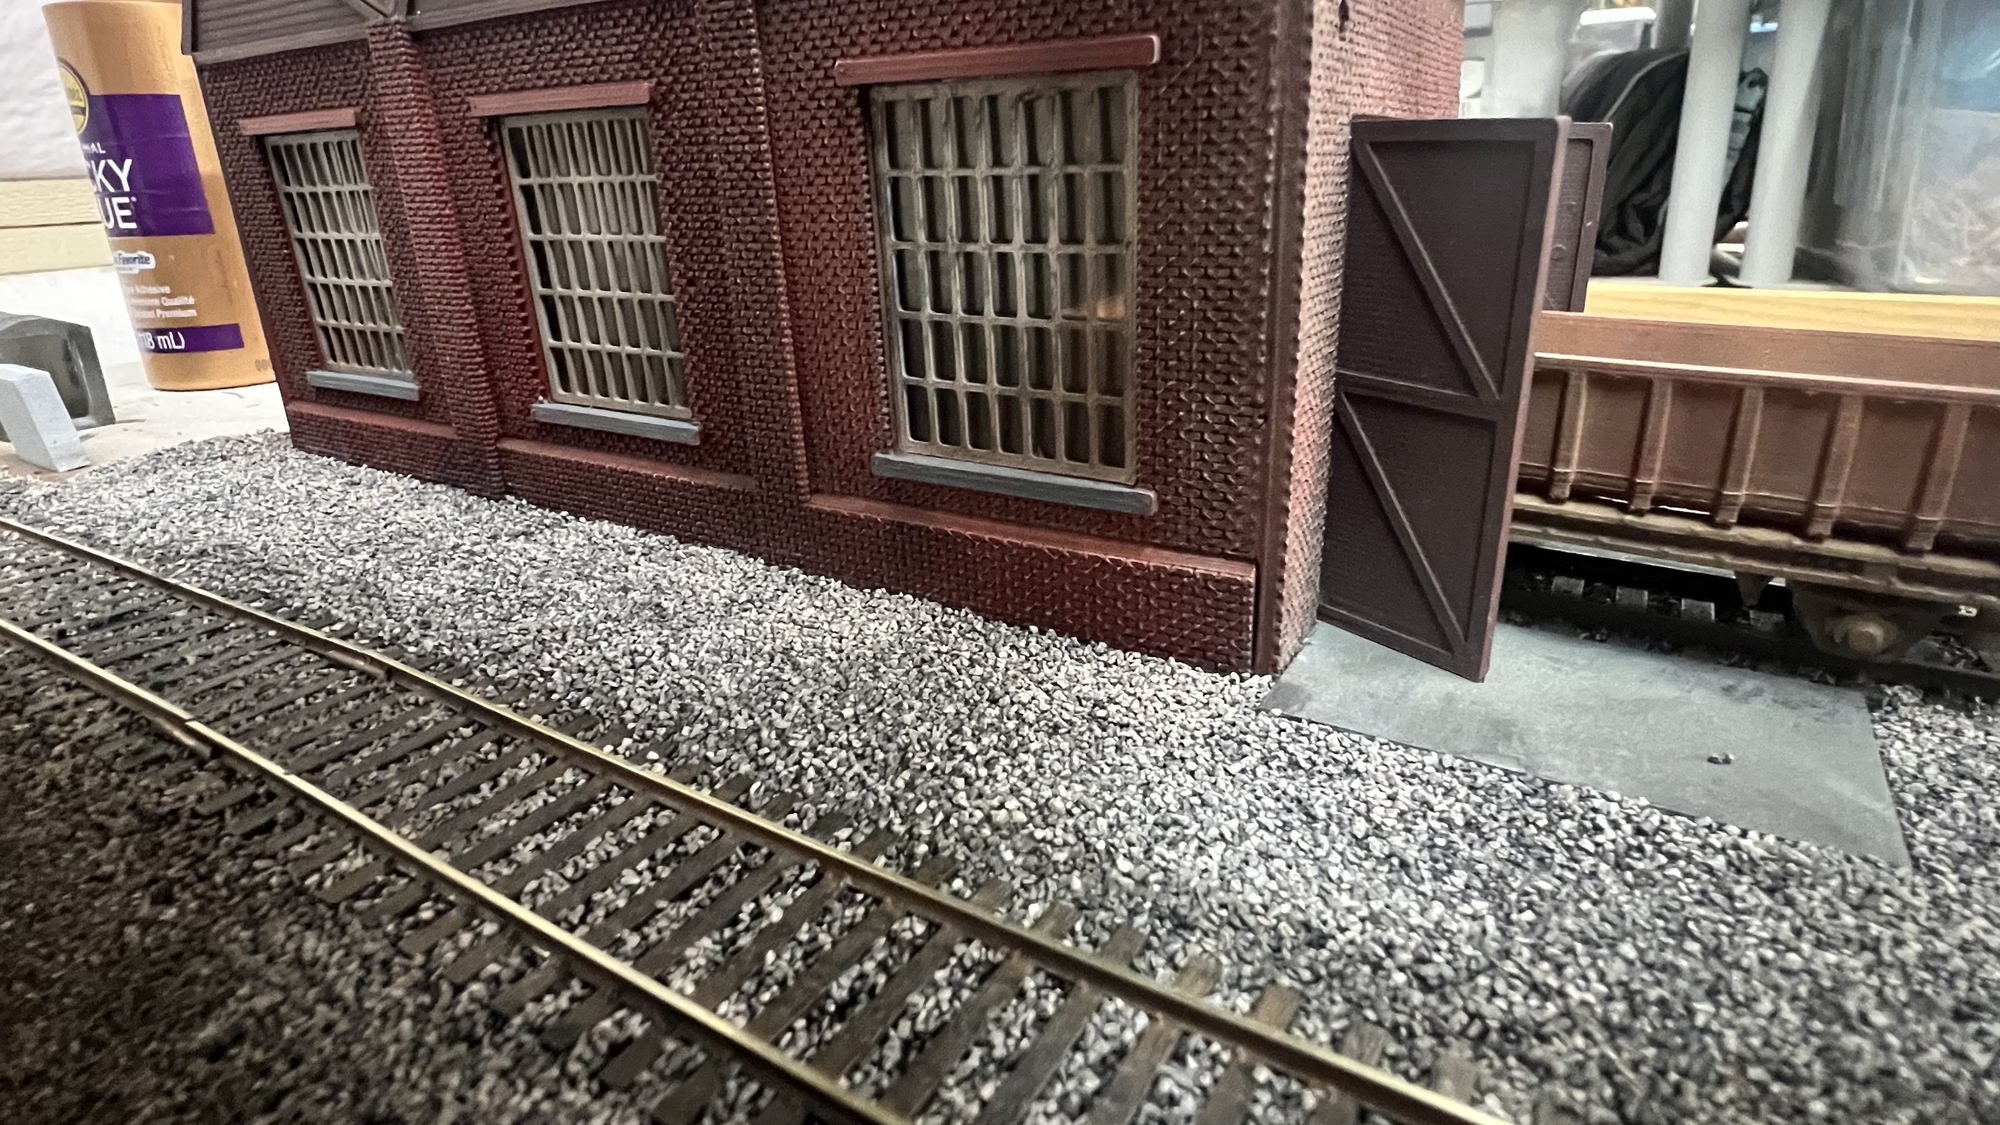
I now need to work on the rain gutters, downpipes and making the doors look a bit more realistic.
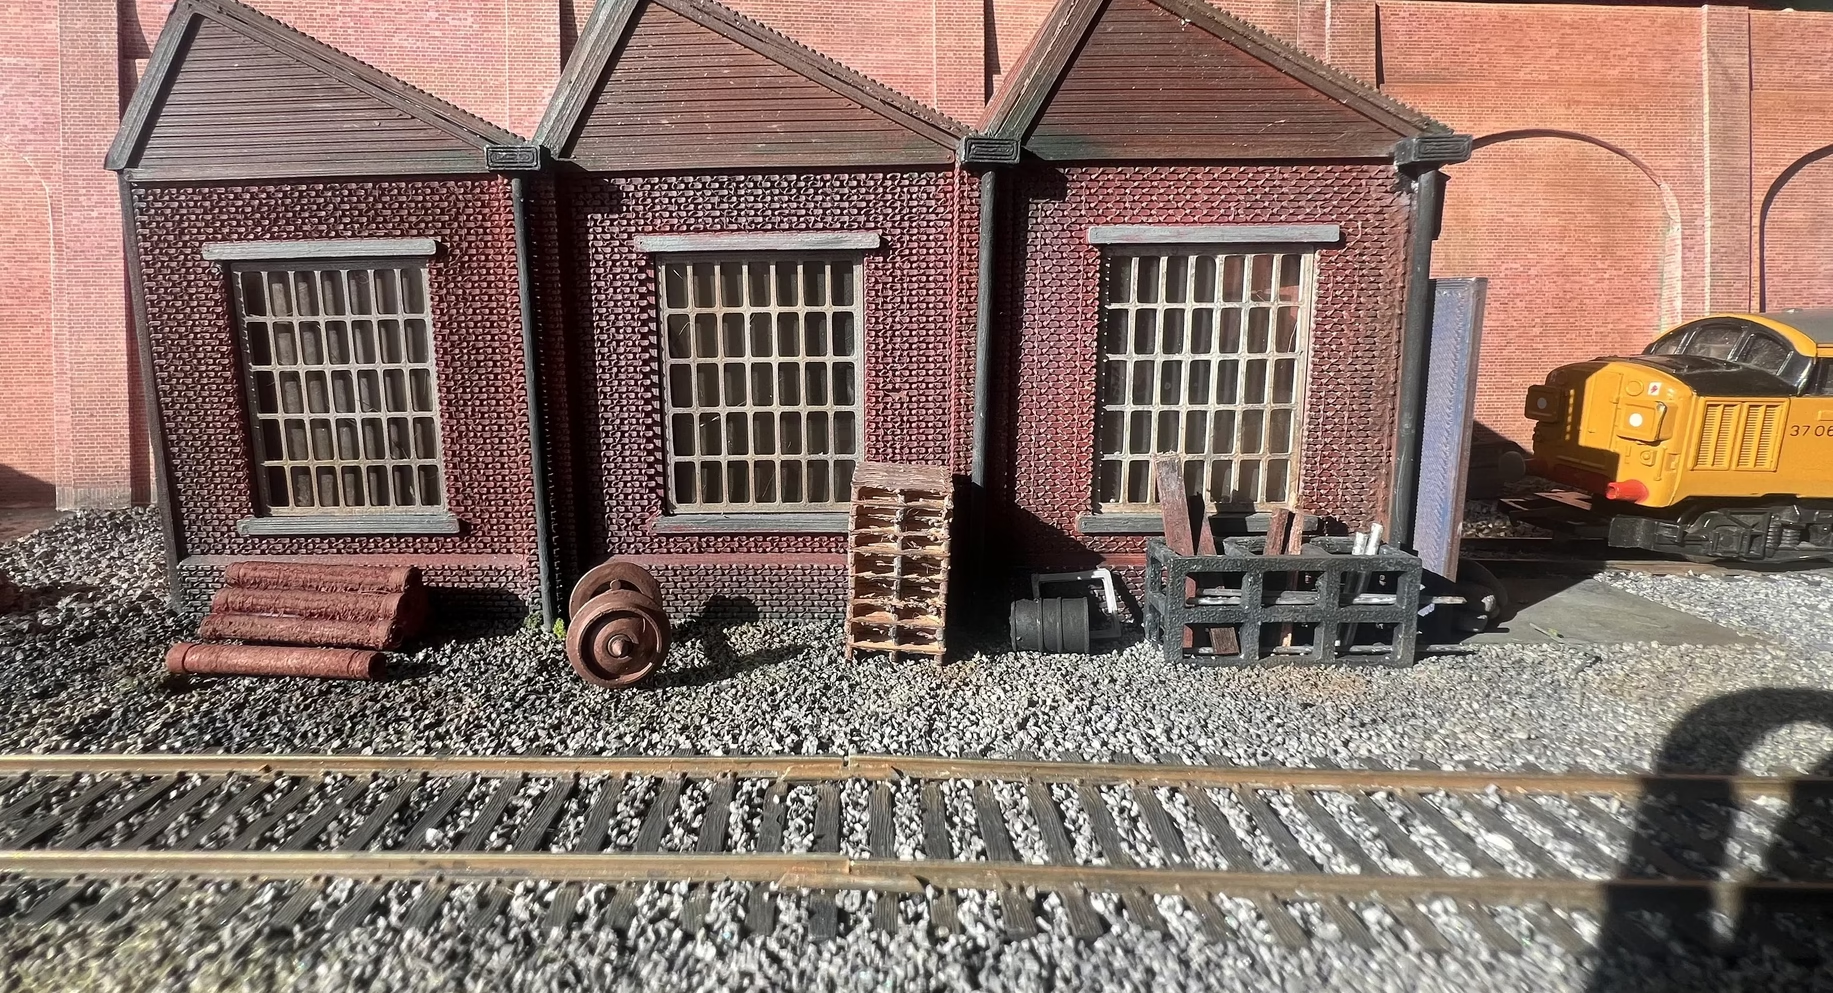
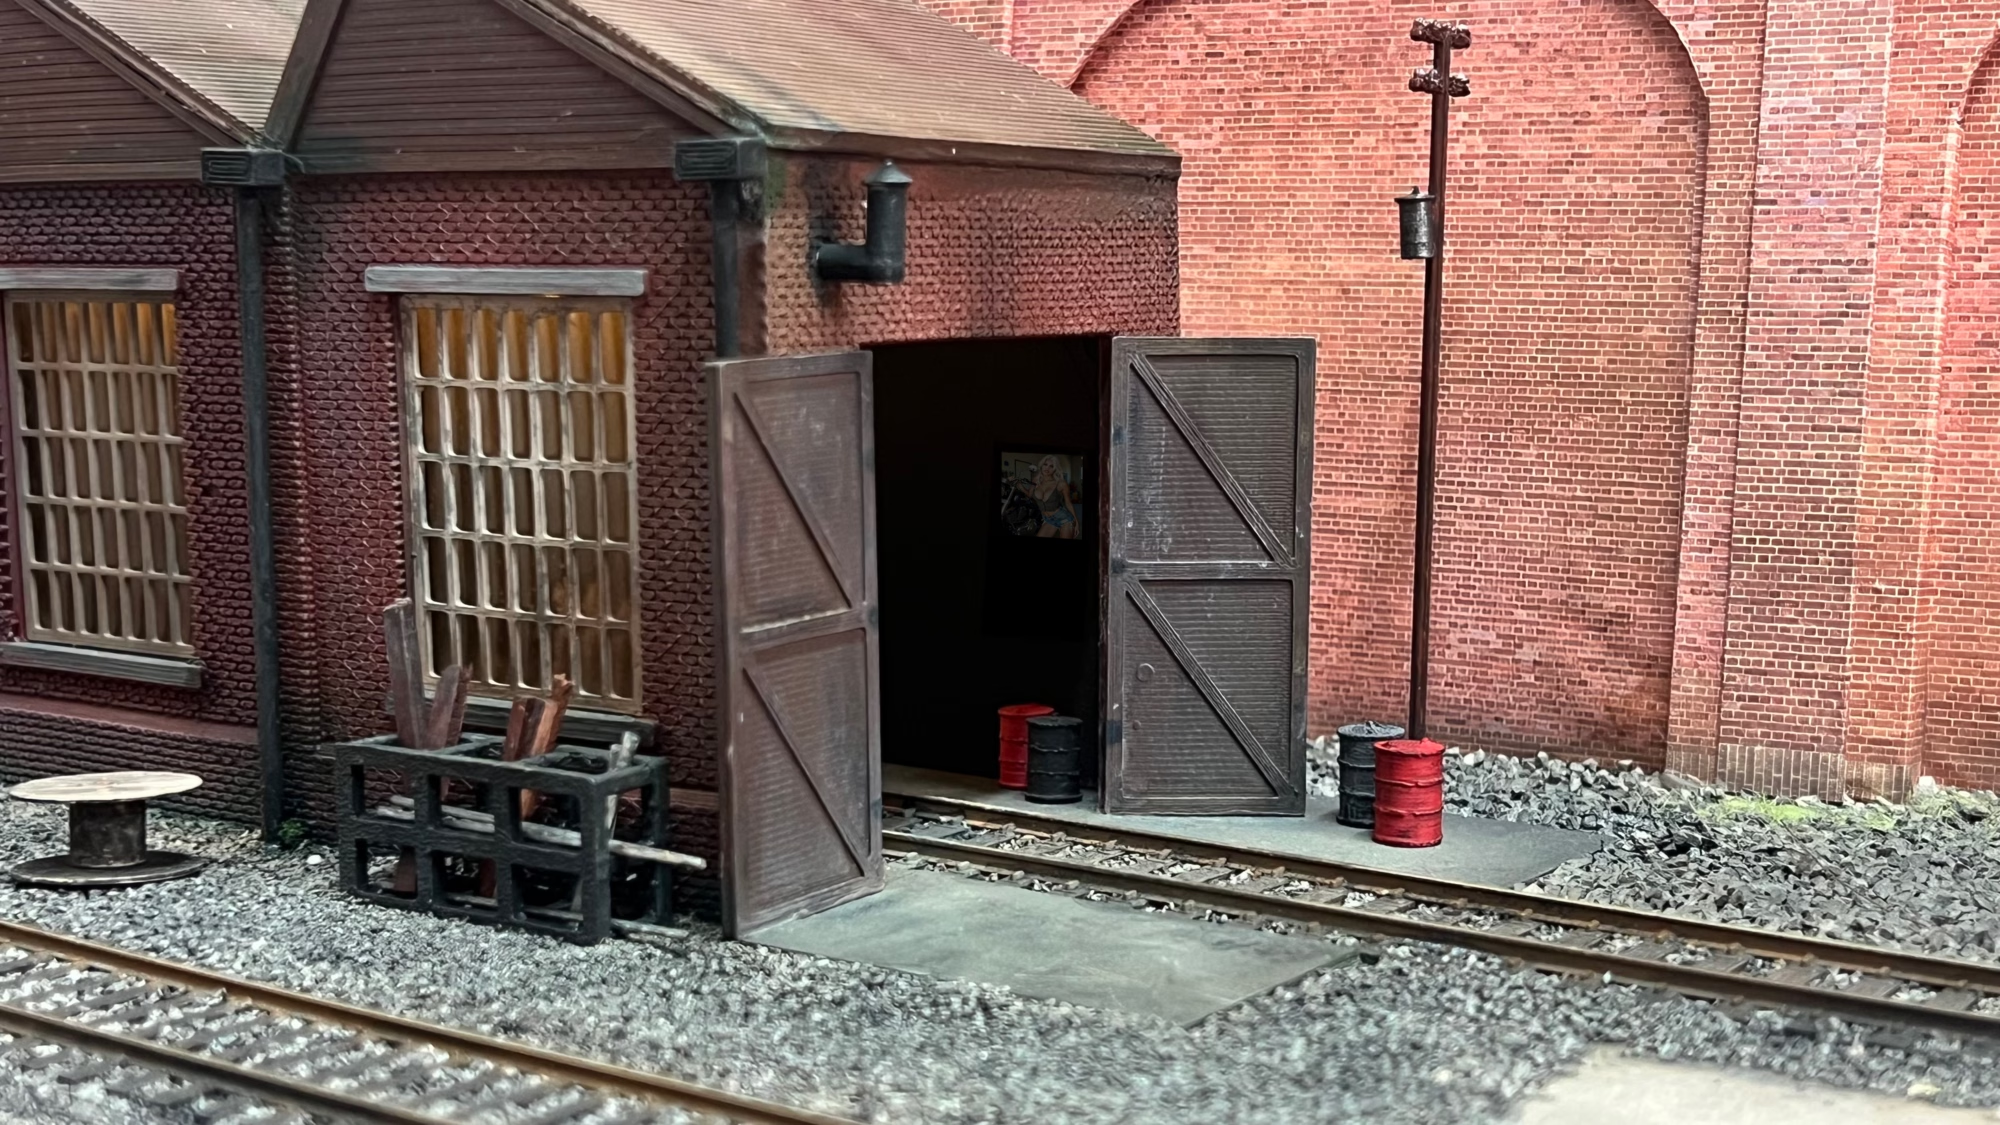
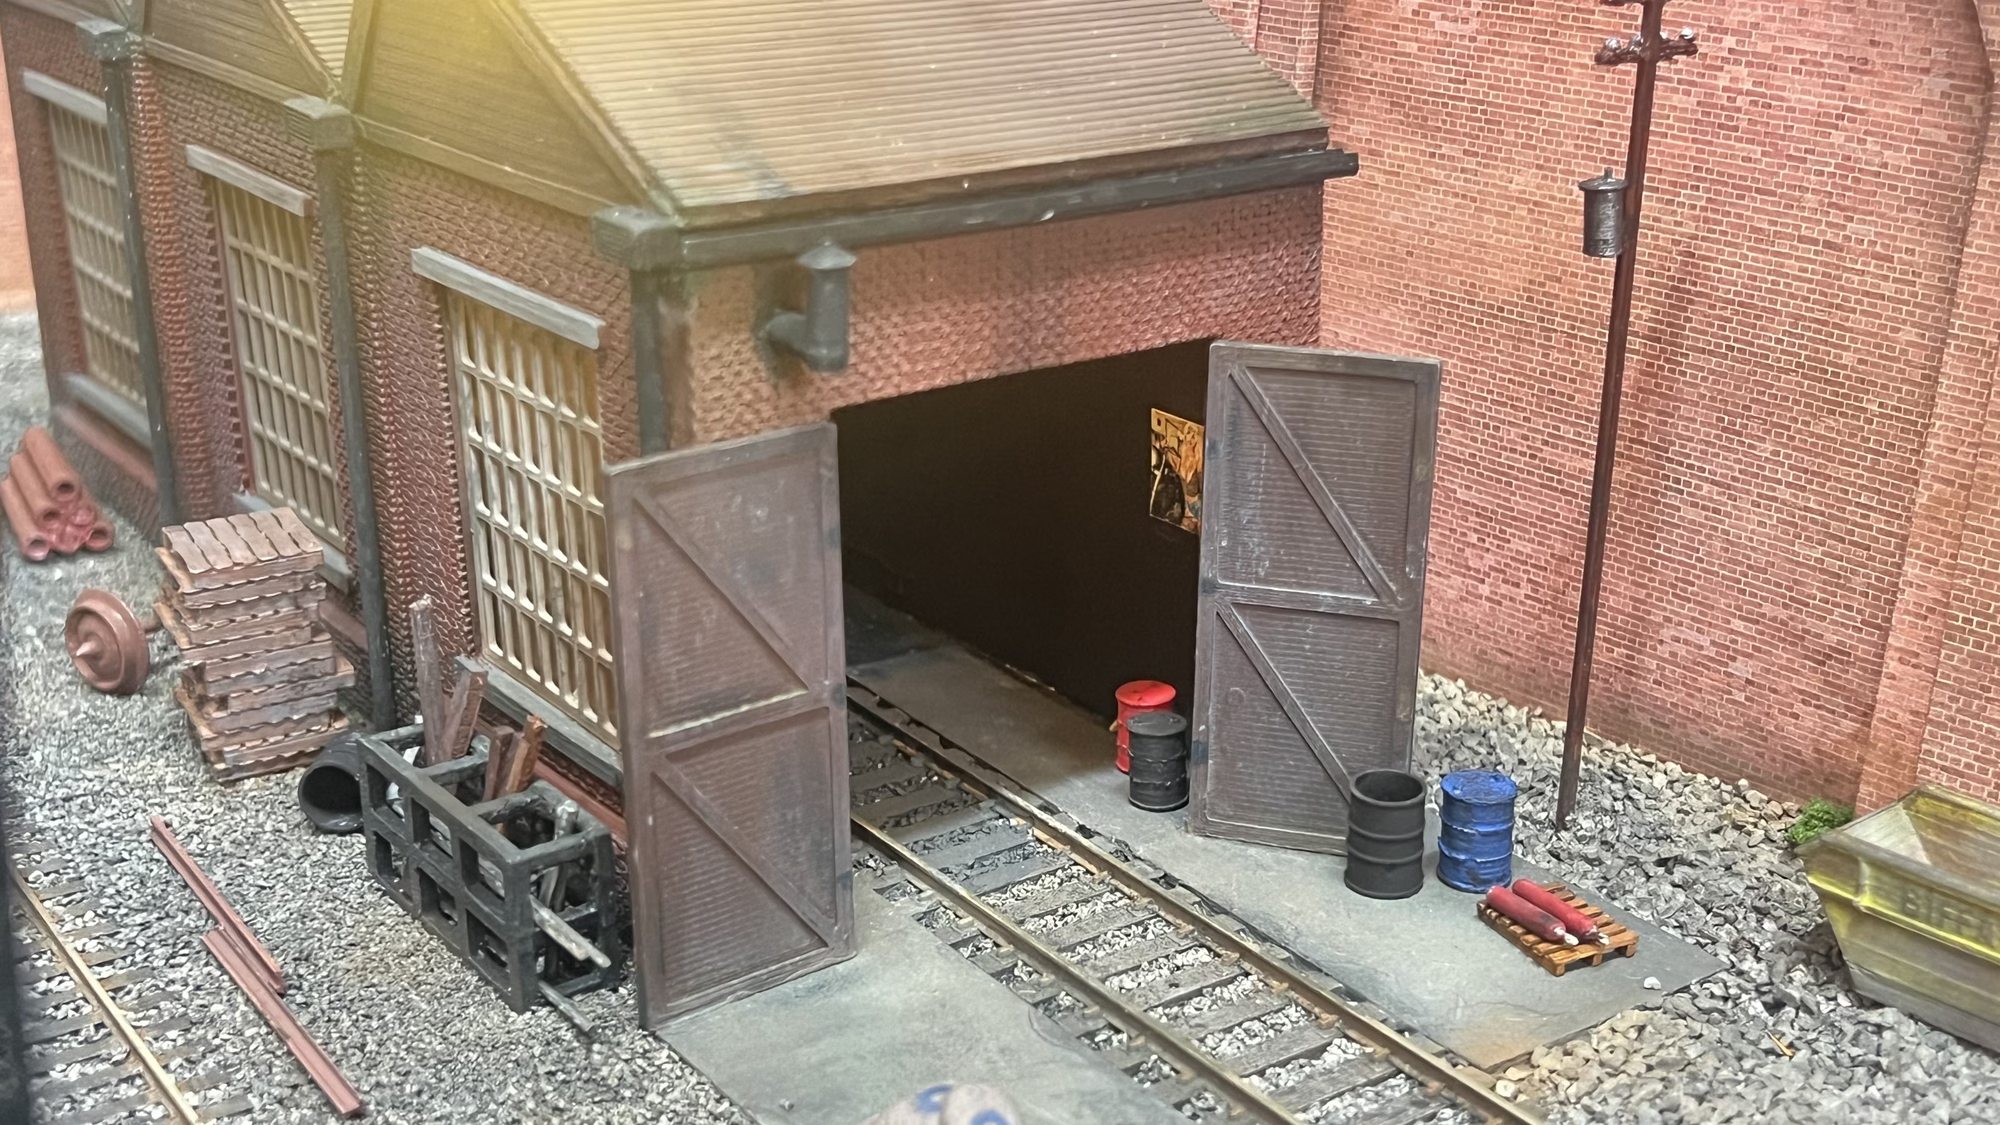
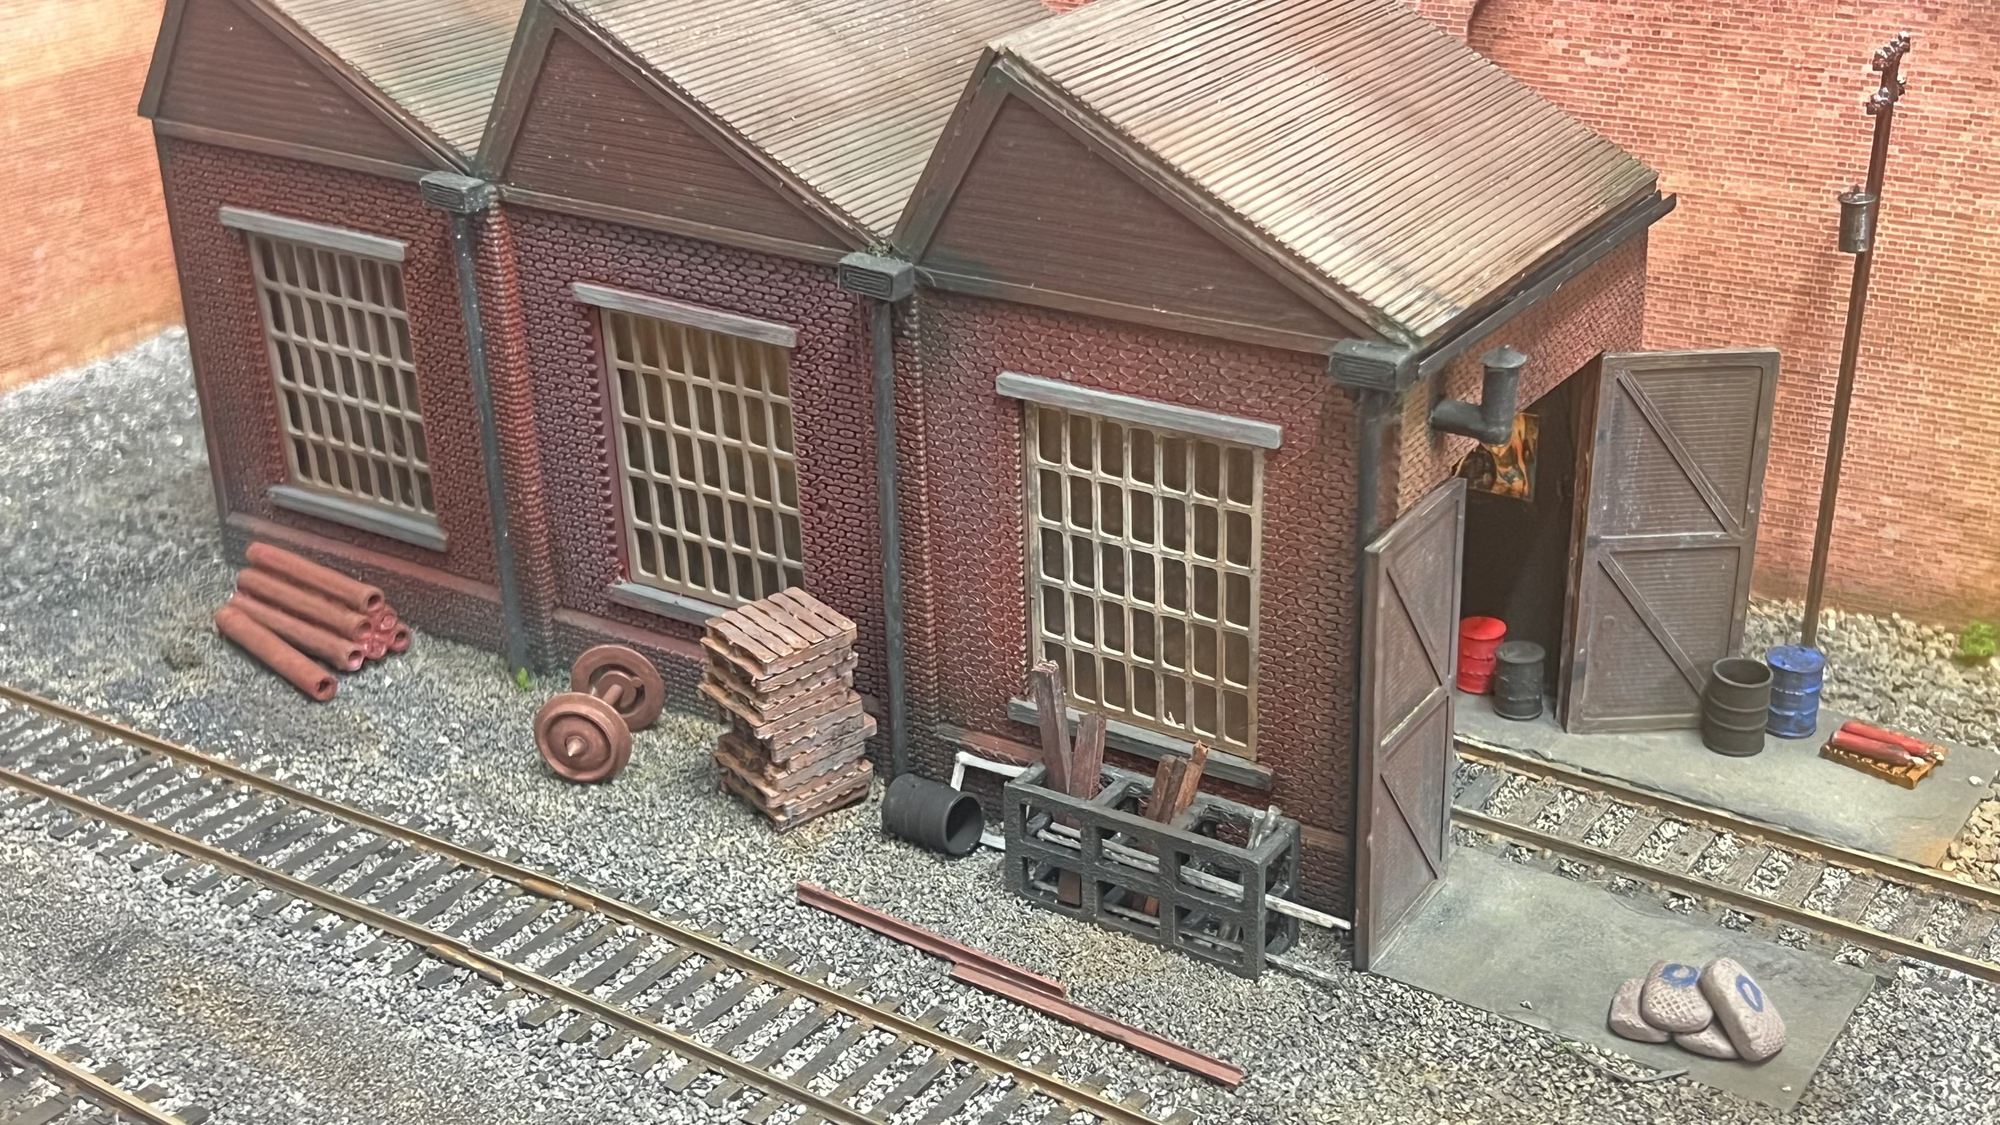
Update on the Workshop. I think I’m nearly finished with this.
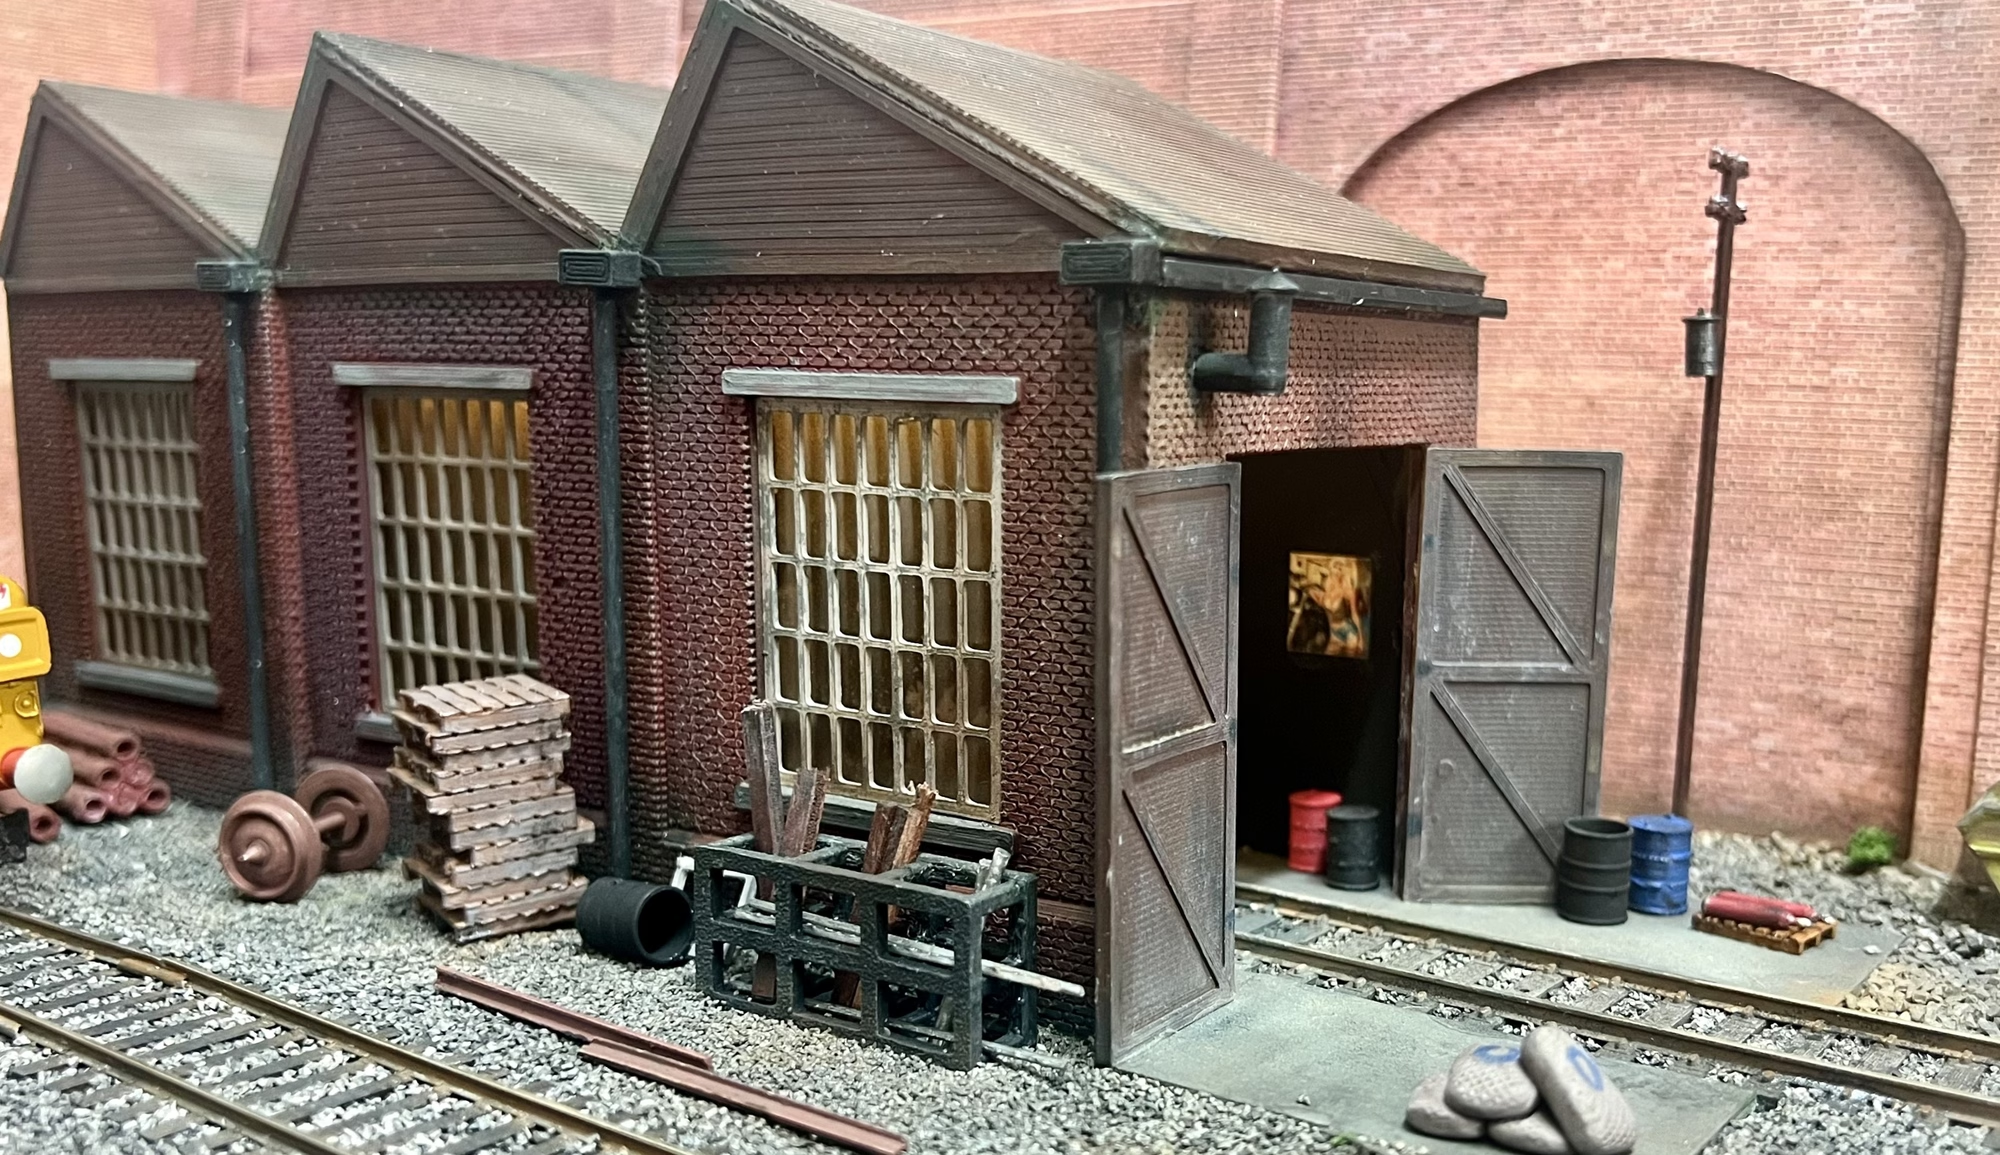
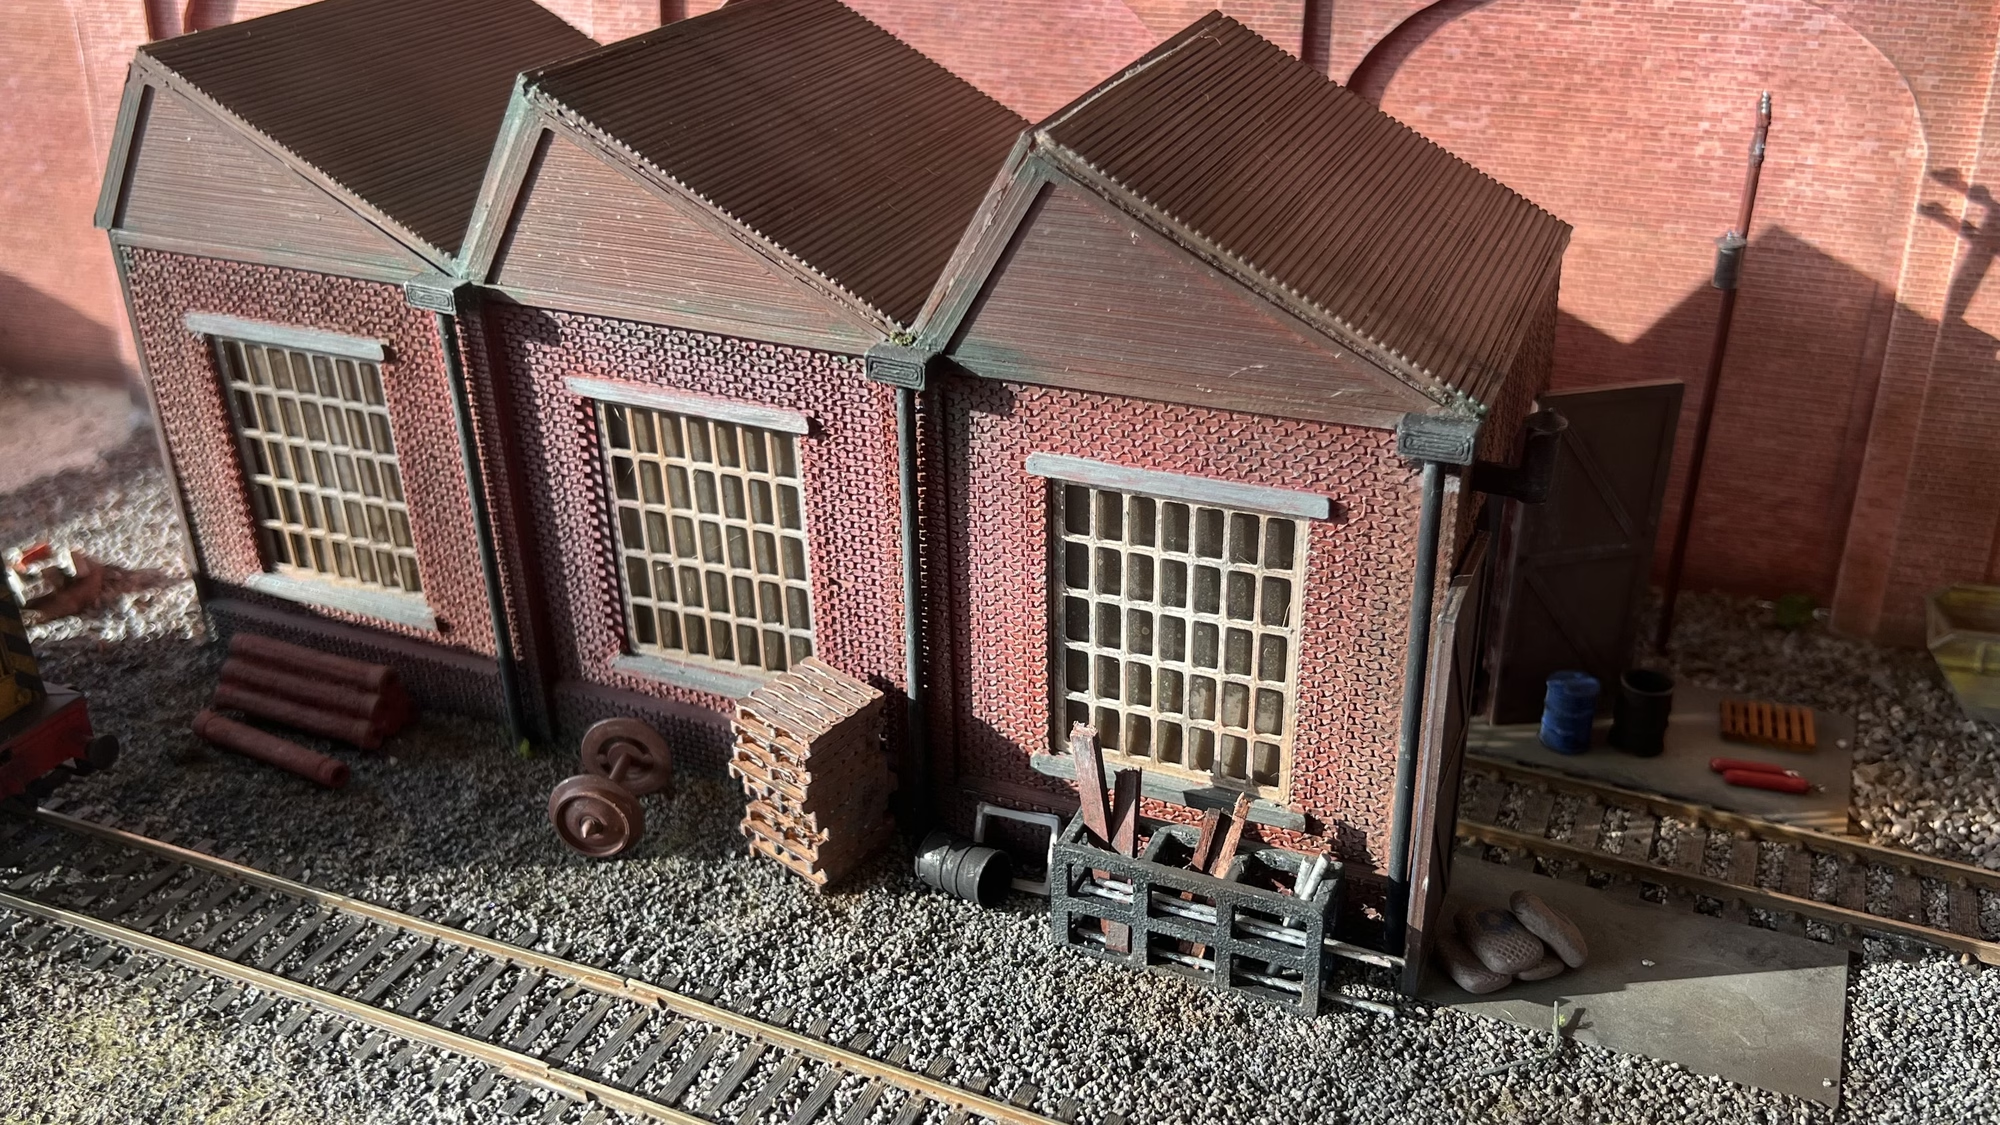
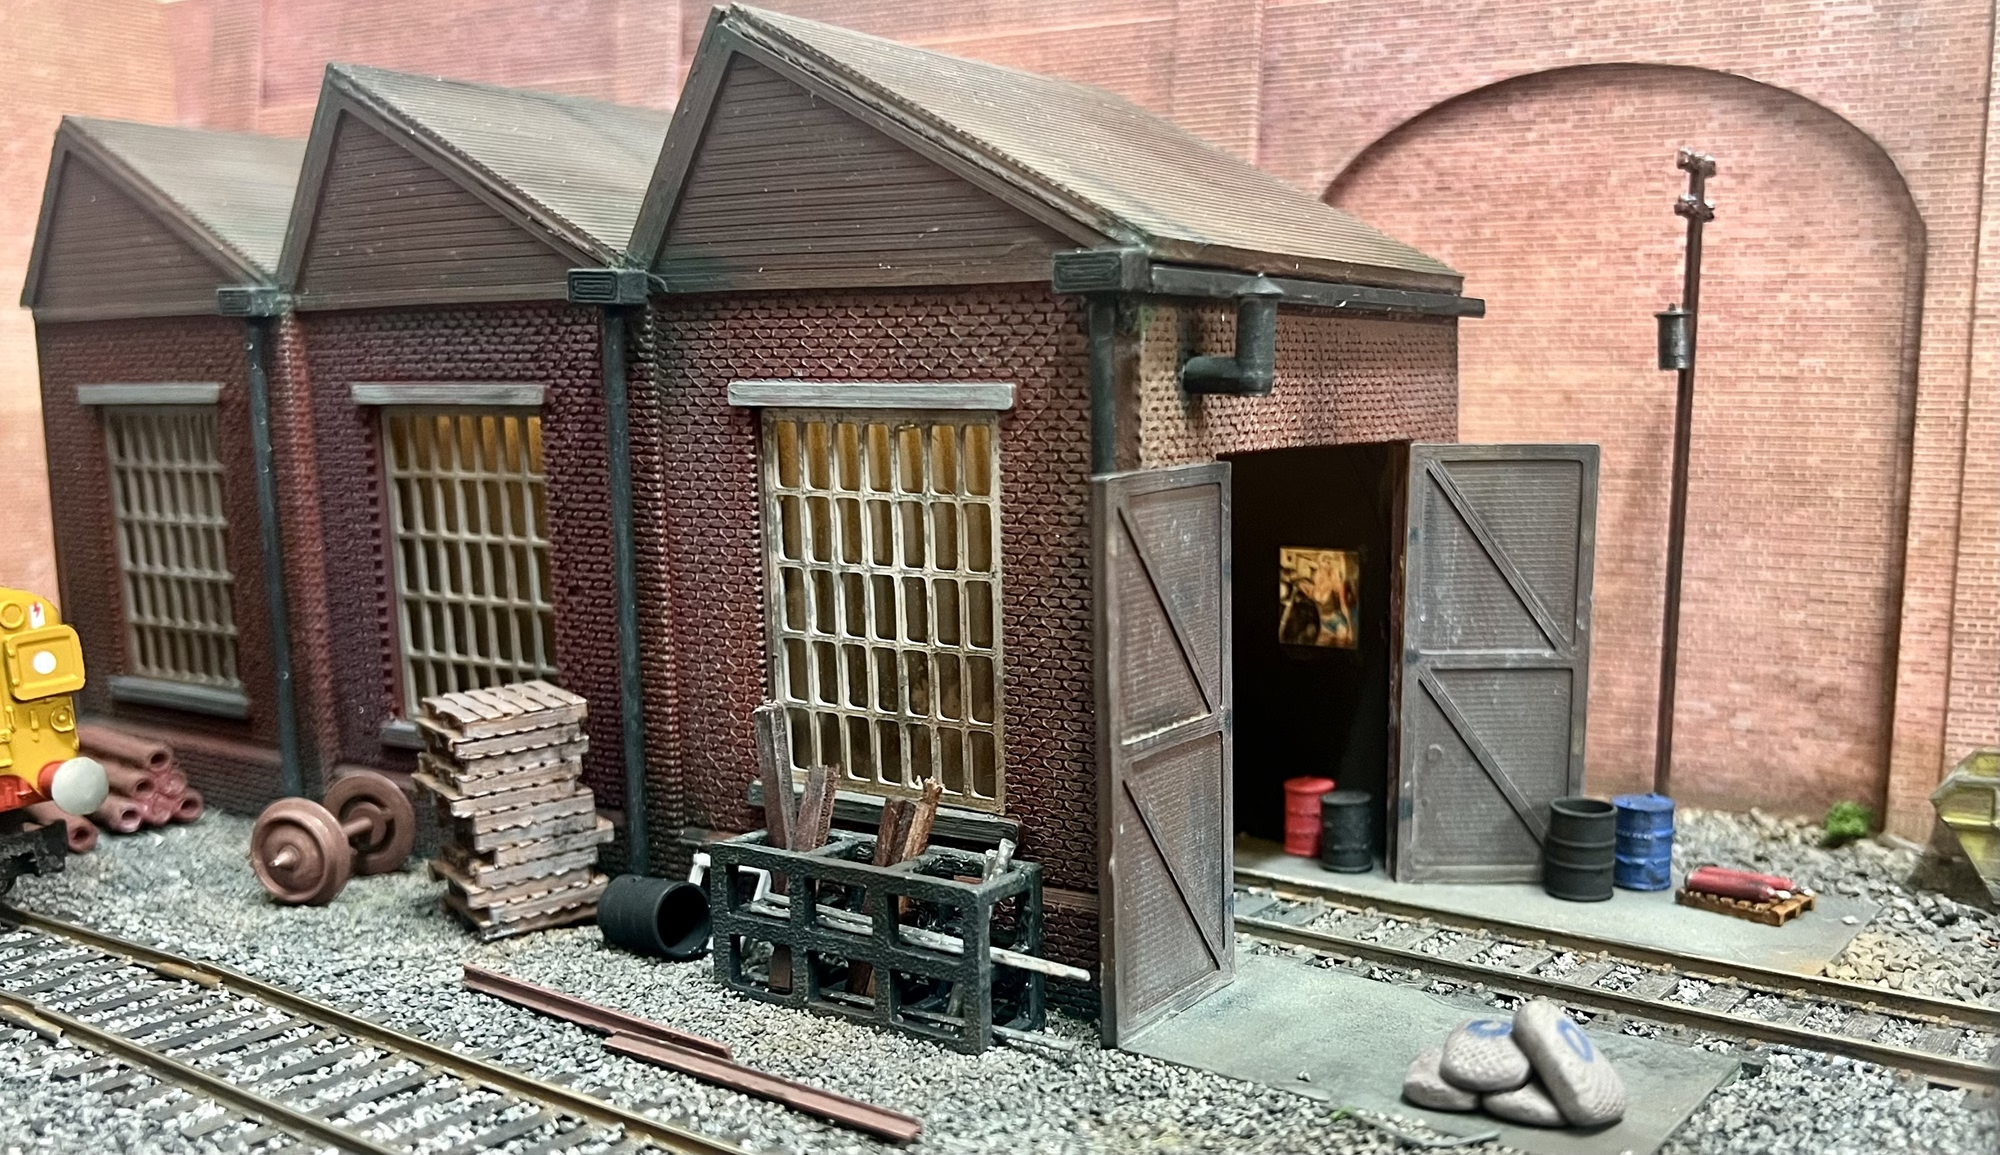
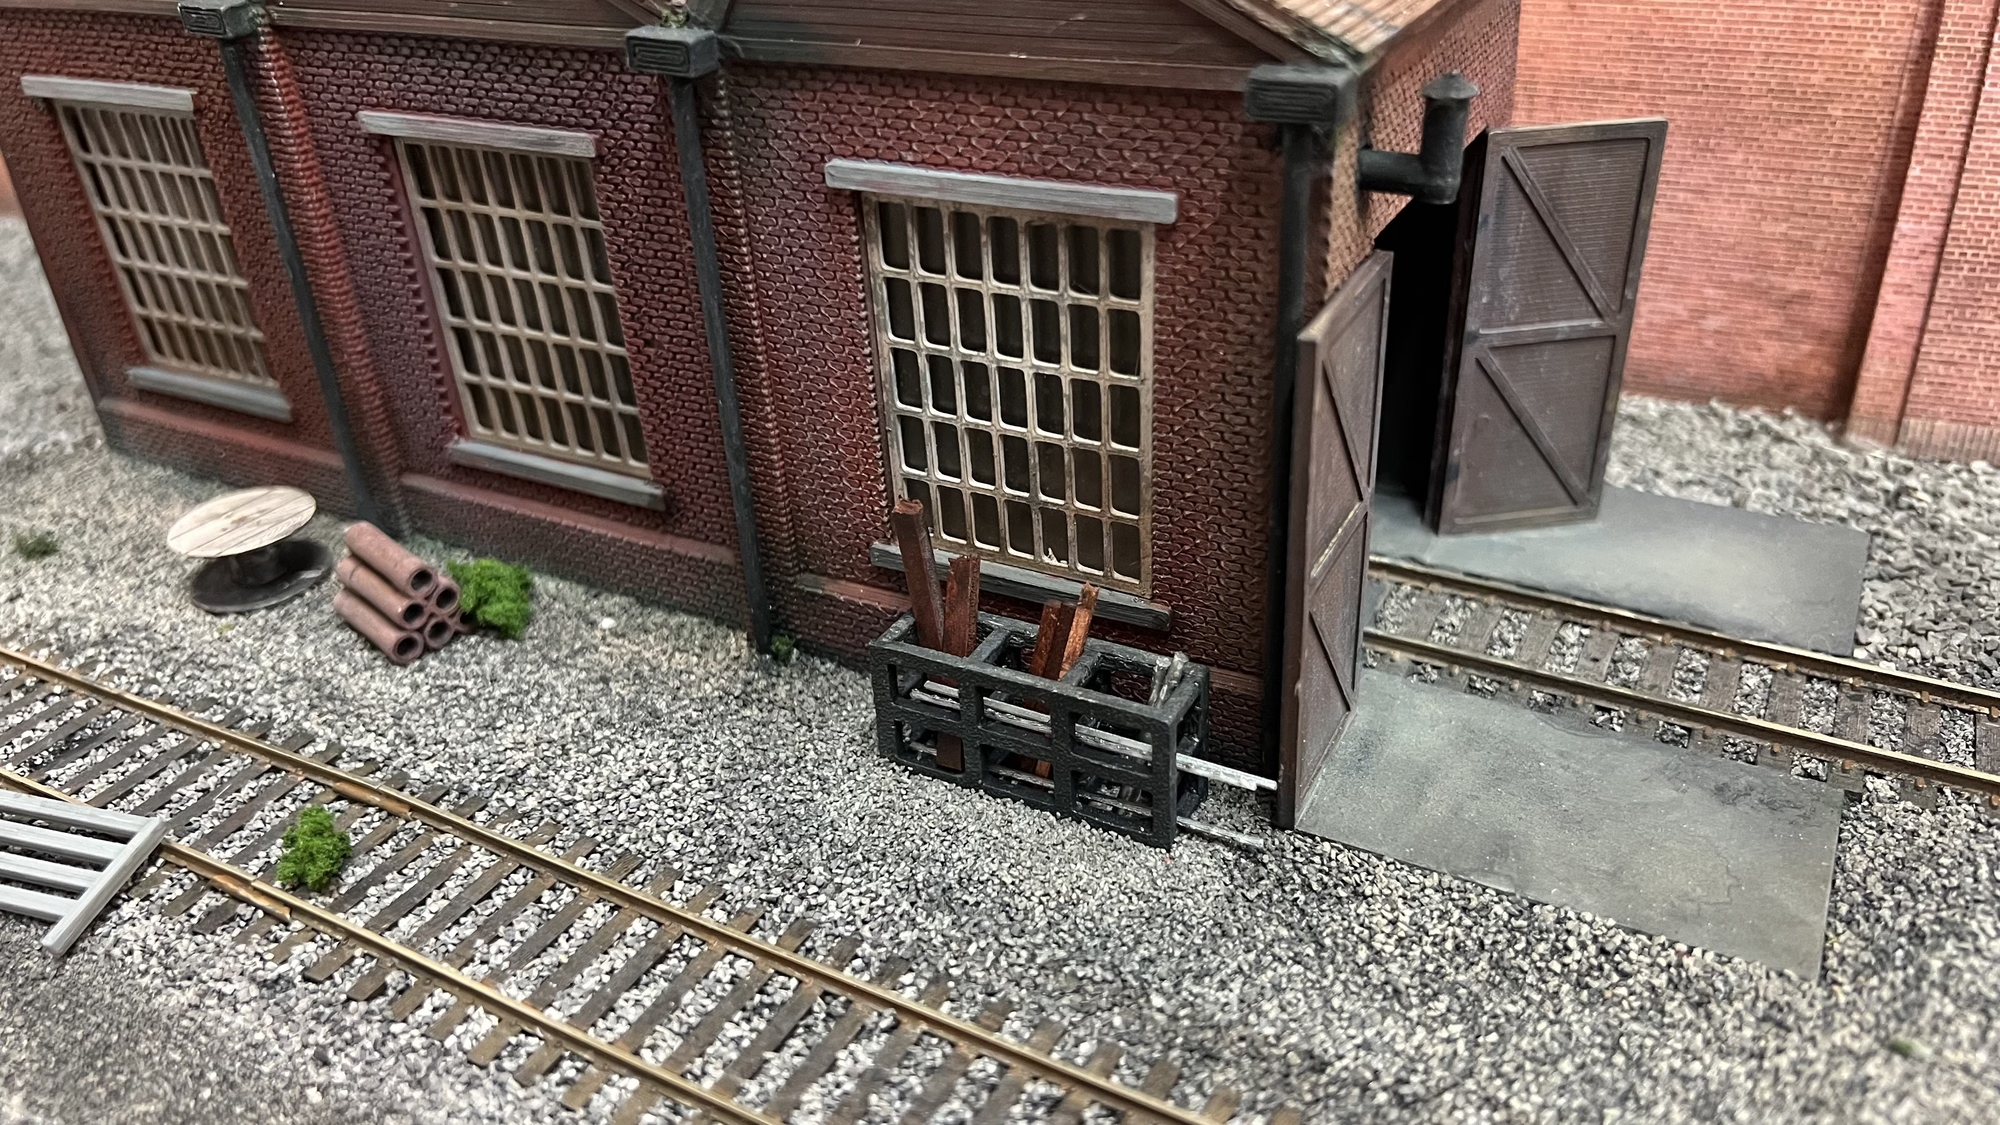
I added the rain gutters, painted the window lintels and used a little more weathering powders to tone it down.
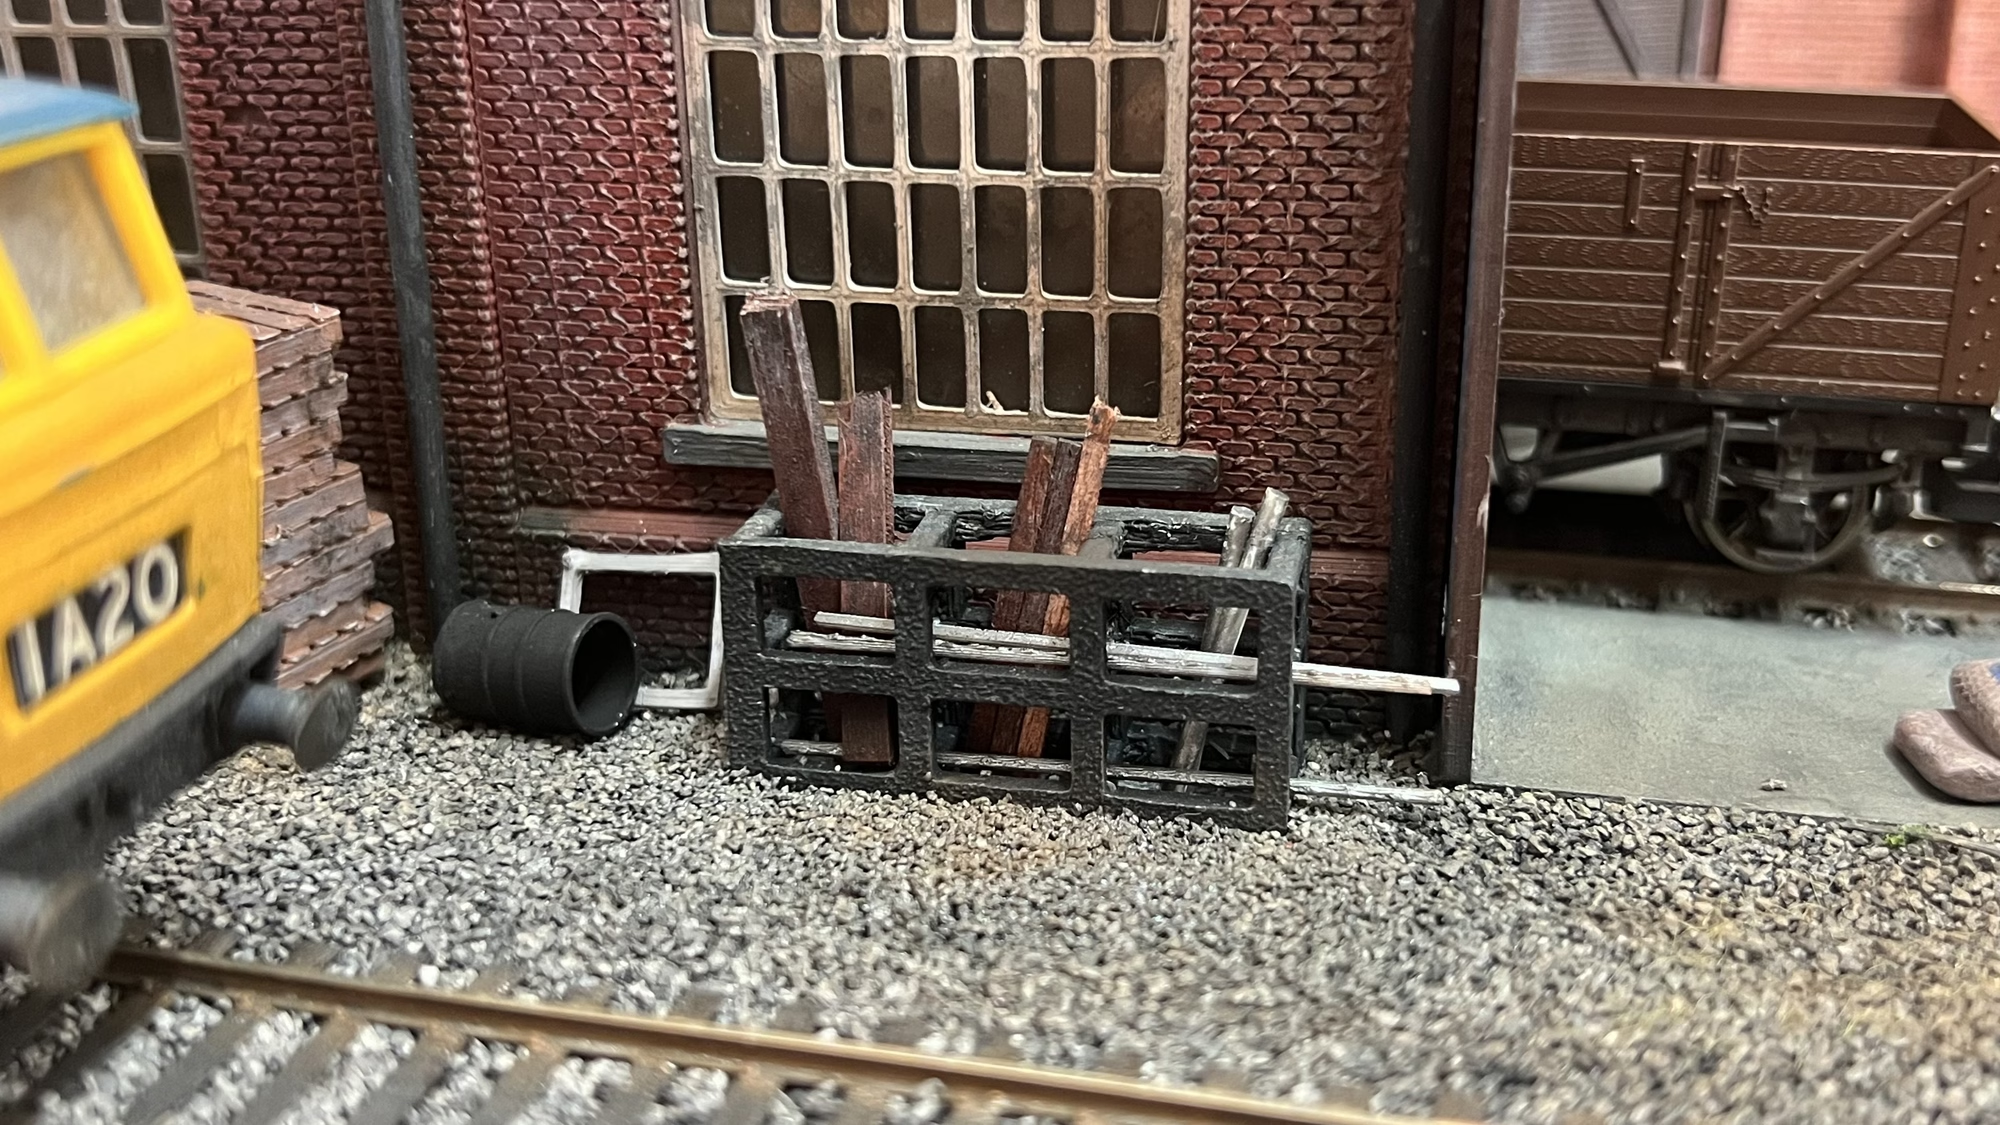
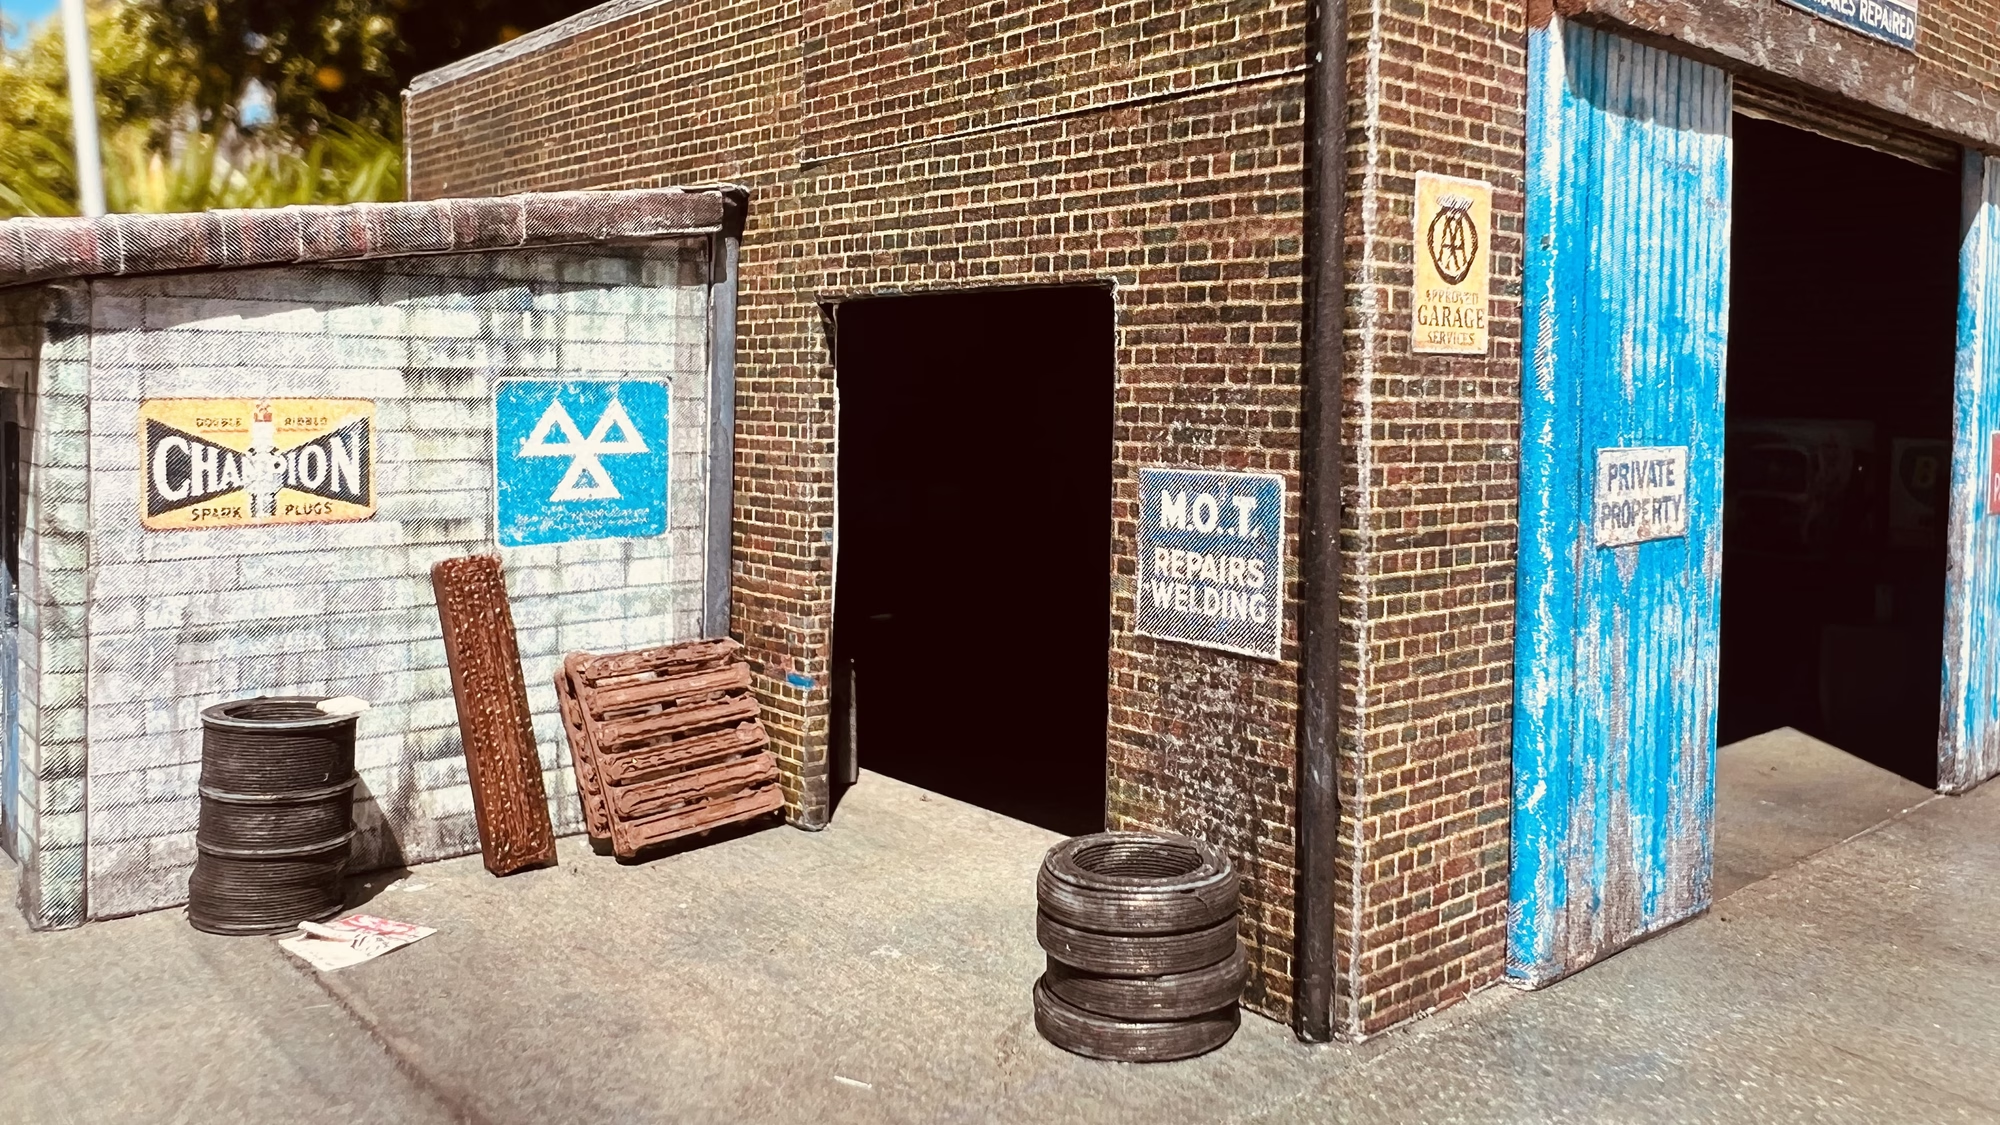
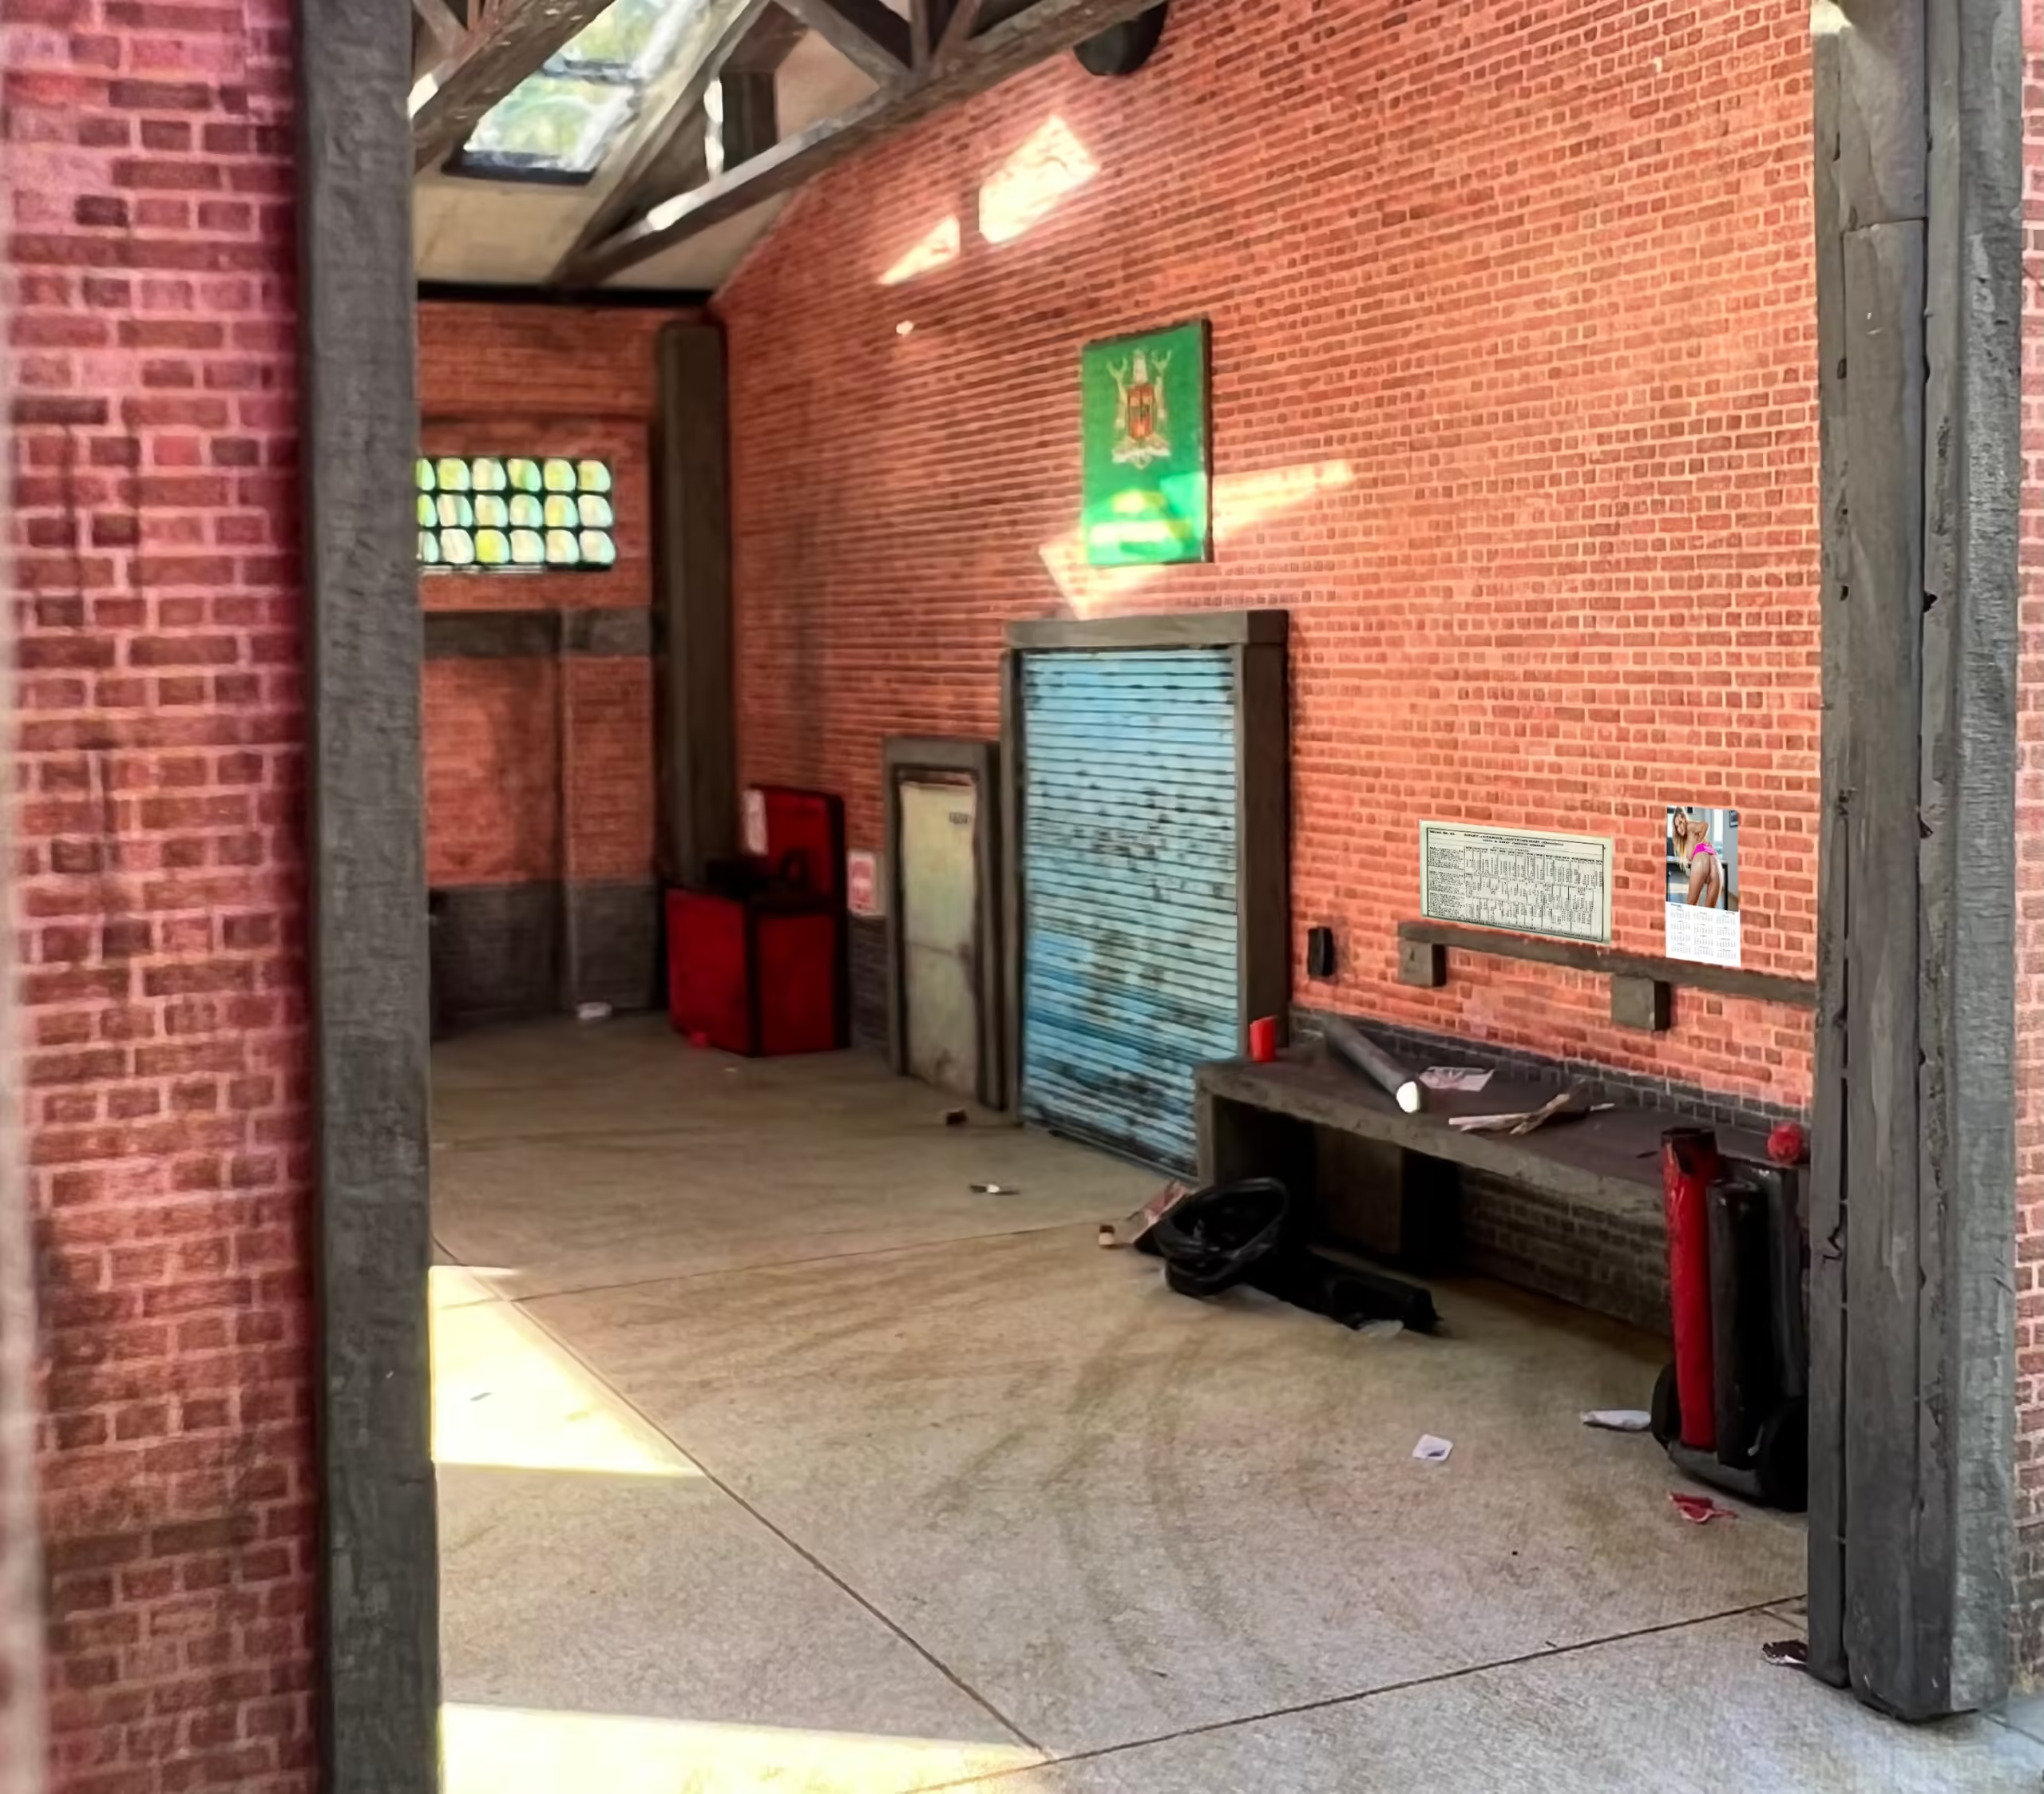
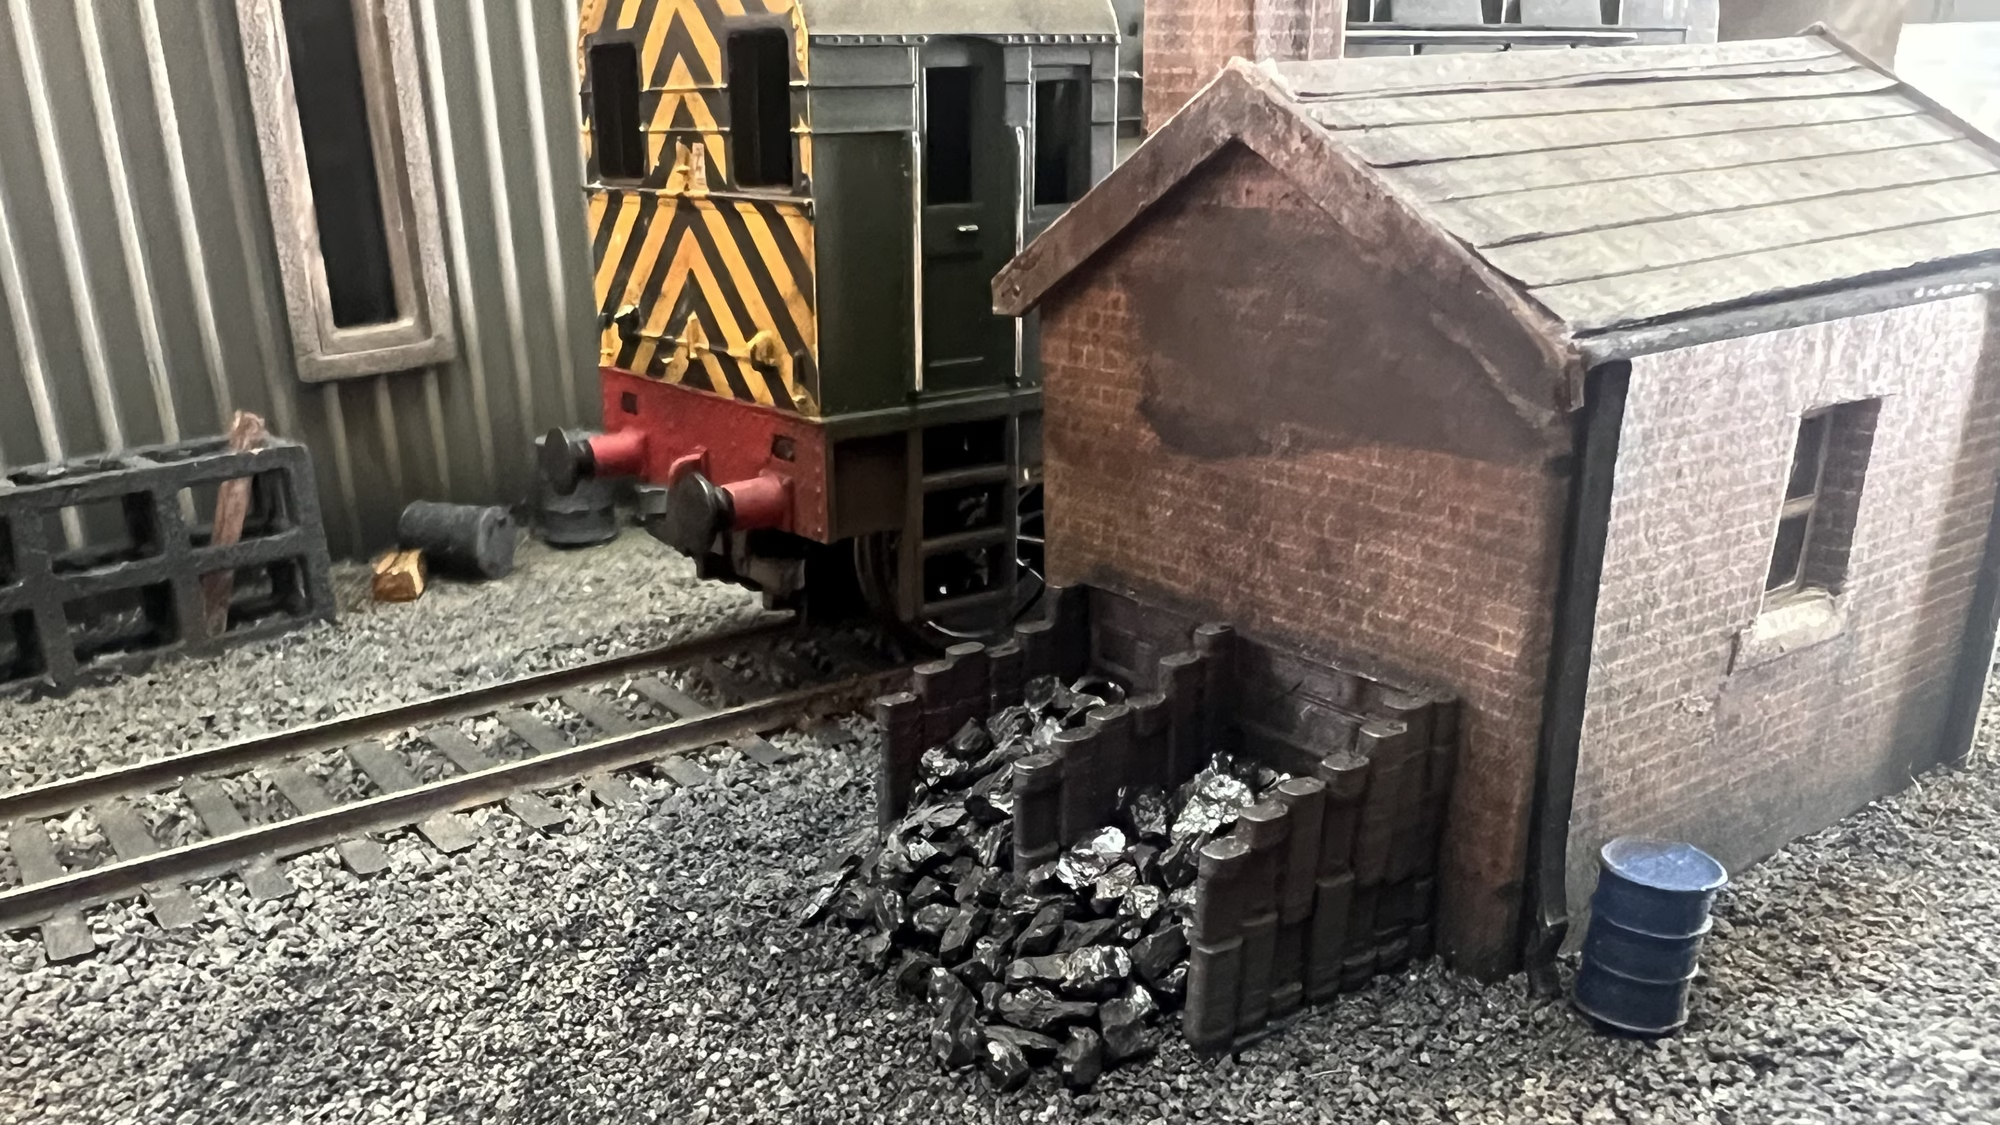
The bits and bobs, details items and general crap bring it to life.
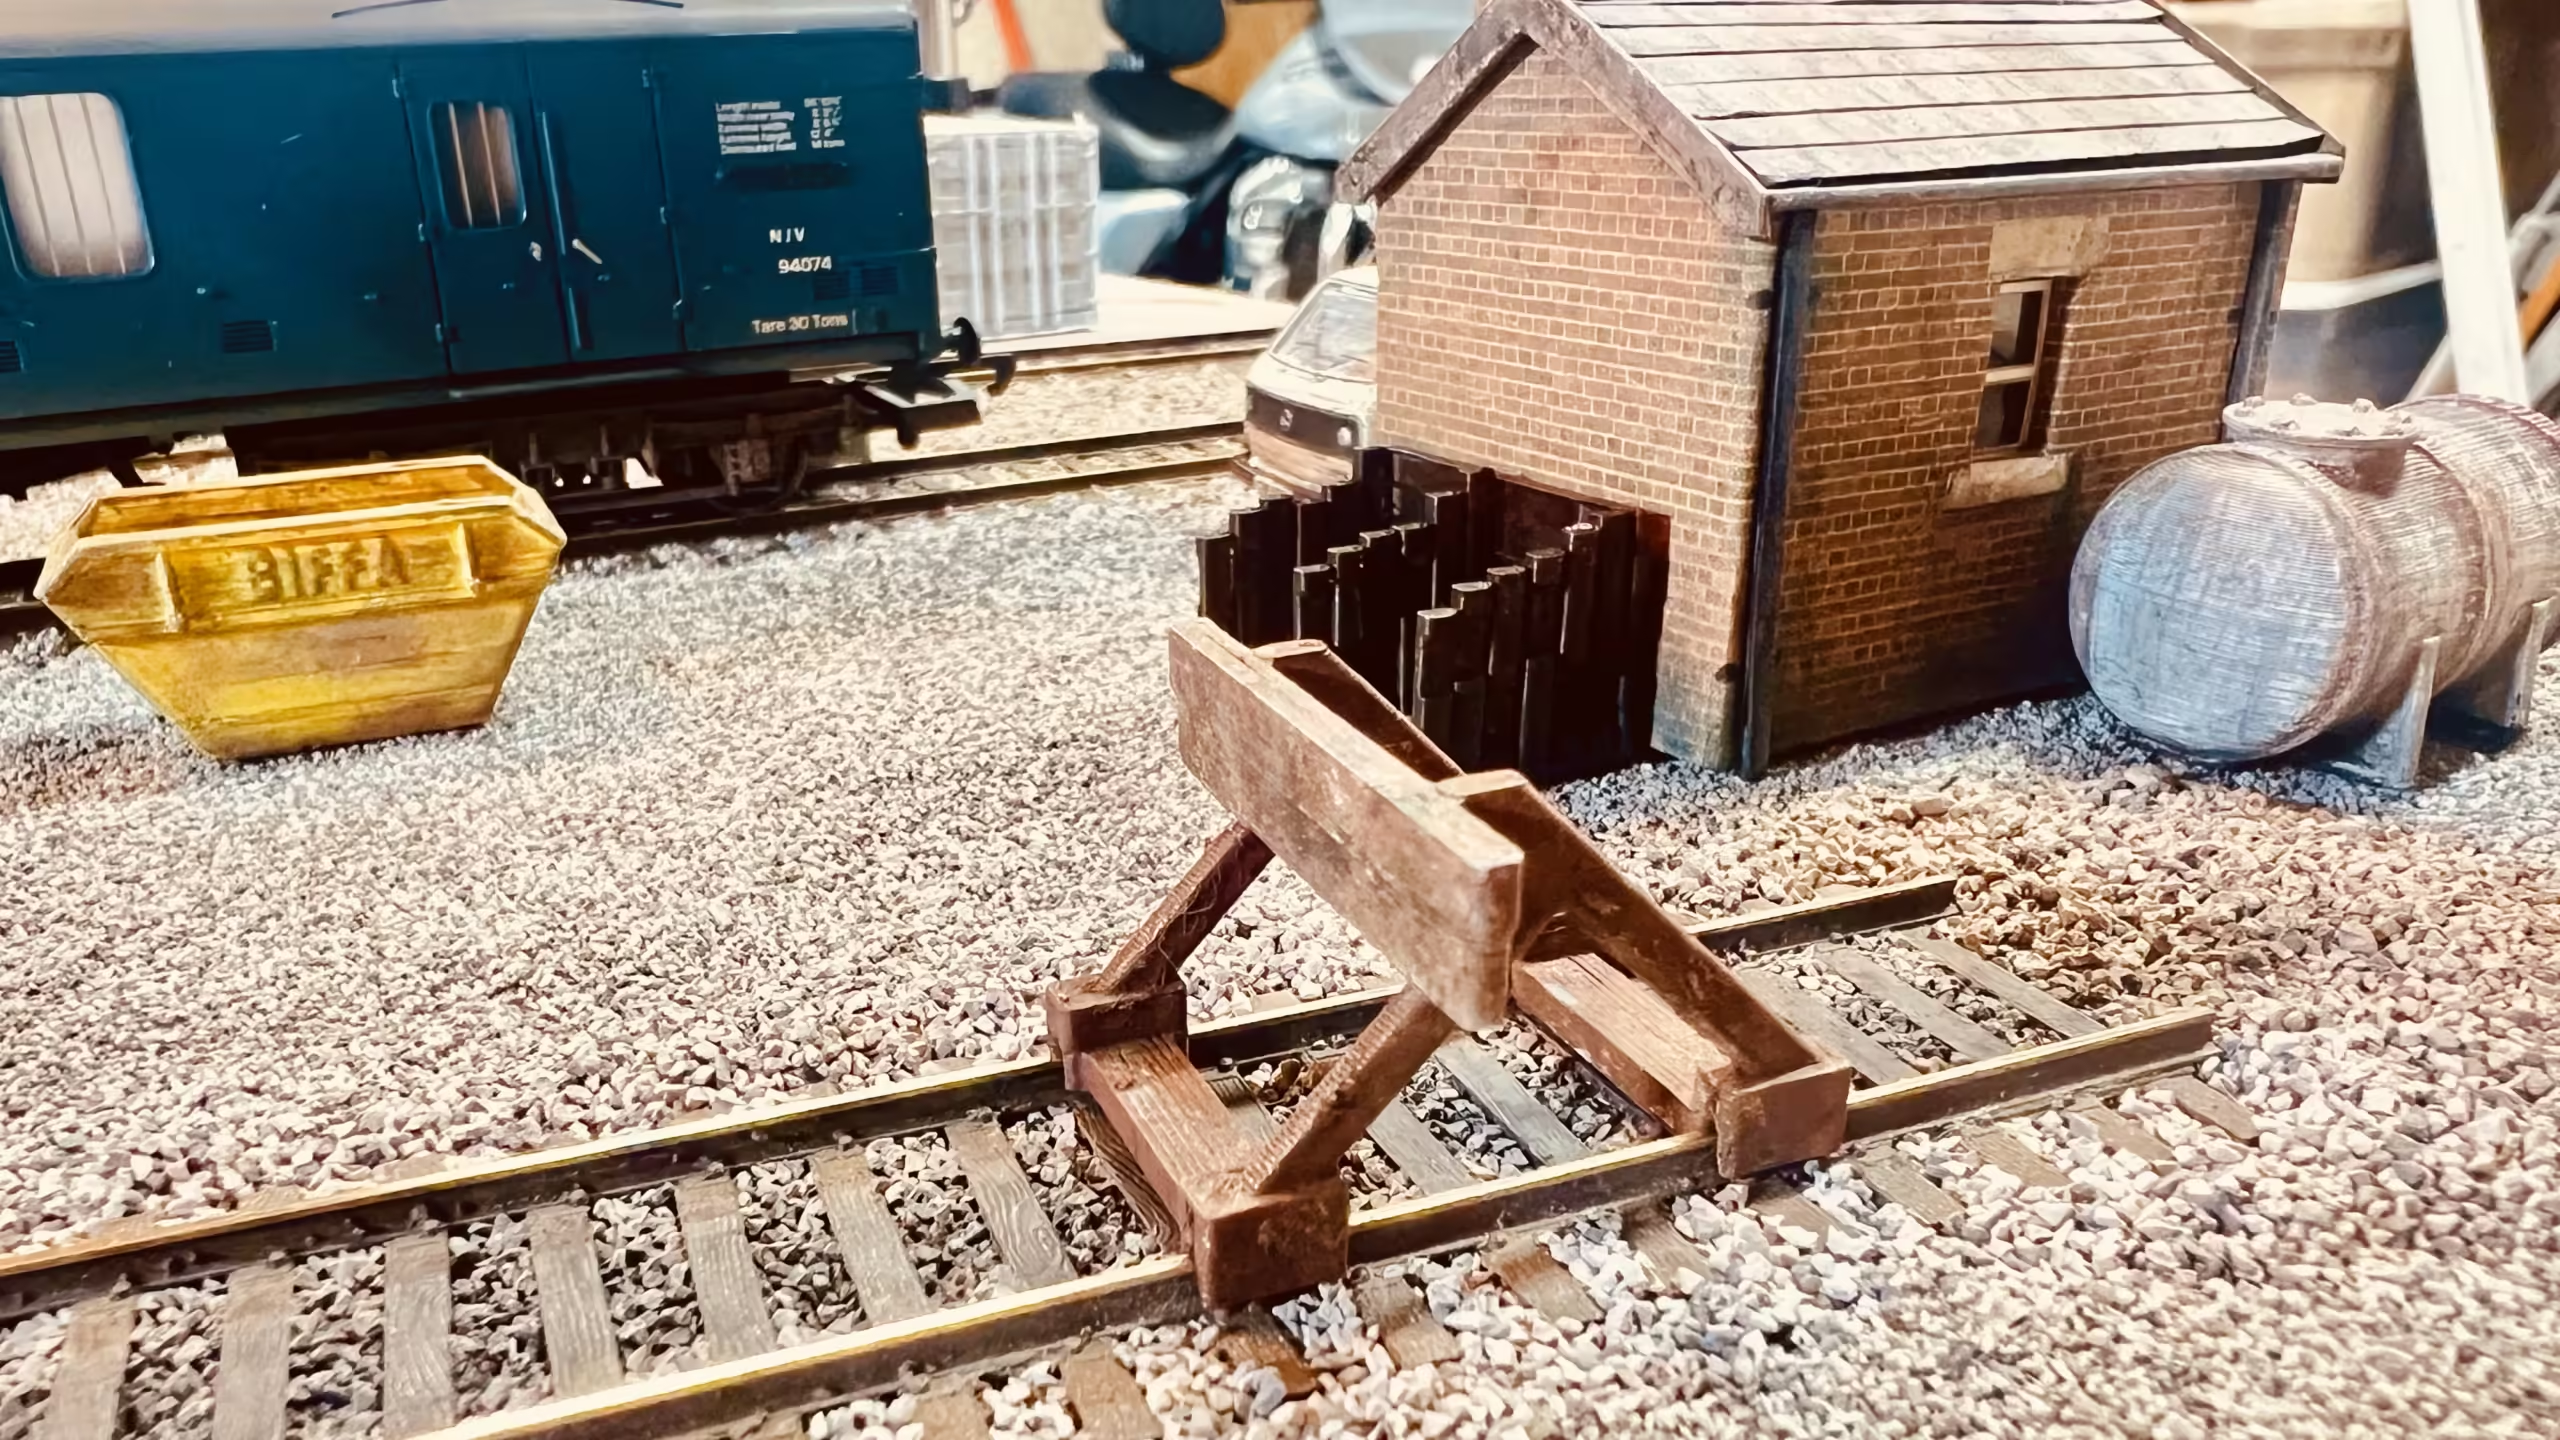
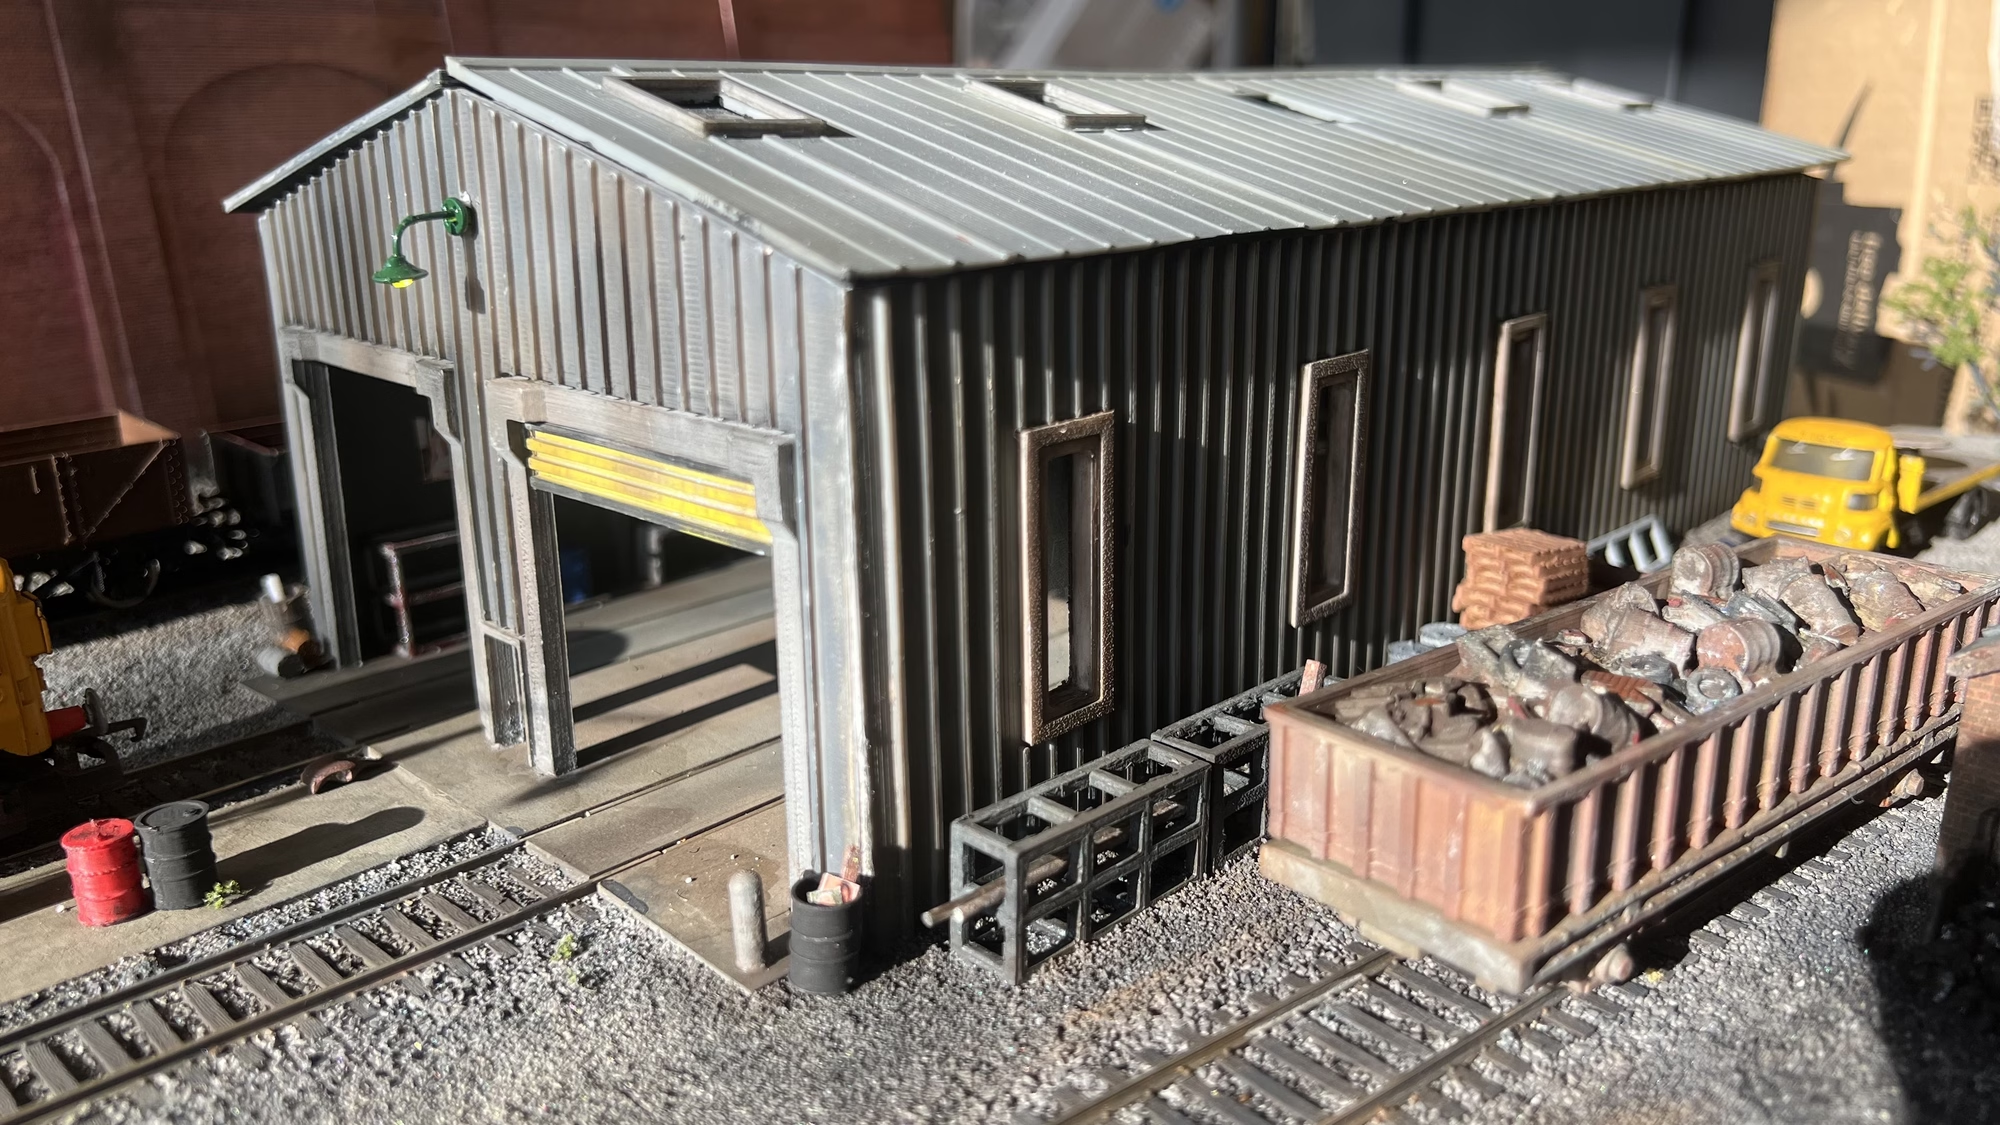
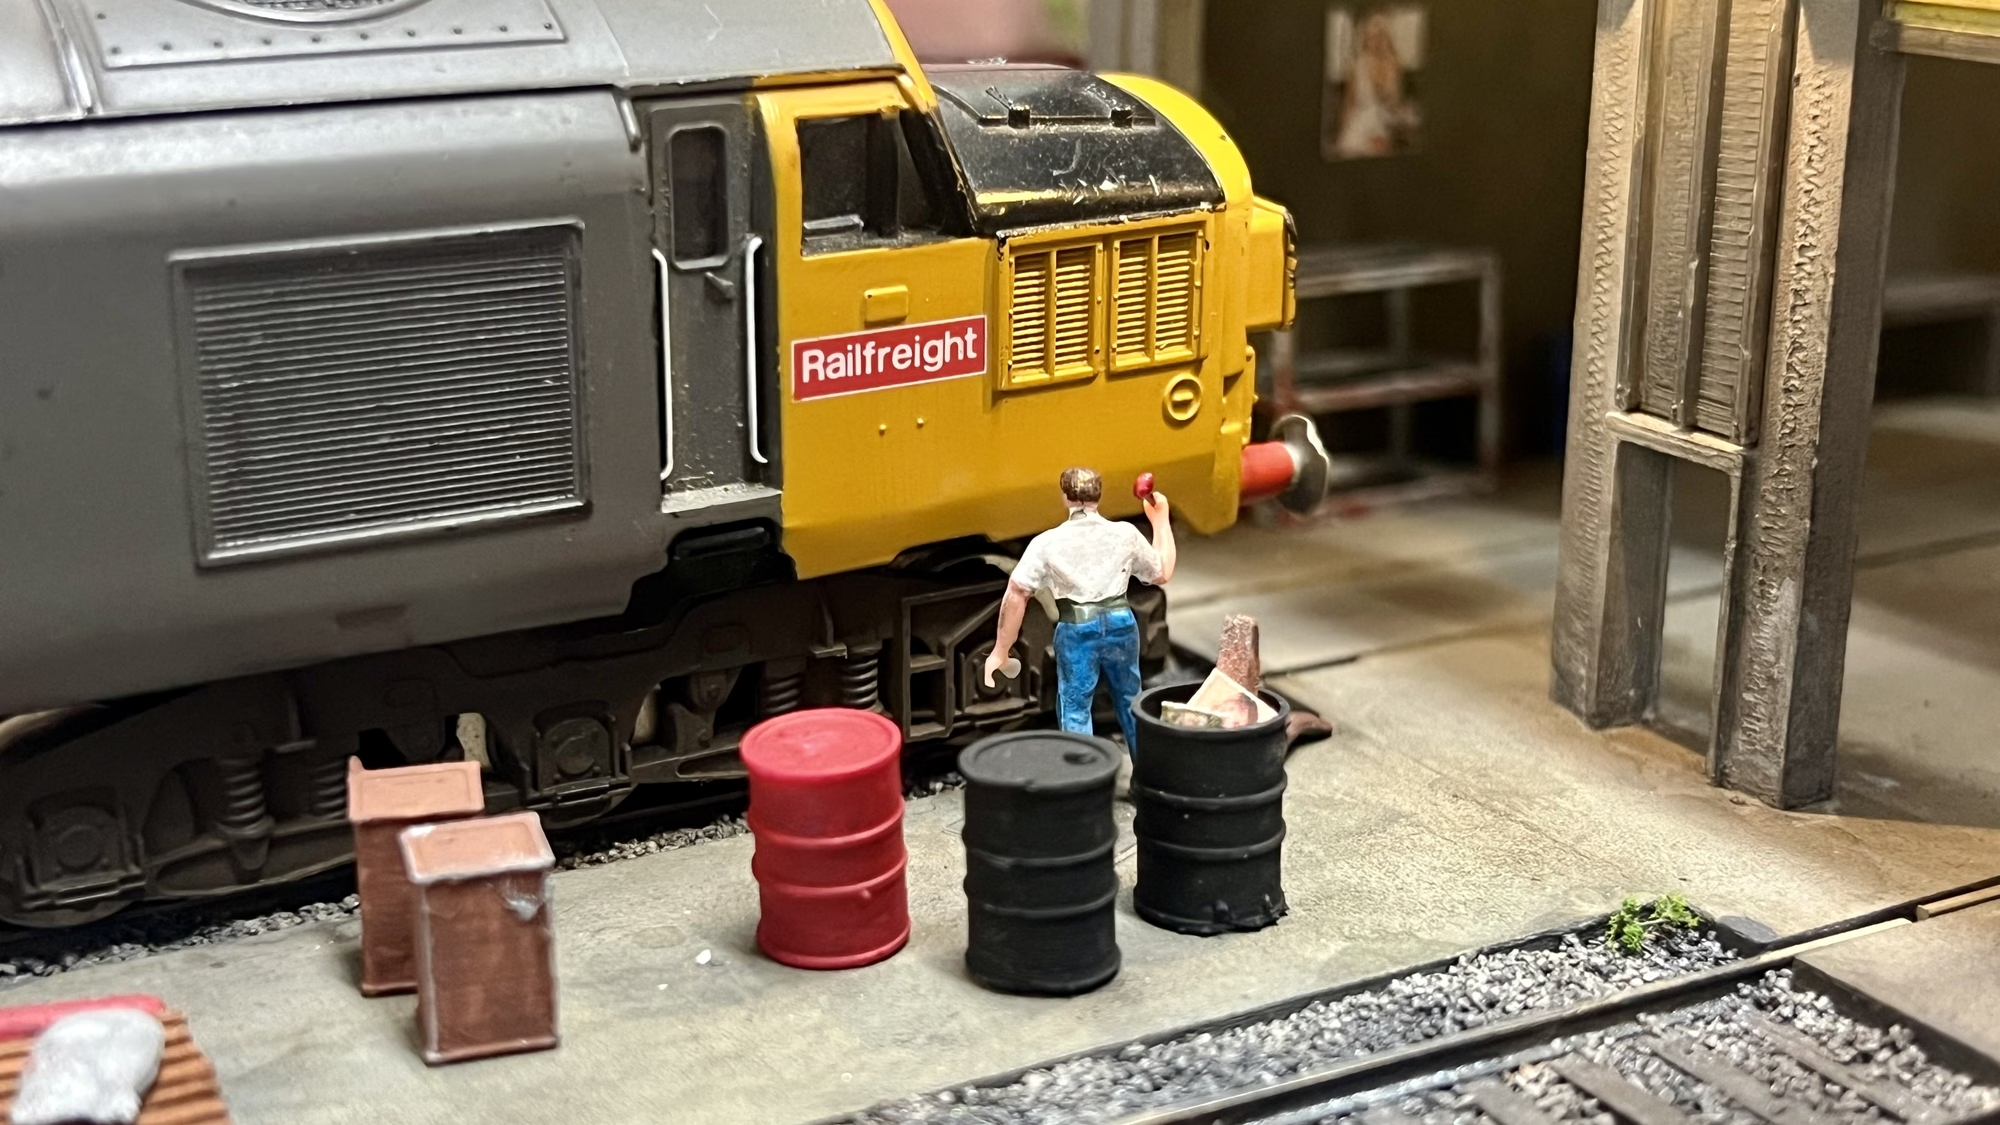
The oil drums, water pipes, telegraph poles and the racking are all my own 3D print design. If you’re interested, you can obtain them here.
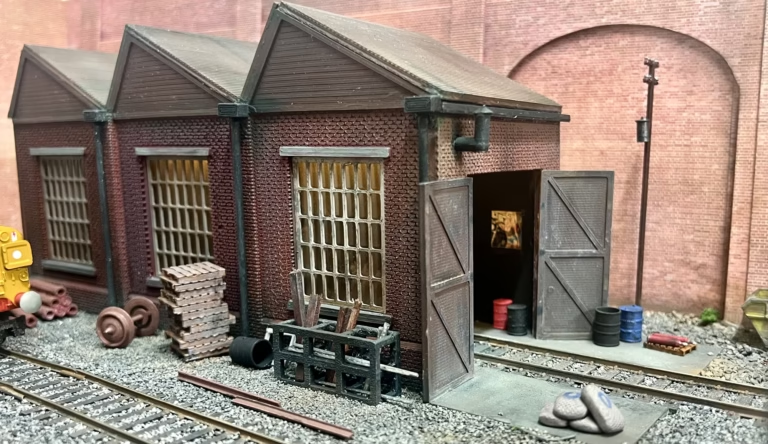
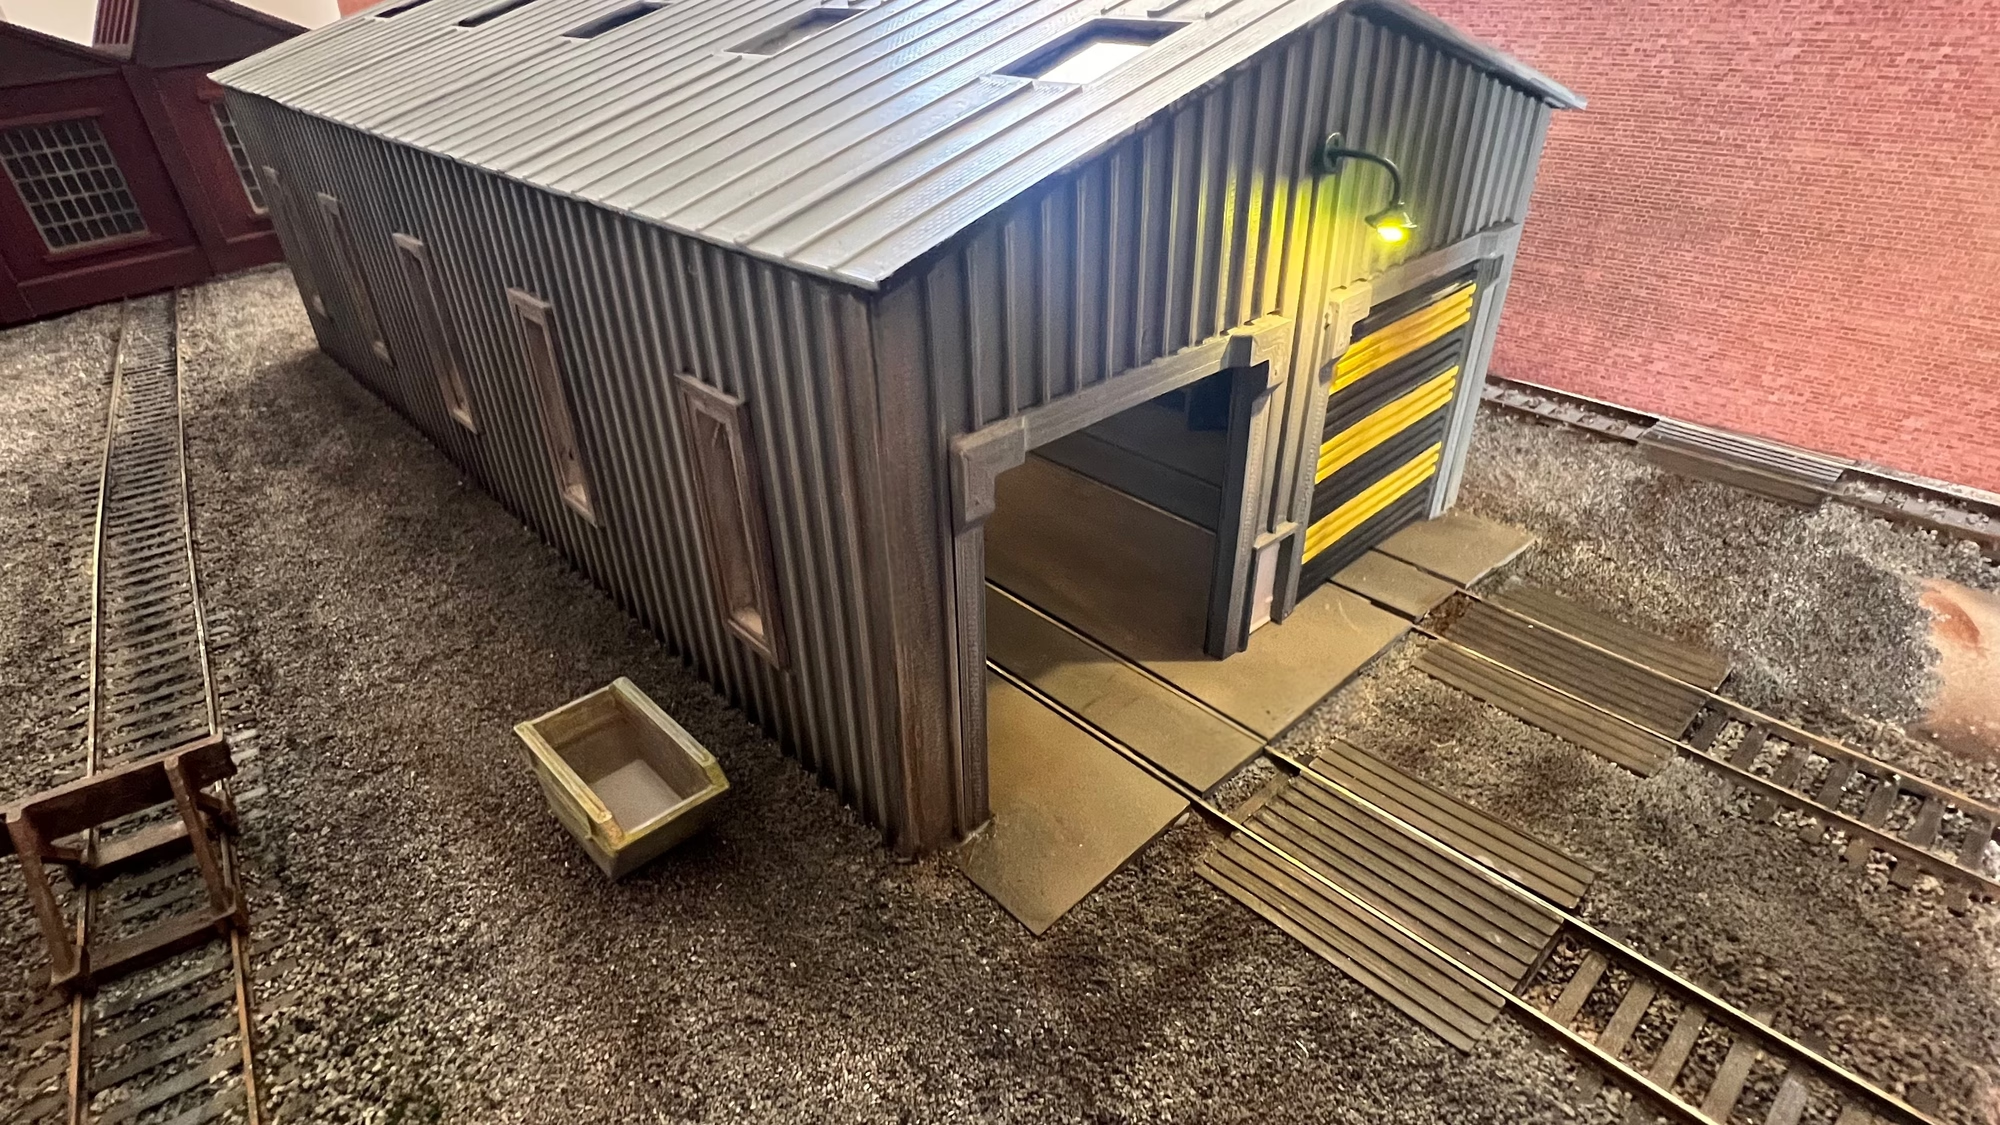
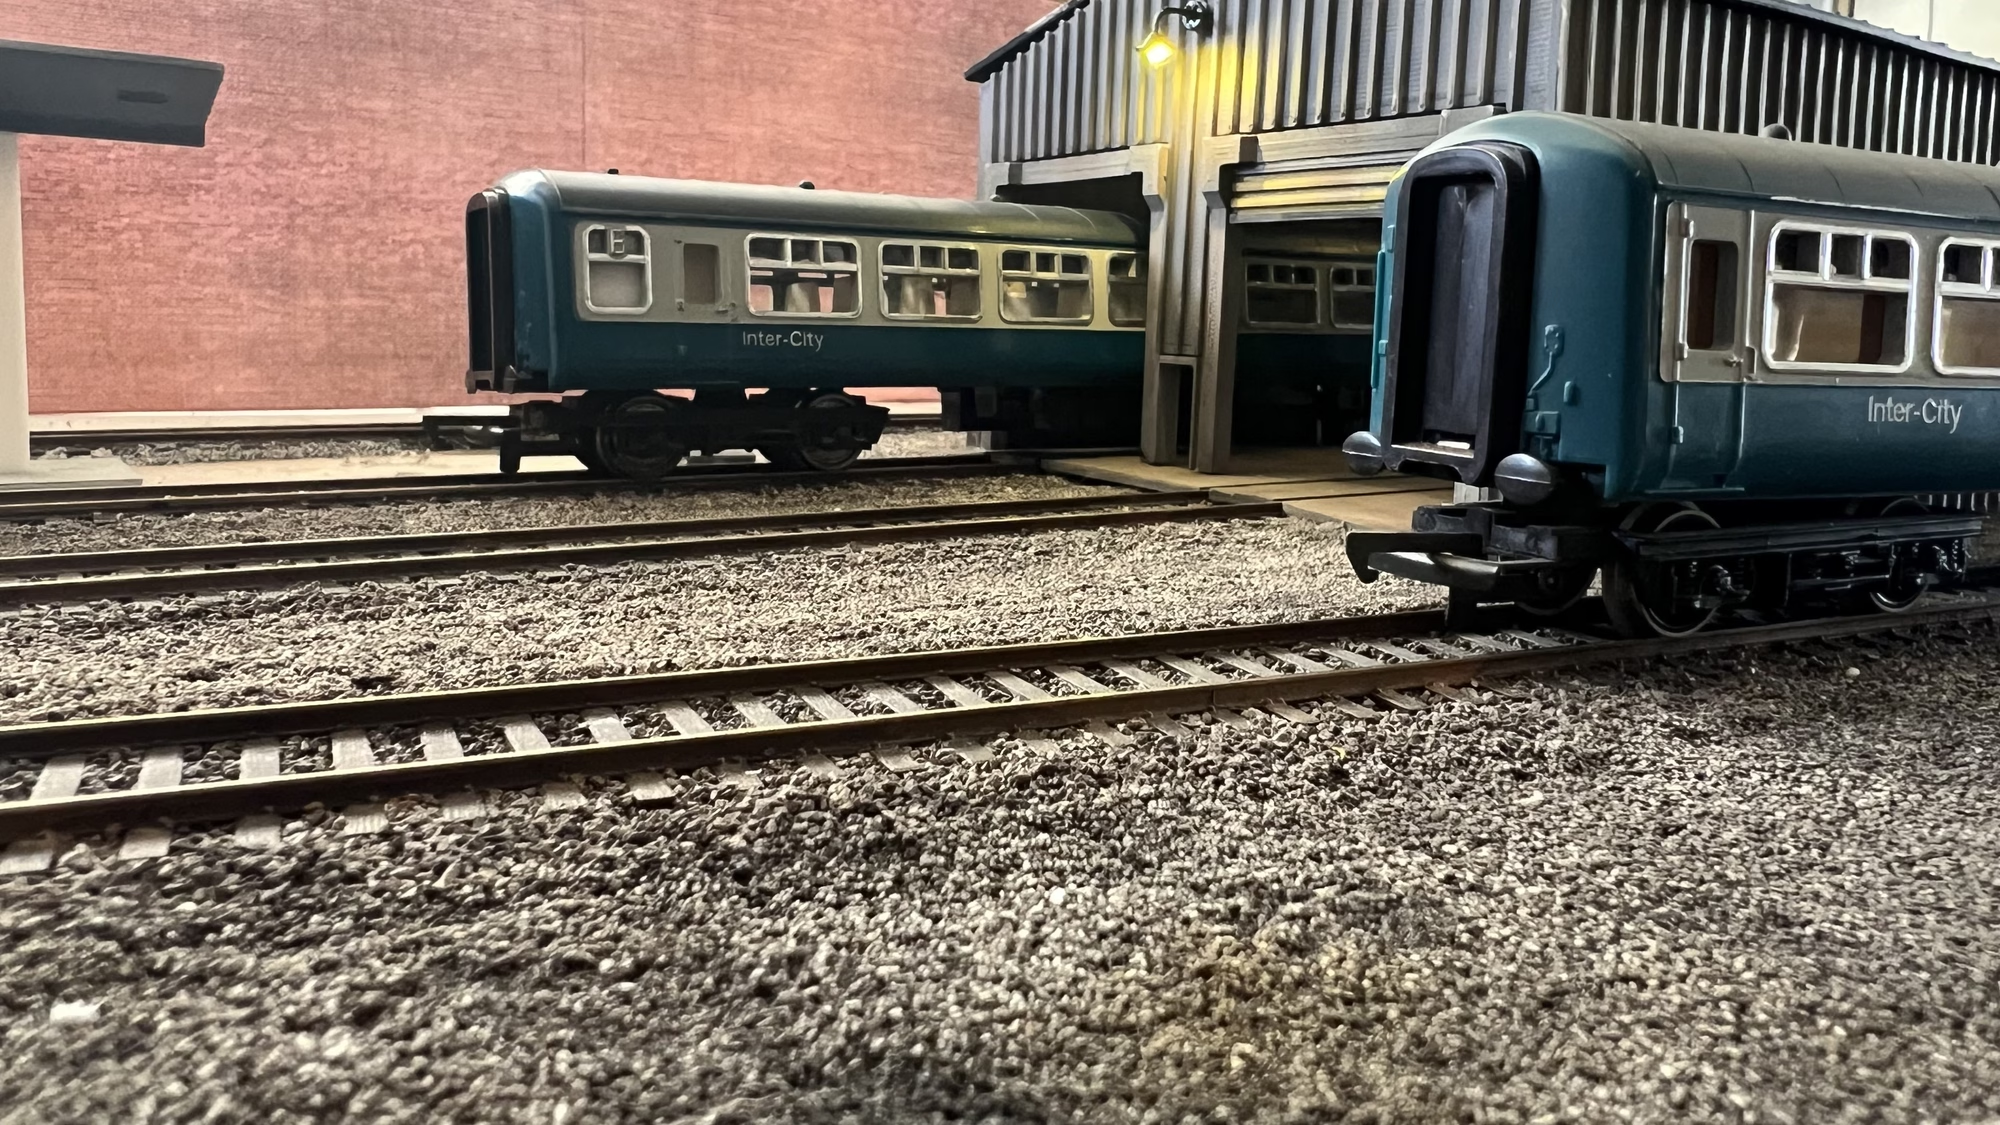
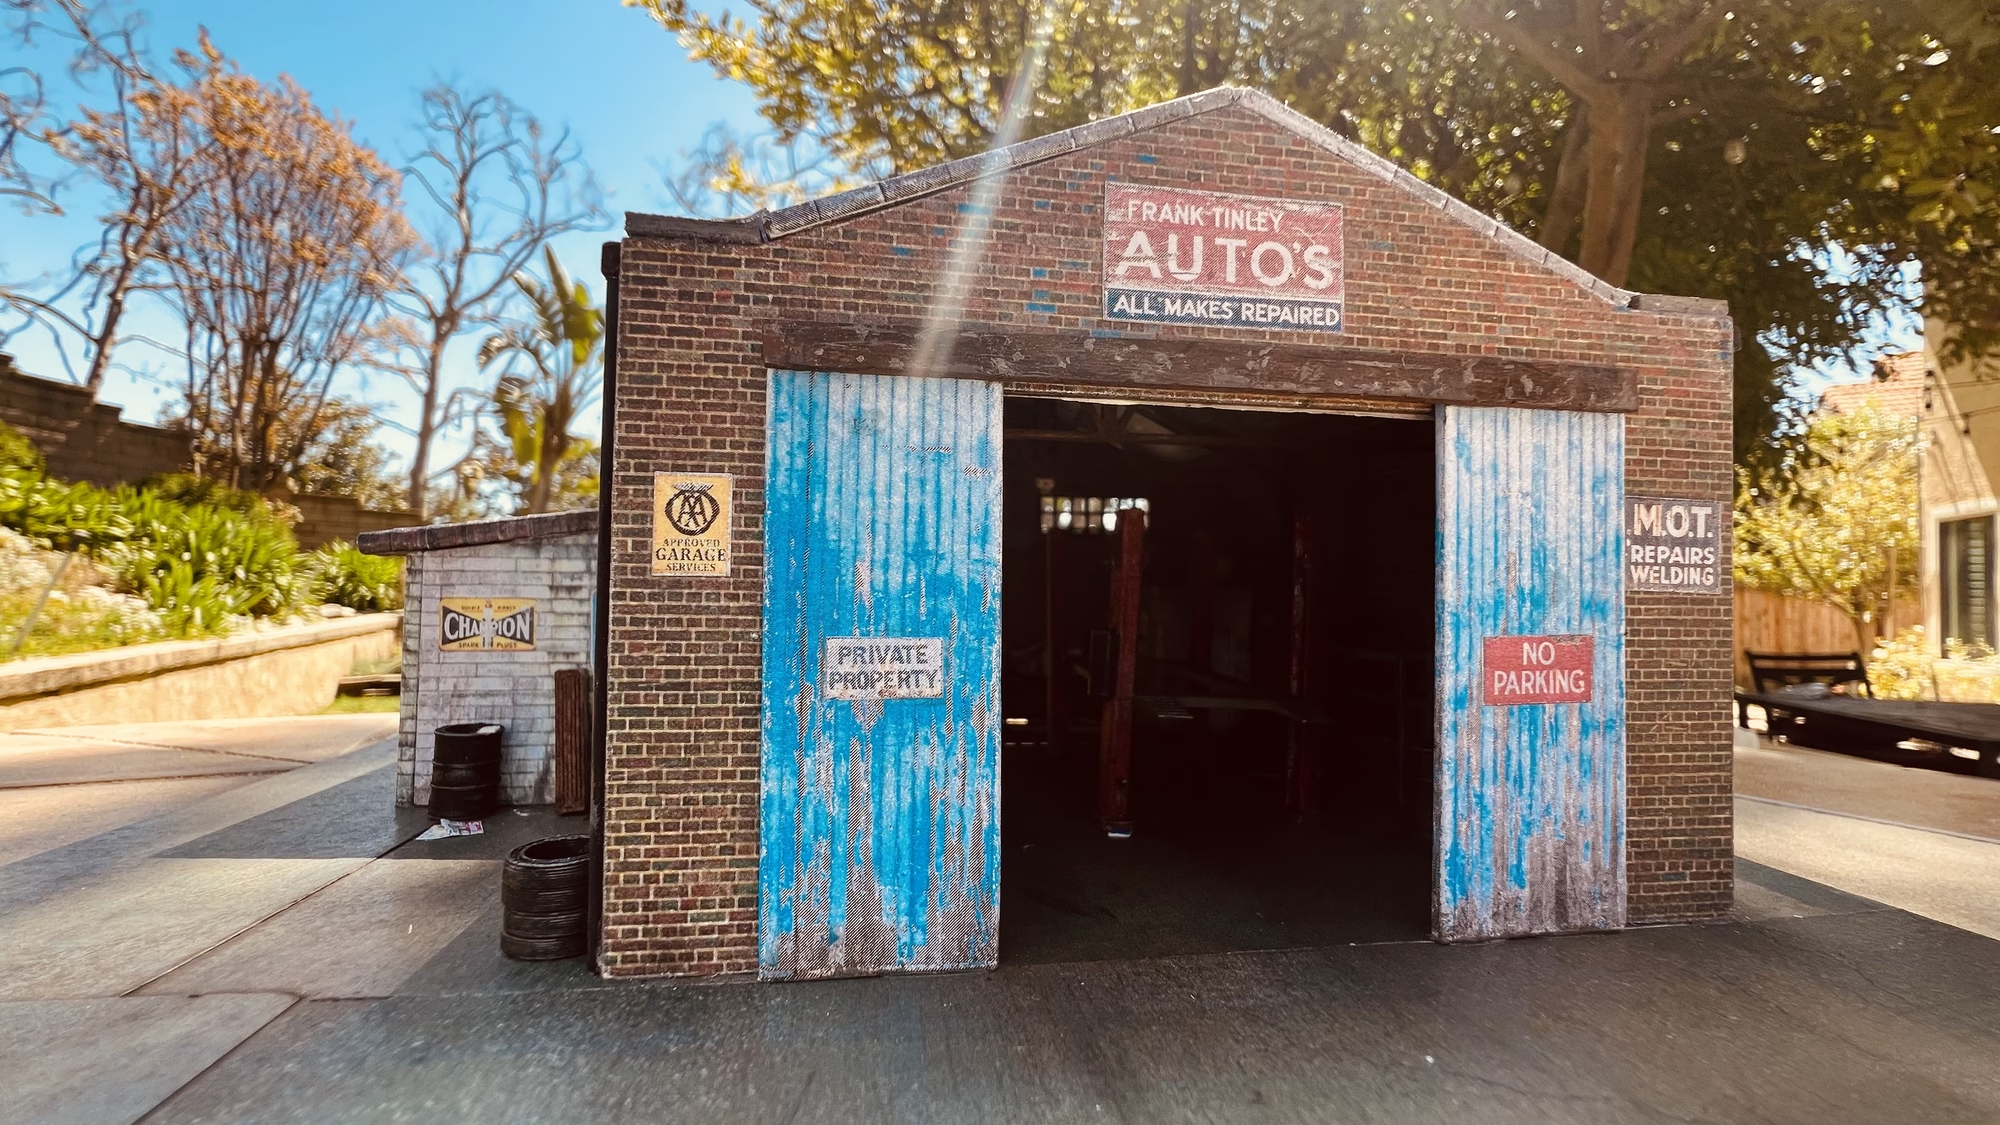
Everything you see on this workshop model was 3D printed. I’m really happy with how this came out.
Here are a few more pictures.
