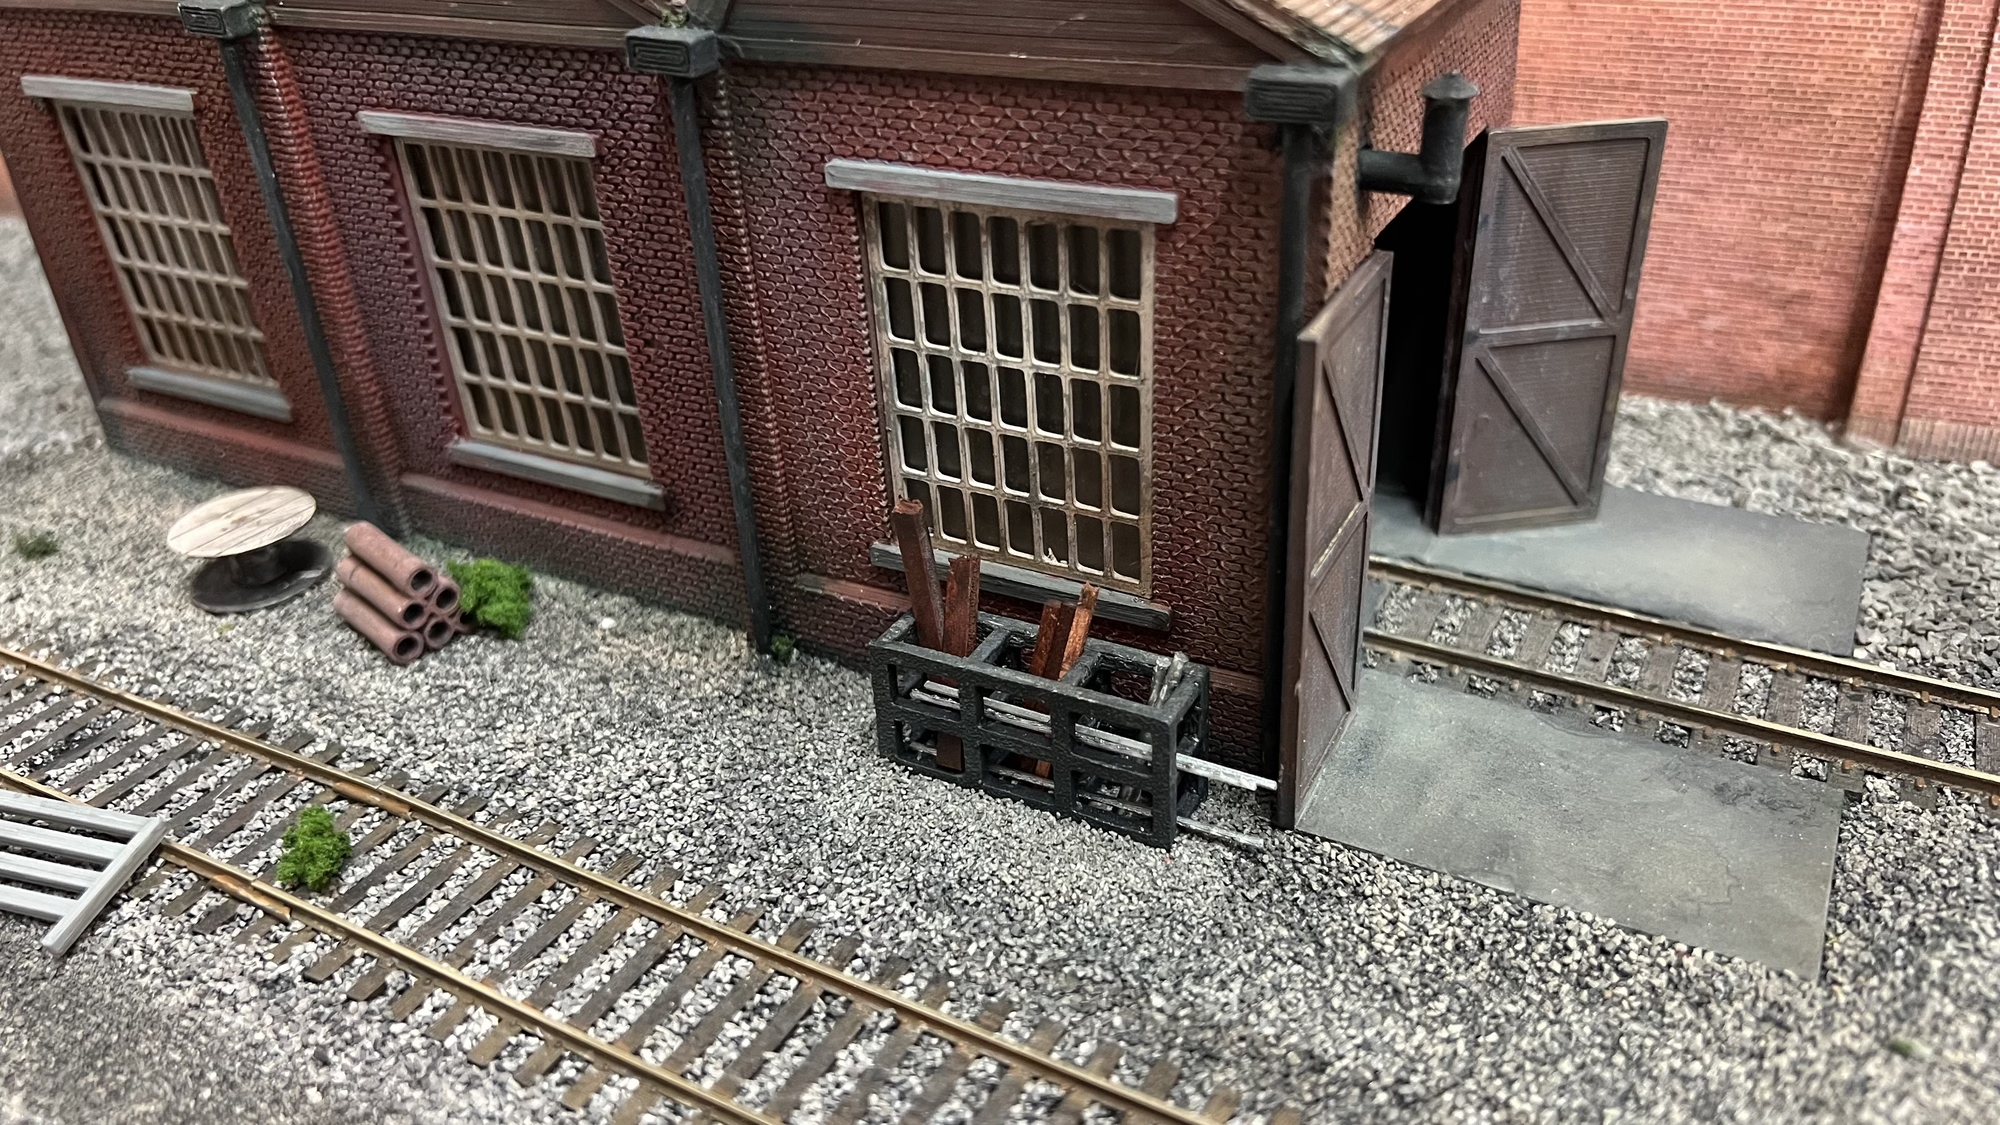
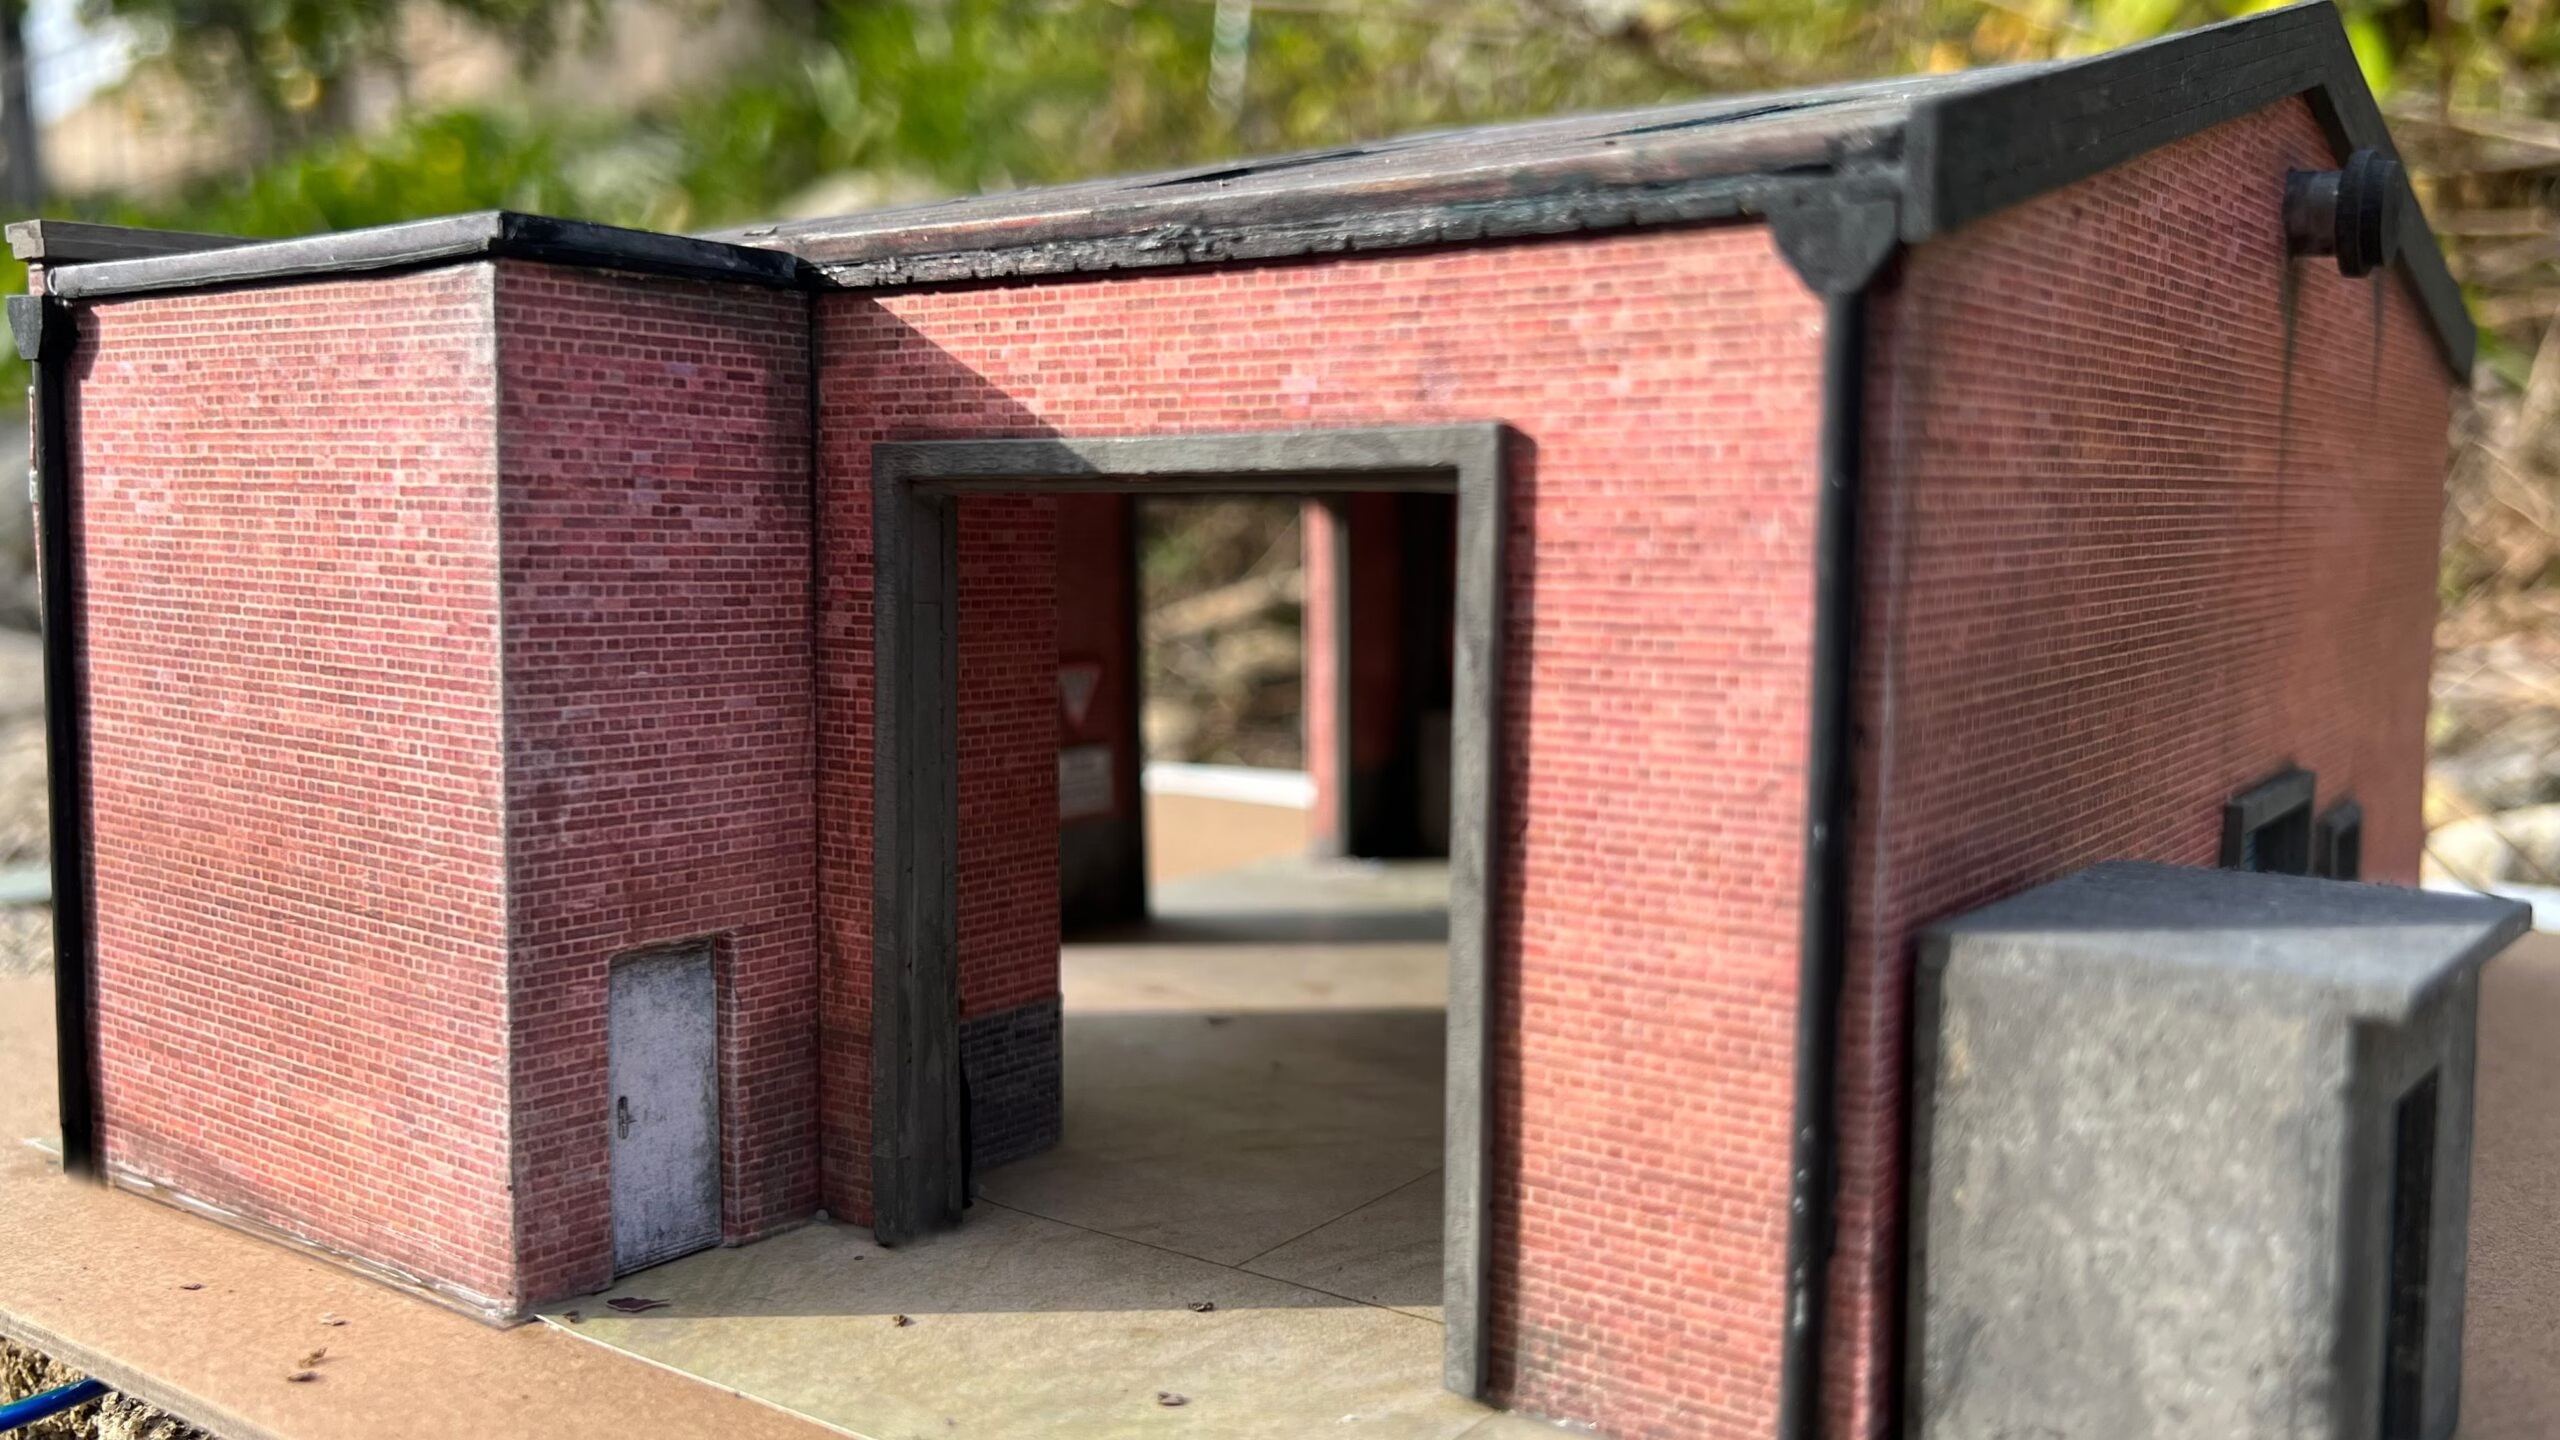
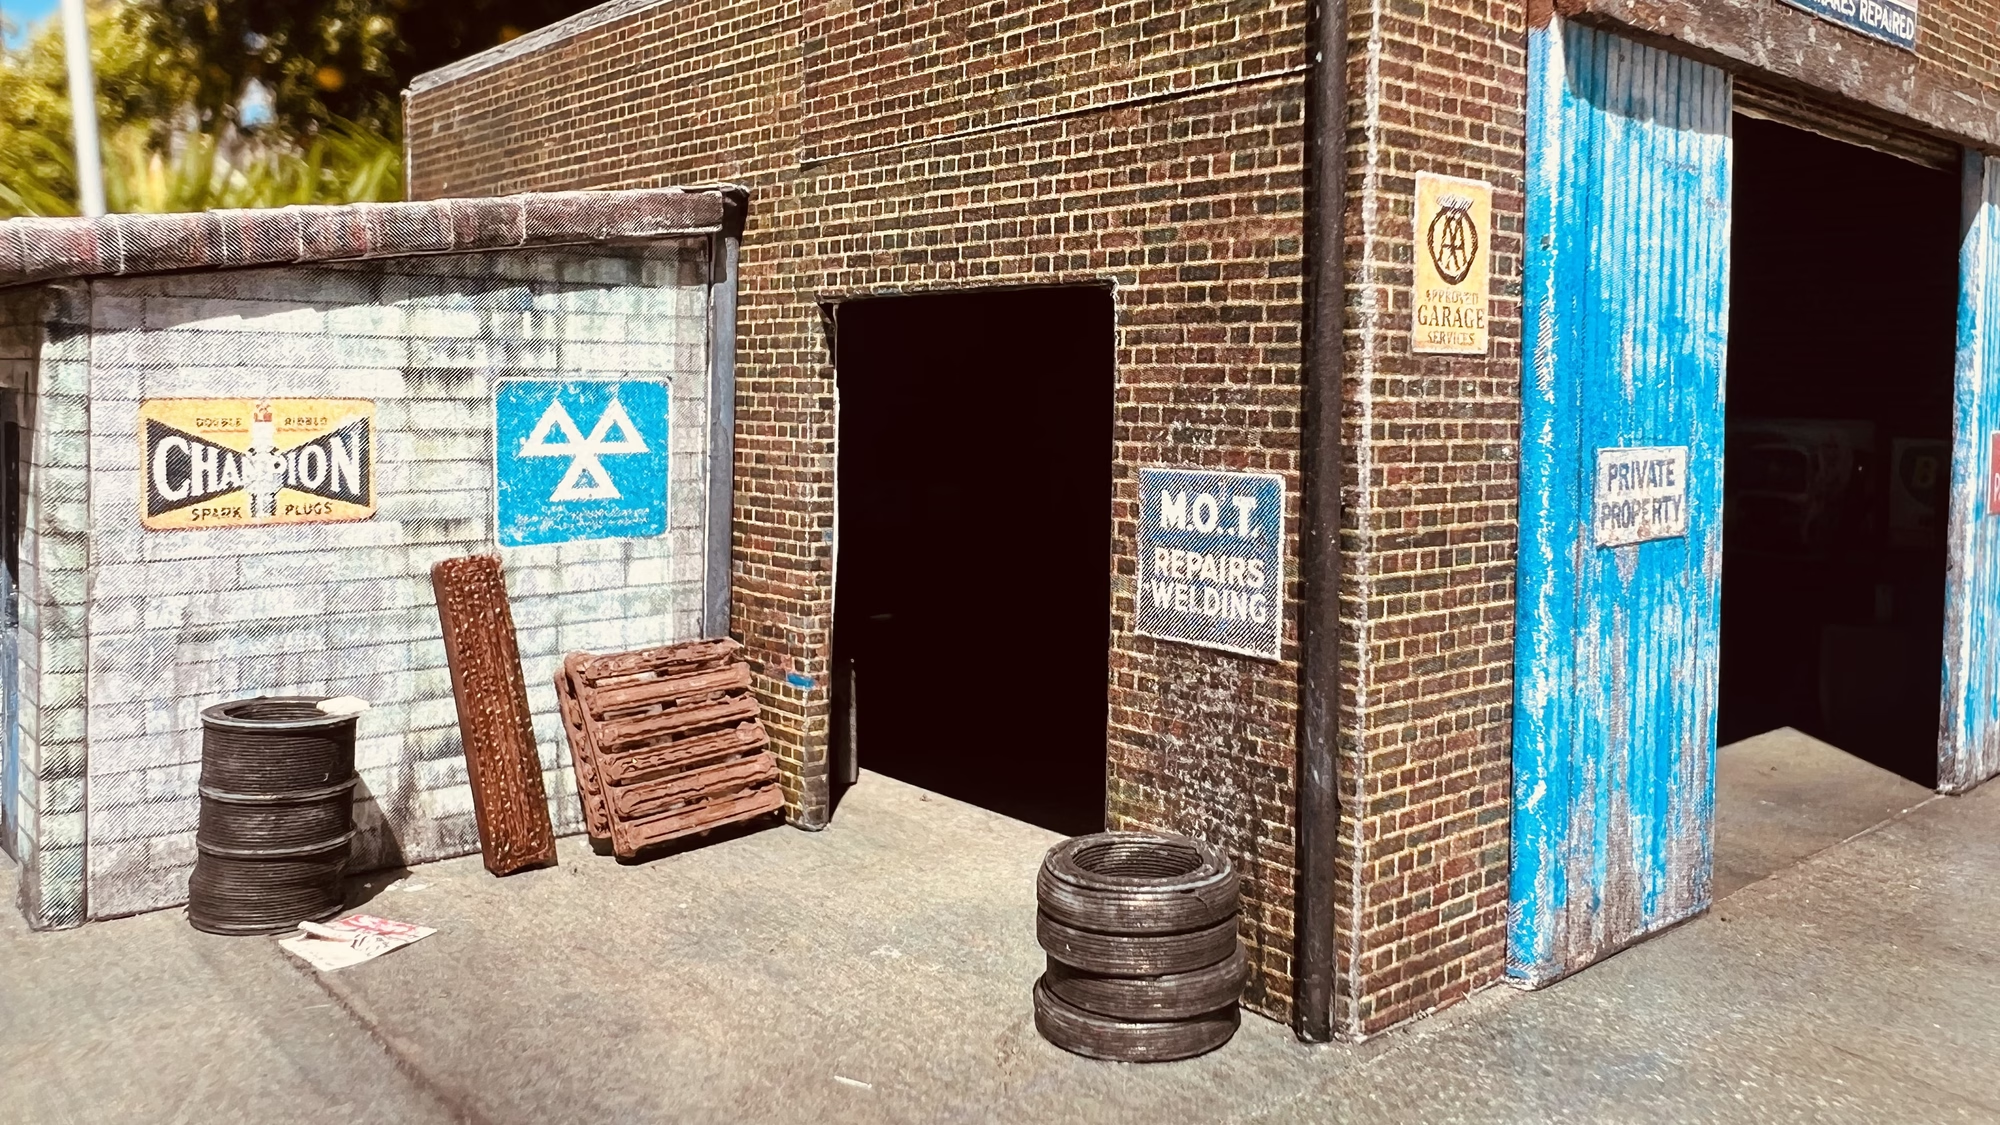
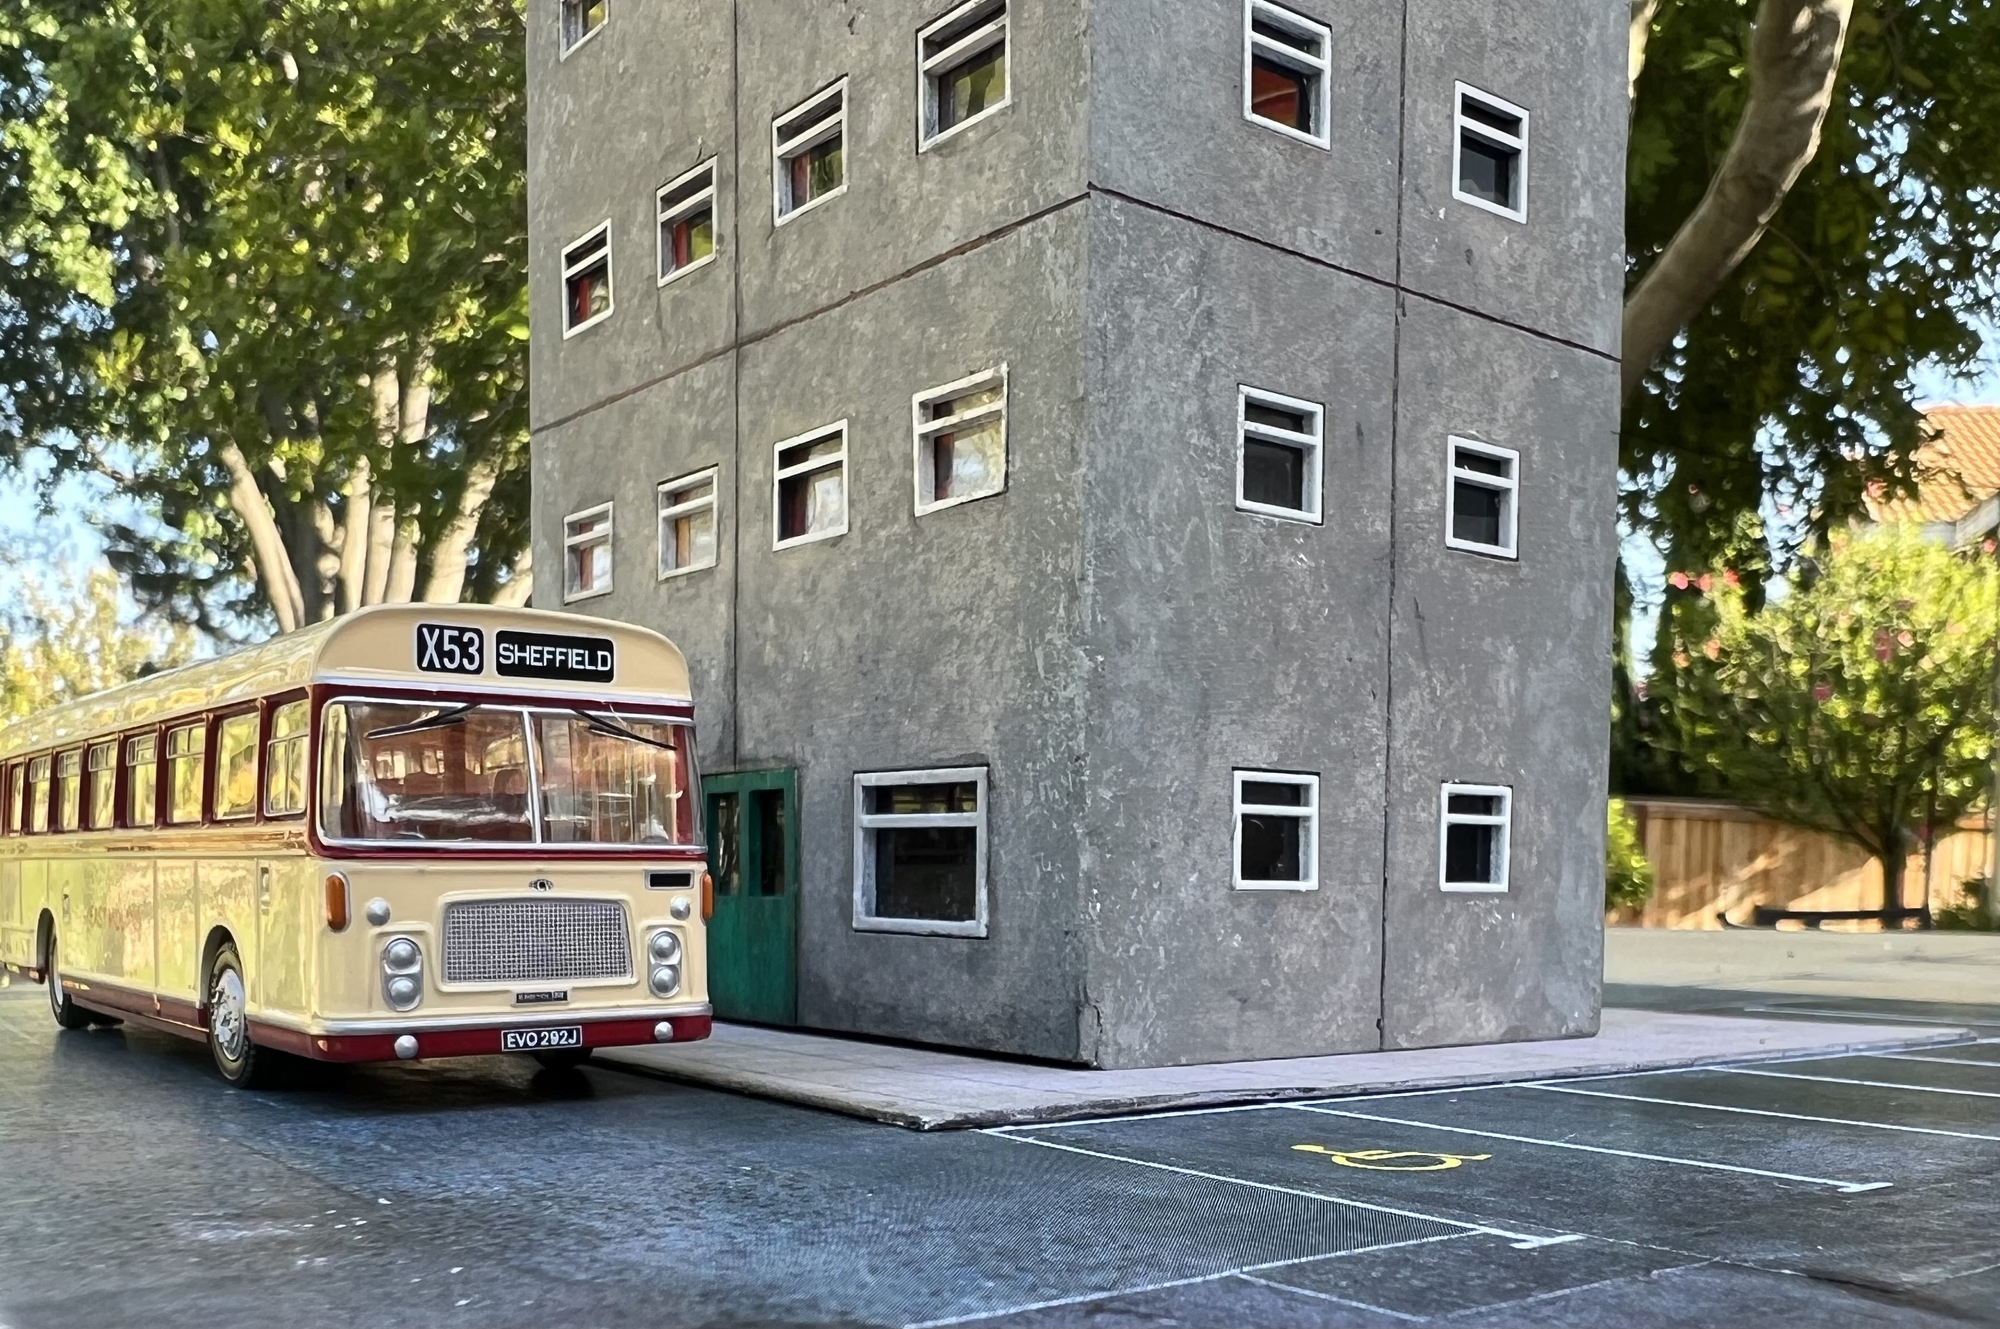
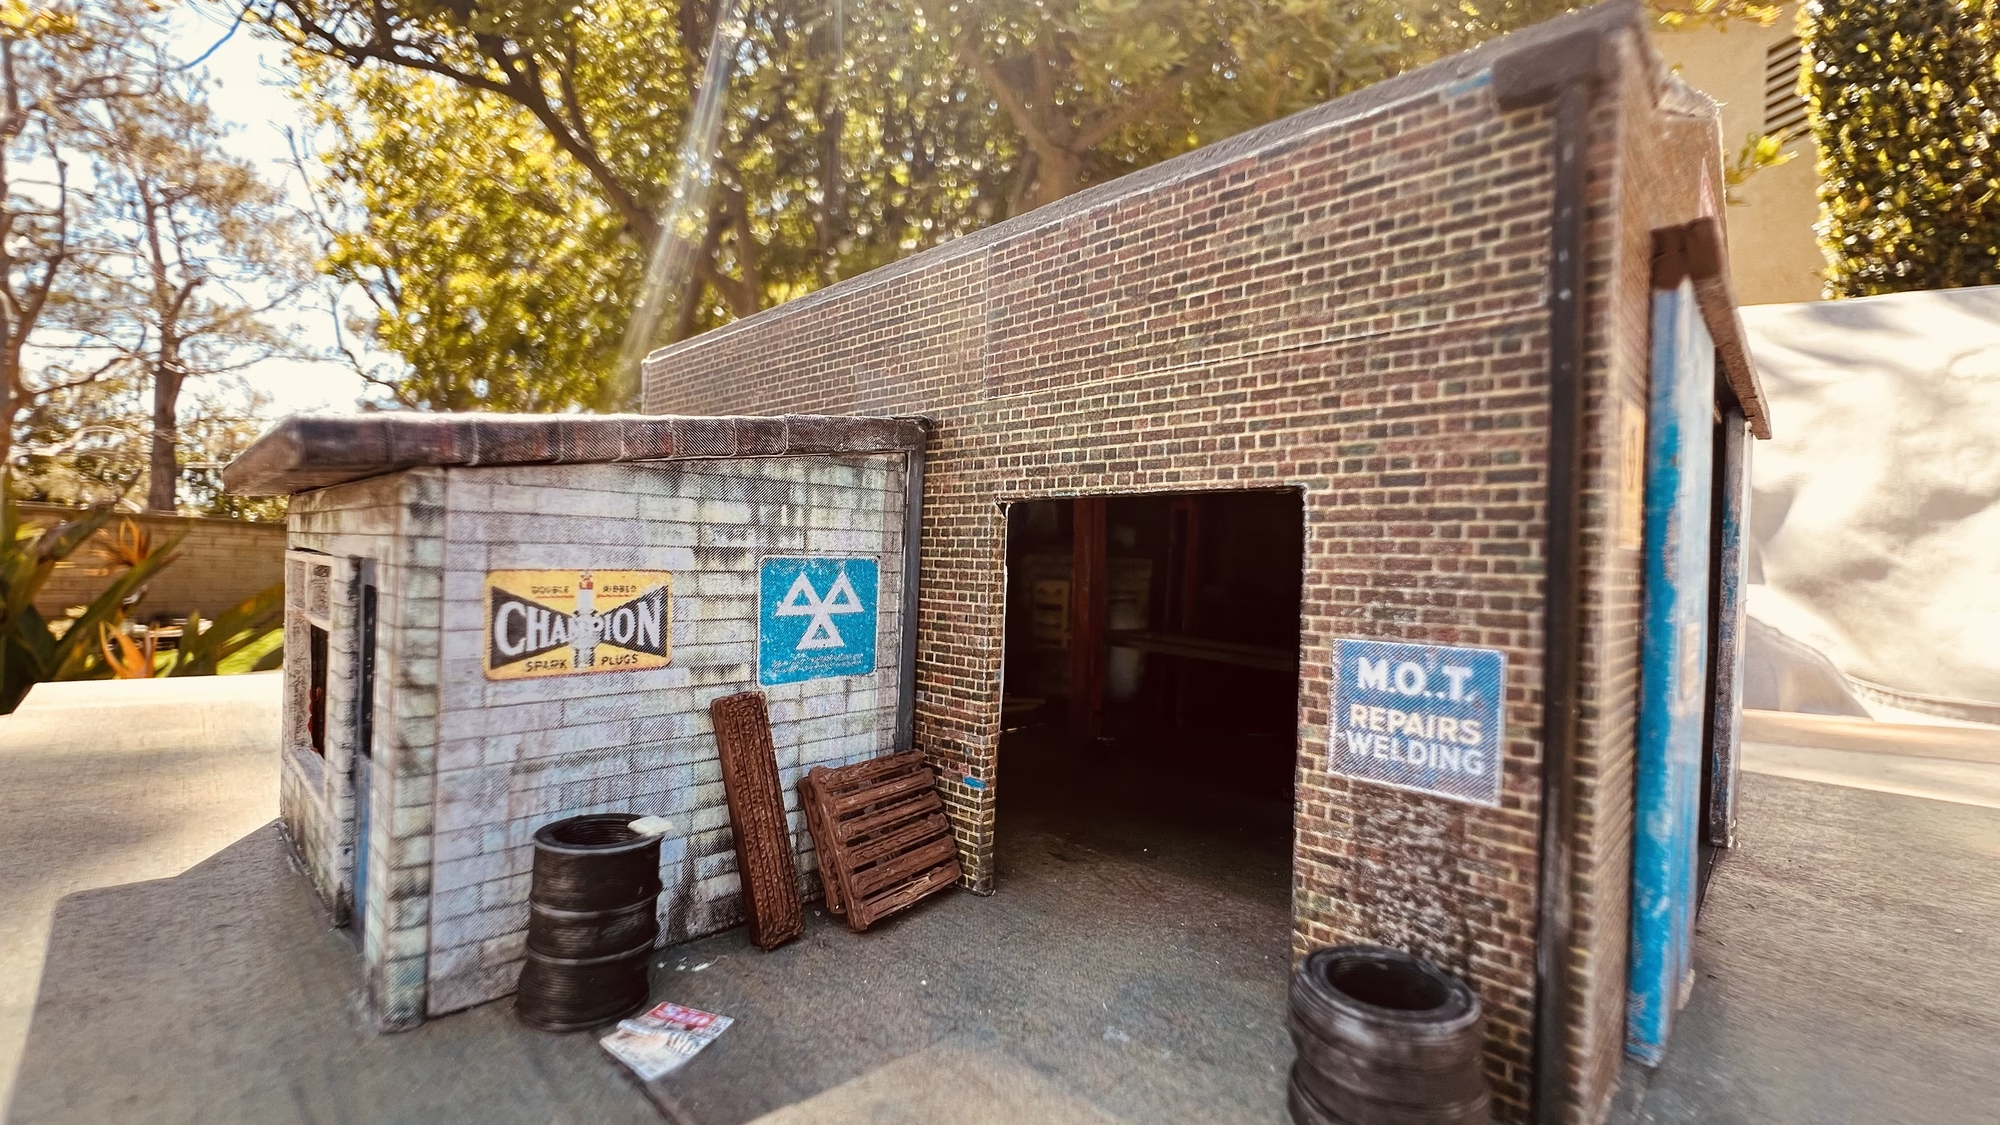
As I started to build out the Diorama, I decided I wanted something with some height and depth to give some perspective.
After a mooch around the Cults.com website that lists 3D printing items. I landed on this.
 Credit for this design goes Kabrumble.
At the time of writing, this is the biggest thing I have printed out on the 3D printer.
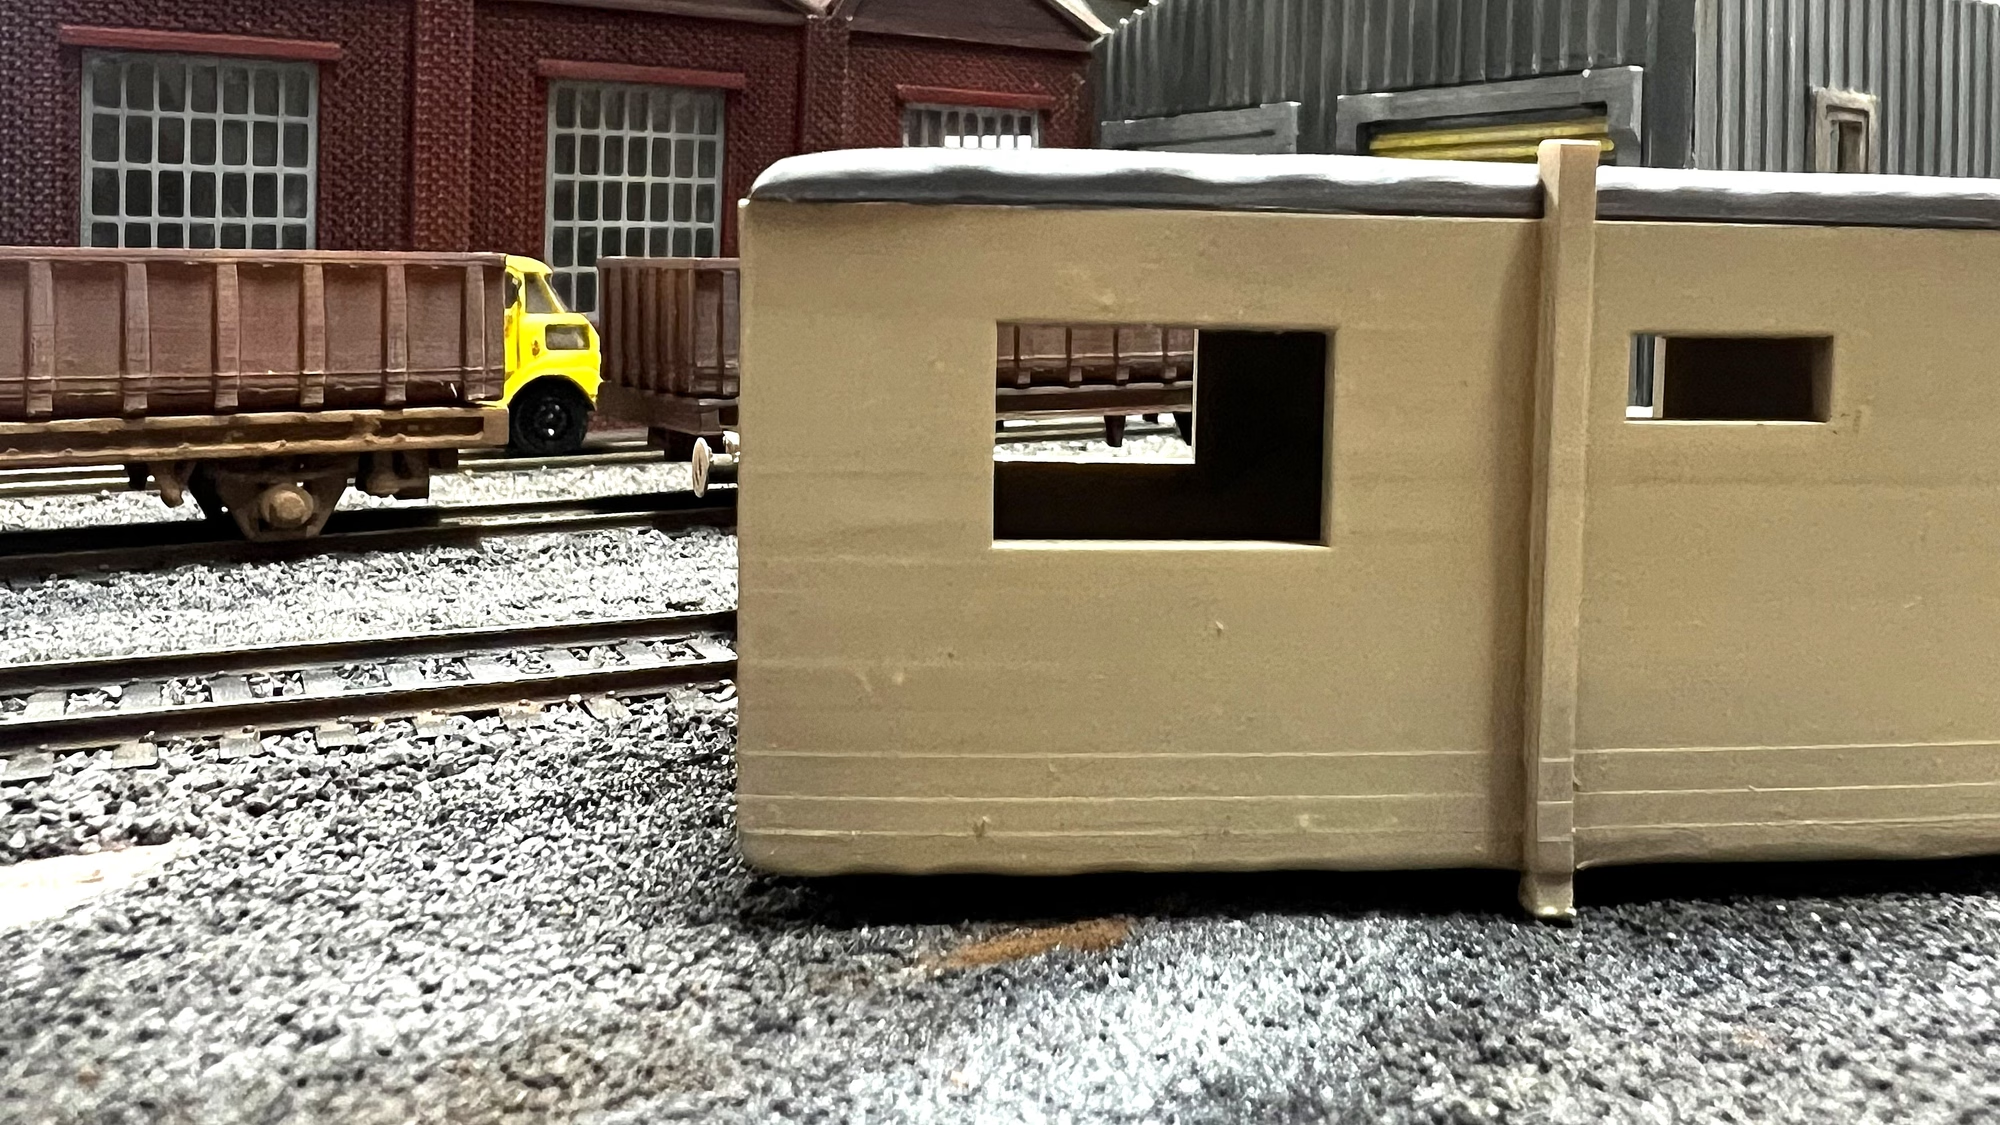
I started printing out the basics. I had to change the base layer on the printer to “Raft” which creates a layer or material beneath the actual printed parts. Without this, the print wasn’t working right and didn’t want to stick. I’m still learning 3D printing, I’m sure there are other ways to get the print to adhere better to the plate, feel free to comment below.
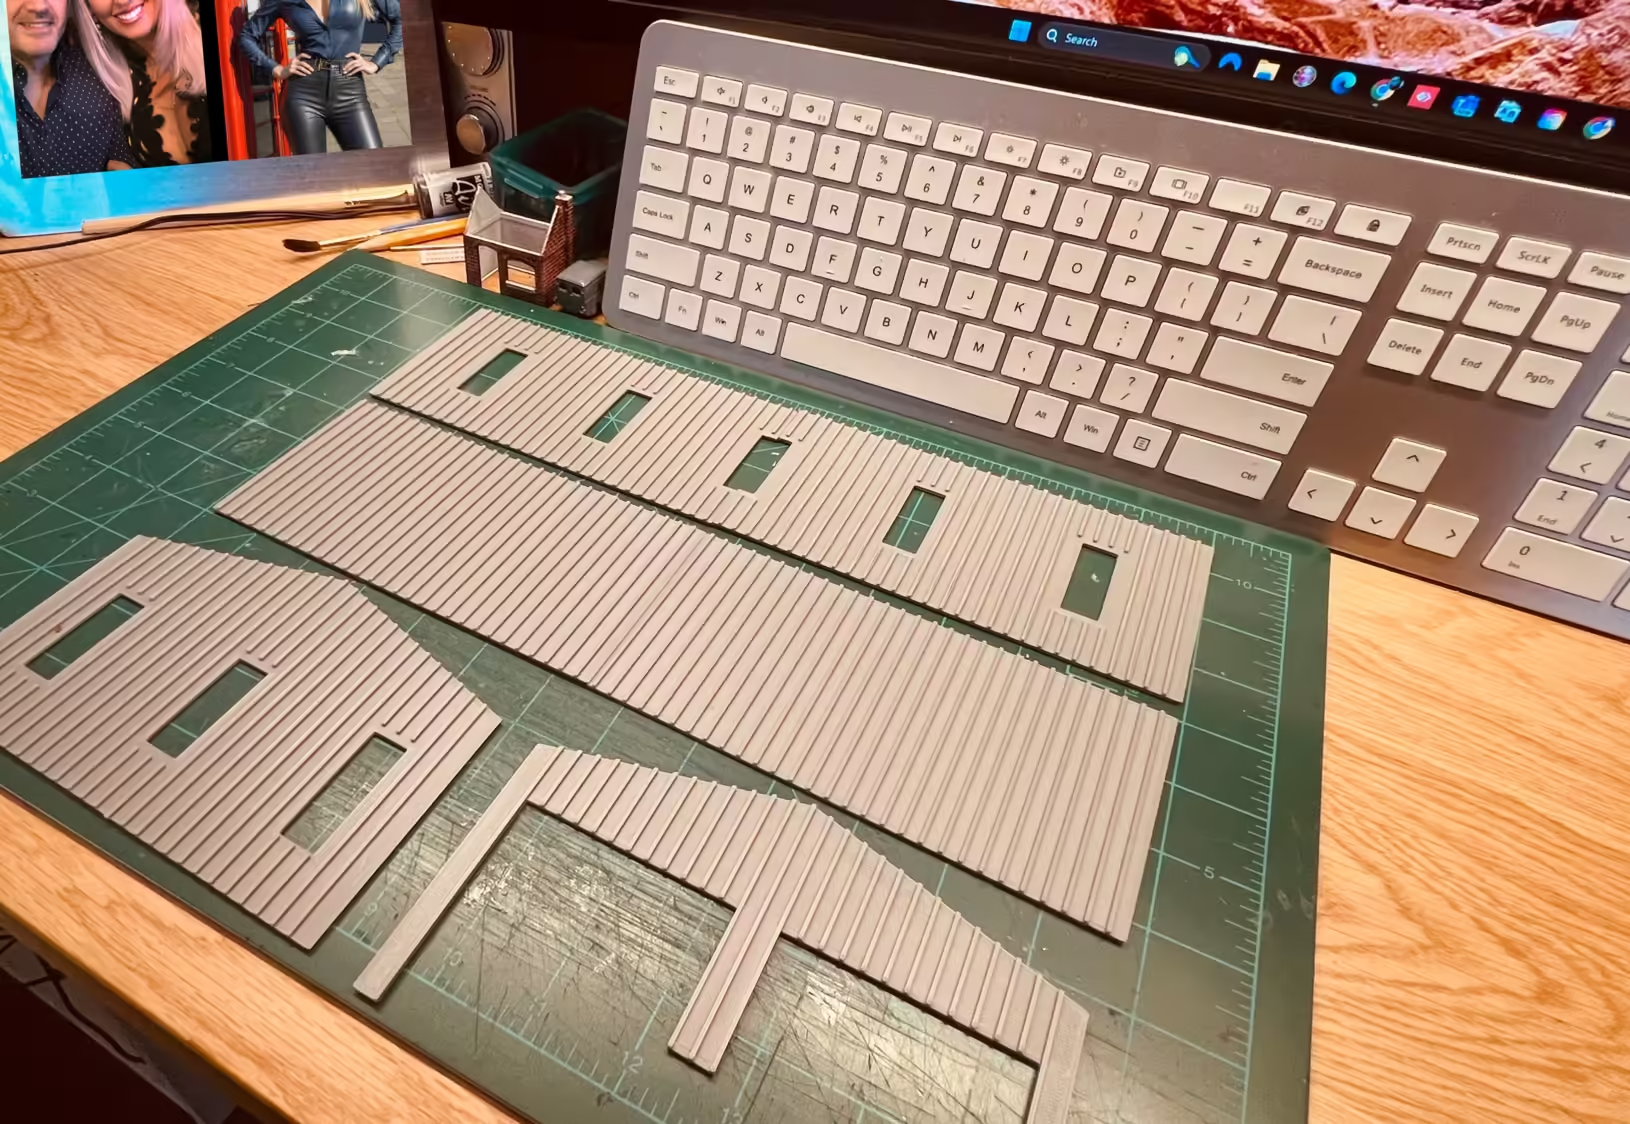
After the above parts printed OK, I printed the rest of the items.
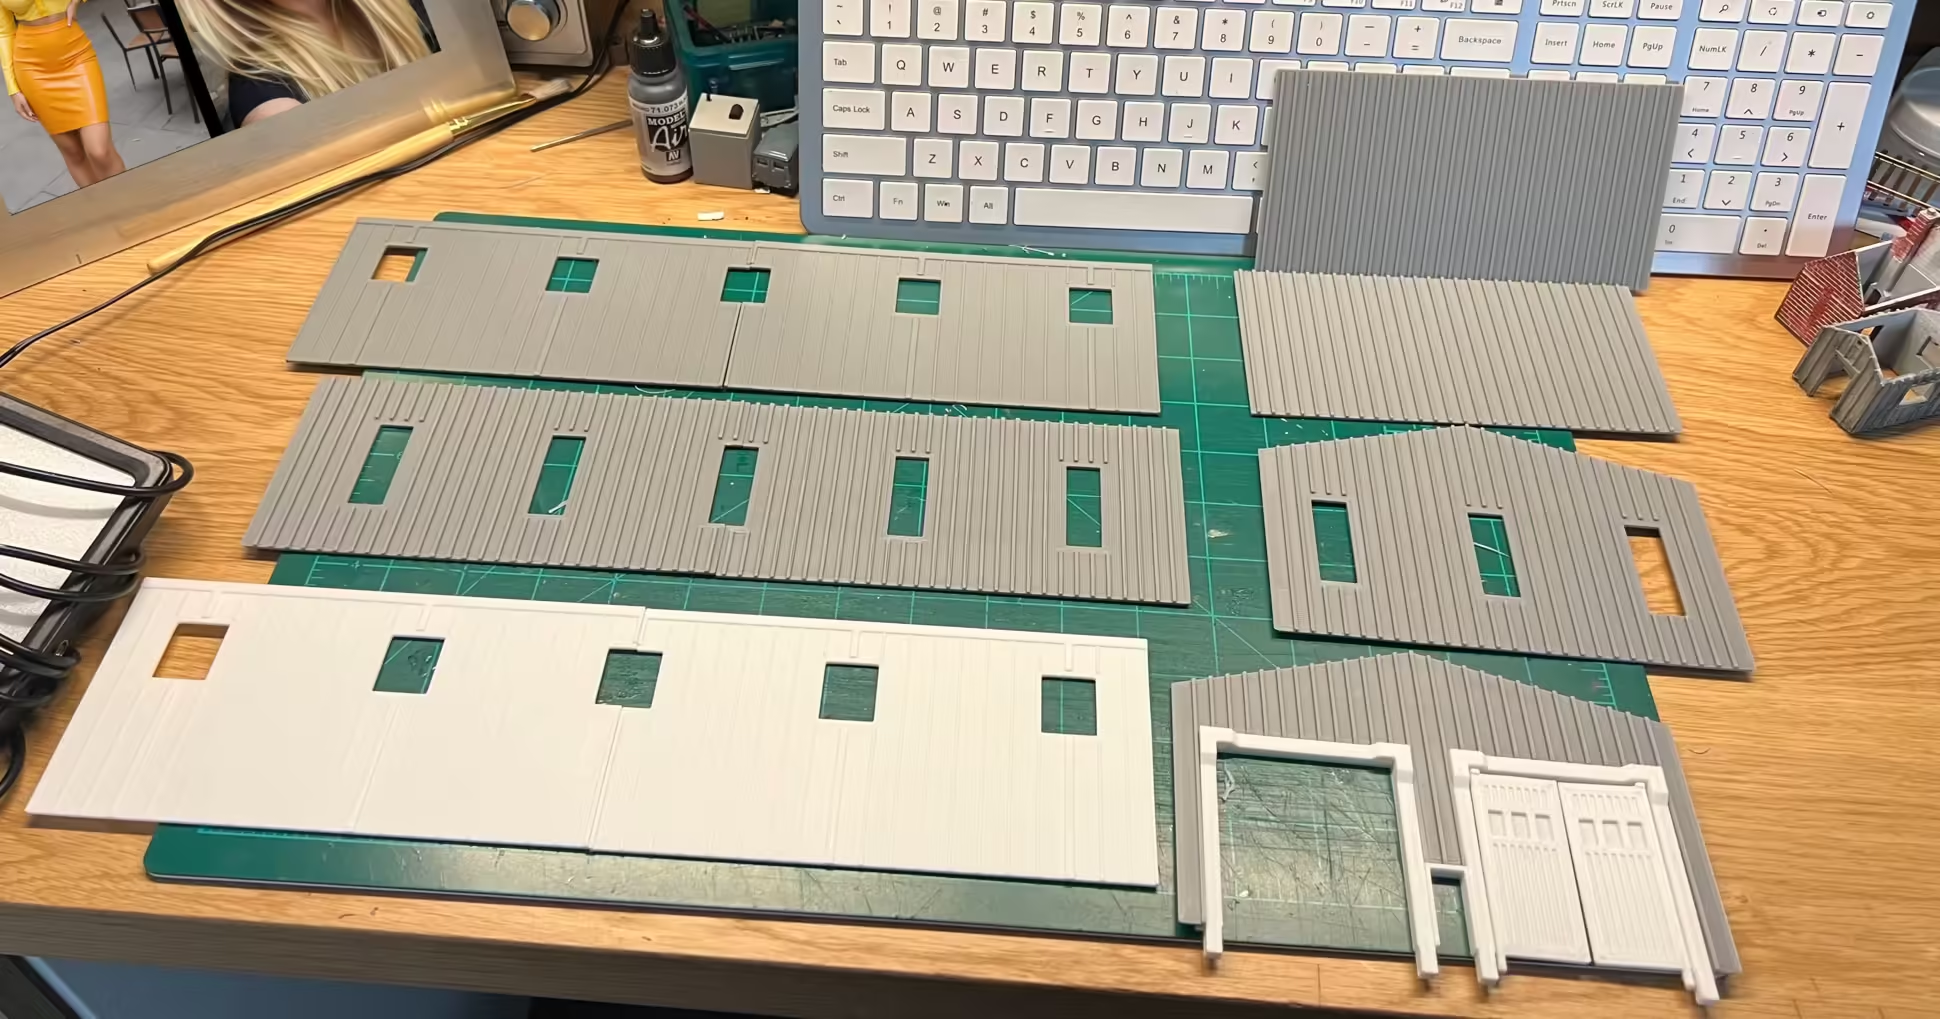
As you can see, I ran out of grey filament and switched to white. I like the white, it takes less coats of paint to get the right shades I’m looking for.
I now needed to find somewhere to put the shed.
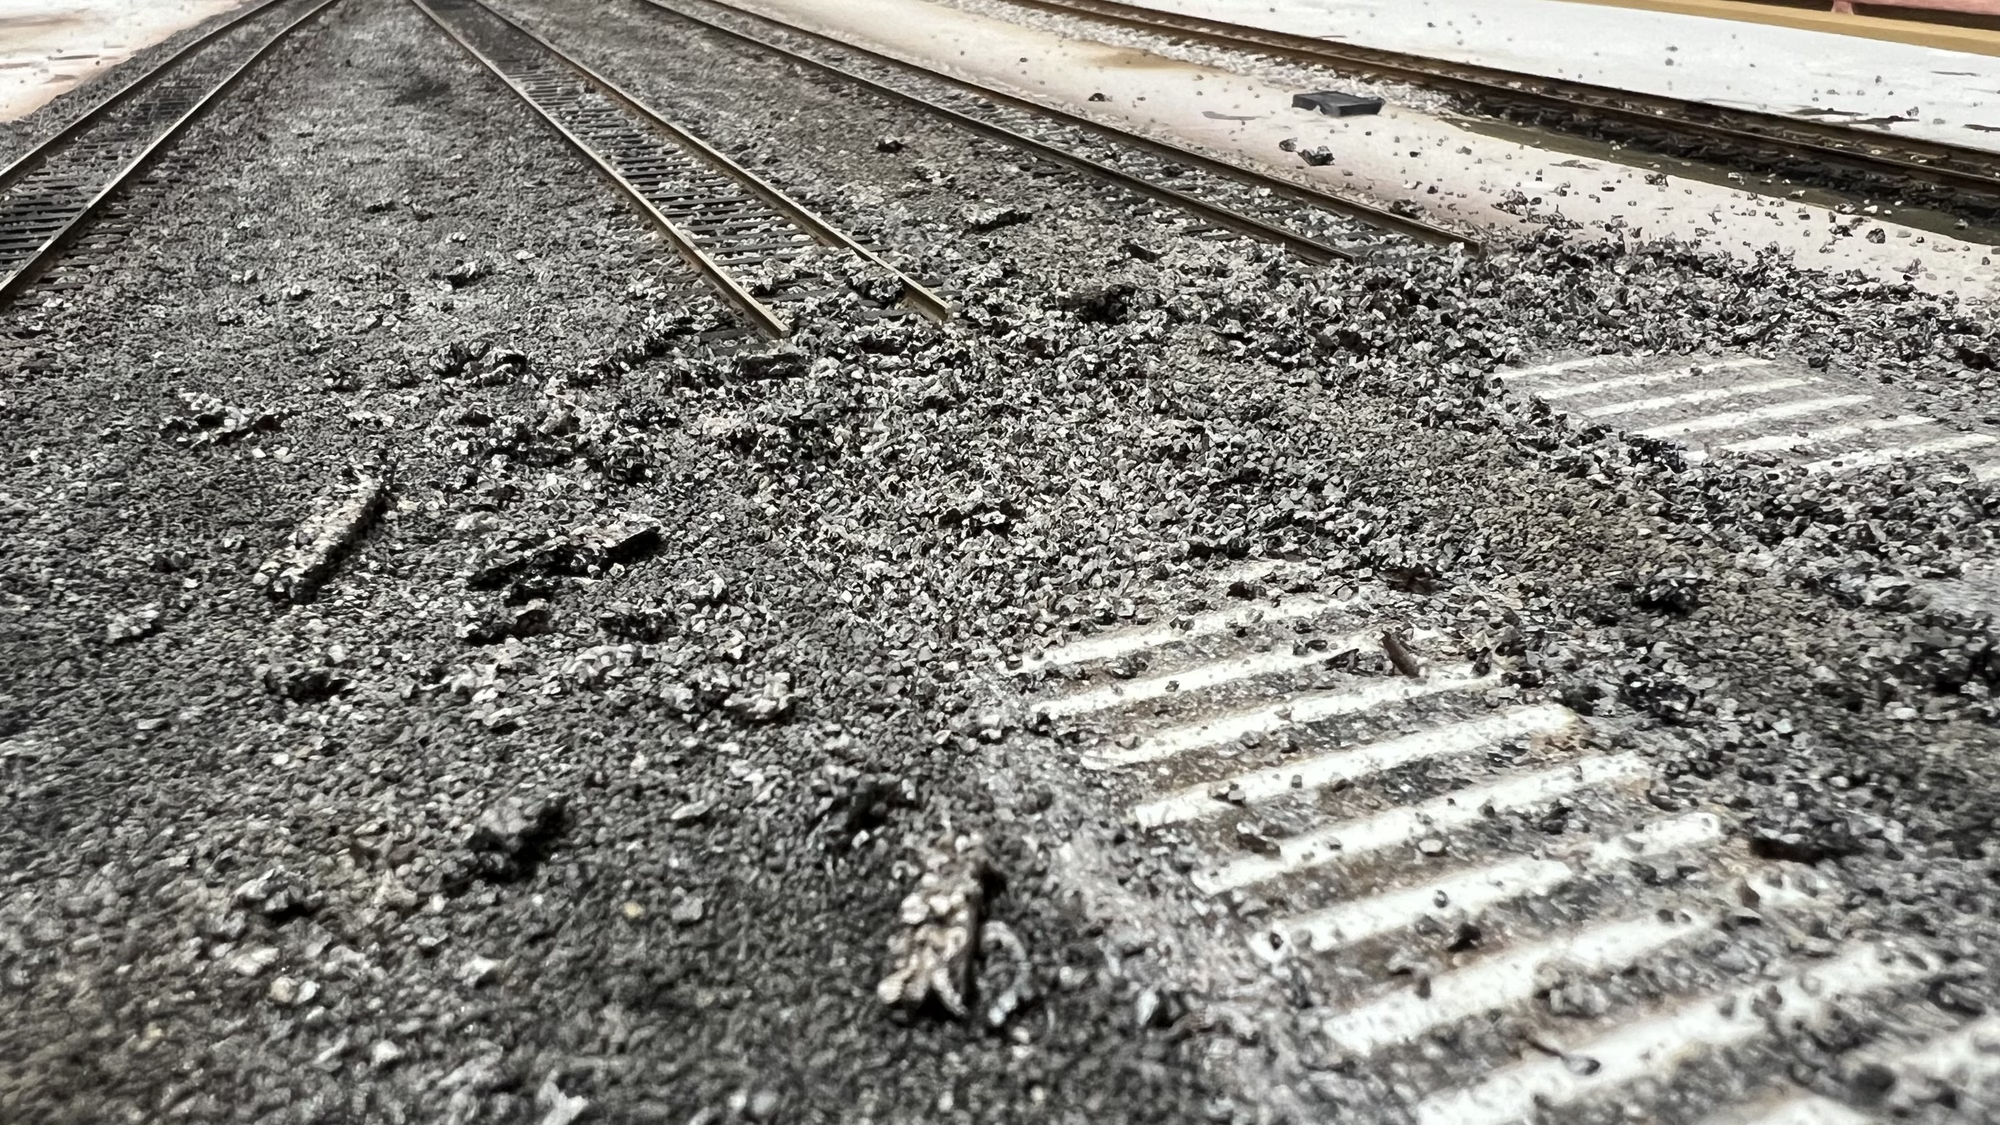
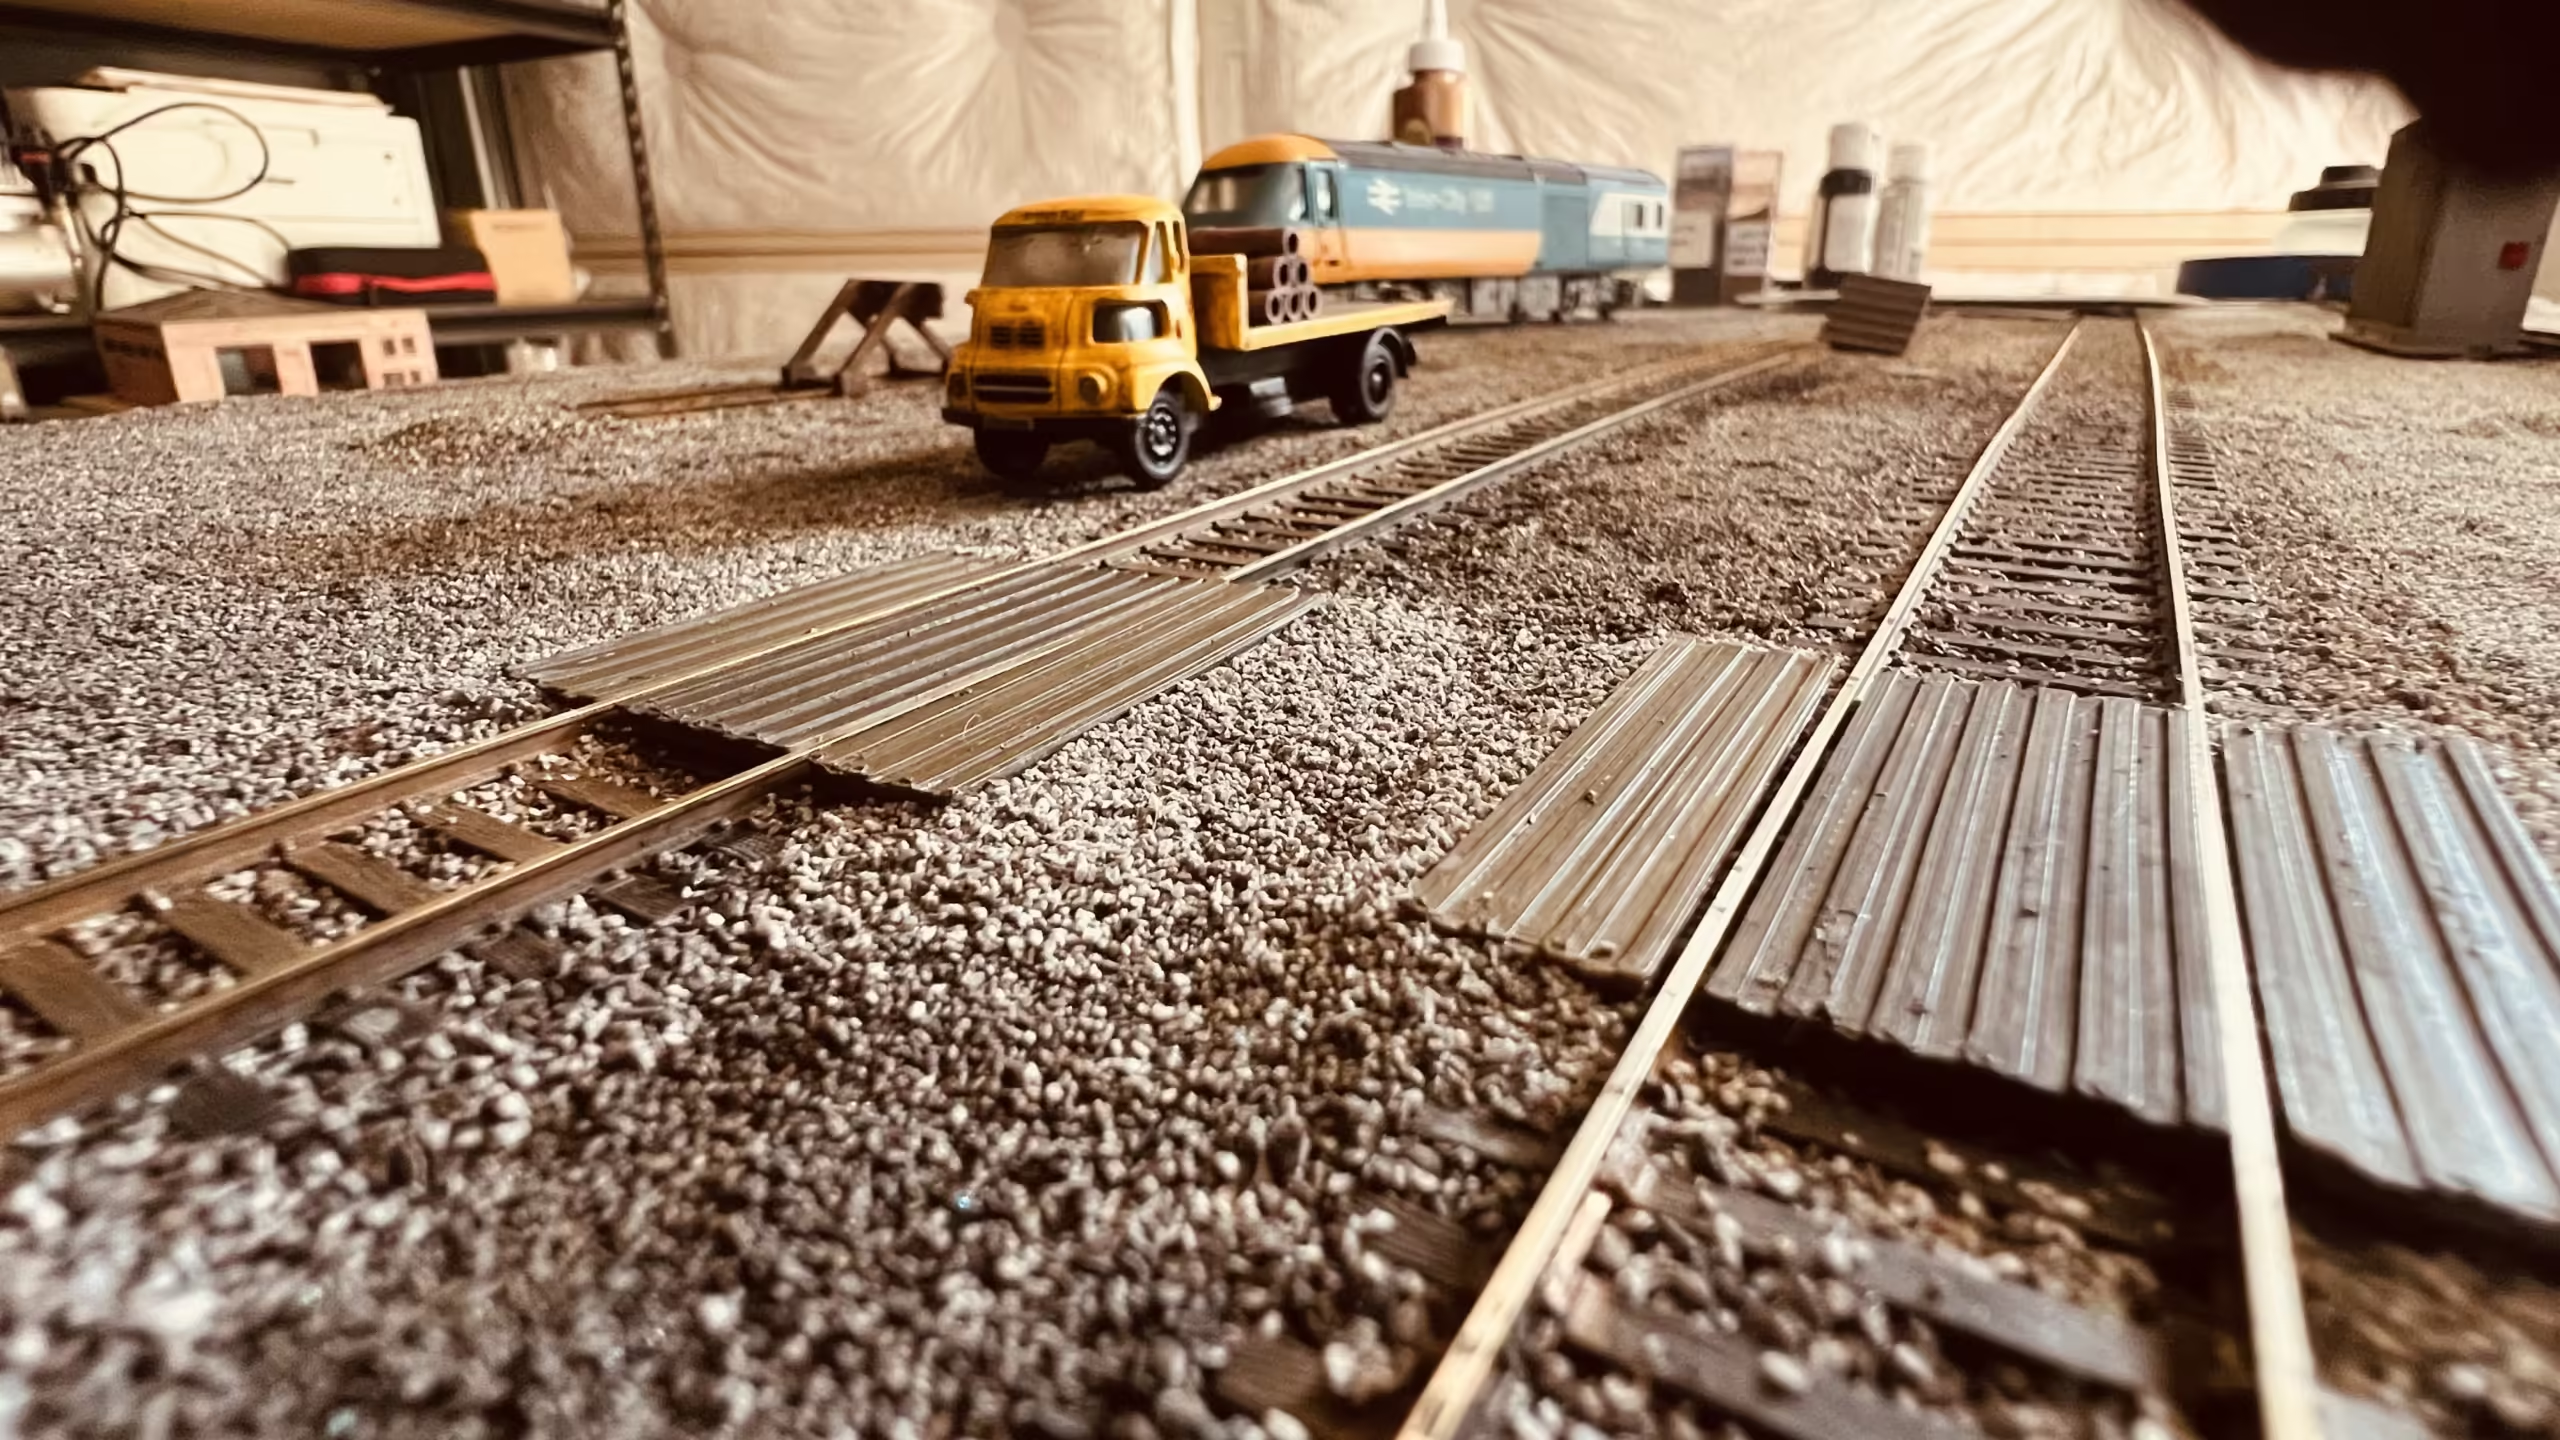
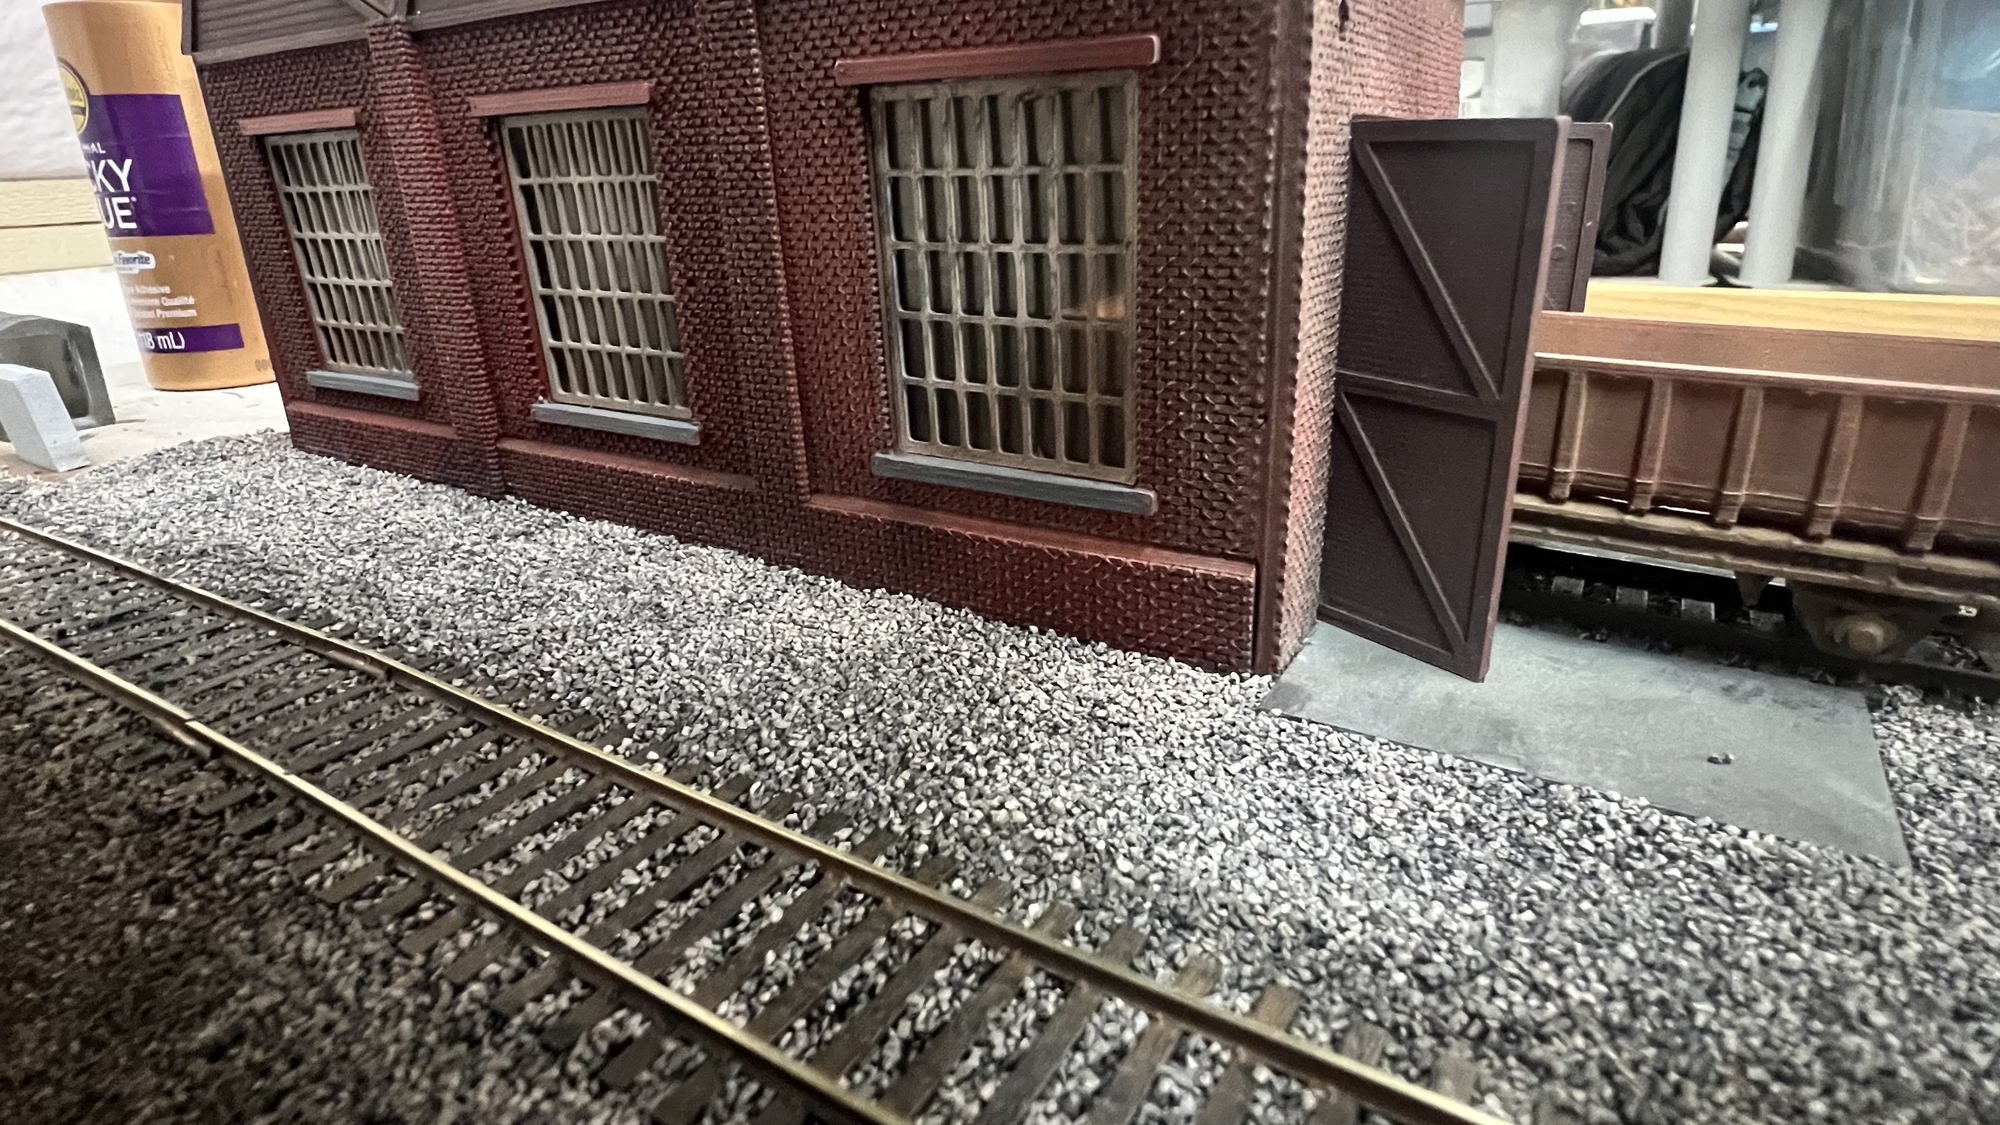
Out came the dremel and I removed 2 sections of track, then removed the ballast.
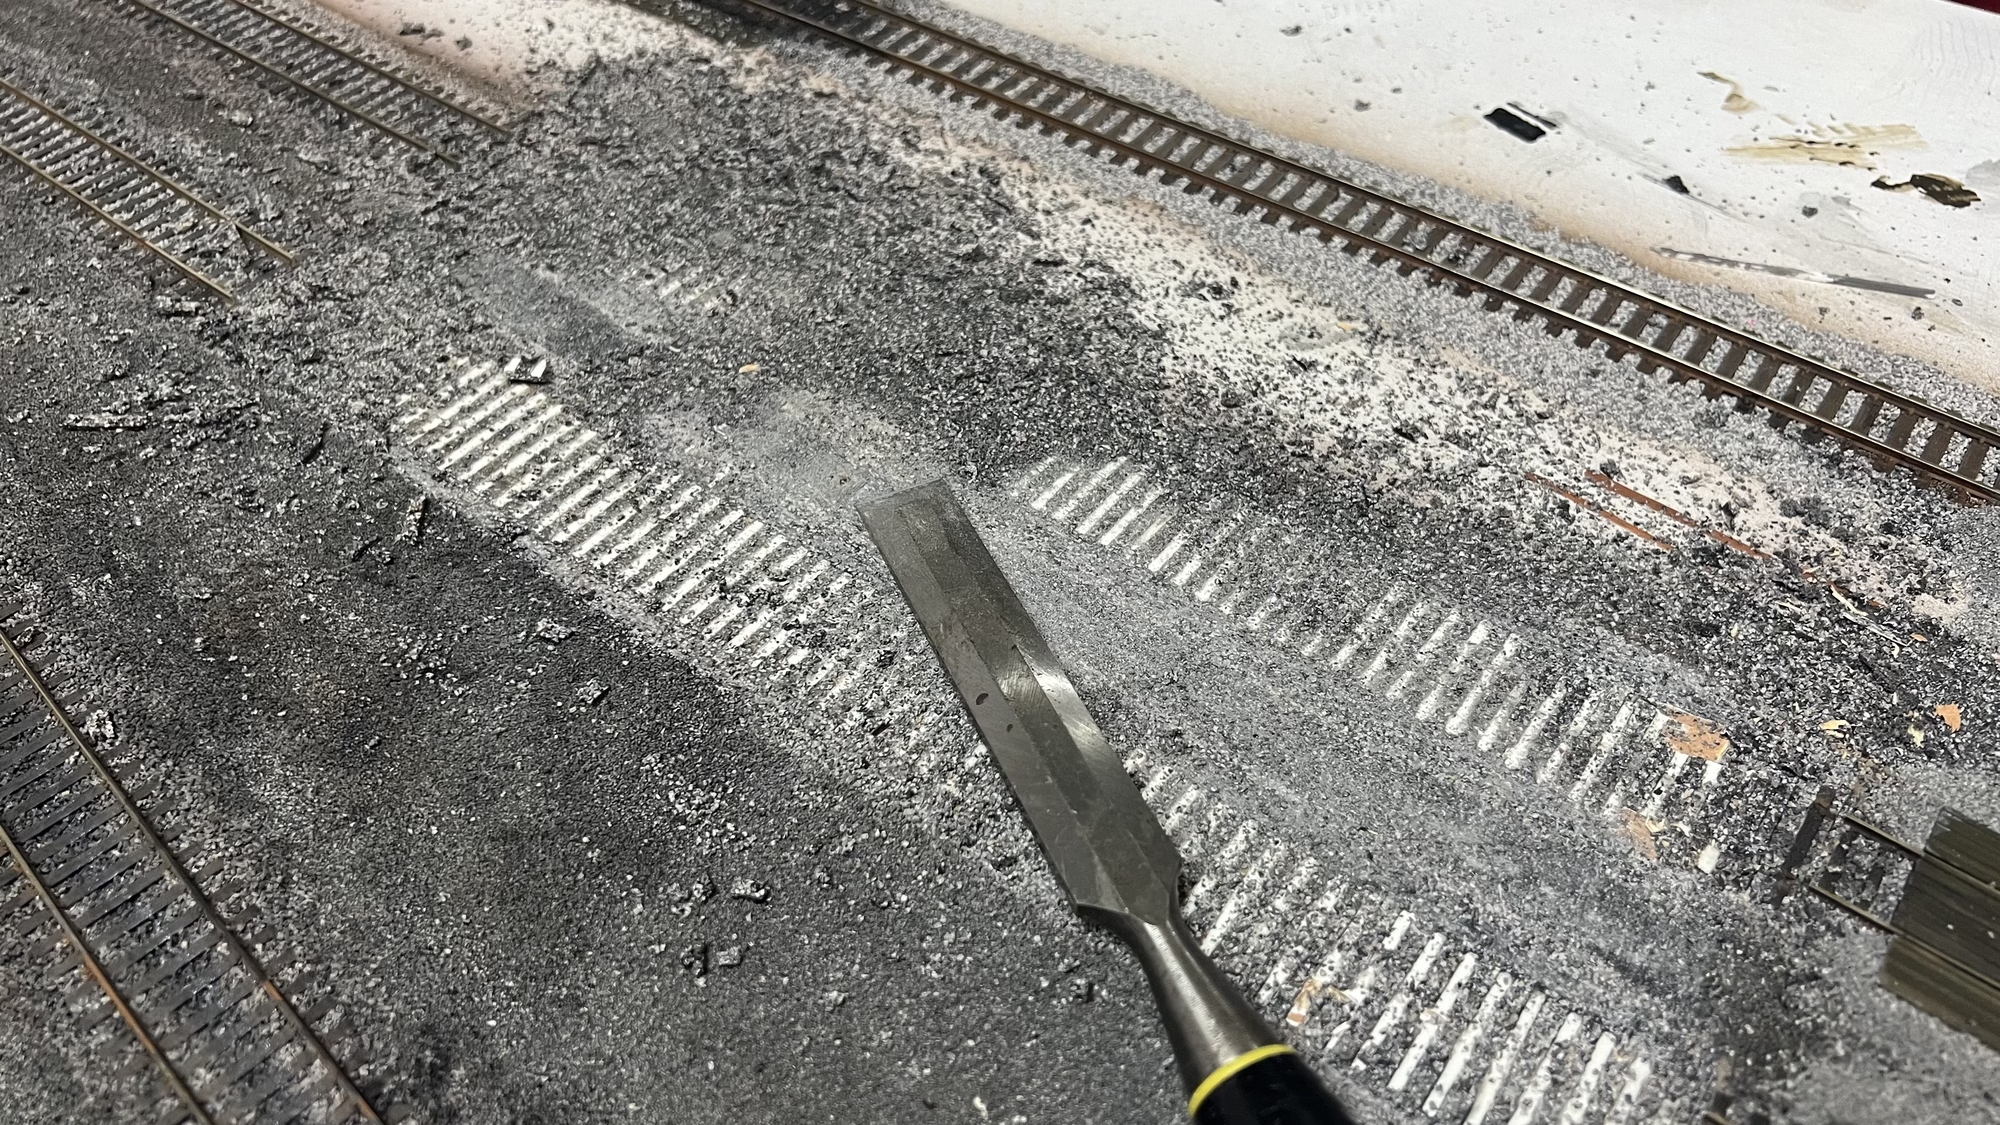
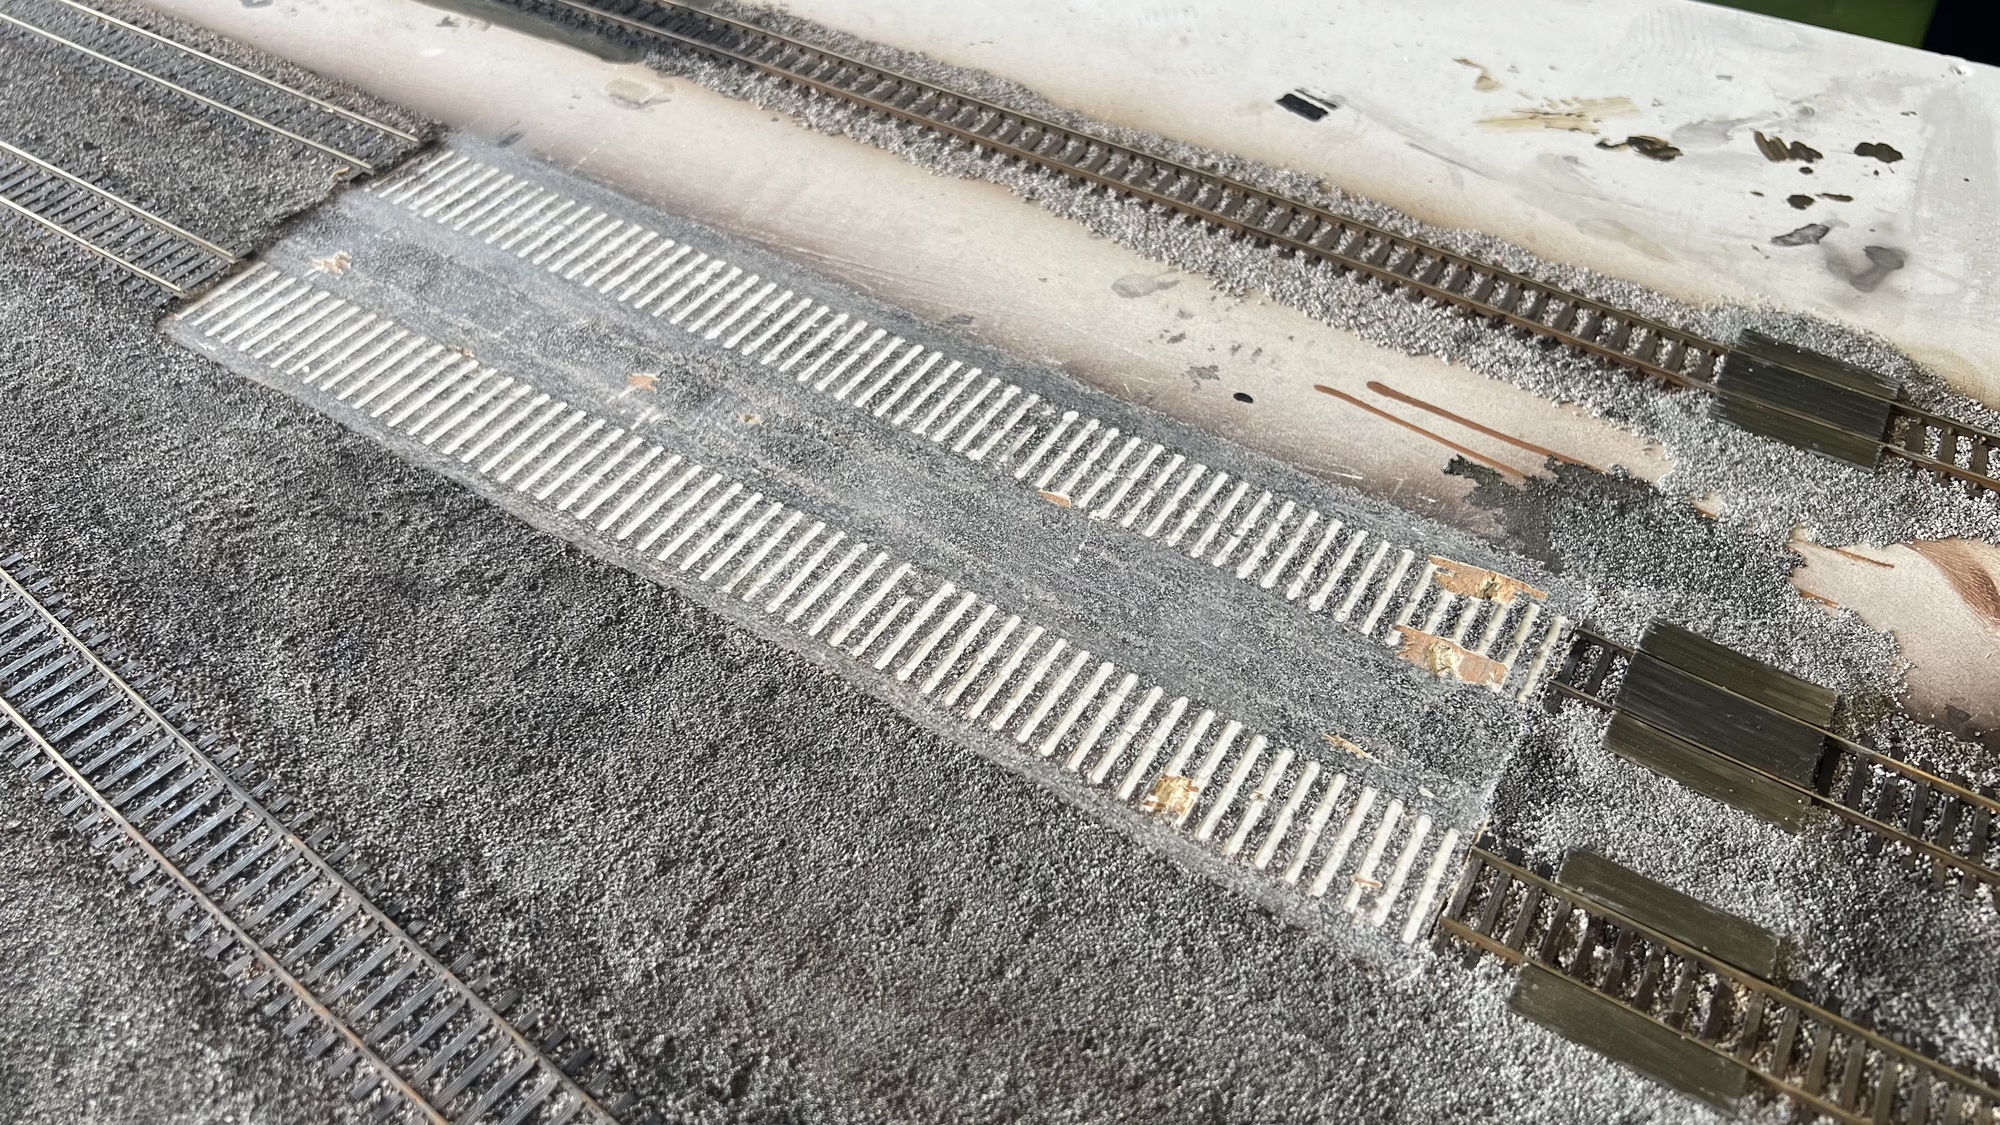
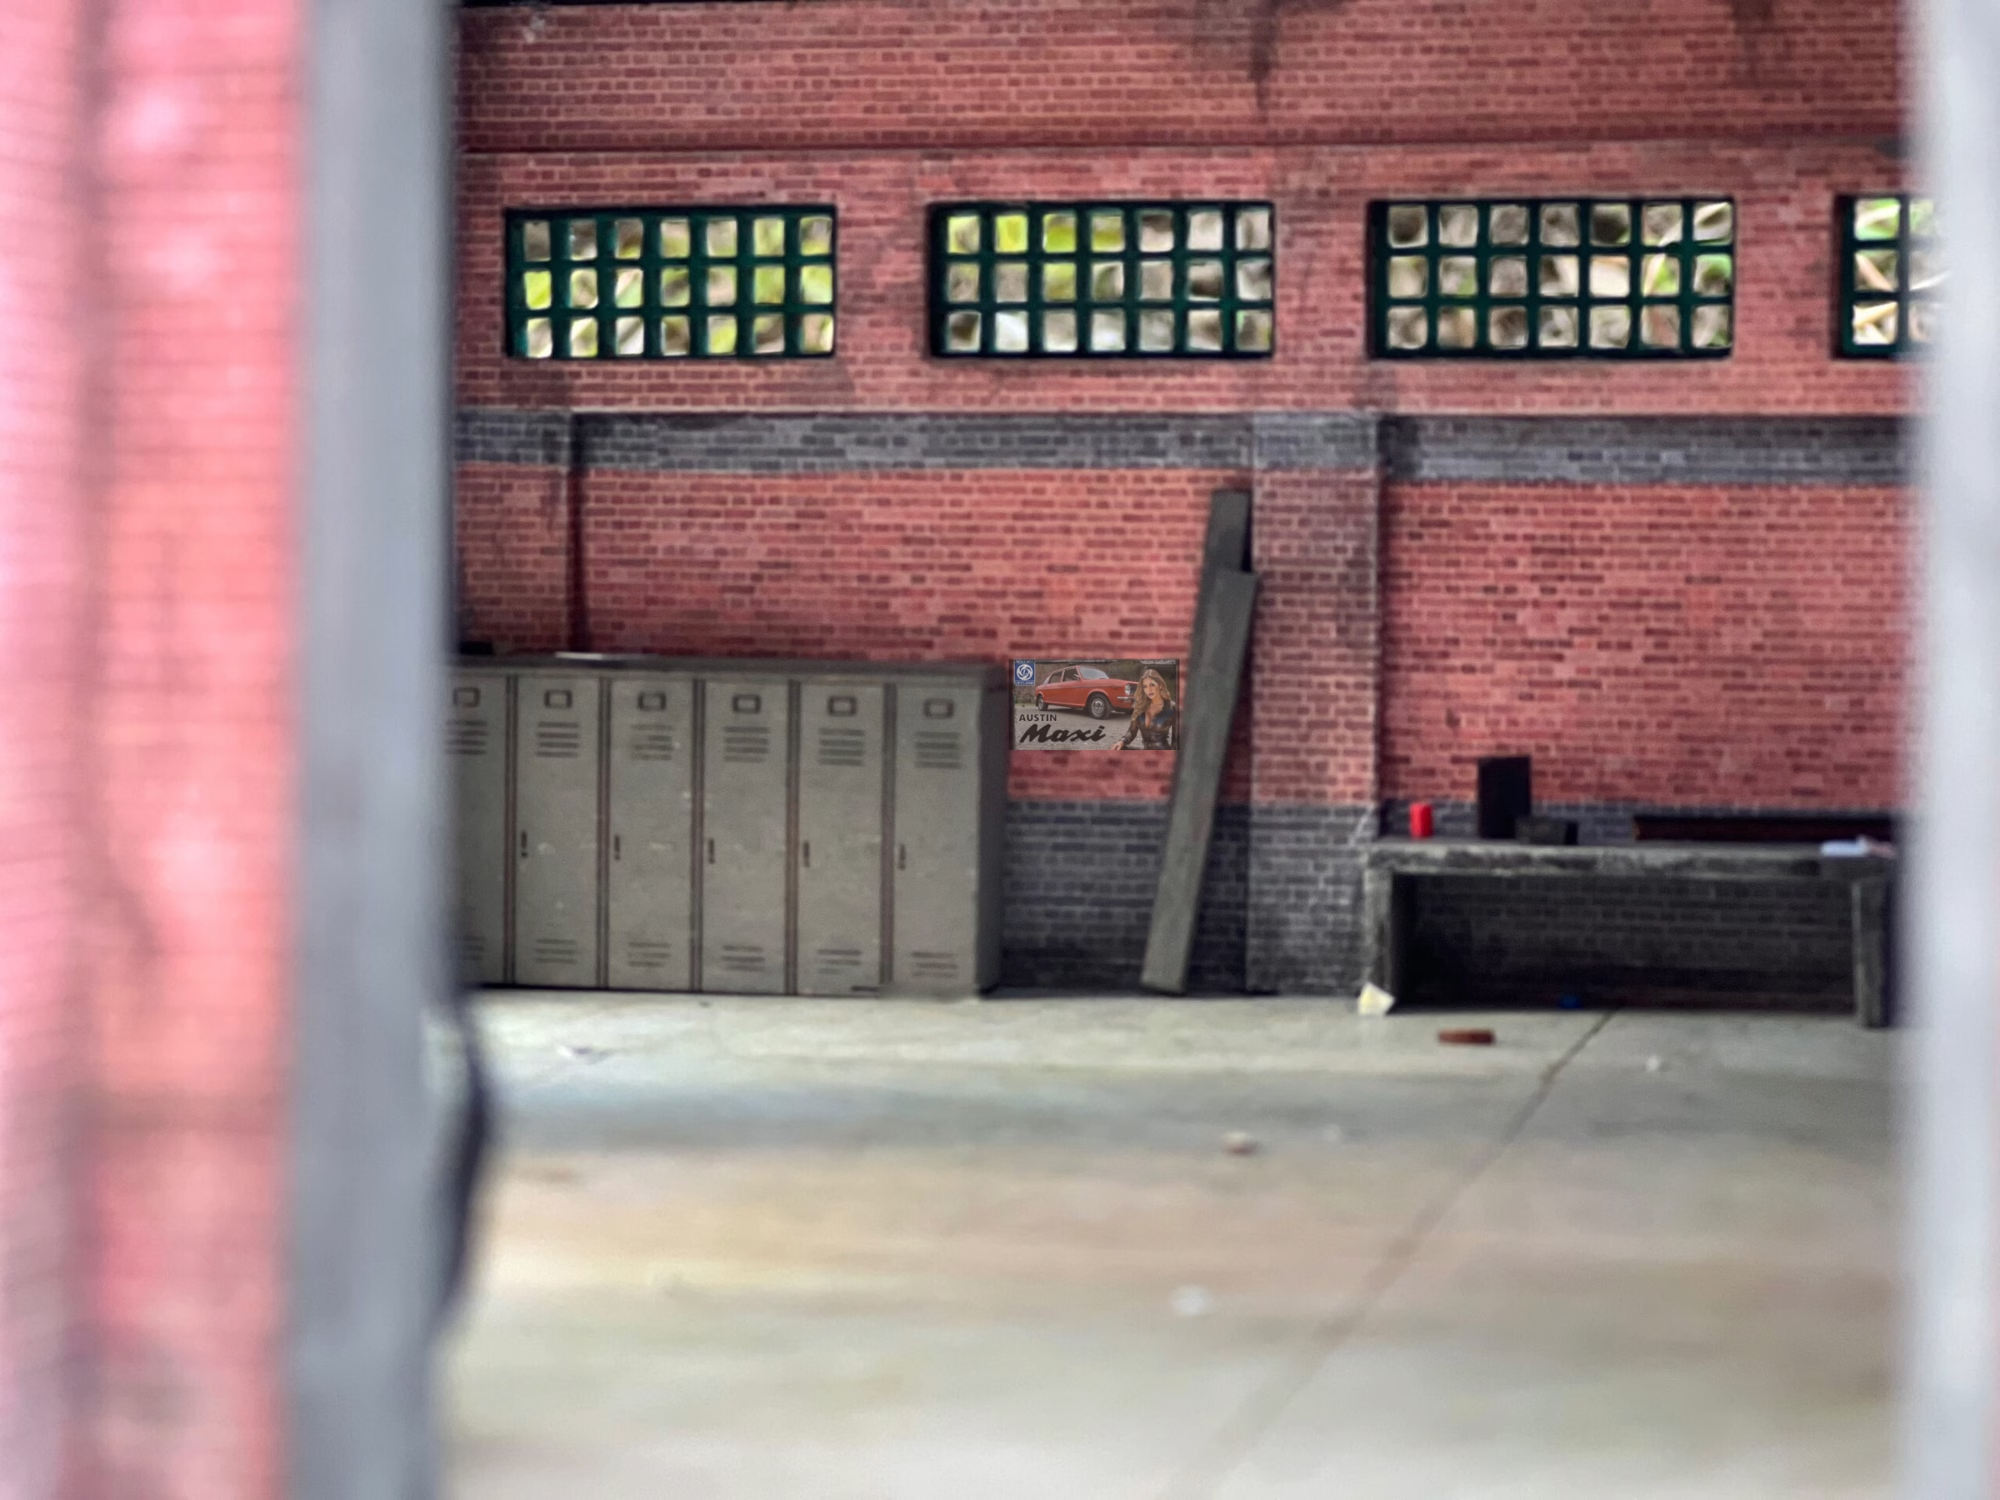
I wanted the floor of the engine shed to resemble concrete so I fired up the Laser Cutter and created sections of “Concrete” from 2mm plywood.
These were airbrushed and weathered with some powders to give the effect of age and dirt.
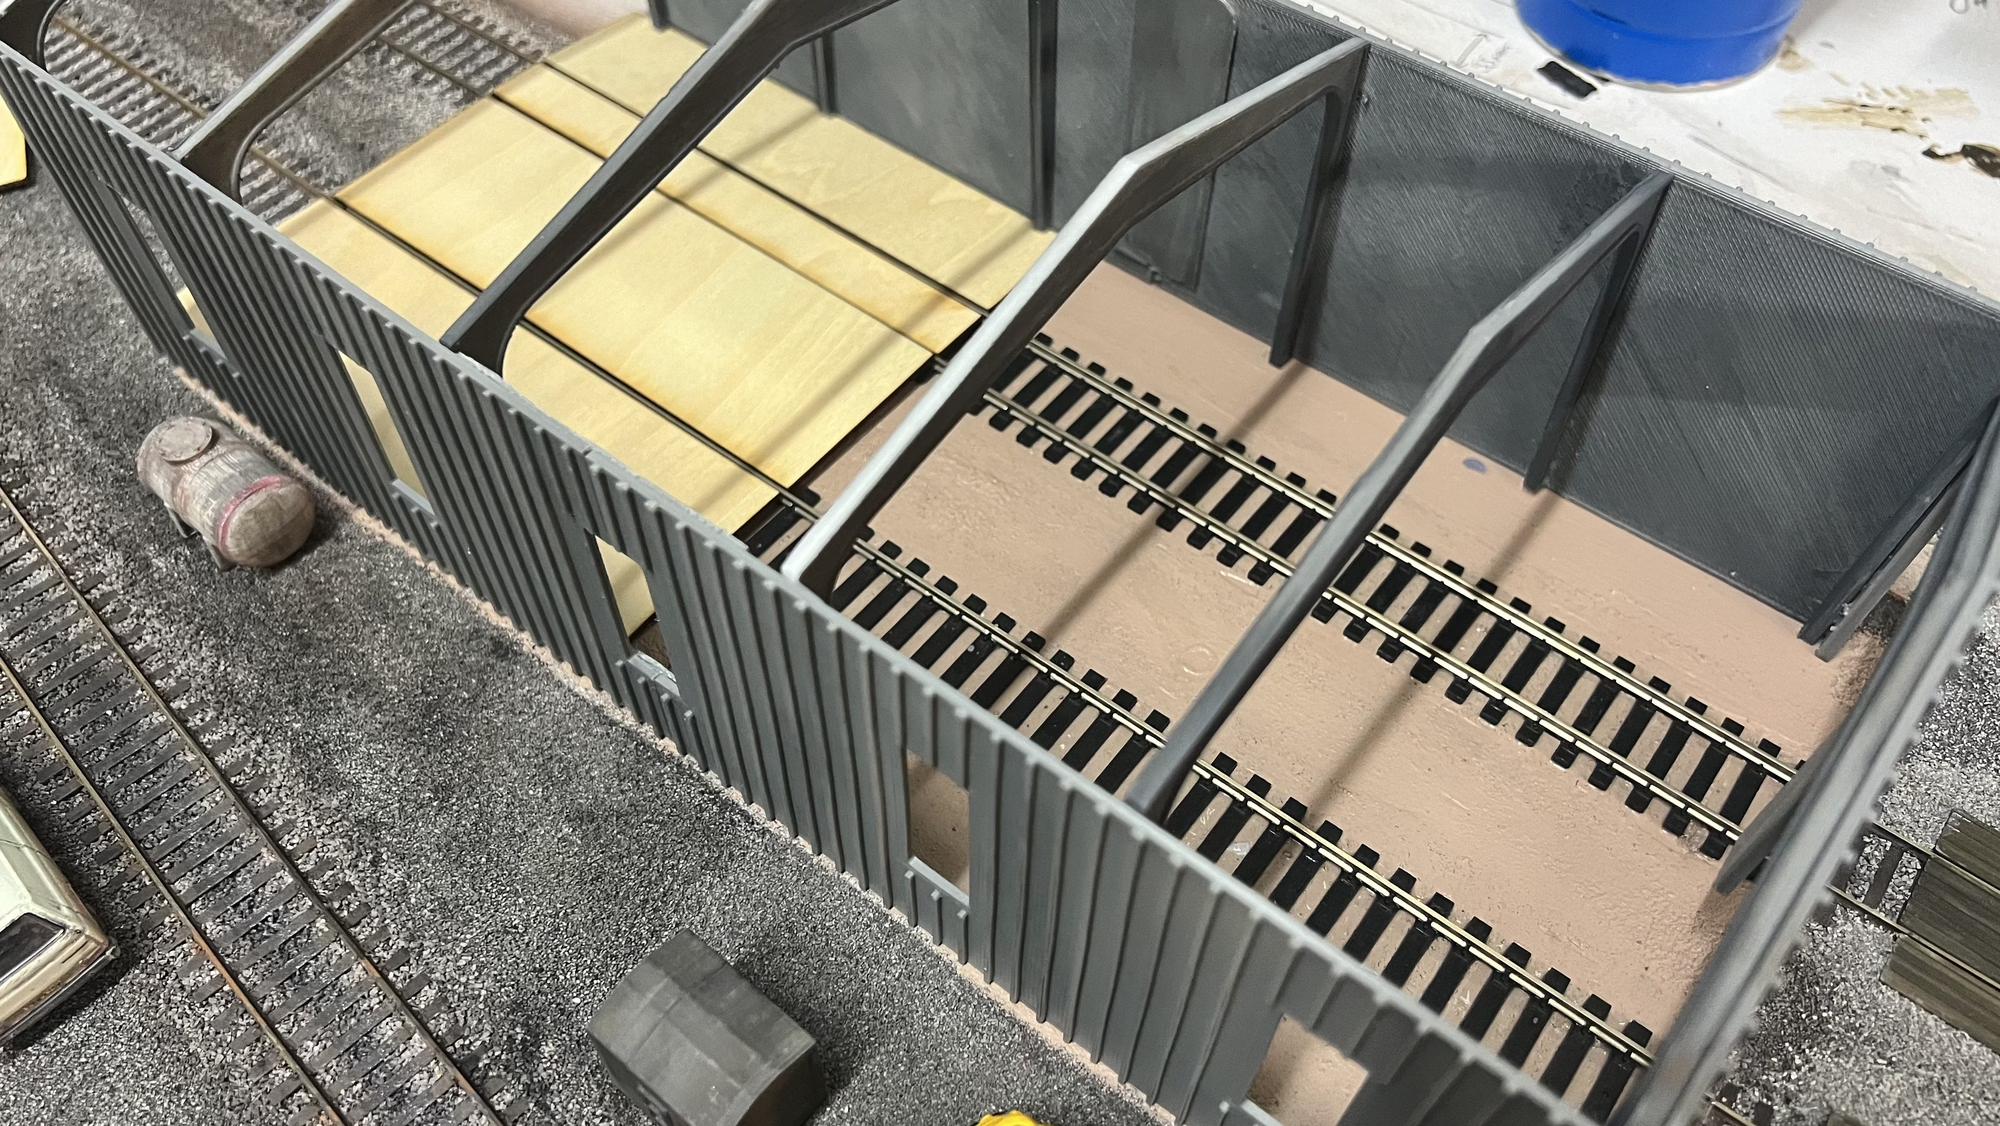
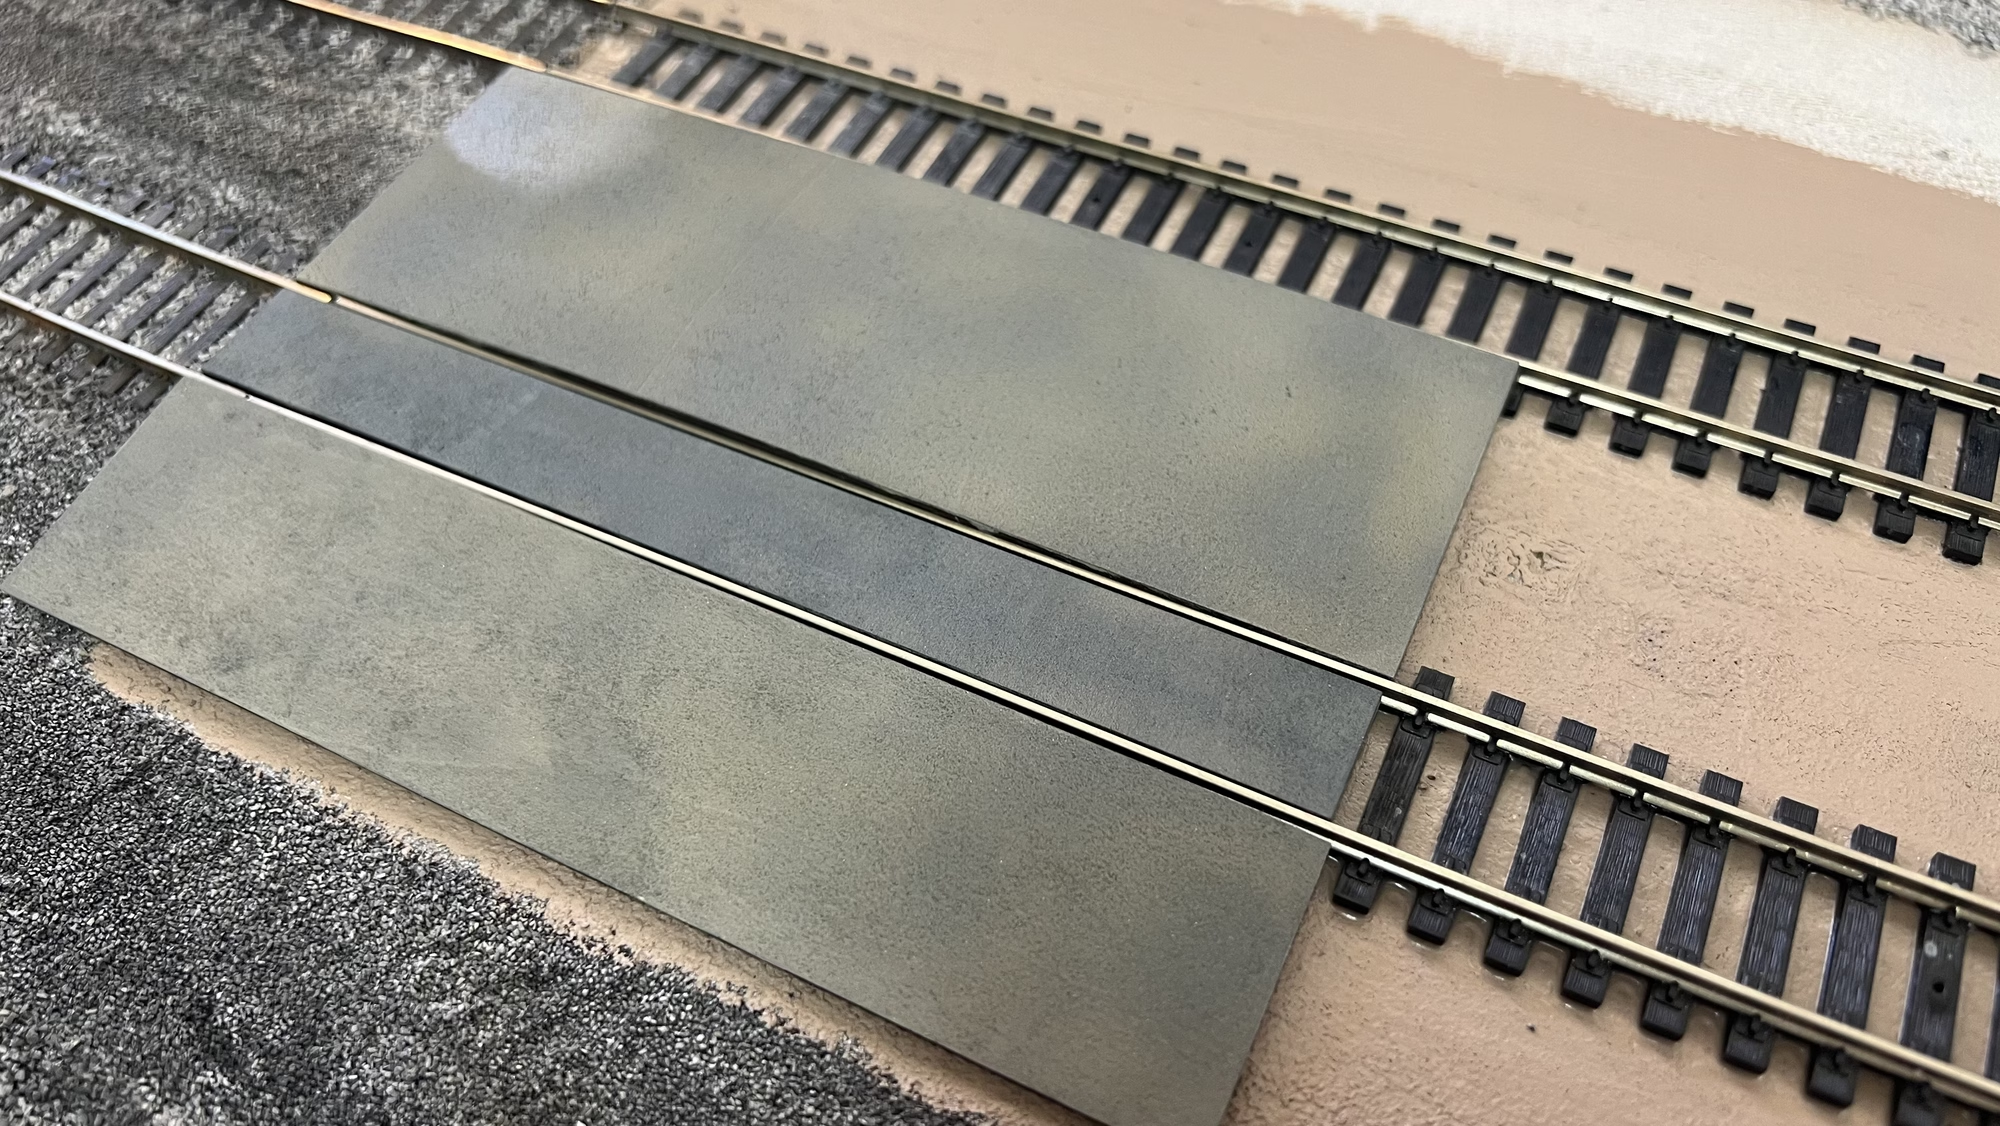
With the “Concrete” floor laid, it was time to glue the frame of the shed in place.
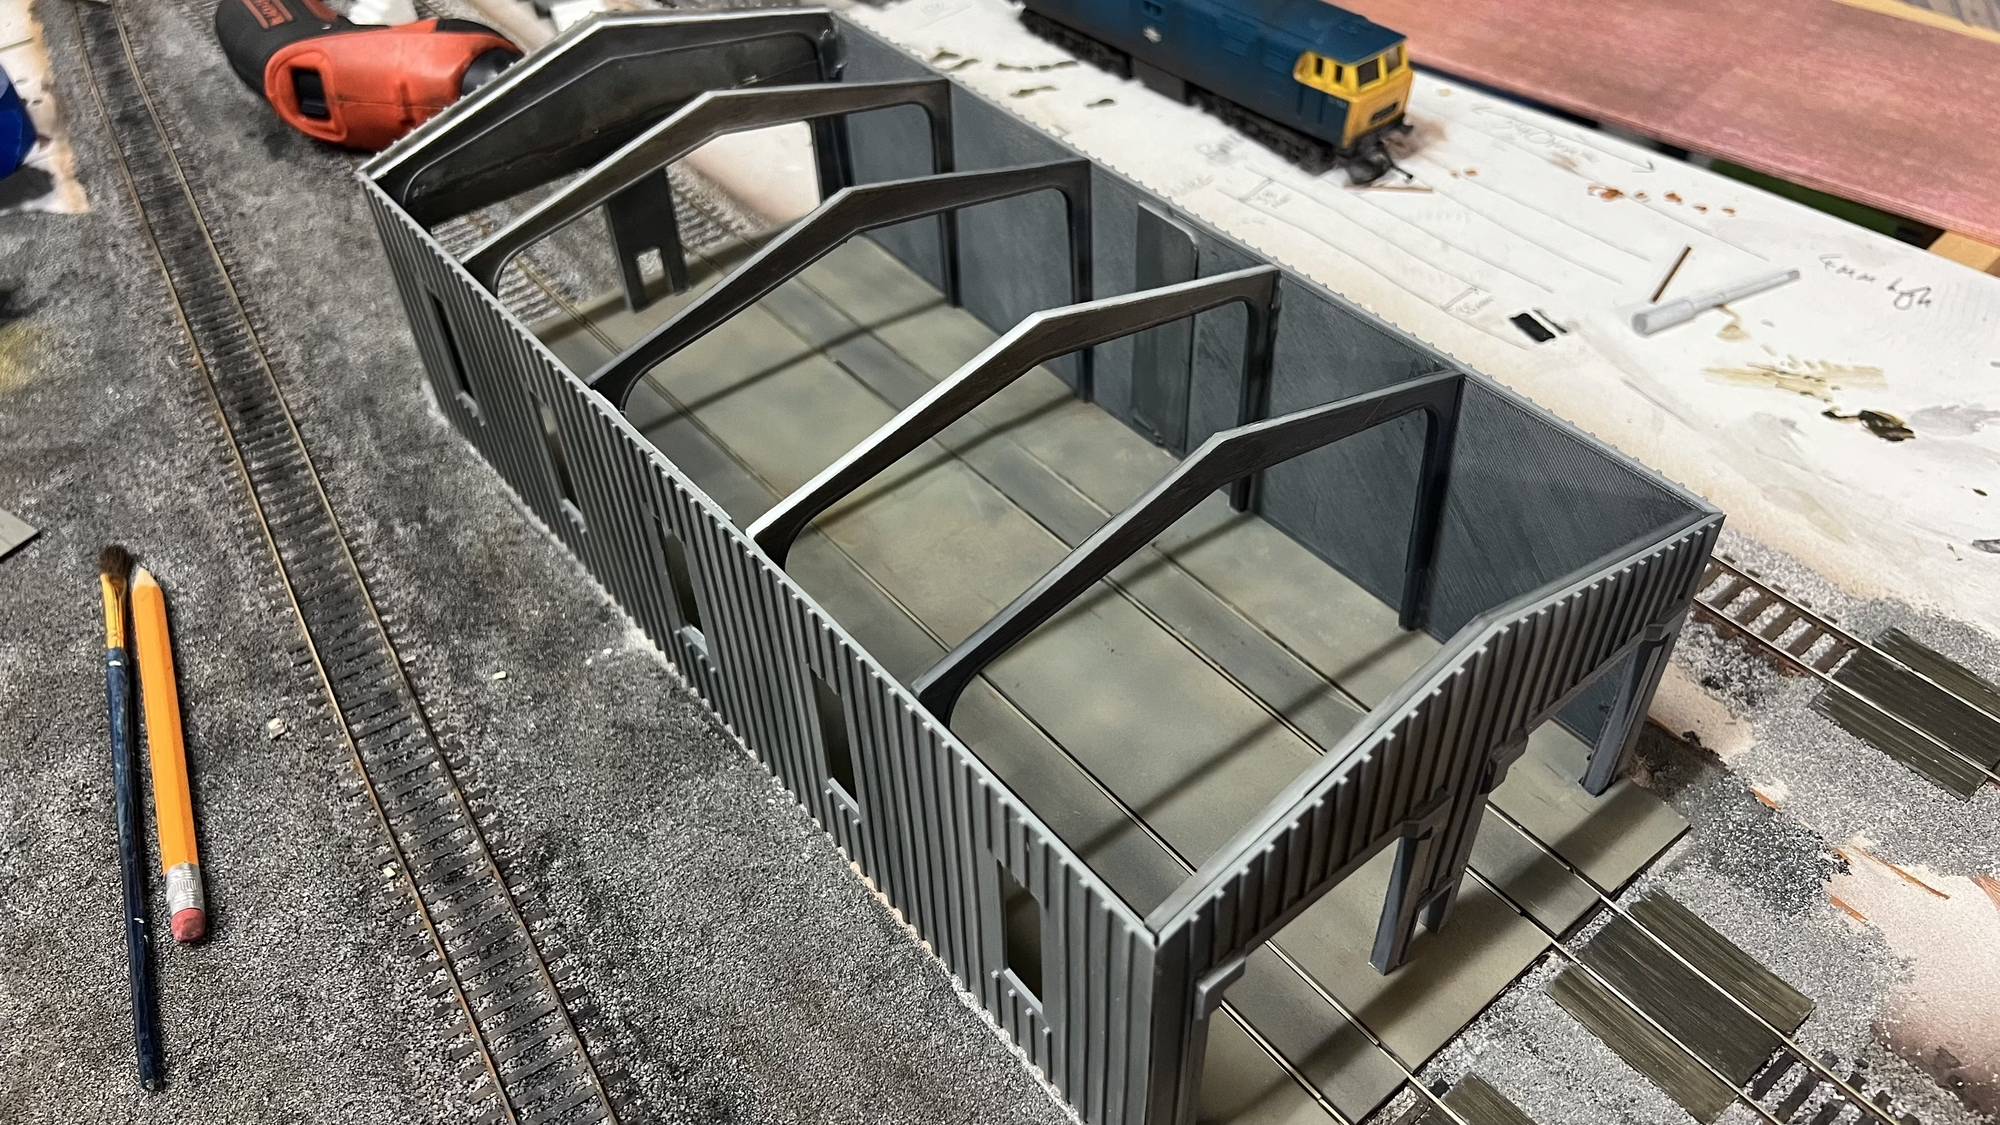
In this picture you can see the roof on. It’s only lying on the frame. I want to make the roof removable because I’m sure I’ll end up detailing the inside at some point.
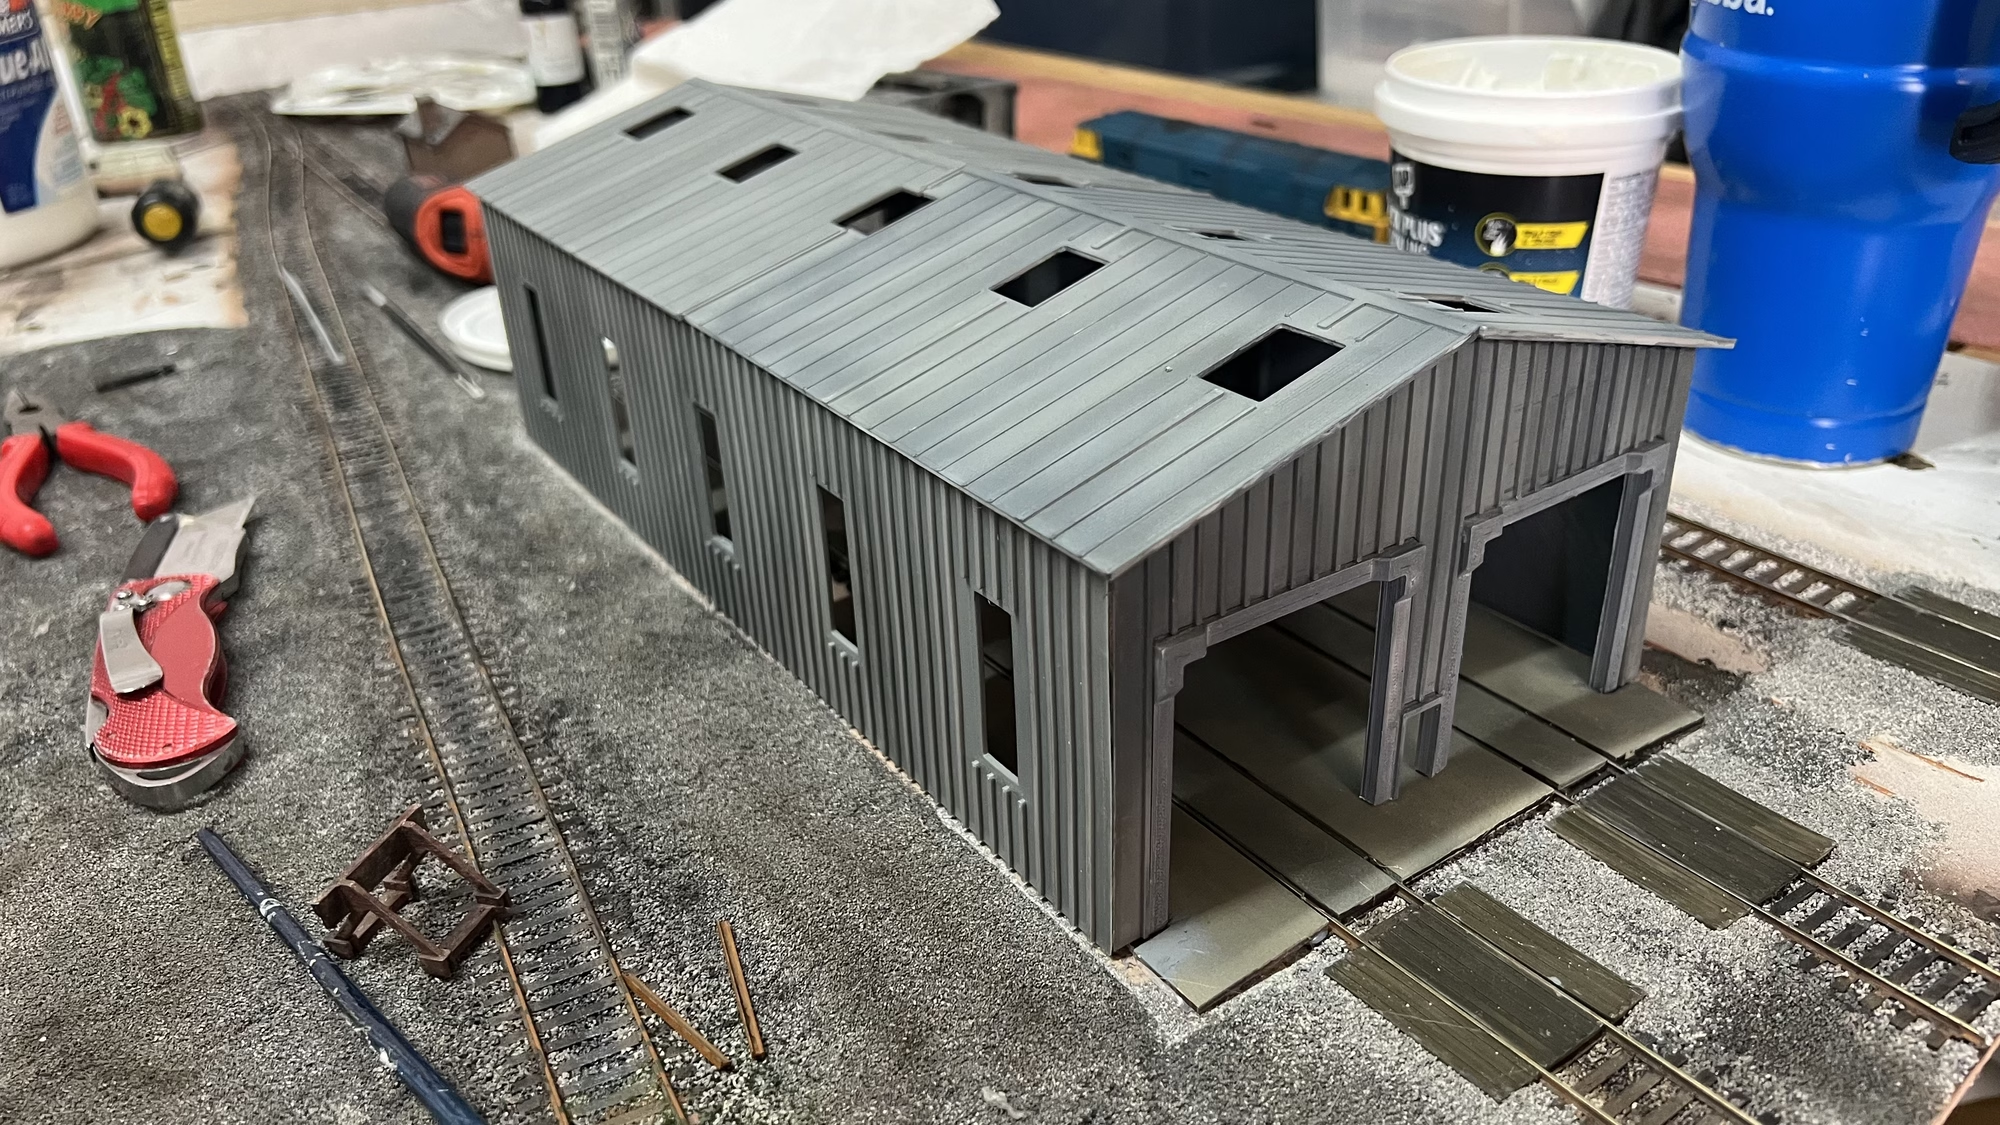
The shed is now glued in place. Here I am test fitting an LED lamp I got off eBay.
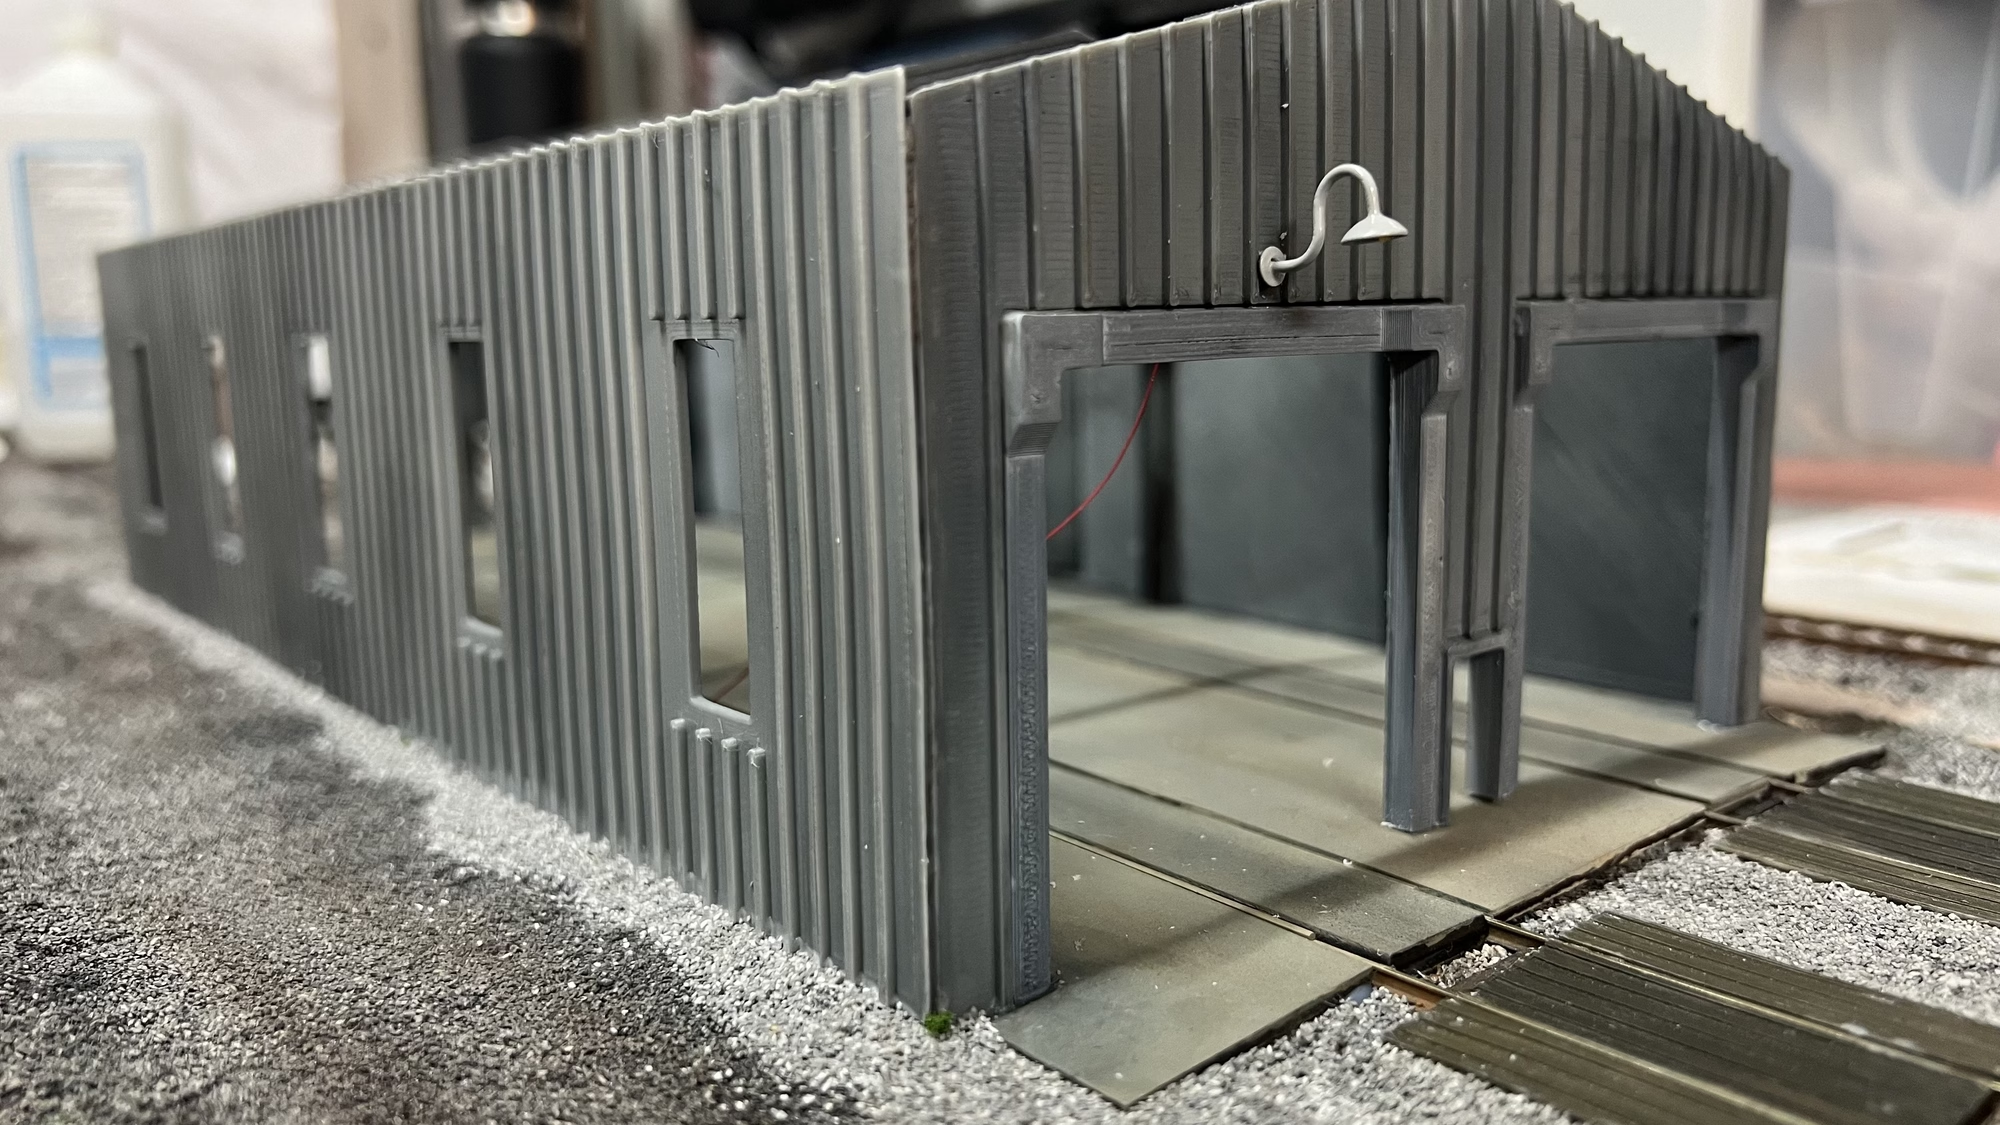
…and here is the elevated platform for the maintenance crew that will be placed inside the shed, fresh off the 3D printer.
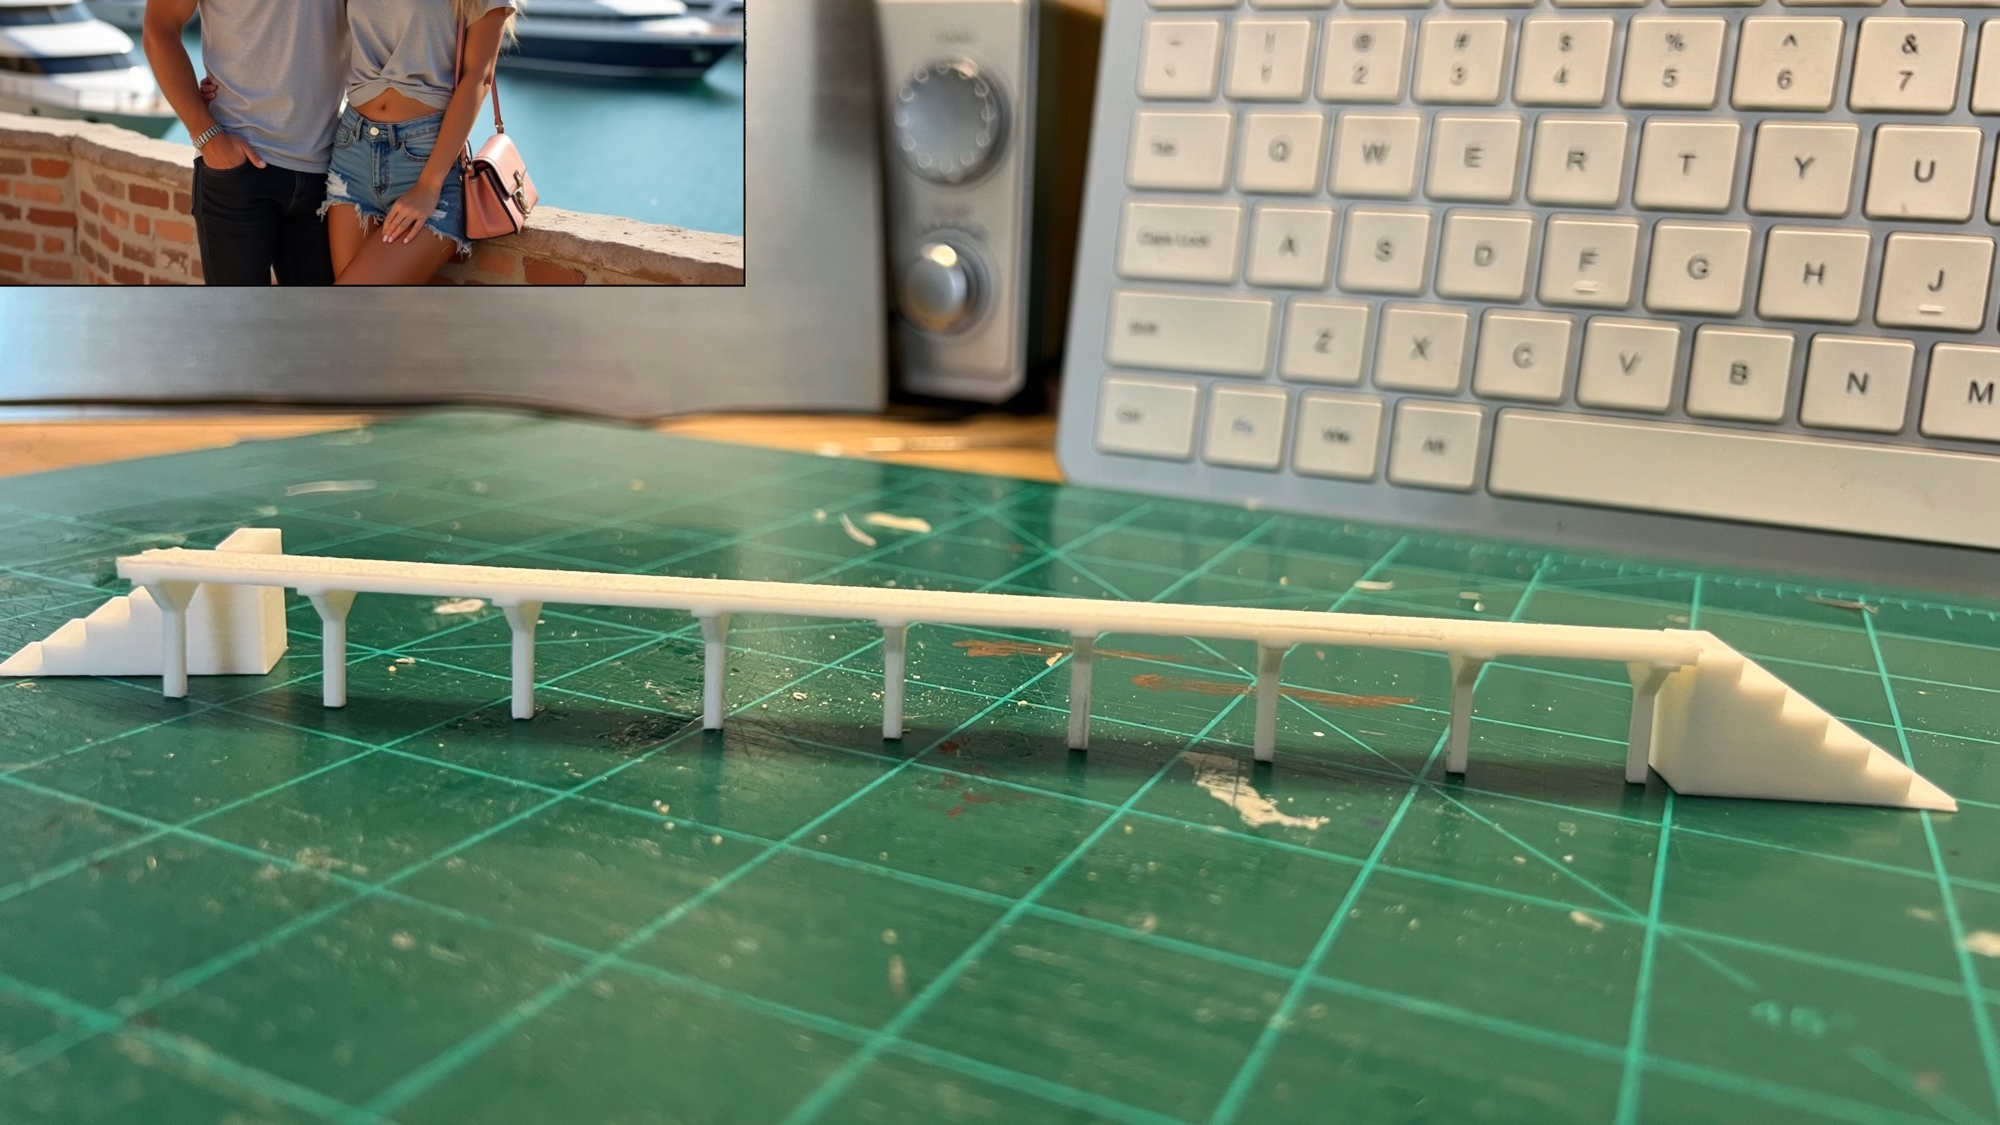
Back in Tinkercad I created some roller shutter doors for the maintenance shed. 25 minutes later hot off the 3D printer here they are test-fitting into the doorways.
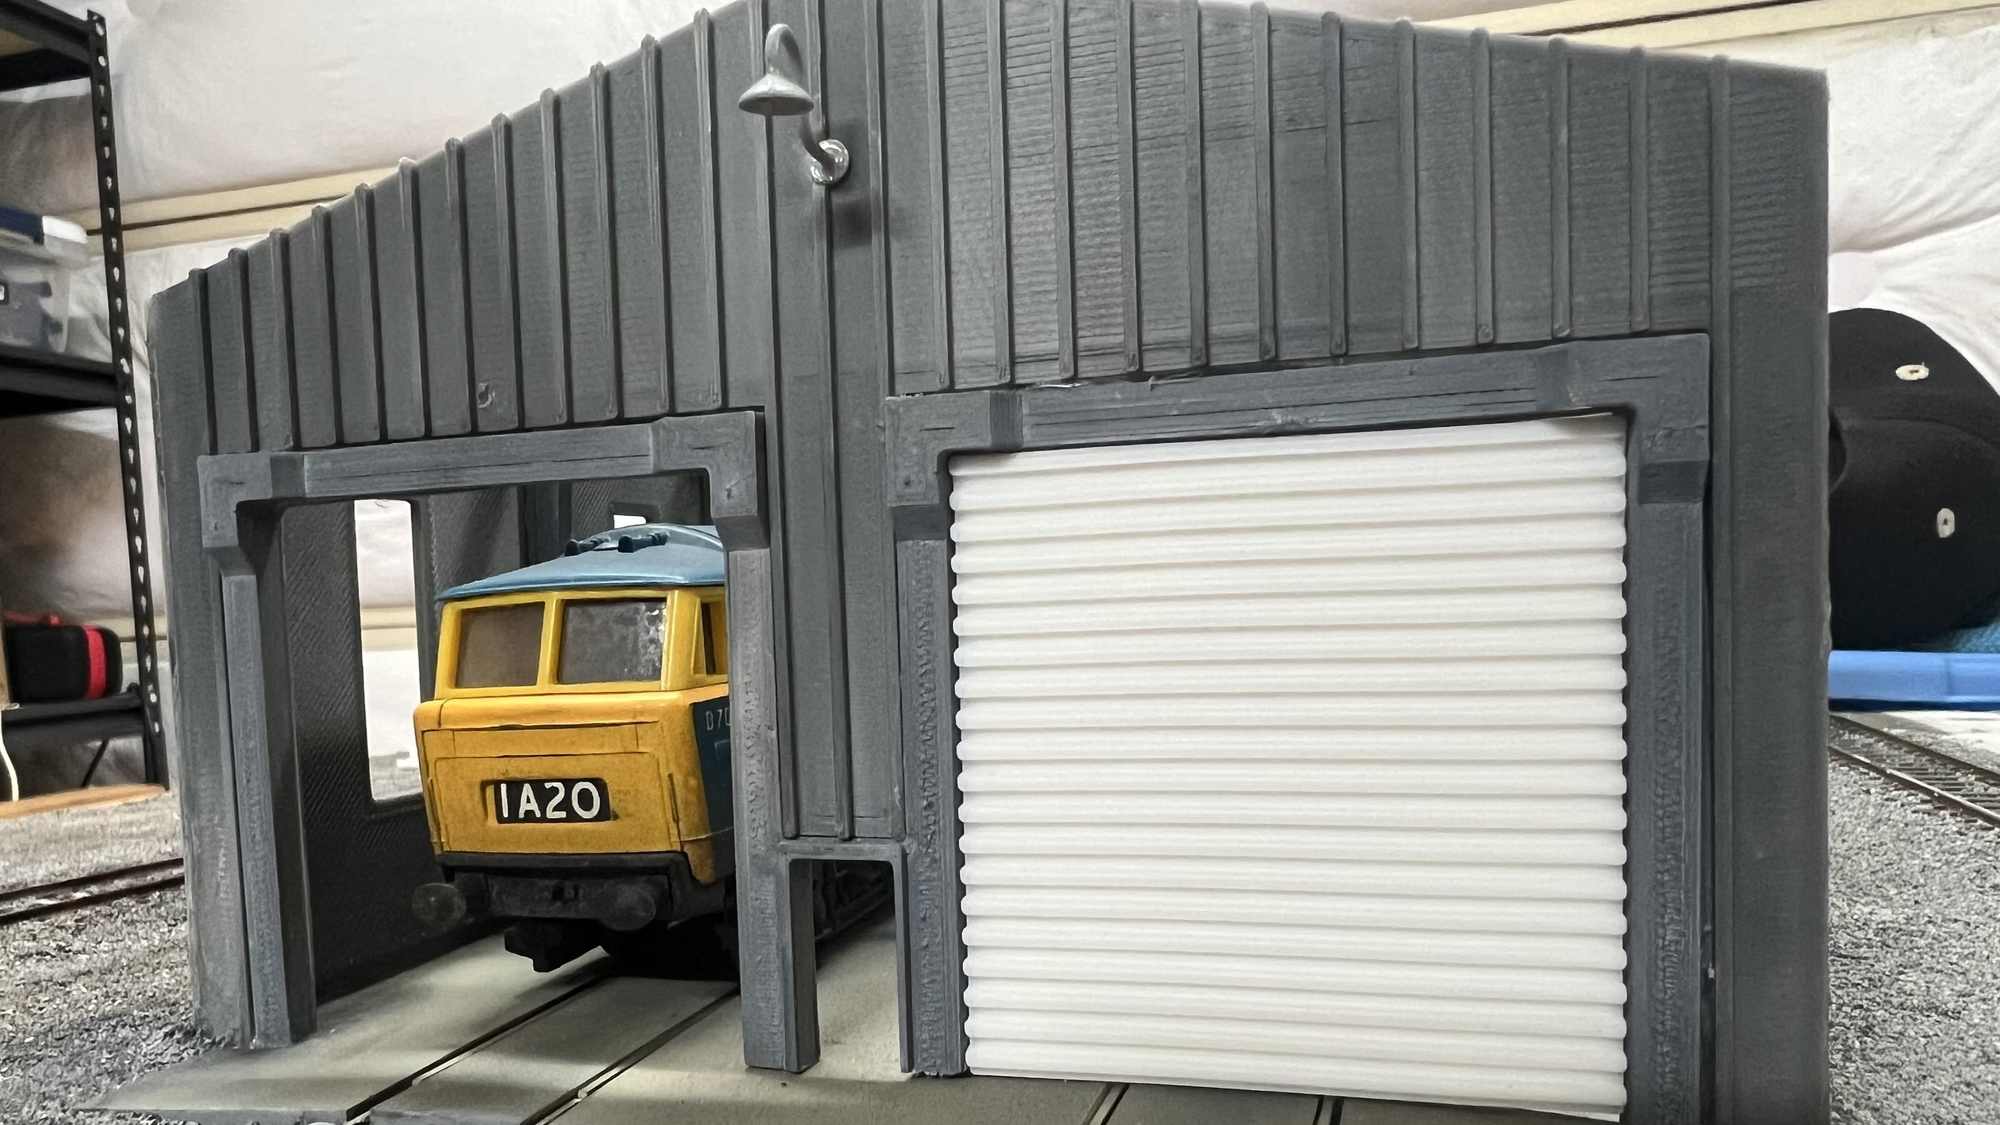
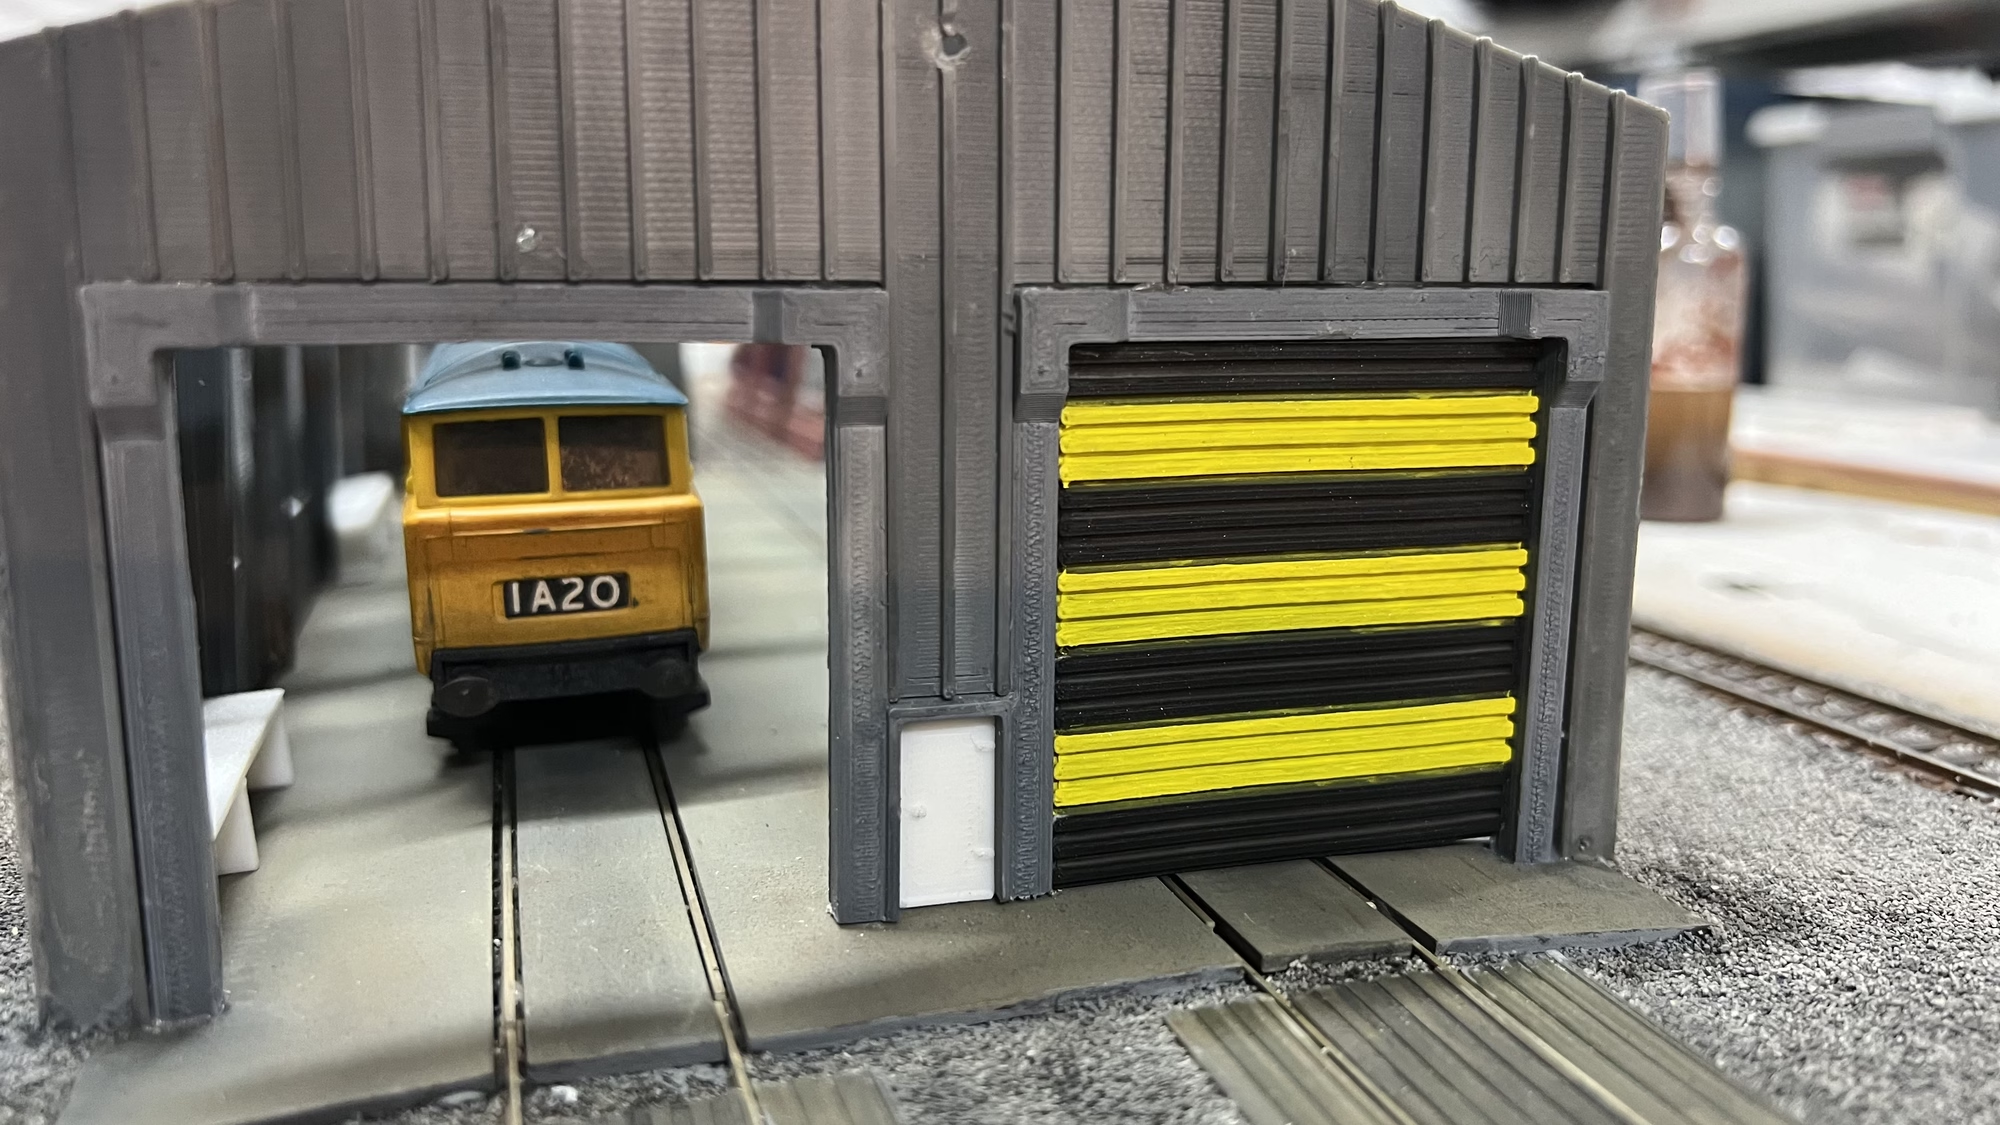
Next, I airbrushed the doors black on both sides, when that was dry I cut 5mm strips of painter’s tape and stuck them on, then gave multiple coats of yellow to create the “Wasp Effect”
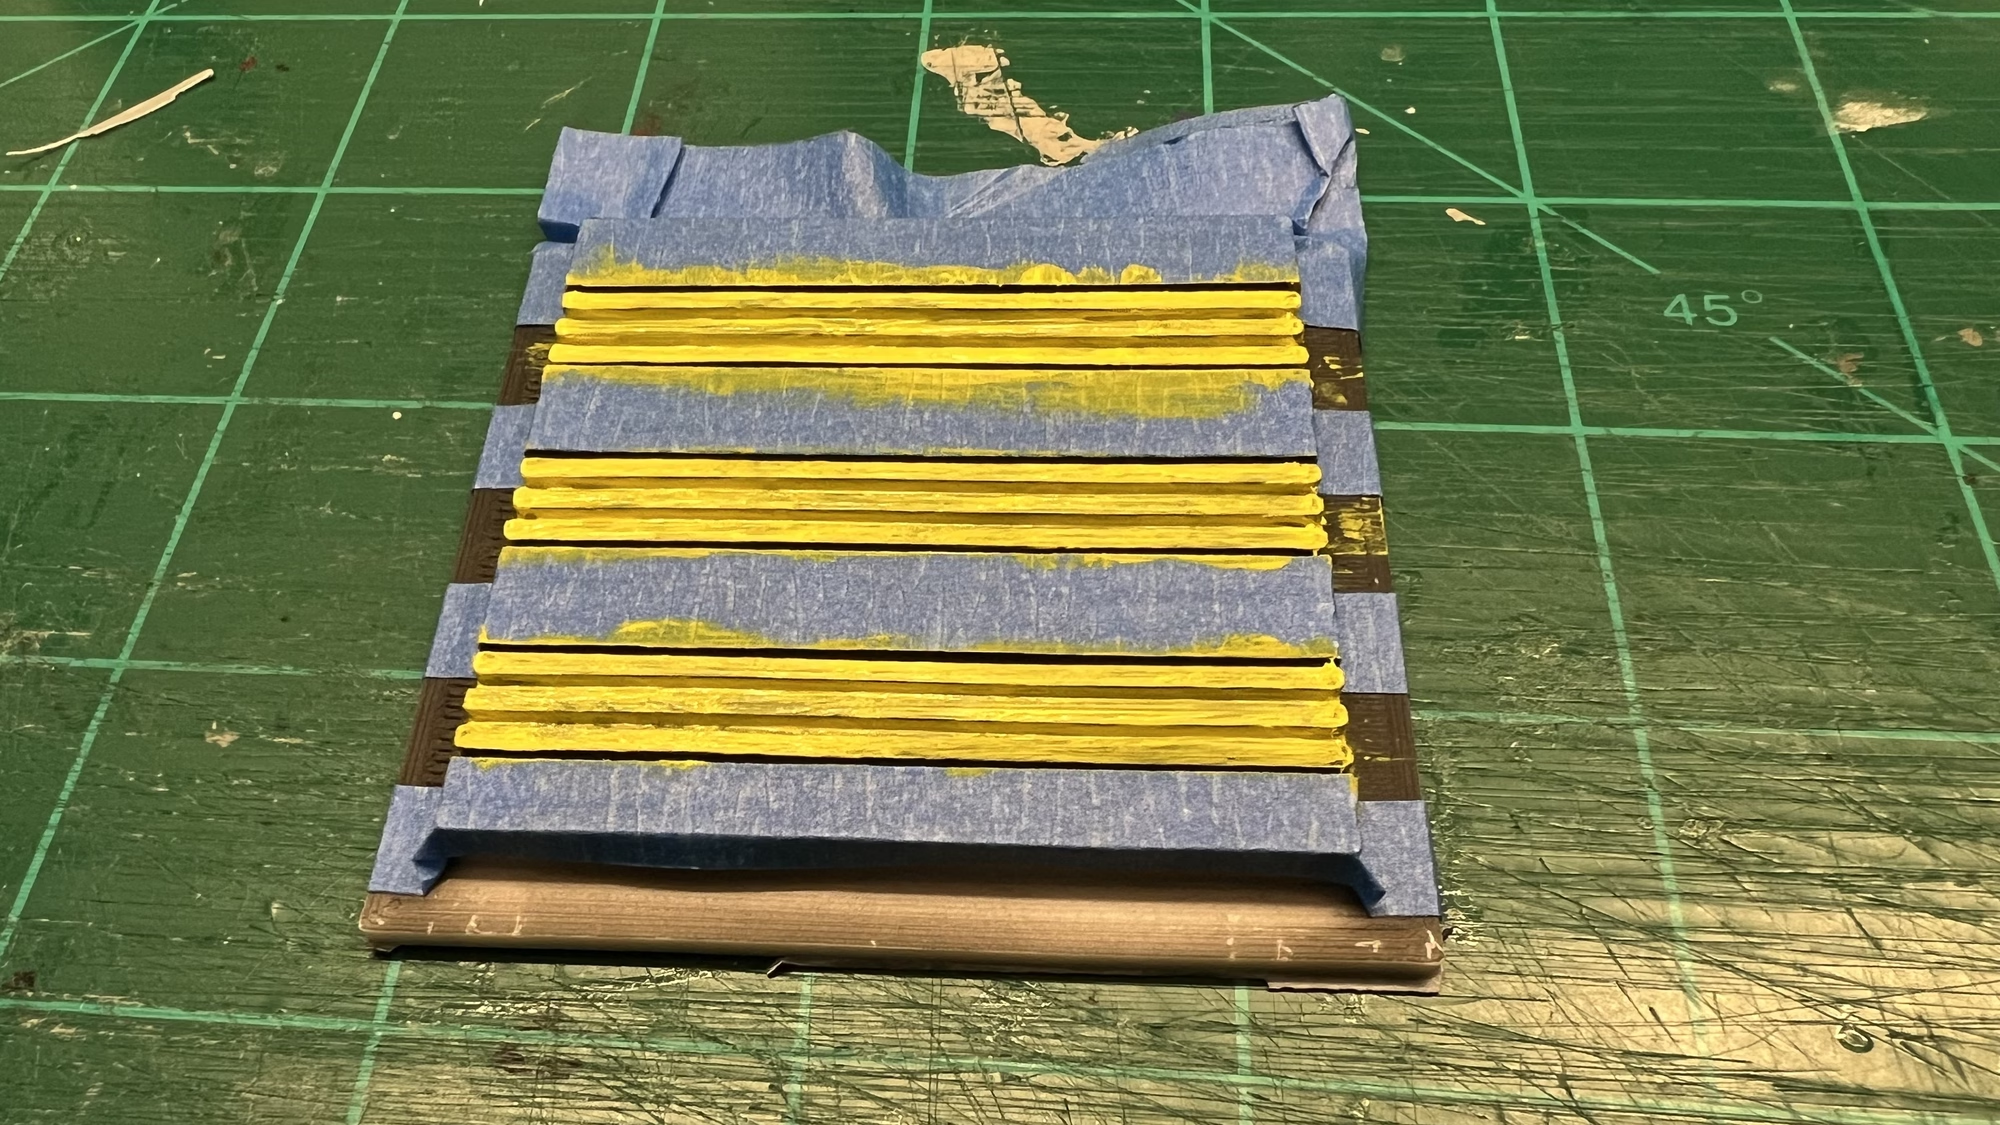
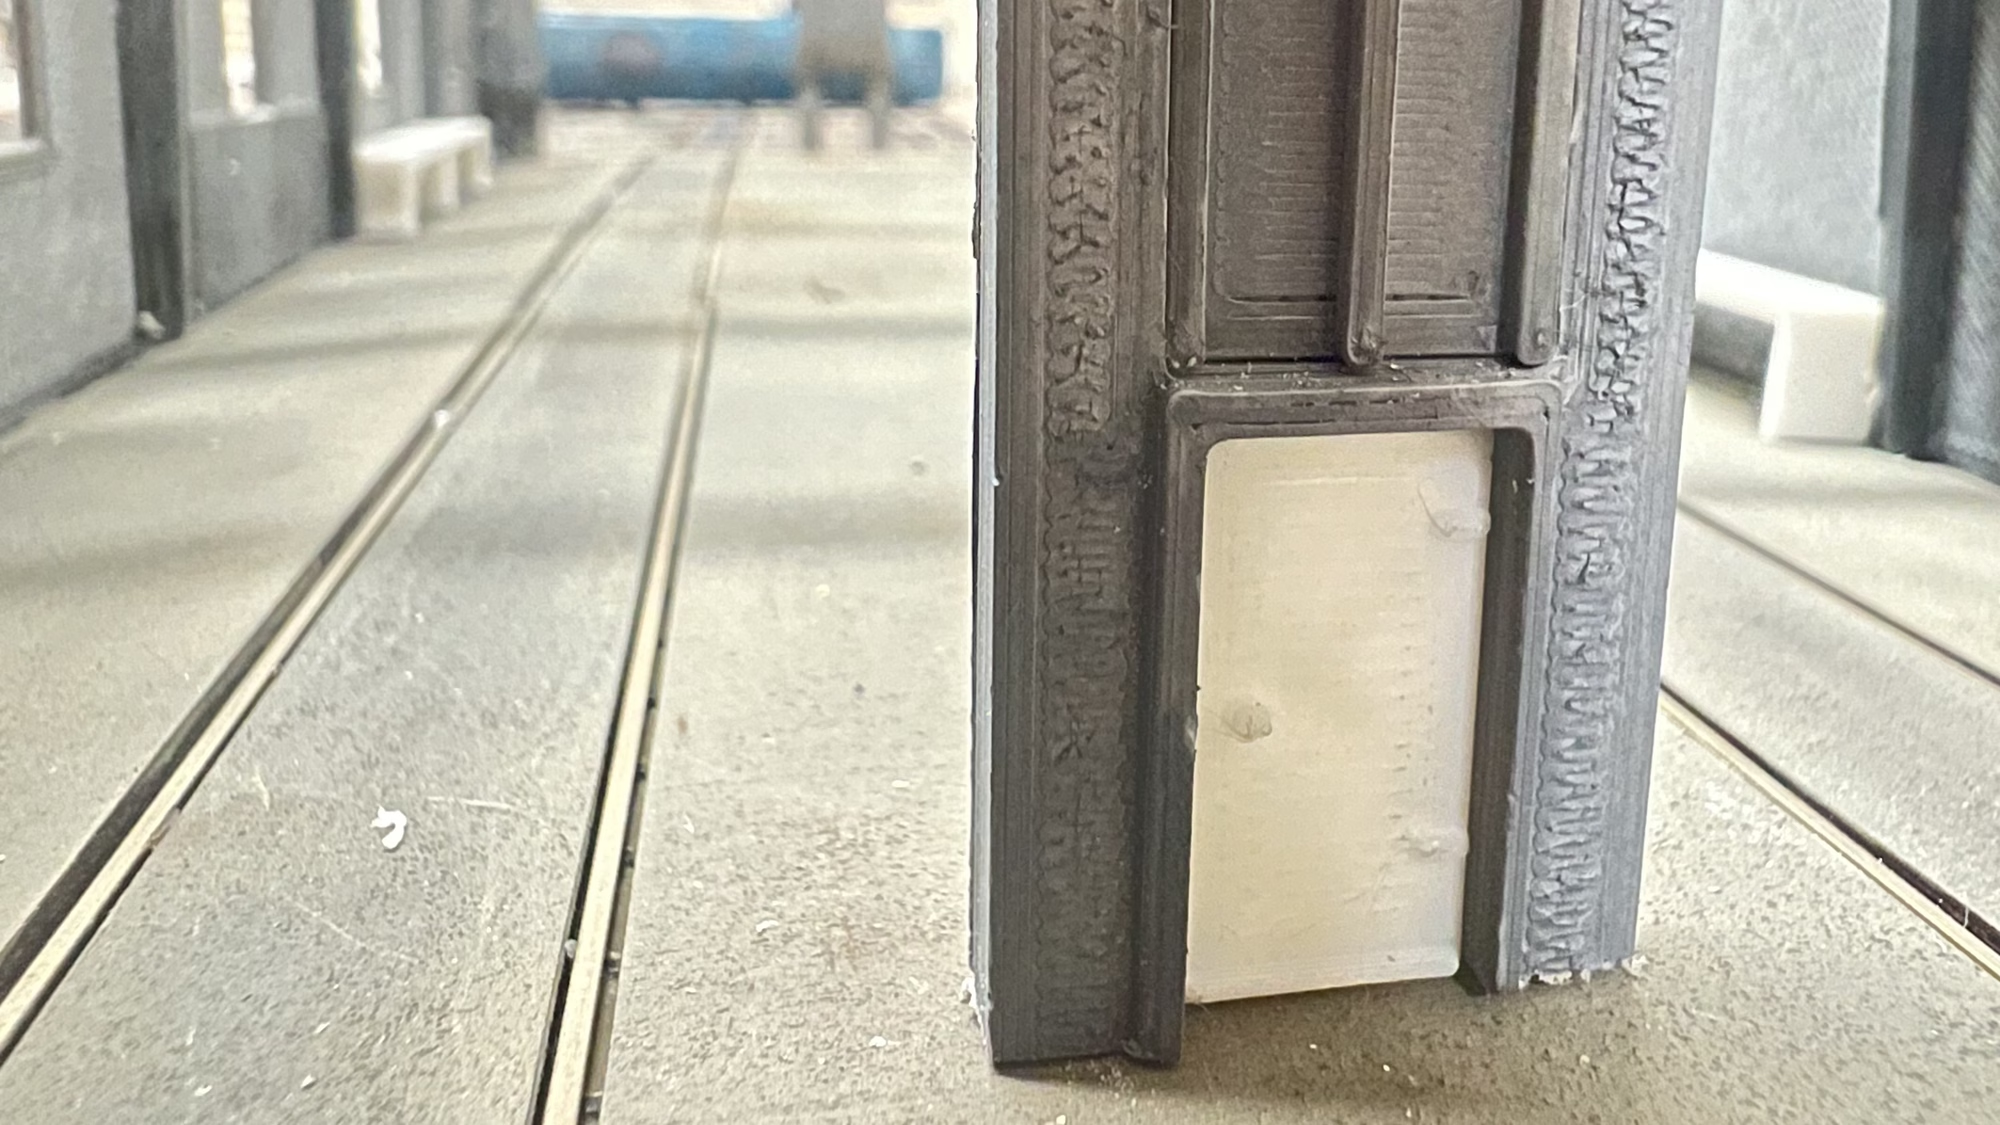
While making the shutter doors I also 3D printed the access door. I’m not quite sure what colour to paint this. There is so much grey all over the diorama.
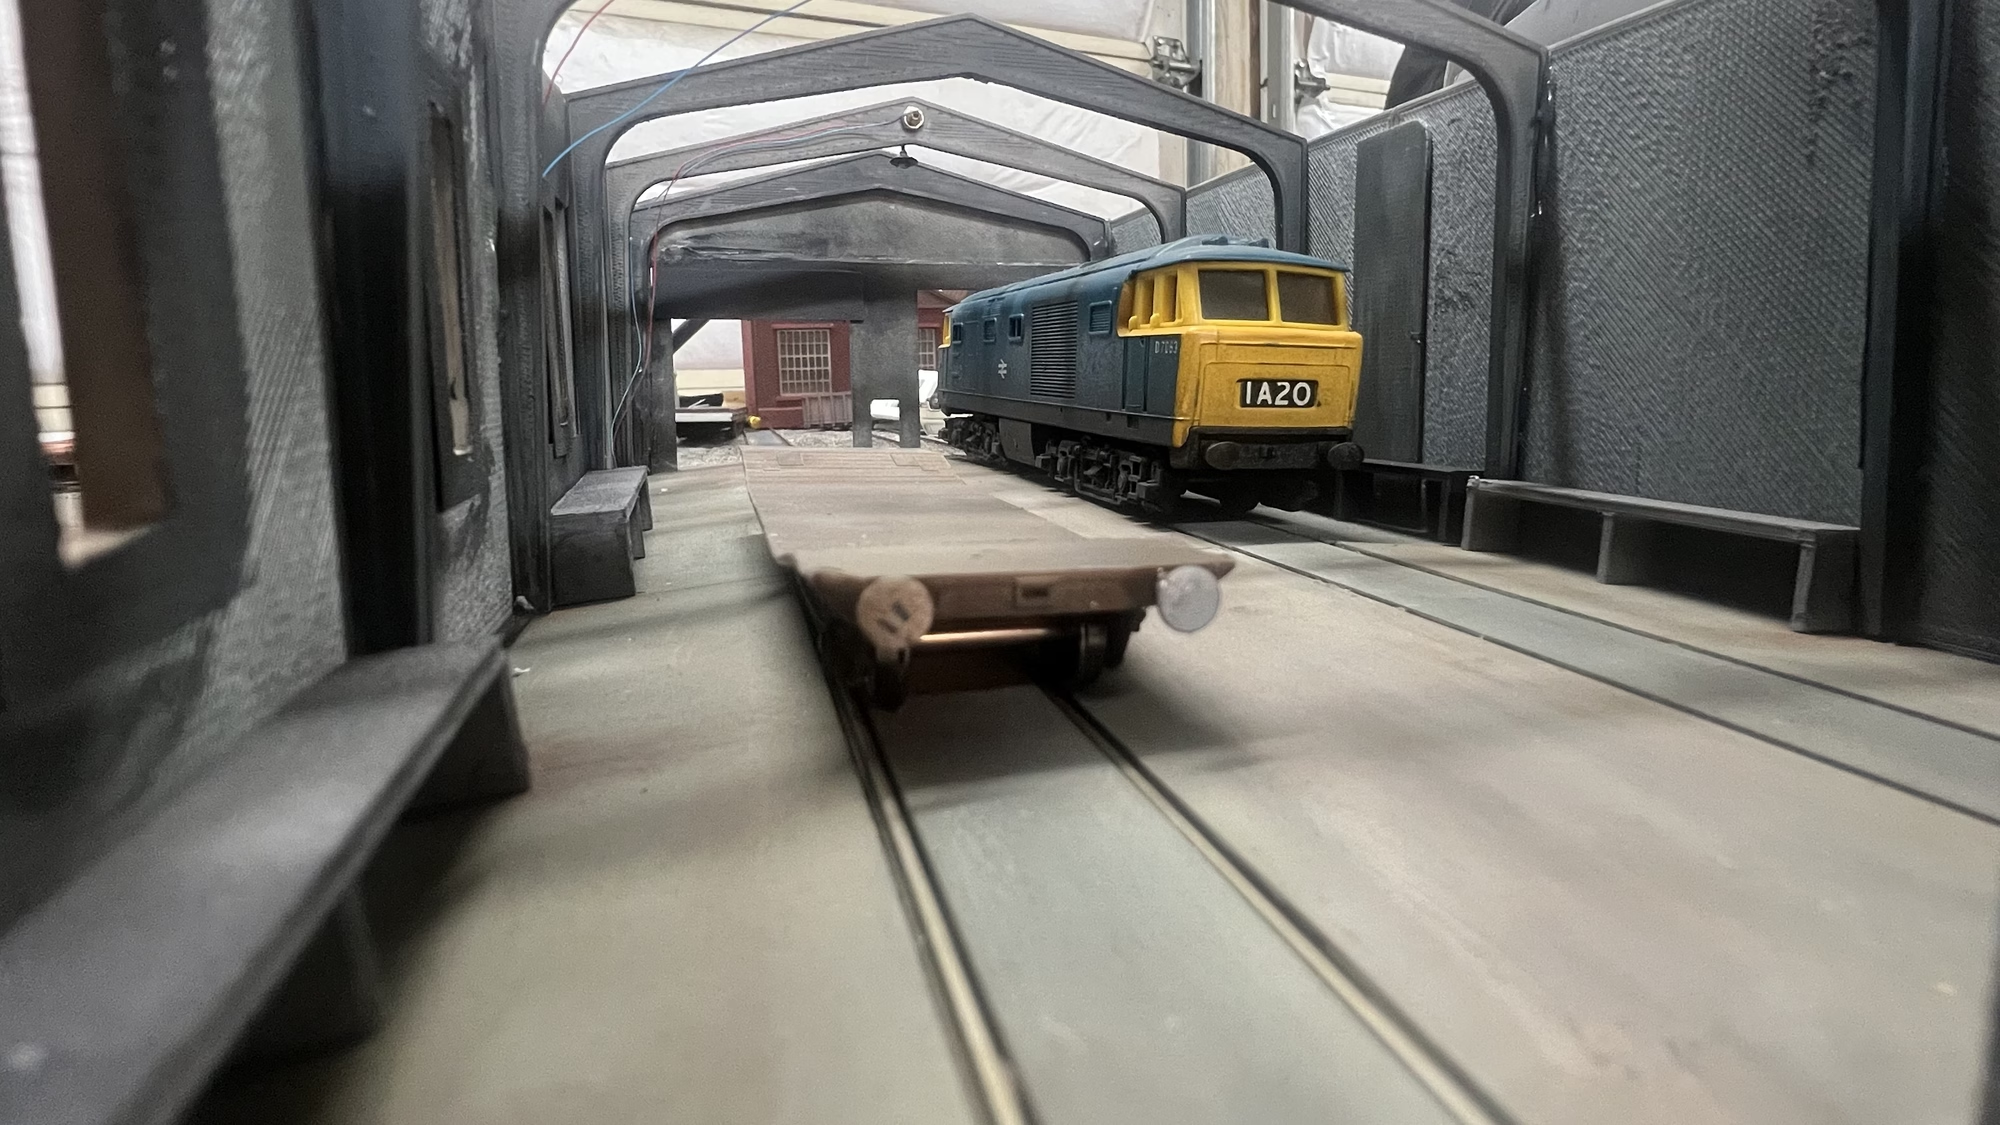
In the picture above you can also see the workbenches also 3D printed.
I think the maintenance shed doors turned out well. I still need to “weather” them down a bit.
I fitted the dirty windows on the maintenance shed and started to “weather” the building with some Vallejo Grime Wash.
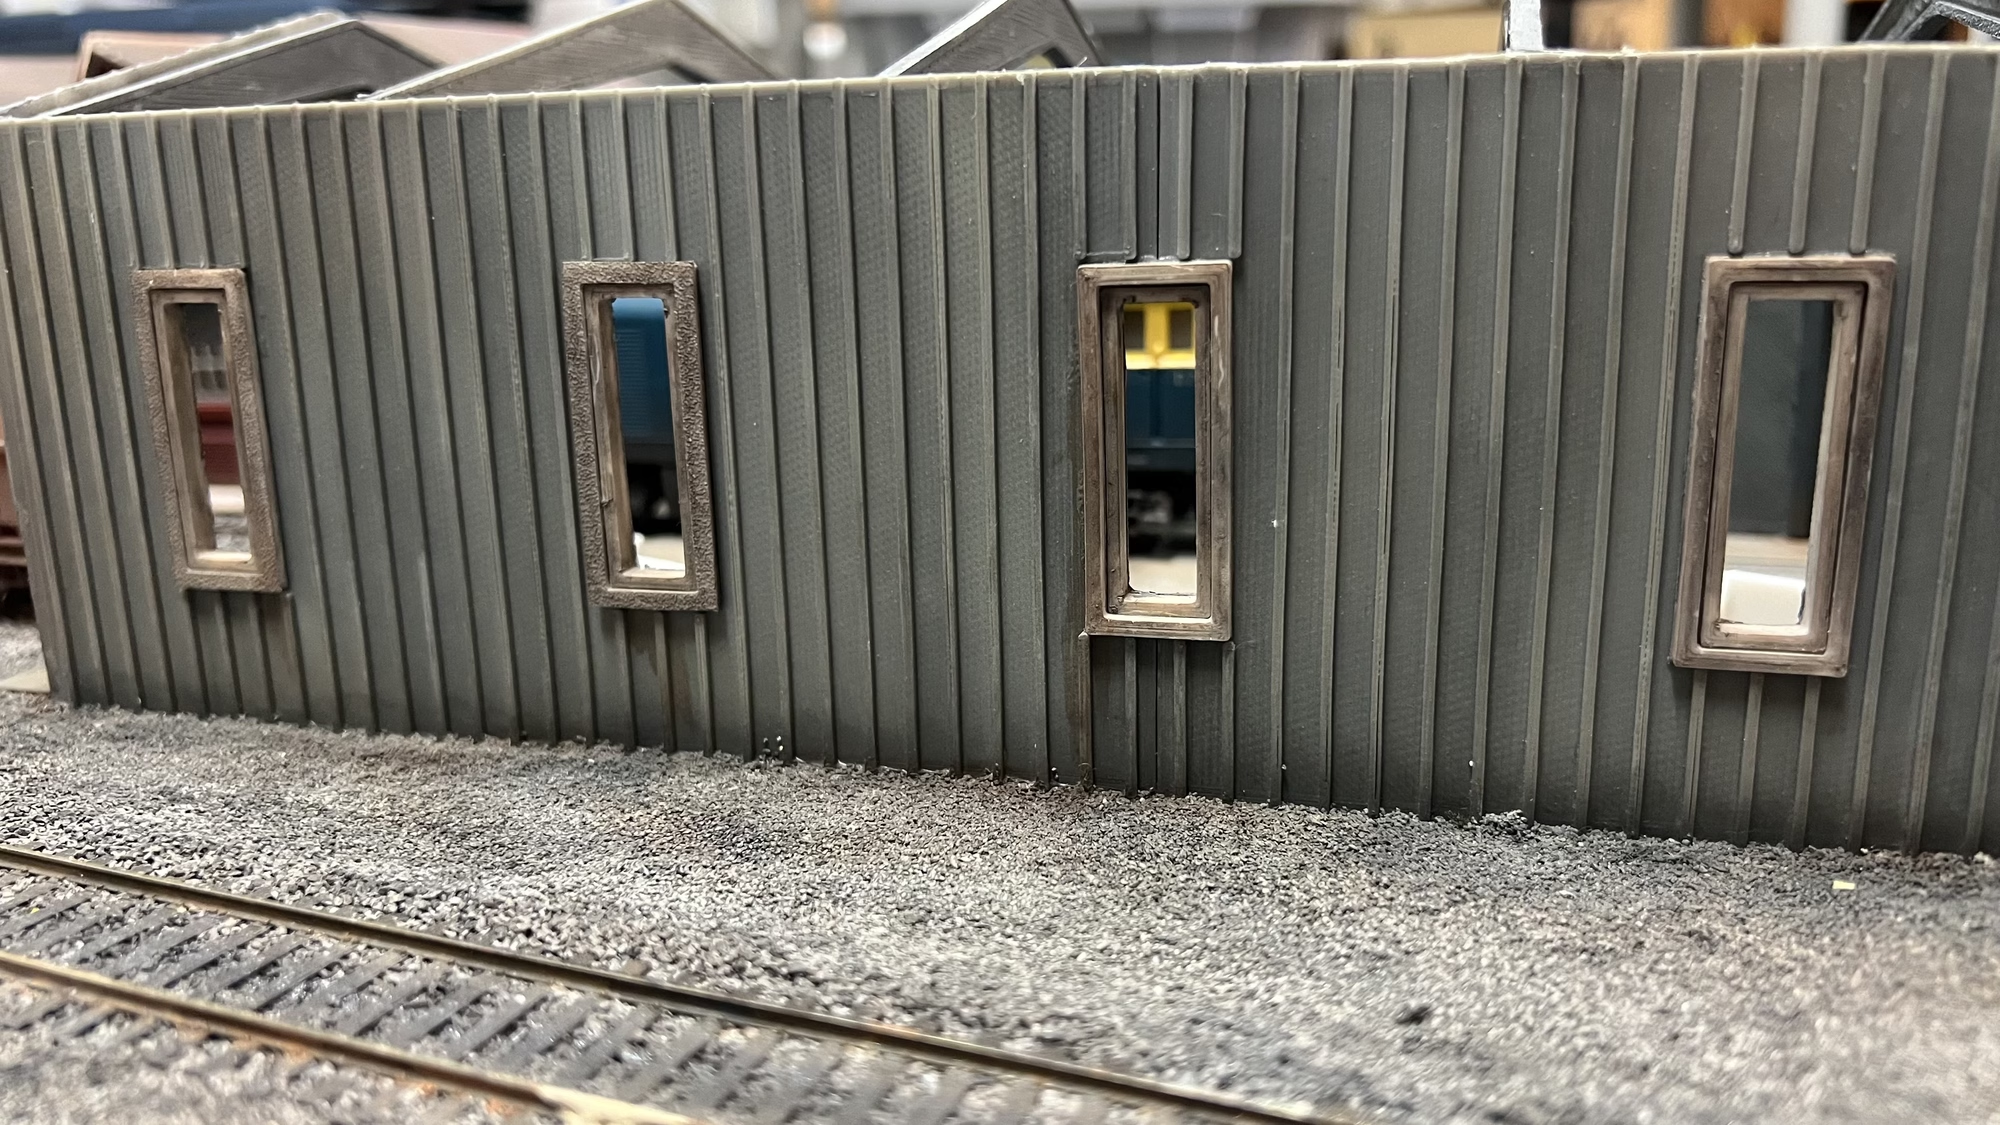
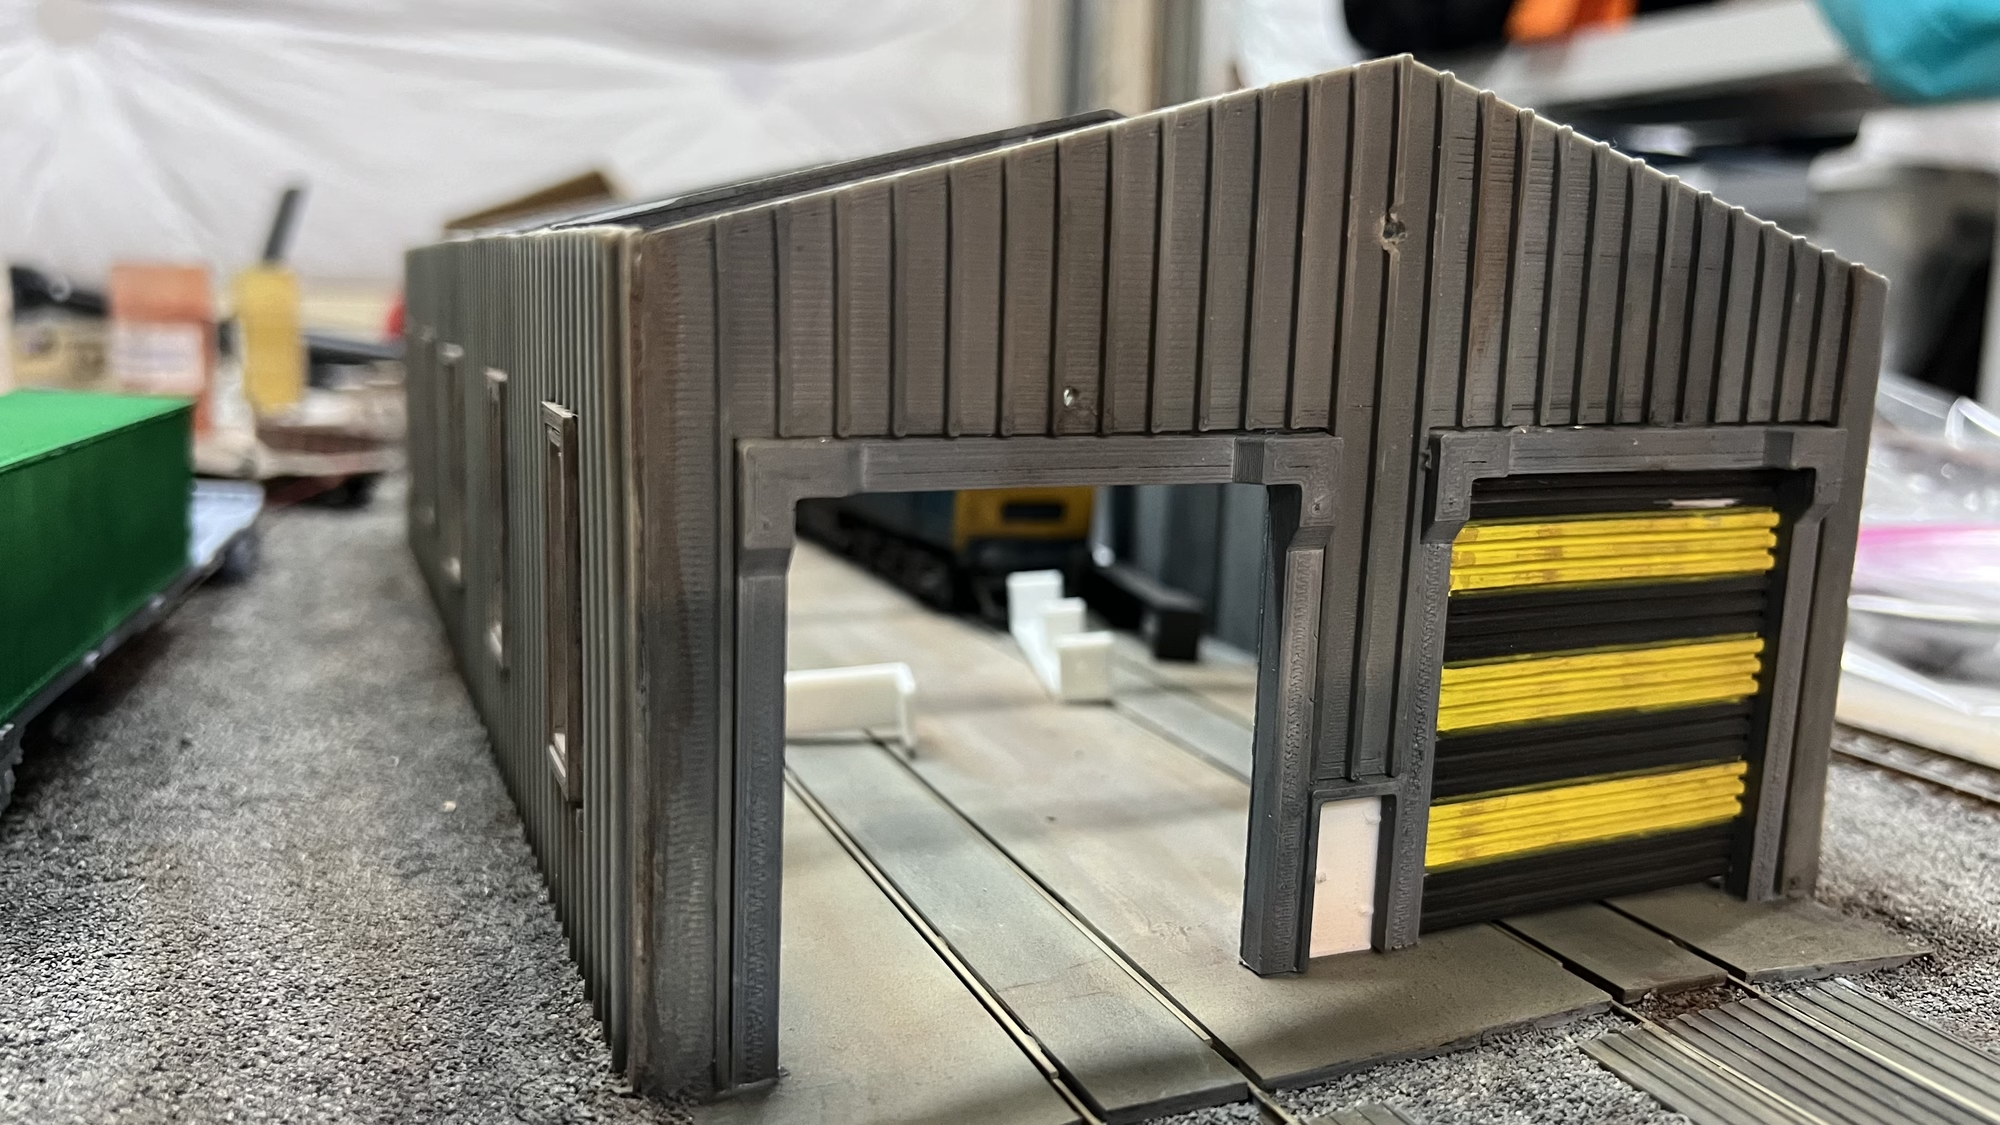
I’m impressed with the grime wash. I was trying to get this colour correct and was failing.
…well, is any model ever finished?
To prove to myself that I actually could finish a model, I did this today.
Glued the roof sections together
Painted the inside of the roof black for light bleed
Glazed all the windows and the skylights with clear plastic.
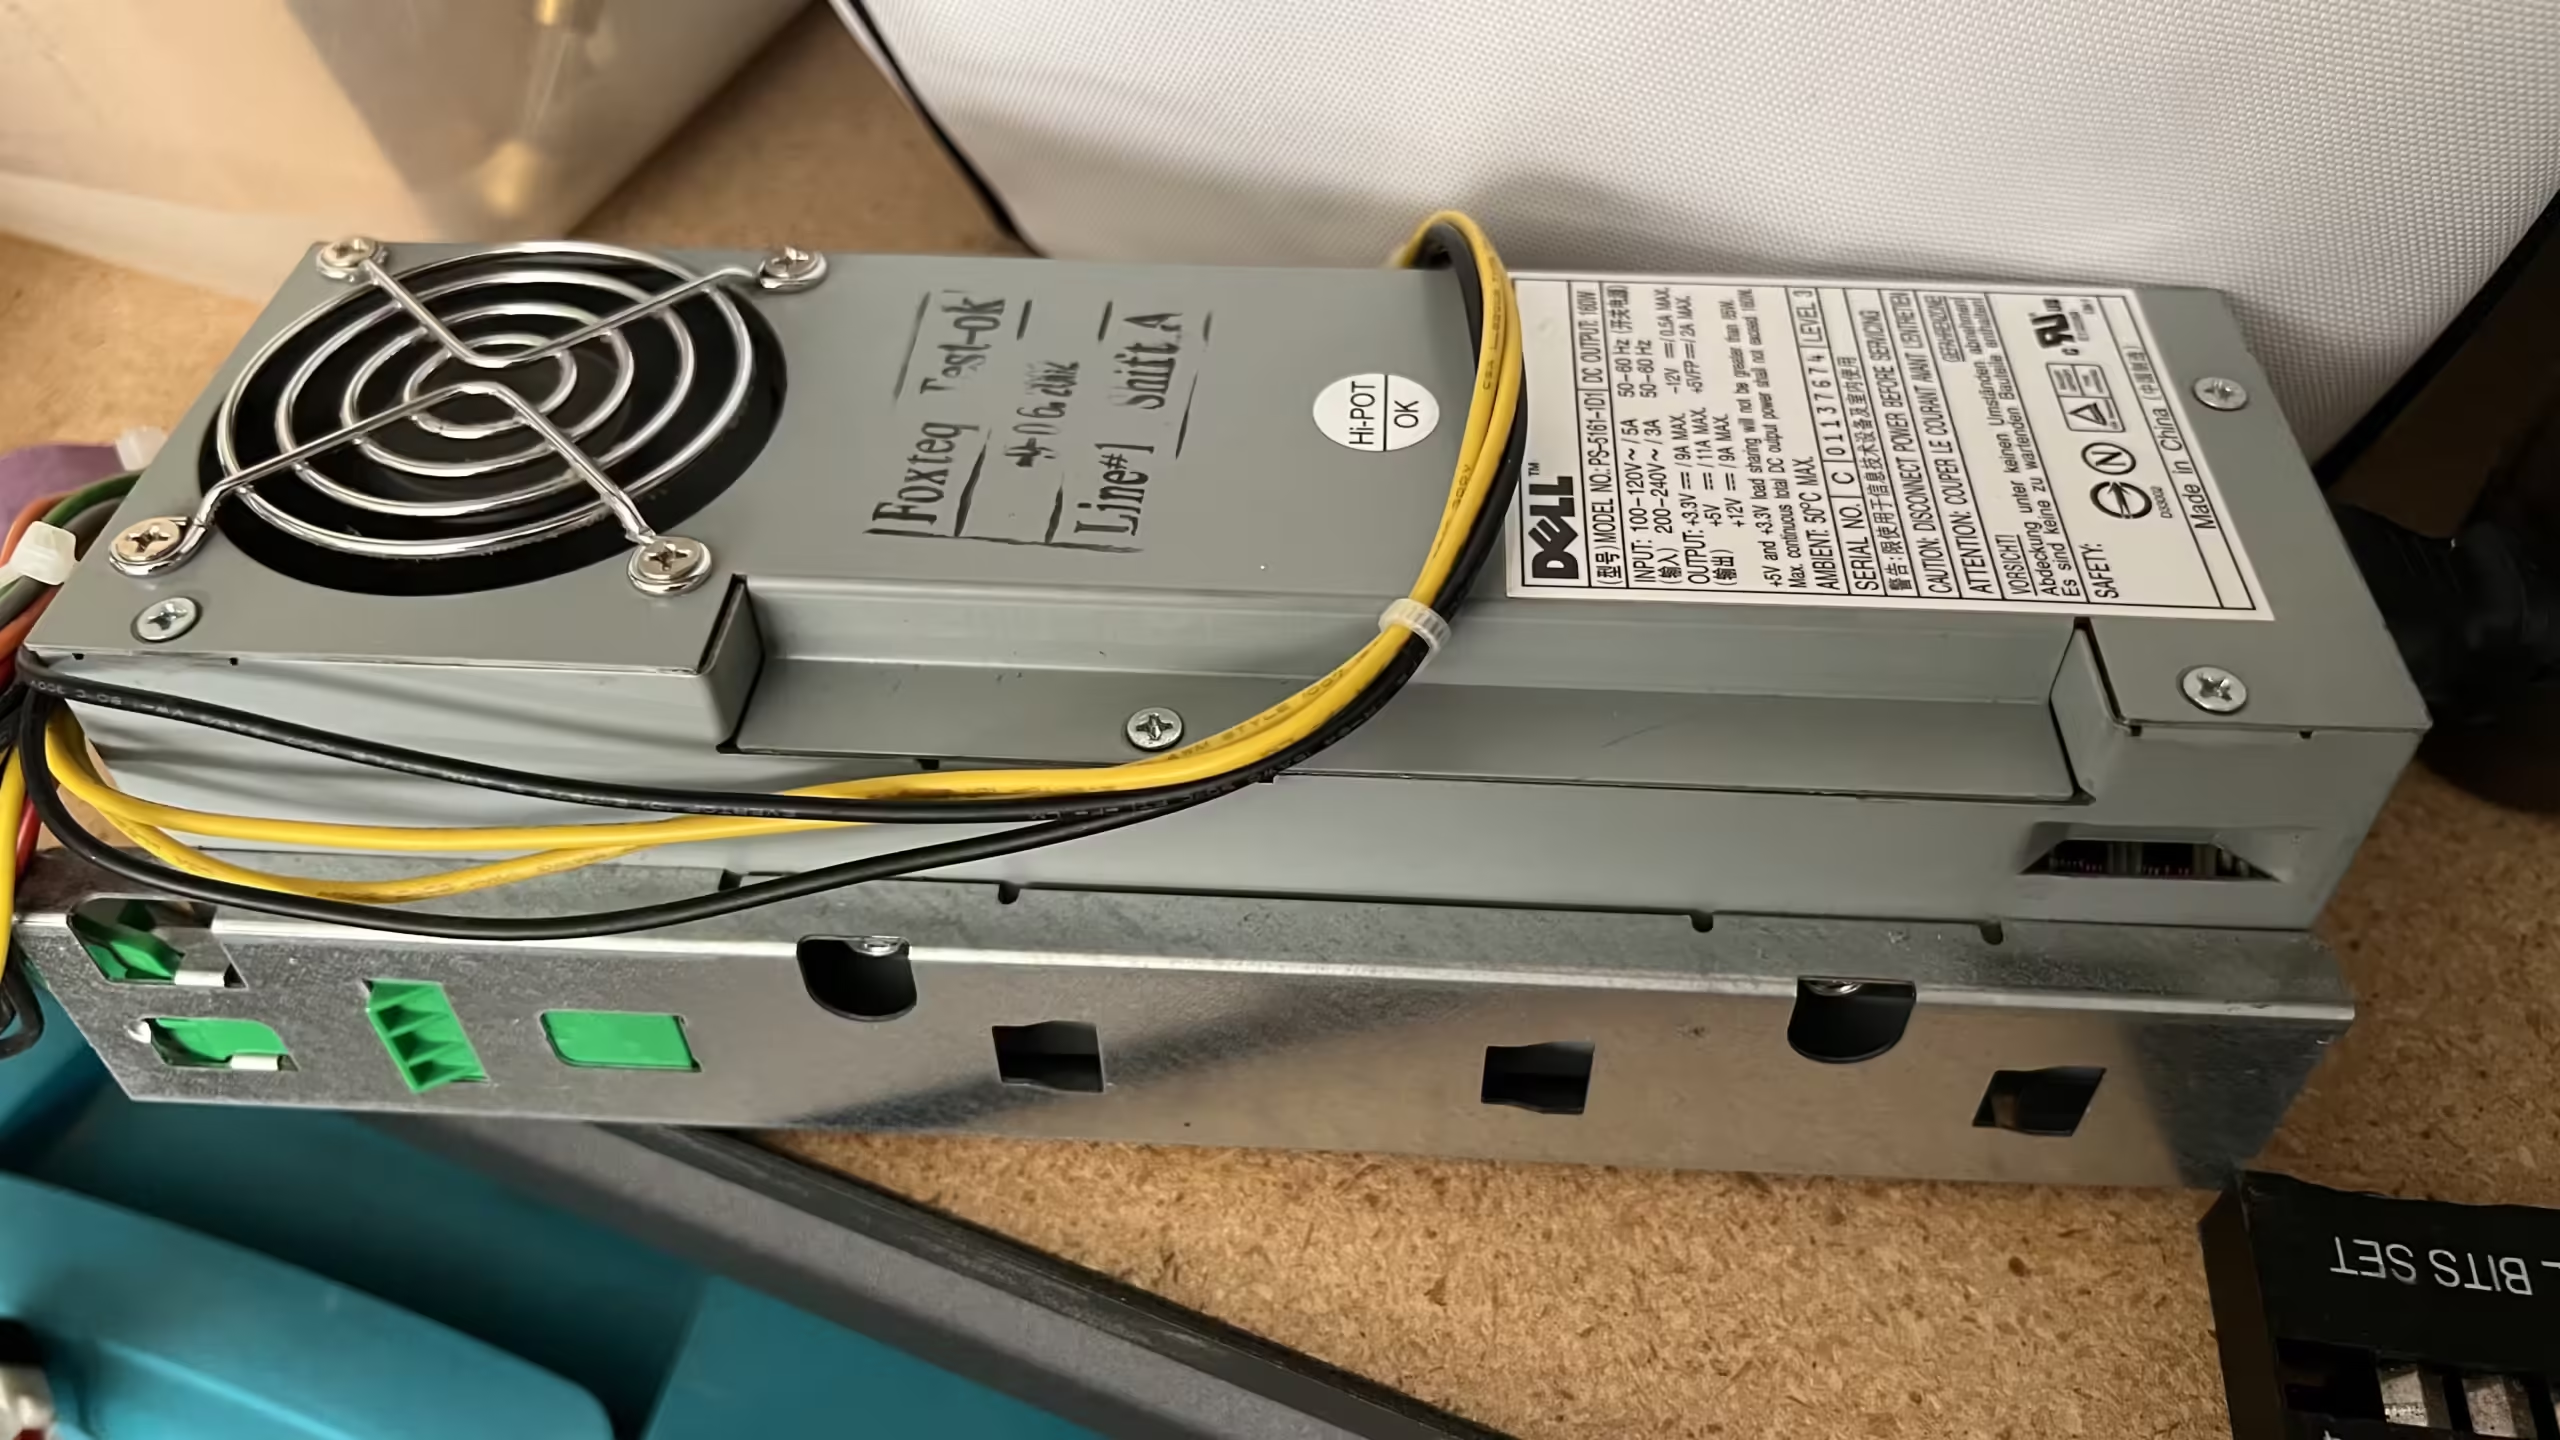
Re-jigged an old Dell PC power supply to work without being plugged into the motherboard.
Stuck copper tape underneath the board and soldered wires
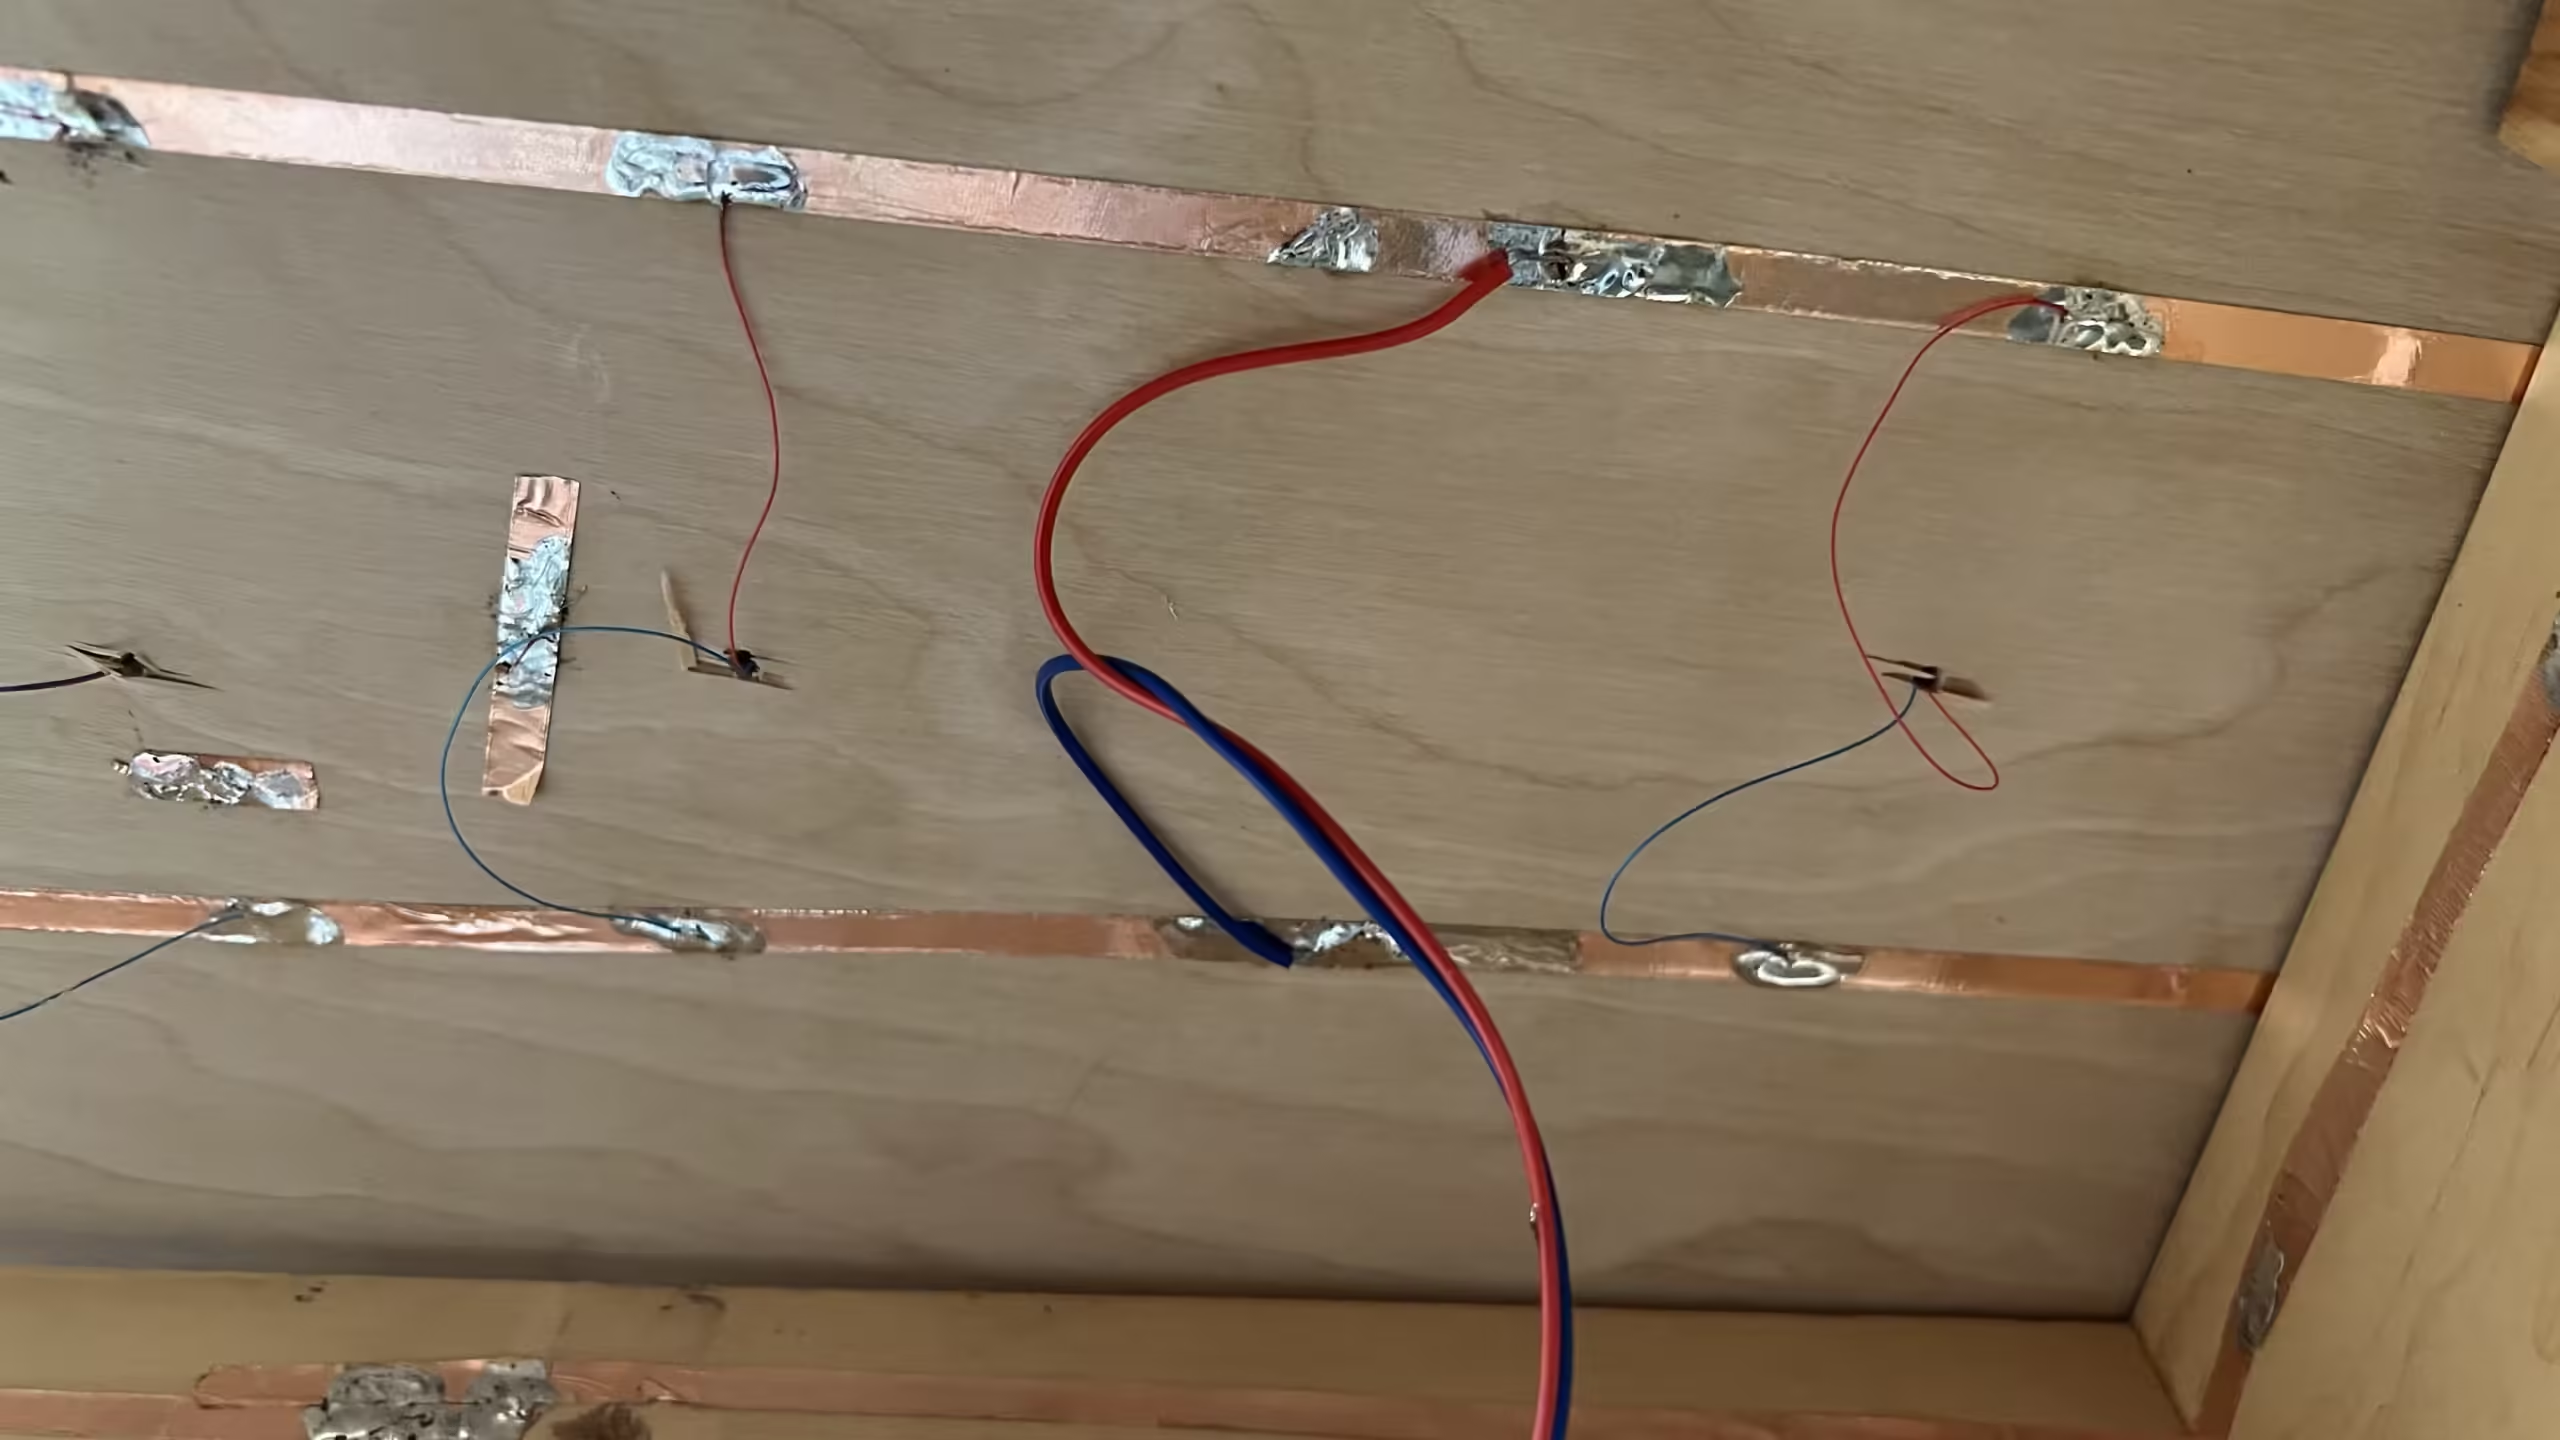
Set up the step-down voltage transformer to go from 8v to 3v so I don’t have to bugger around with resistors.
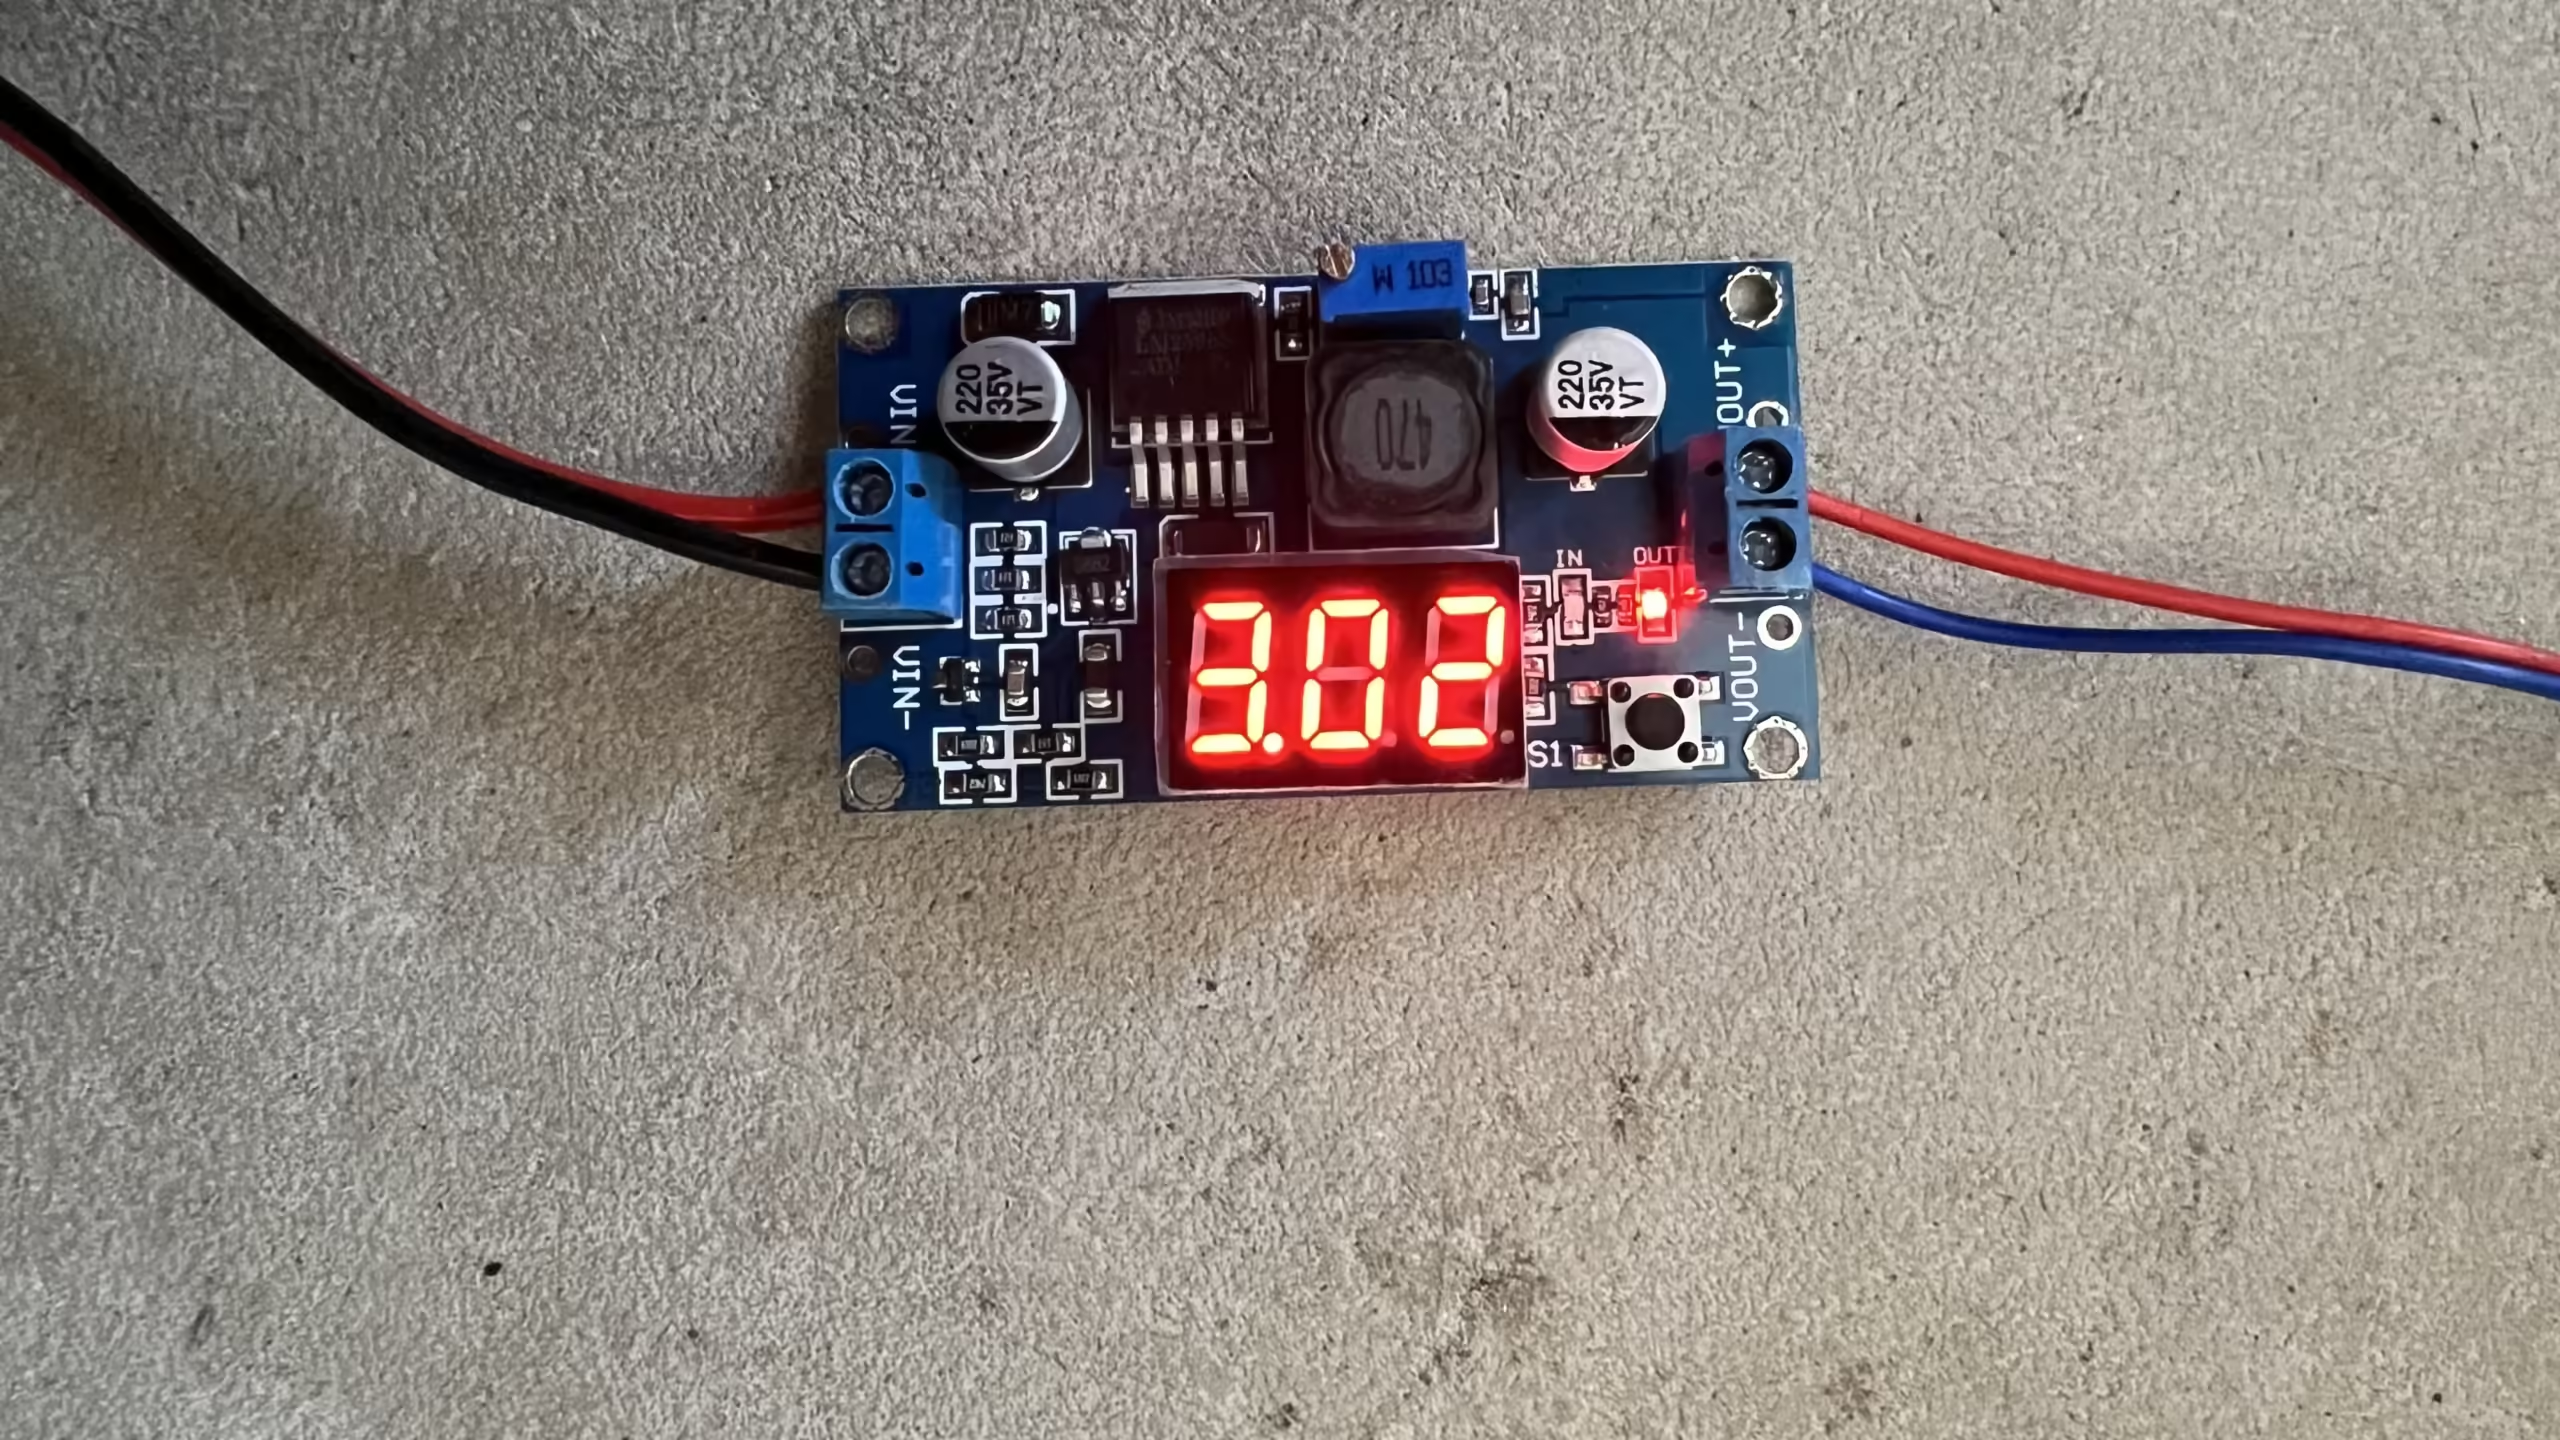
Fitted 2x overhead LEDs inside with custom 3D printed brackets, and 2x LEDs that overhang the entrance
Wired all the LEDs up
3D printed some new skylight frames for the roof. Painted them with grime. (still drying, so not installed)
I got the roof on. I used thin strips of sticky back velcro to keep it in place.
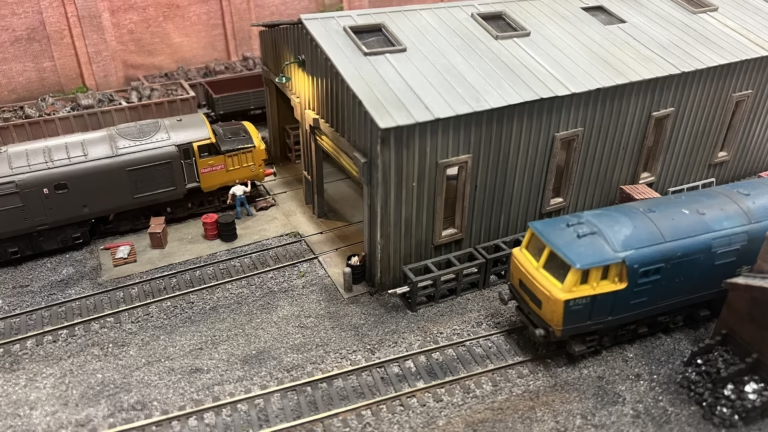
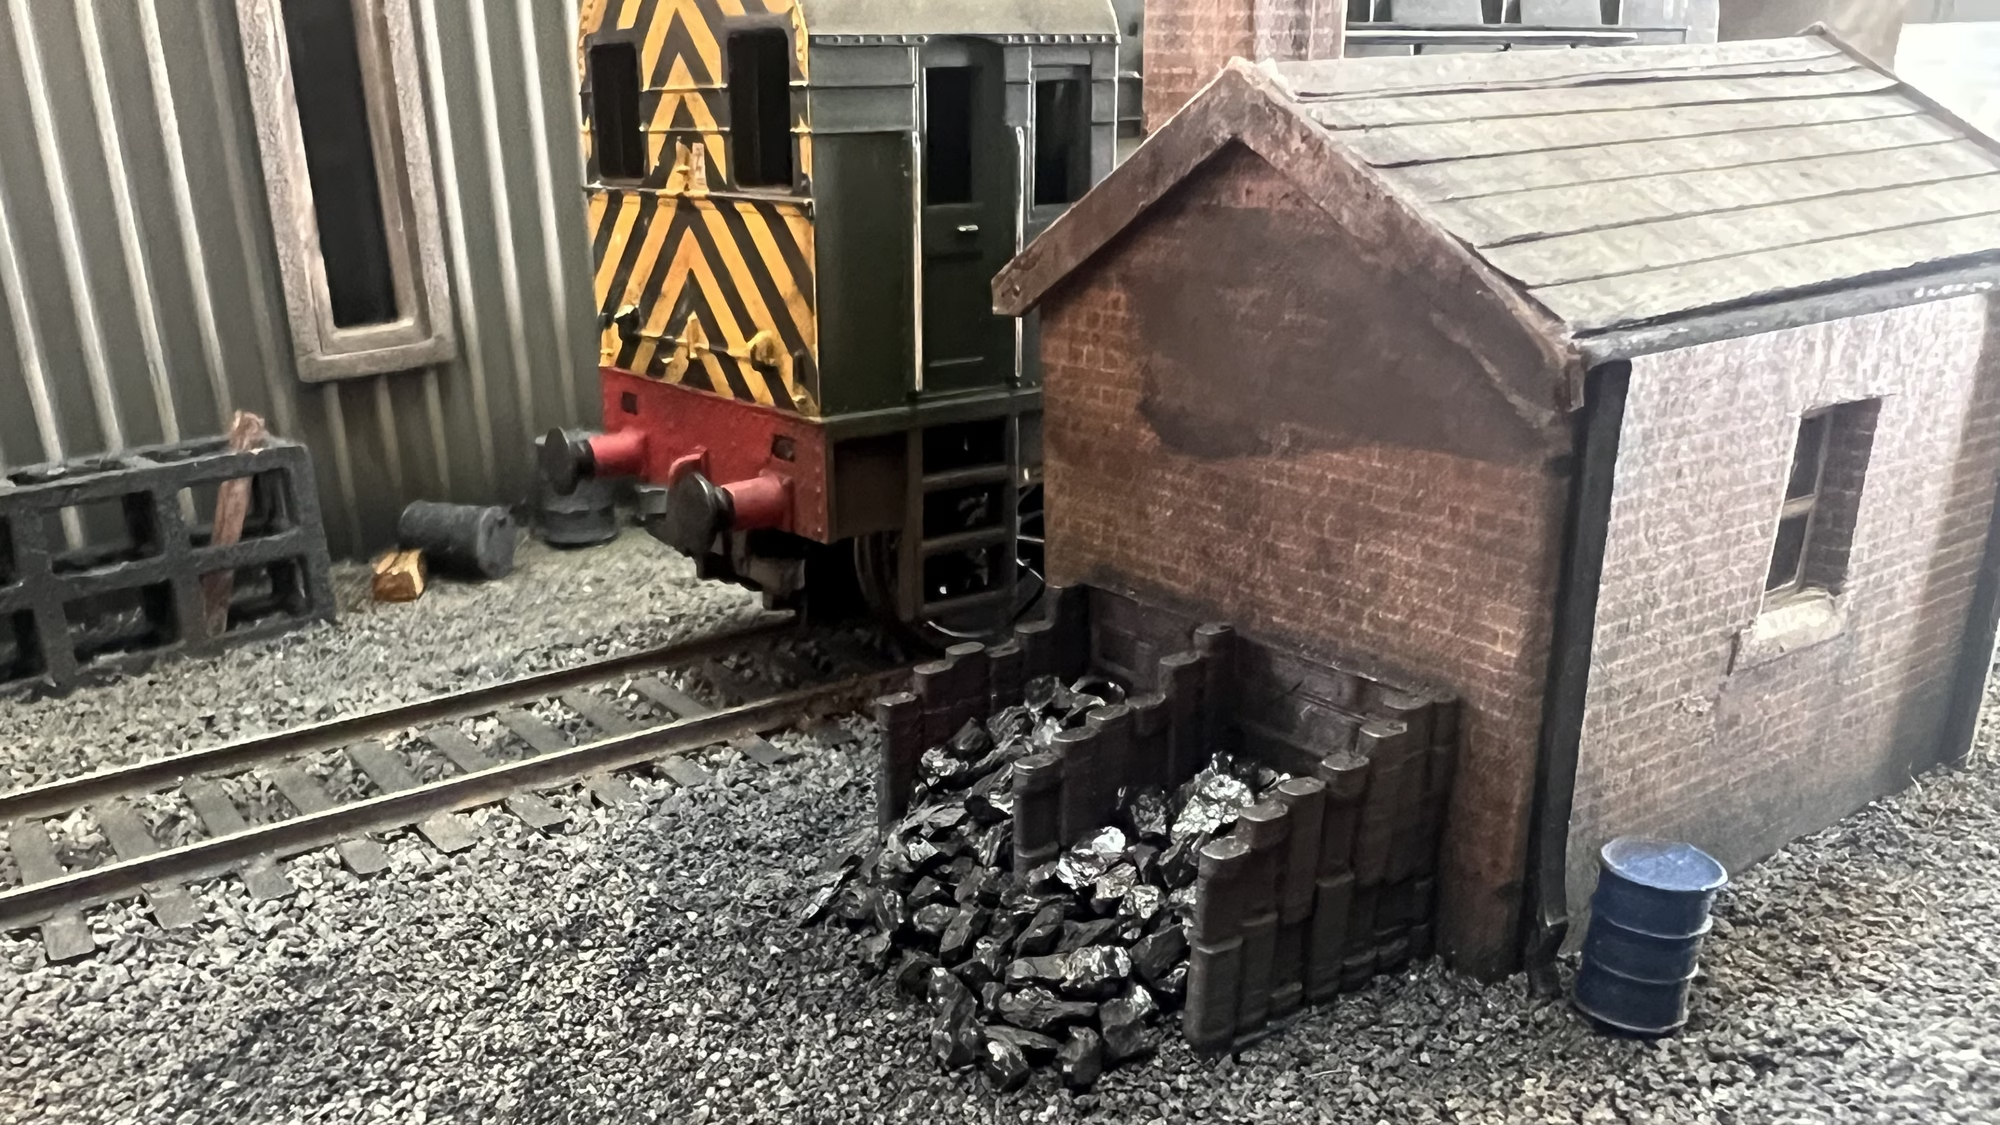
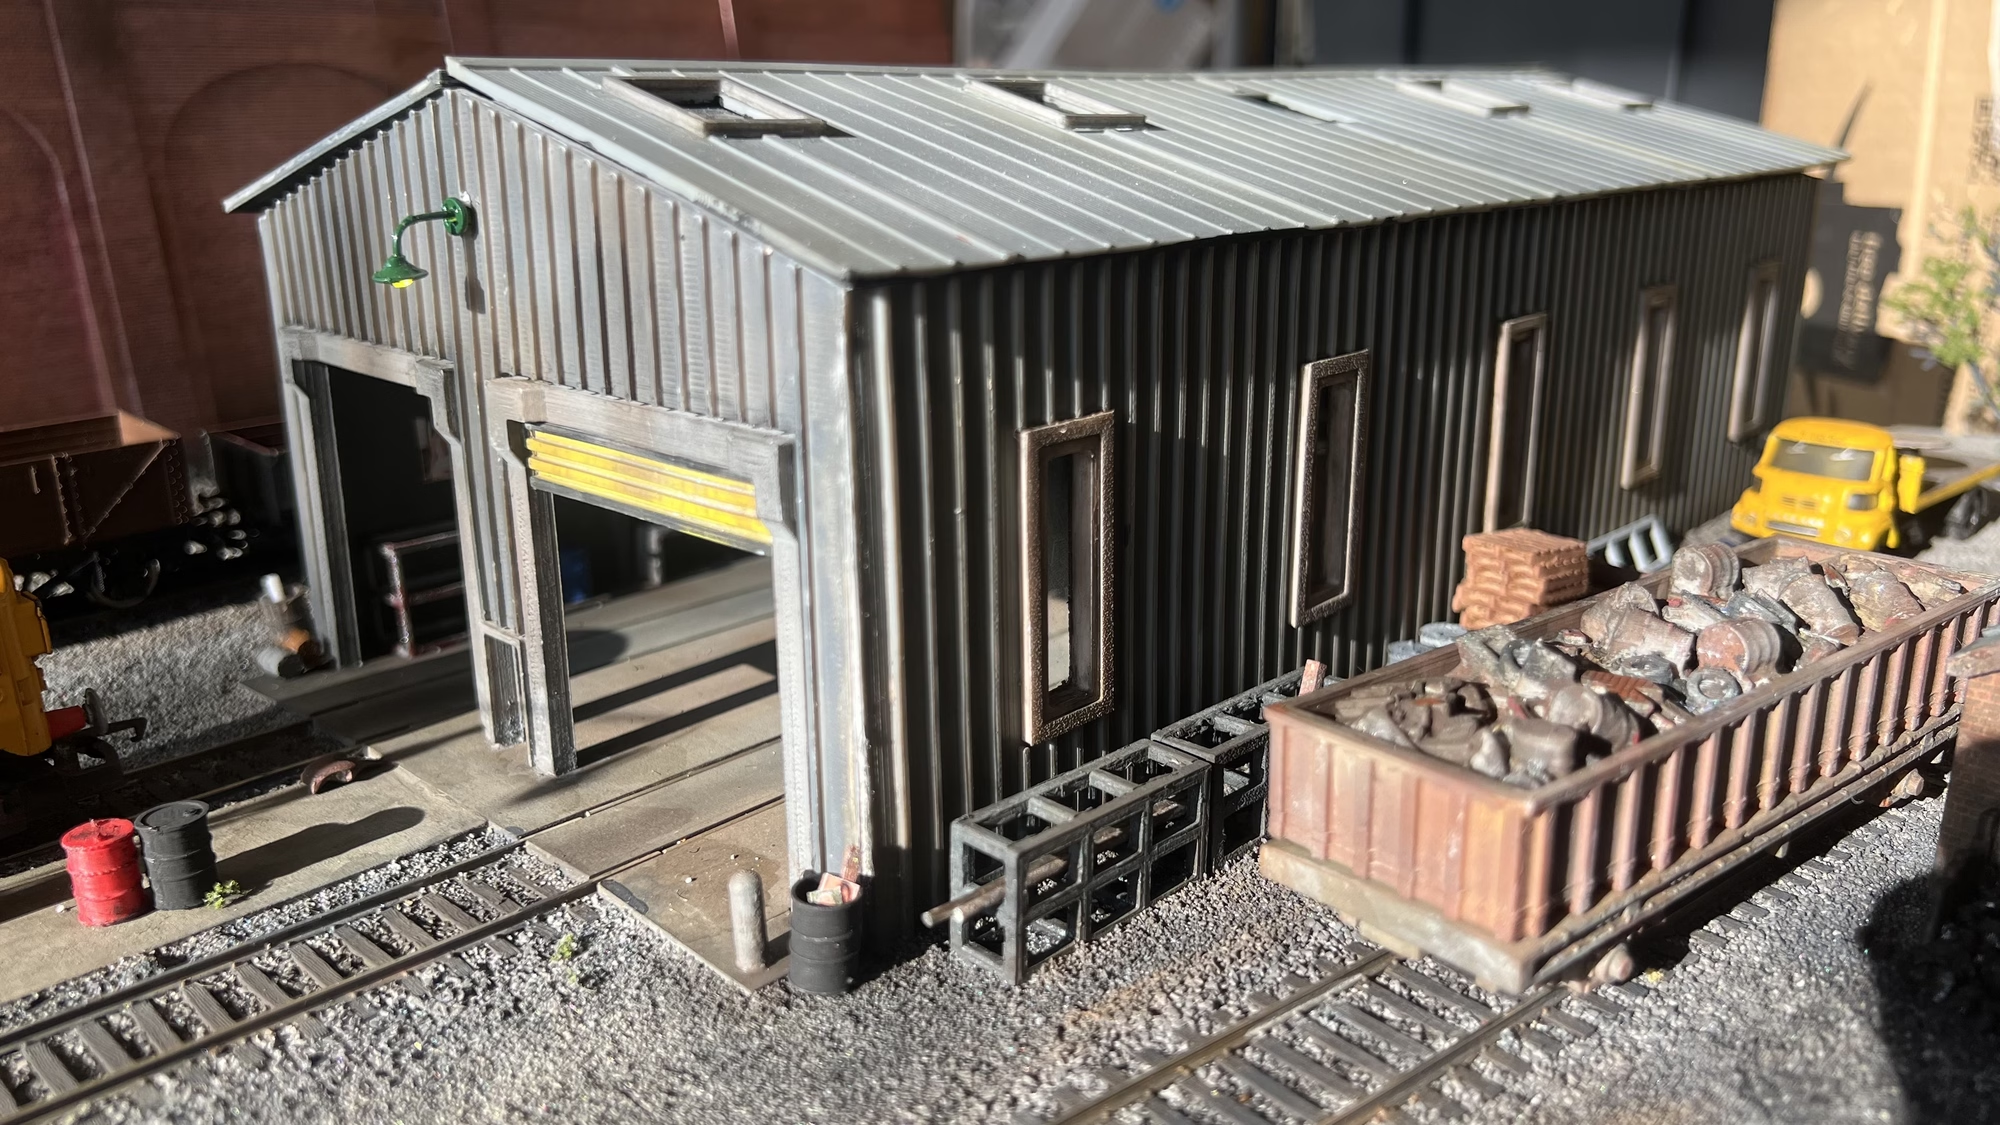
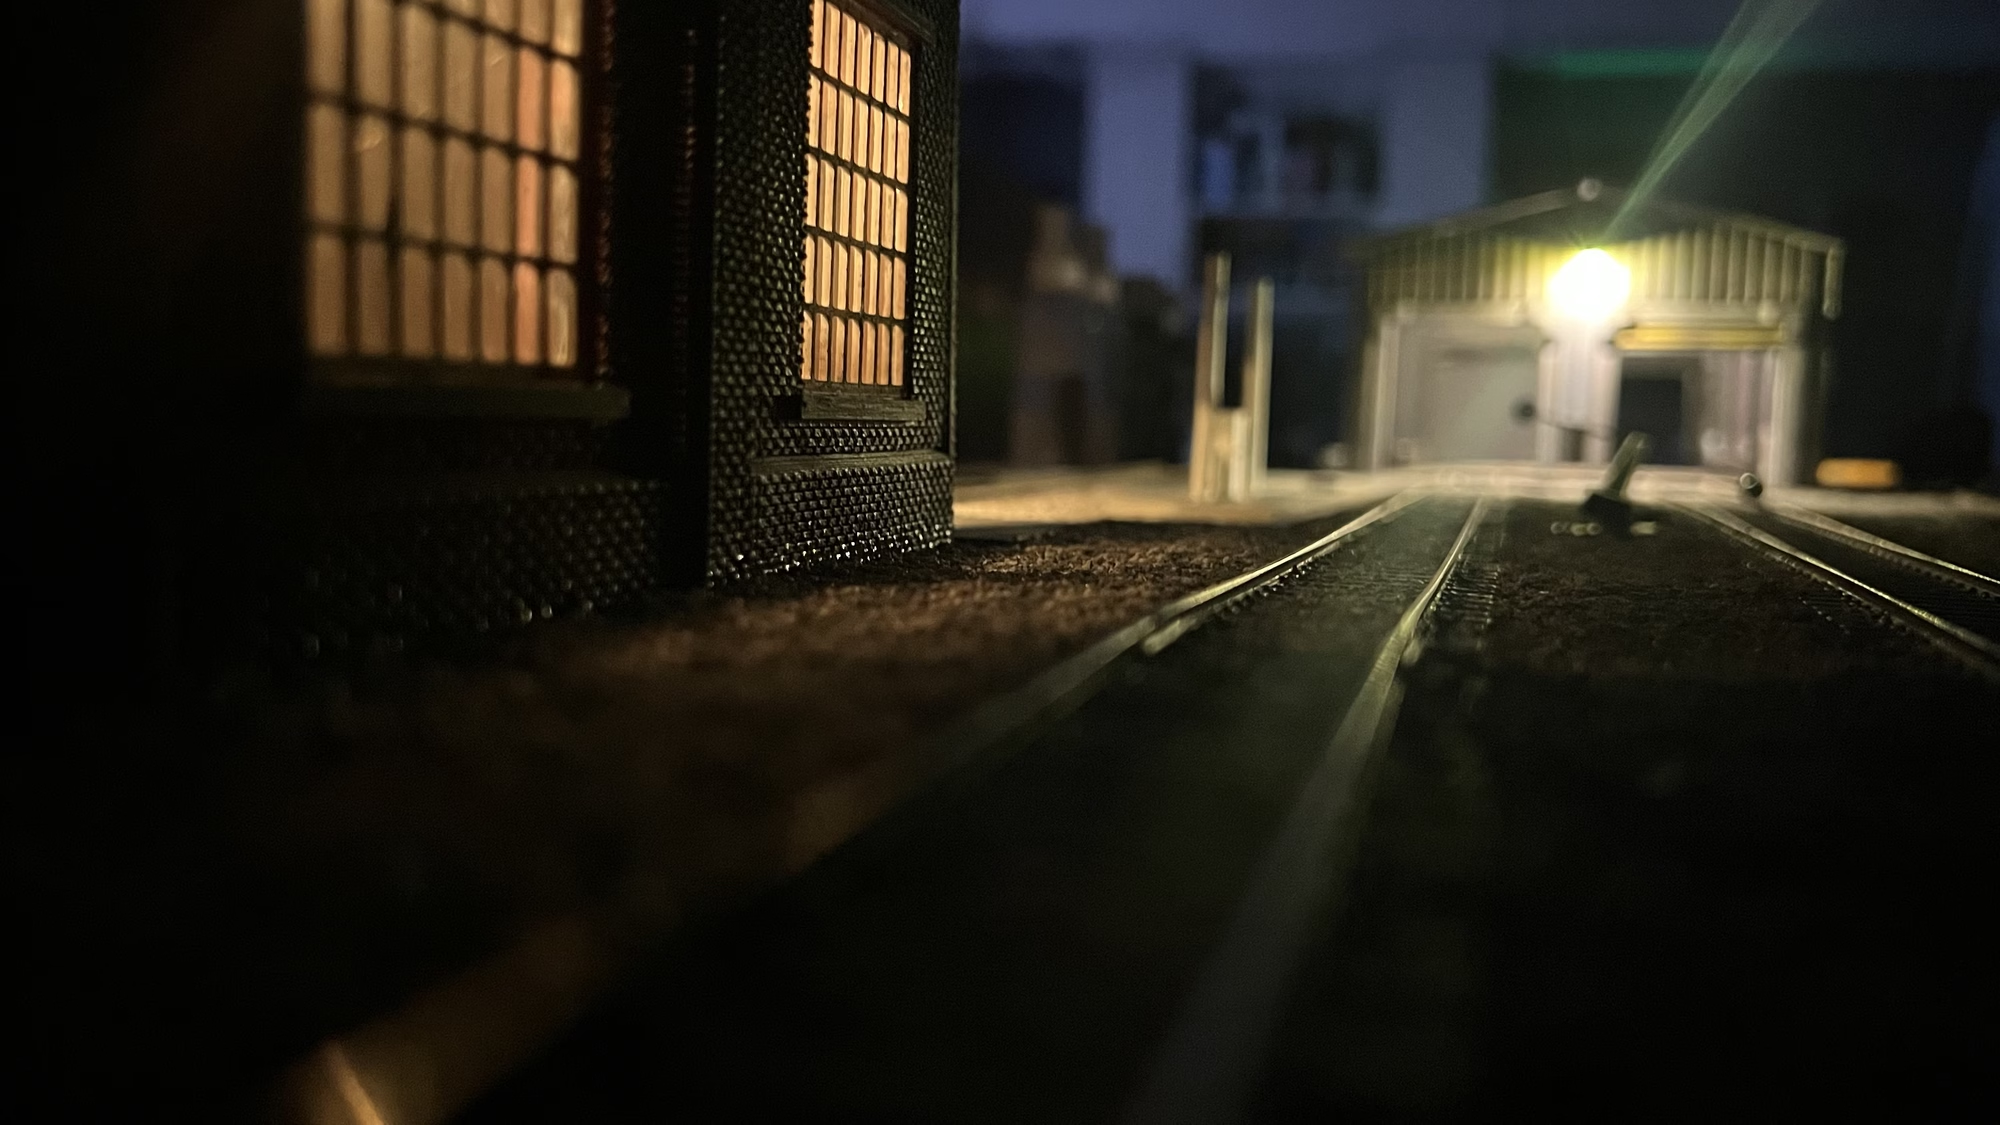
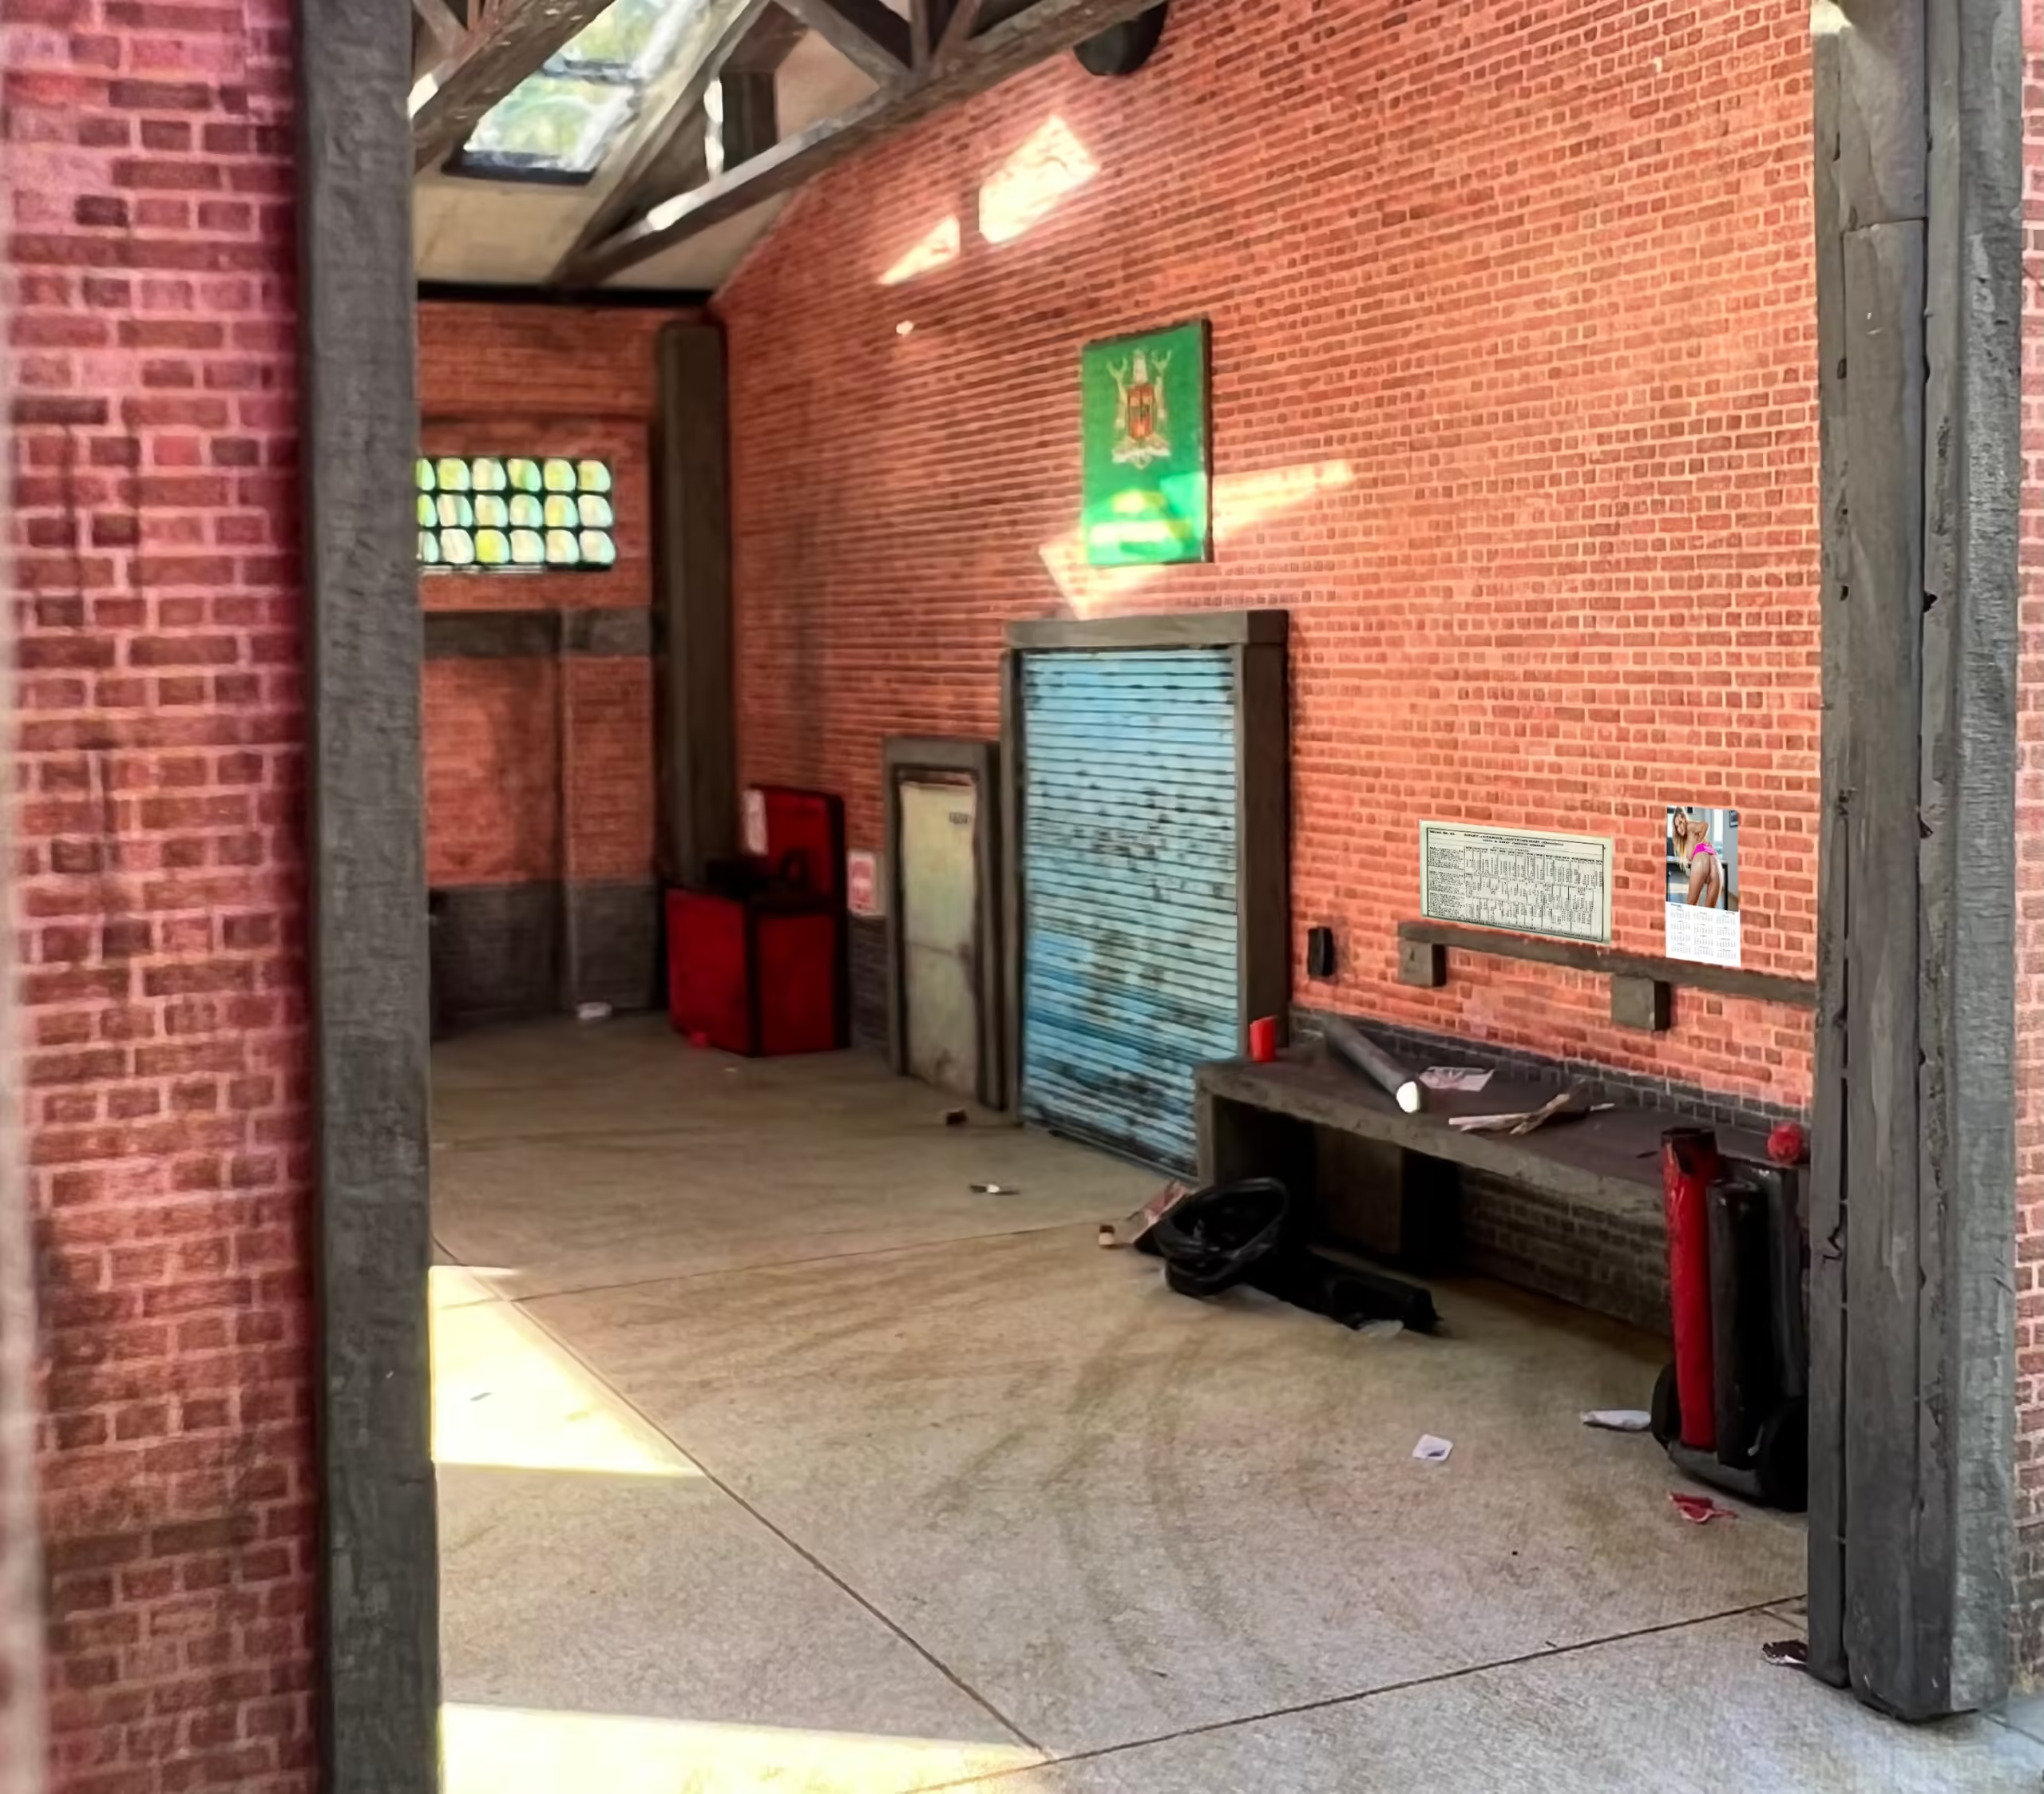
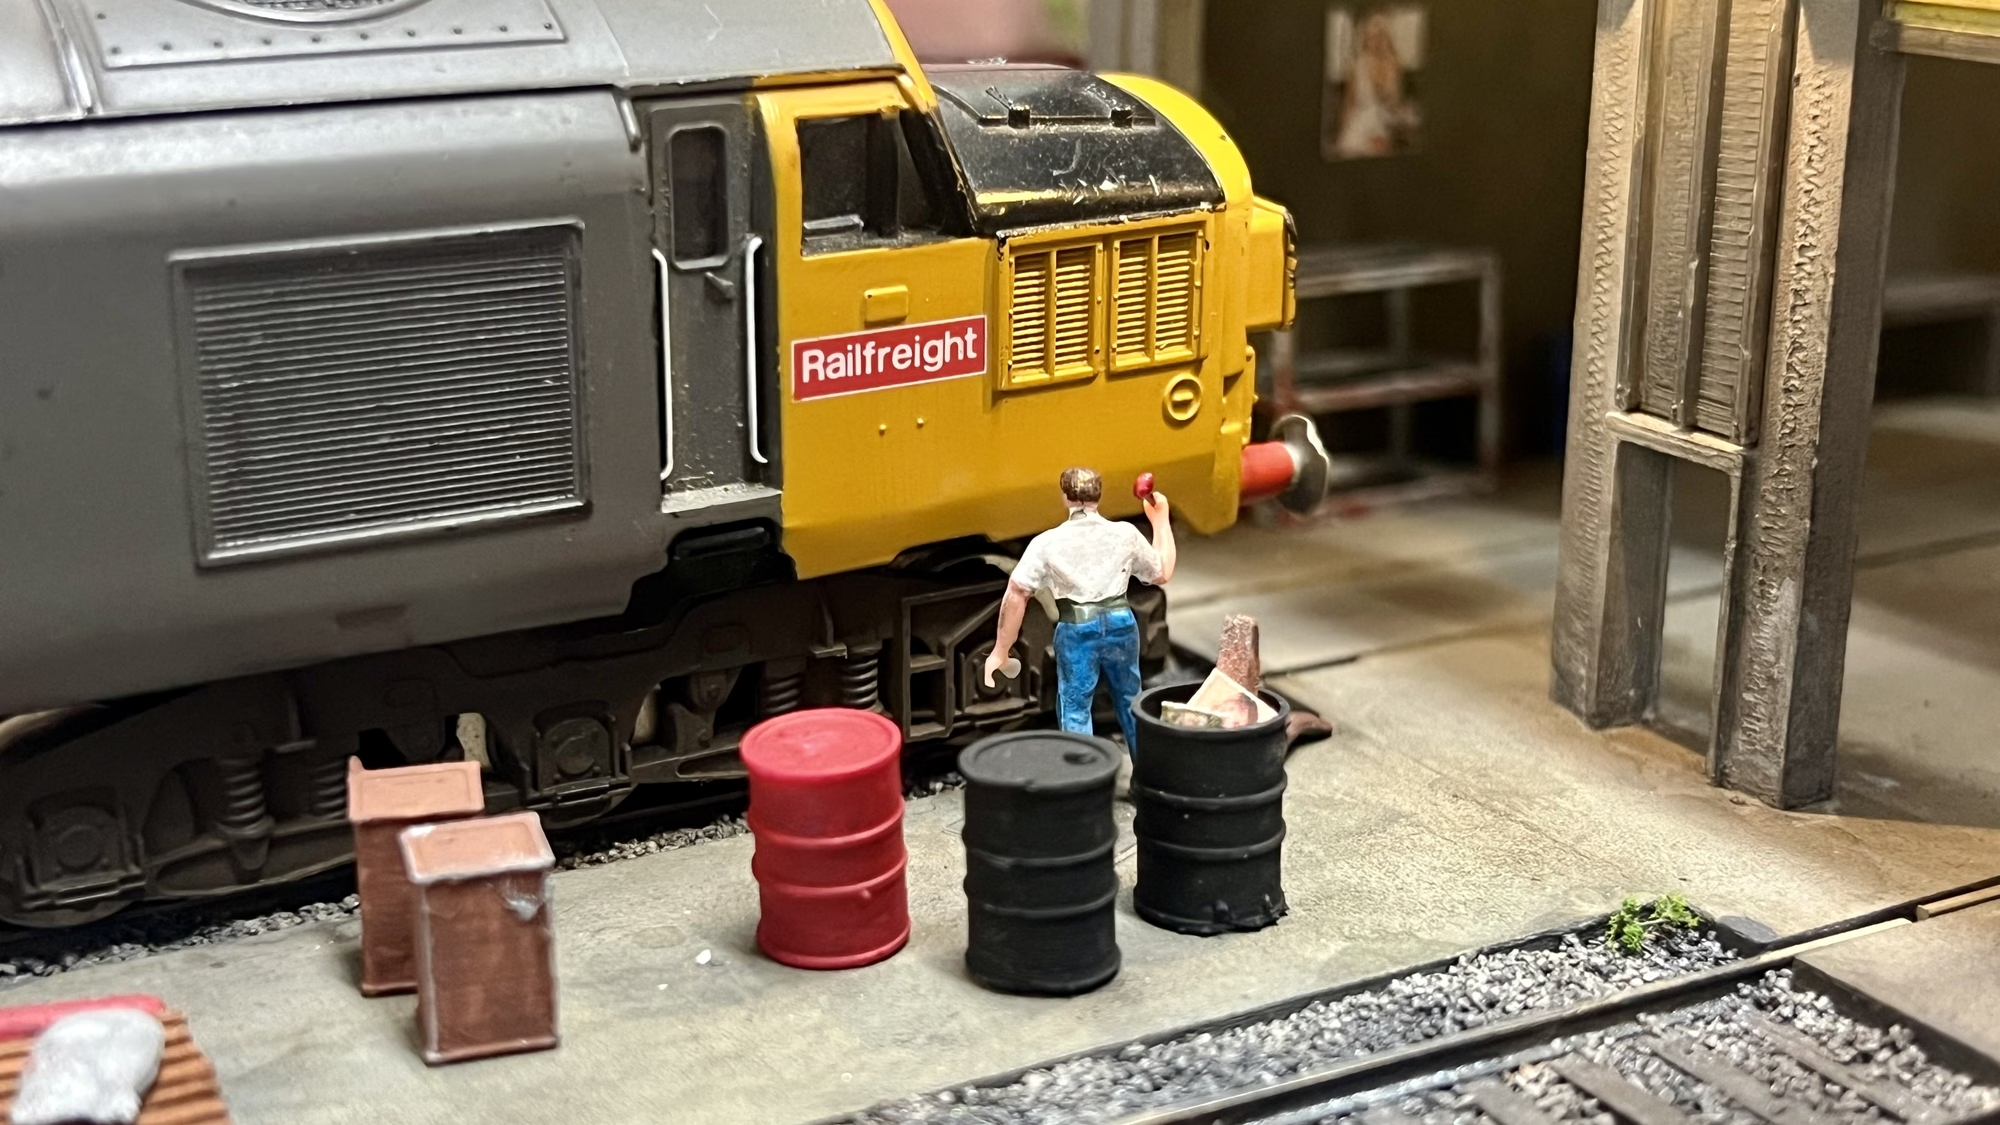
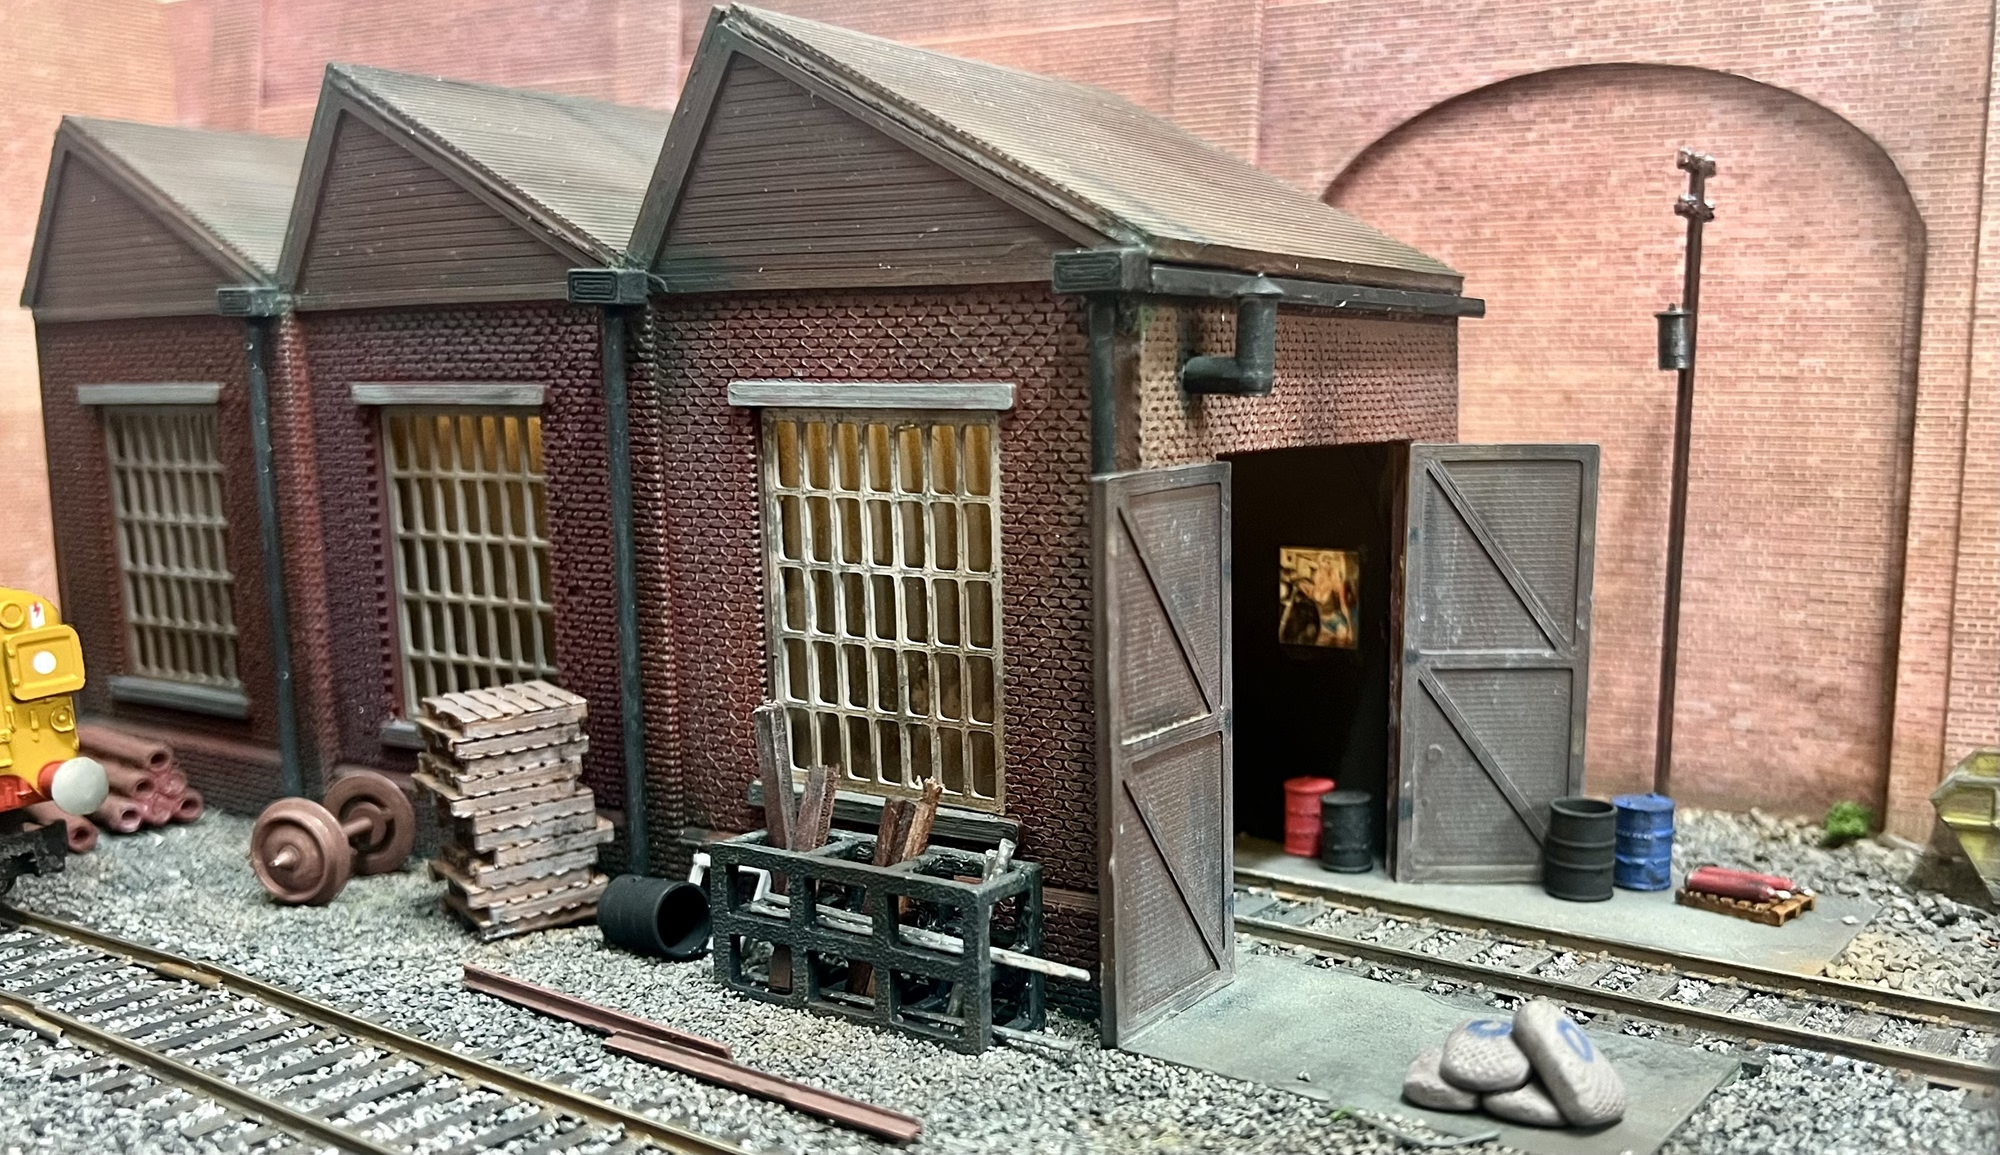
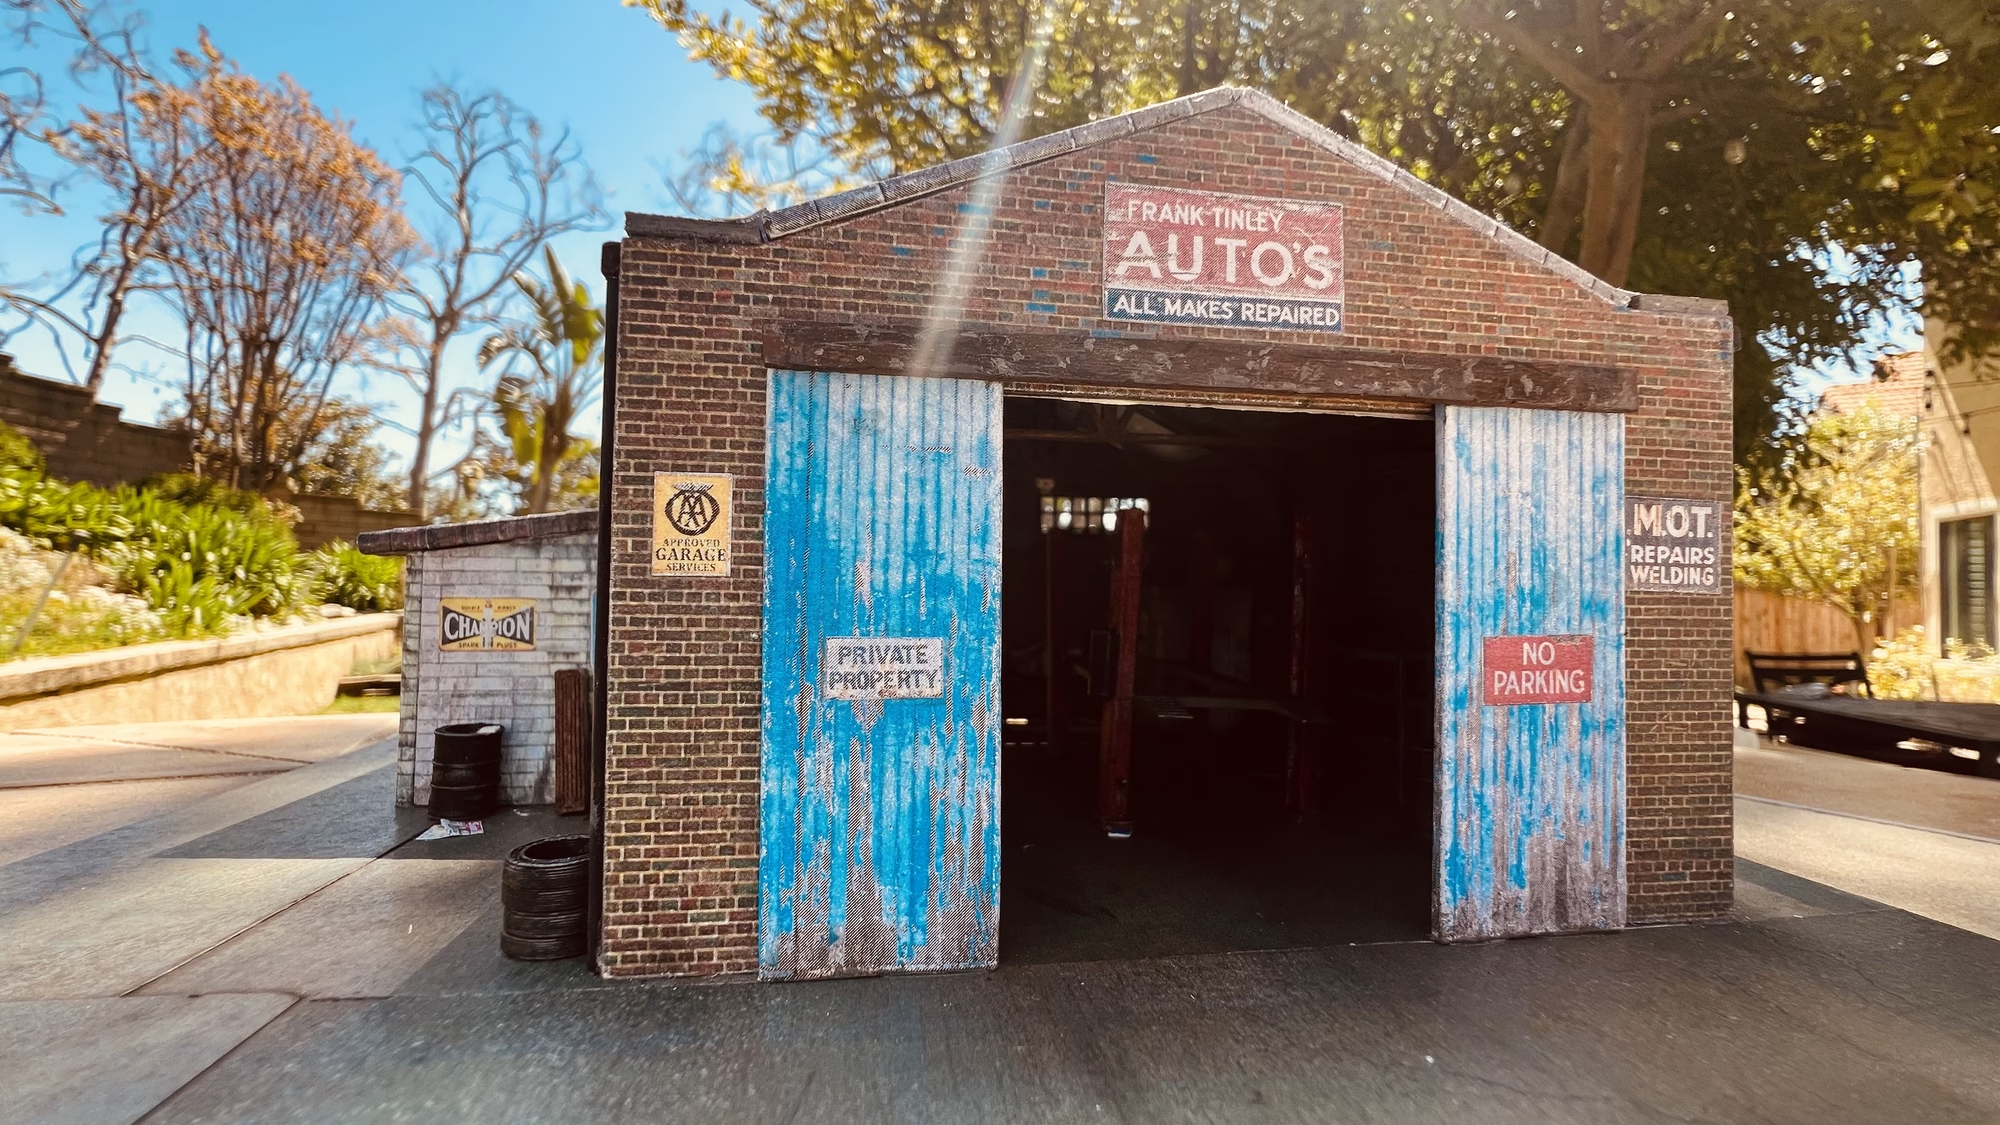
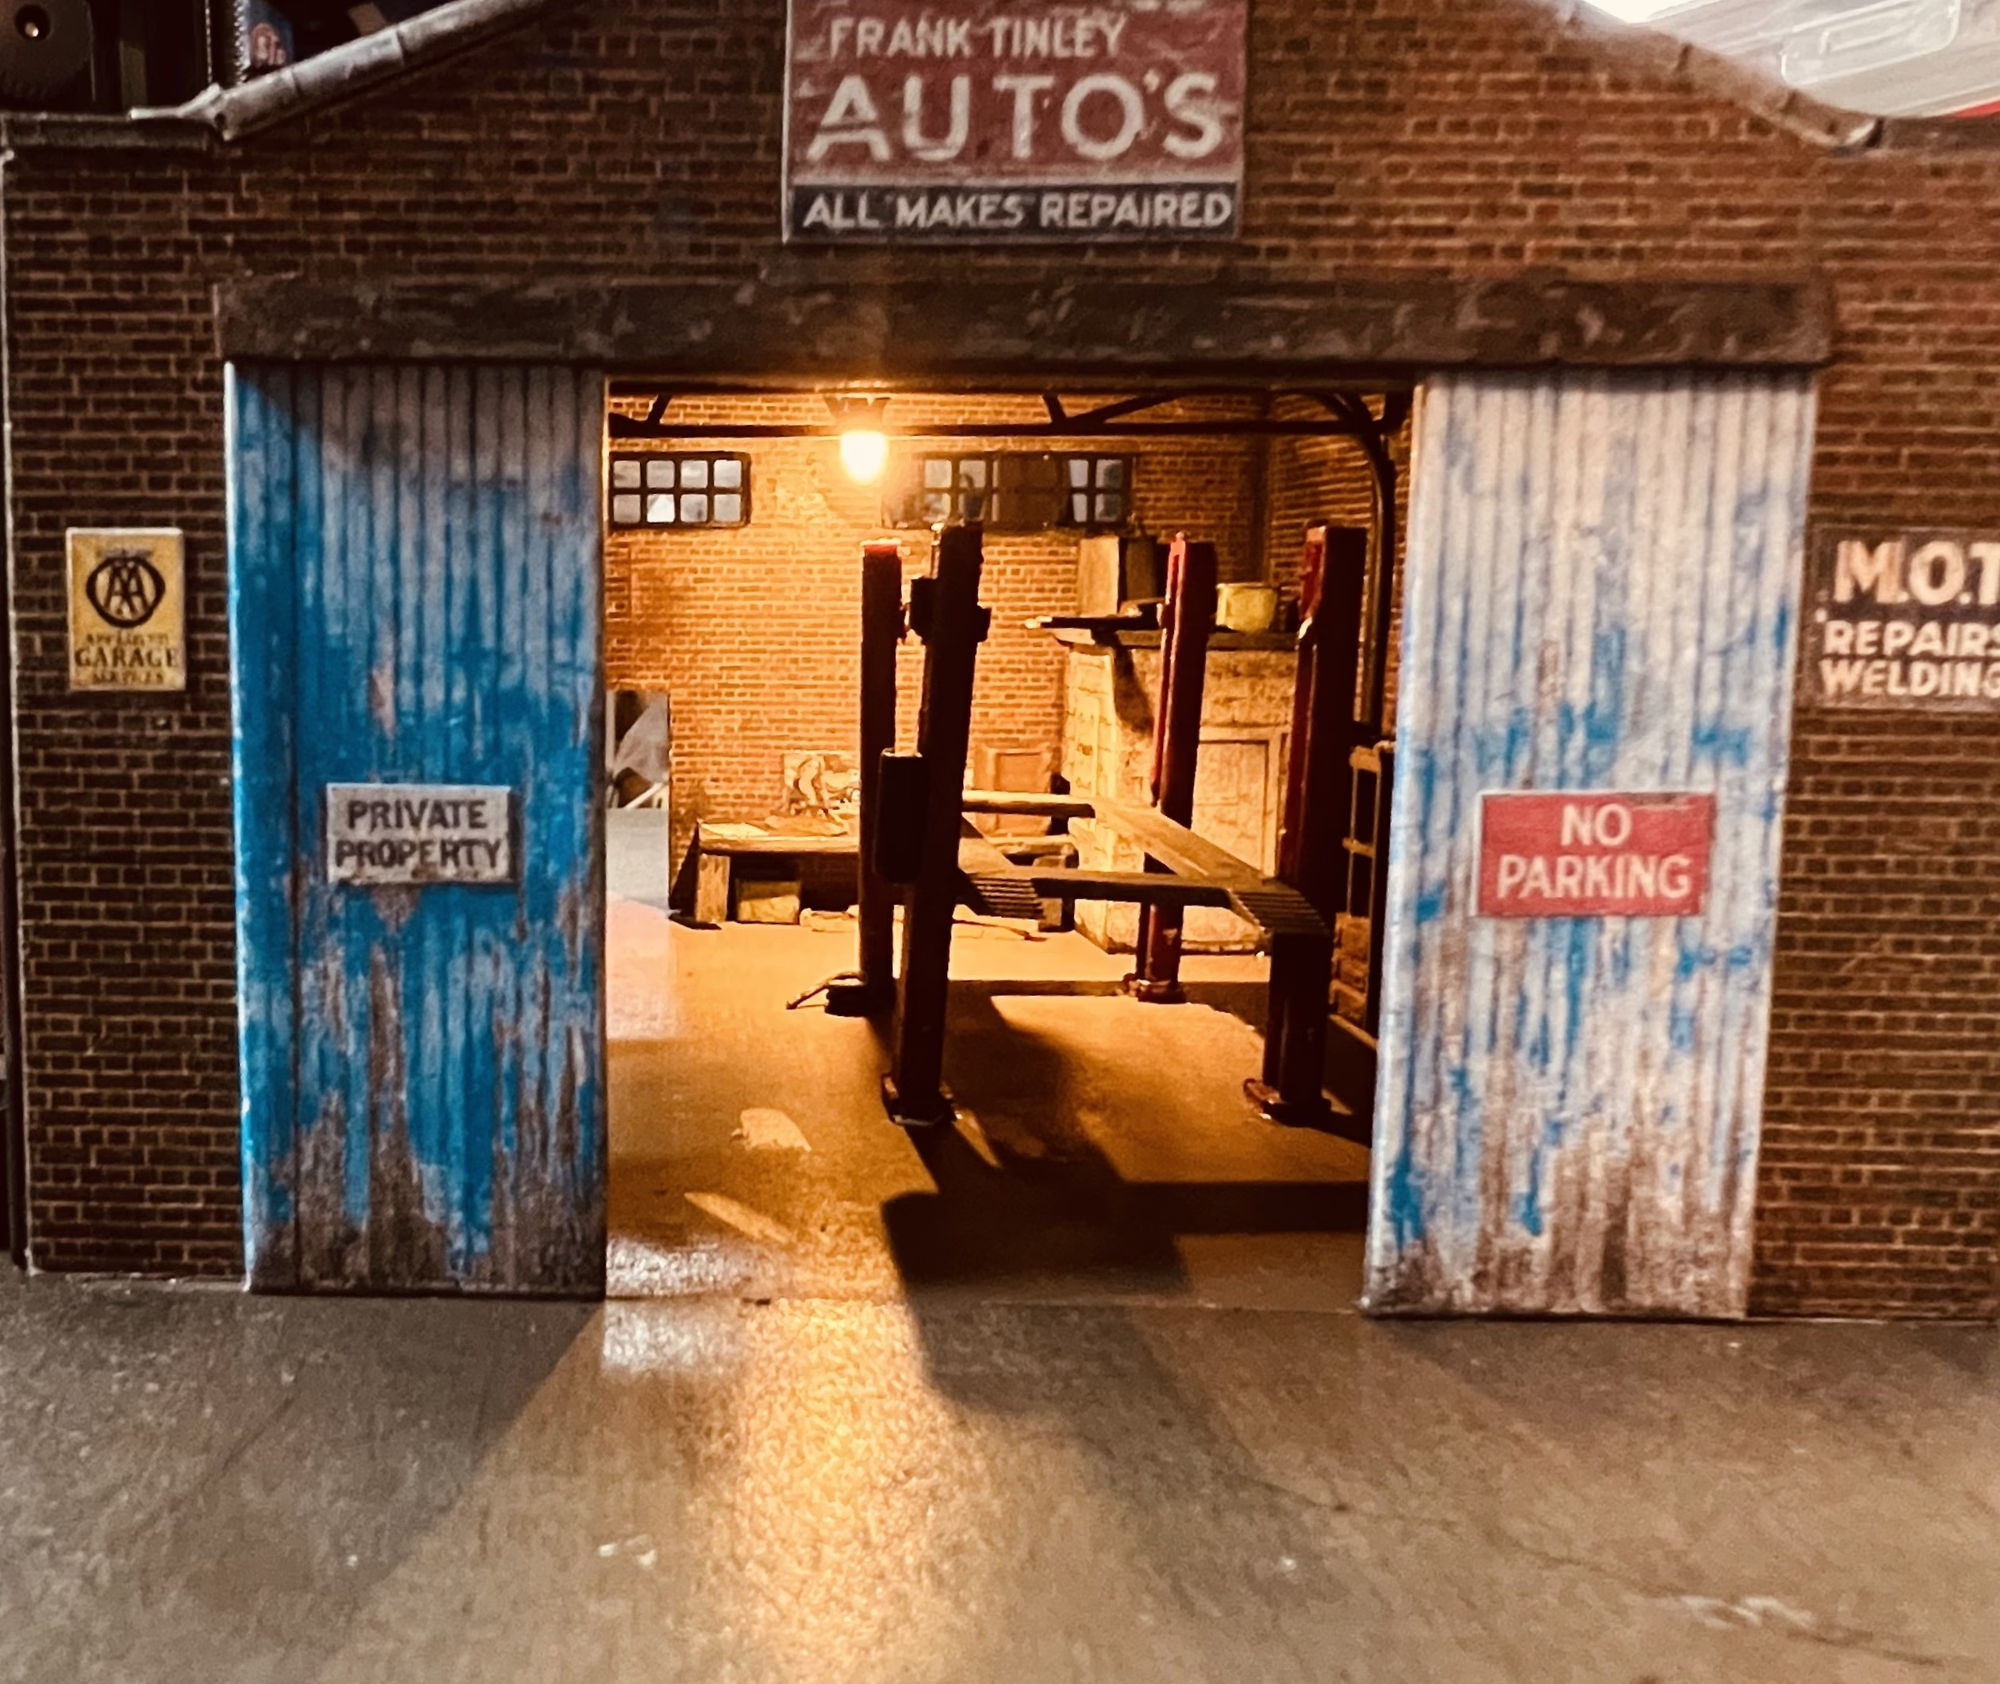
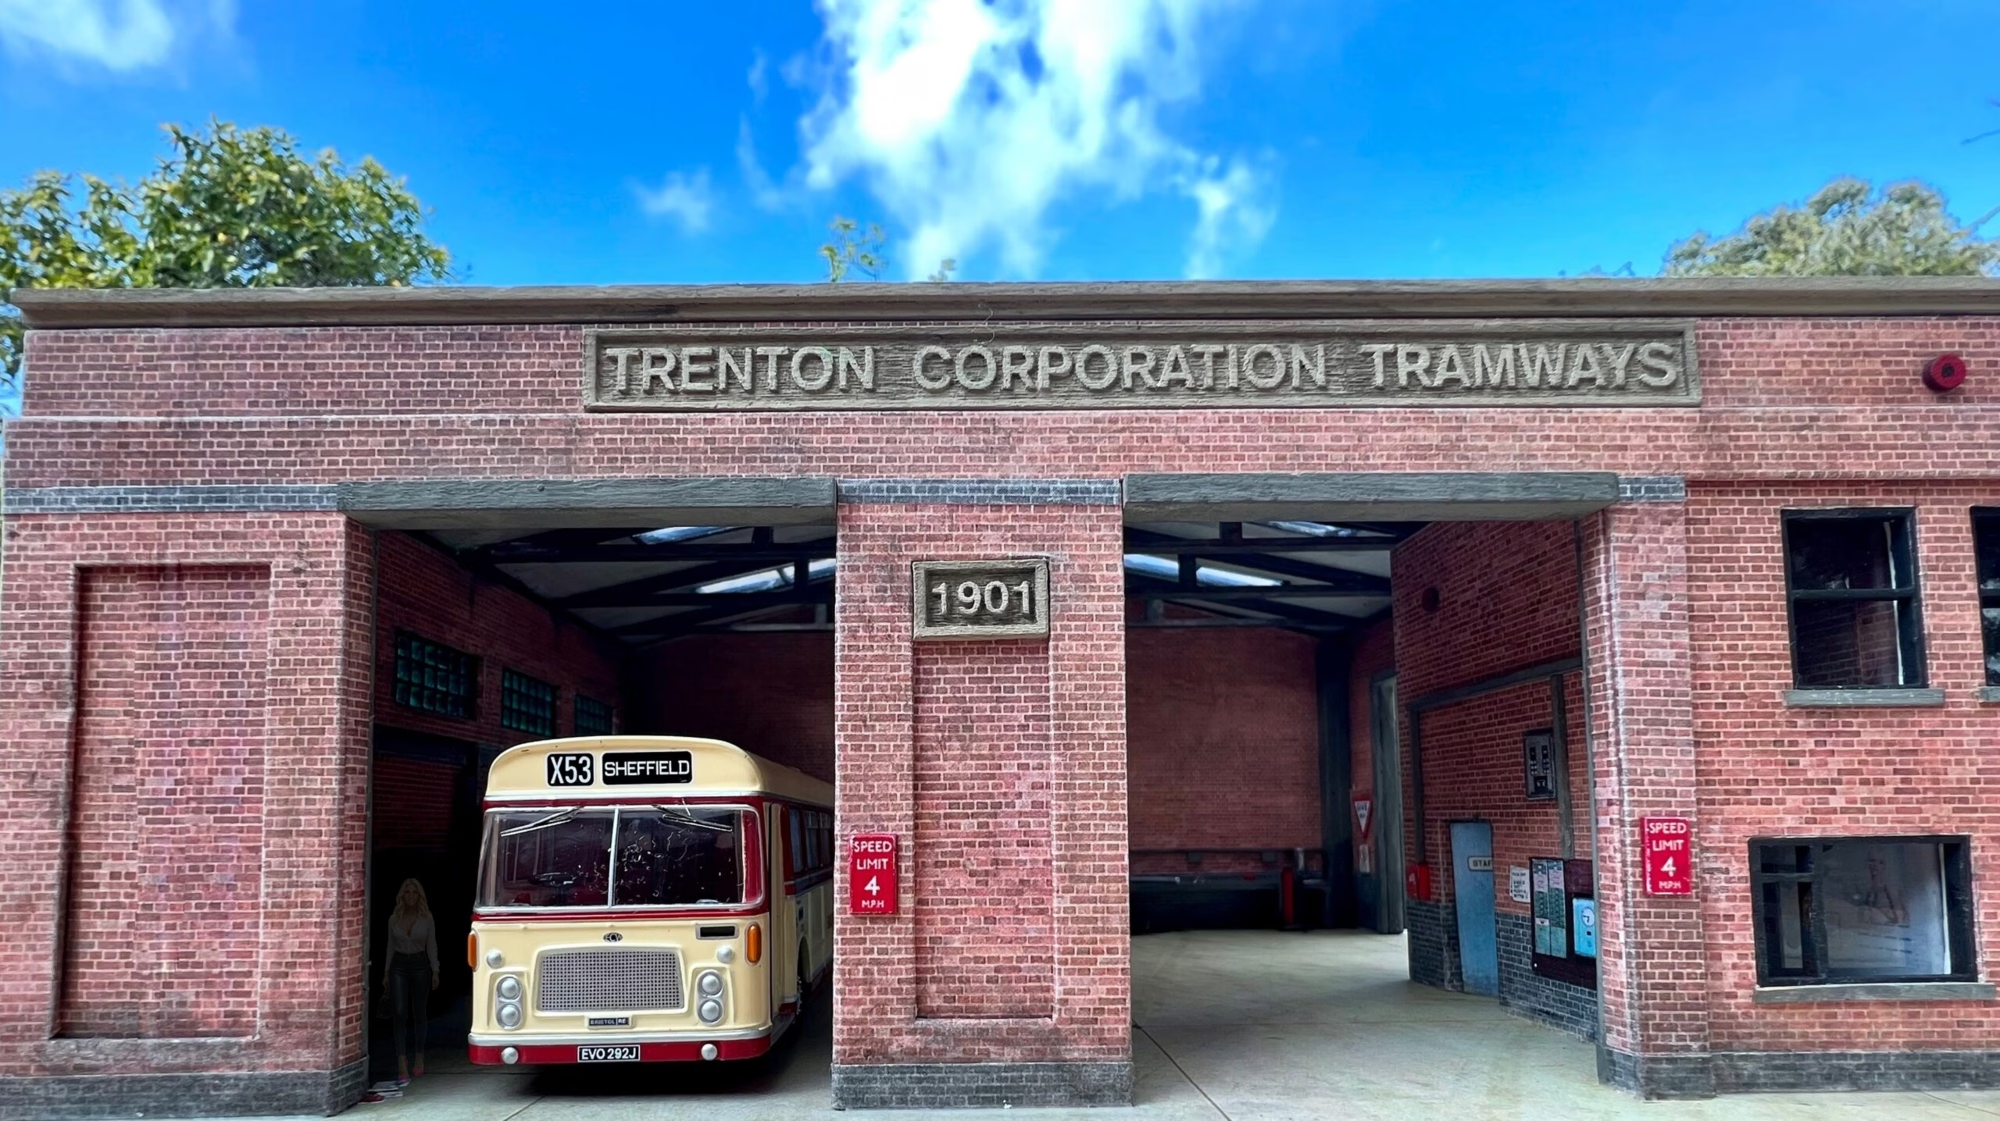
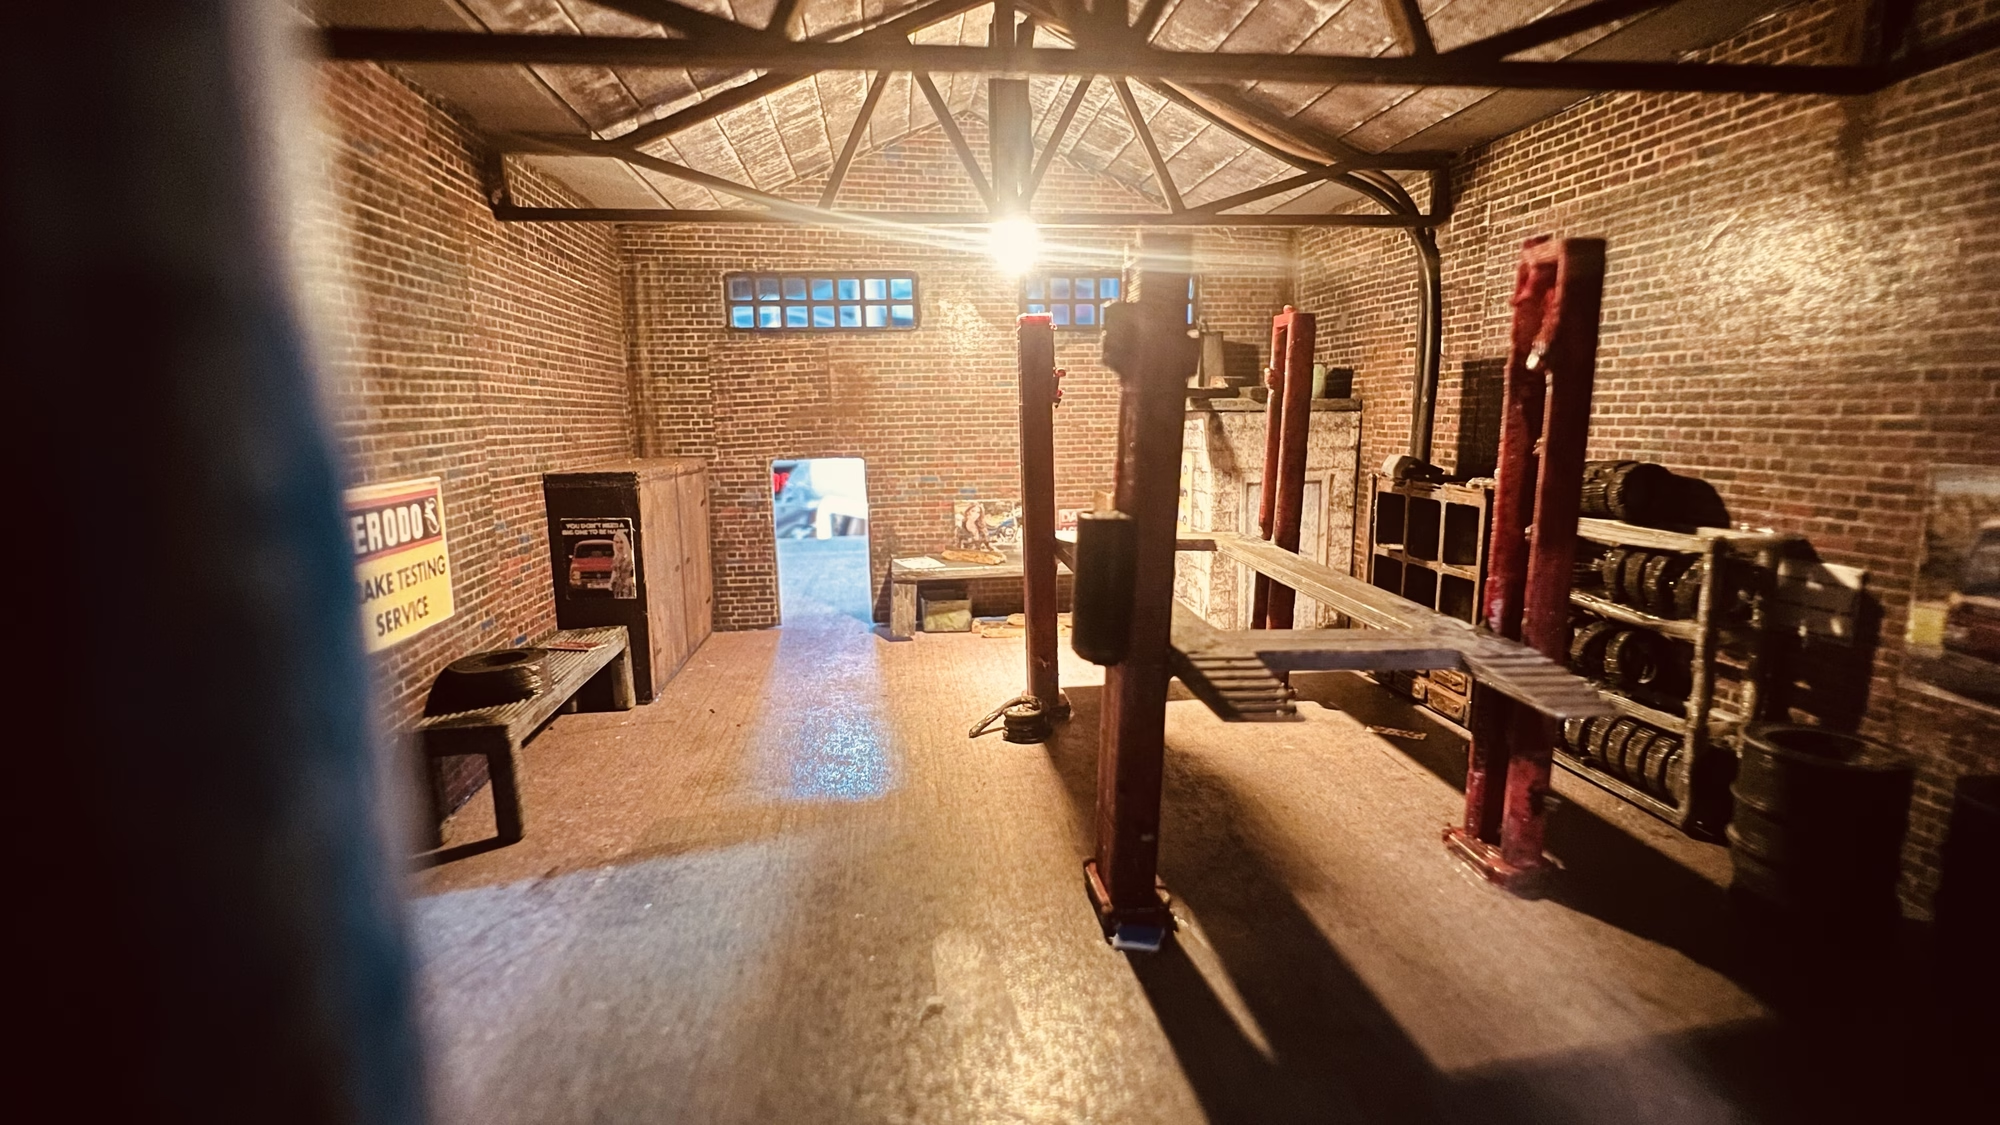
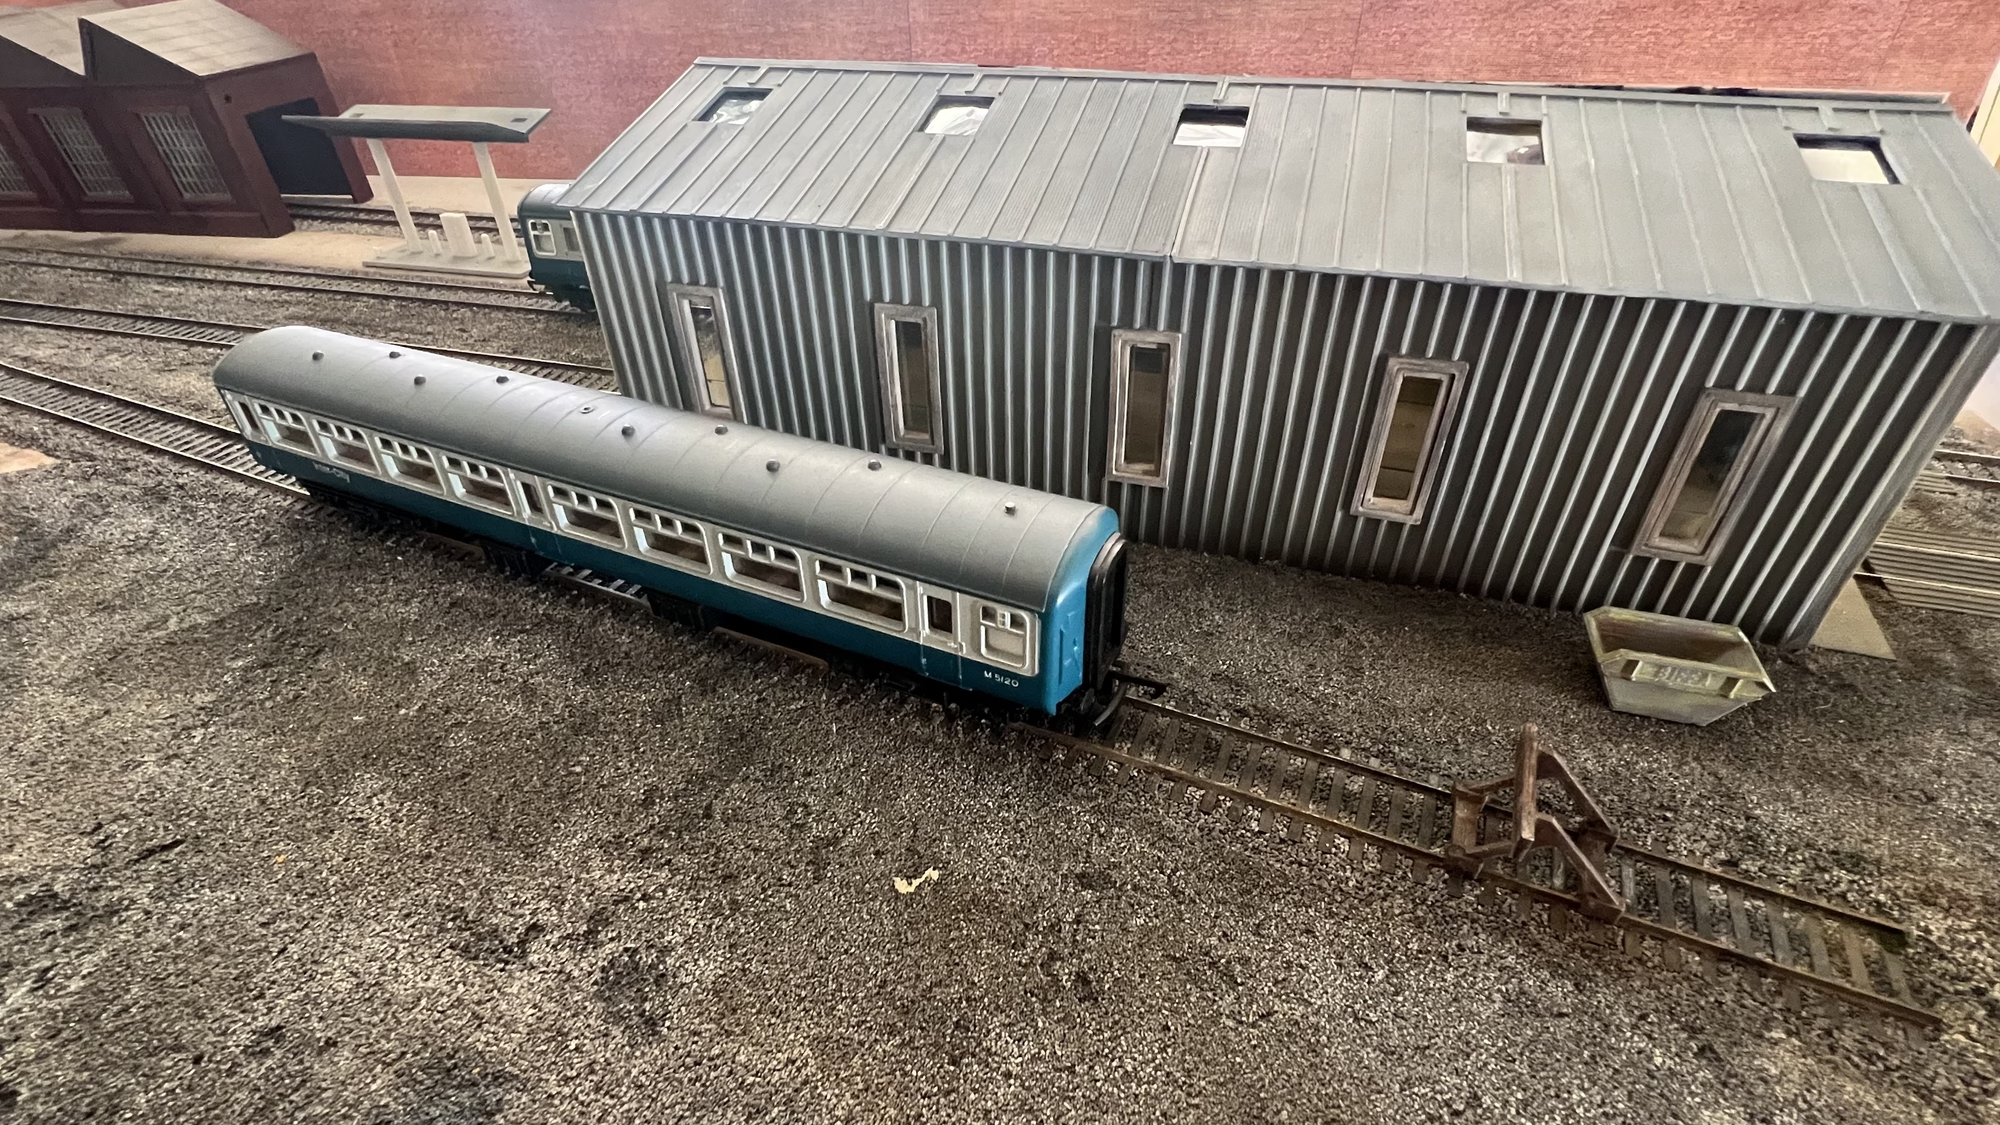
…and finally, some shots of the finished shed.
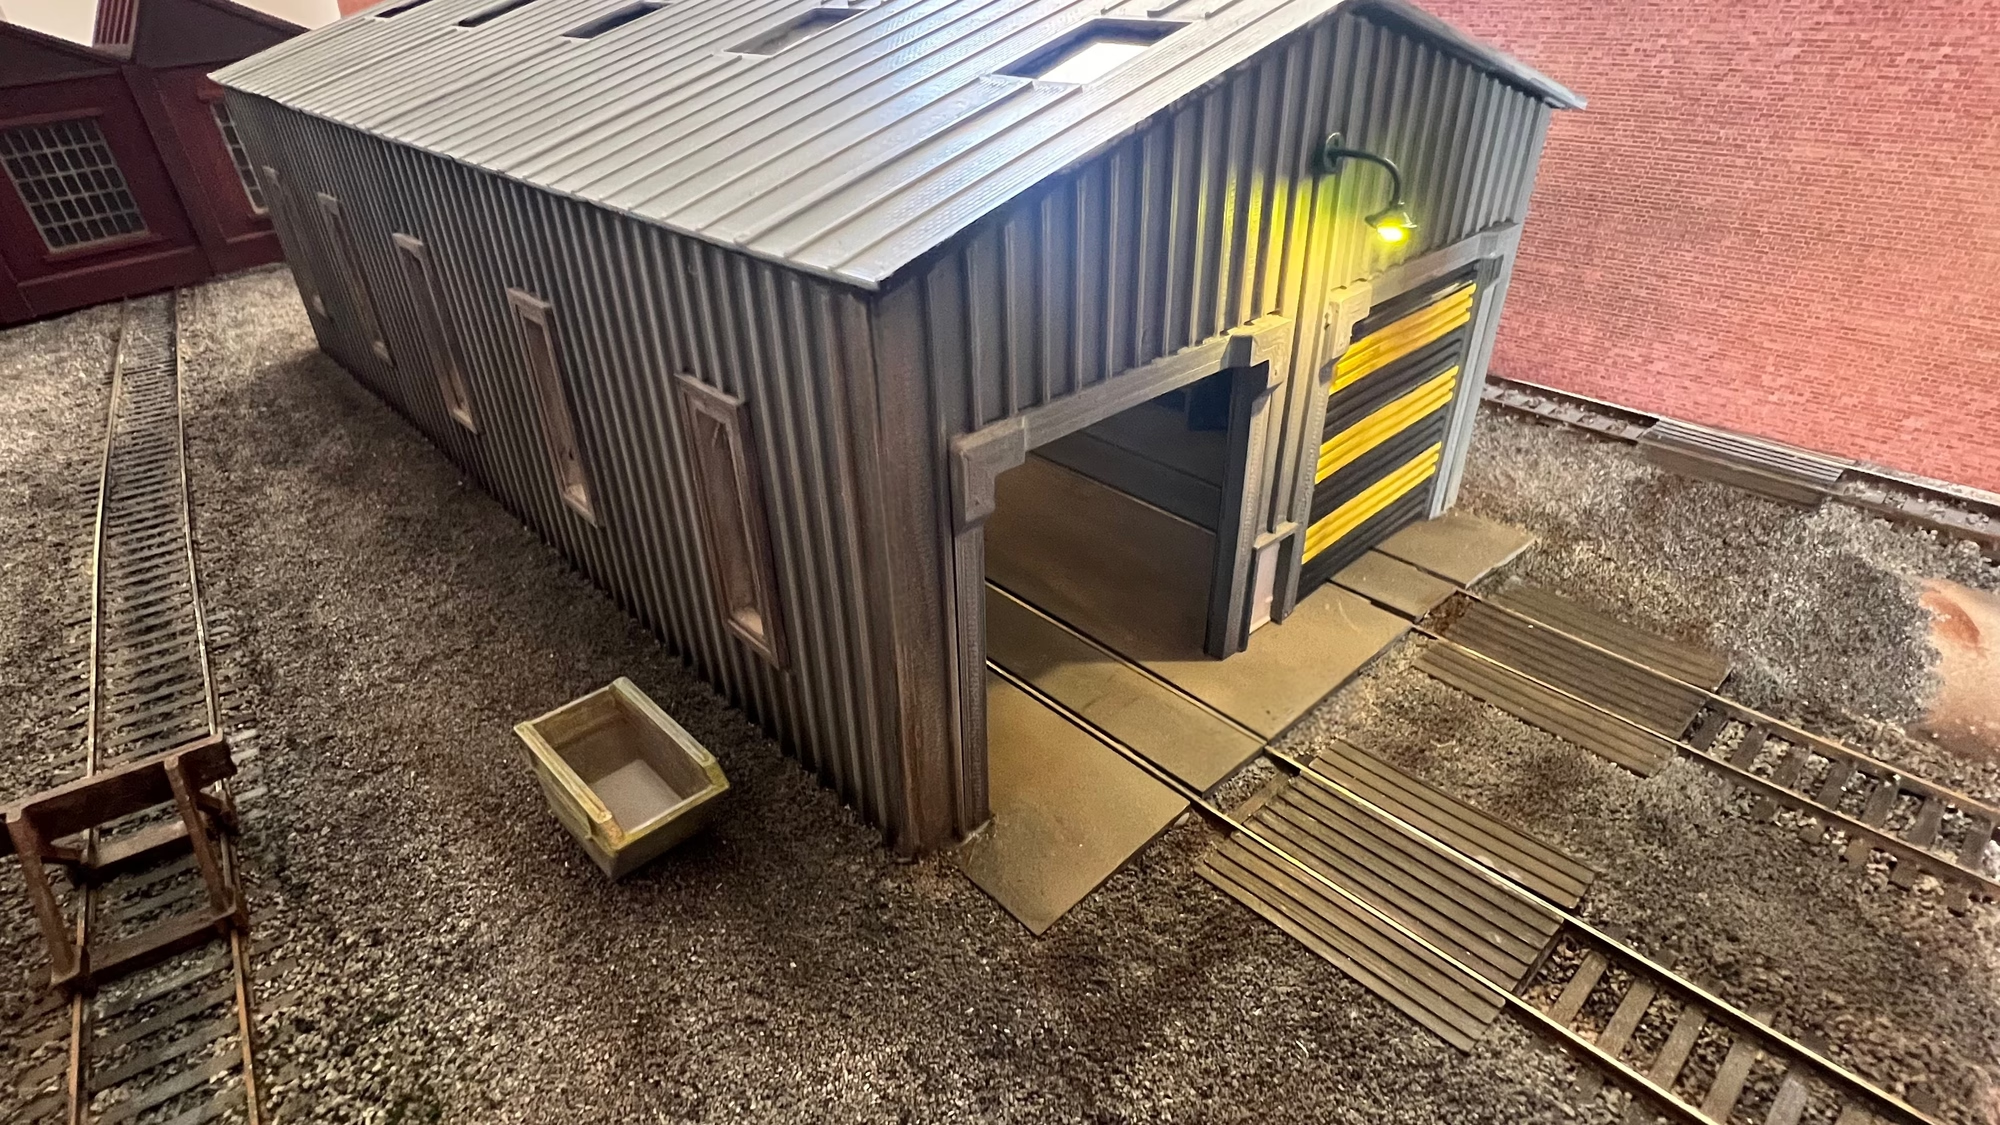
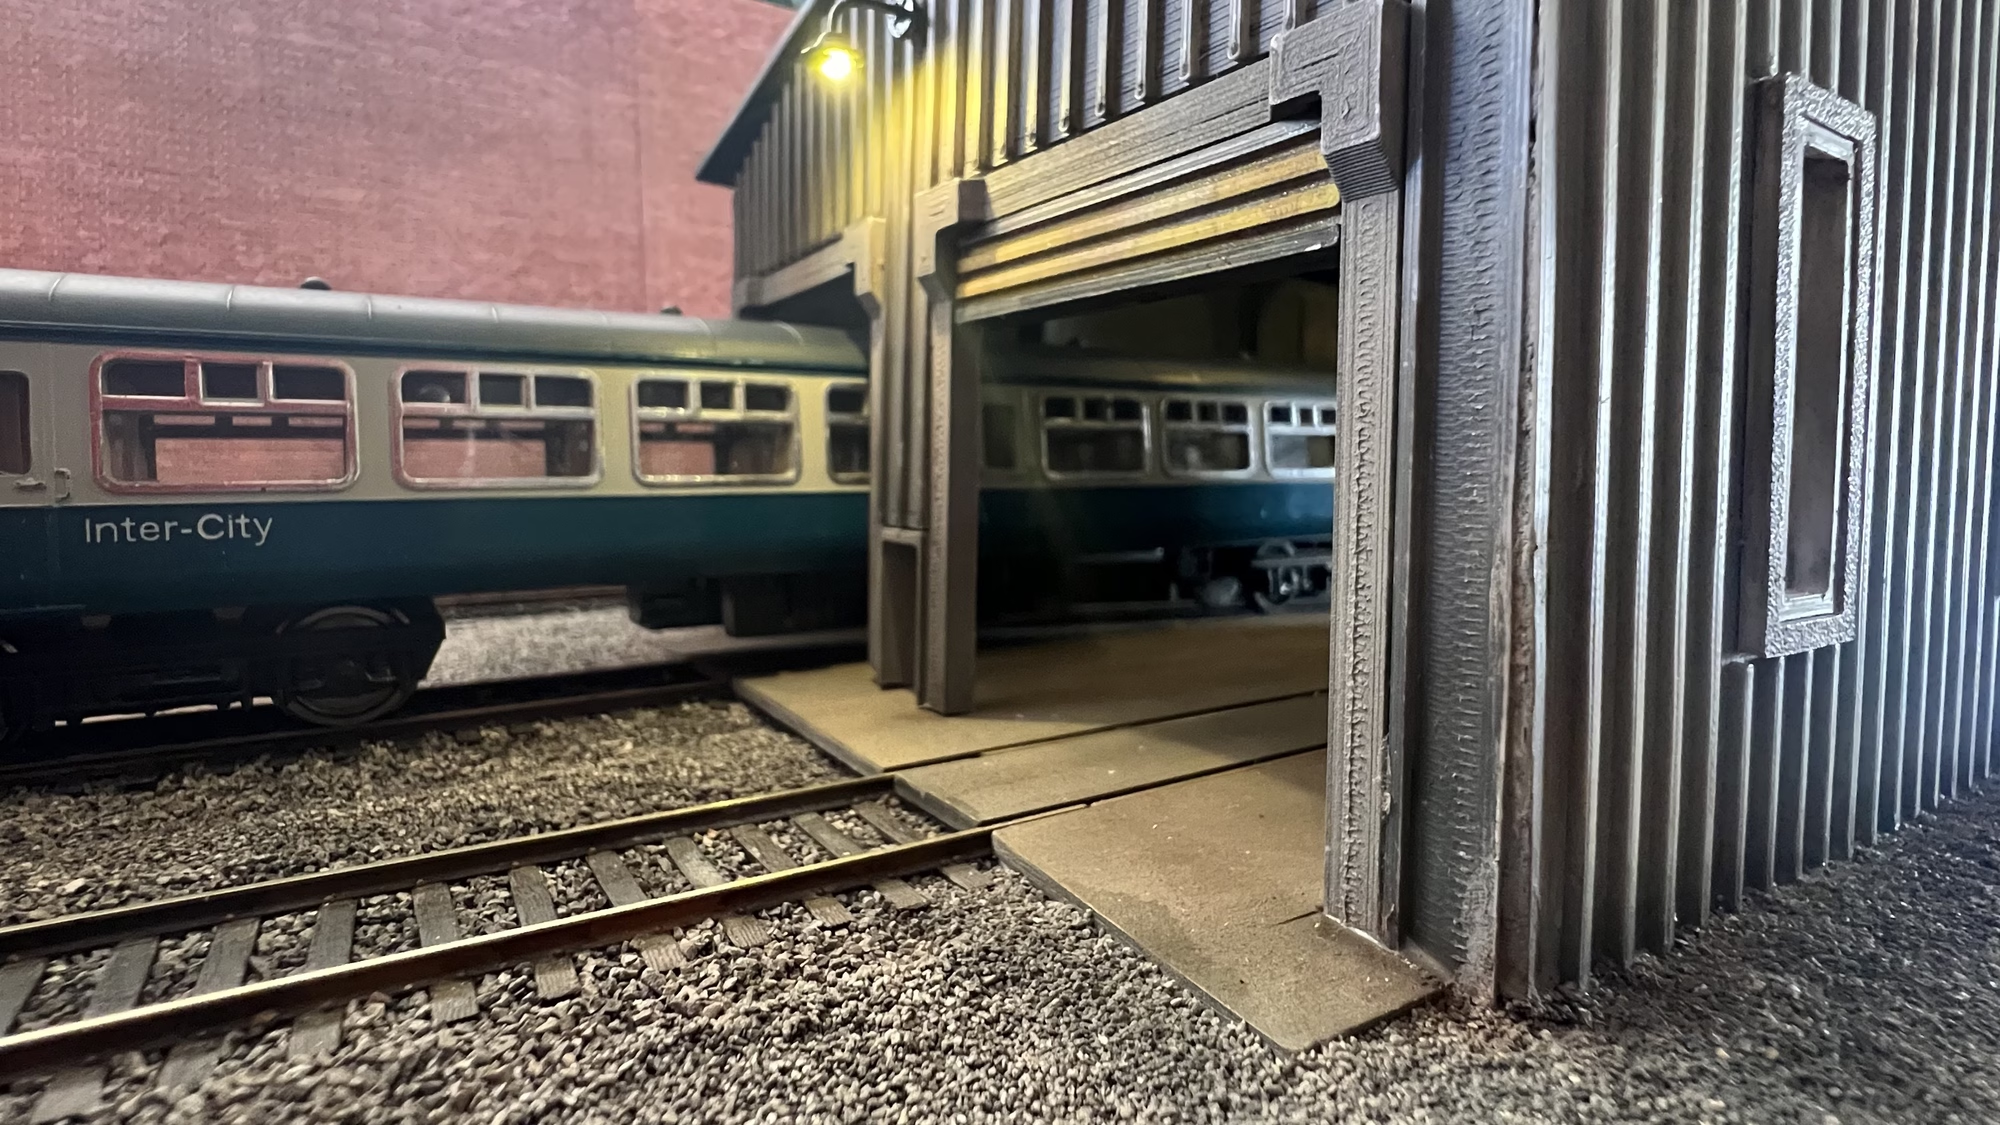
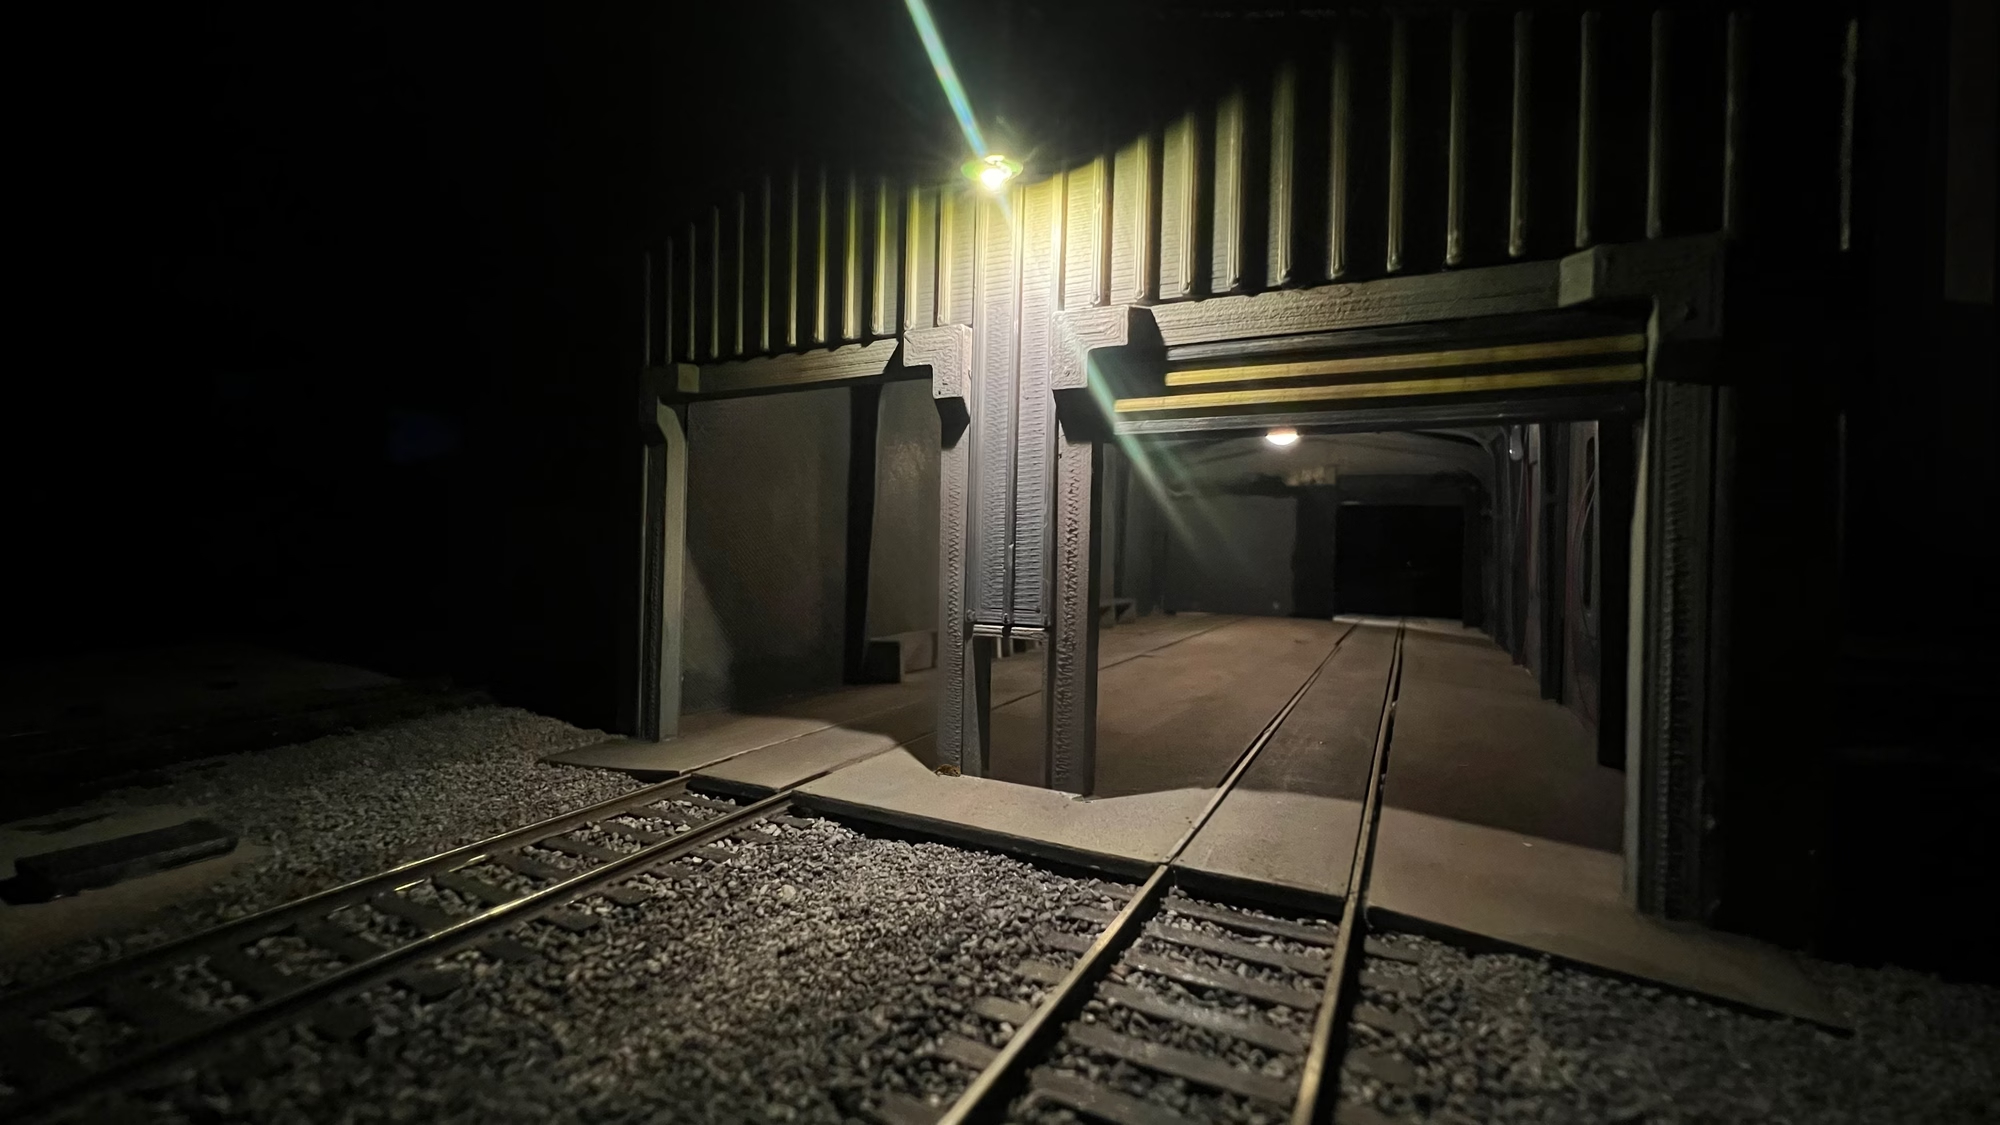
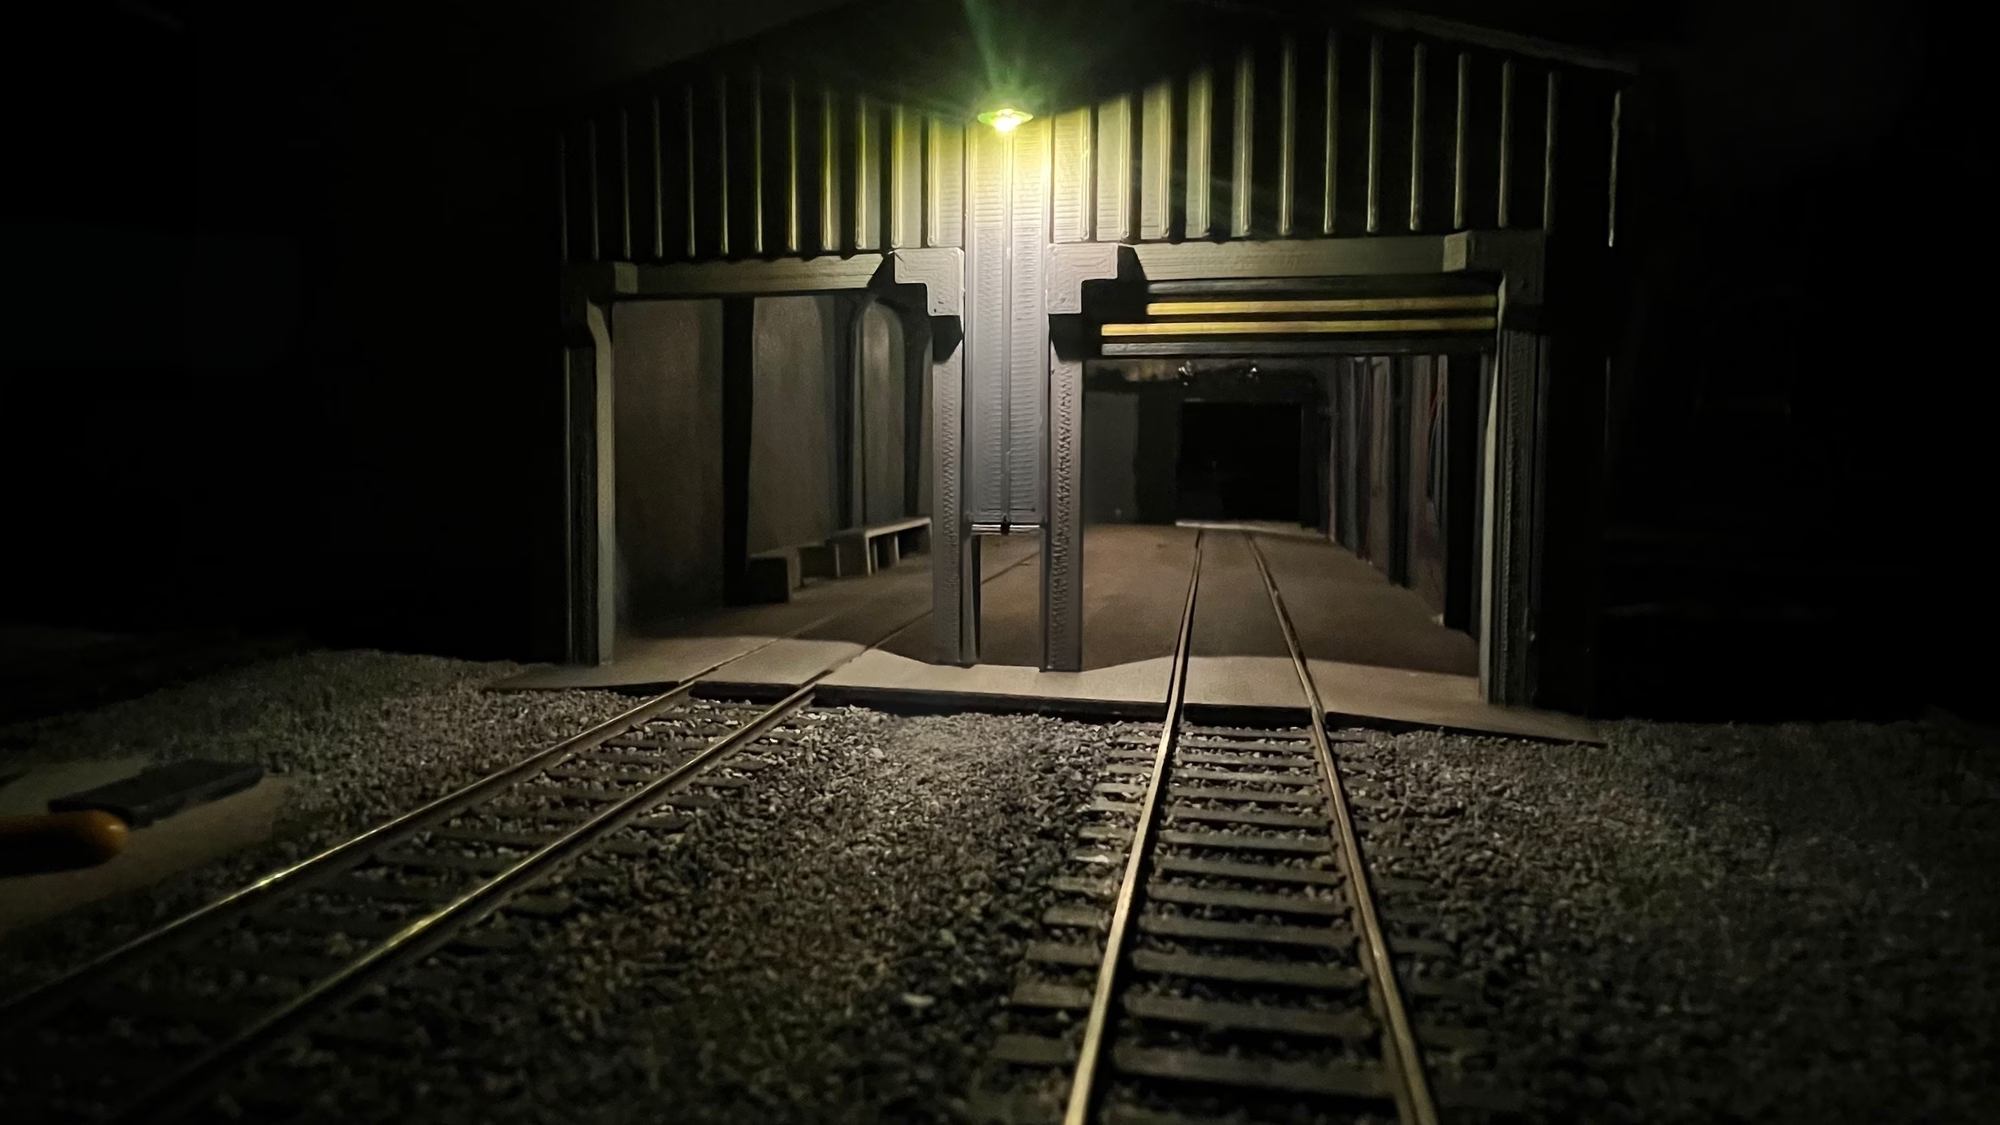
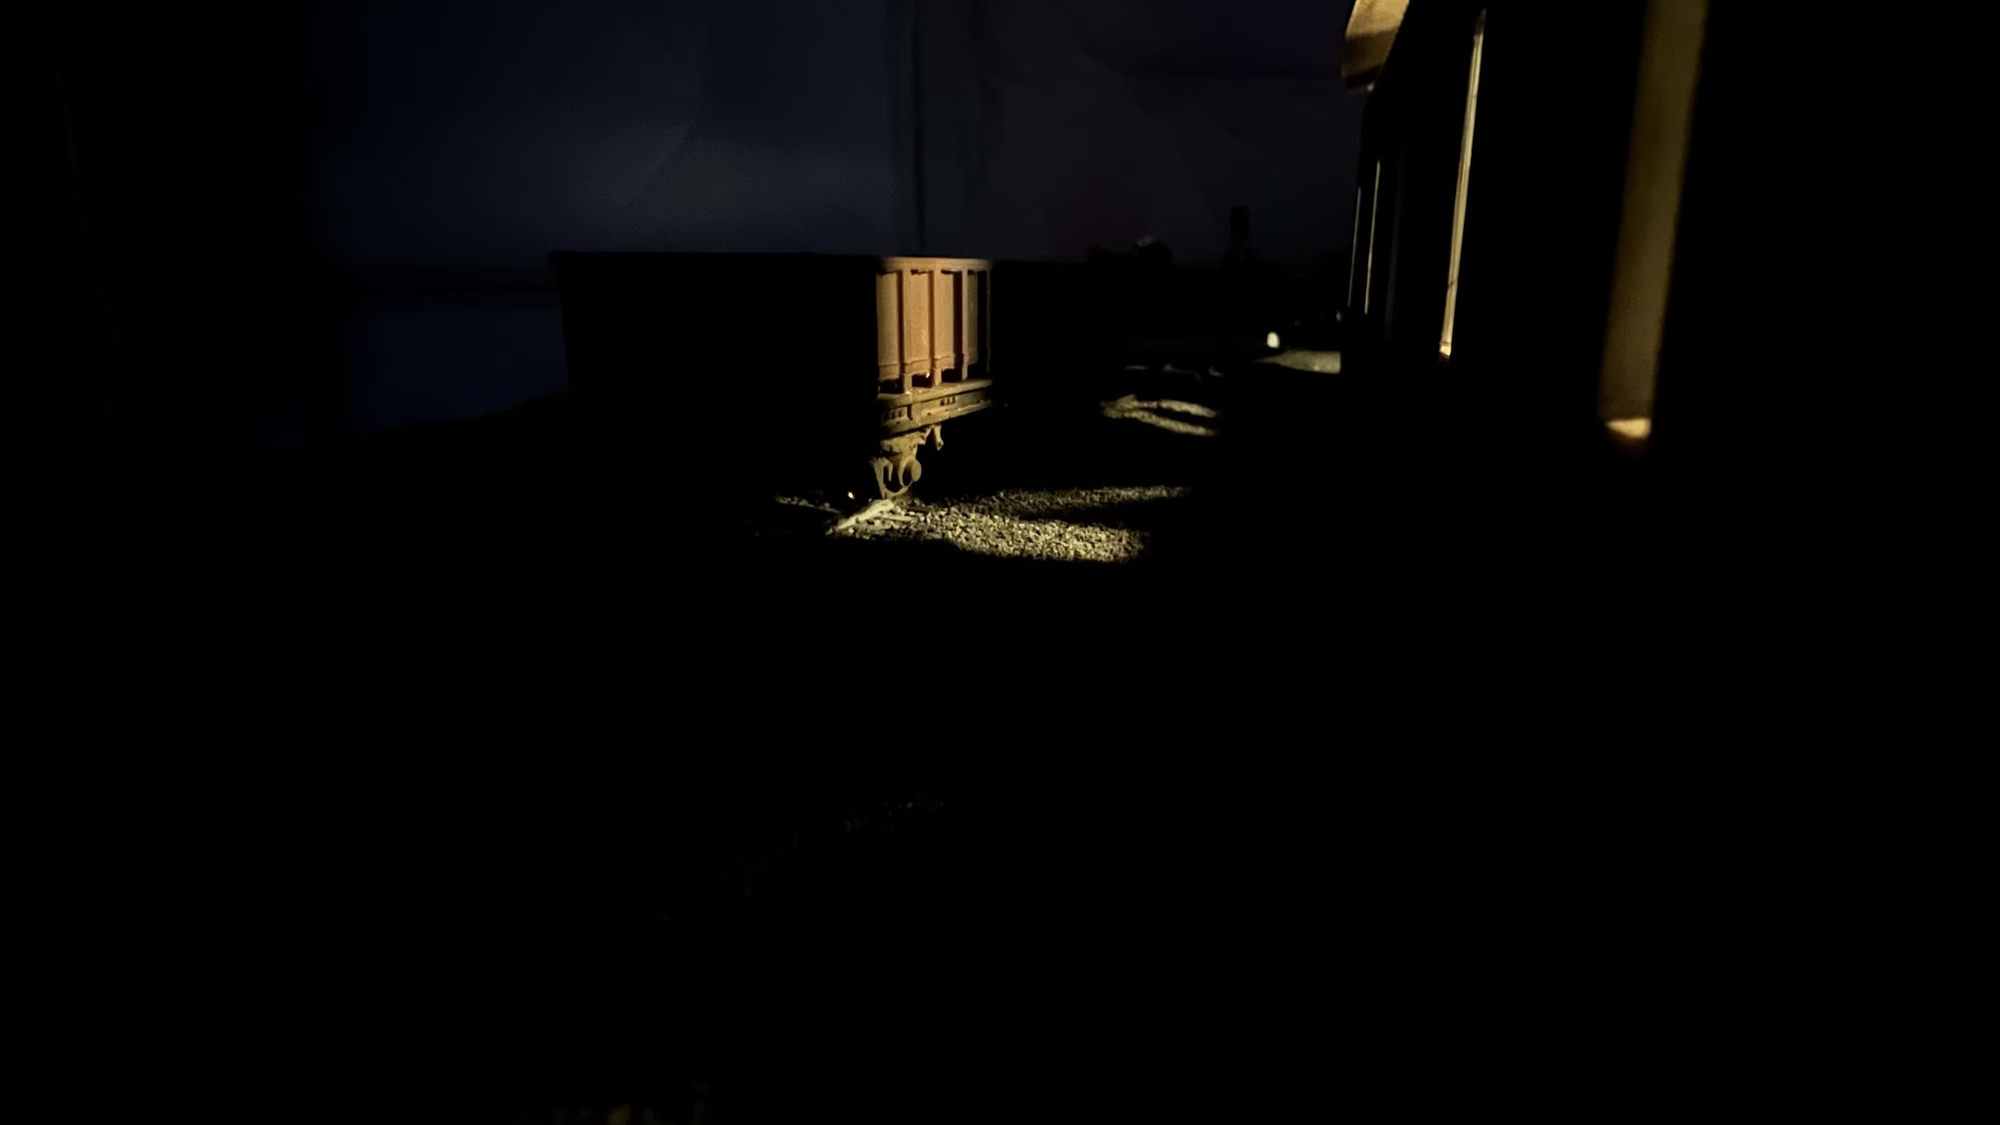
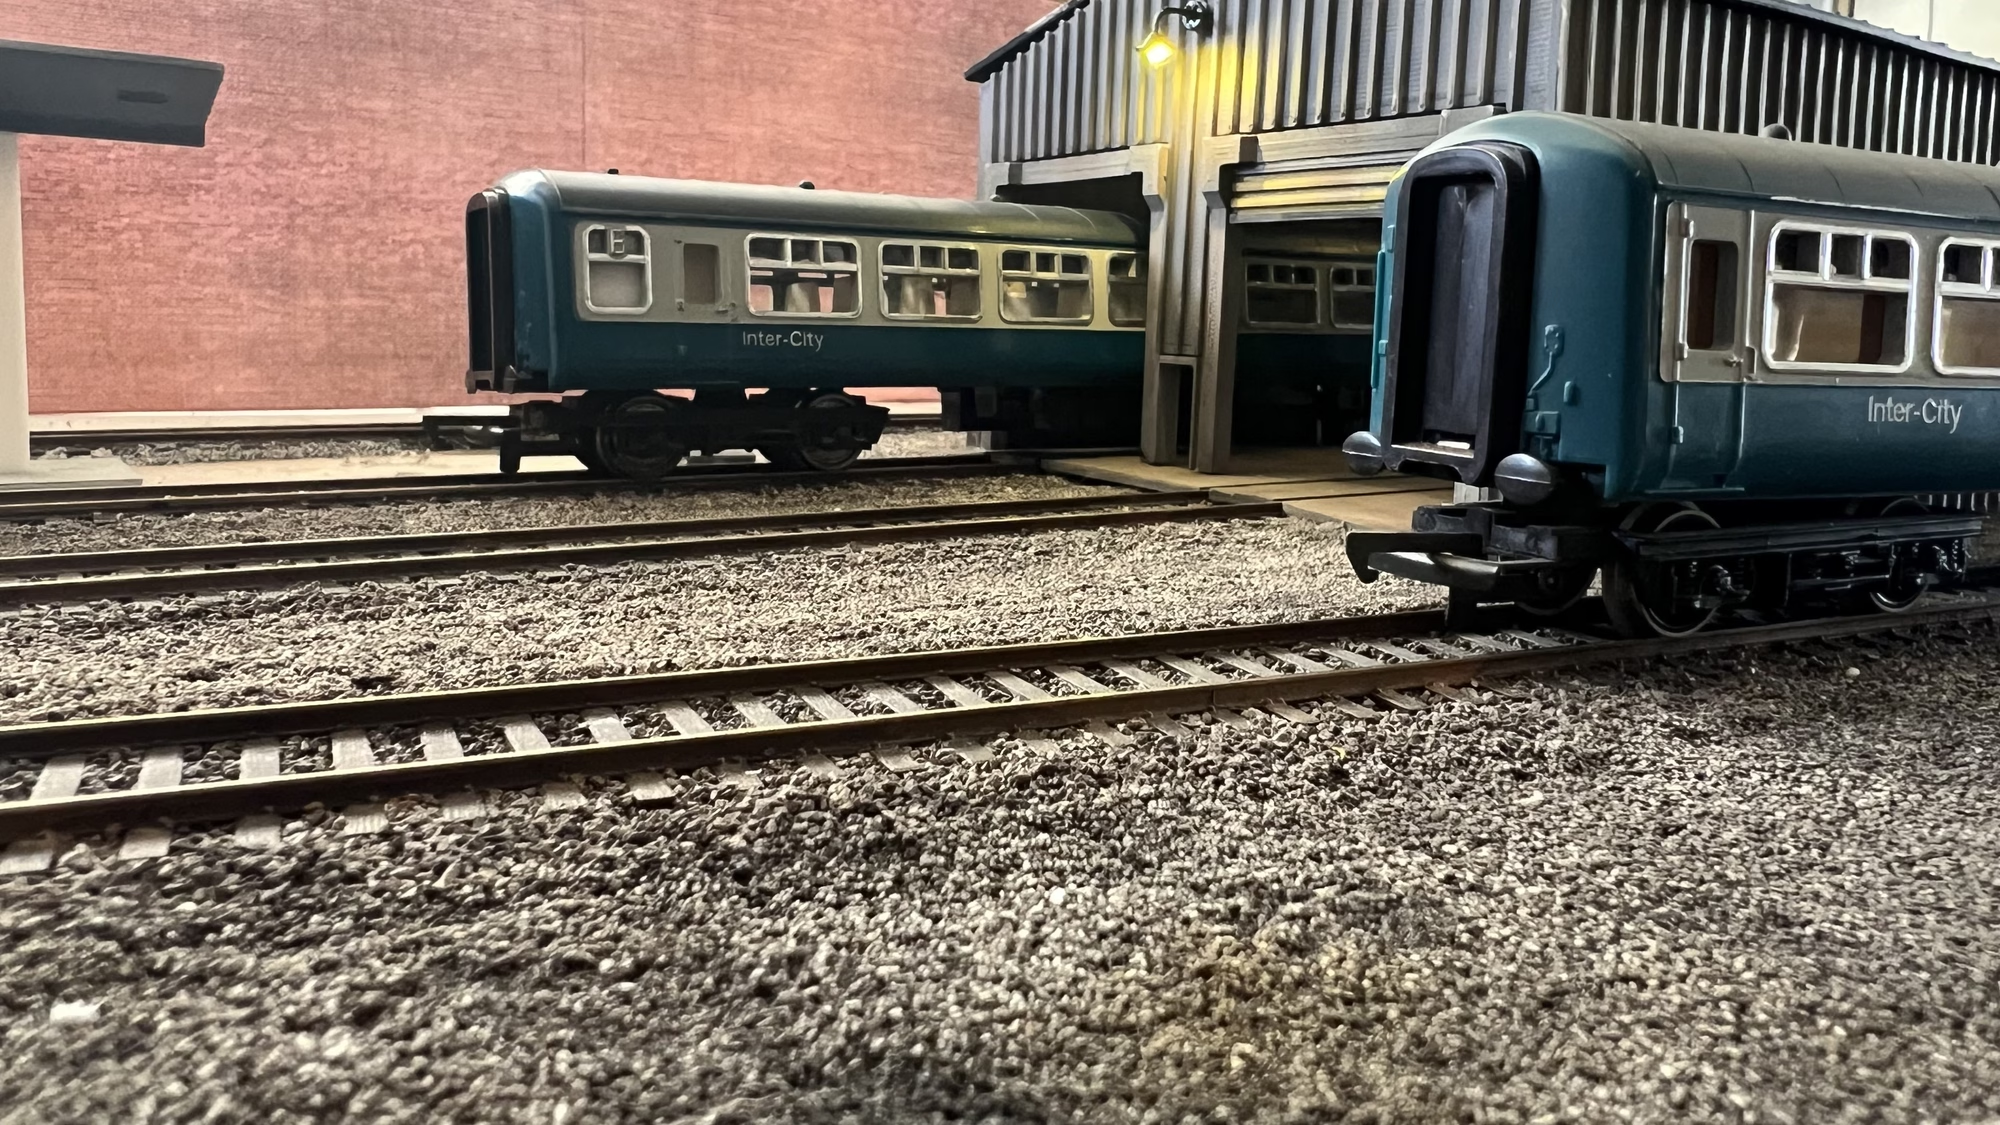
This was a fun build to do, I’m very happy with how the 3D printer performed for this model, and considering the Walthers model is $43 (33GBP) and I spent about $3.00 in plastic filament, I would say that’s a win.

