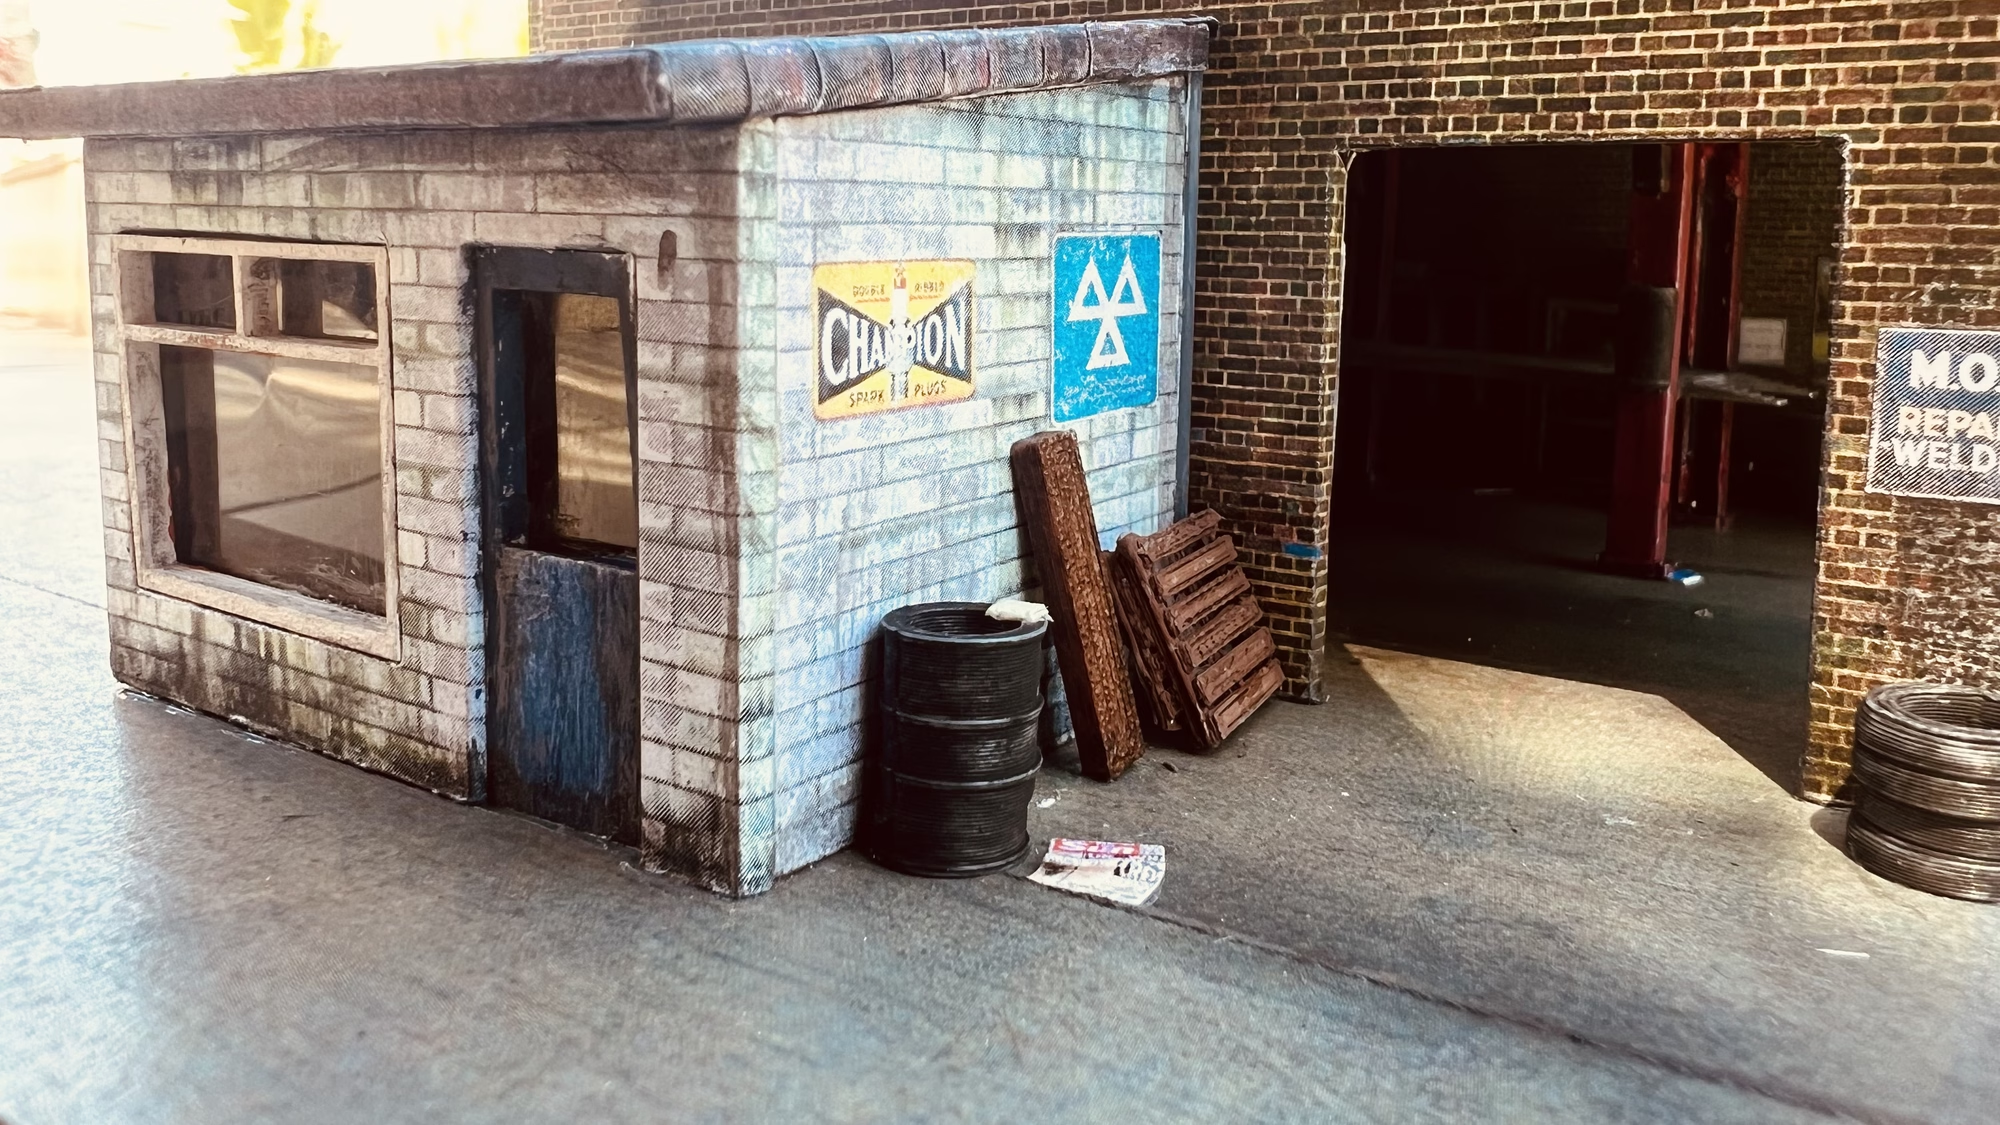
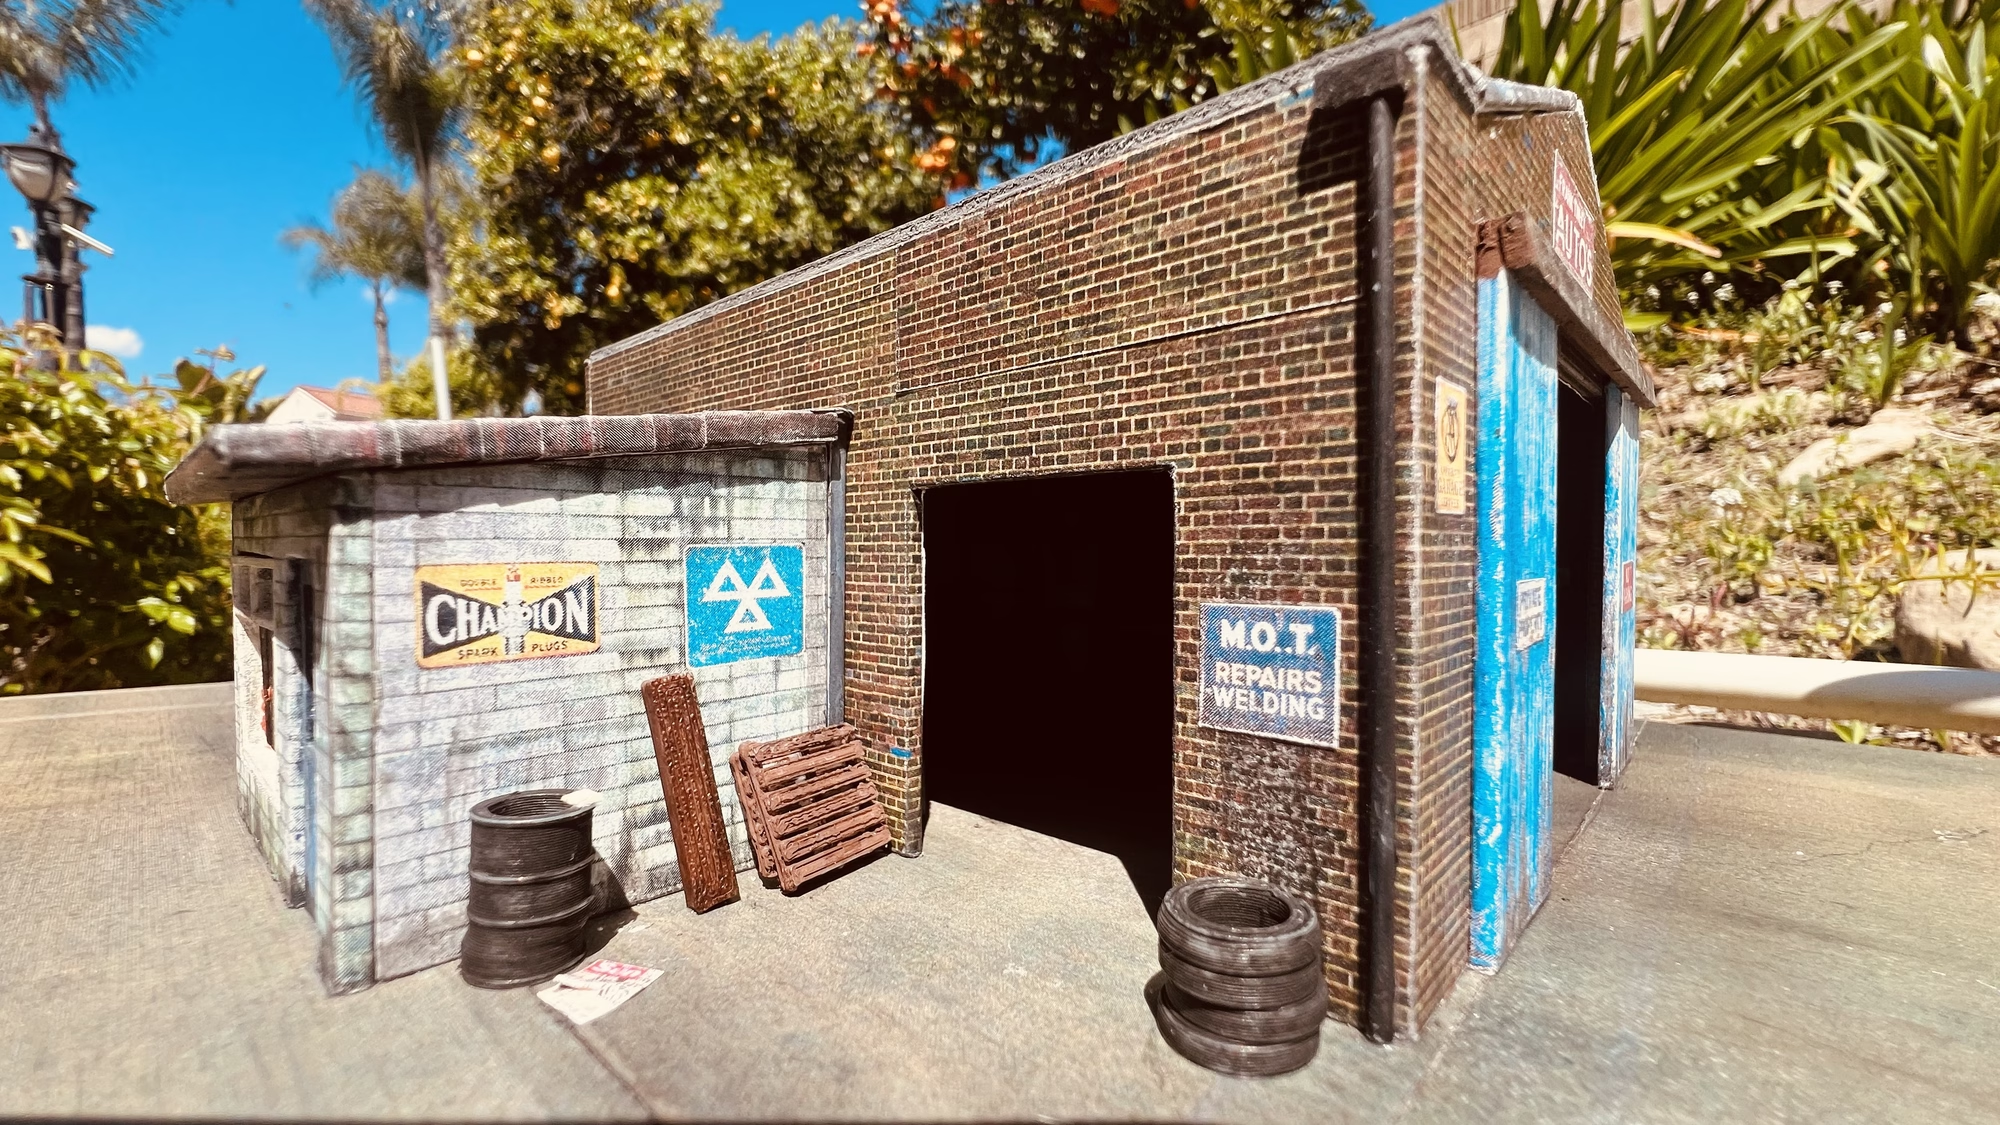
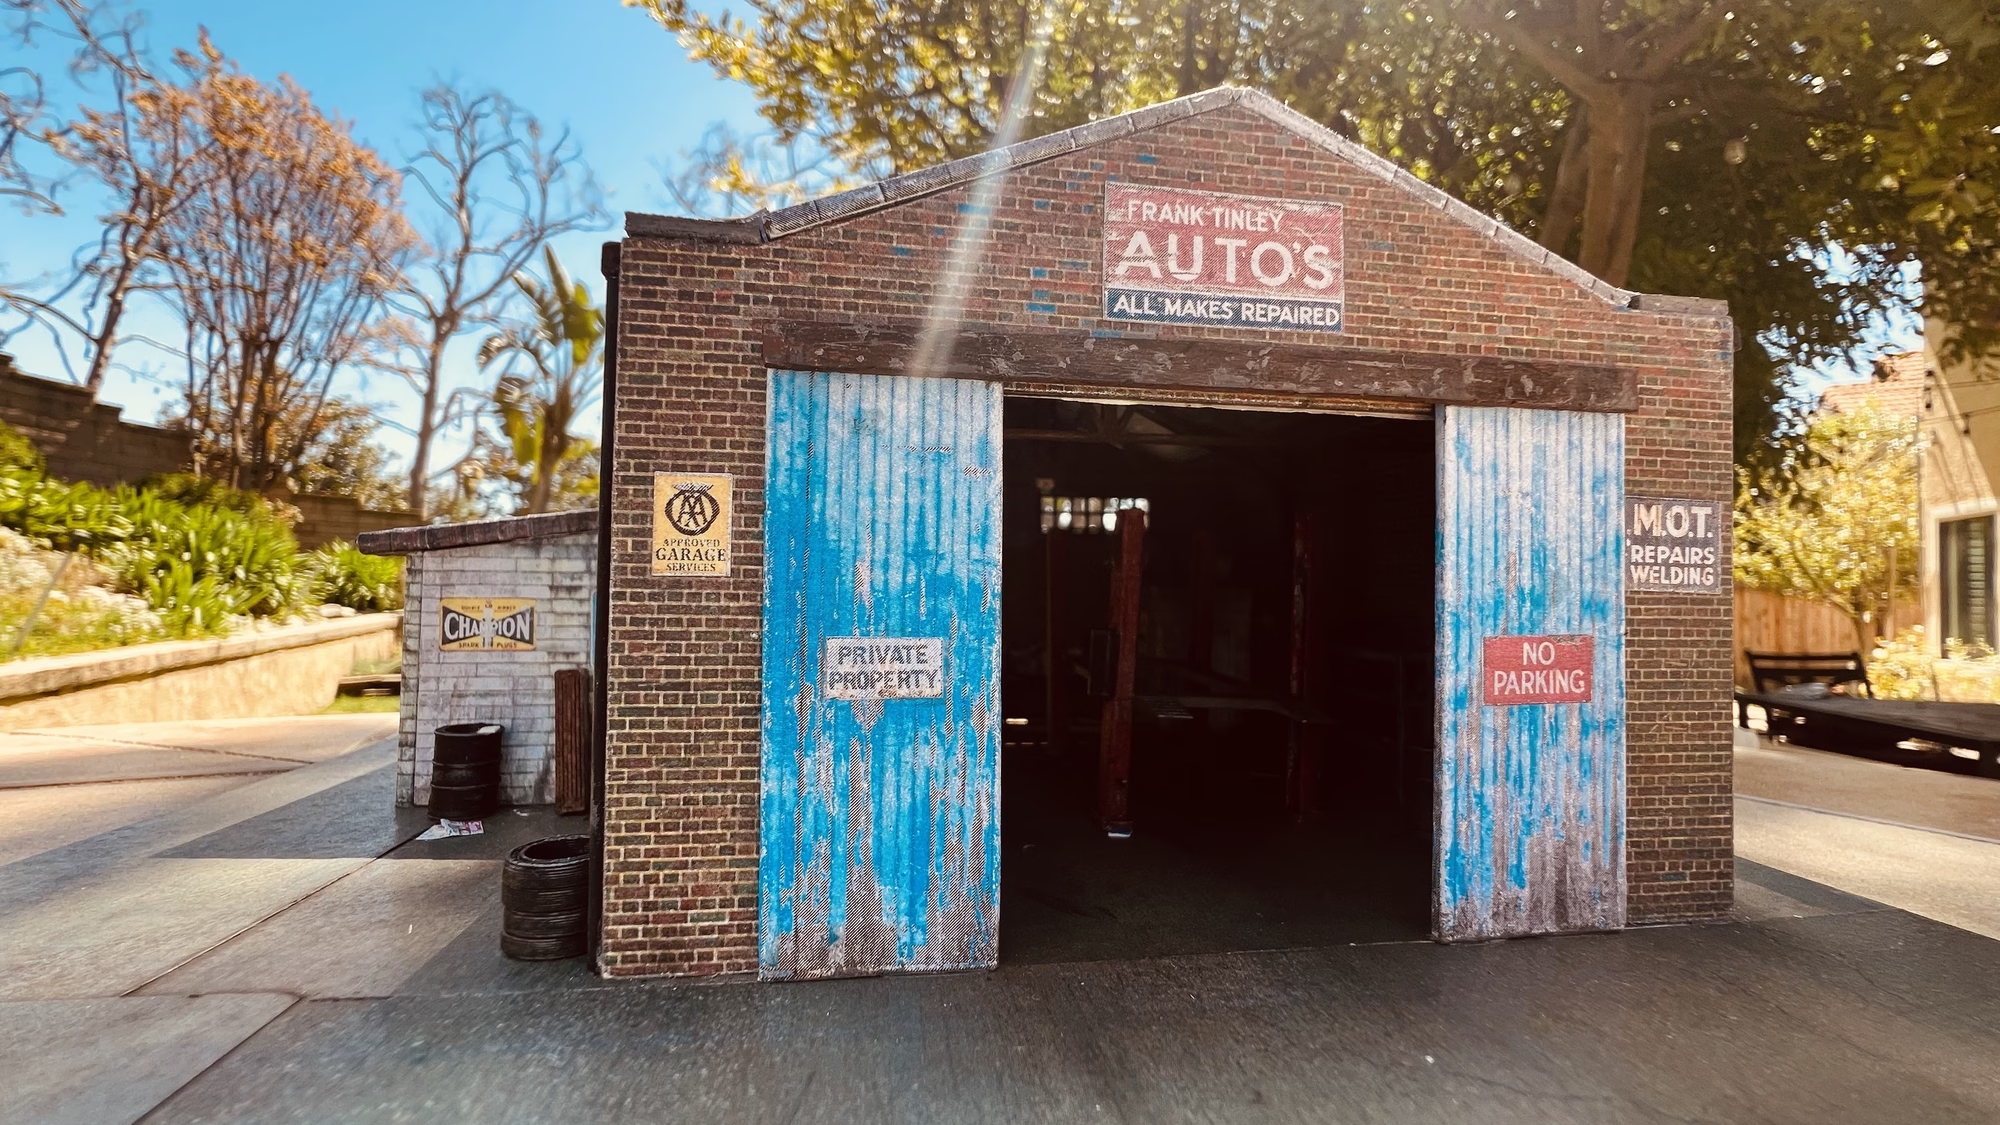
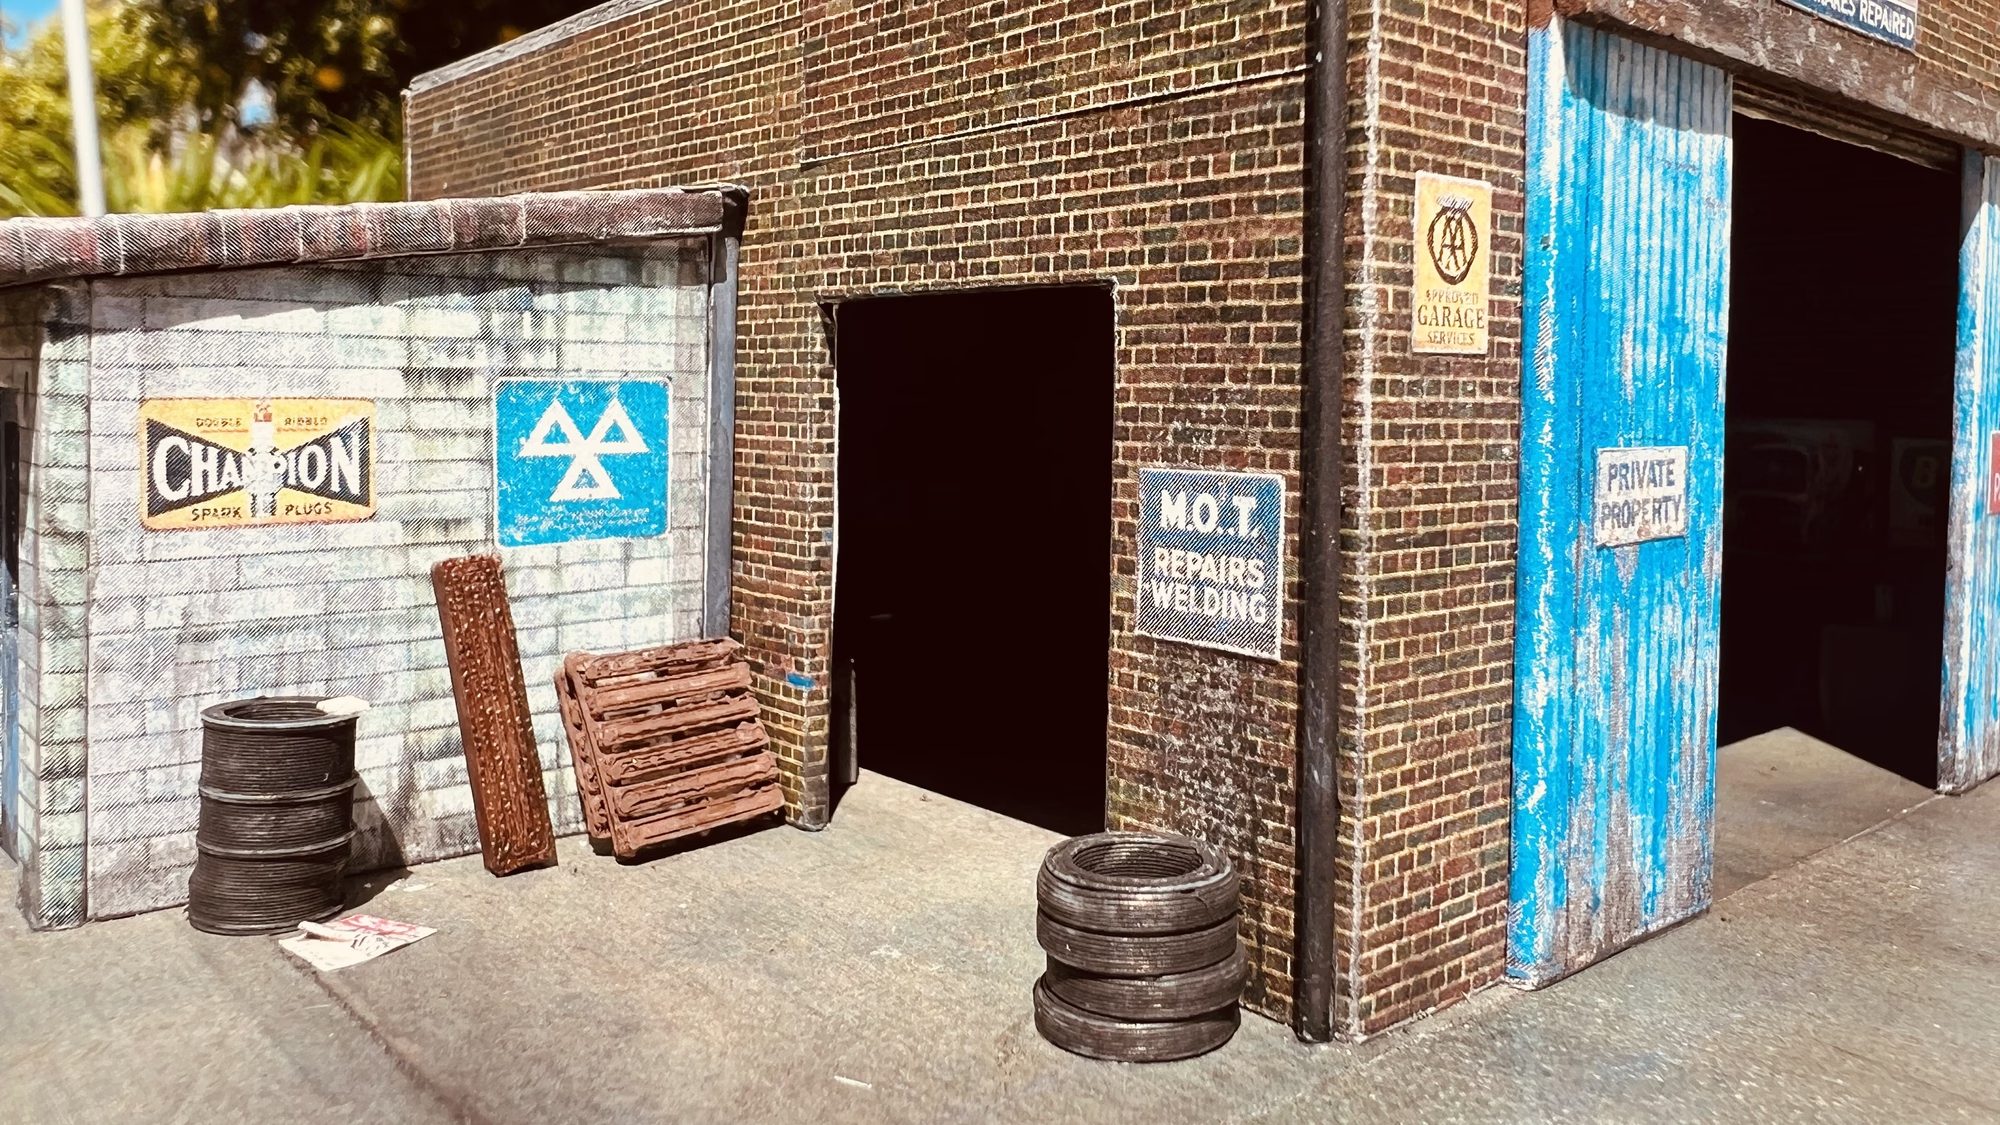
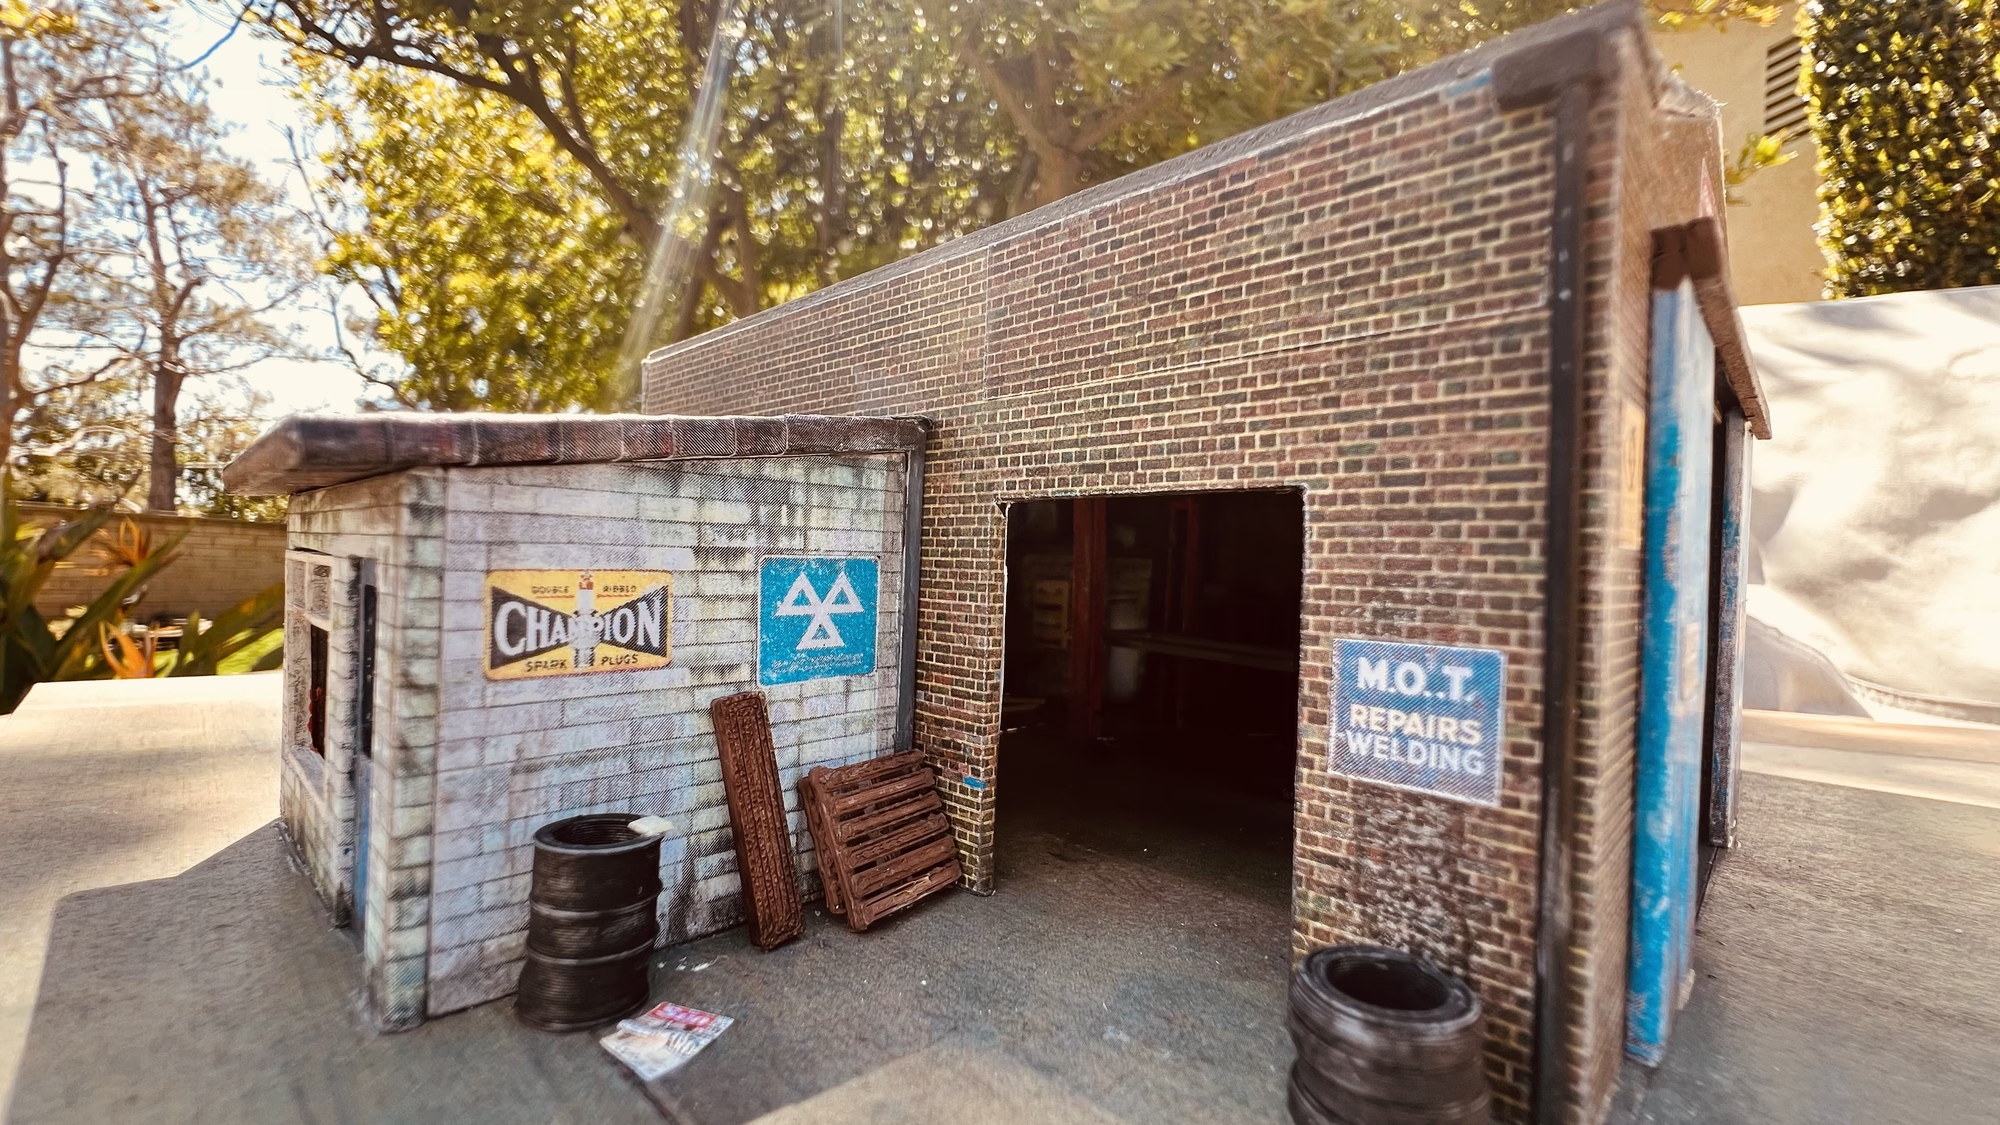
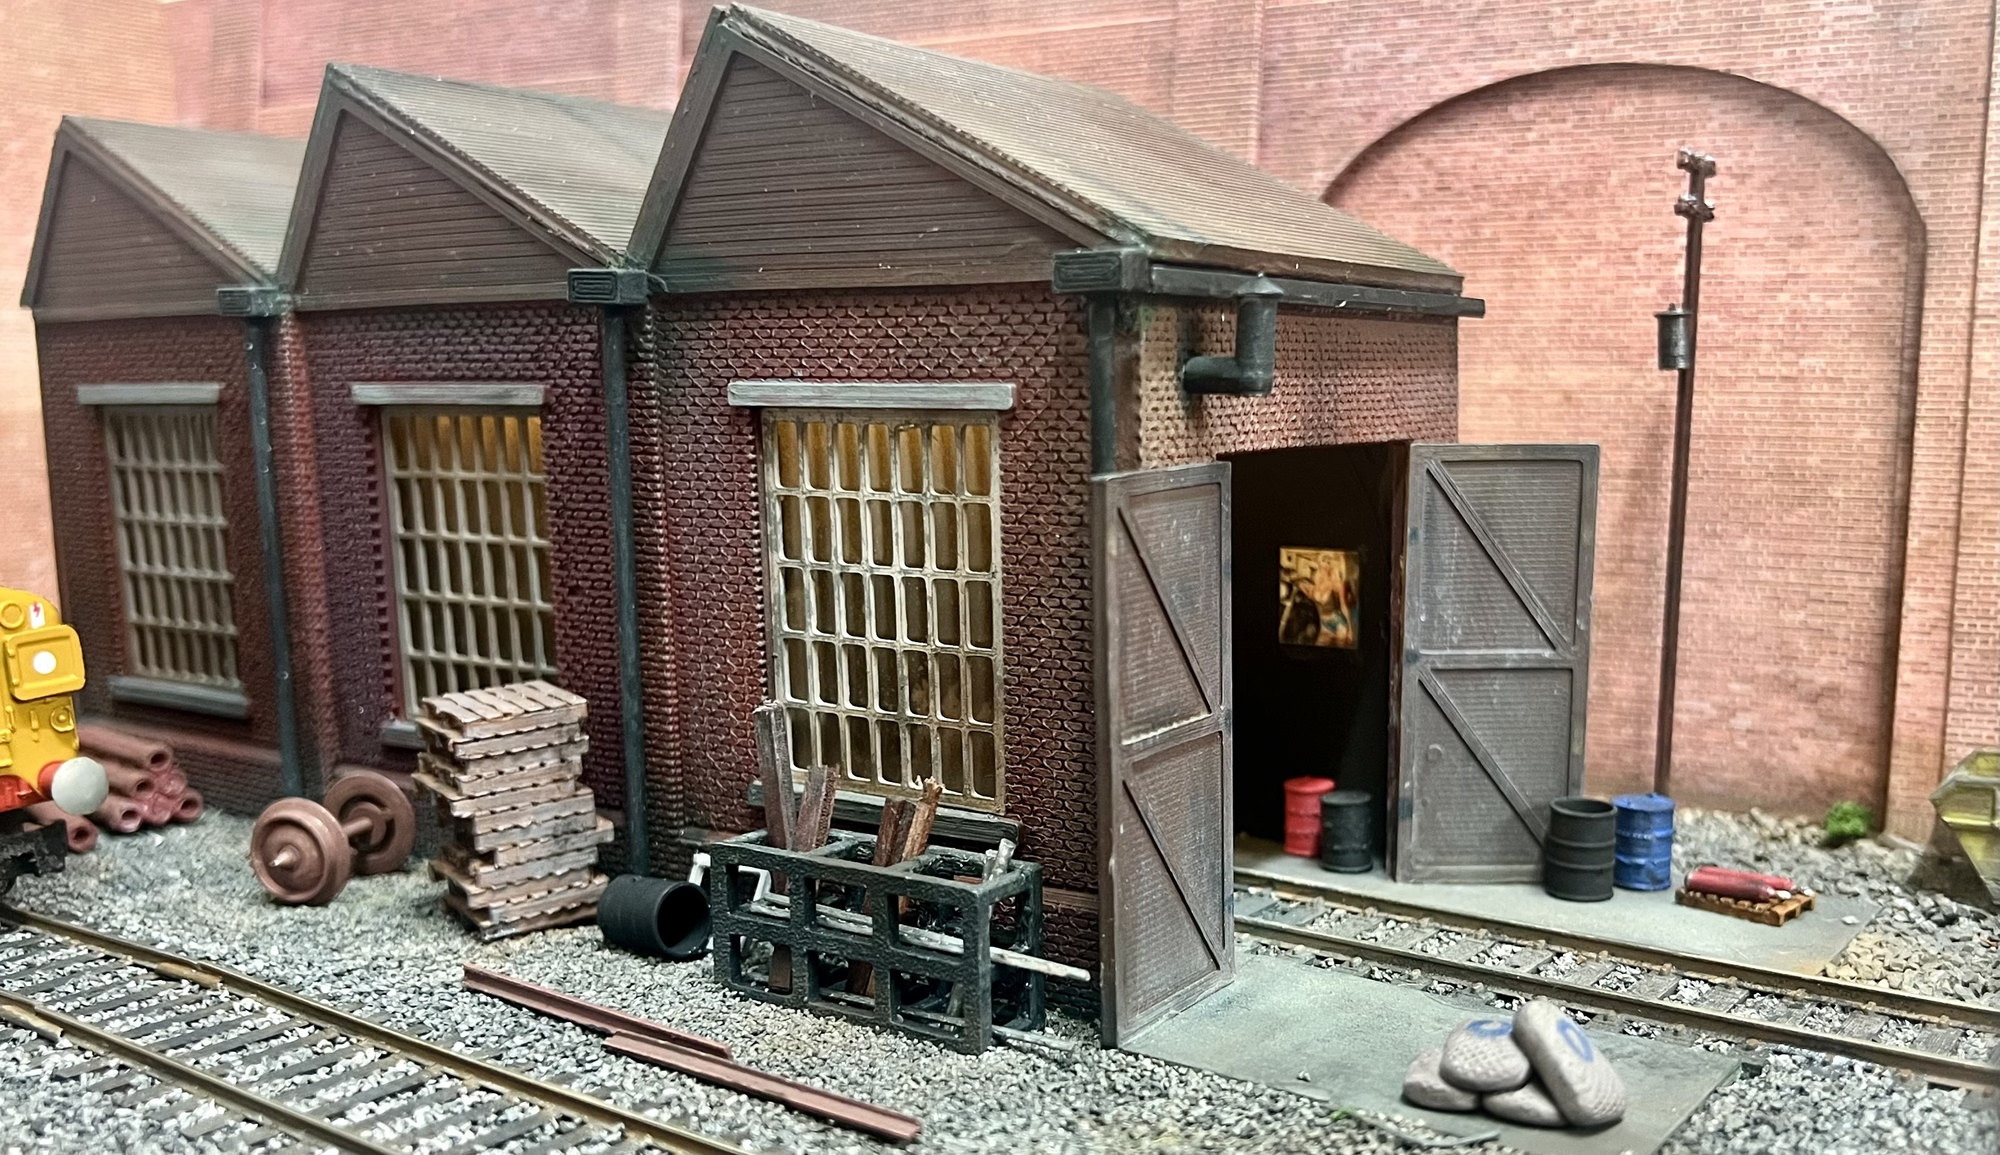
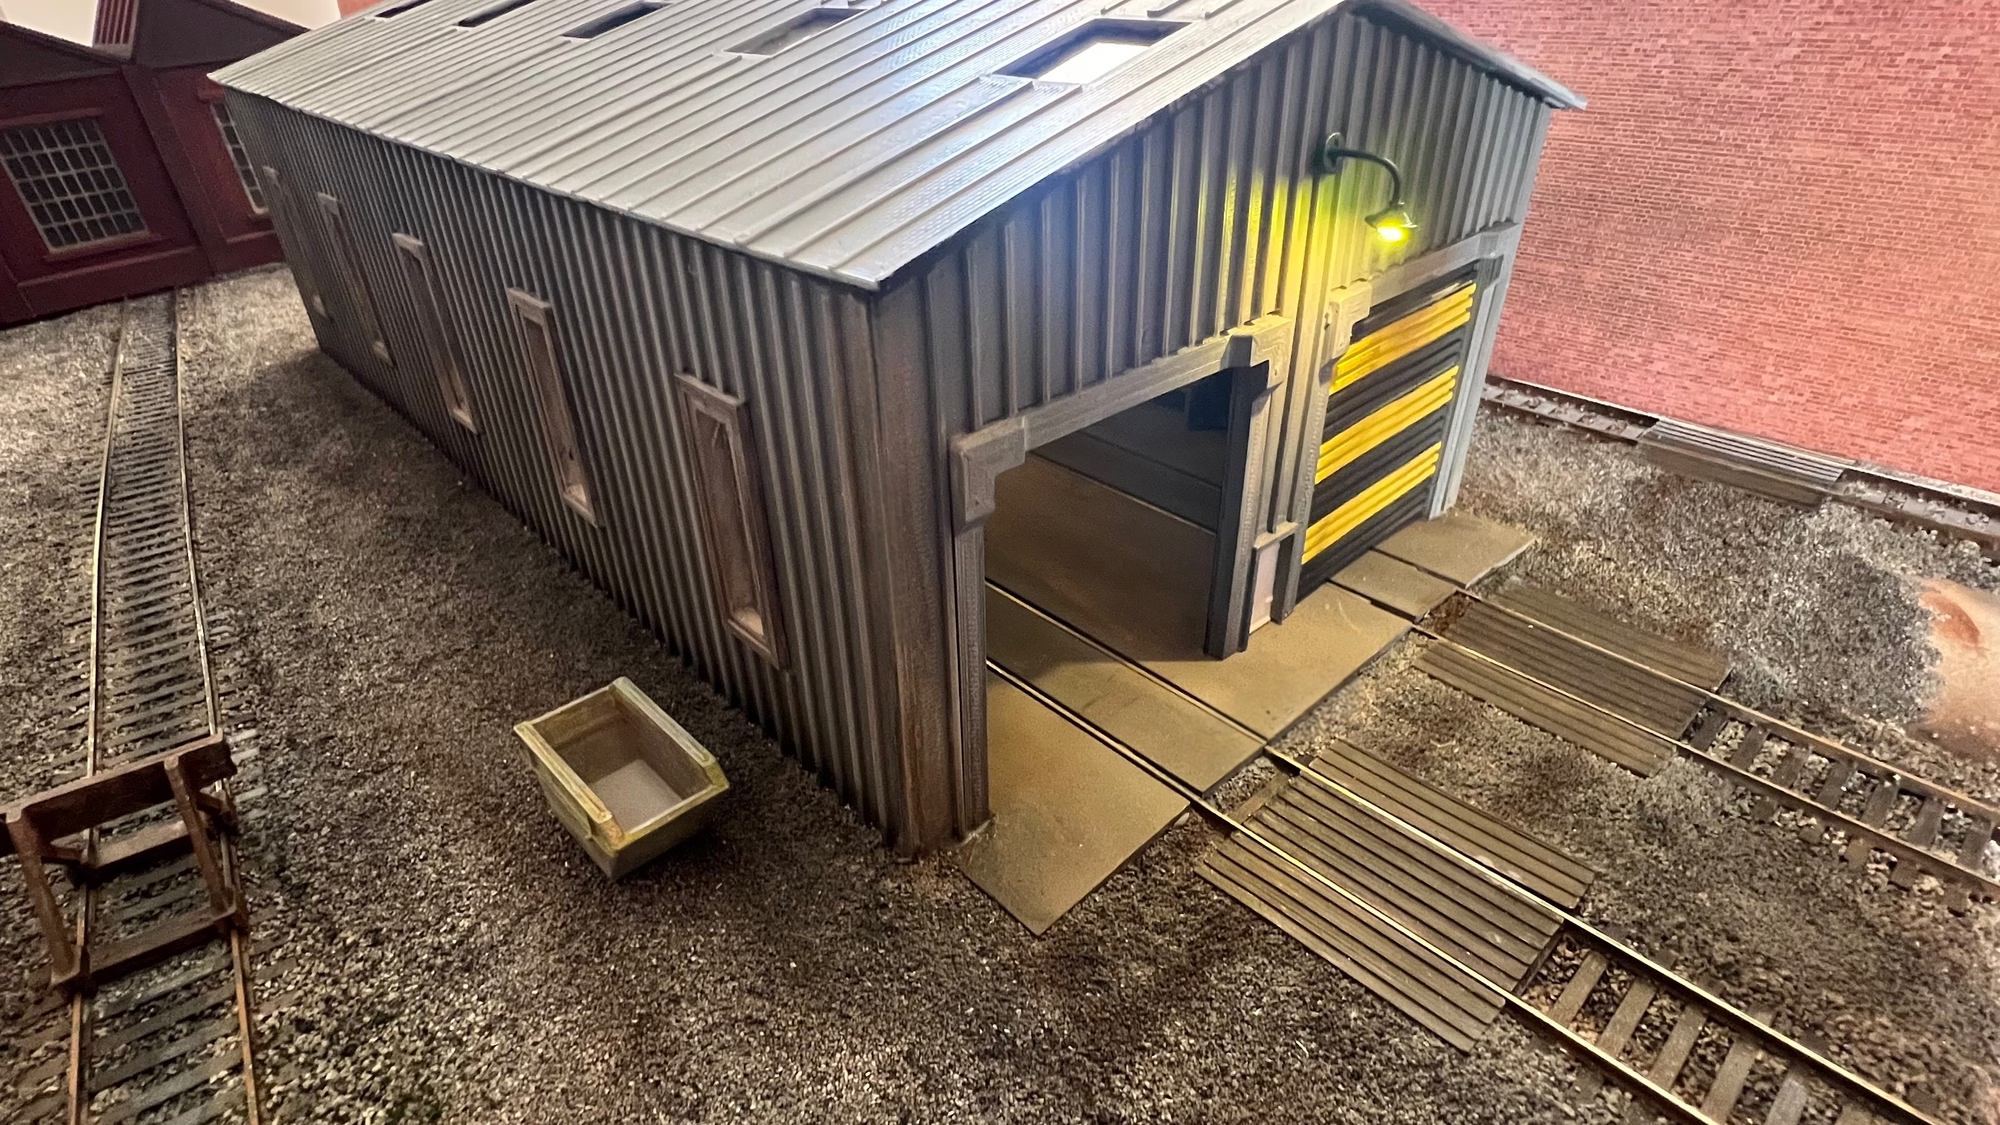
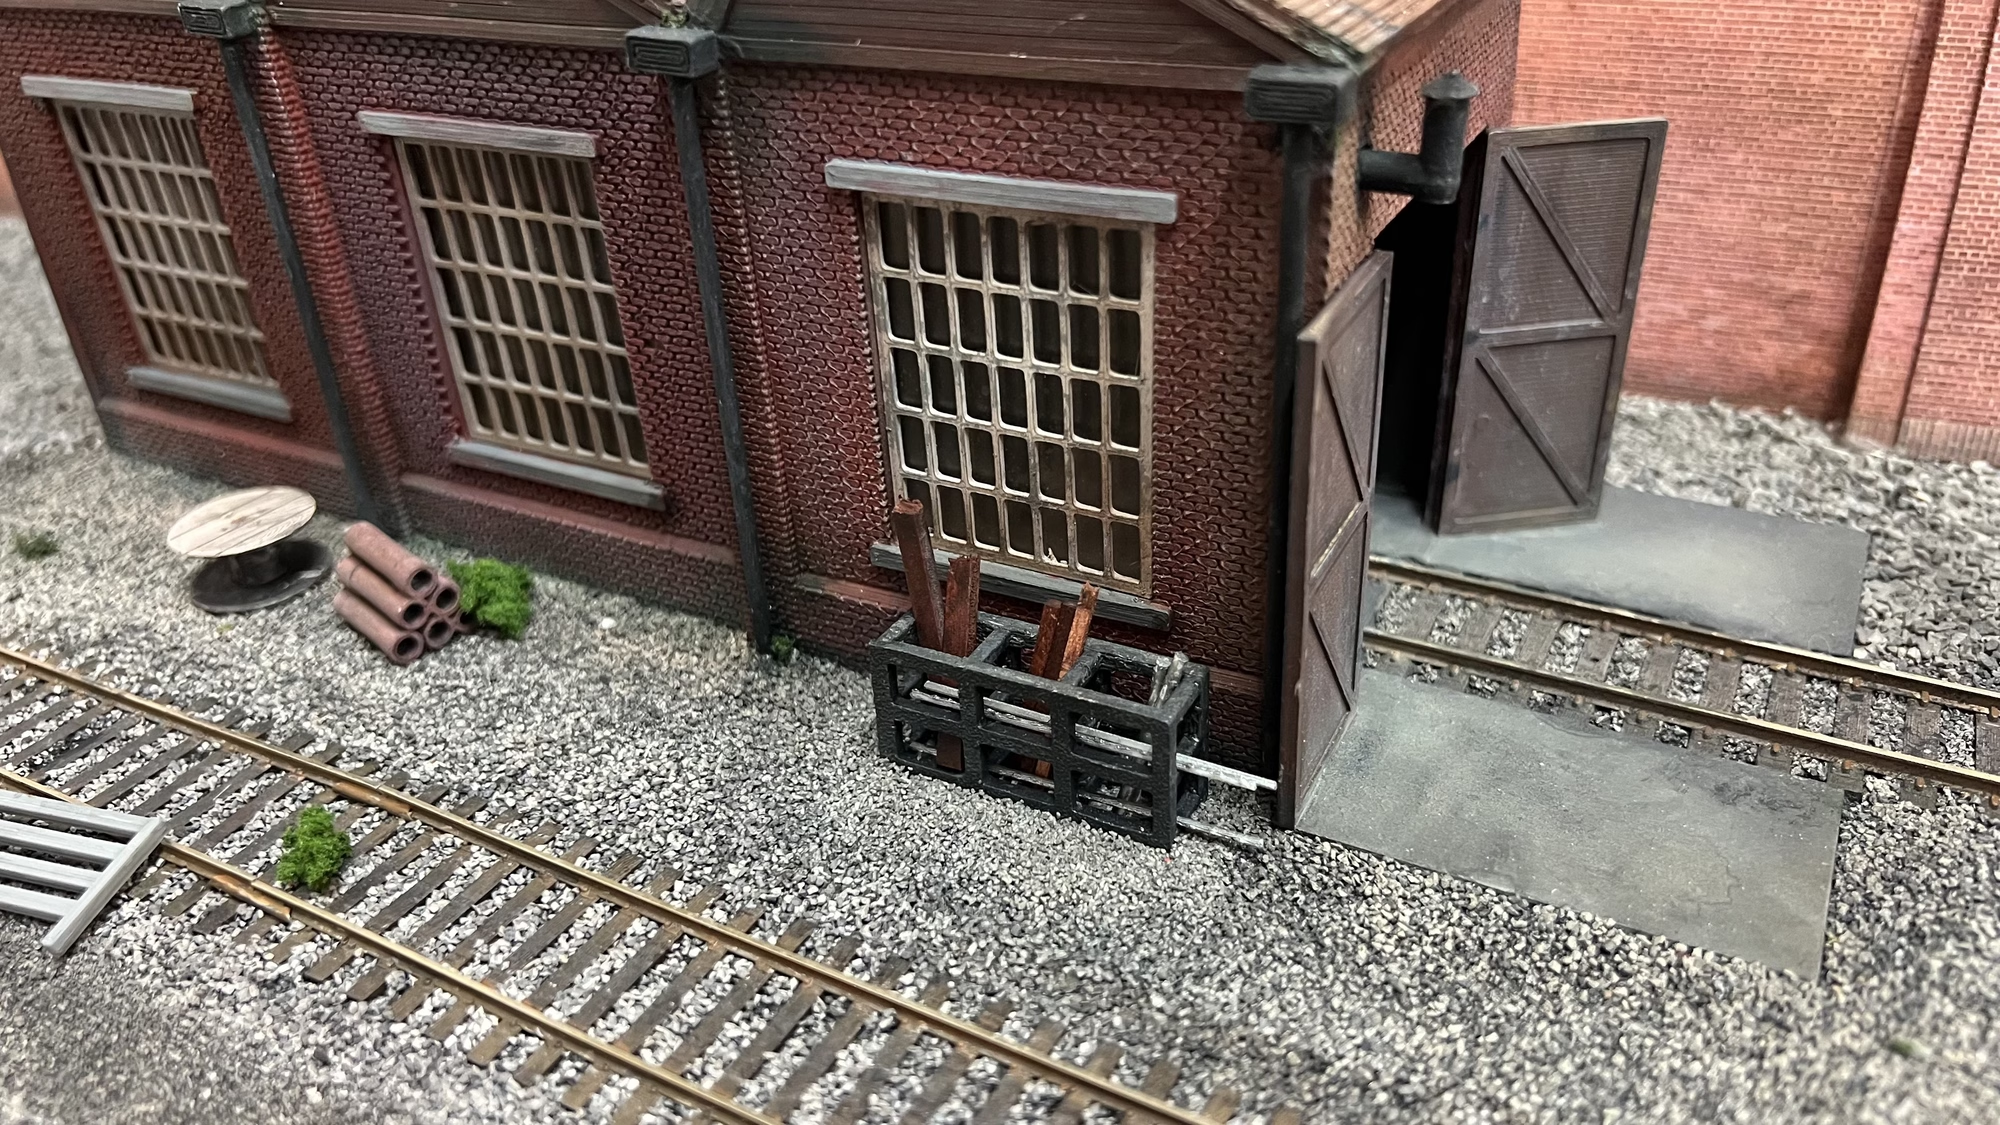
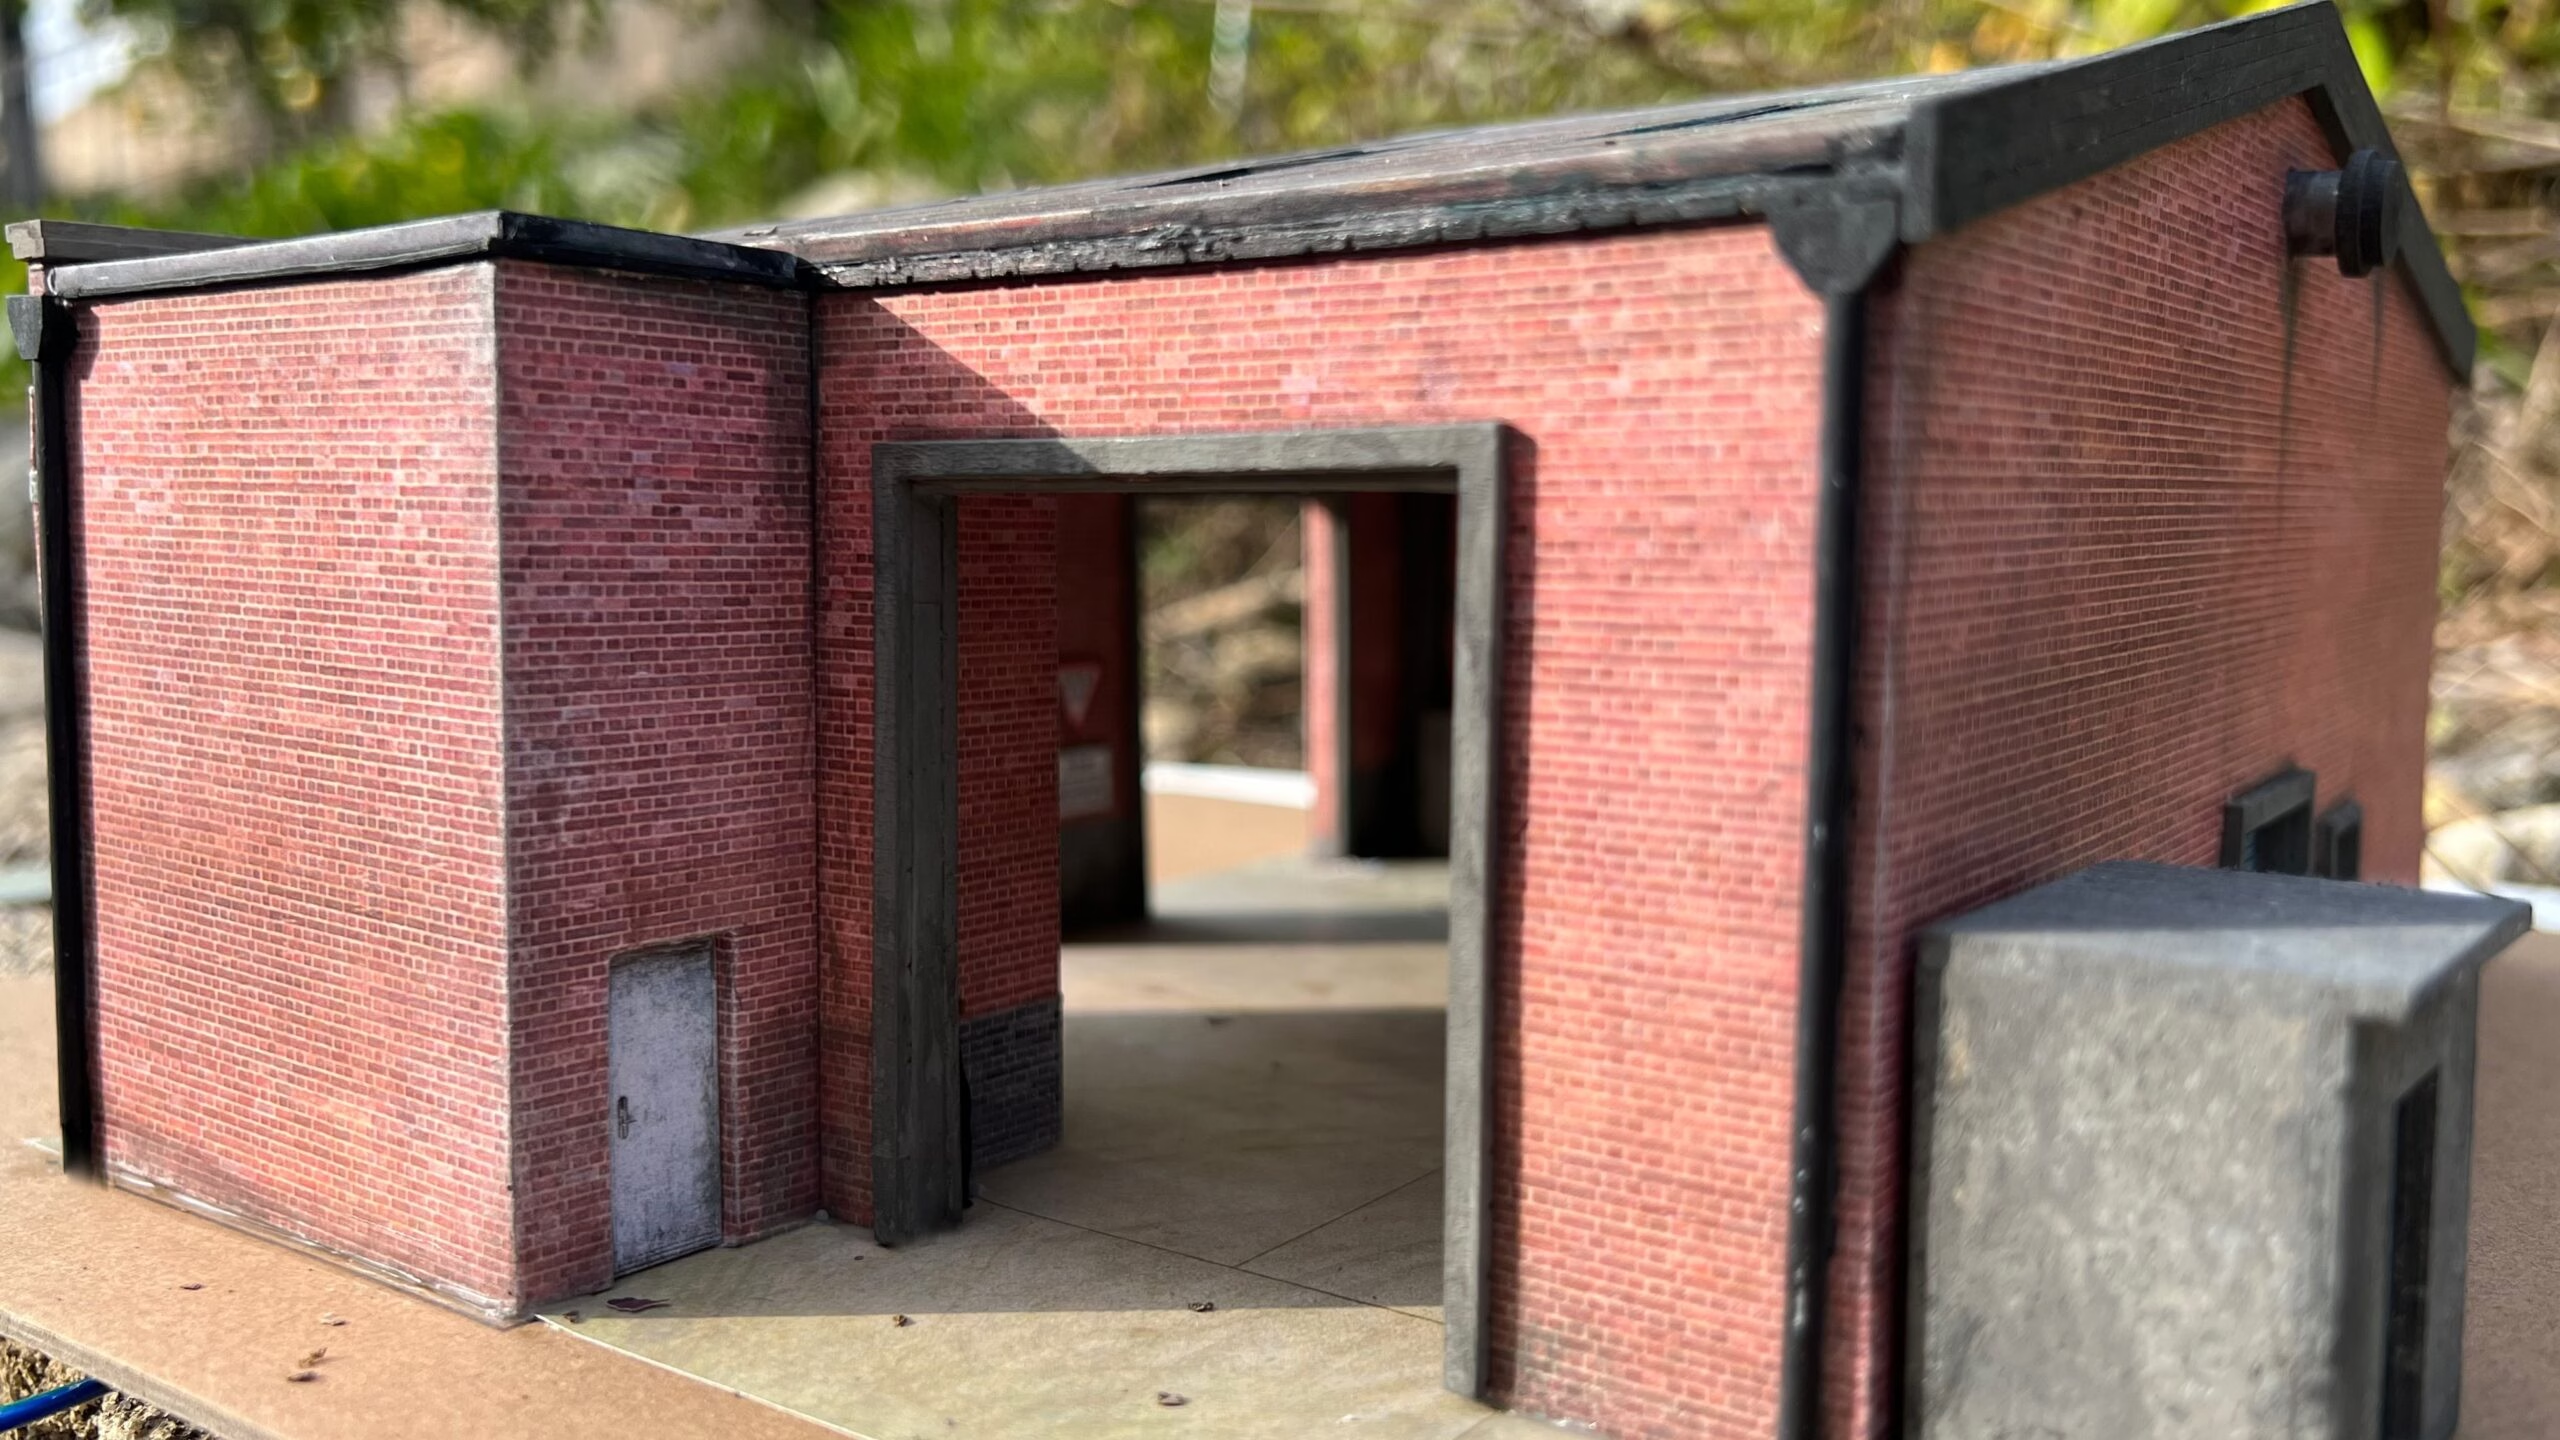
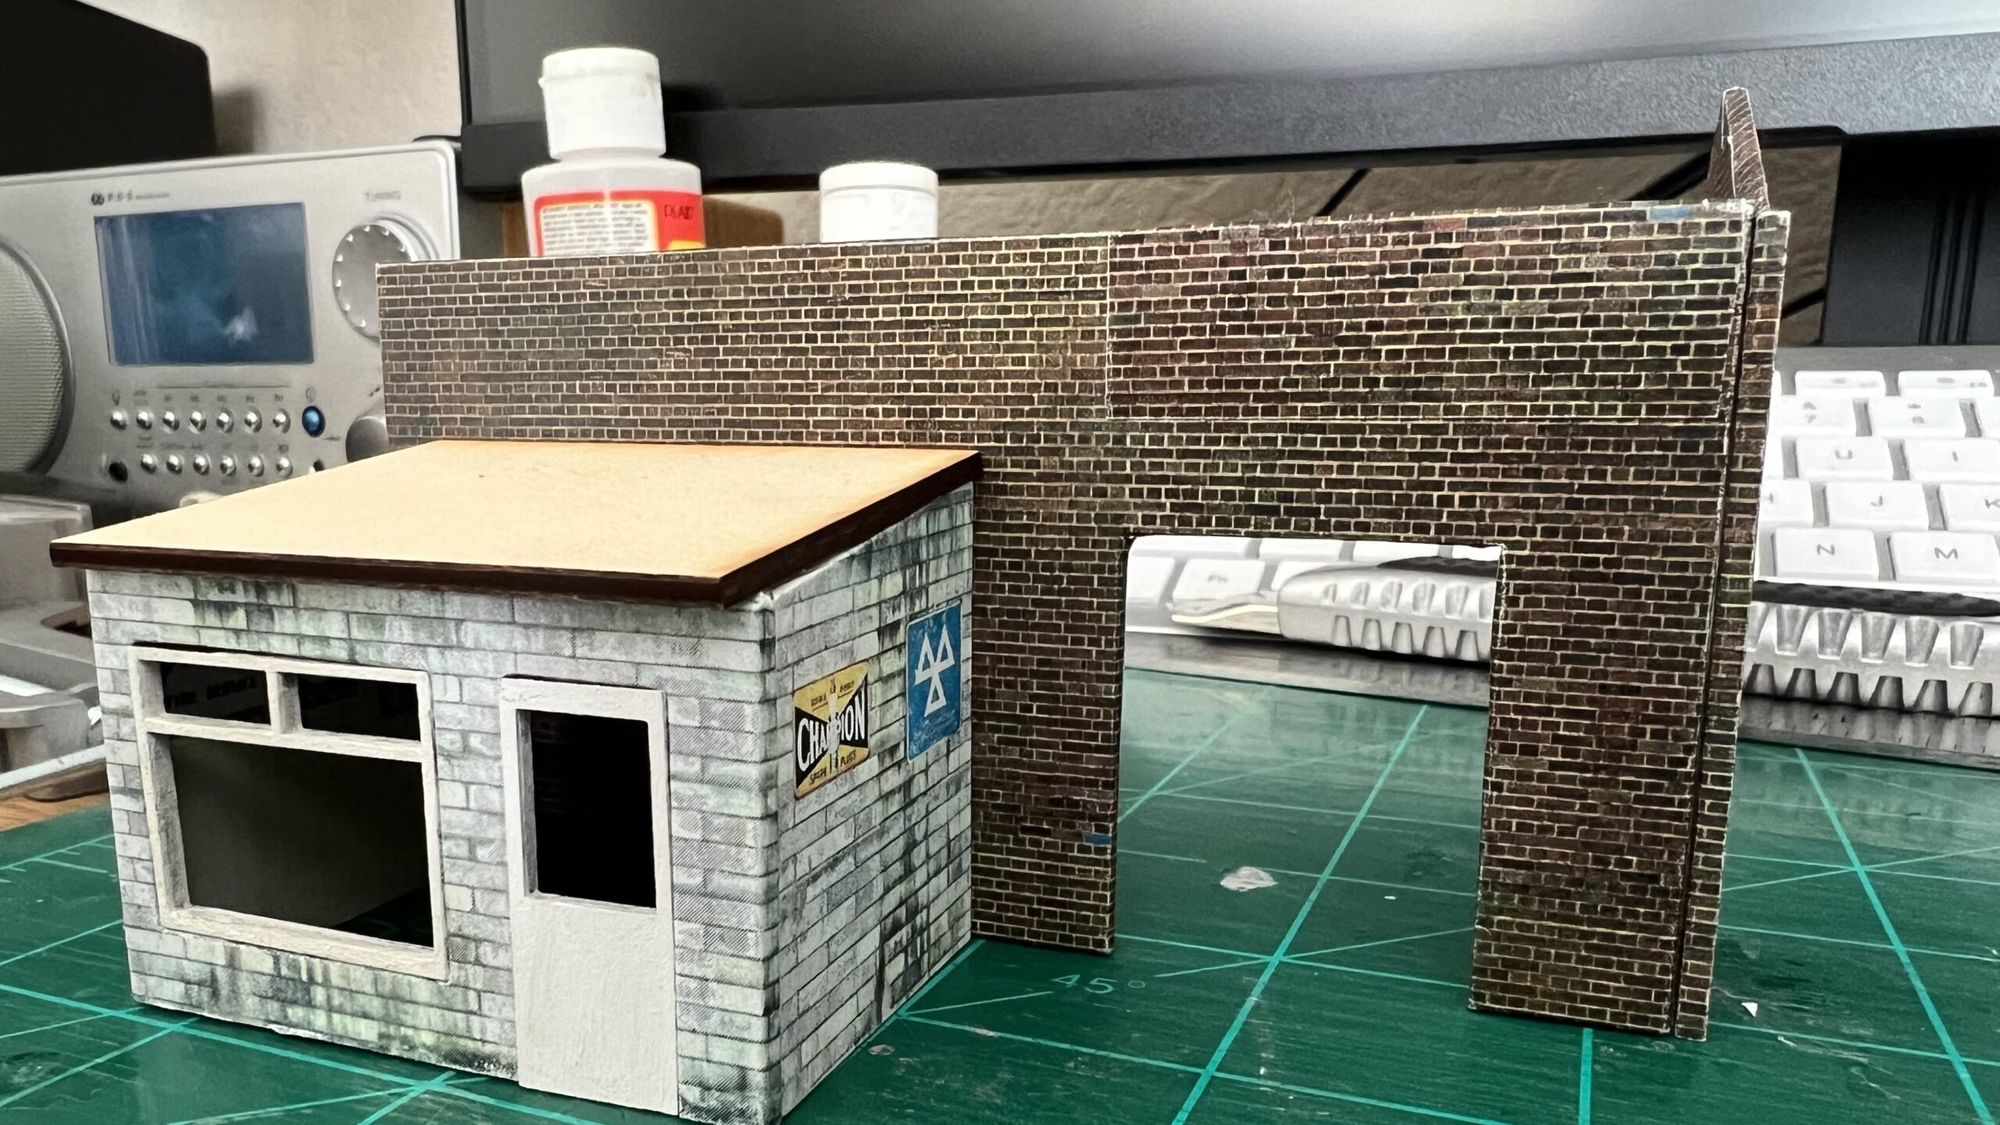
This OO Scale Garage aka “Frank Tinley’s Autos” is a scratch-built model based on the Scalescenes kit. It is very typical of the kind of thing you would see all over the UK. The term “Garage” is often used in the UK to mean “Mechanic/car repair workshop” or “Petrol/Gas Station”

These were usually owned by someone in the community that everyone knew, and where everyone took their car to be repaired or “welded”. I’m laughing as I’m typing that, but it’s so true. My 1979 Austin Mini 1000 had a fair amount of “Welding” done to it.
Frank Tinley was a mechanic (and a great guy) who worked in a building very similar to this in Southwell, Nottinghamshire. This model is a tribute to Frank, he taught me enough in the 1980’s to enable me to work on my own cars and motorbikes. Thank you, Frank!!!
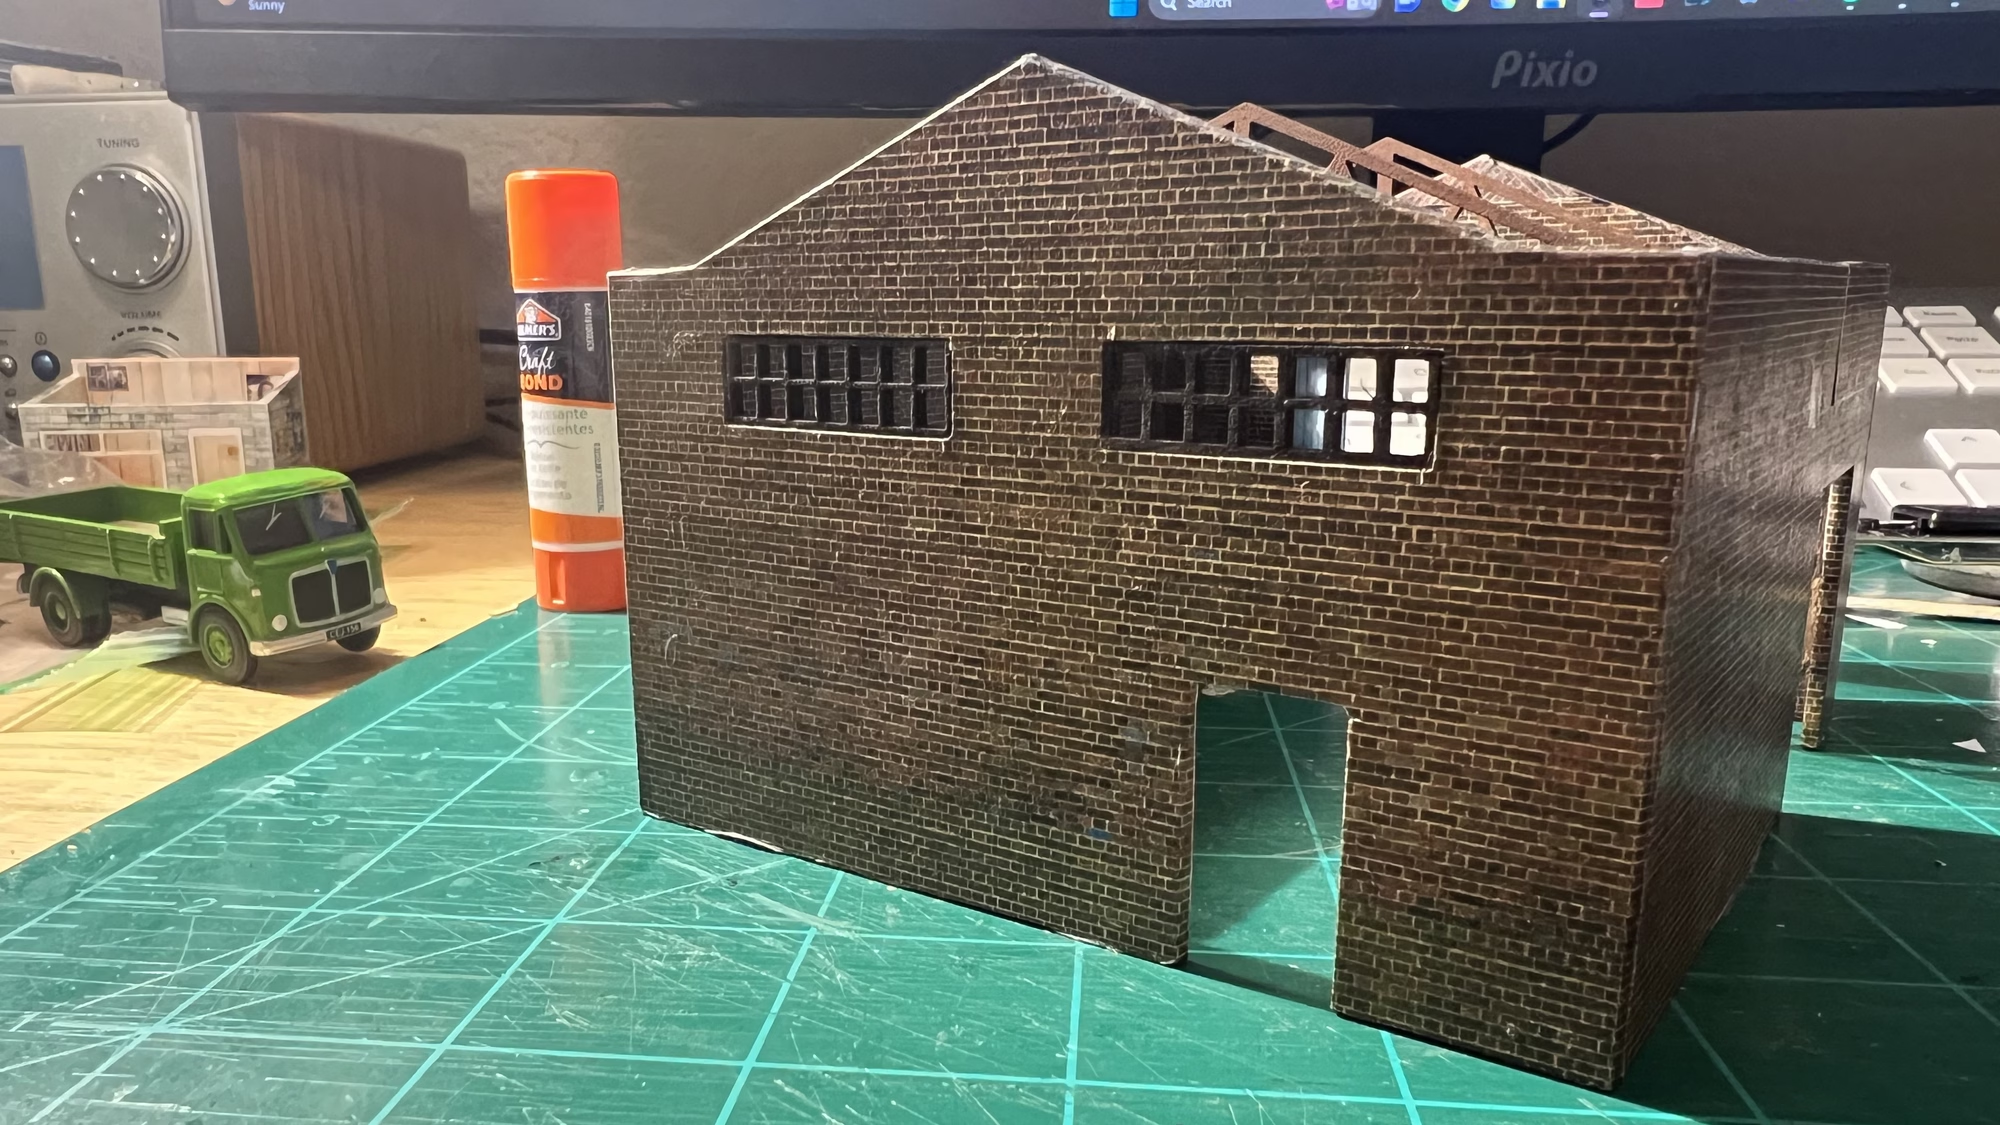
I bought the Scalescenes “Garage” a few years ago and based on those drawings, I came up with my own version in Inkscape.
I sent the files to the Laser Cutter and then began to wrap the walls in Scalescene’s brick sheets. I also used textures from Textures.com I think they have stopped doing free downloads which is a shame.
ScaleScenes papers used.
- Red Brick
- Aged Red Brick
- Concrete flooring
- Roads and pathways
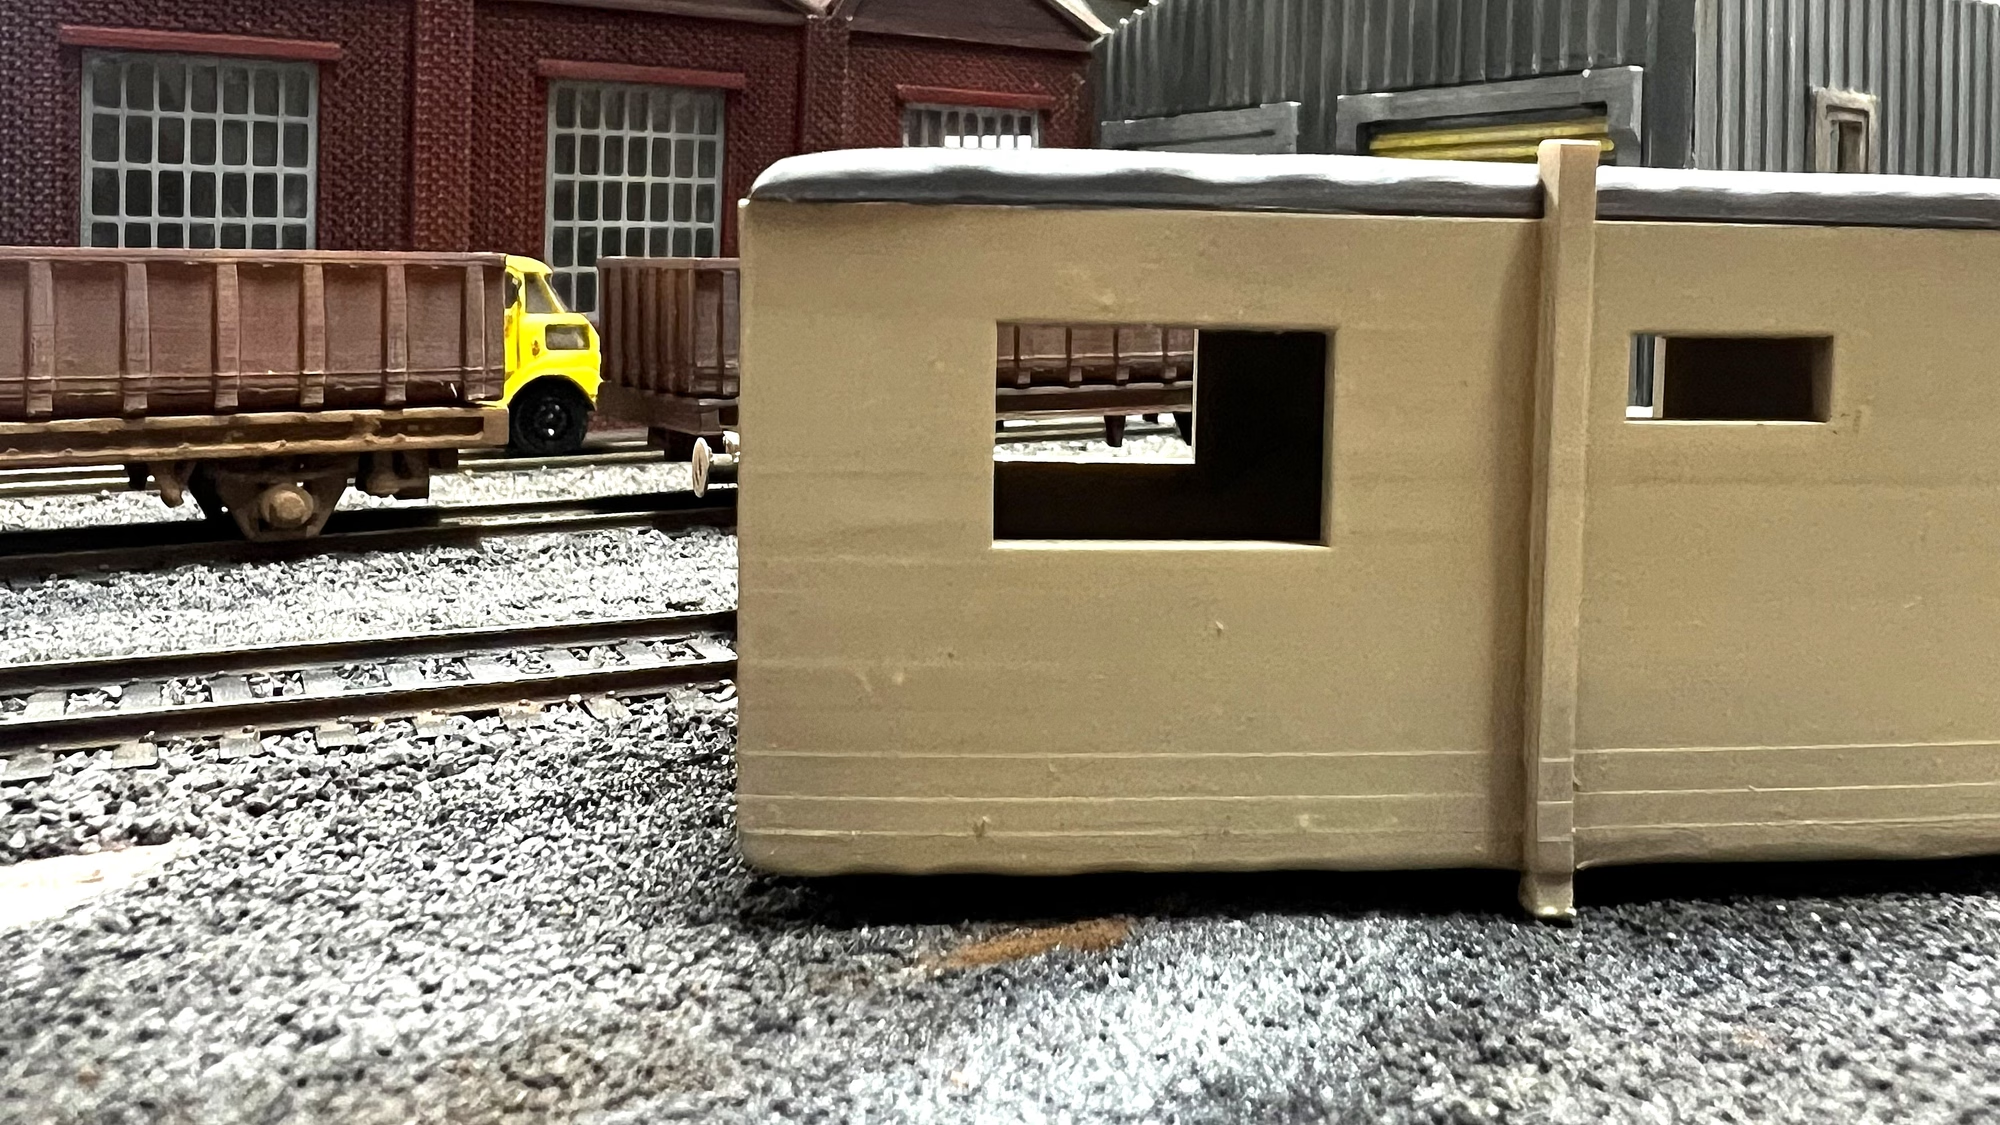
I didn’t really capture a lot of photos during the build.
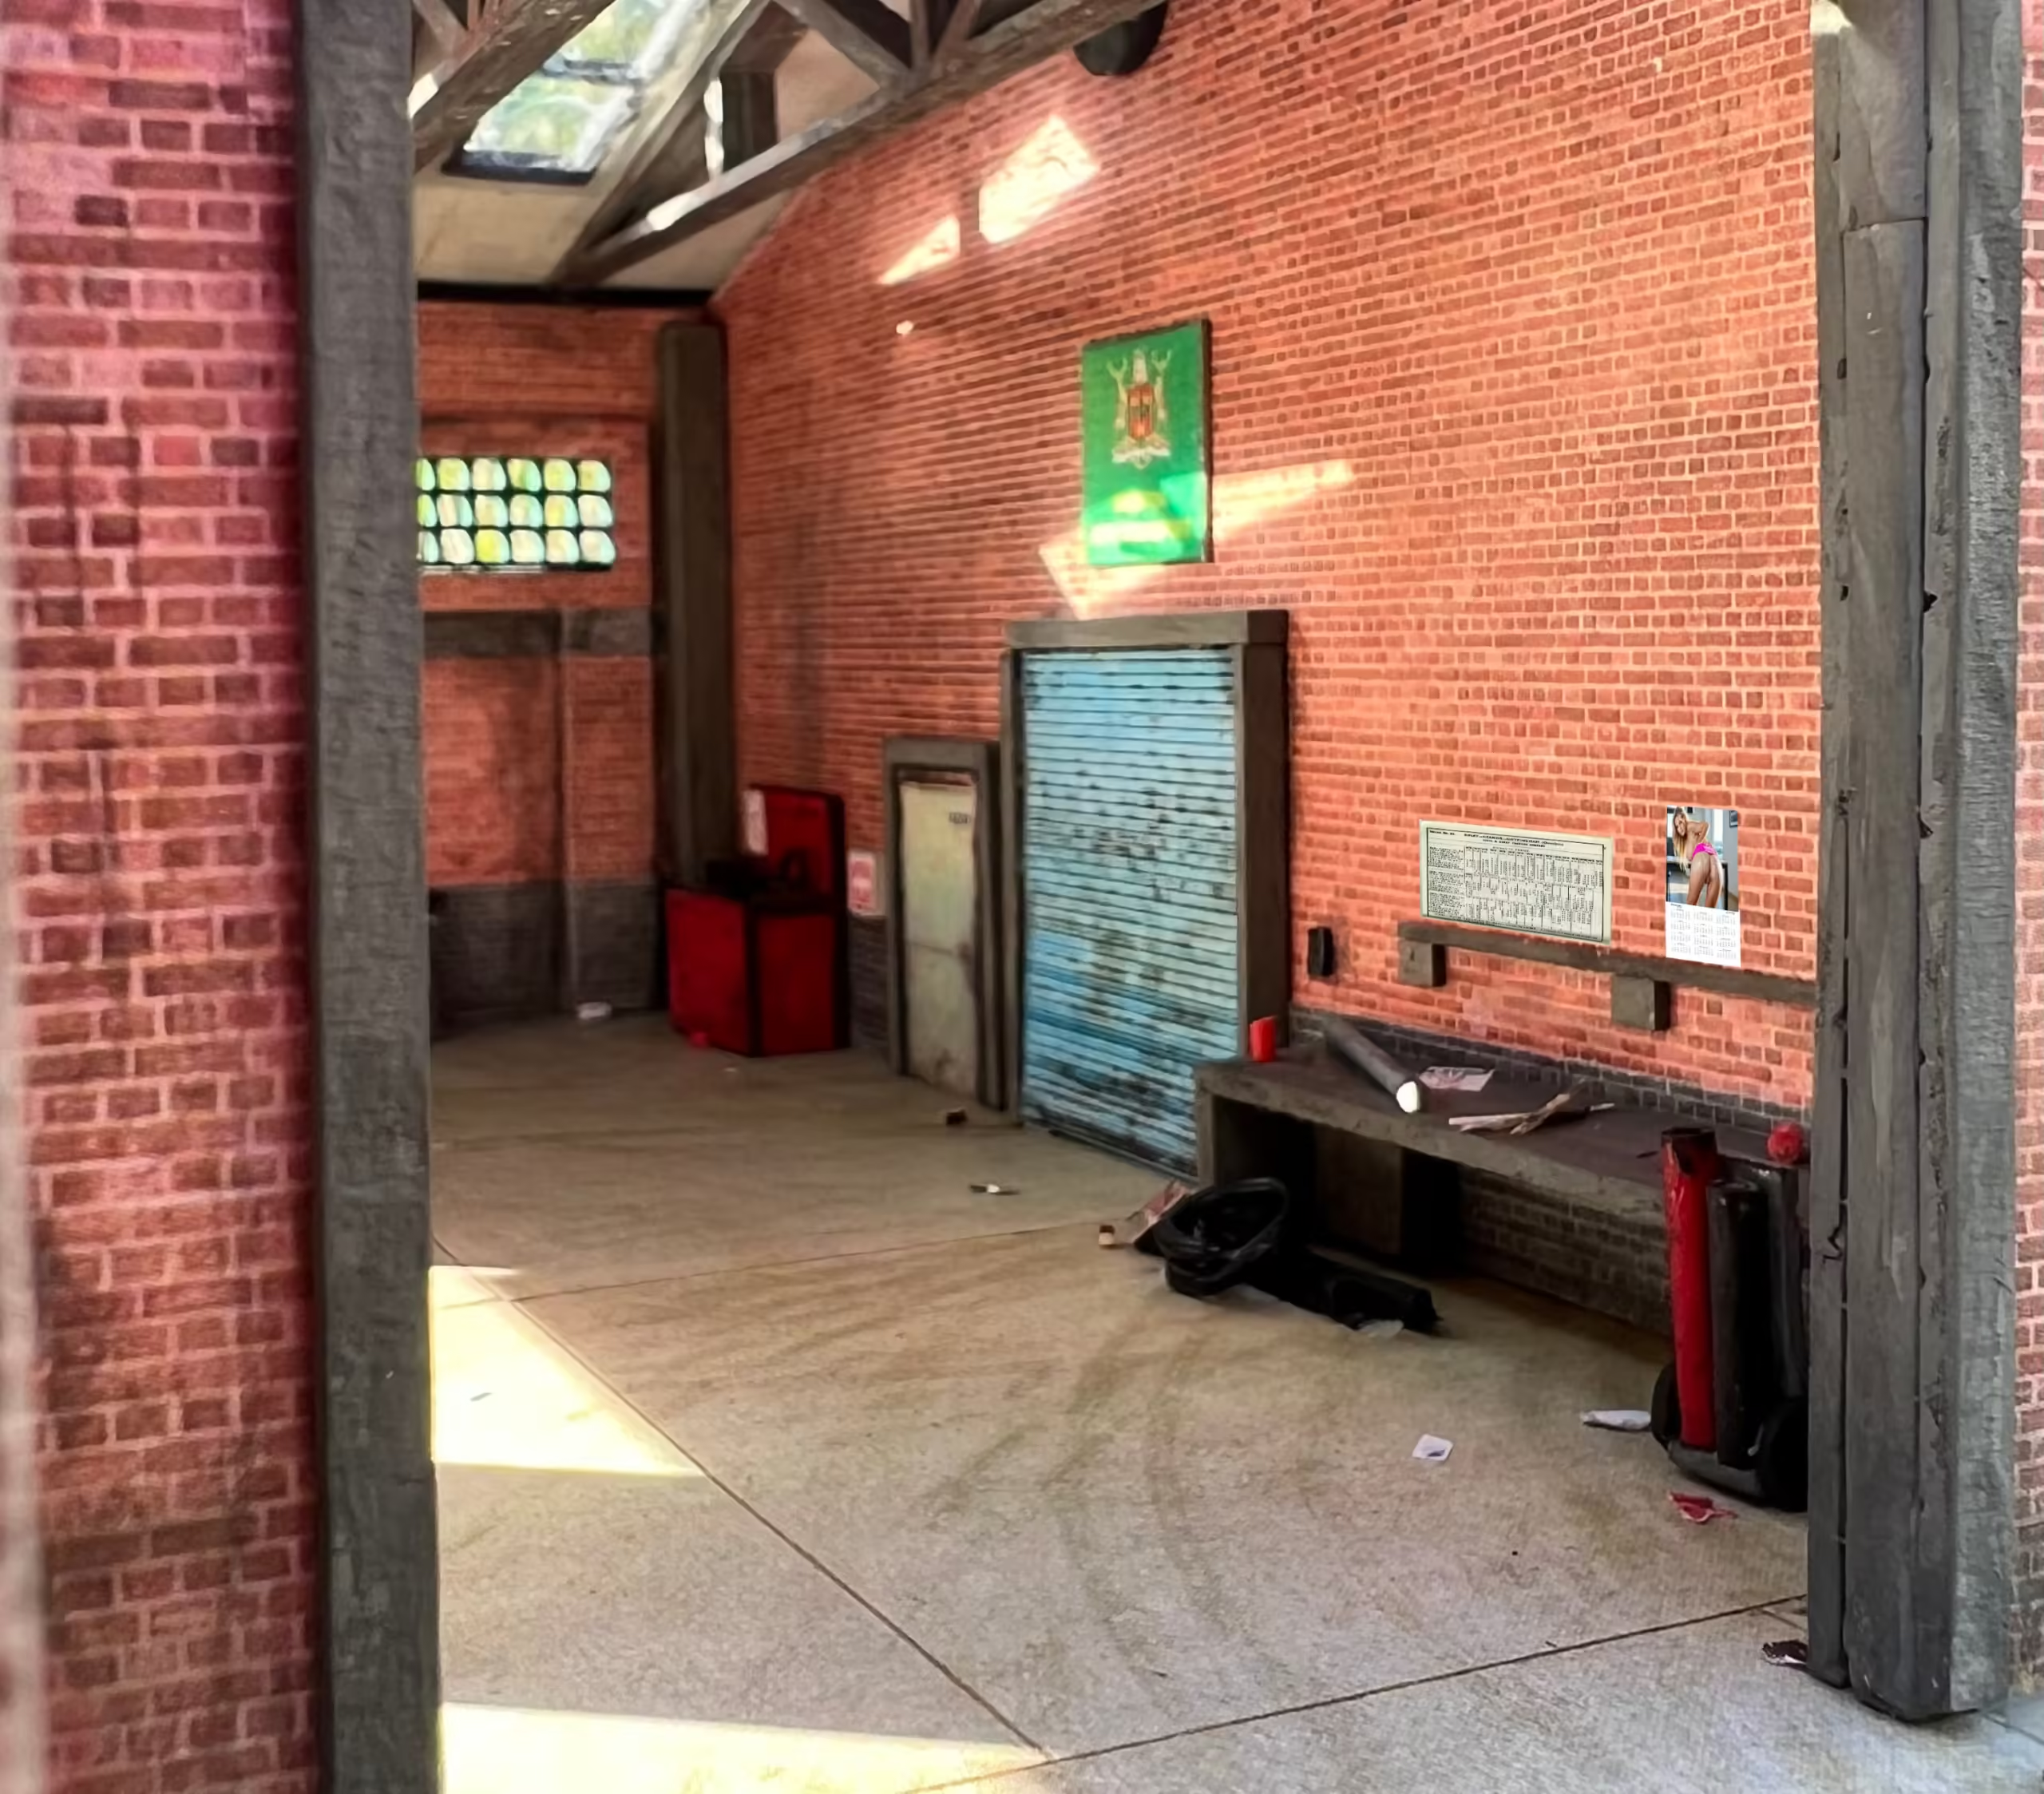
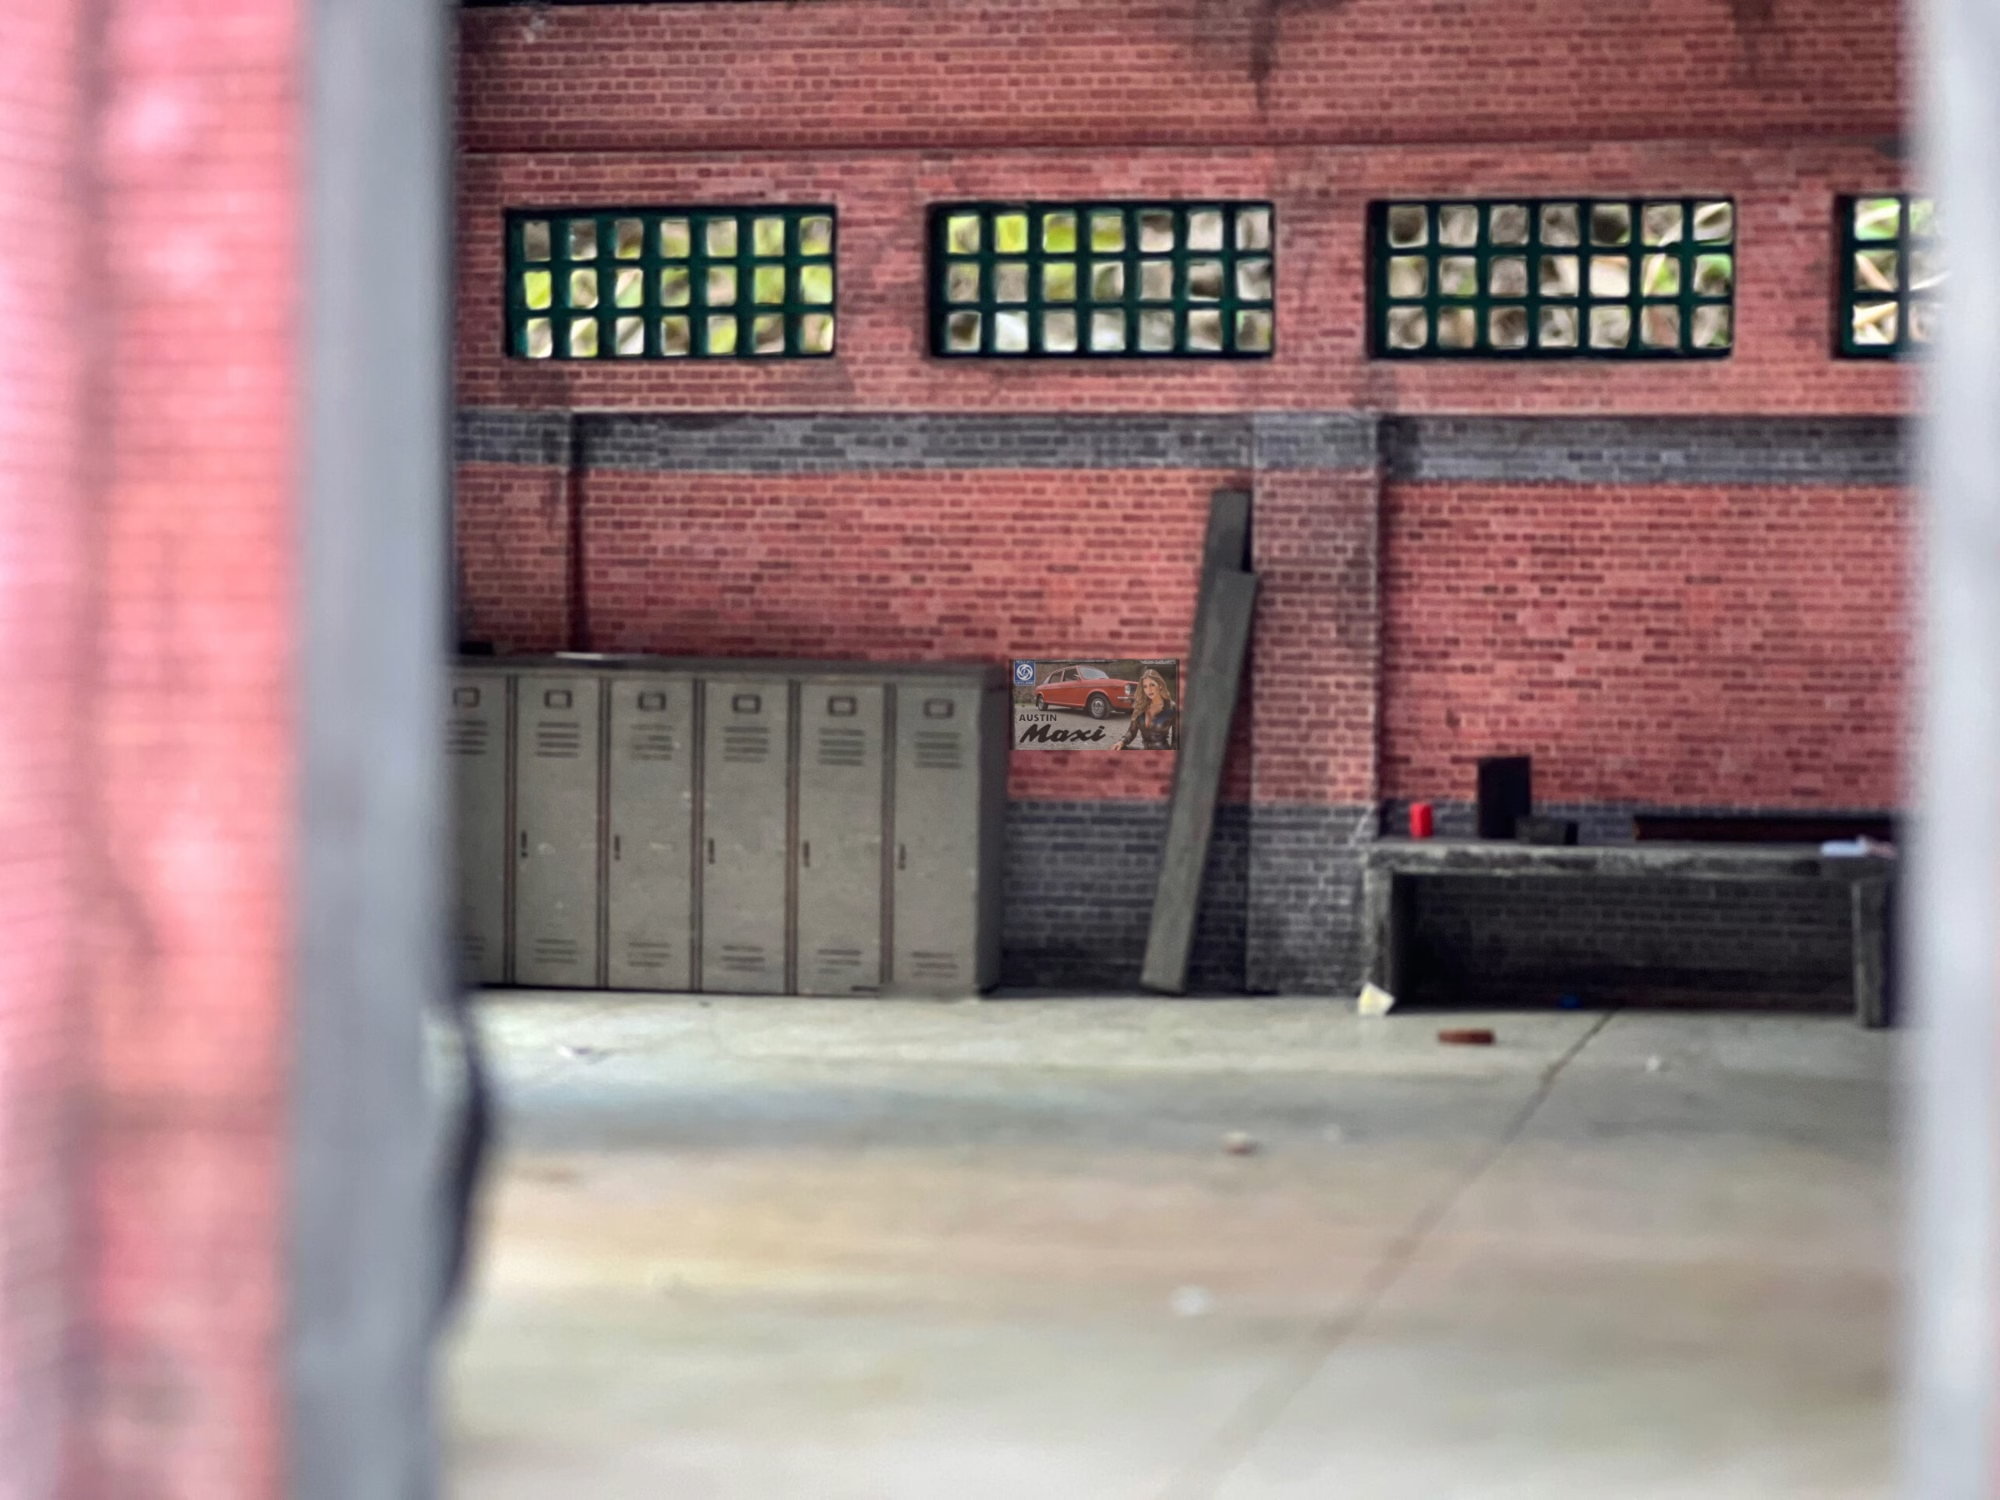
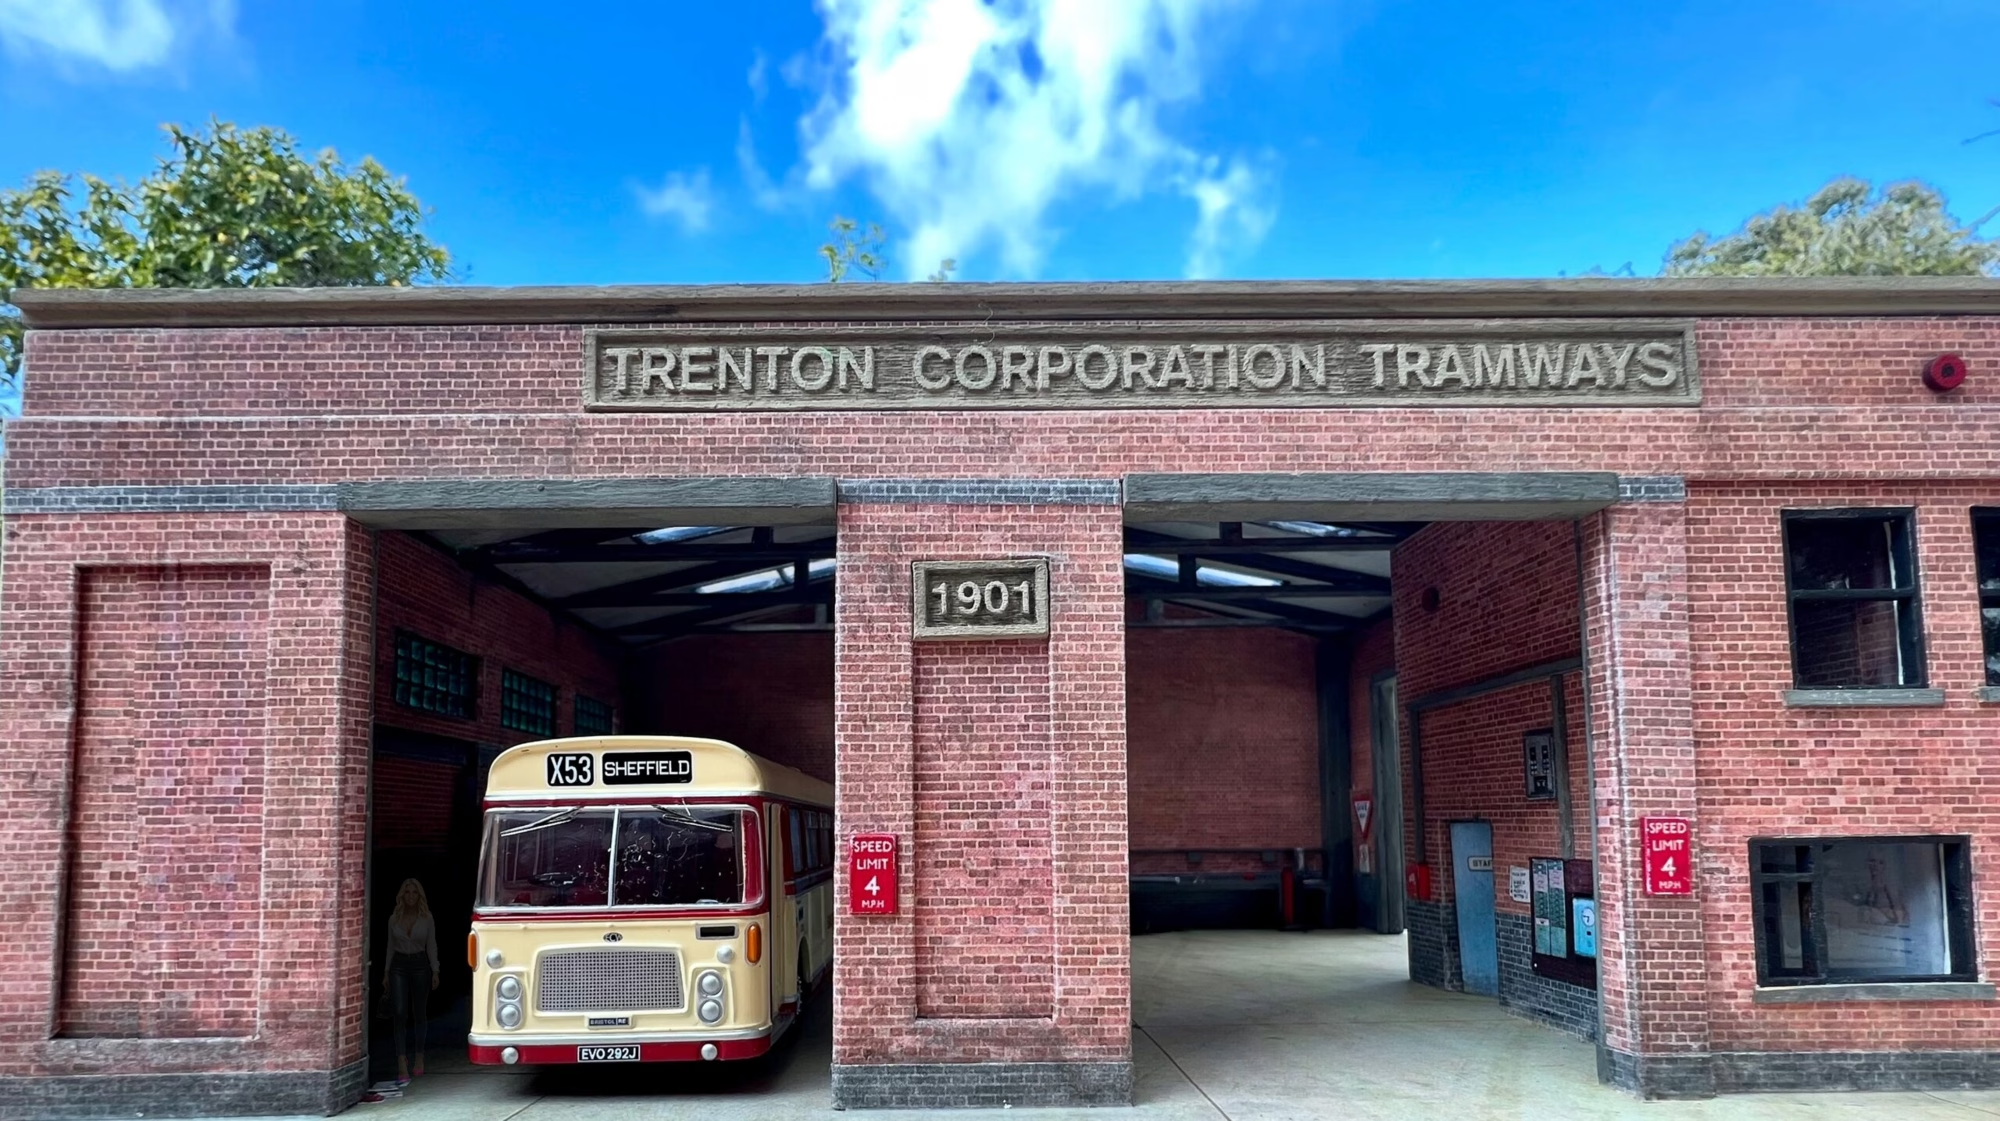
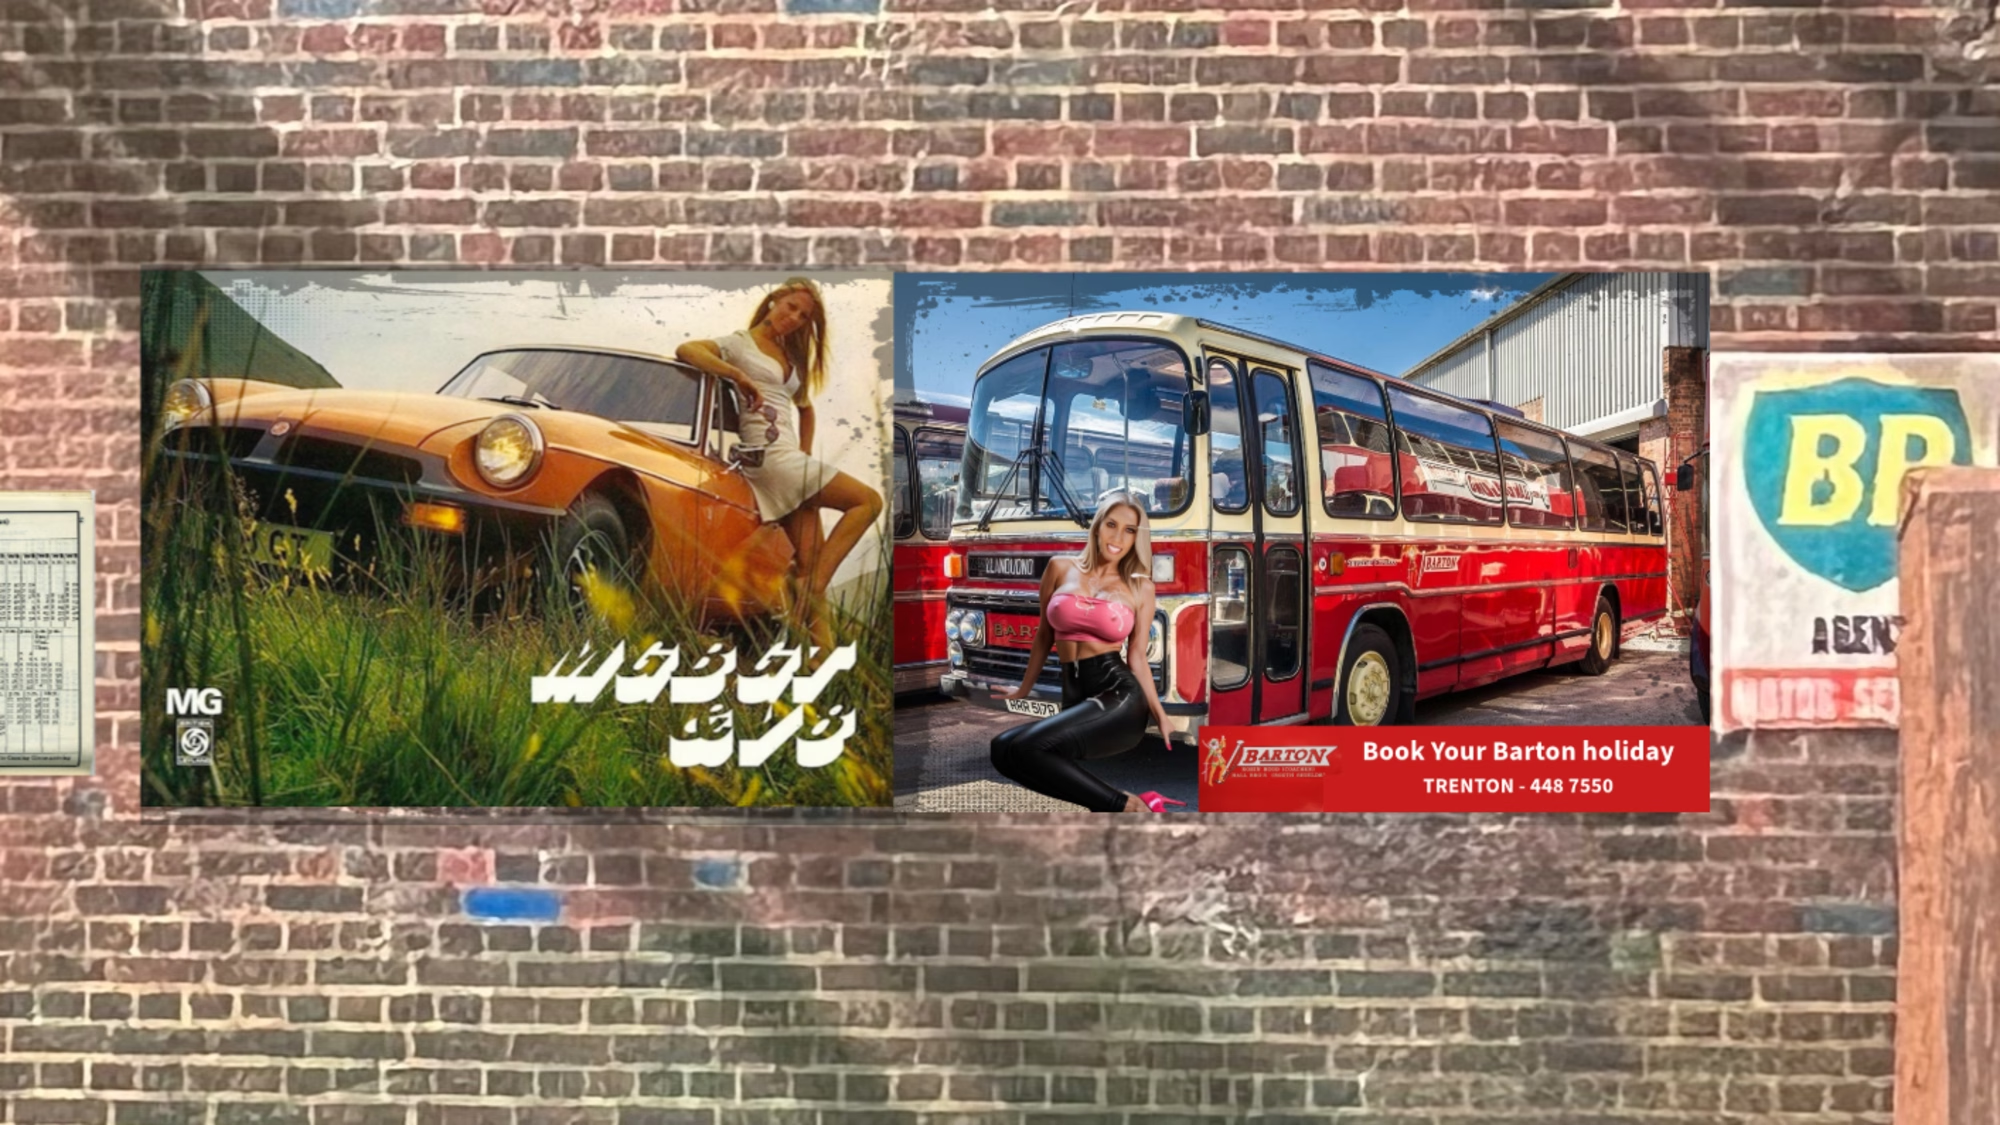
Barton’s Bus poster with “Pin Up” girl. It’s fascinating to think now that posters and calendars like this were plastered all over workshops and places of work. Nobody batted an eyelid. Imagine that today.
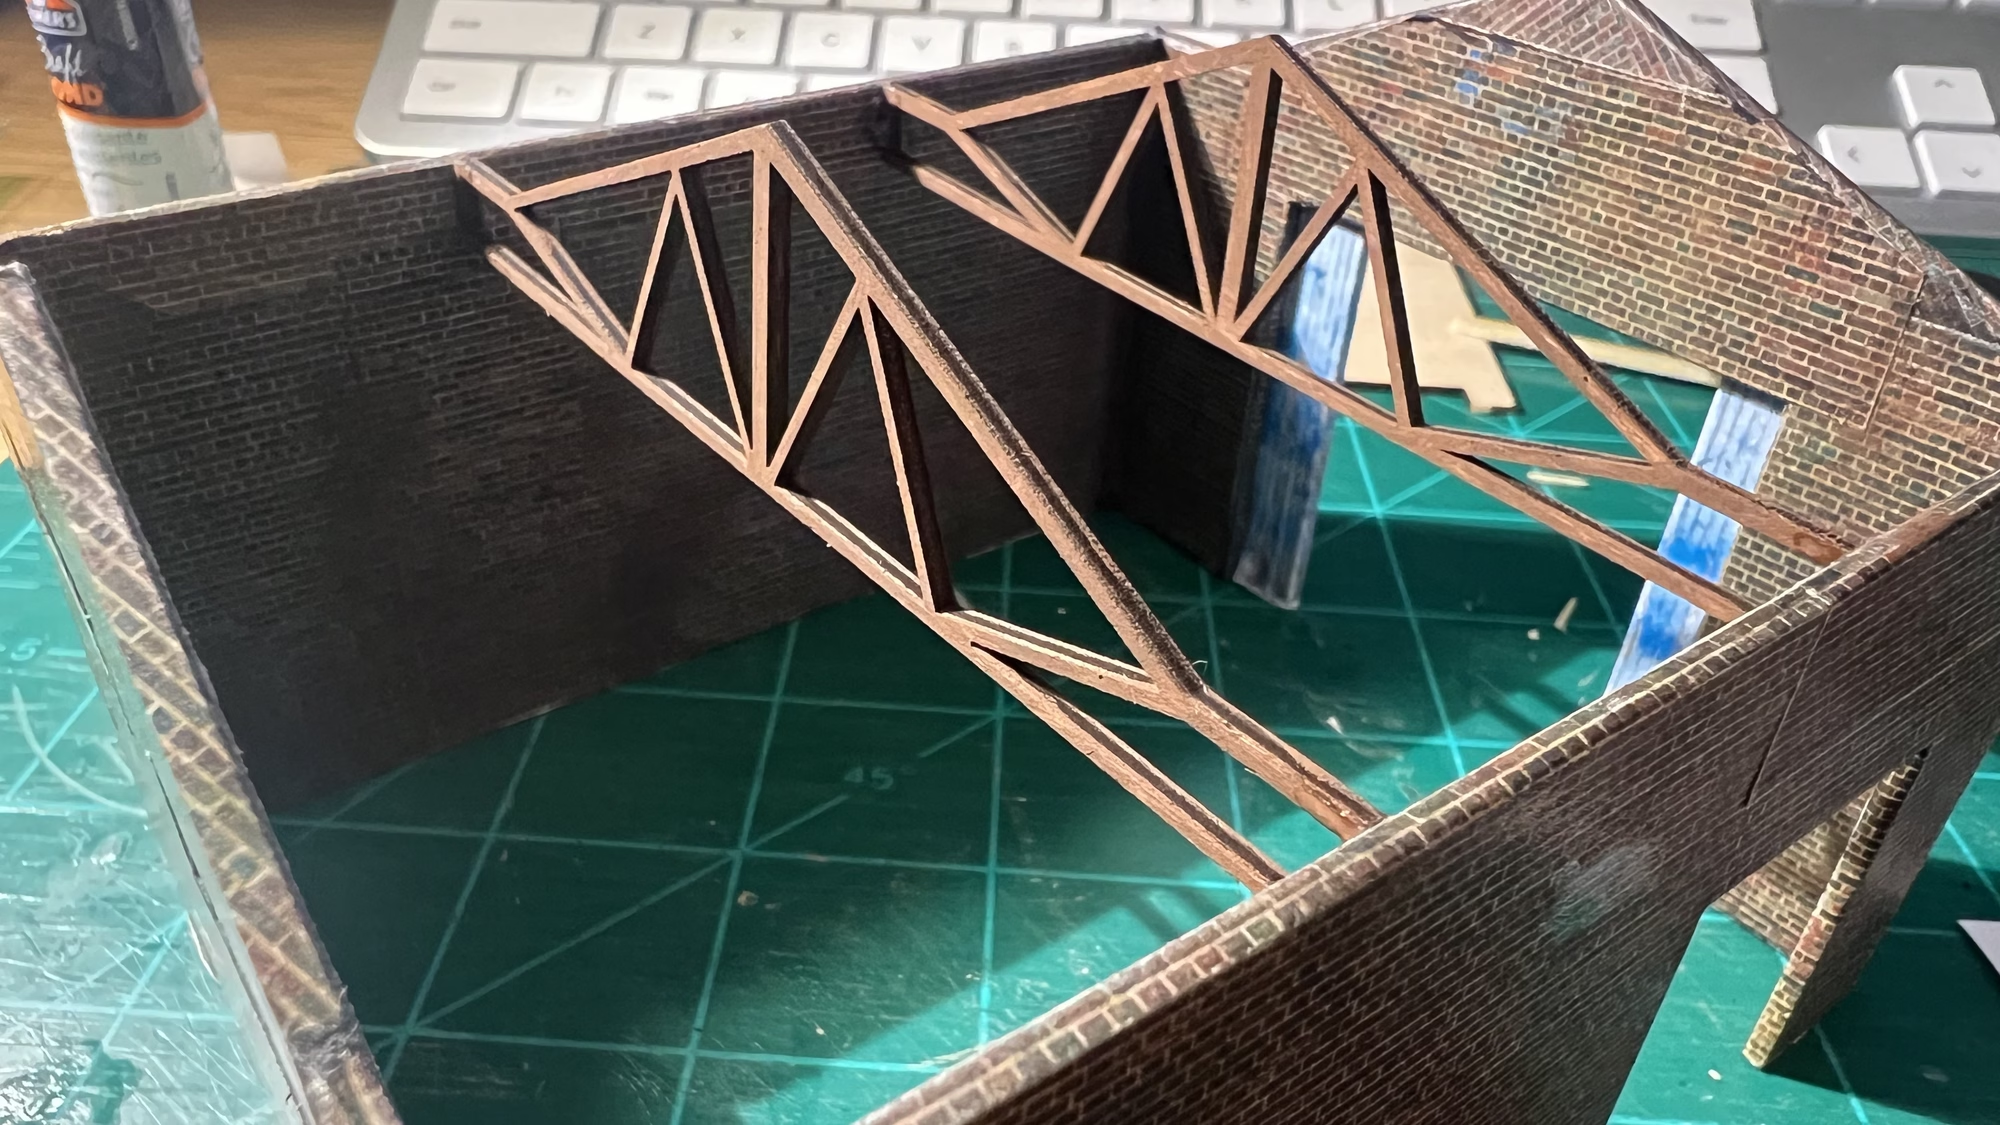
The roof trusses were cut on the Laser too.
Everything was cut on the Laser and wrapped in Scalescenes papers
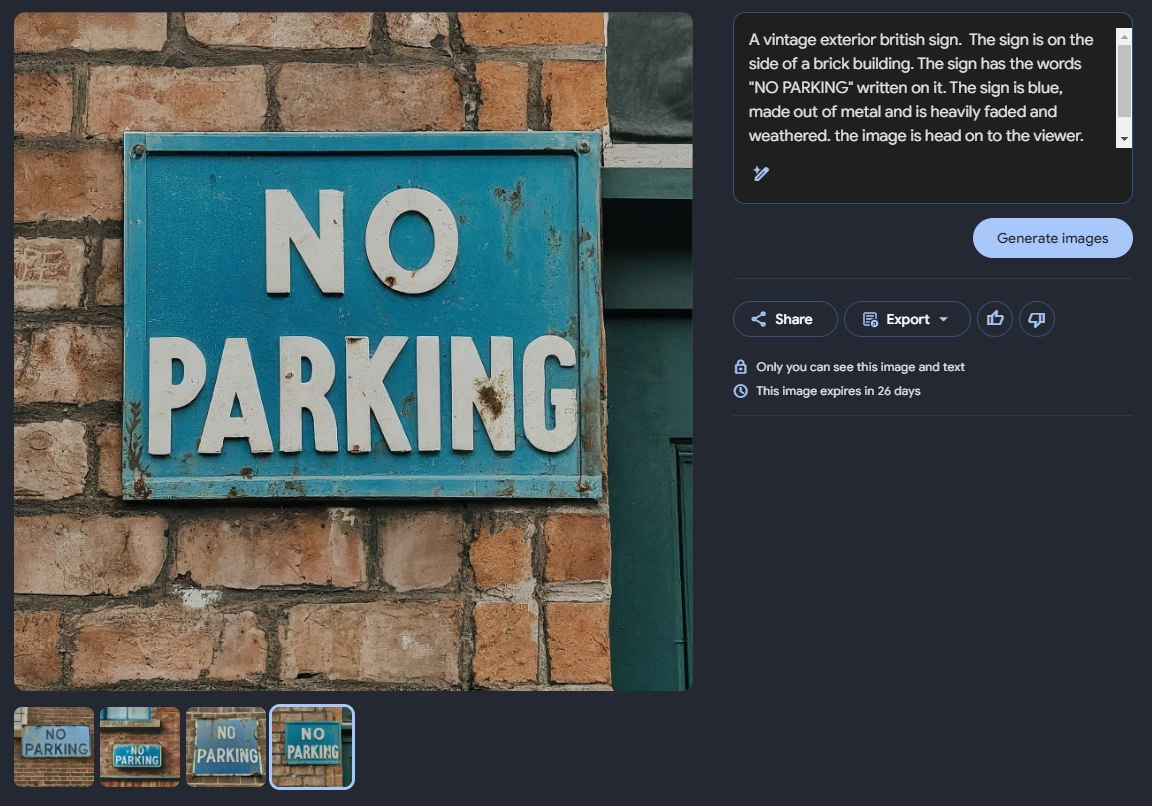
One thing I have started to do is use AI-generated images for some of the signs. I’m really happy with how these came out. Here is an example below.
Once all the walls were together, I started on the interior. The fixtures and fittings are a mixture of items cut on the Laser and more recently items created on the 3D printer. The 3D printer is a new addition, more on that here.
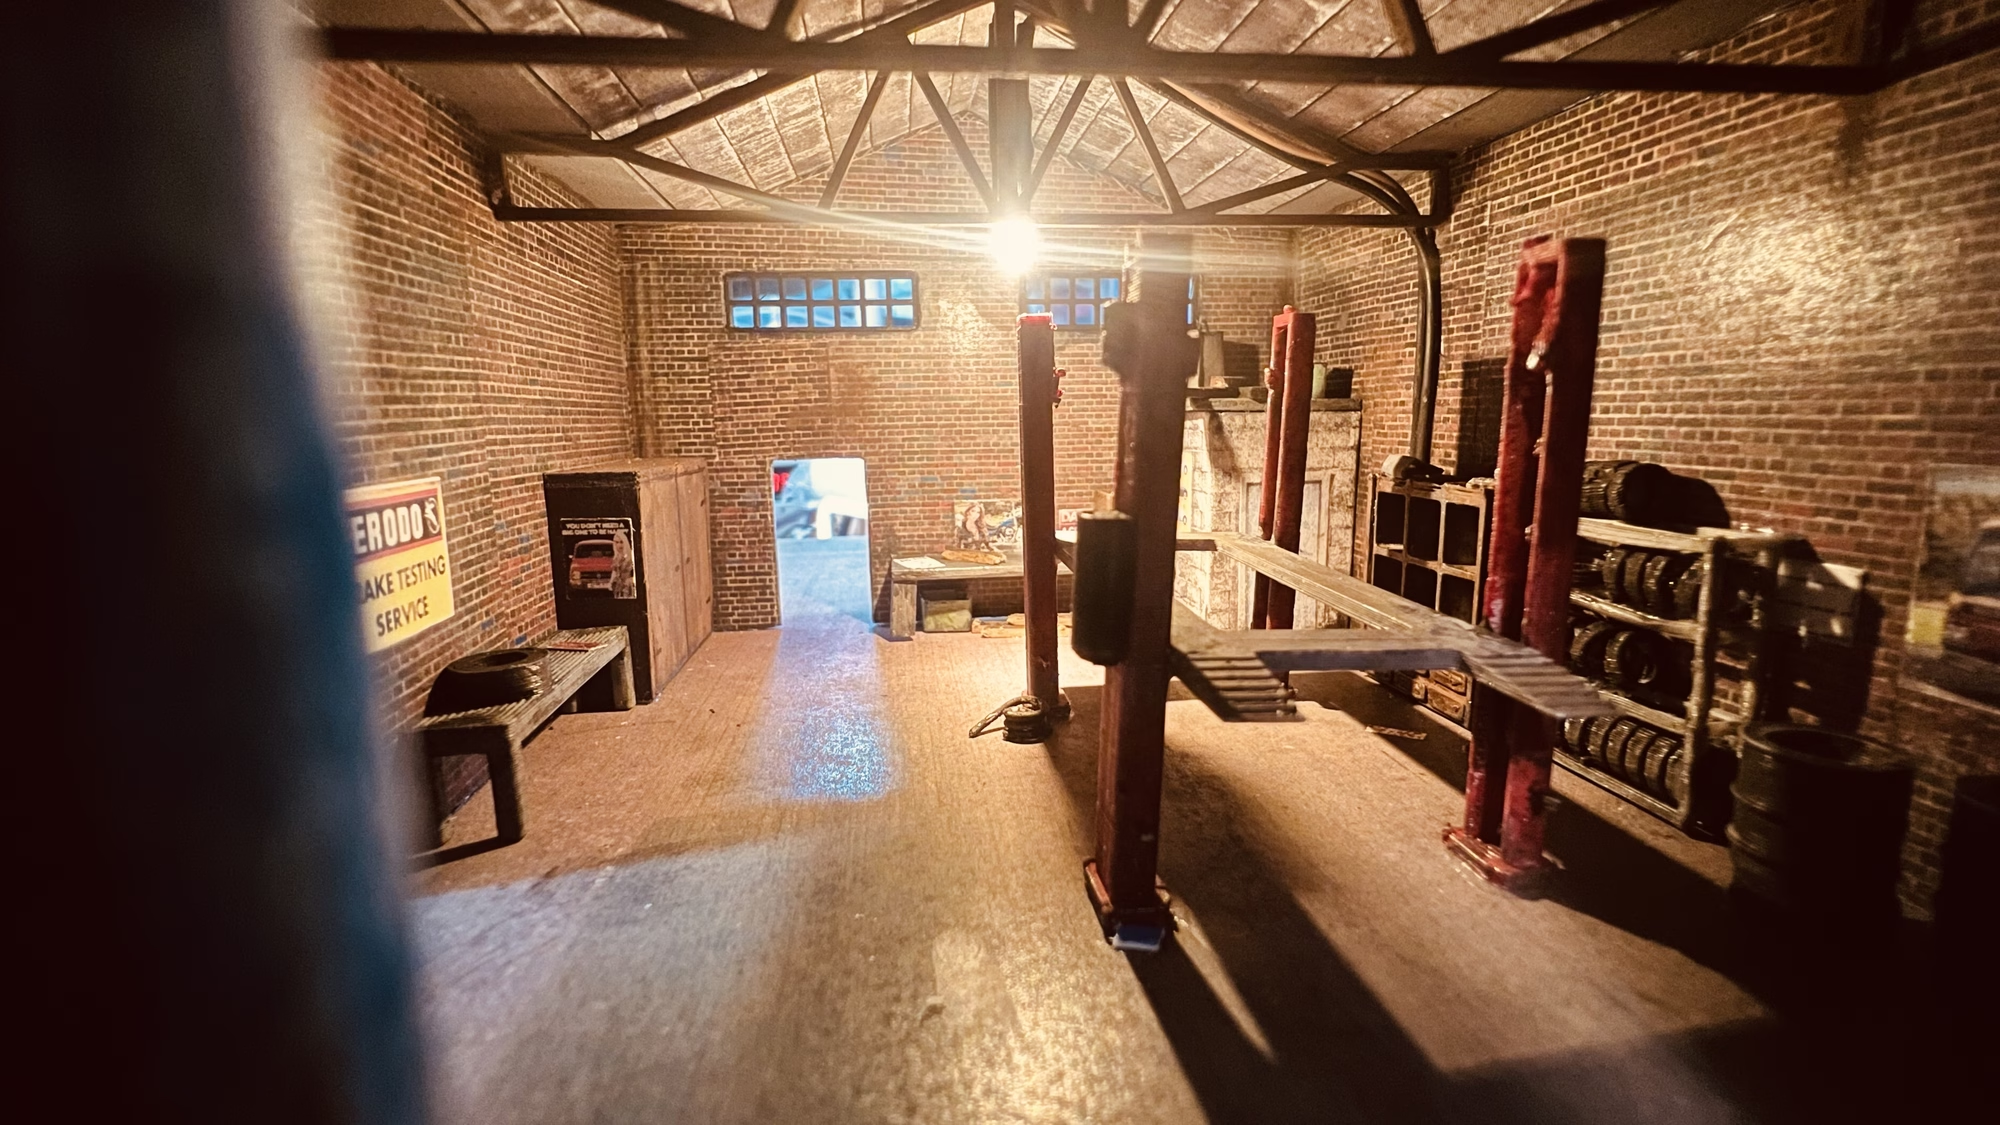
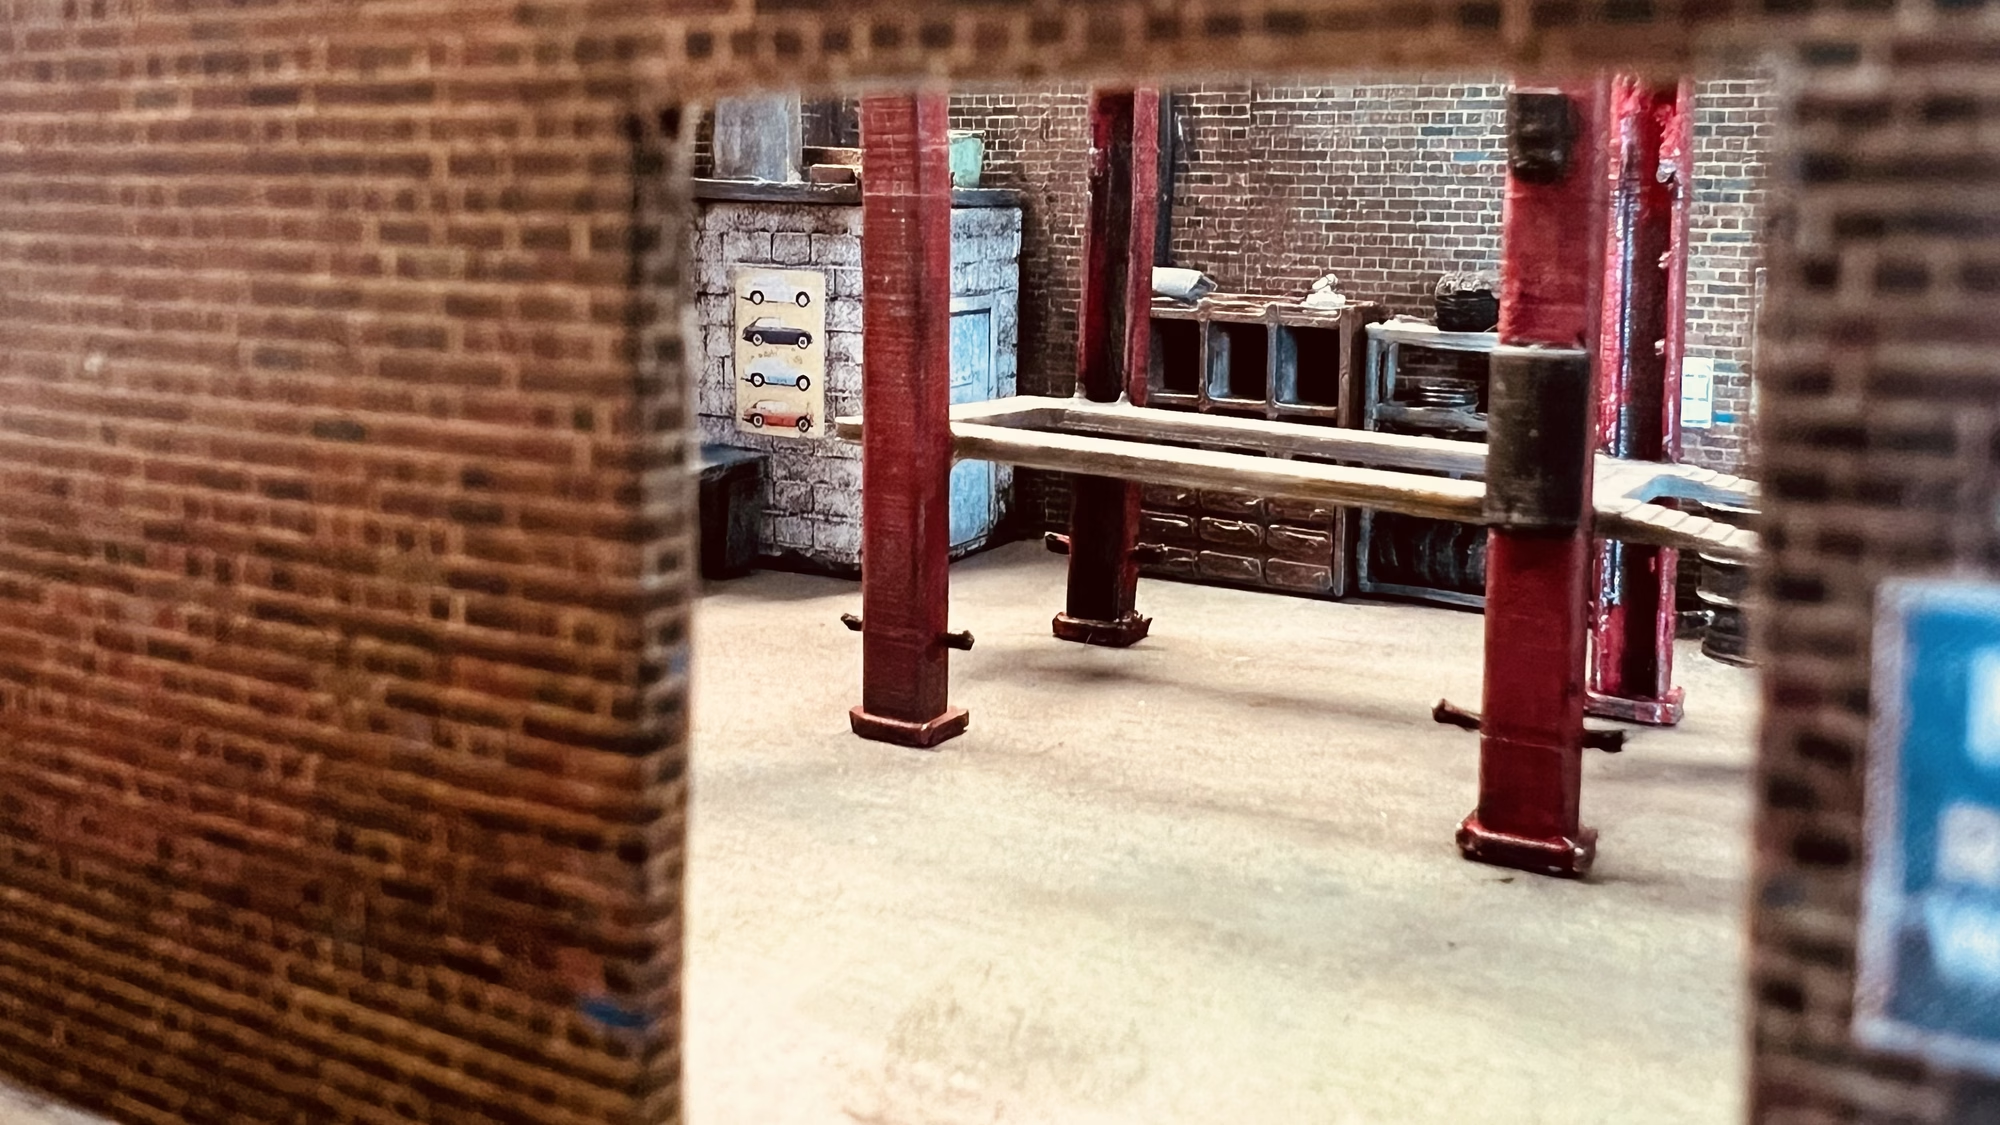
In this OO Scale Garage, the car lift, workbench, tyre rack, oil drums, pallets, tea chests and tyres were all printed on the 3D printer. Everything else was cut on the Laser.
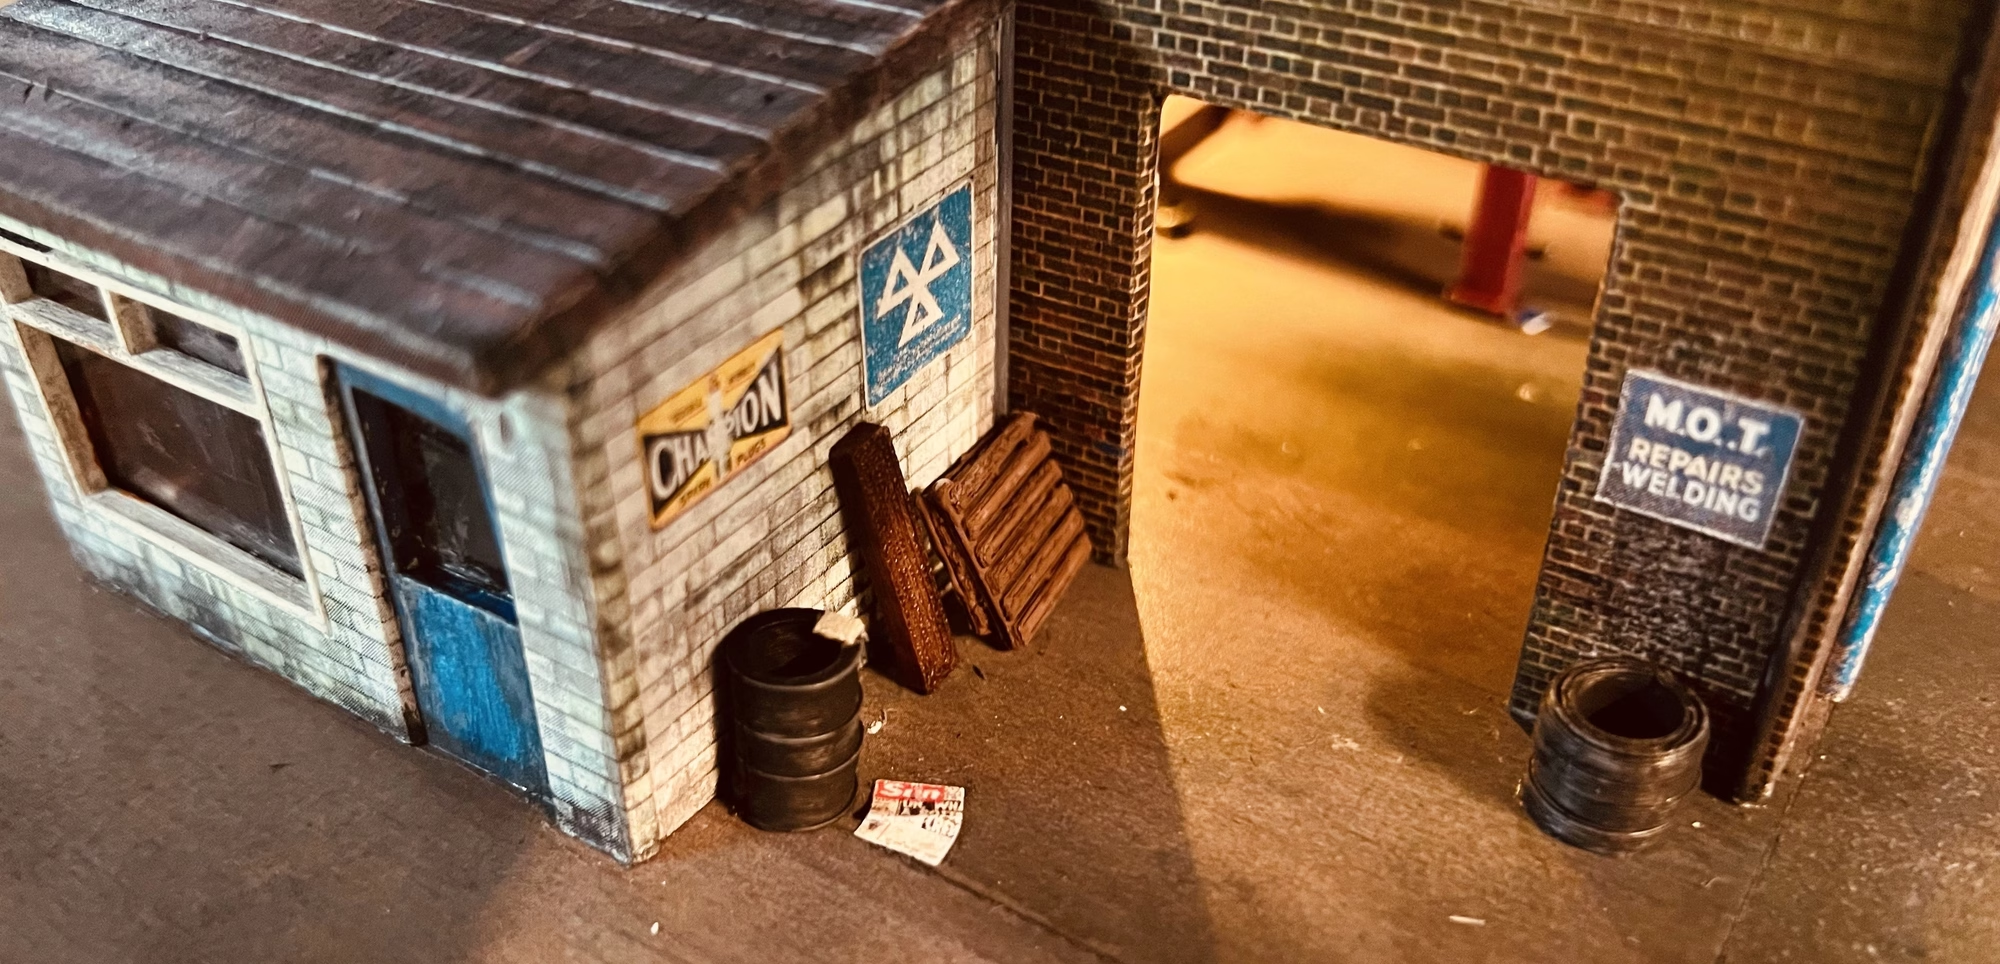
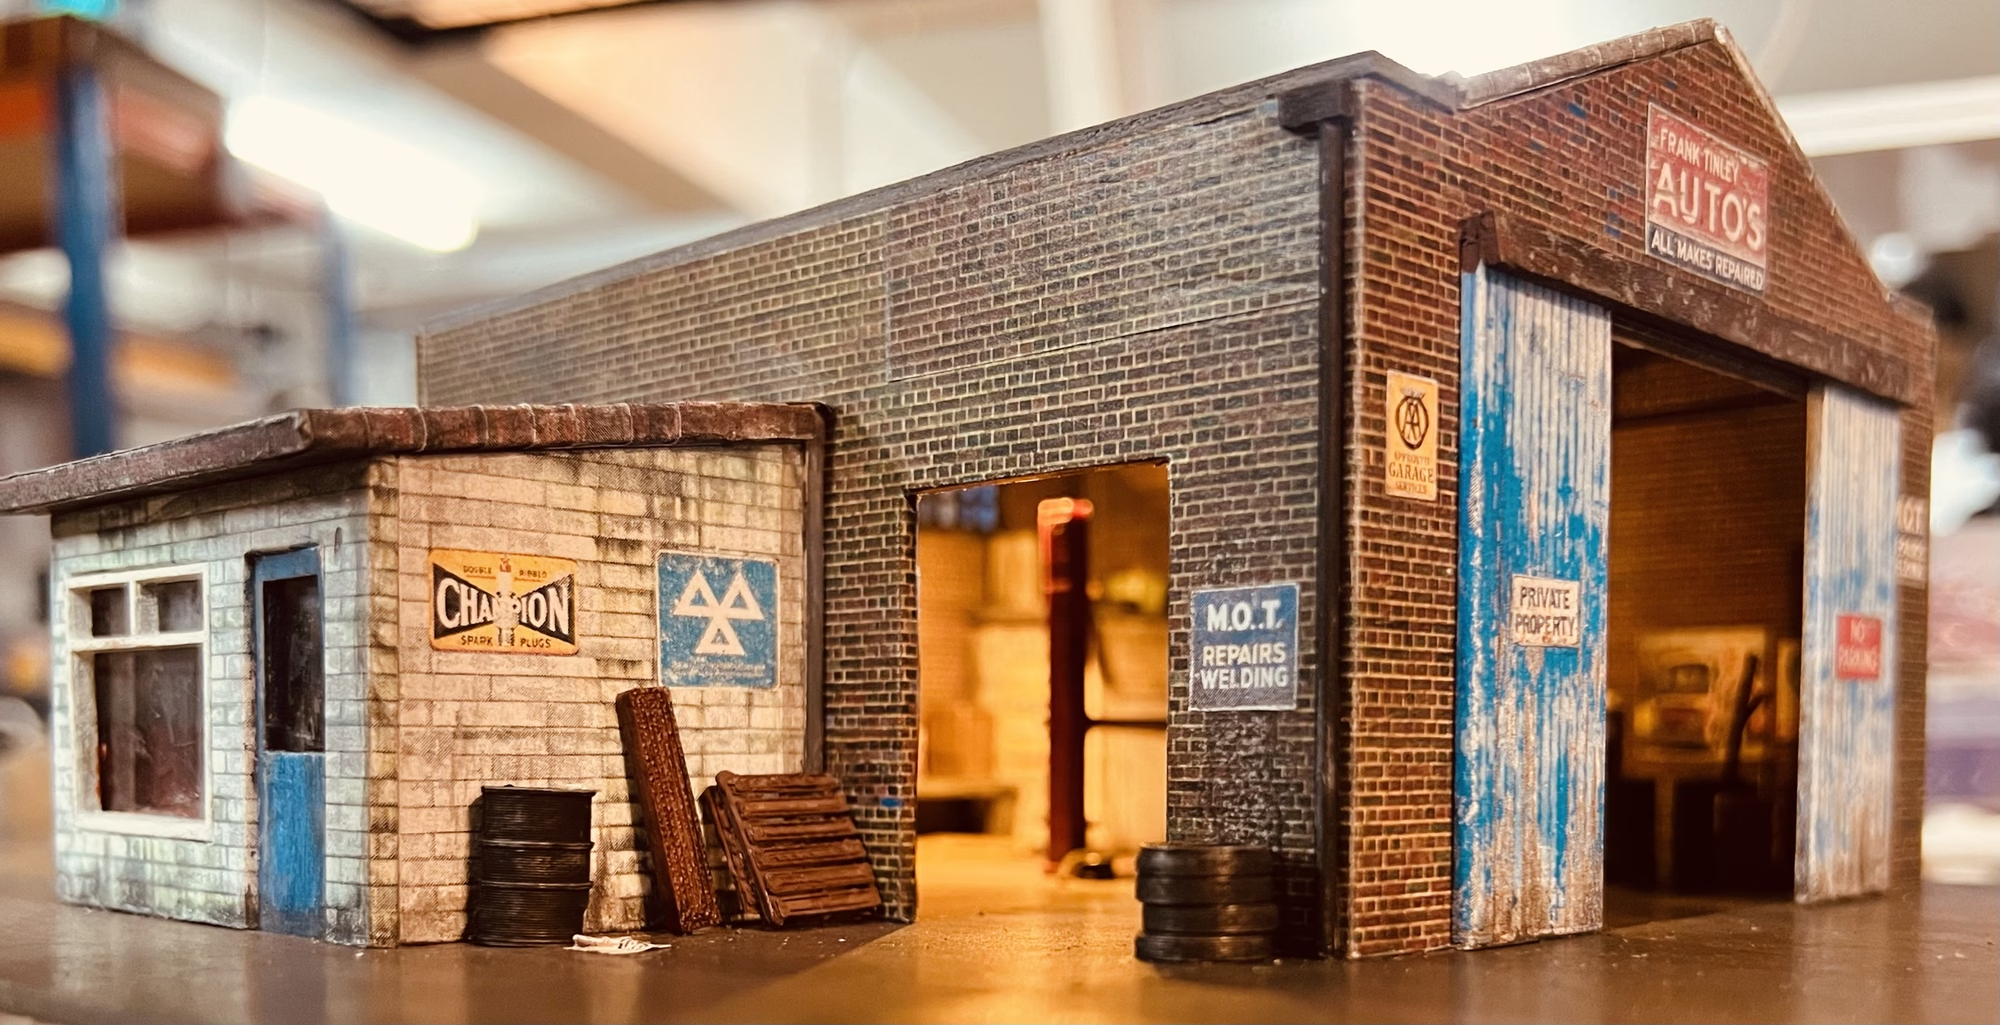
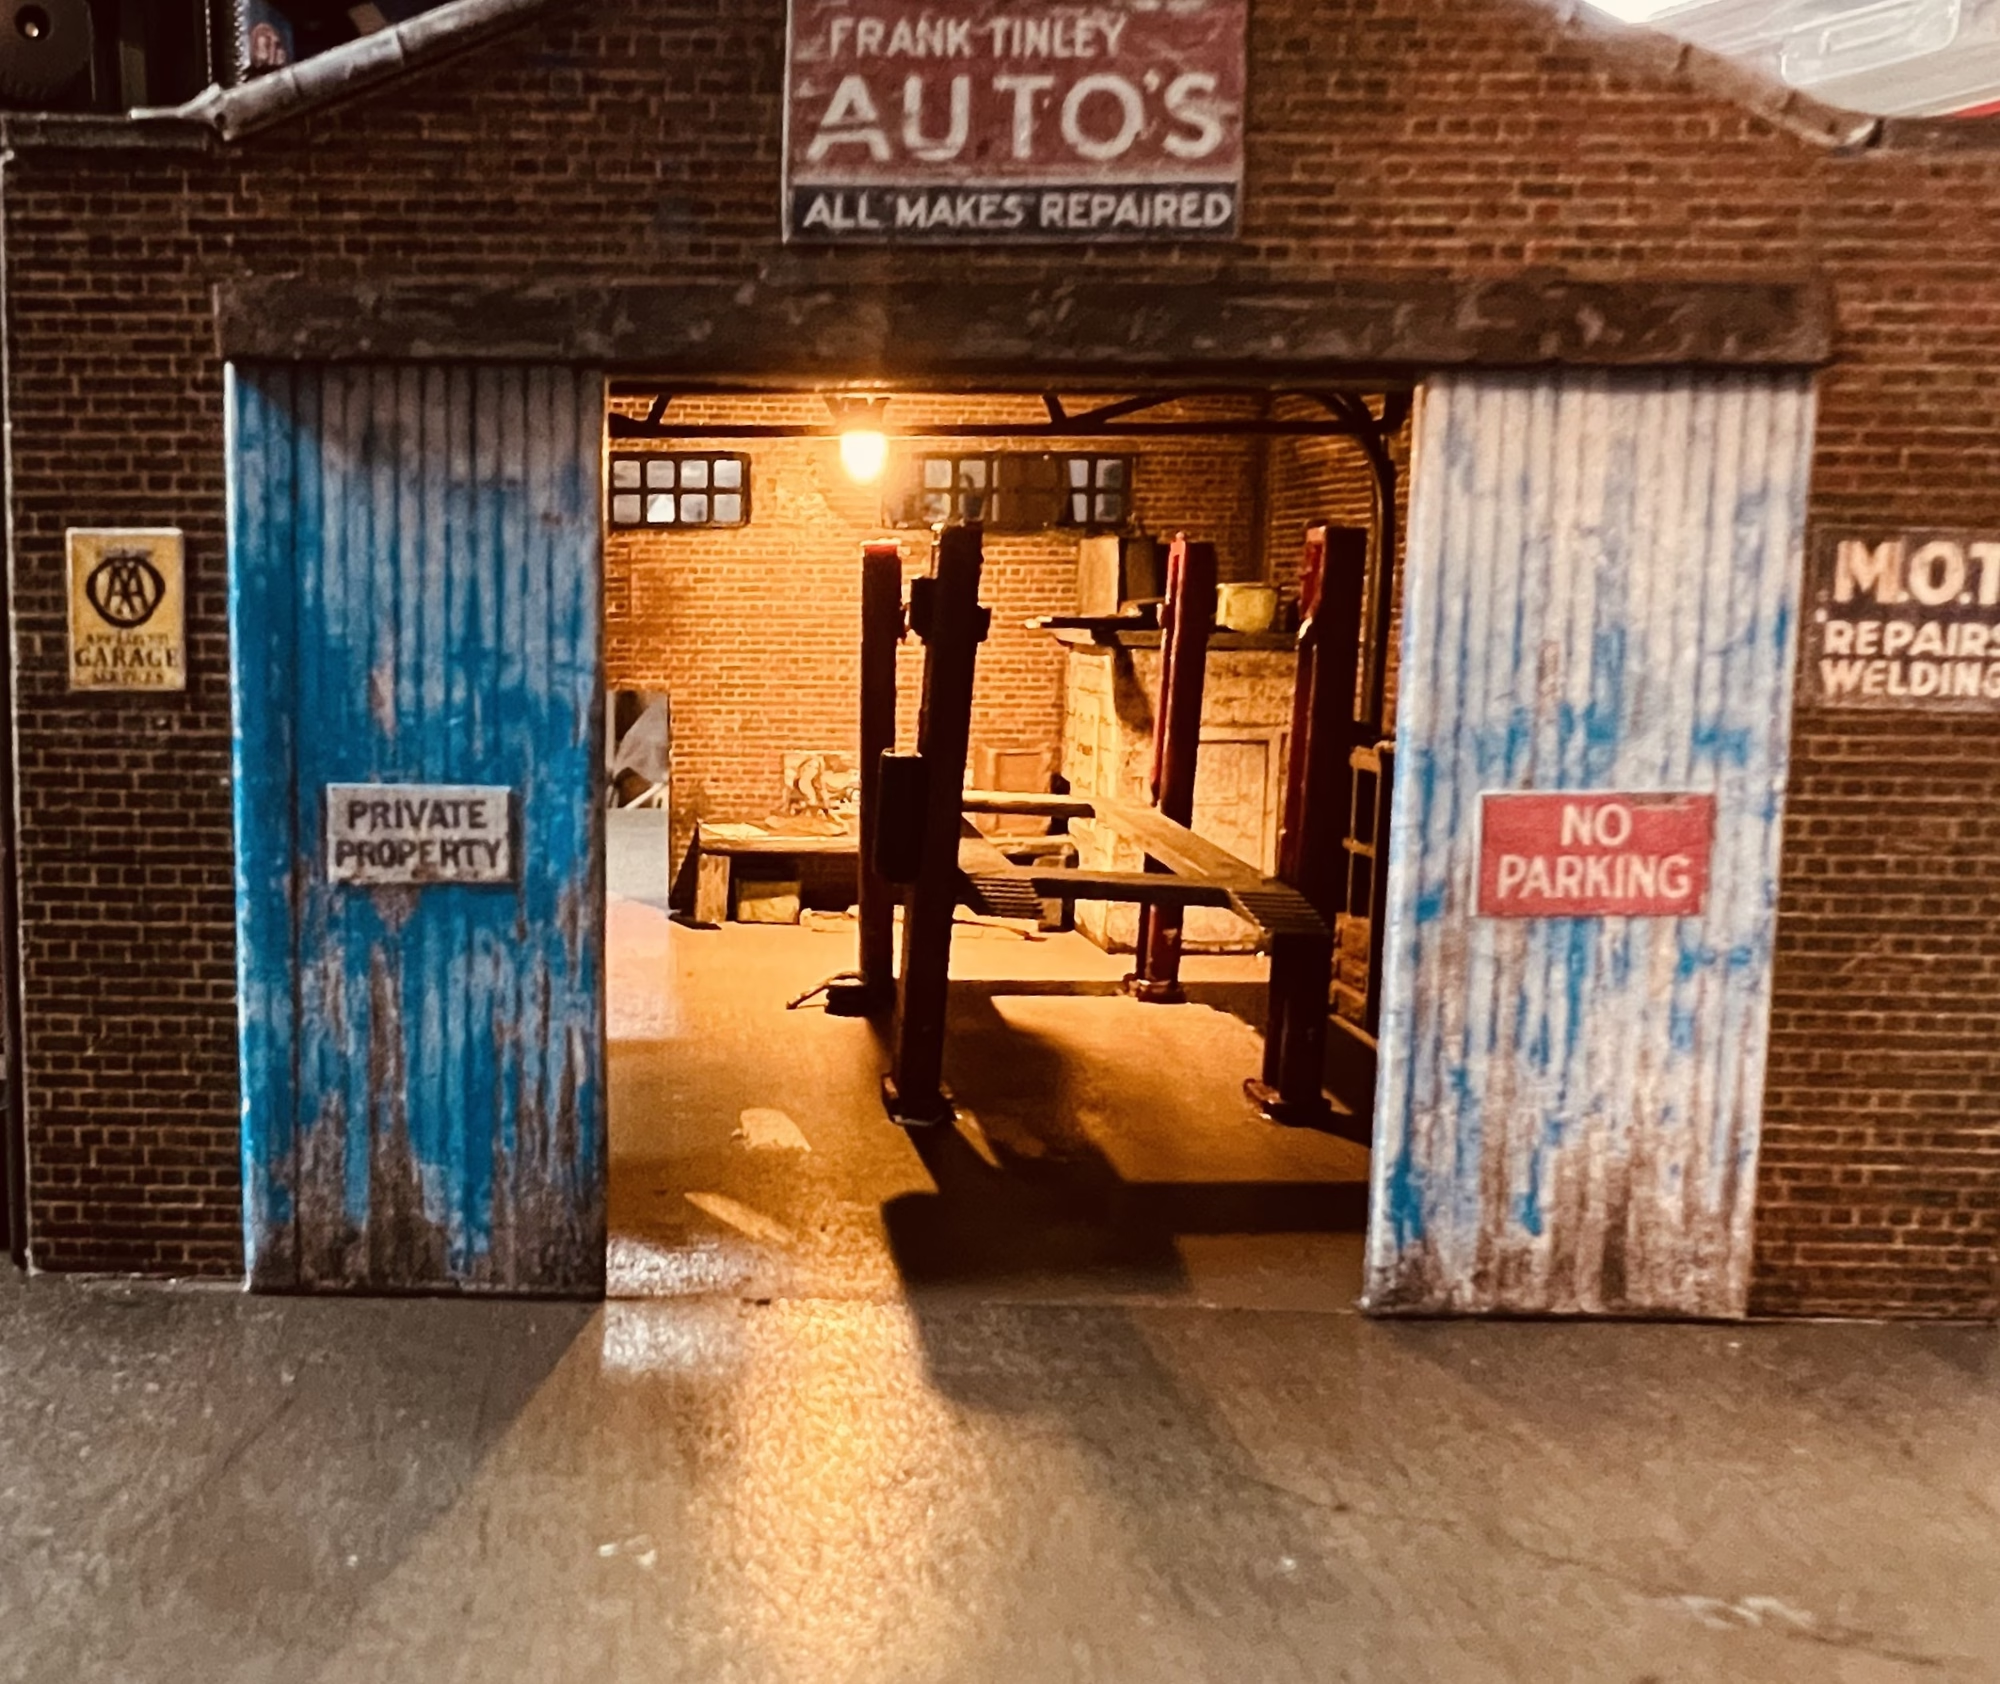
I had to finish all the interior before fitting the roof which was more Laser cut plywood wrapped in a roof texture from Textures.com
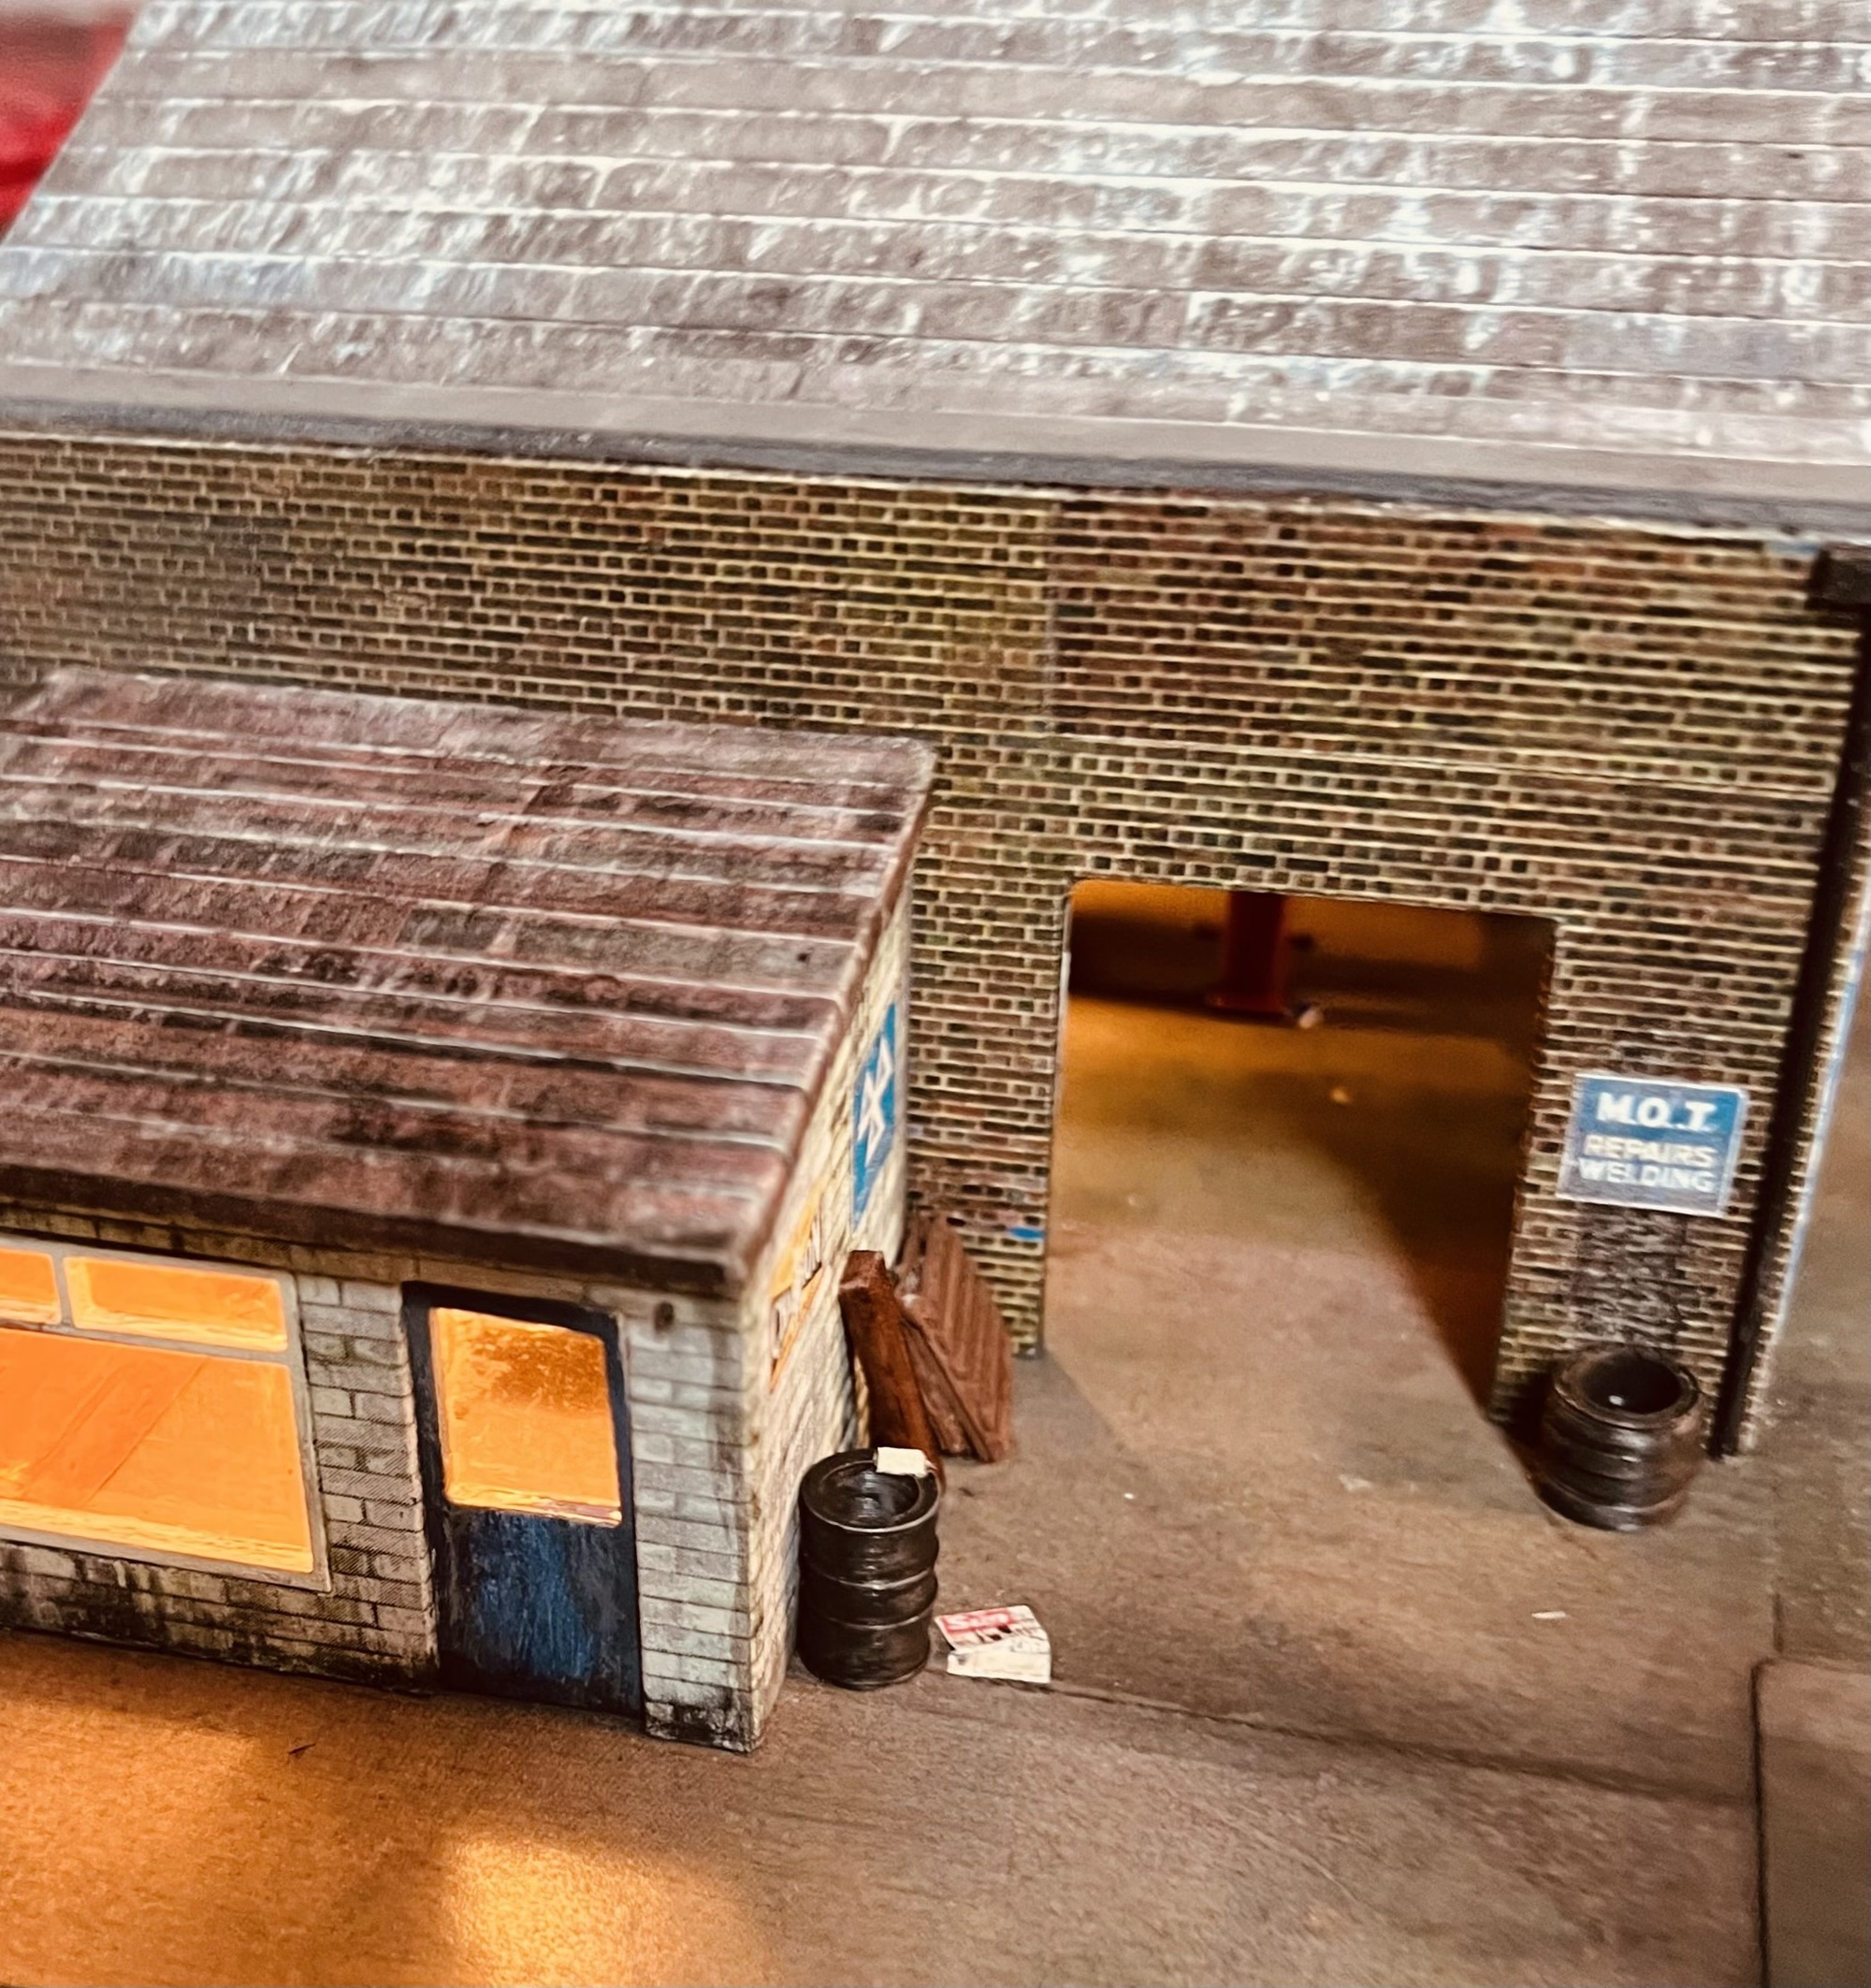
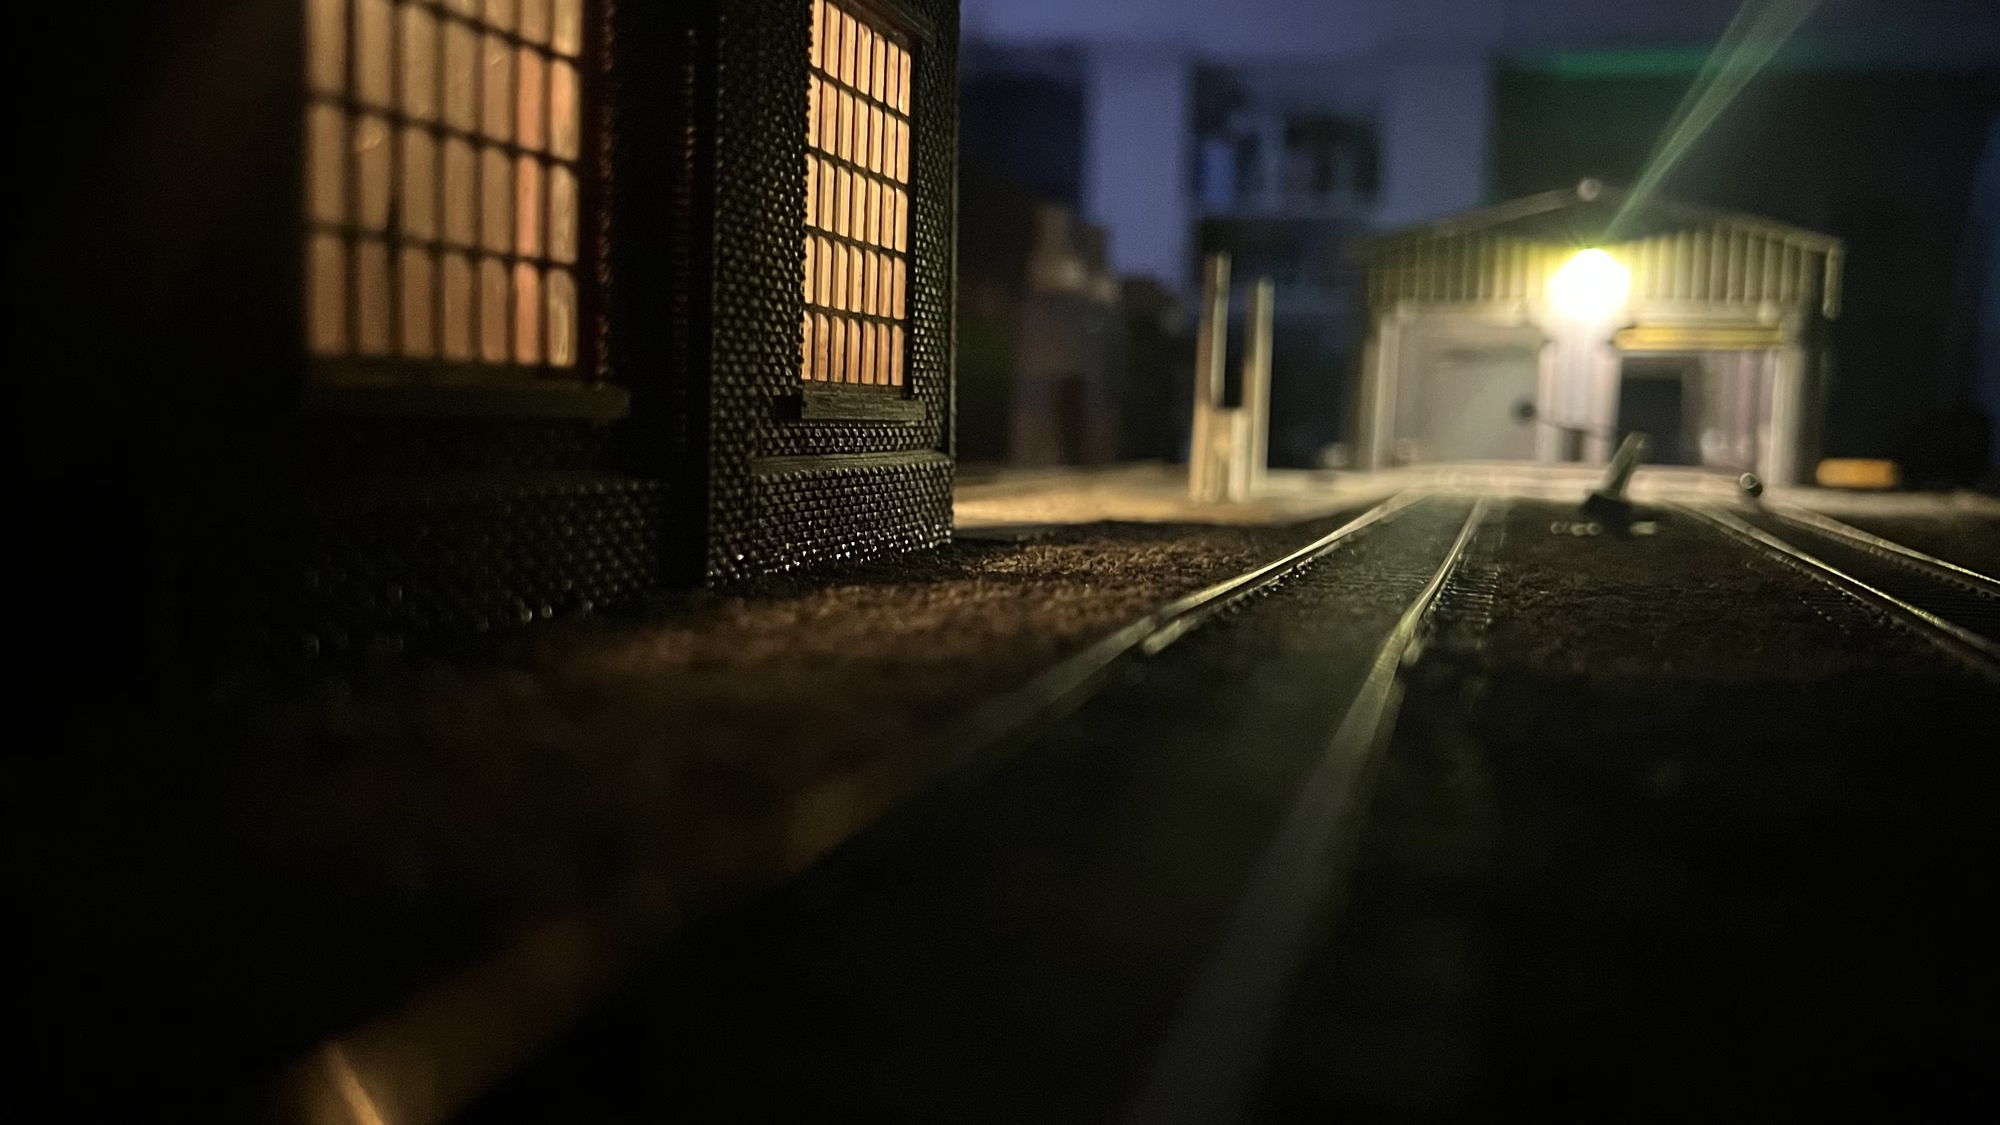
The last thing I installed was a couple of small LEDs, one in the office and the other in the workshop. In these images, they are both running off about 8 volts, but I will get the office one on its own supply, 8 volts is too much for that space. 3 volts looks about right.
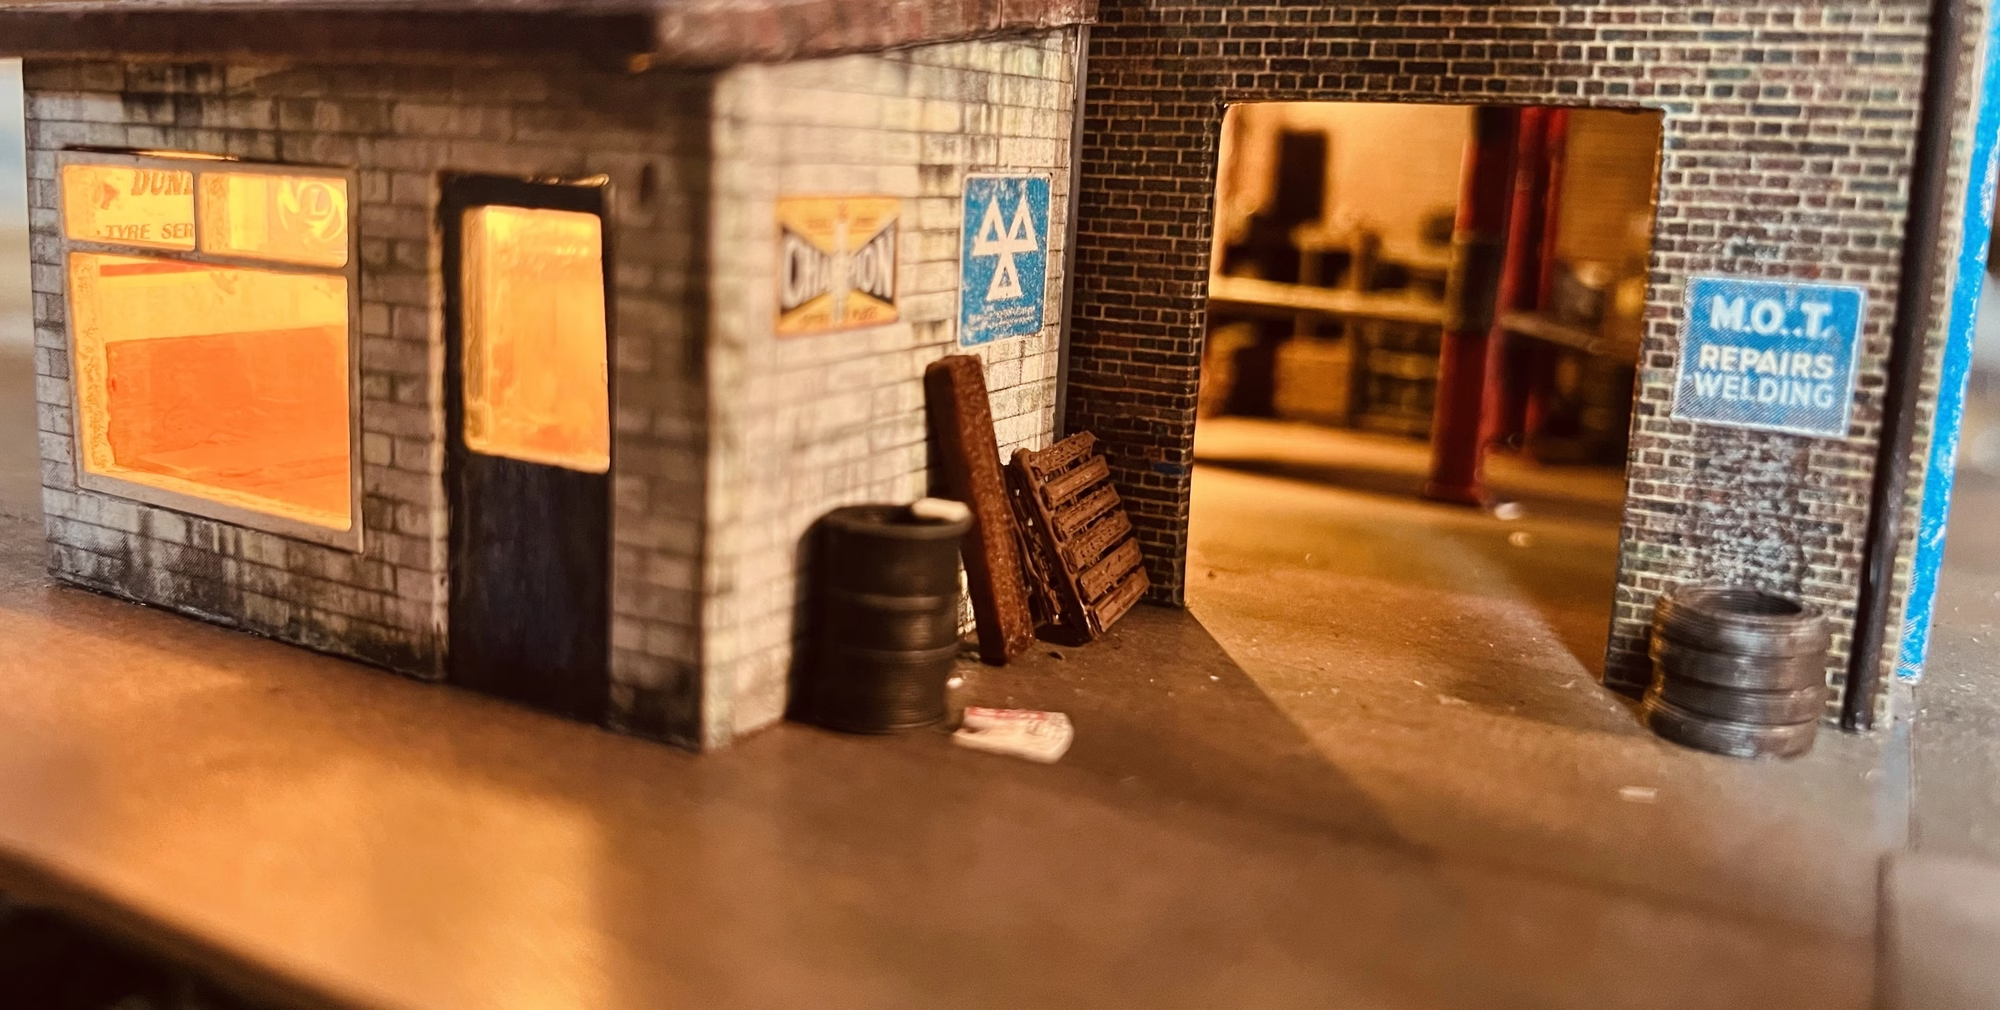
It’s not finished yet. I still need to fit the side roller shutter door, and the back door, finish weathering the flat roof section, add some gutters, and more downpipes. Then generally weather and add some mossy green bits.
Here are some pictures taken outdoors which always makes everything look better.
