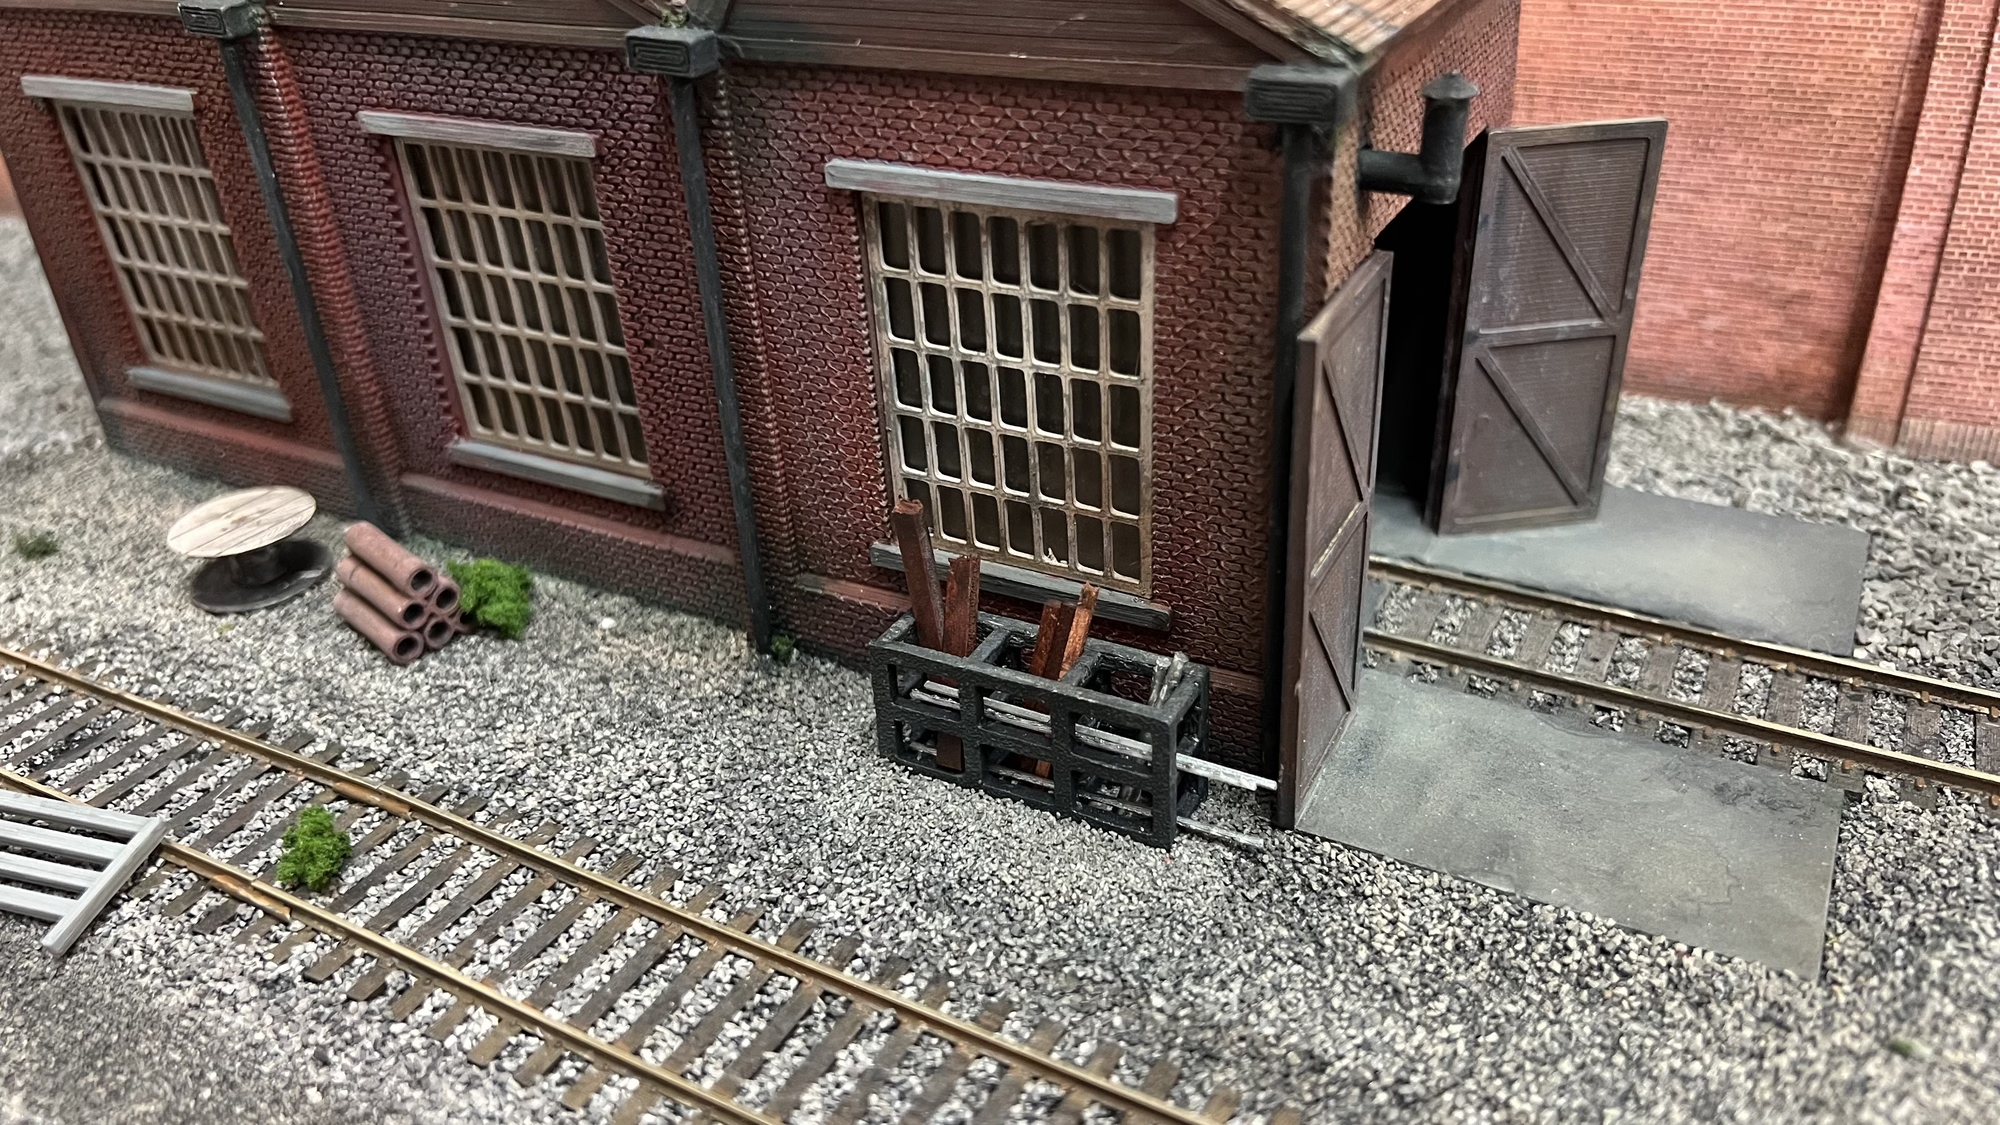
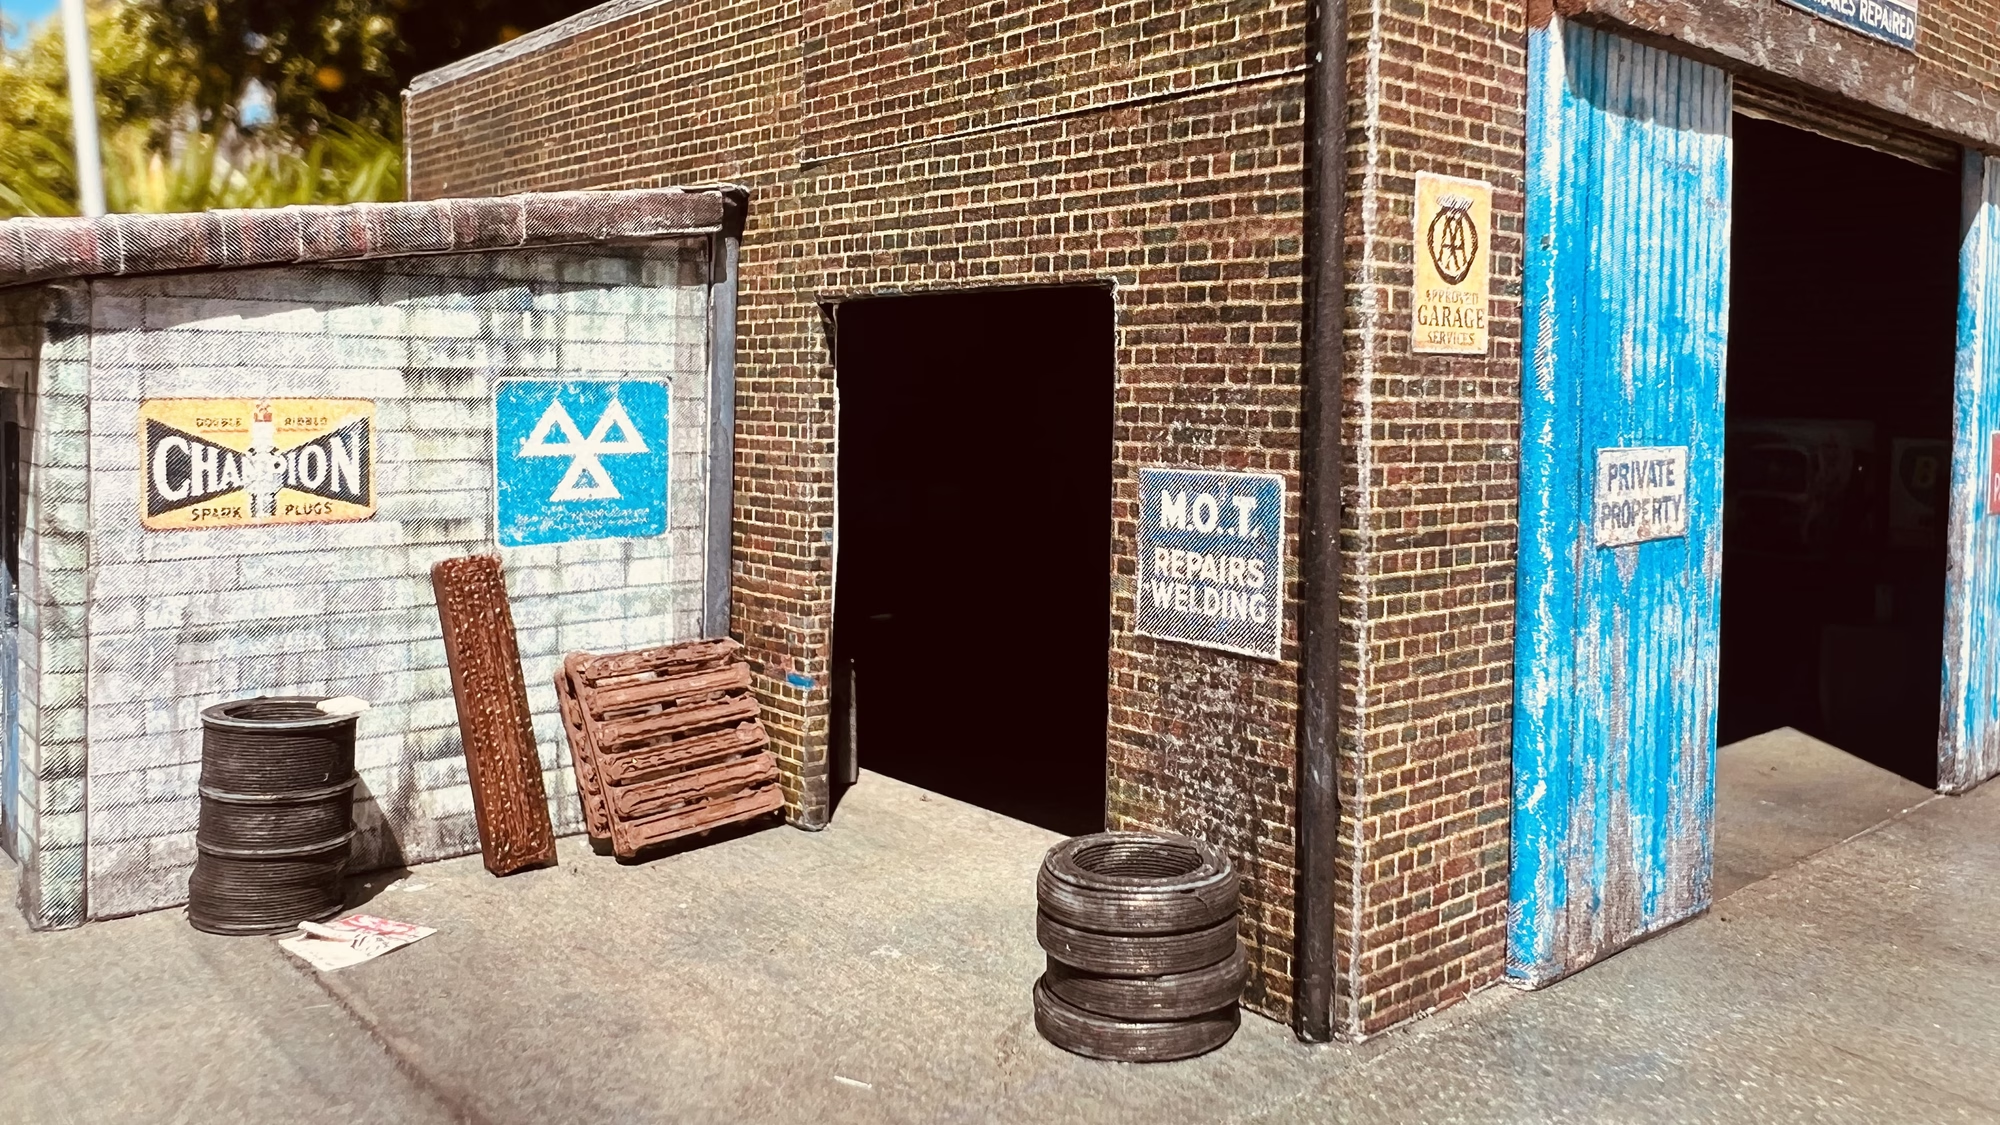
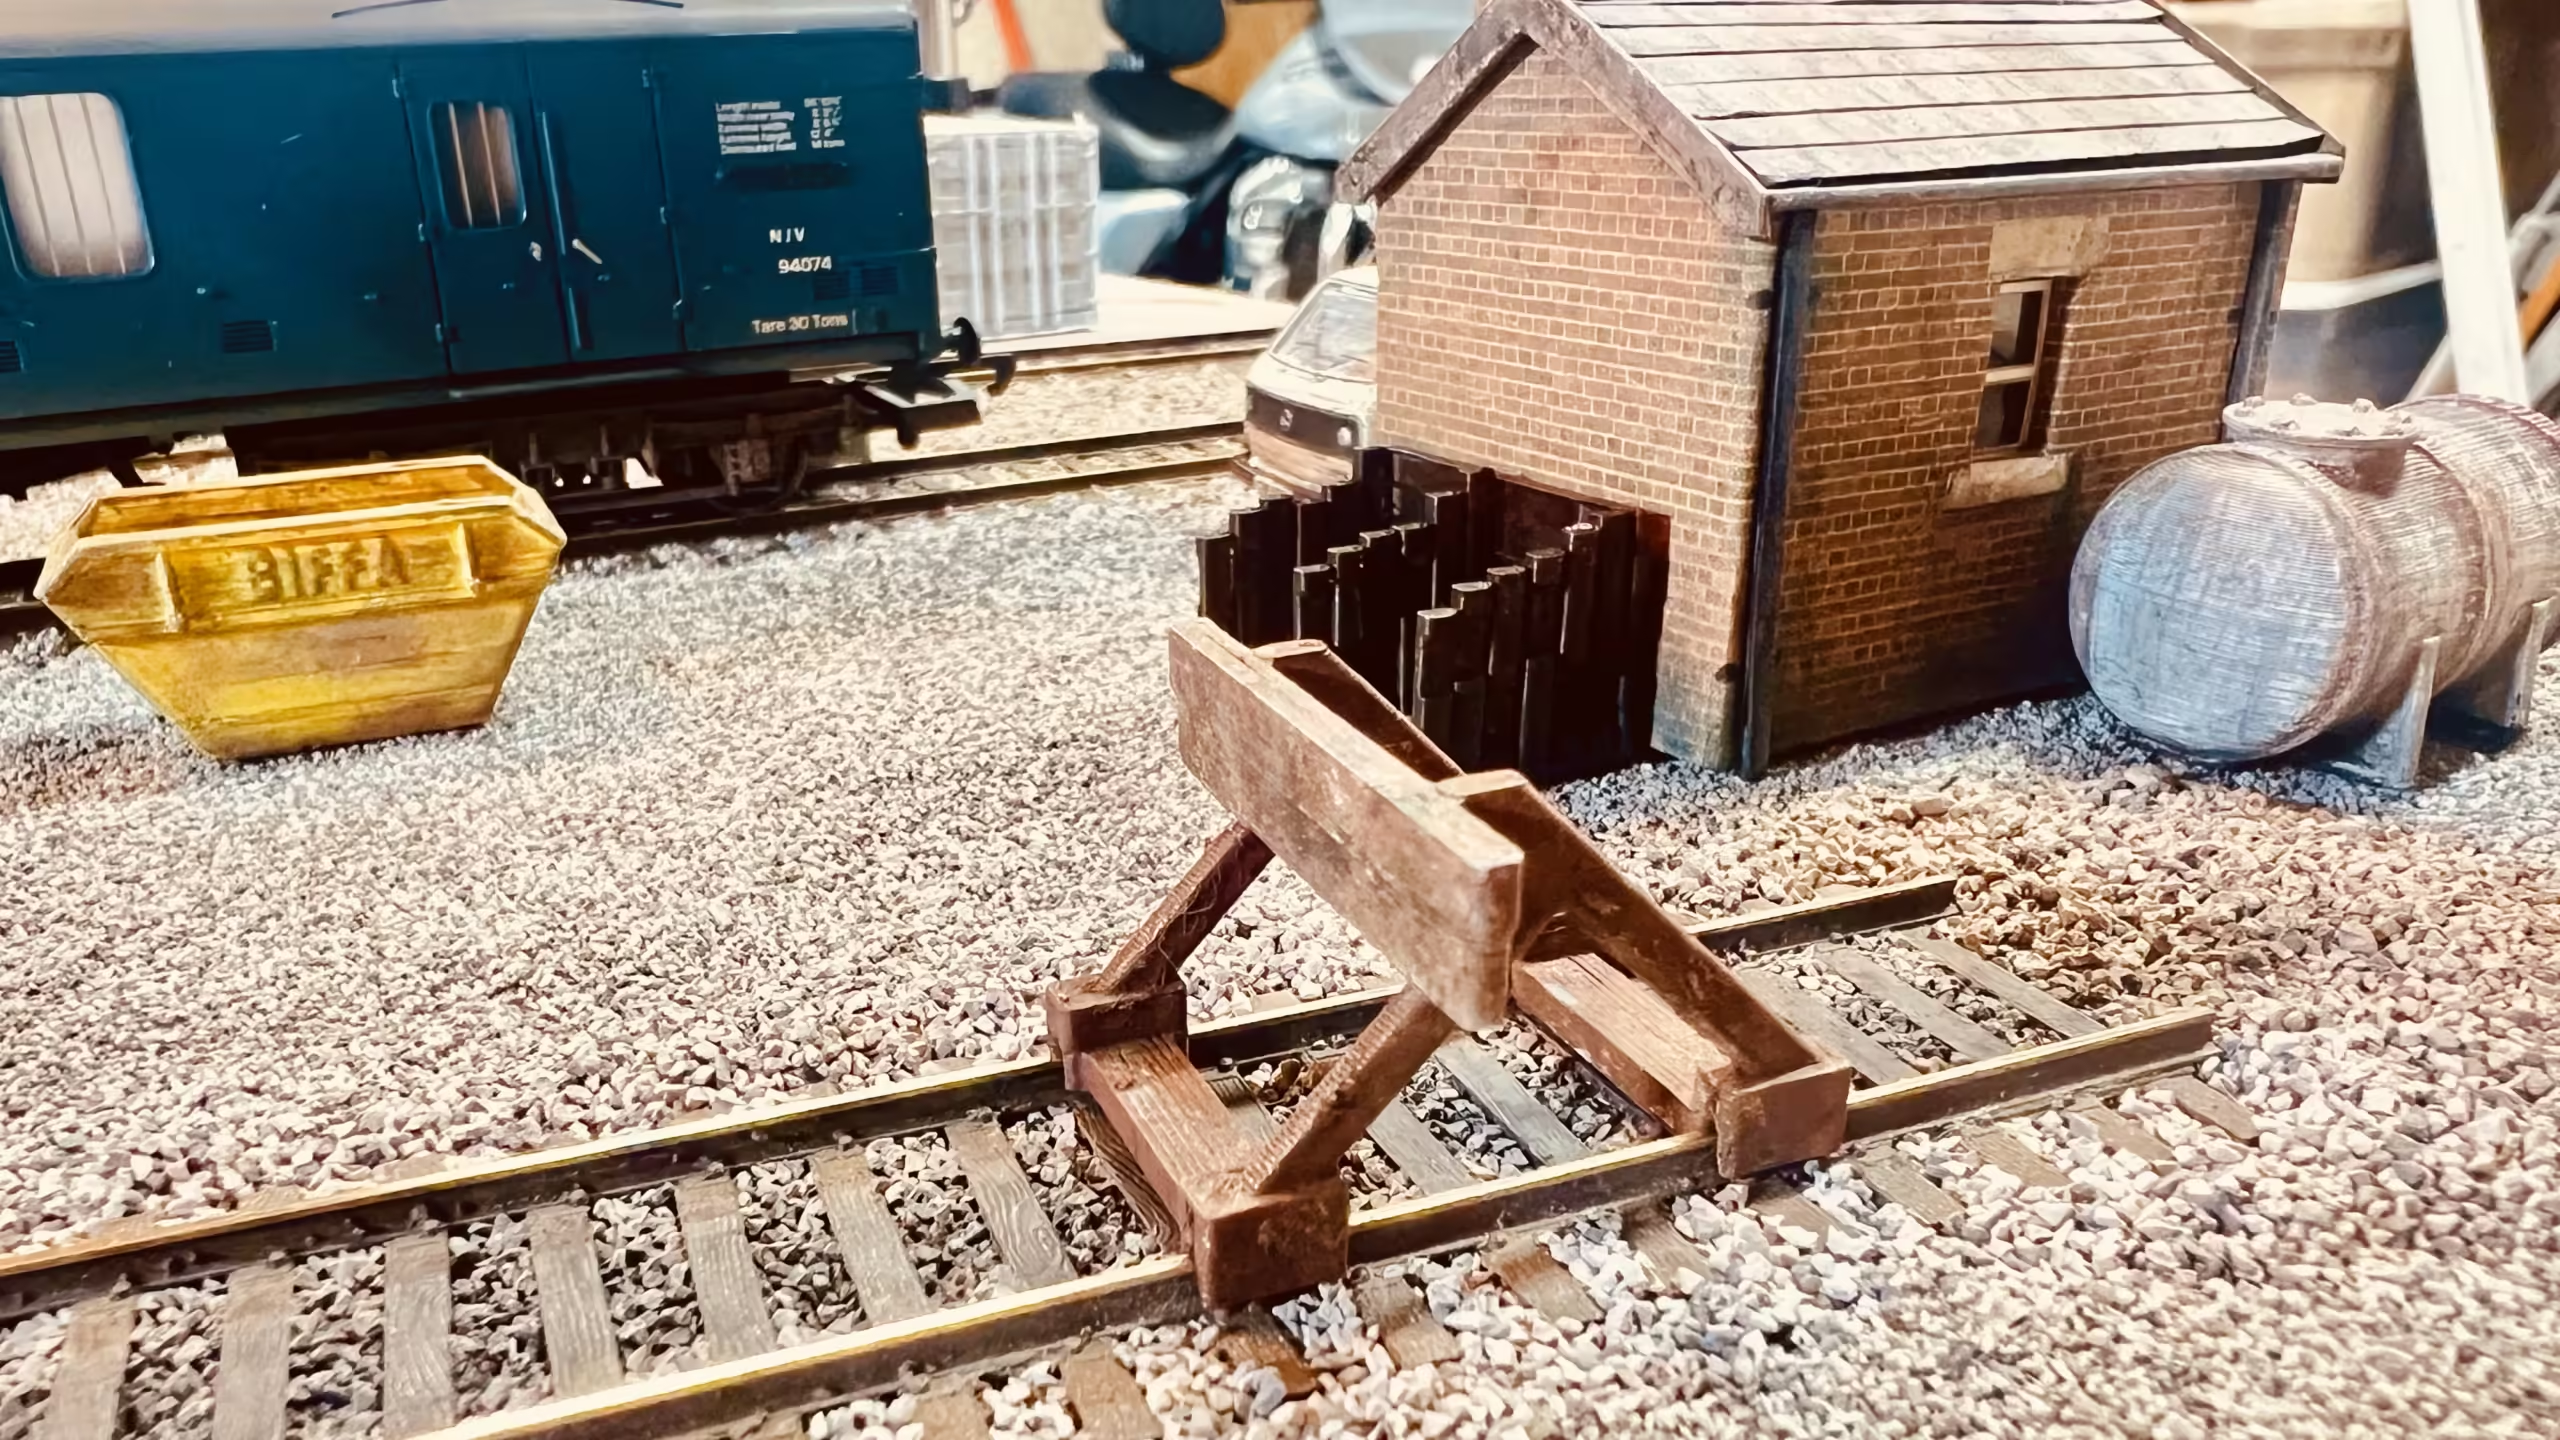
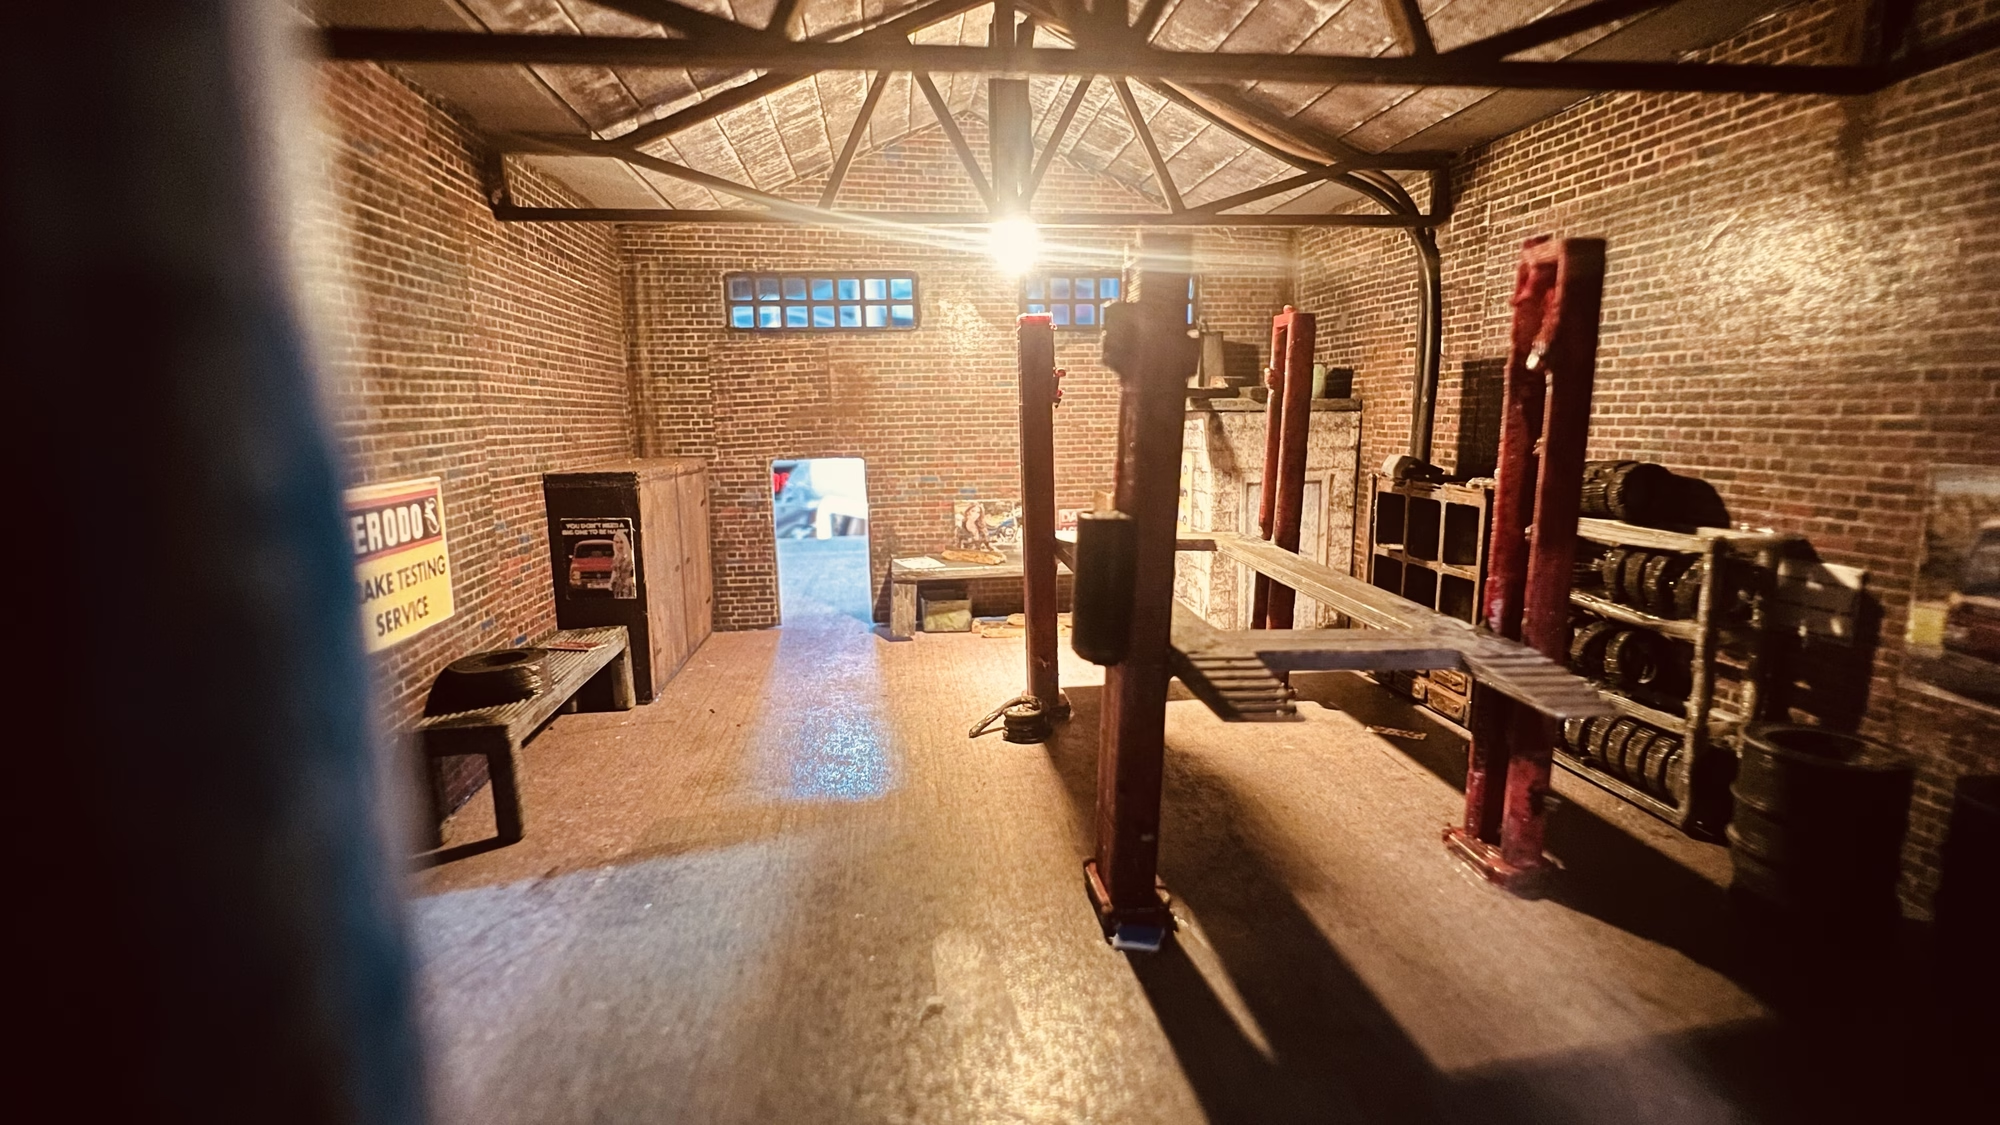
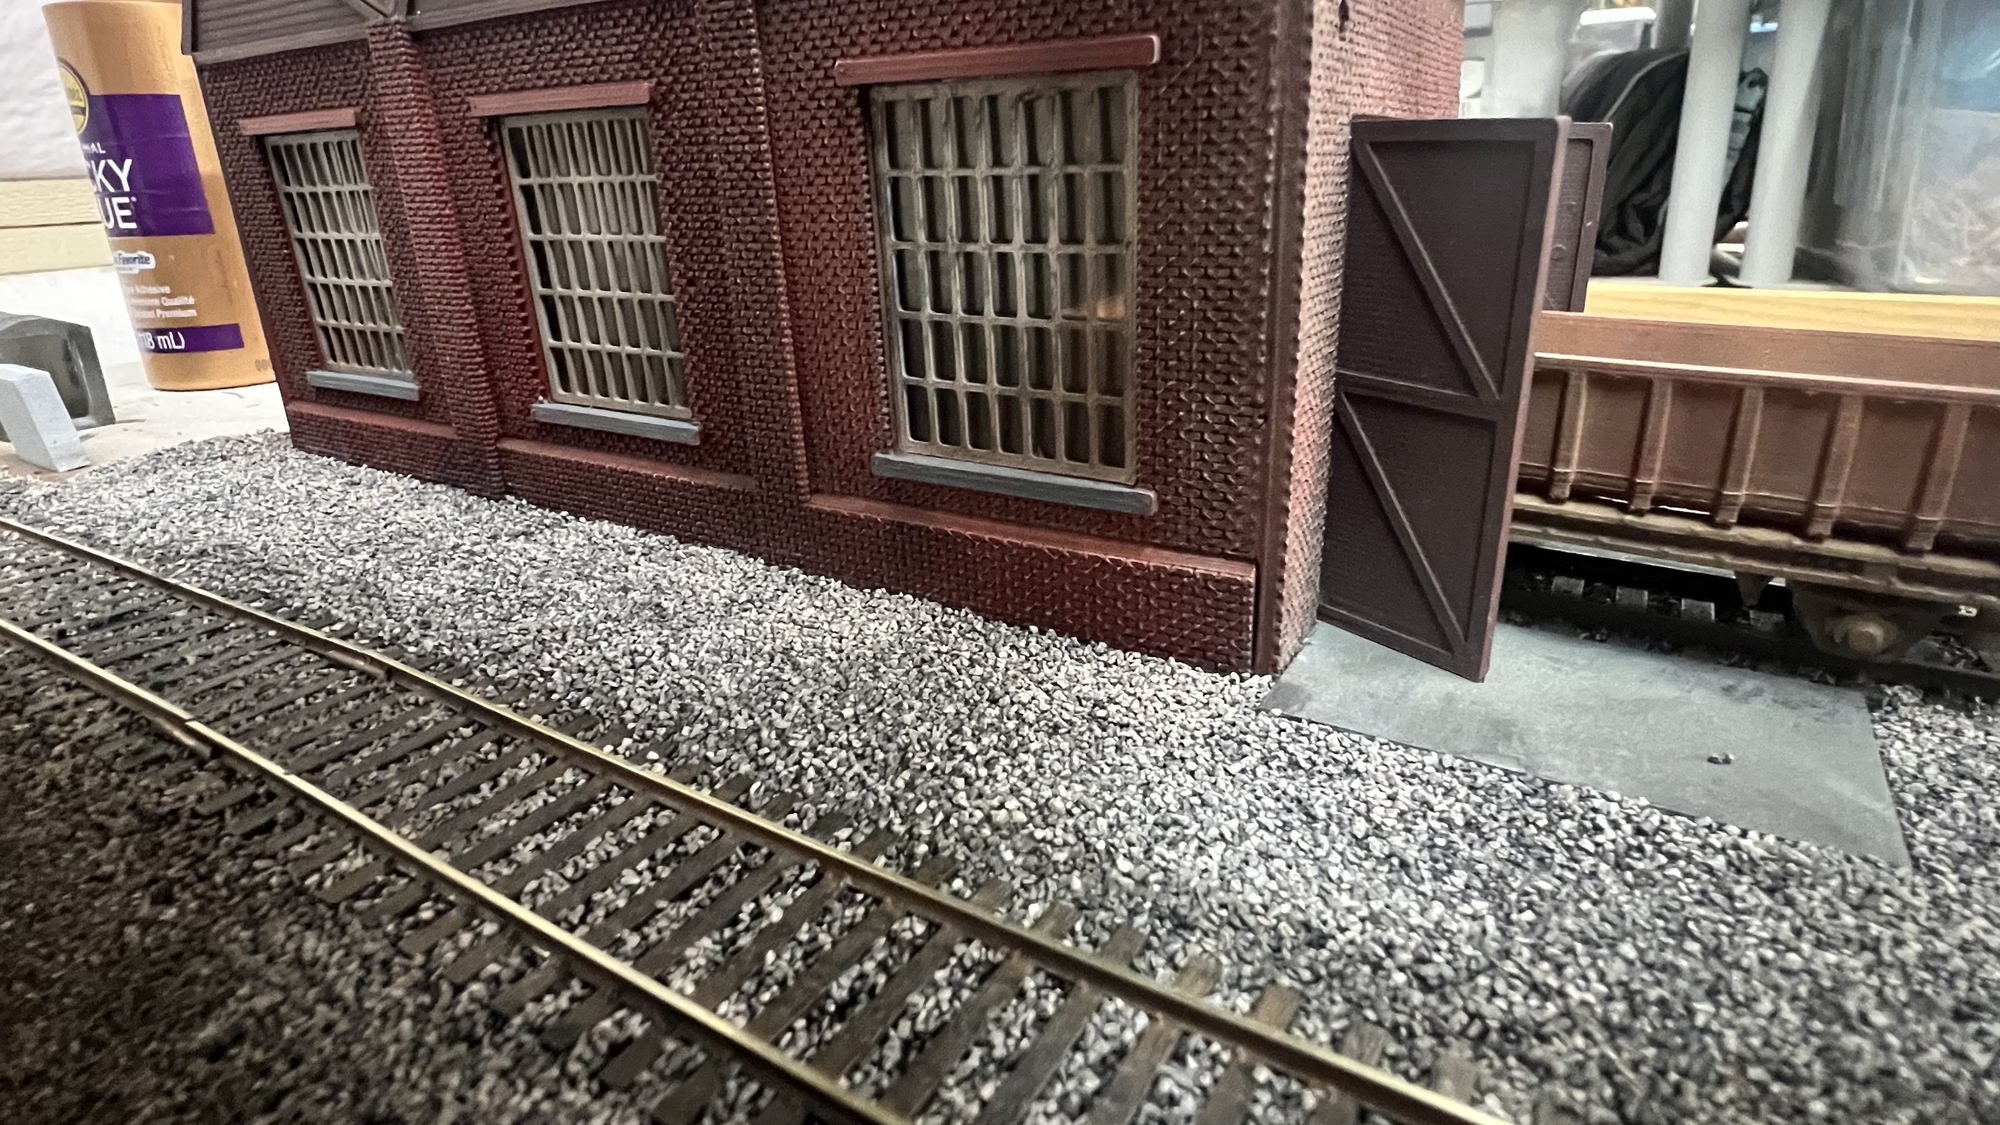
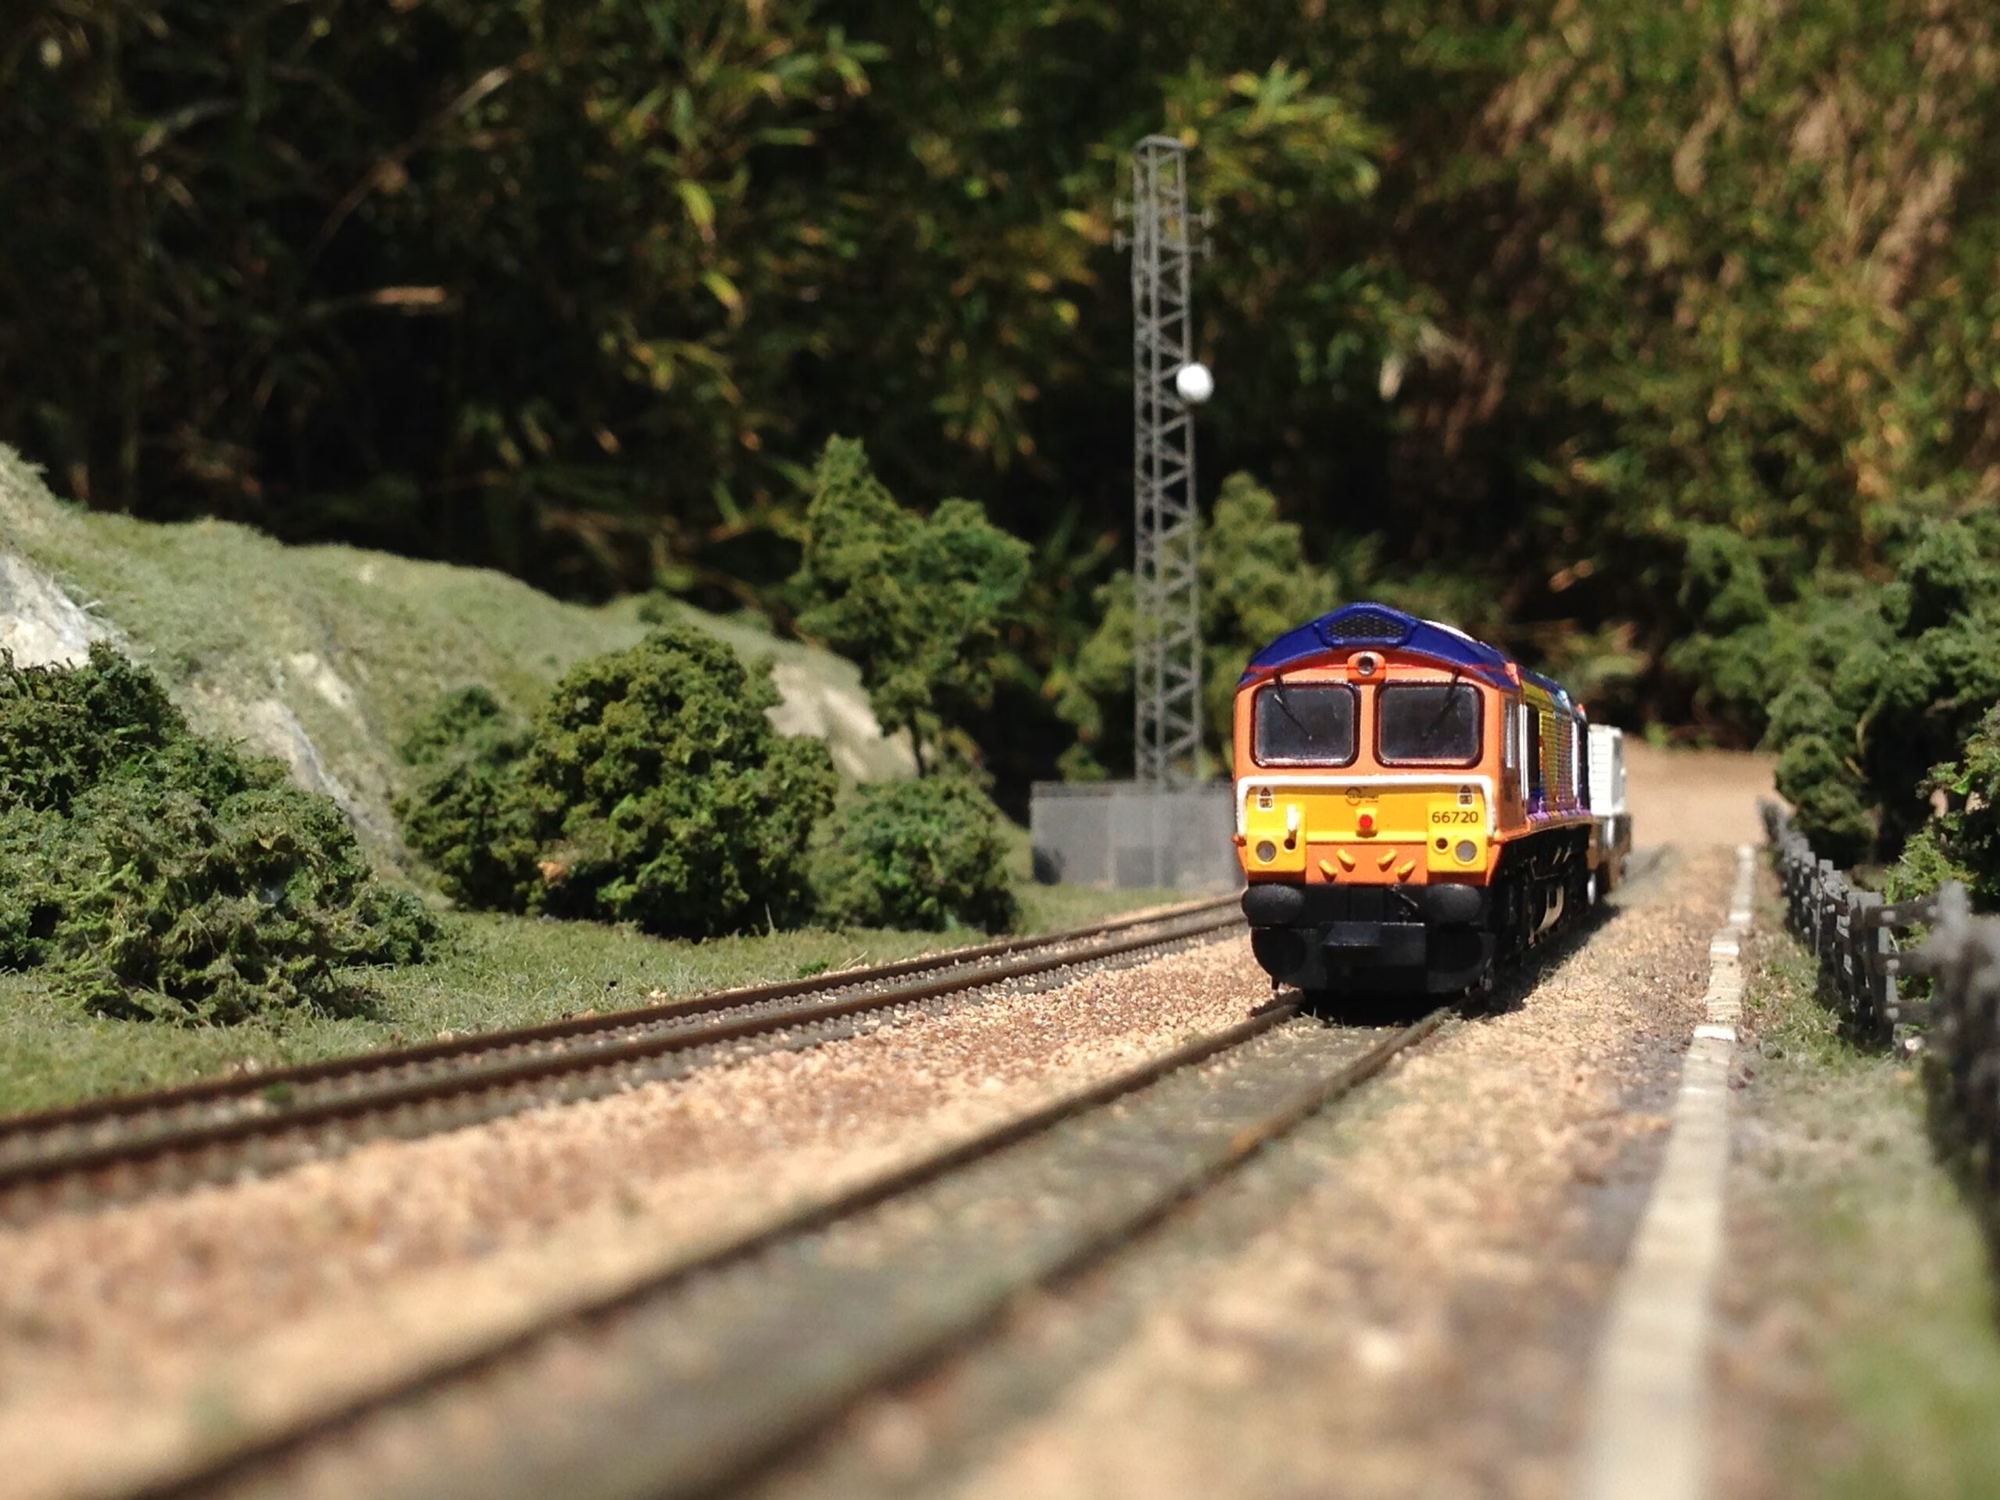
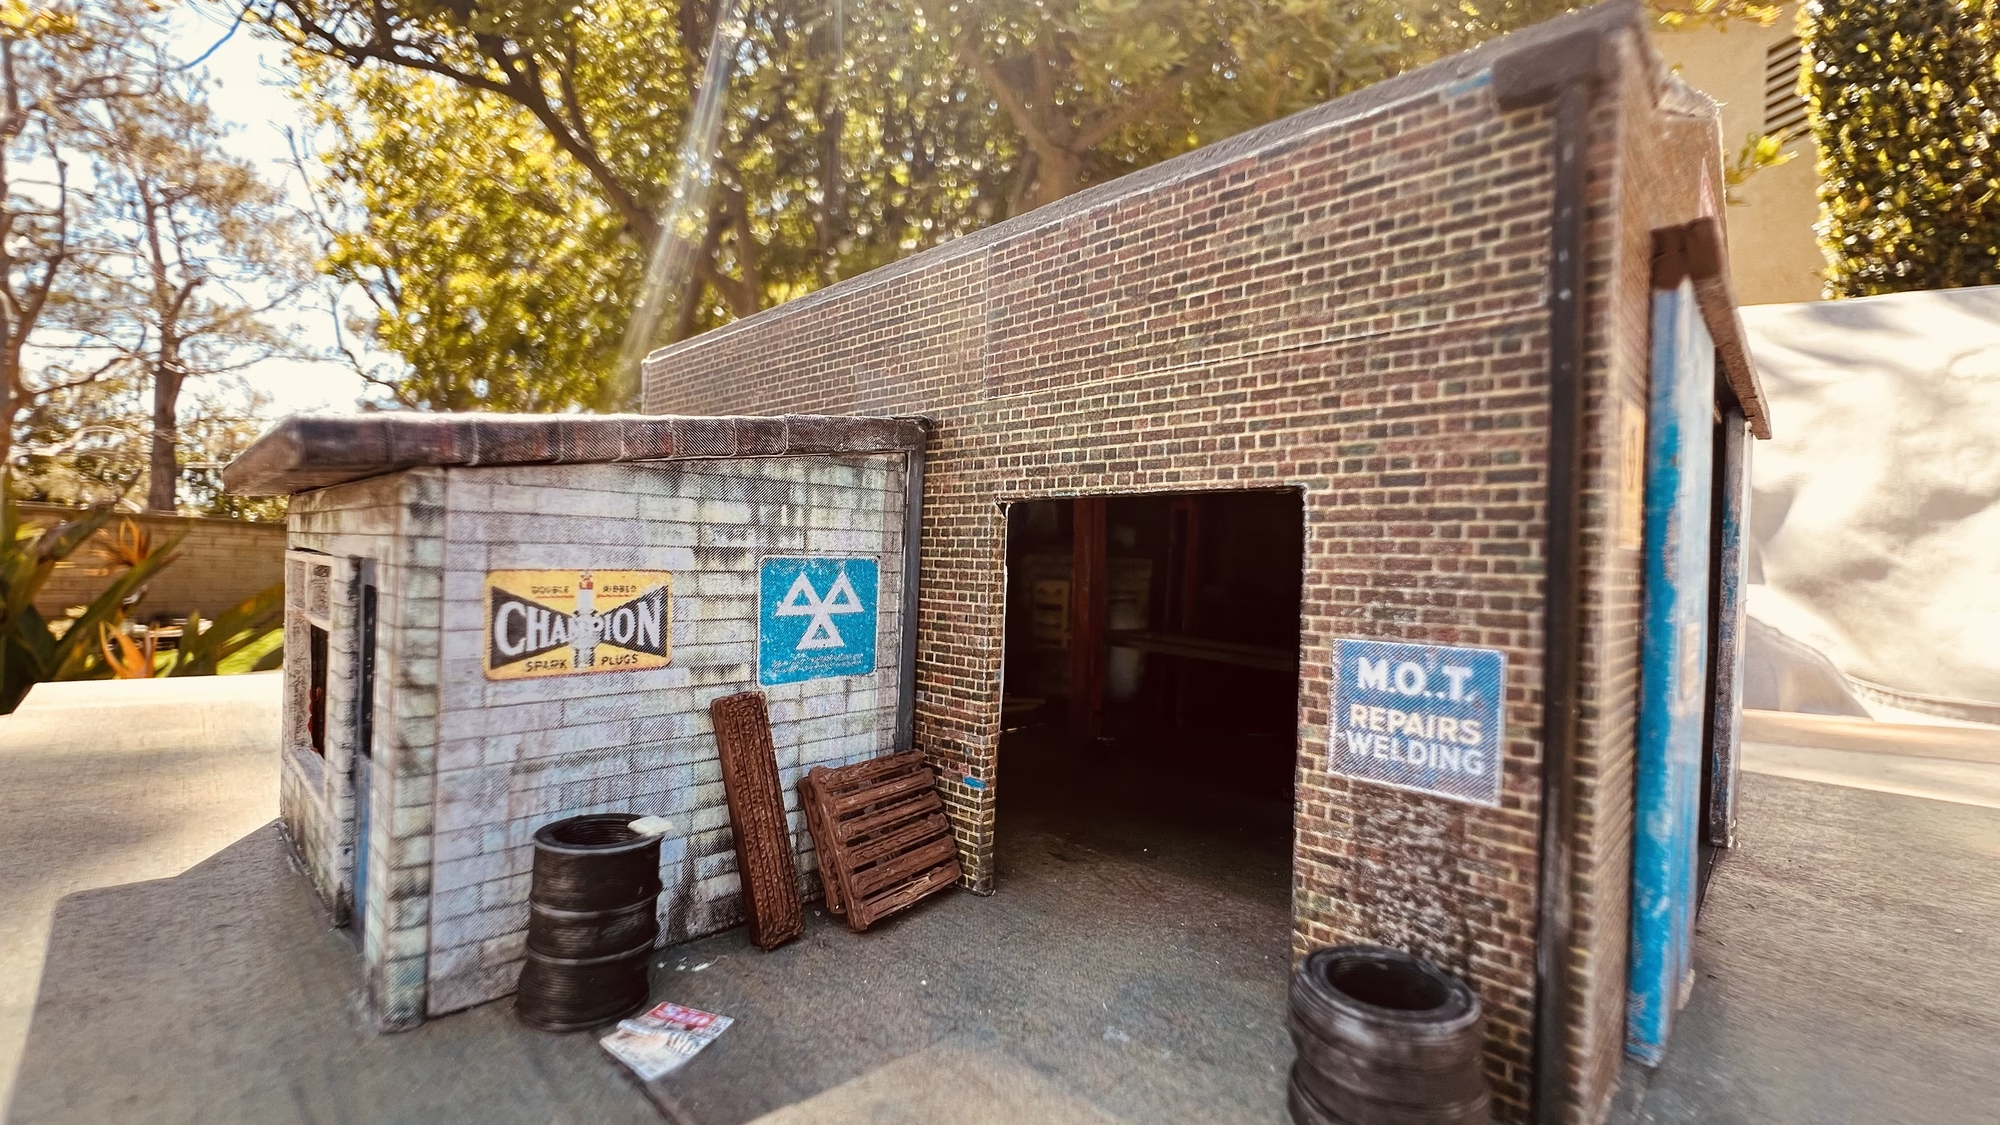
OO Scale Diorama
This is an ongoing build with updates posted as and when. Scroll down for the latest updates or you can “Jump” to the update sections by clicking on the buttons below.
Before we get started, I want to say this Diorama is not meant to be based on a real place, or even remotely accurate in its content, layout and realism.
It’s more about me revisiting techniques and learning new things about a hobby I hadn’t touched for 12 years. It’s also me buggering about with my 3D printer. Hopefully that “sets the stage” a bit.
I wanted a way for me to enjoy looking at my locos and rolling stock. While I’m still deciding on where to build Trenton, I decided to make a 4×3 ft diorama.
March 1, 2024
This should be interesting, I literally haven’t used any of these skills for 12 years.
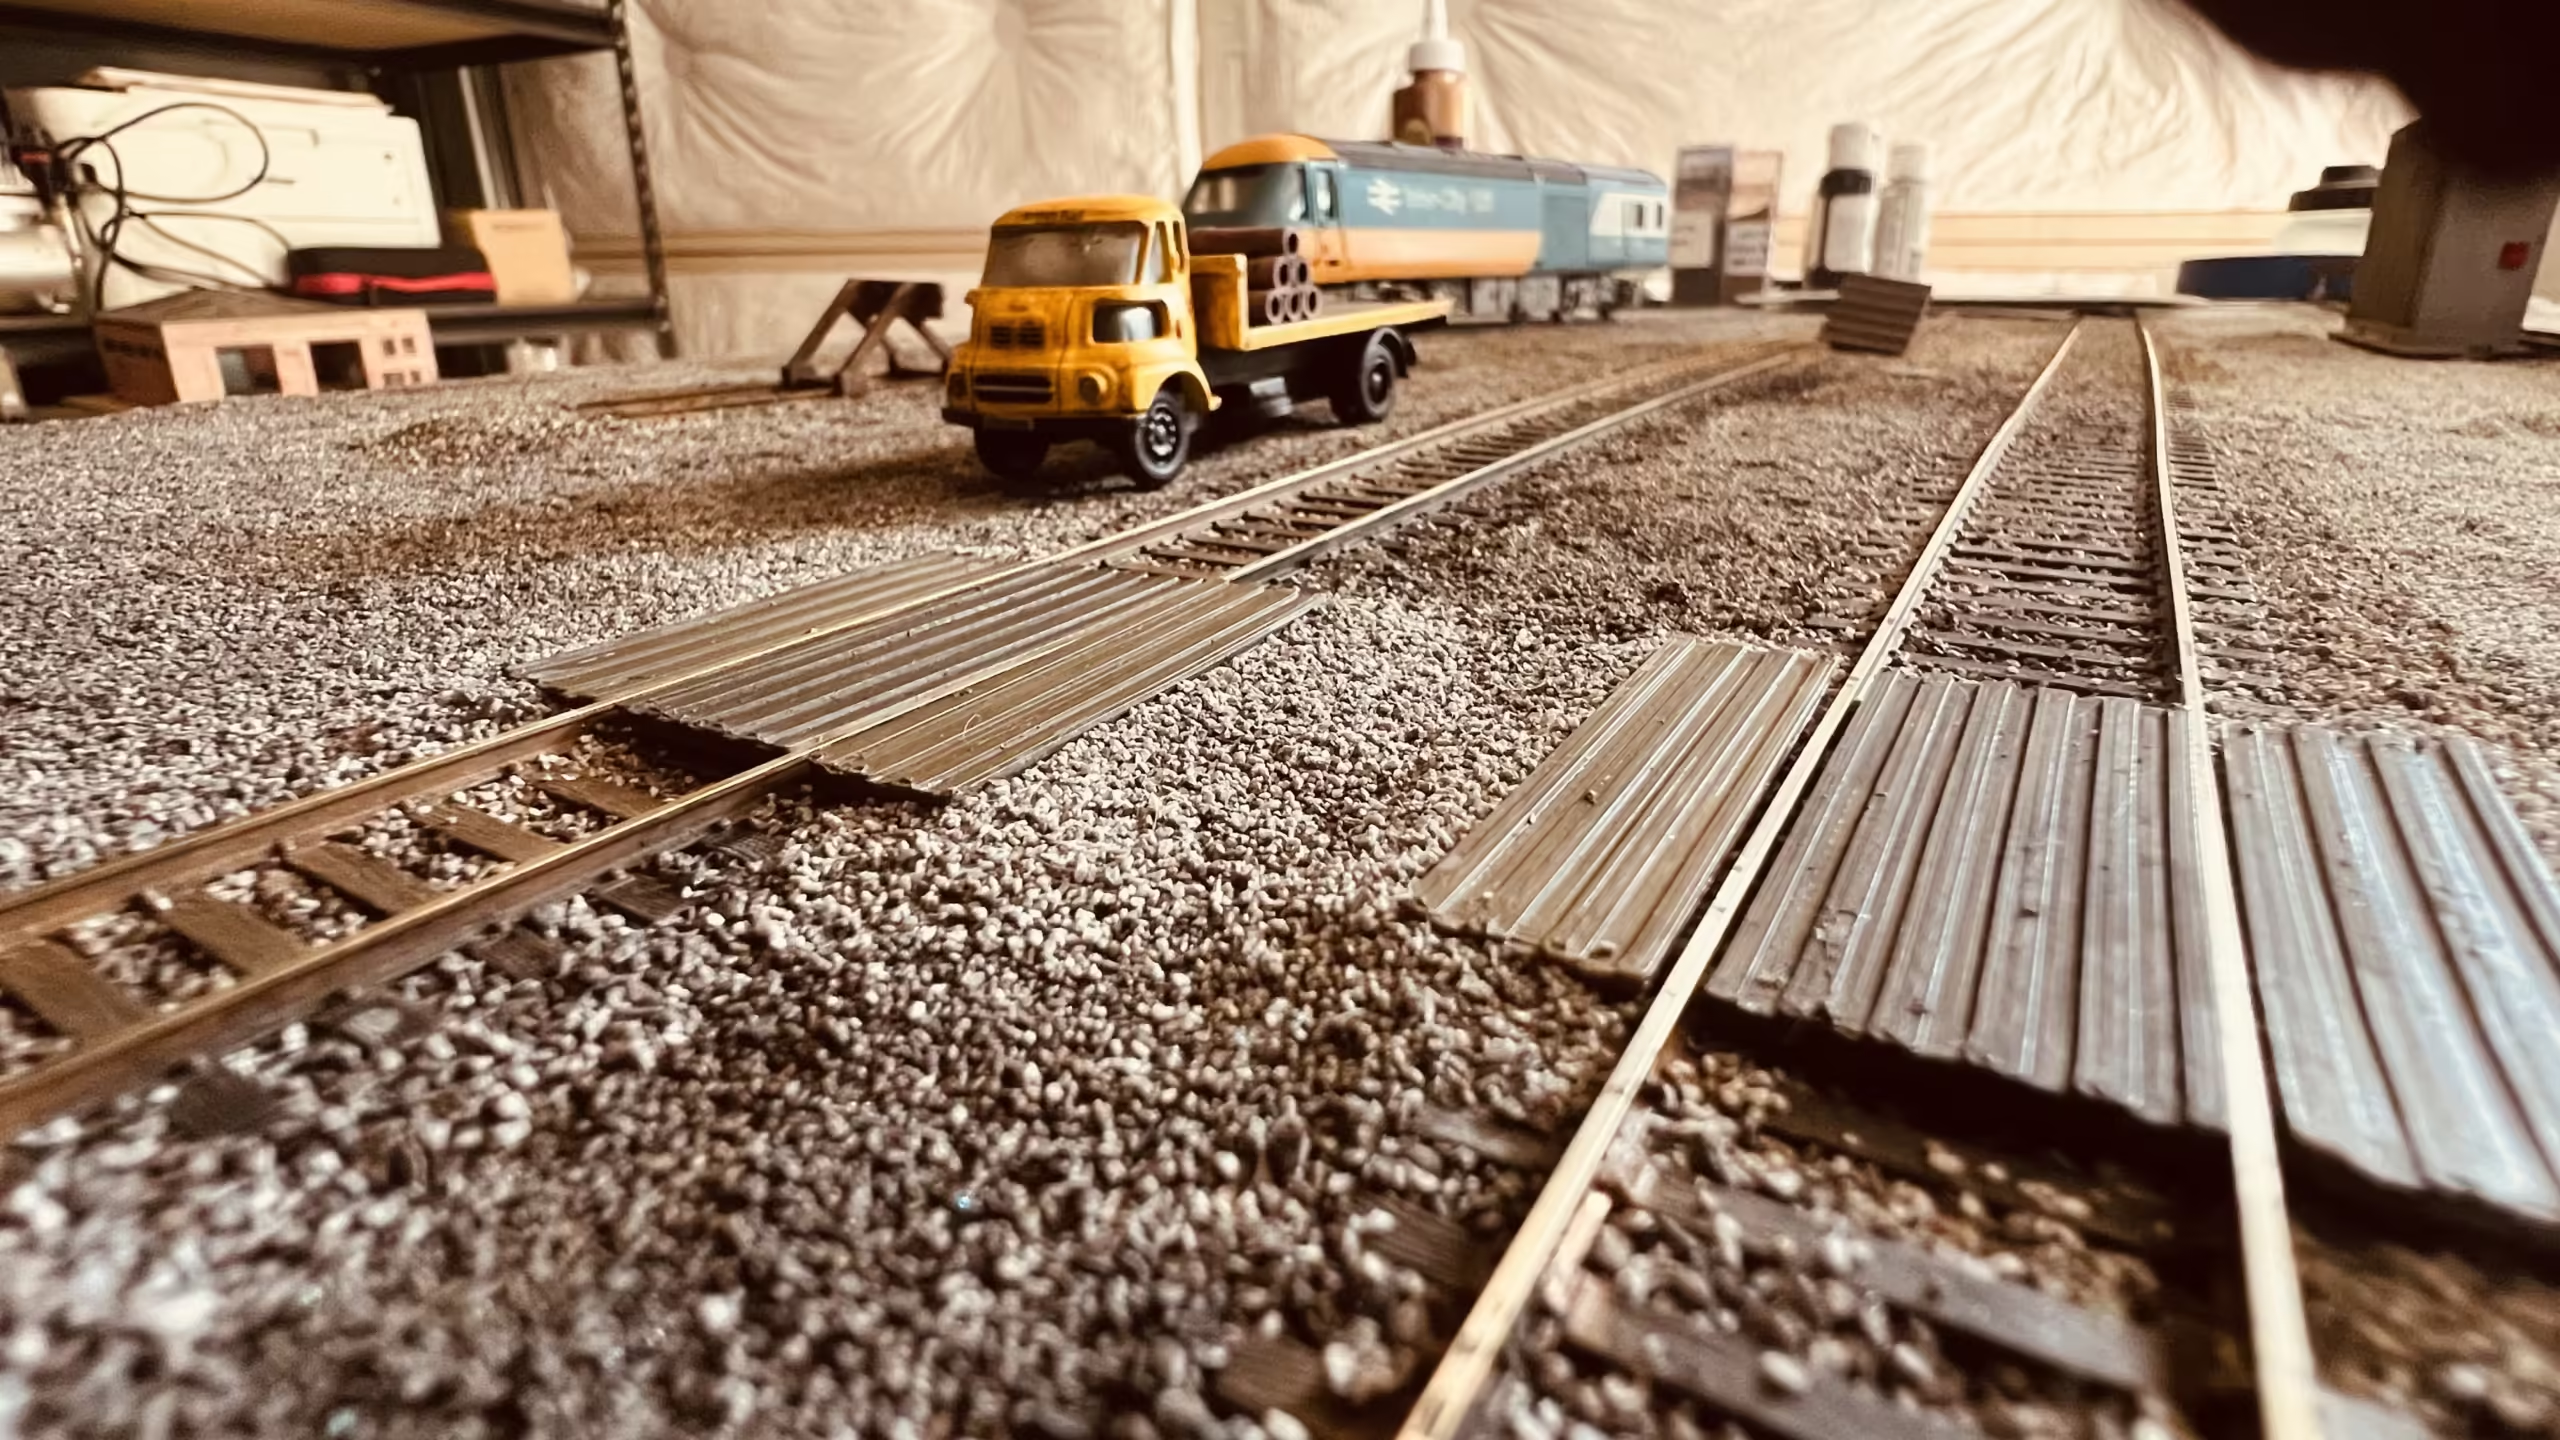
I had some track lying around so that was the start. I wanted the diorama to edge more towards realistic colours with dirt and grime.
I glued the track to the board with white PVA glue then I got my airbrush out, I was happy to see it was still working OK after sitting in a box for 10 years. That thing certainly makes quick work of painting the track.
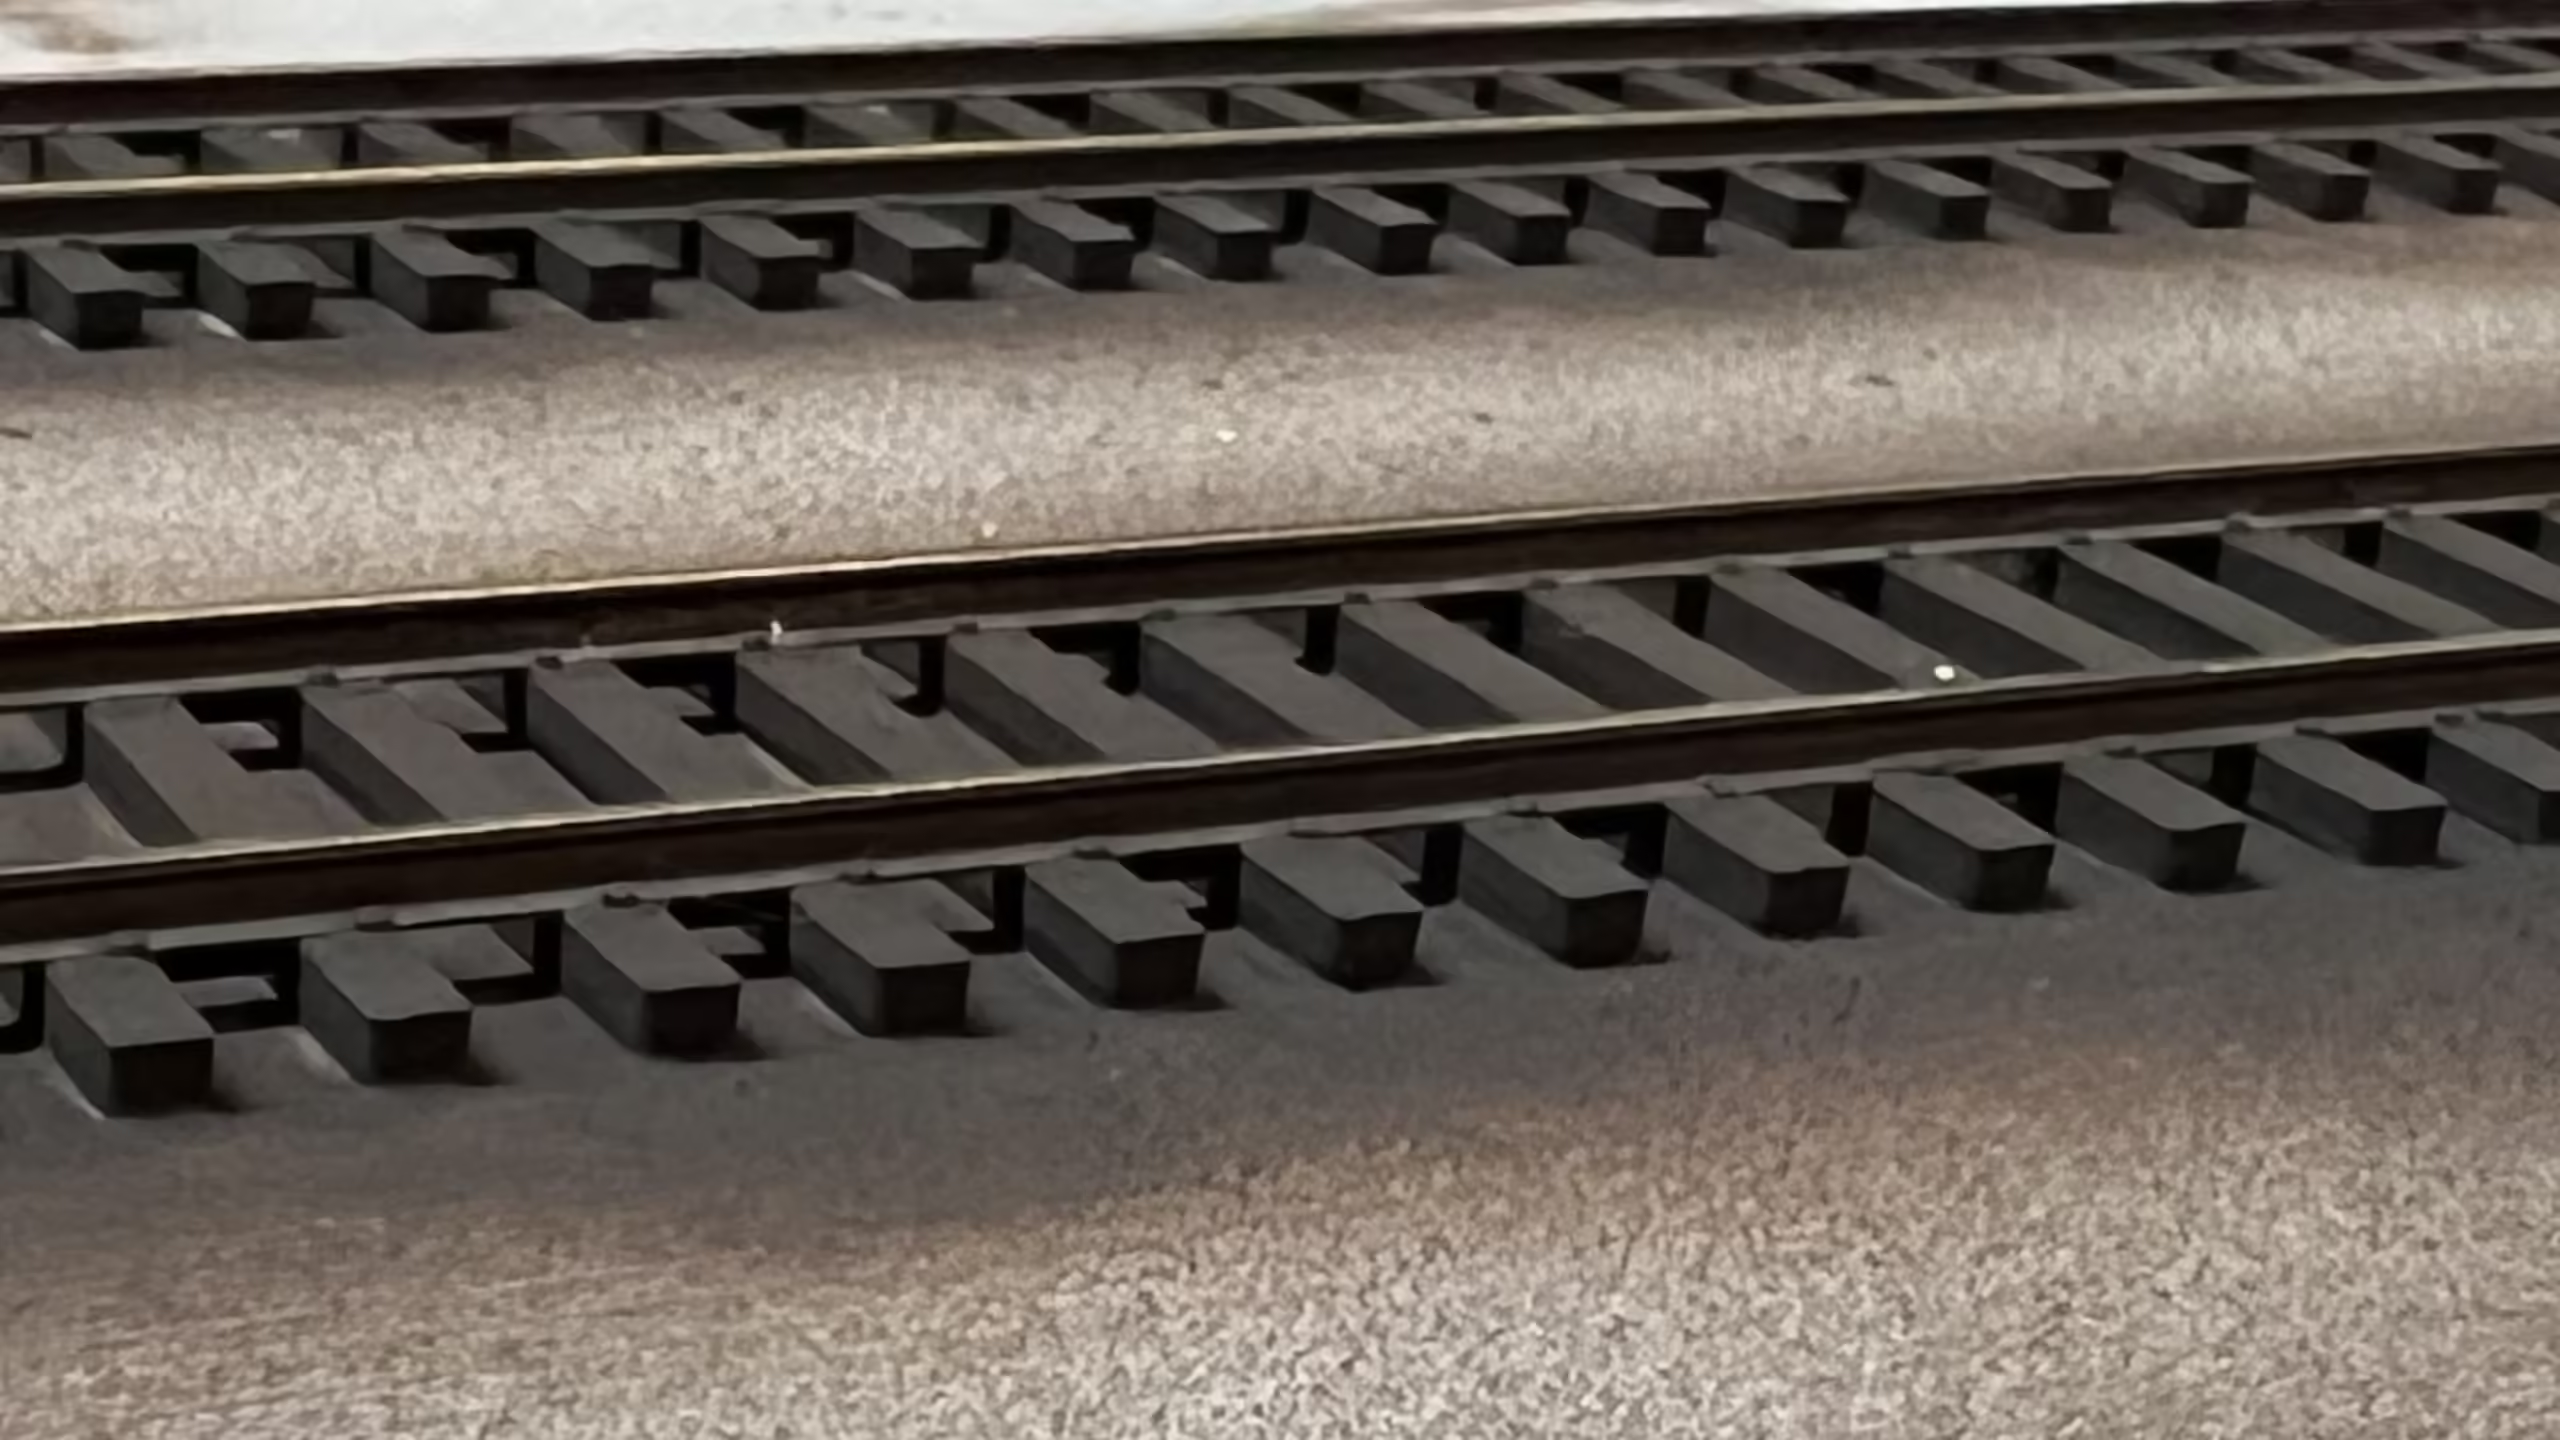 ….and then I set about ballasting. I had forgotten how boring that is to do.
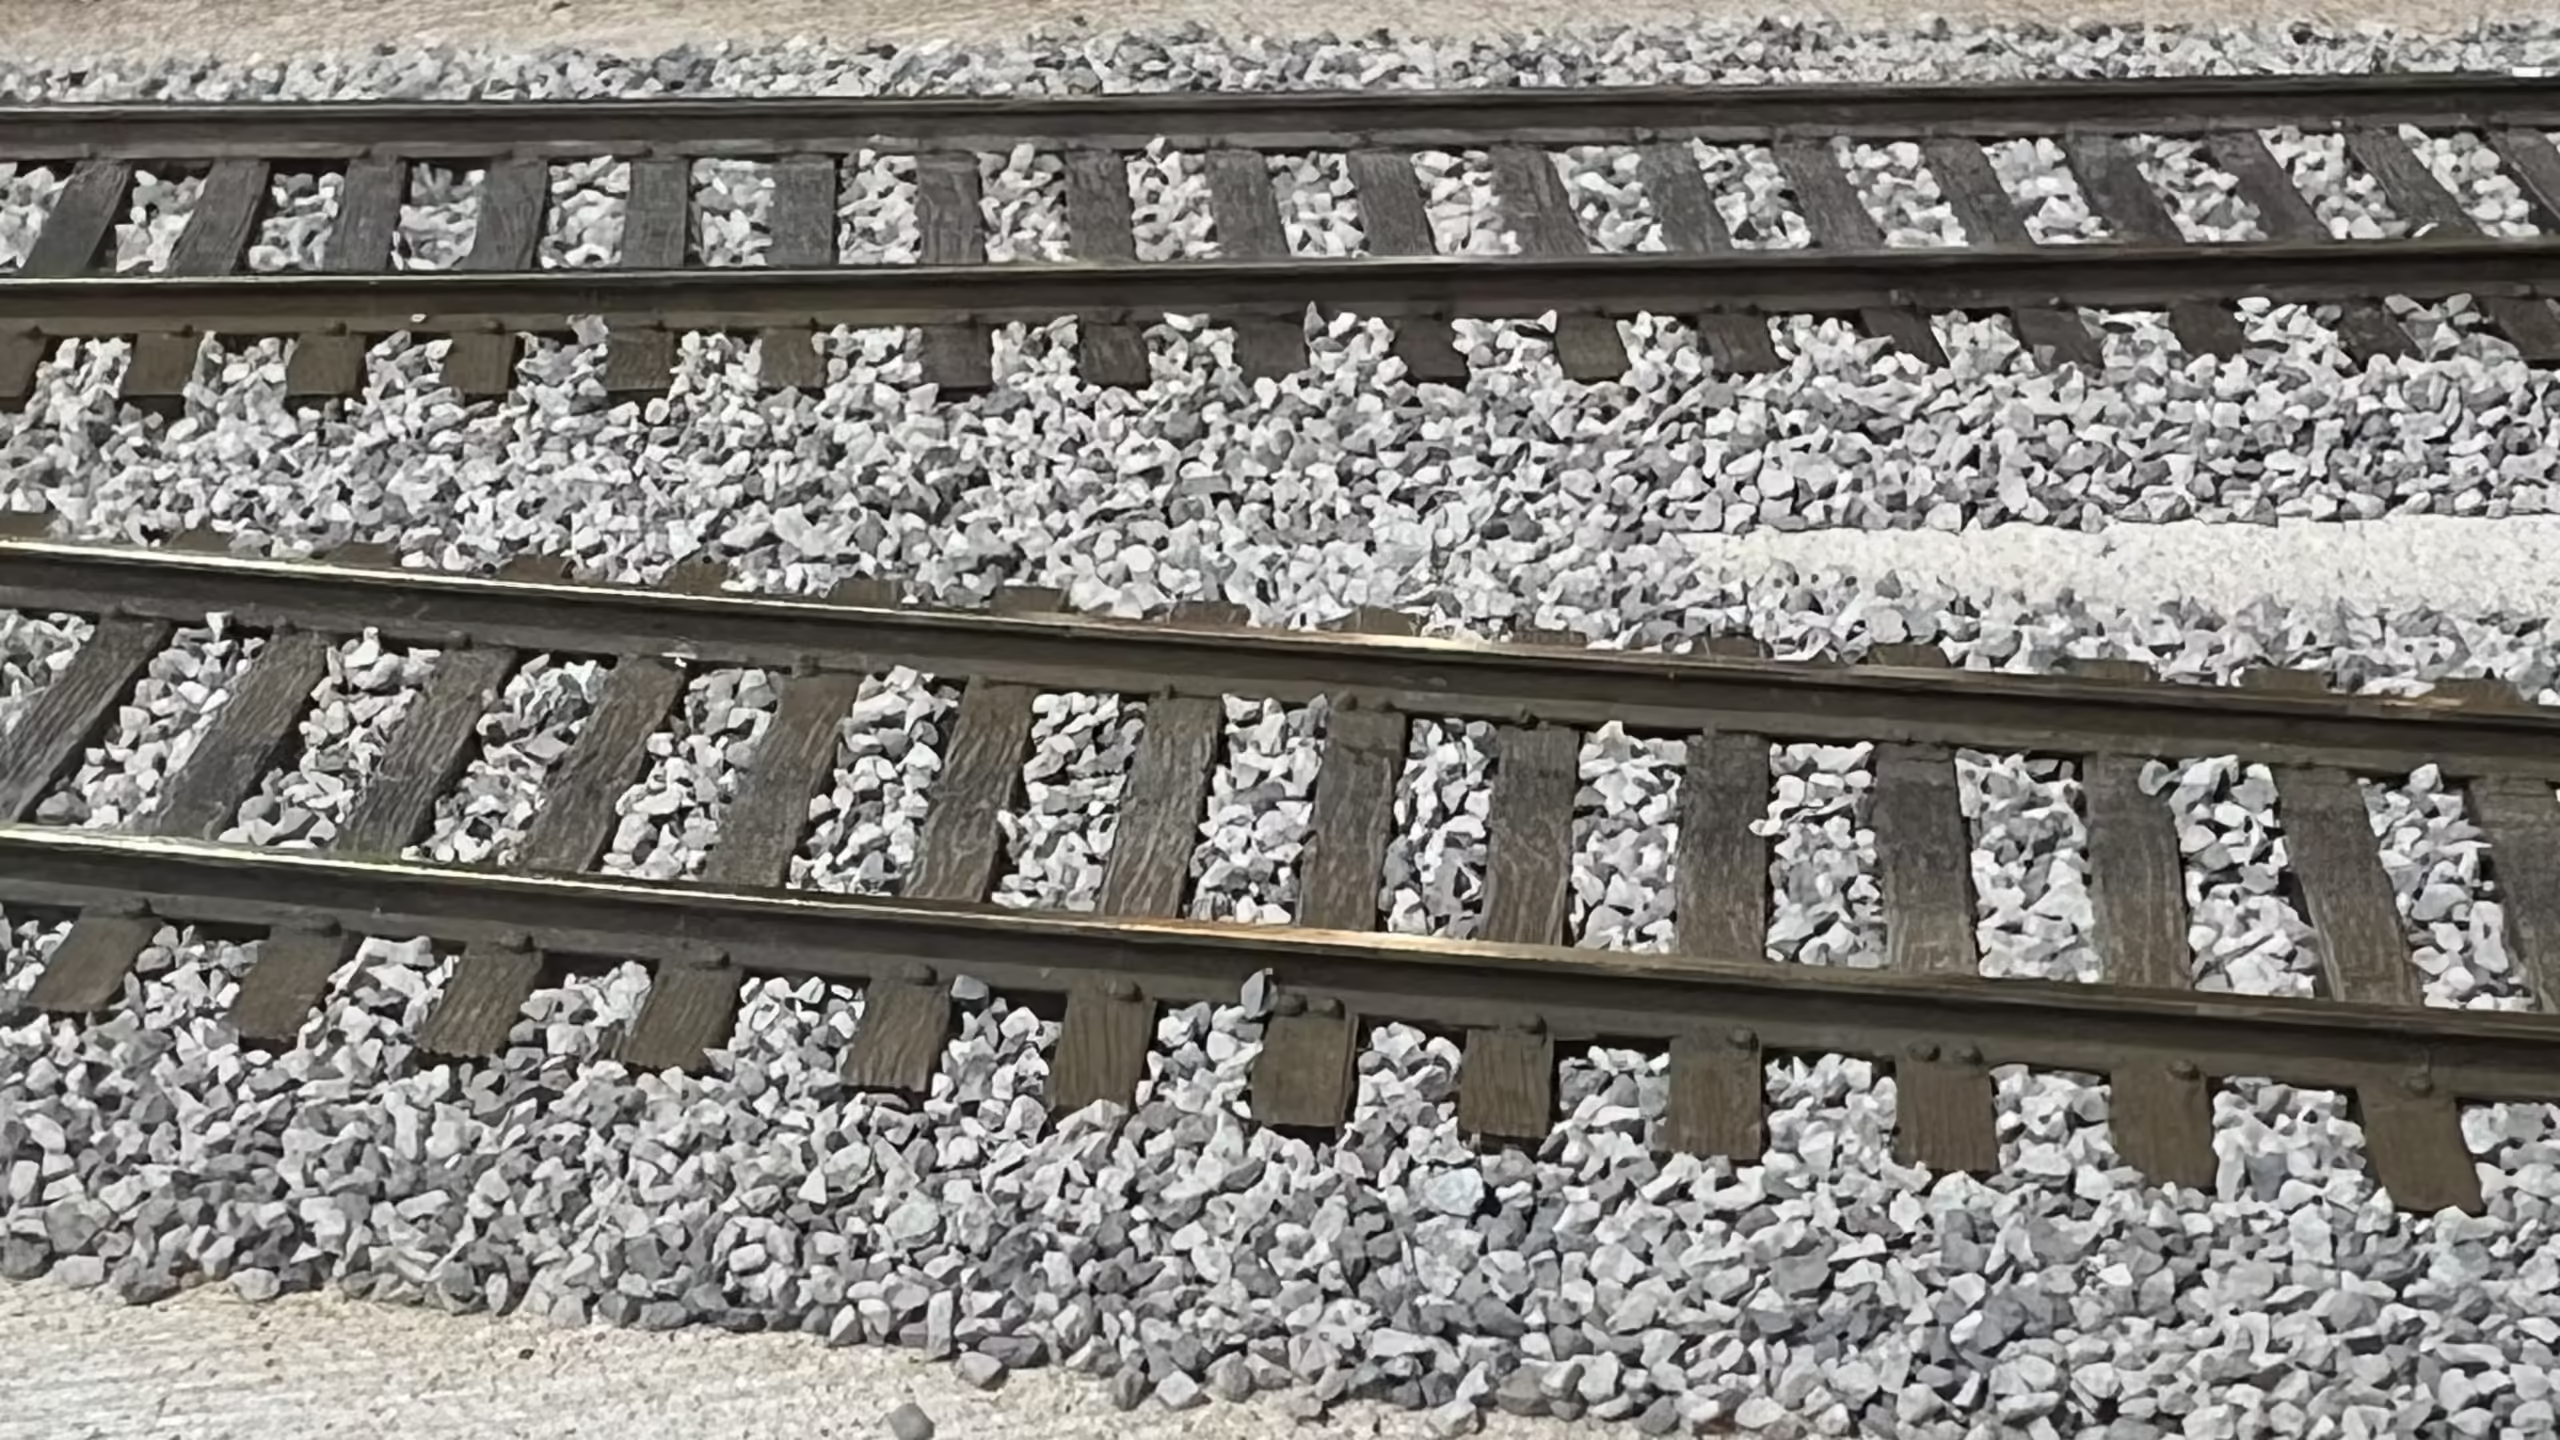
I need to go over the rails with some rust colours. Now the ballasting is out of the way, what to do next?
I’m still not sure what buildings will be on this diorama, but I know I do want a high brick retaining wall in the background.
I always liked the Diorama that John Wiffen at ScaleScenes built.
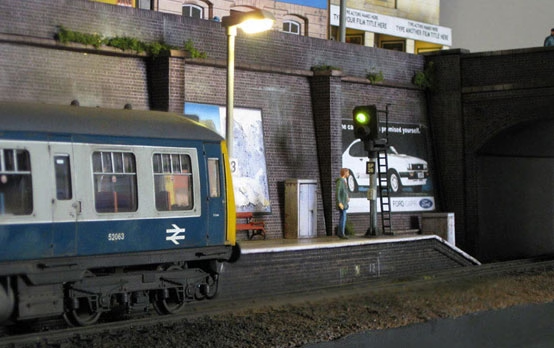
Image Credit – John Wiffen -ScaleScenes
With John’s diorama in mind, I used foam/card sandwich board, it’s very rigid, lightweight, and easy to cut. I’m pretty sure the ScaleScenes papers will be being used again.
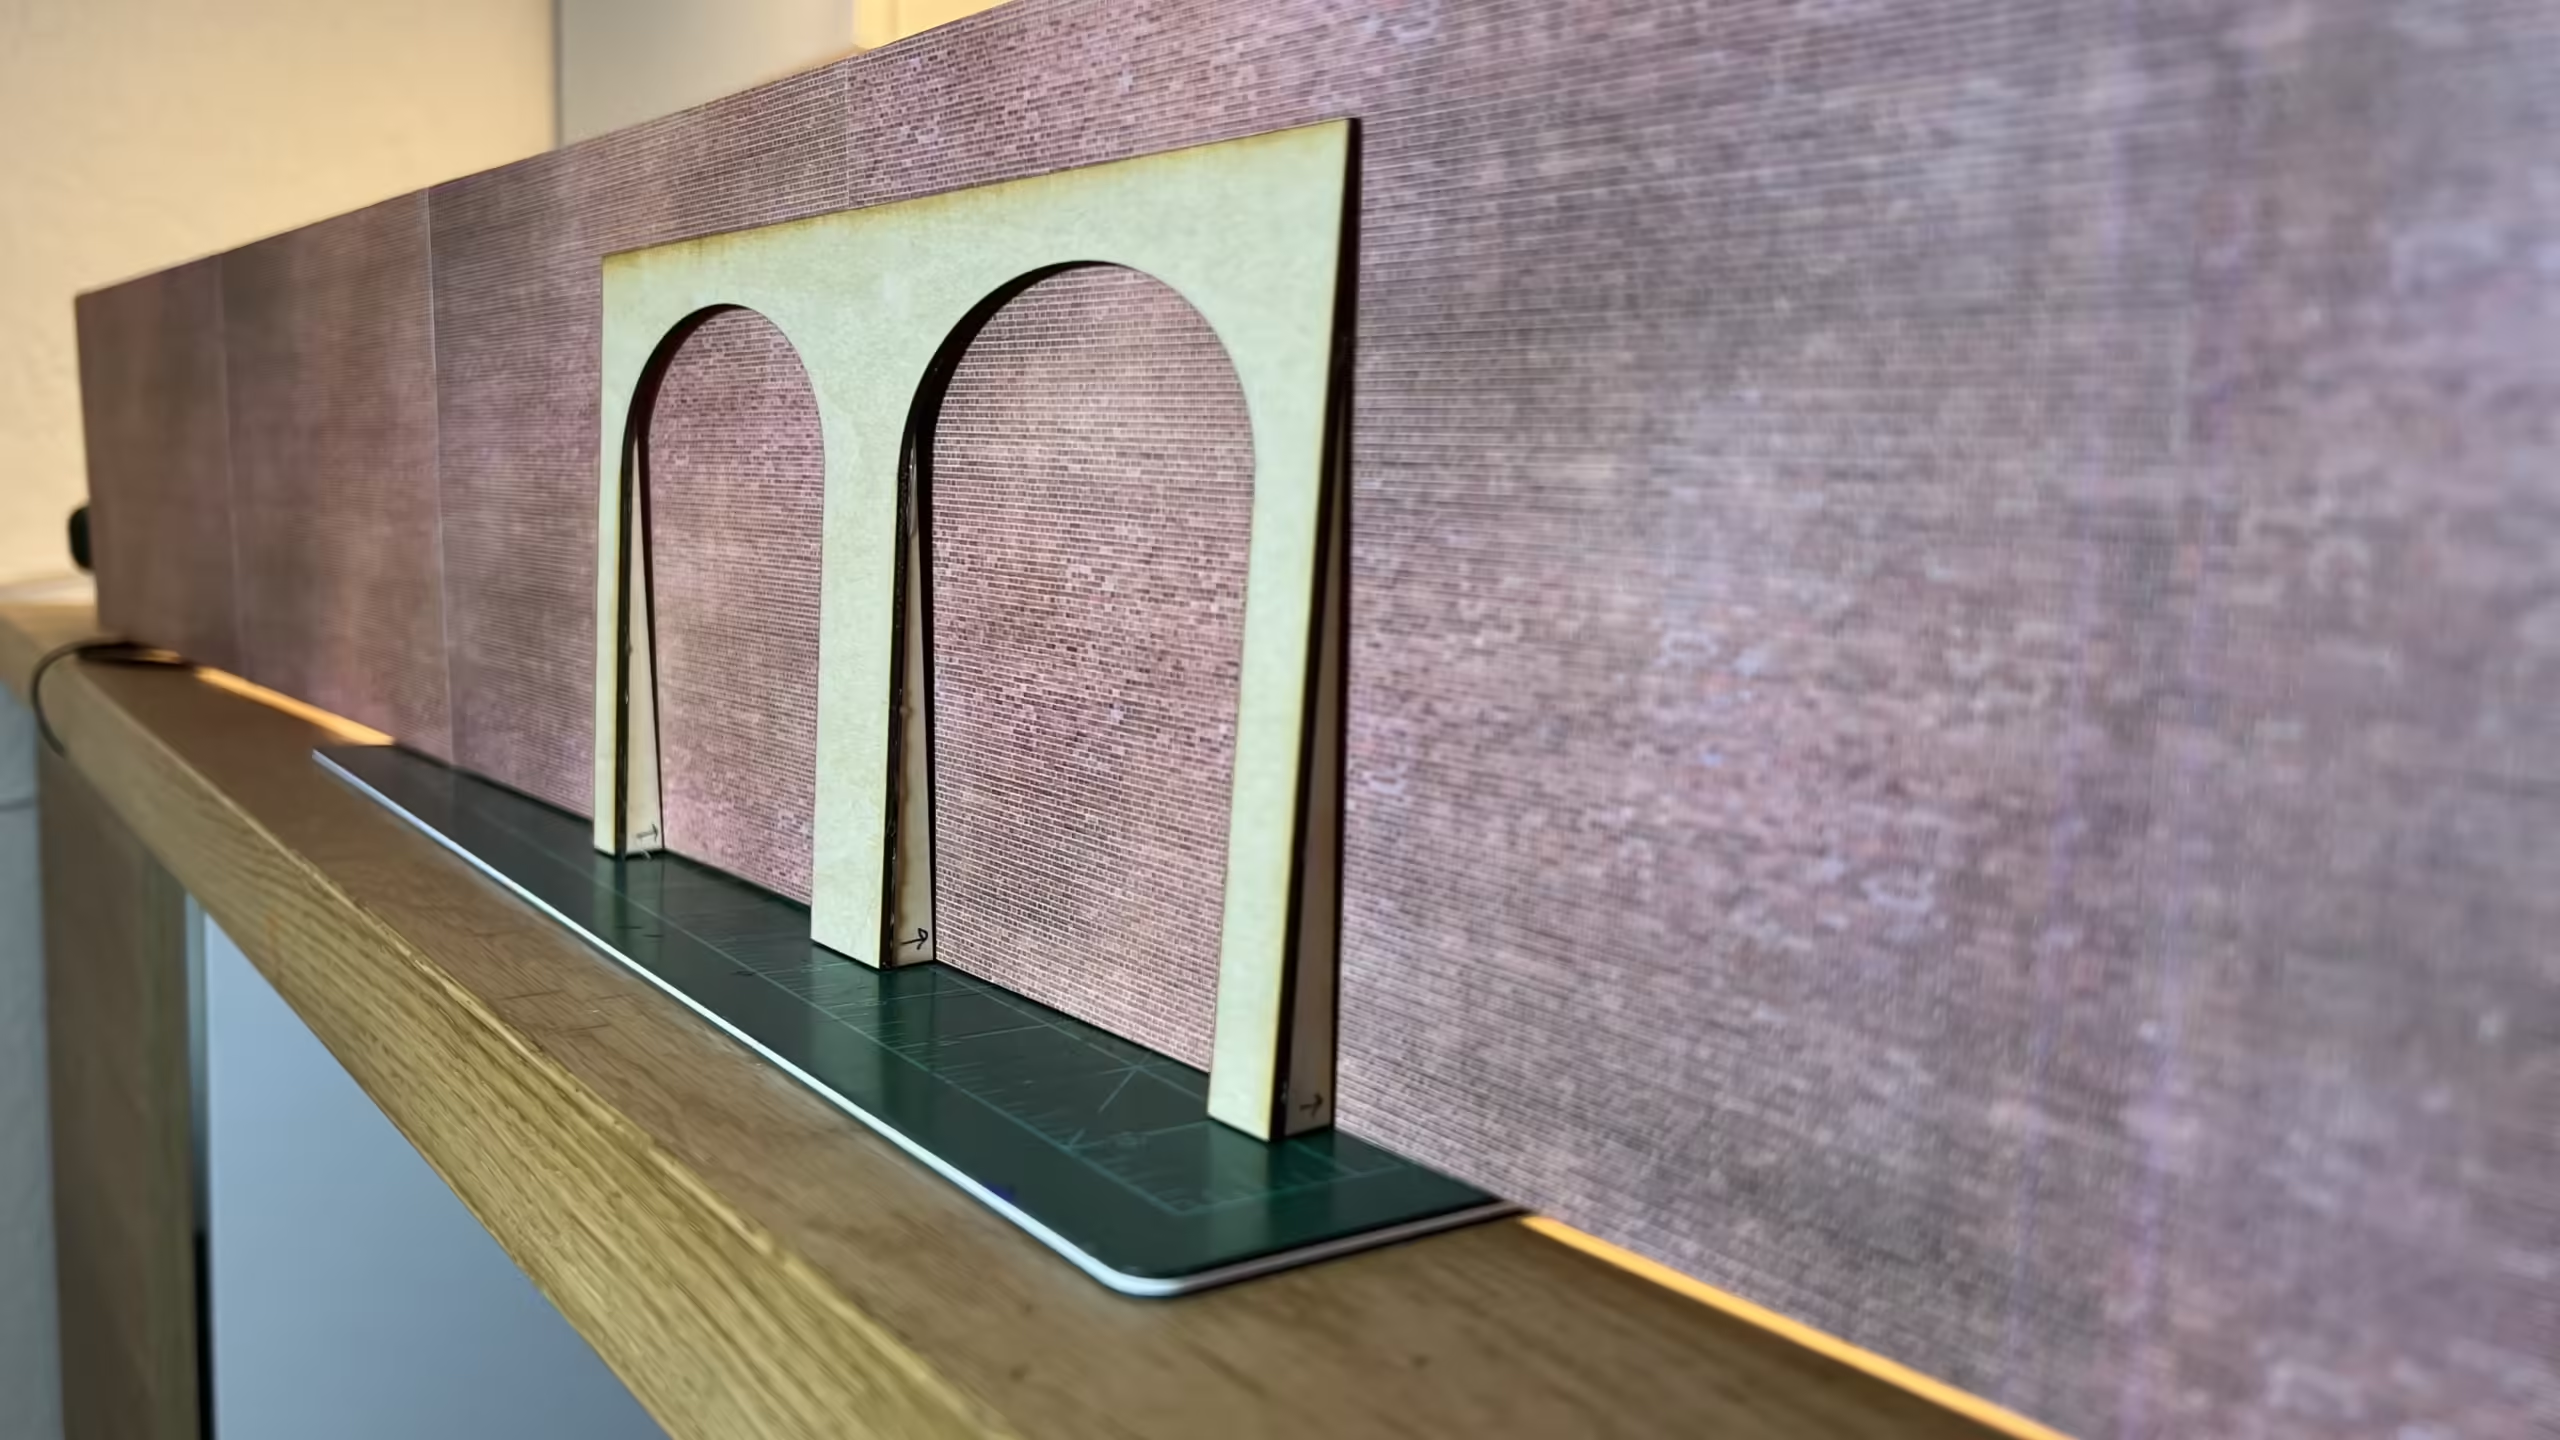
Above you can see the back wall cut to size. I’m going to cut a tunnel opening and use the Laser Cutter to create the tunnel portal. That way I can obtain a perfect opening shape rather than my ham-fisted attempts with a blade.
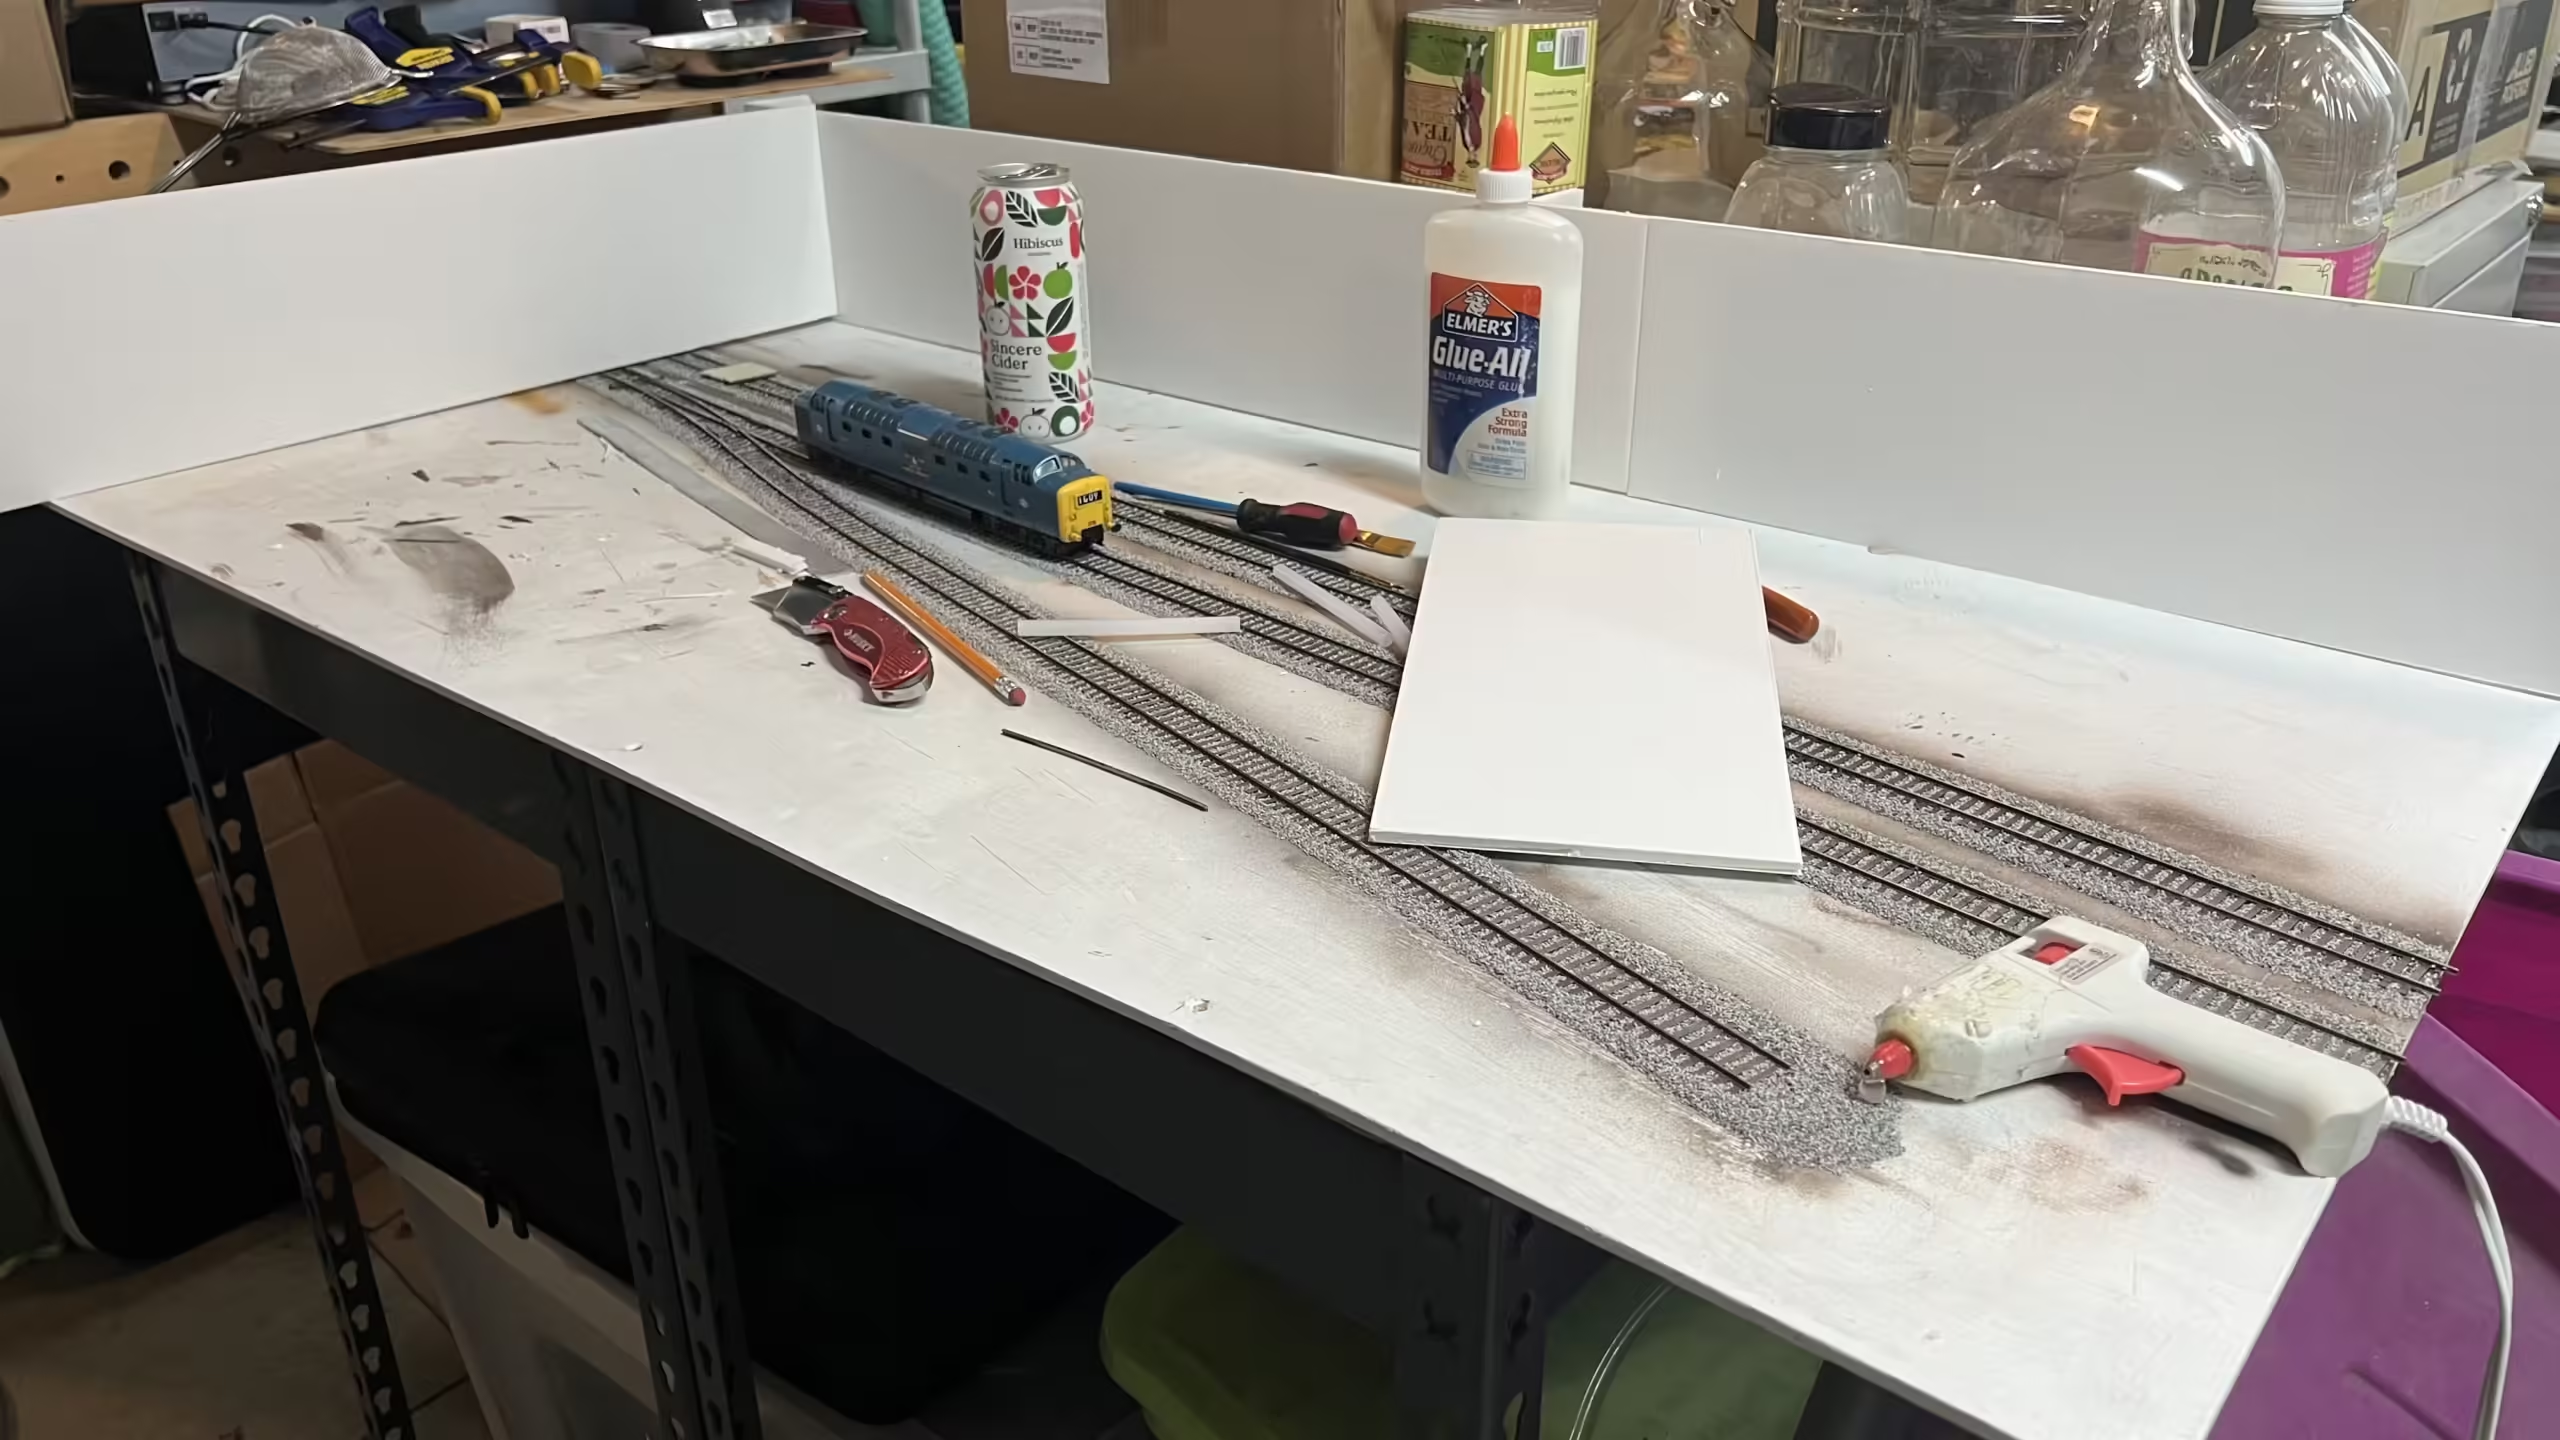
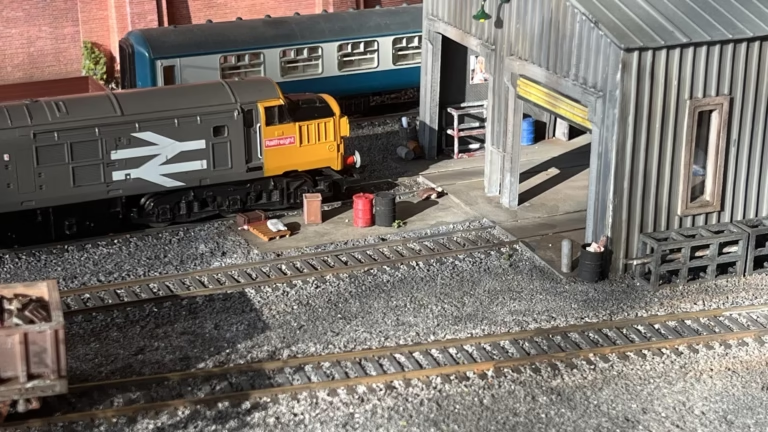
The photo above shows the perspective that the Diorama will have. That Deltic is from my childhood. I remember getting it for my birthday in 1977. It still runs.
As we all know, a retaining wall is usually sloped with buttresses, I didn’t want to just cover the 4ft of foam board with ScaleScenes brick paper, I wanted to give some depth and variation so after an hour or so using the Inkscape program, I created the shapes I wanted for the arches.
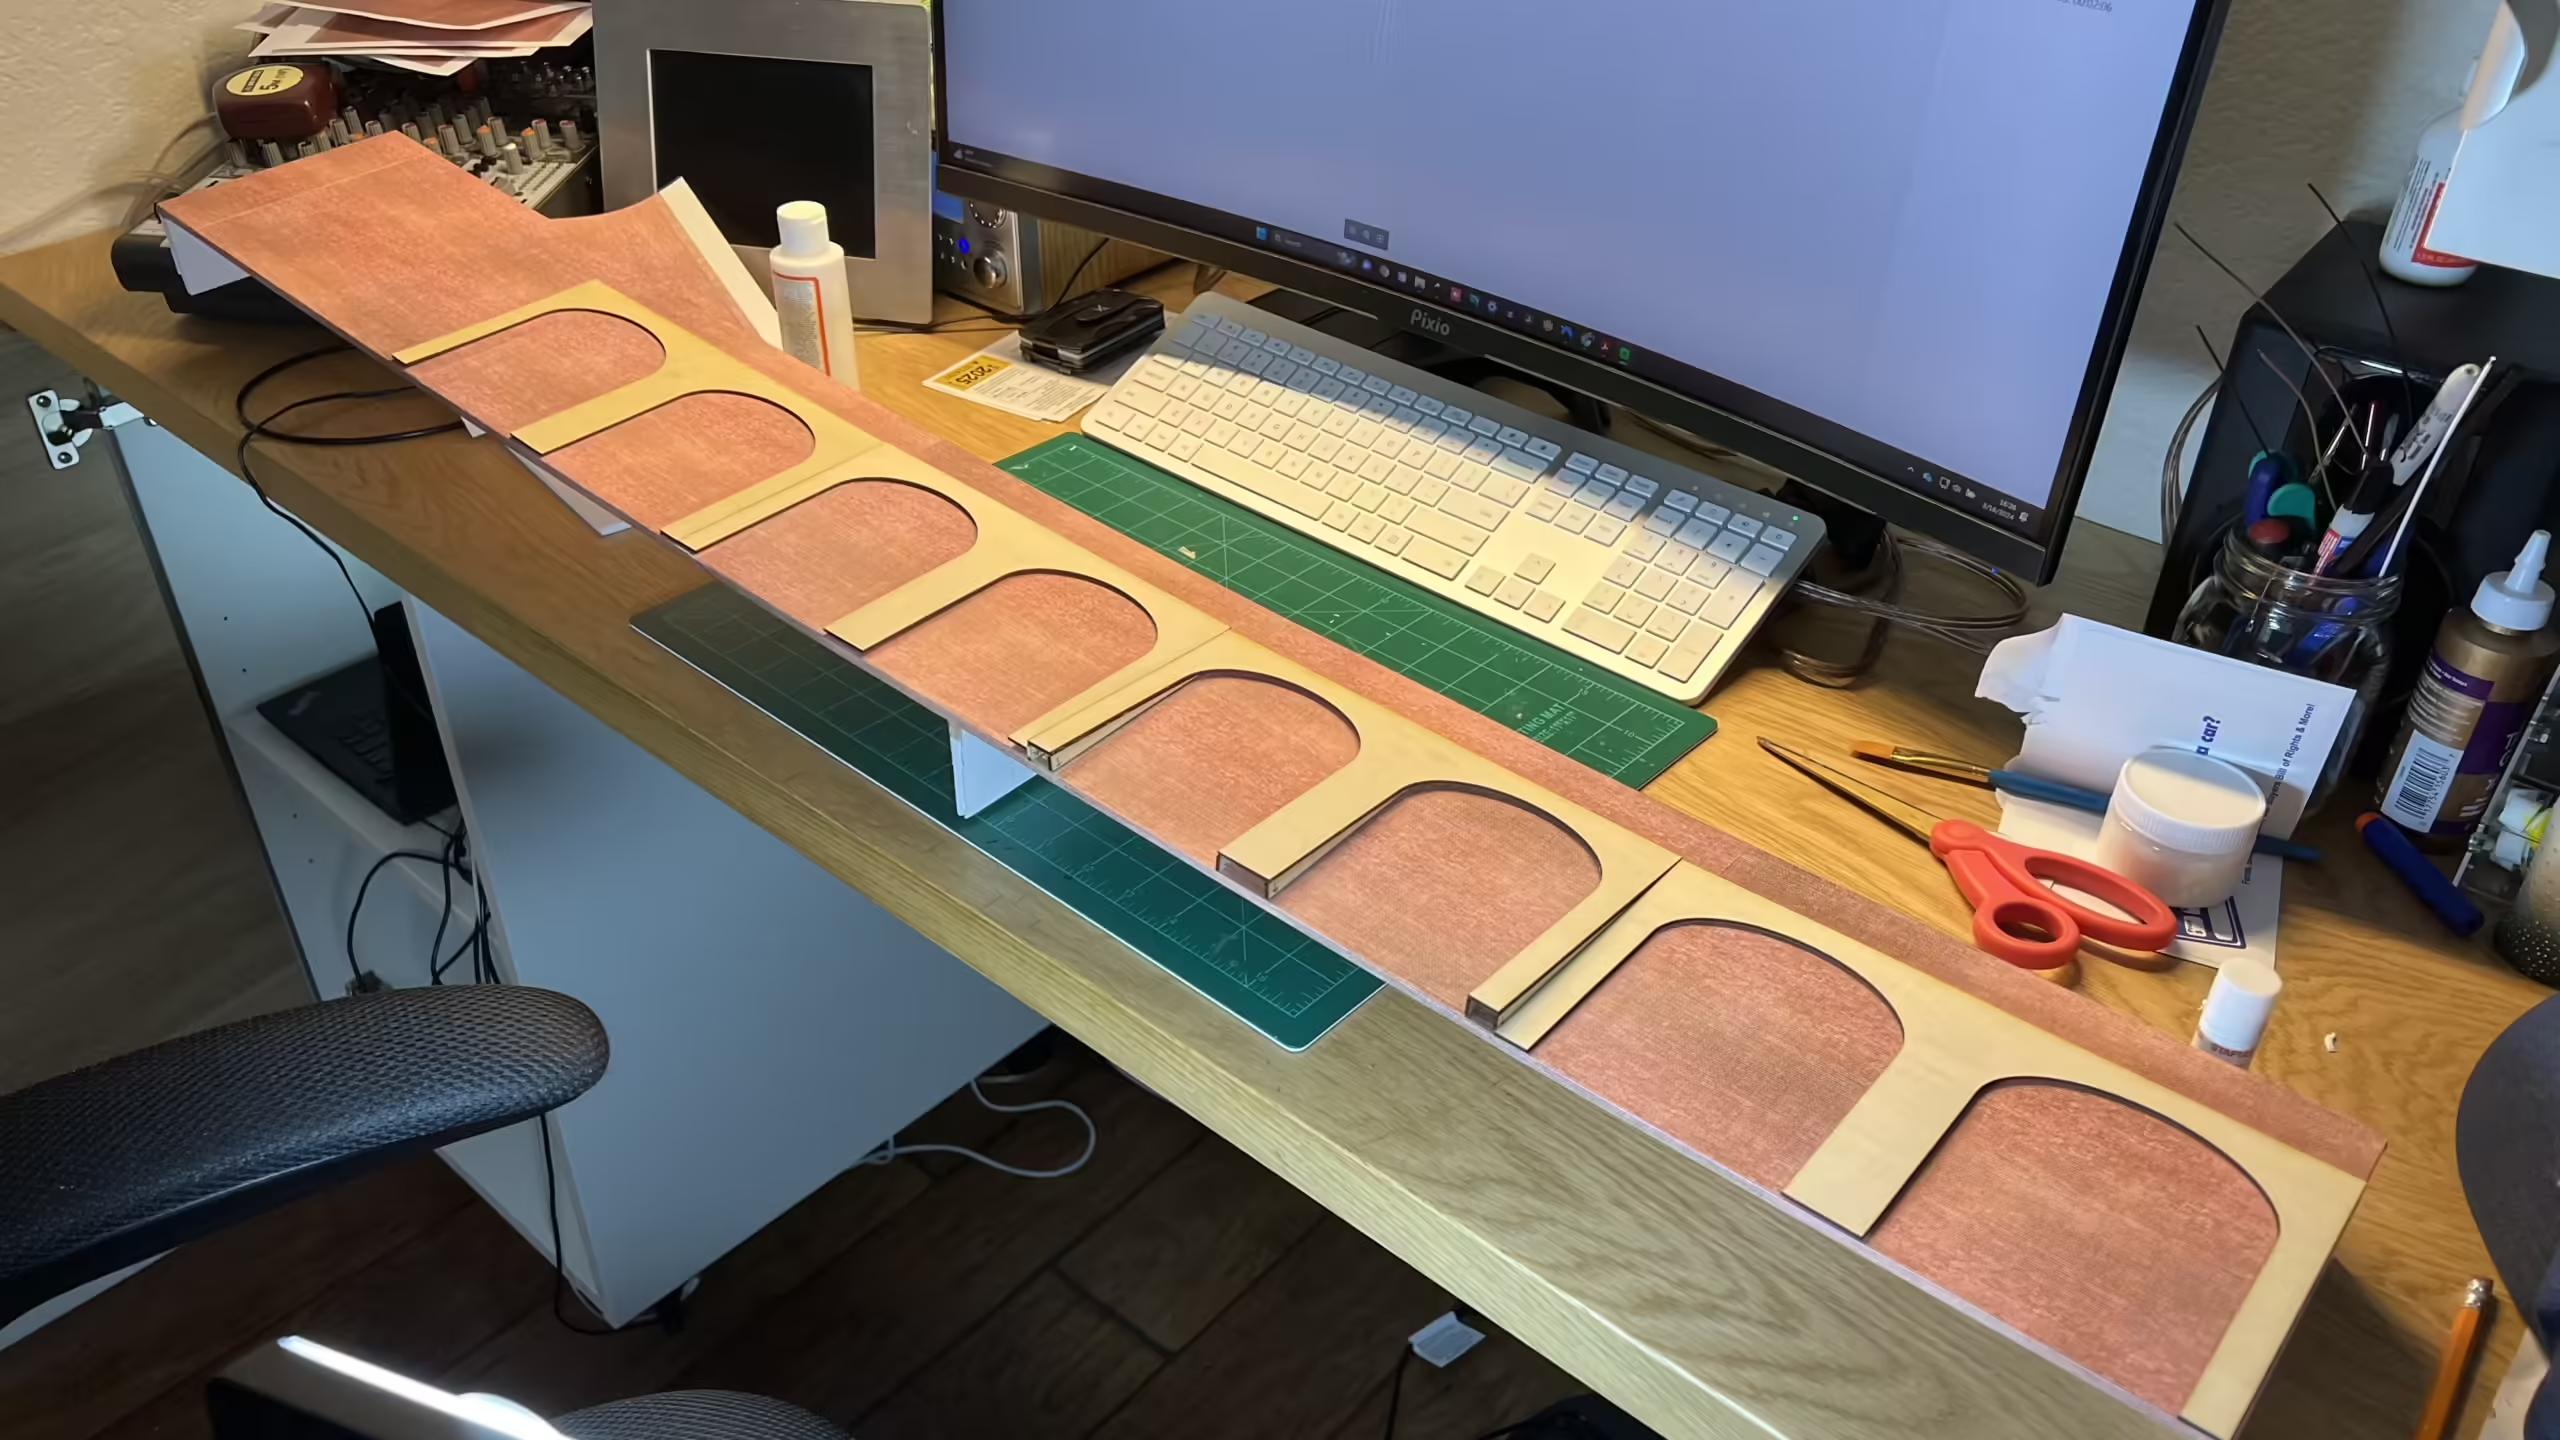 I sent the file to the Laser Cutter and within a few minutes, I had 6 perfectly cut sets of arches. I bloody love that machine. I also created the sloping supports in Inkscape and cut those out too.
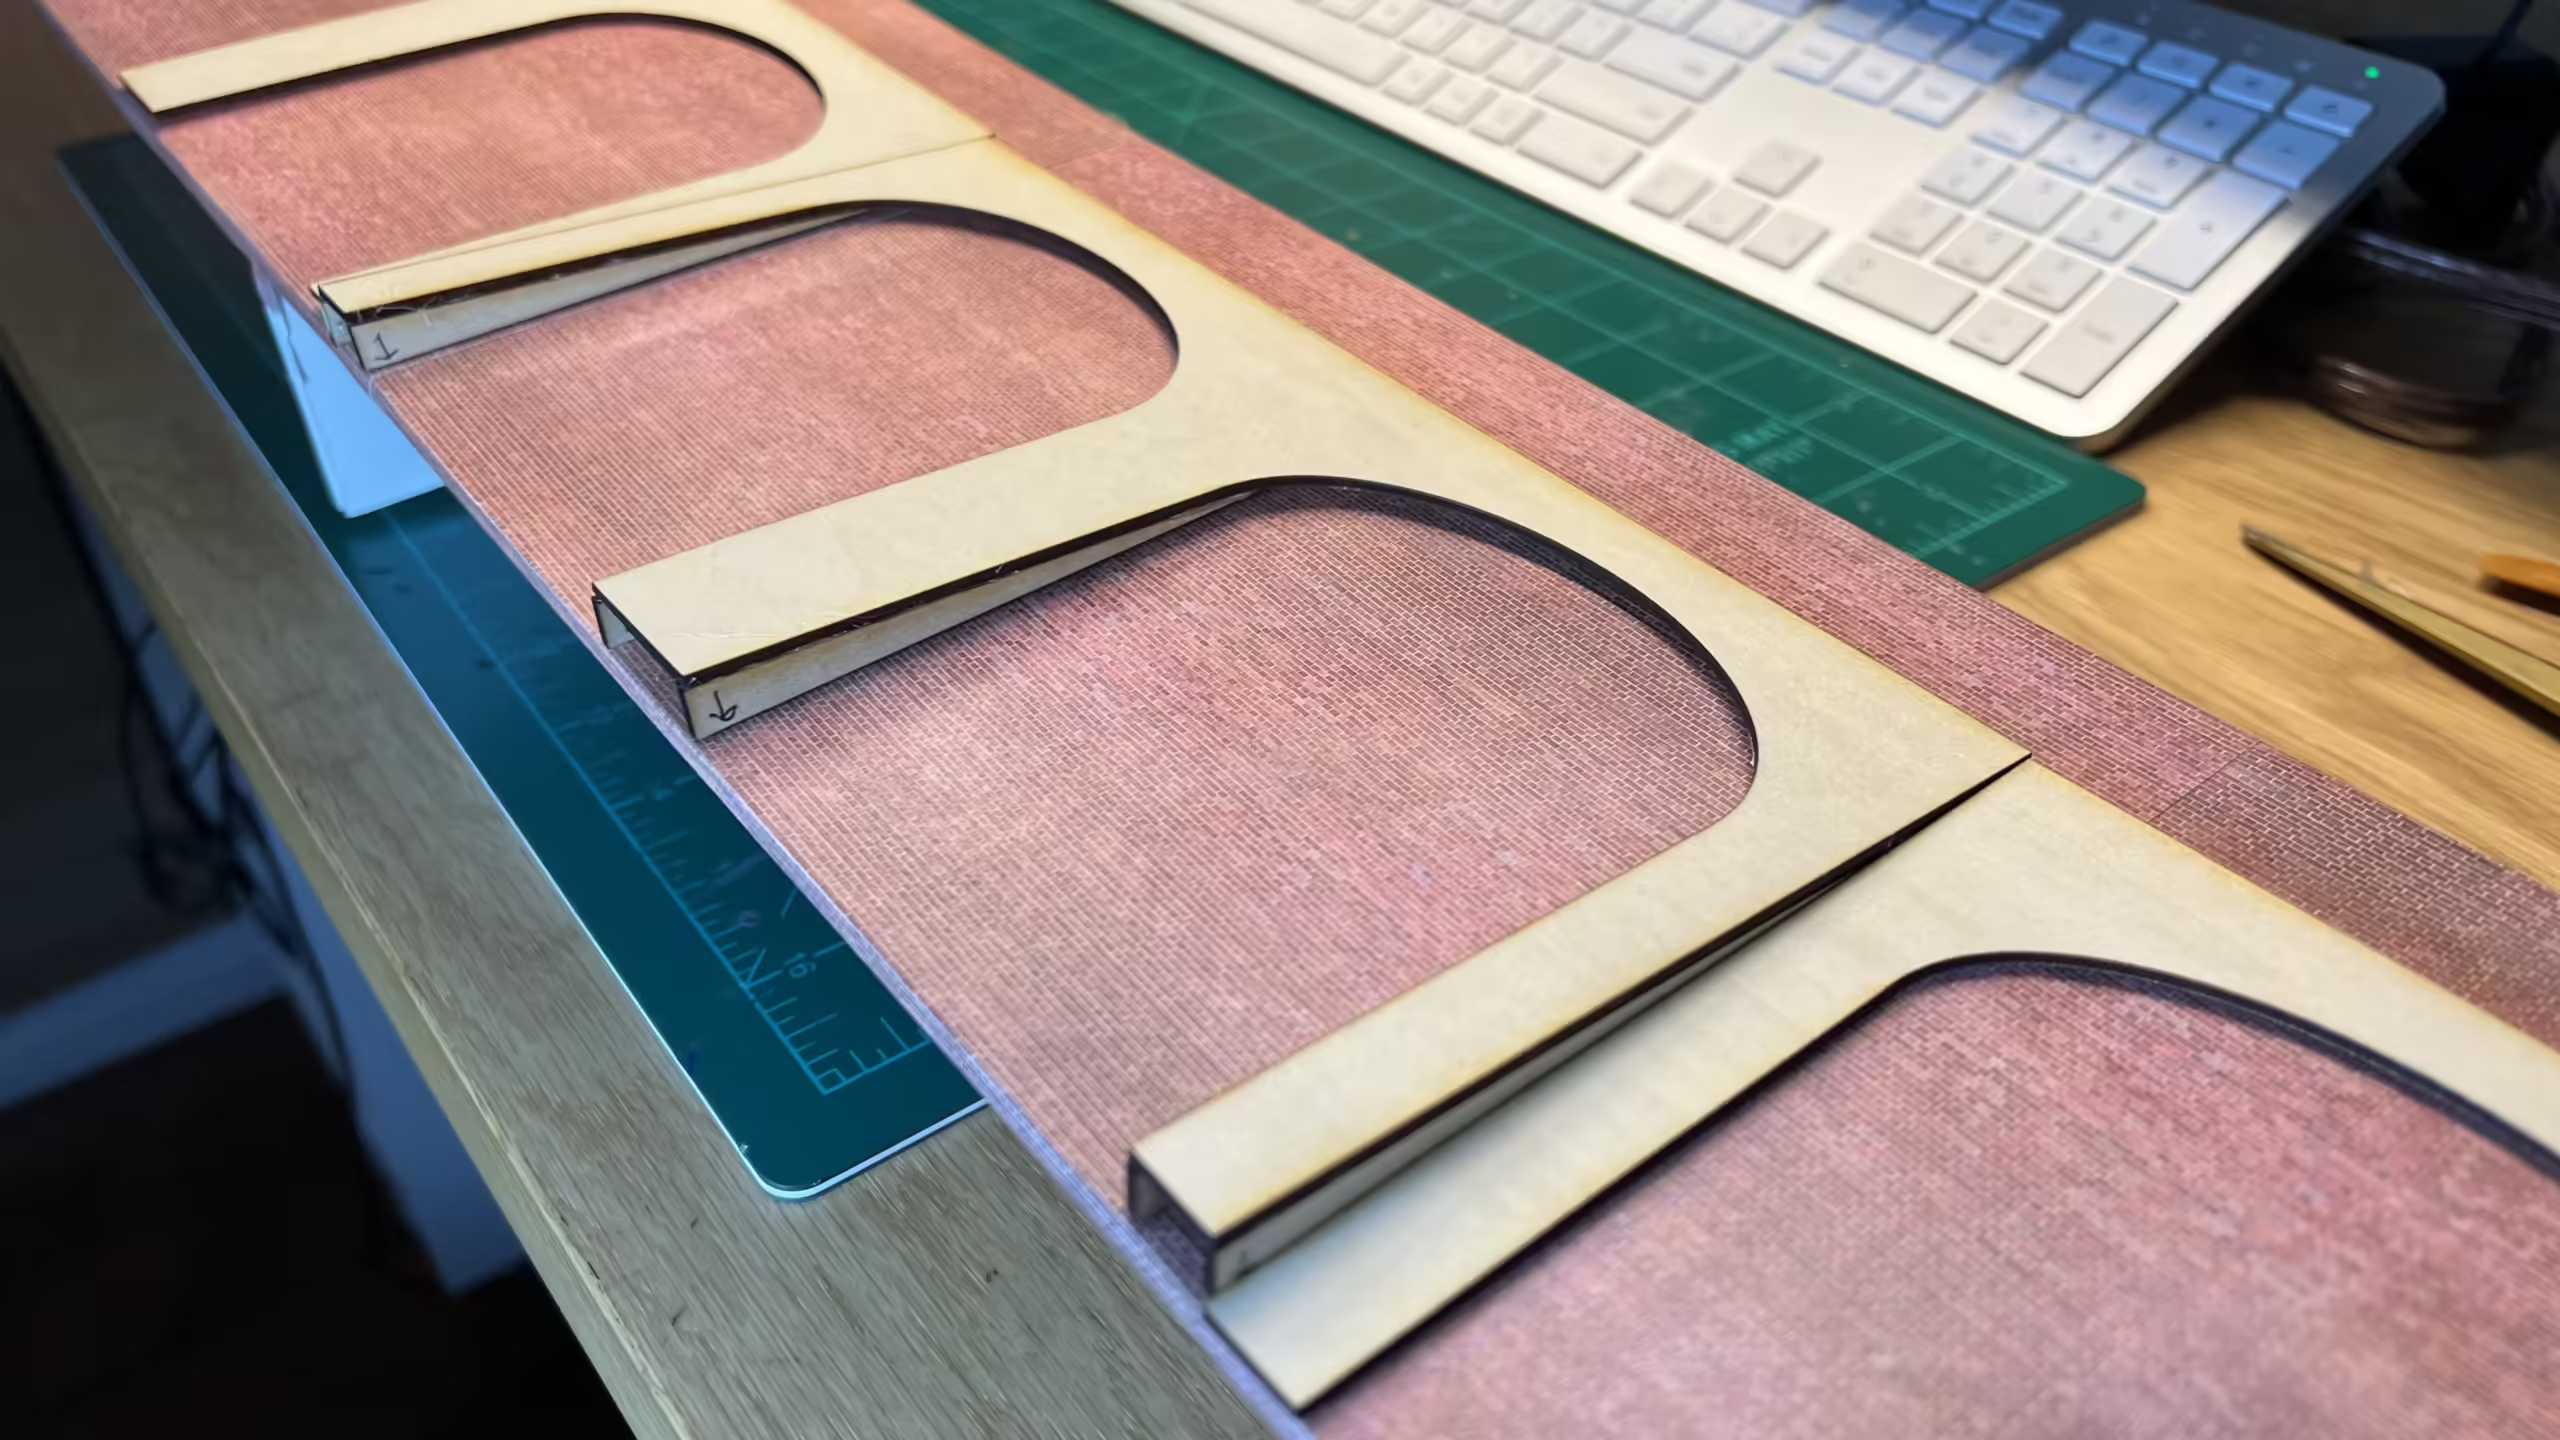
You can see in the photo above where I’ve hot-glued the supports in place on one of the arches.
Now I need to wrap the arches in more ScaleScenes paper.
It took 6 sheets to cover the foam board wall, and due to the nature of the cutting and pattern alignment needed, I’m going to need another 12 sheets to wrap the arches. Good job I printed out 30 sheets last time on my office colour laser printer.
Thanks for checking in, more updates to come.

