OO Scale Diorama
This is an ongoing build with updates posted as and when. Scroll down for the latest updates or you can “Jump” to the update sections by clicking on the buttons below.
Before we get started, I want to say this Diorama is not meant to be based on a real place, or even remotely accurate in its content, layout and realism.
It’s more about me revisiting techniques and learning new things about a hobby I hadn’t touched for 12 years. It’s also me buggering about with my 3D printer. Hopefully that “sets the stage” a bit.
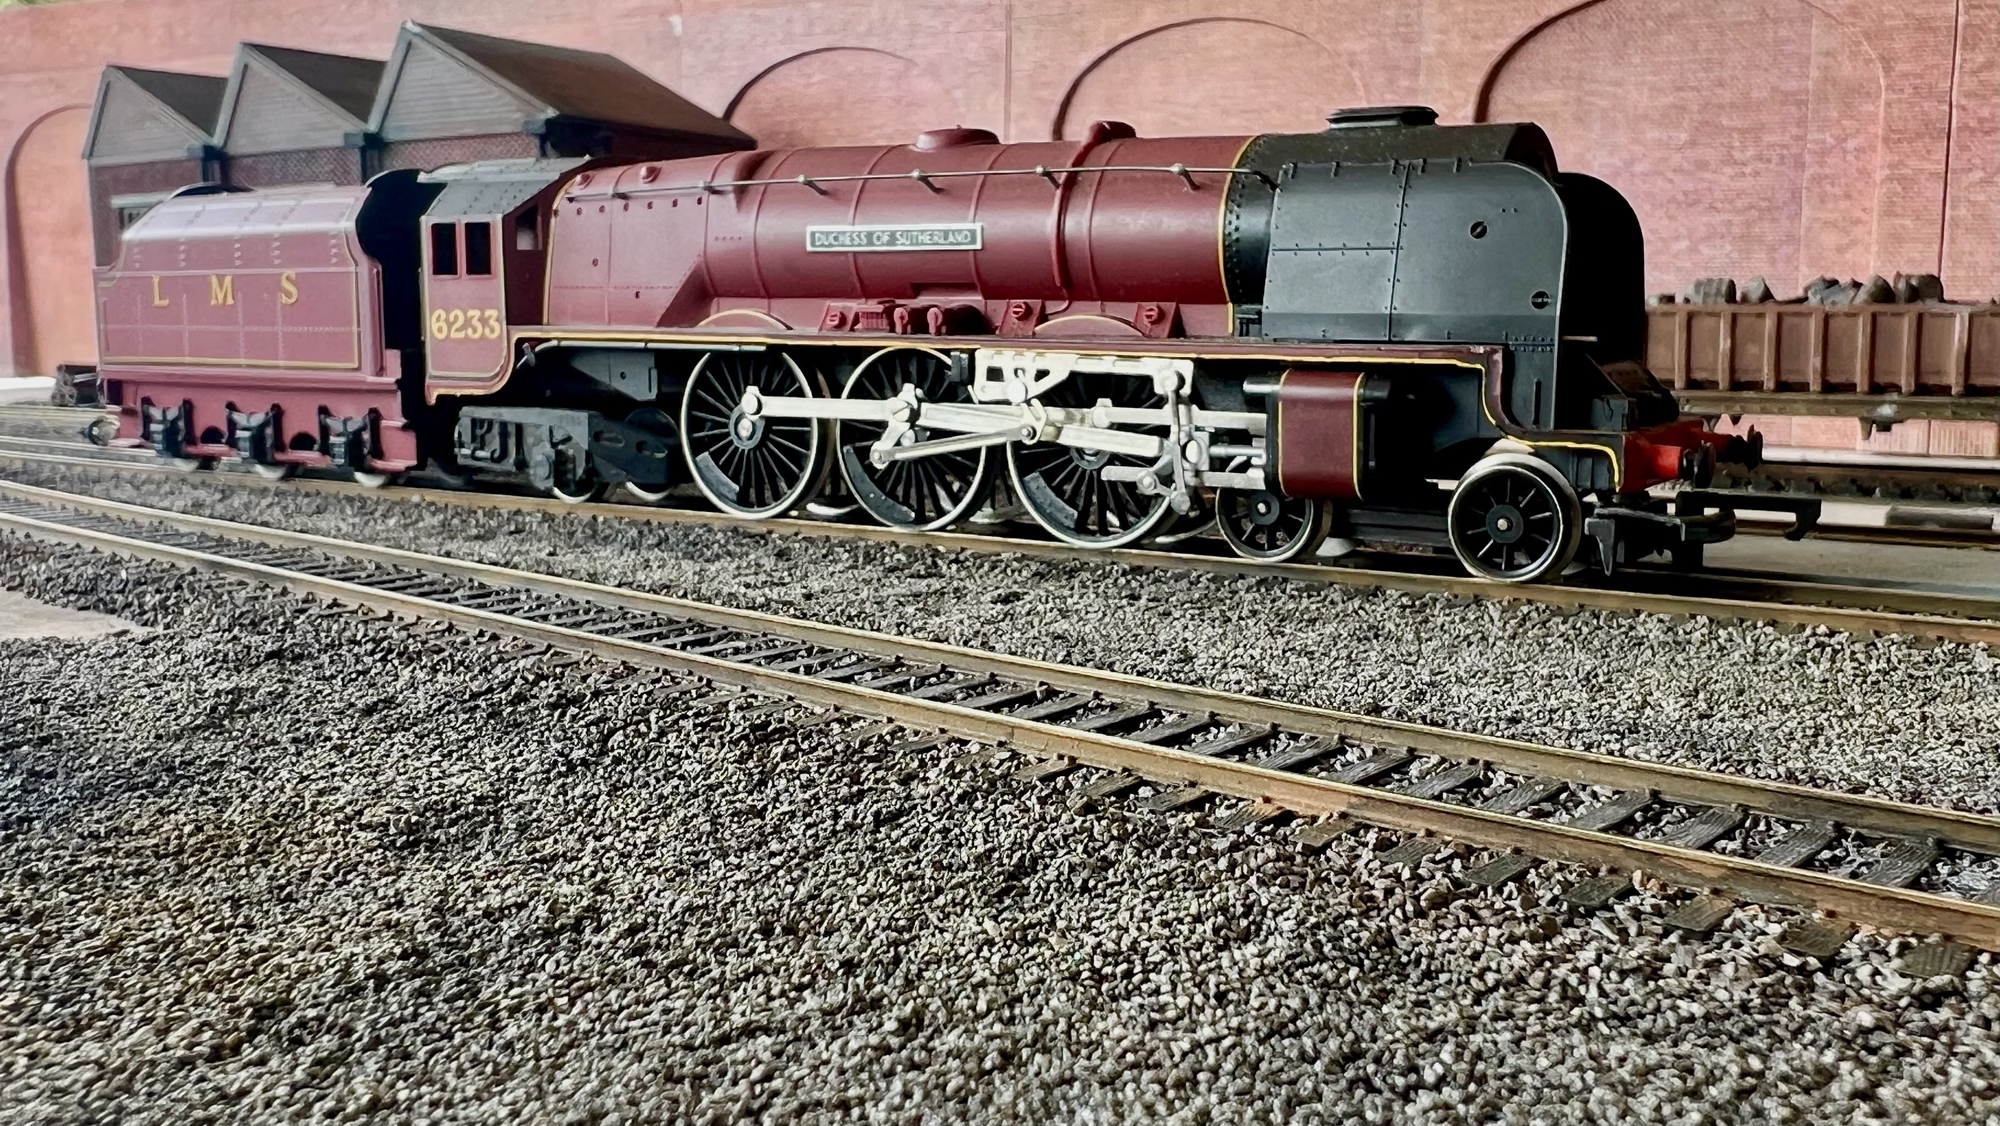
I wanted a way for me to enjoy looking at my locos and rolling stock. While I’m still deciding on where to build Trenton, I decided to make a 4×3 ft diorama.
This should be interesting, I literally haven’t used any of these skills for 12 years.
I had some track lying around so that was the start. I wanted the diorama to edge more towards realistic colours with dirt and grime.
I glued the track to the board with white PVA glue then I got my airbrush out, I was happy to see it was still working OK after sitting in a box for 10 years. That thing certainly makes quick work of painting the track.
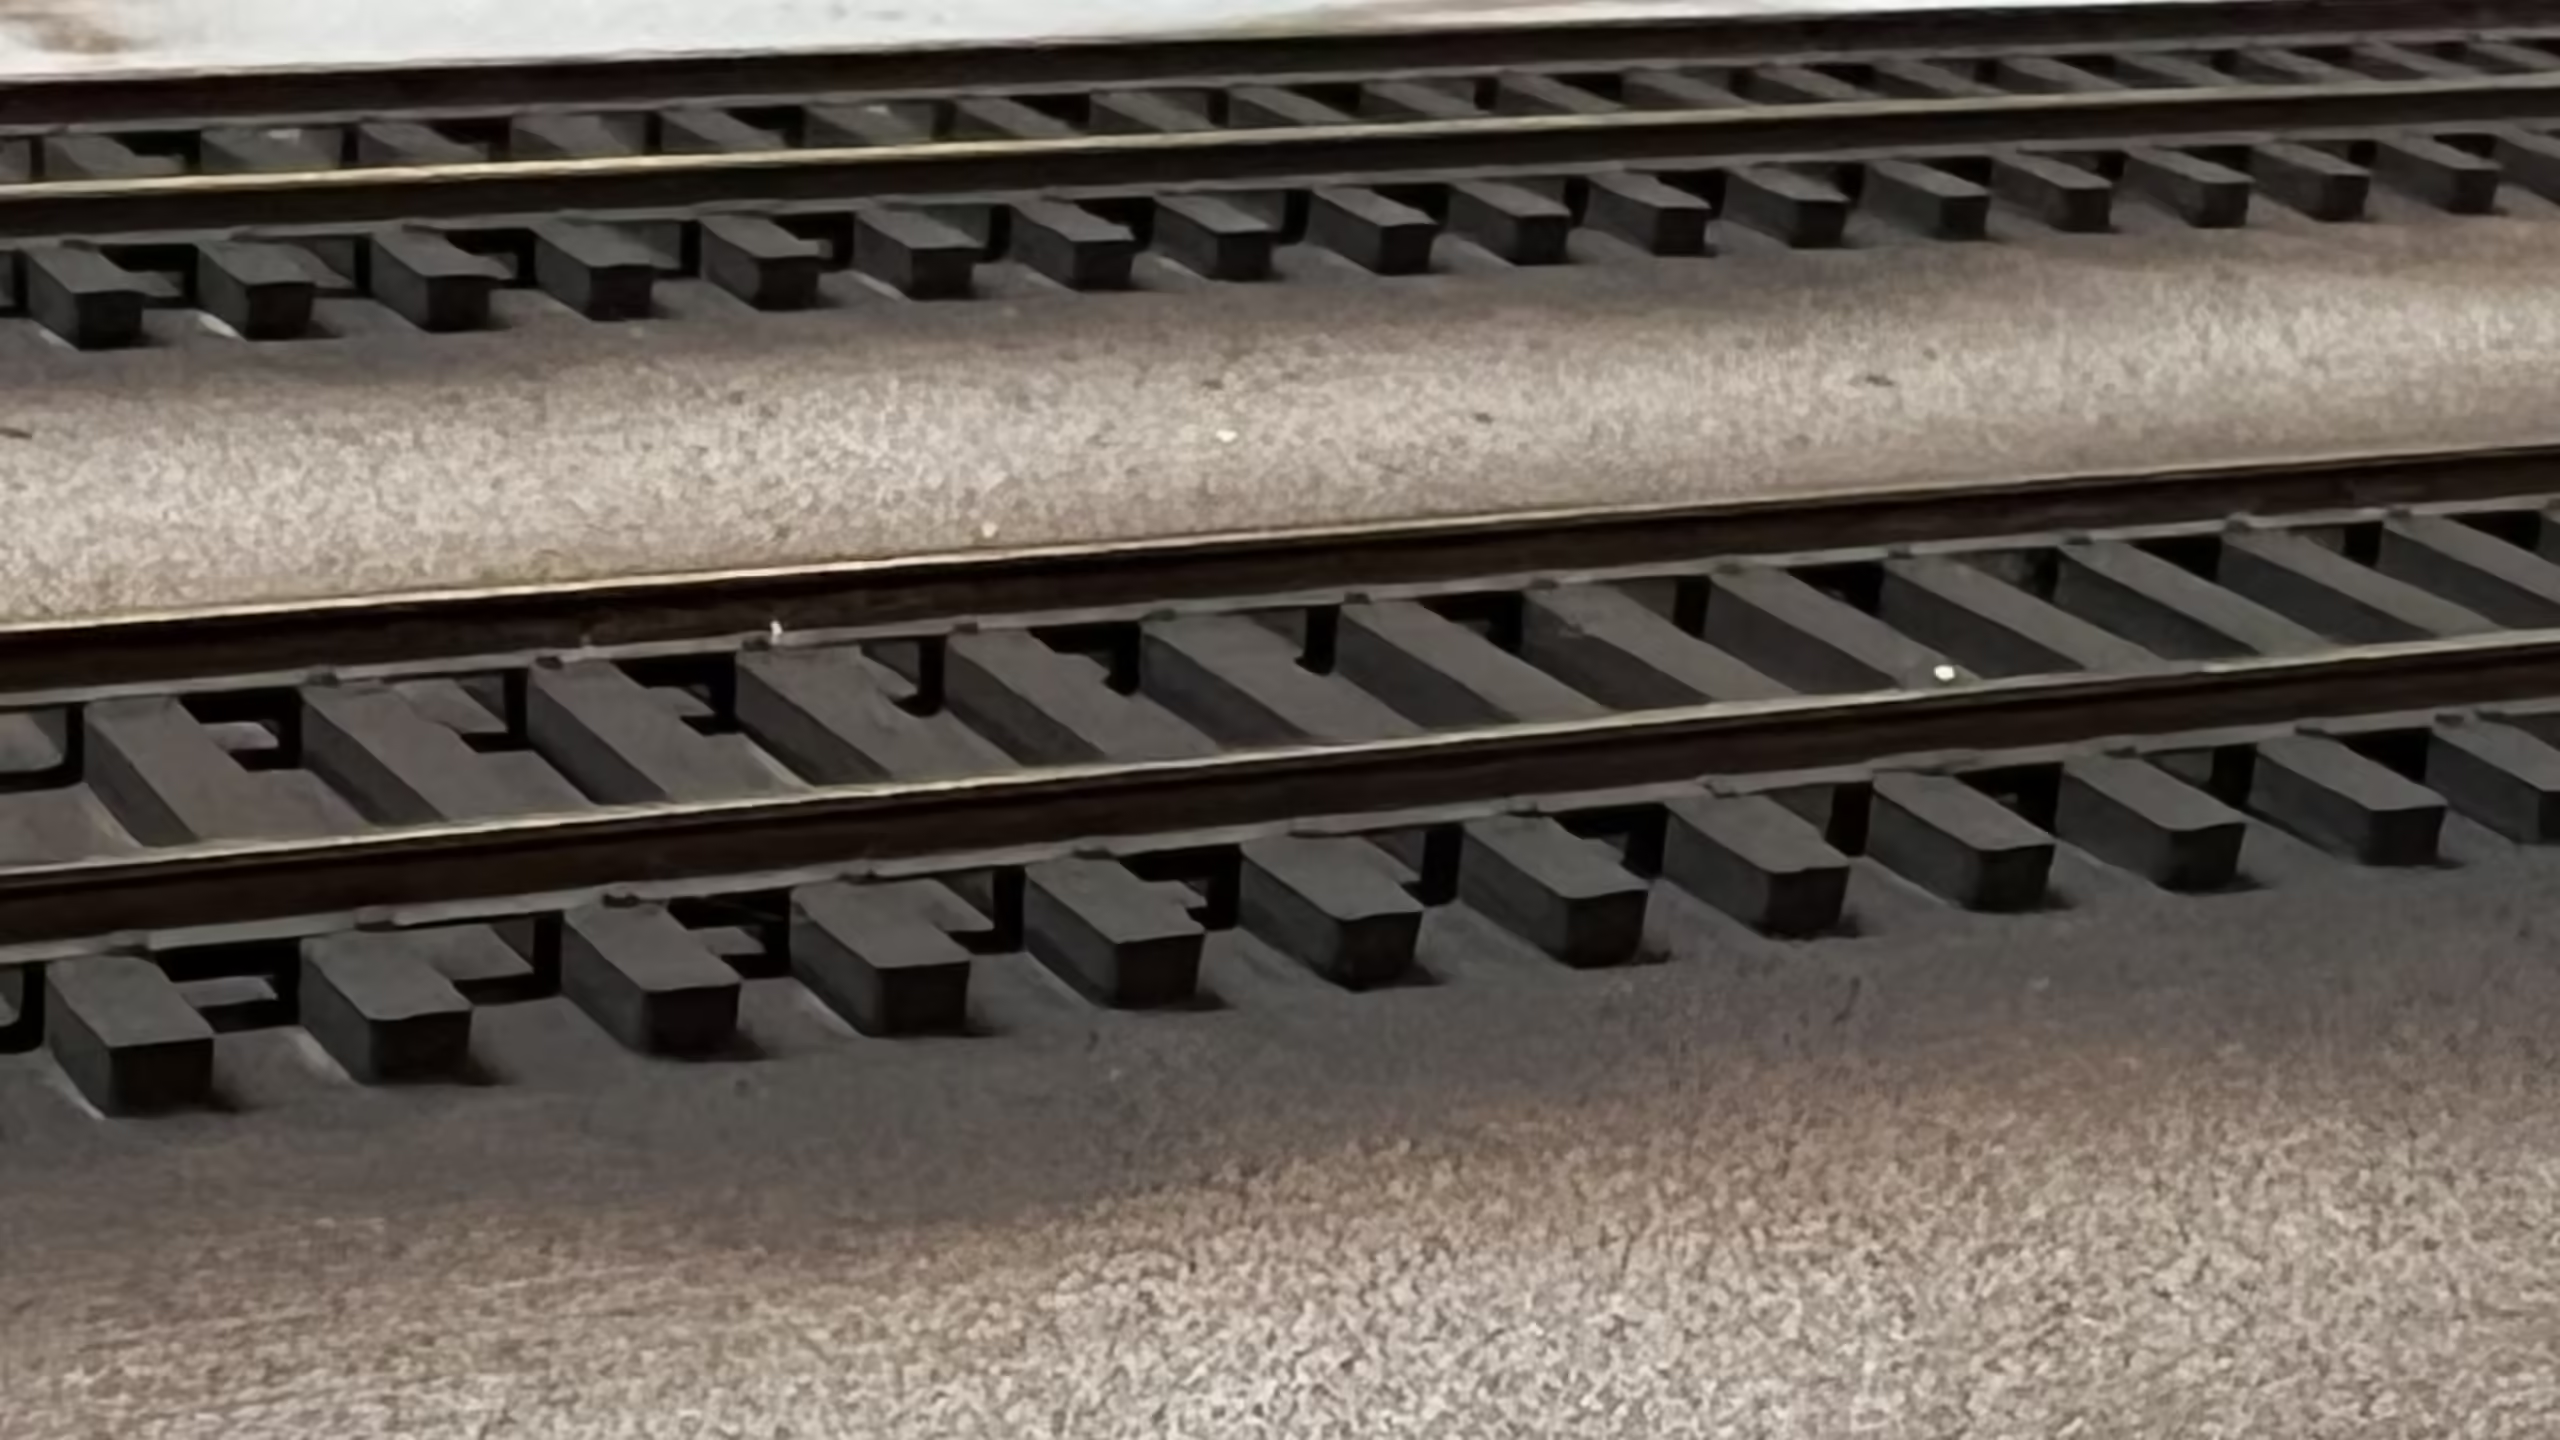 ….and then I set about ballasting. I had forgotten how boring that is to do.
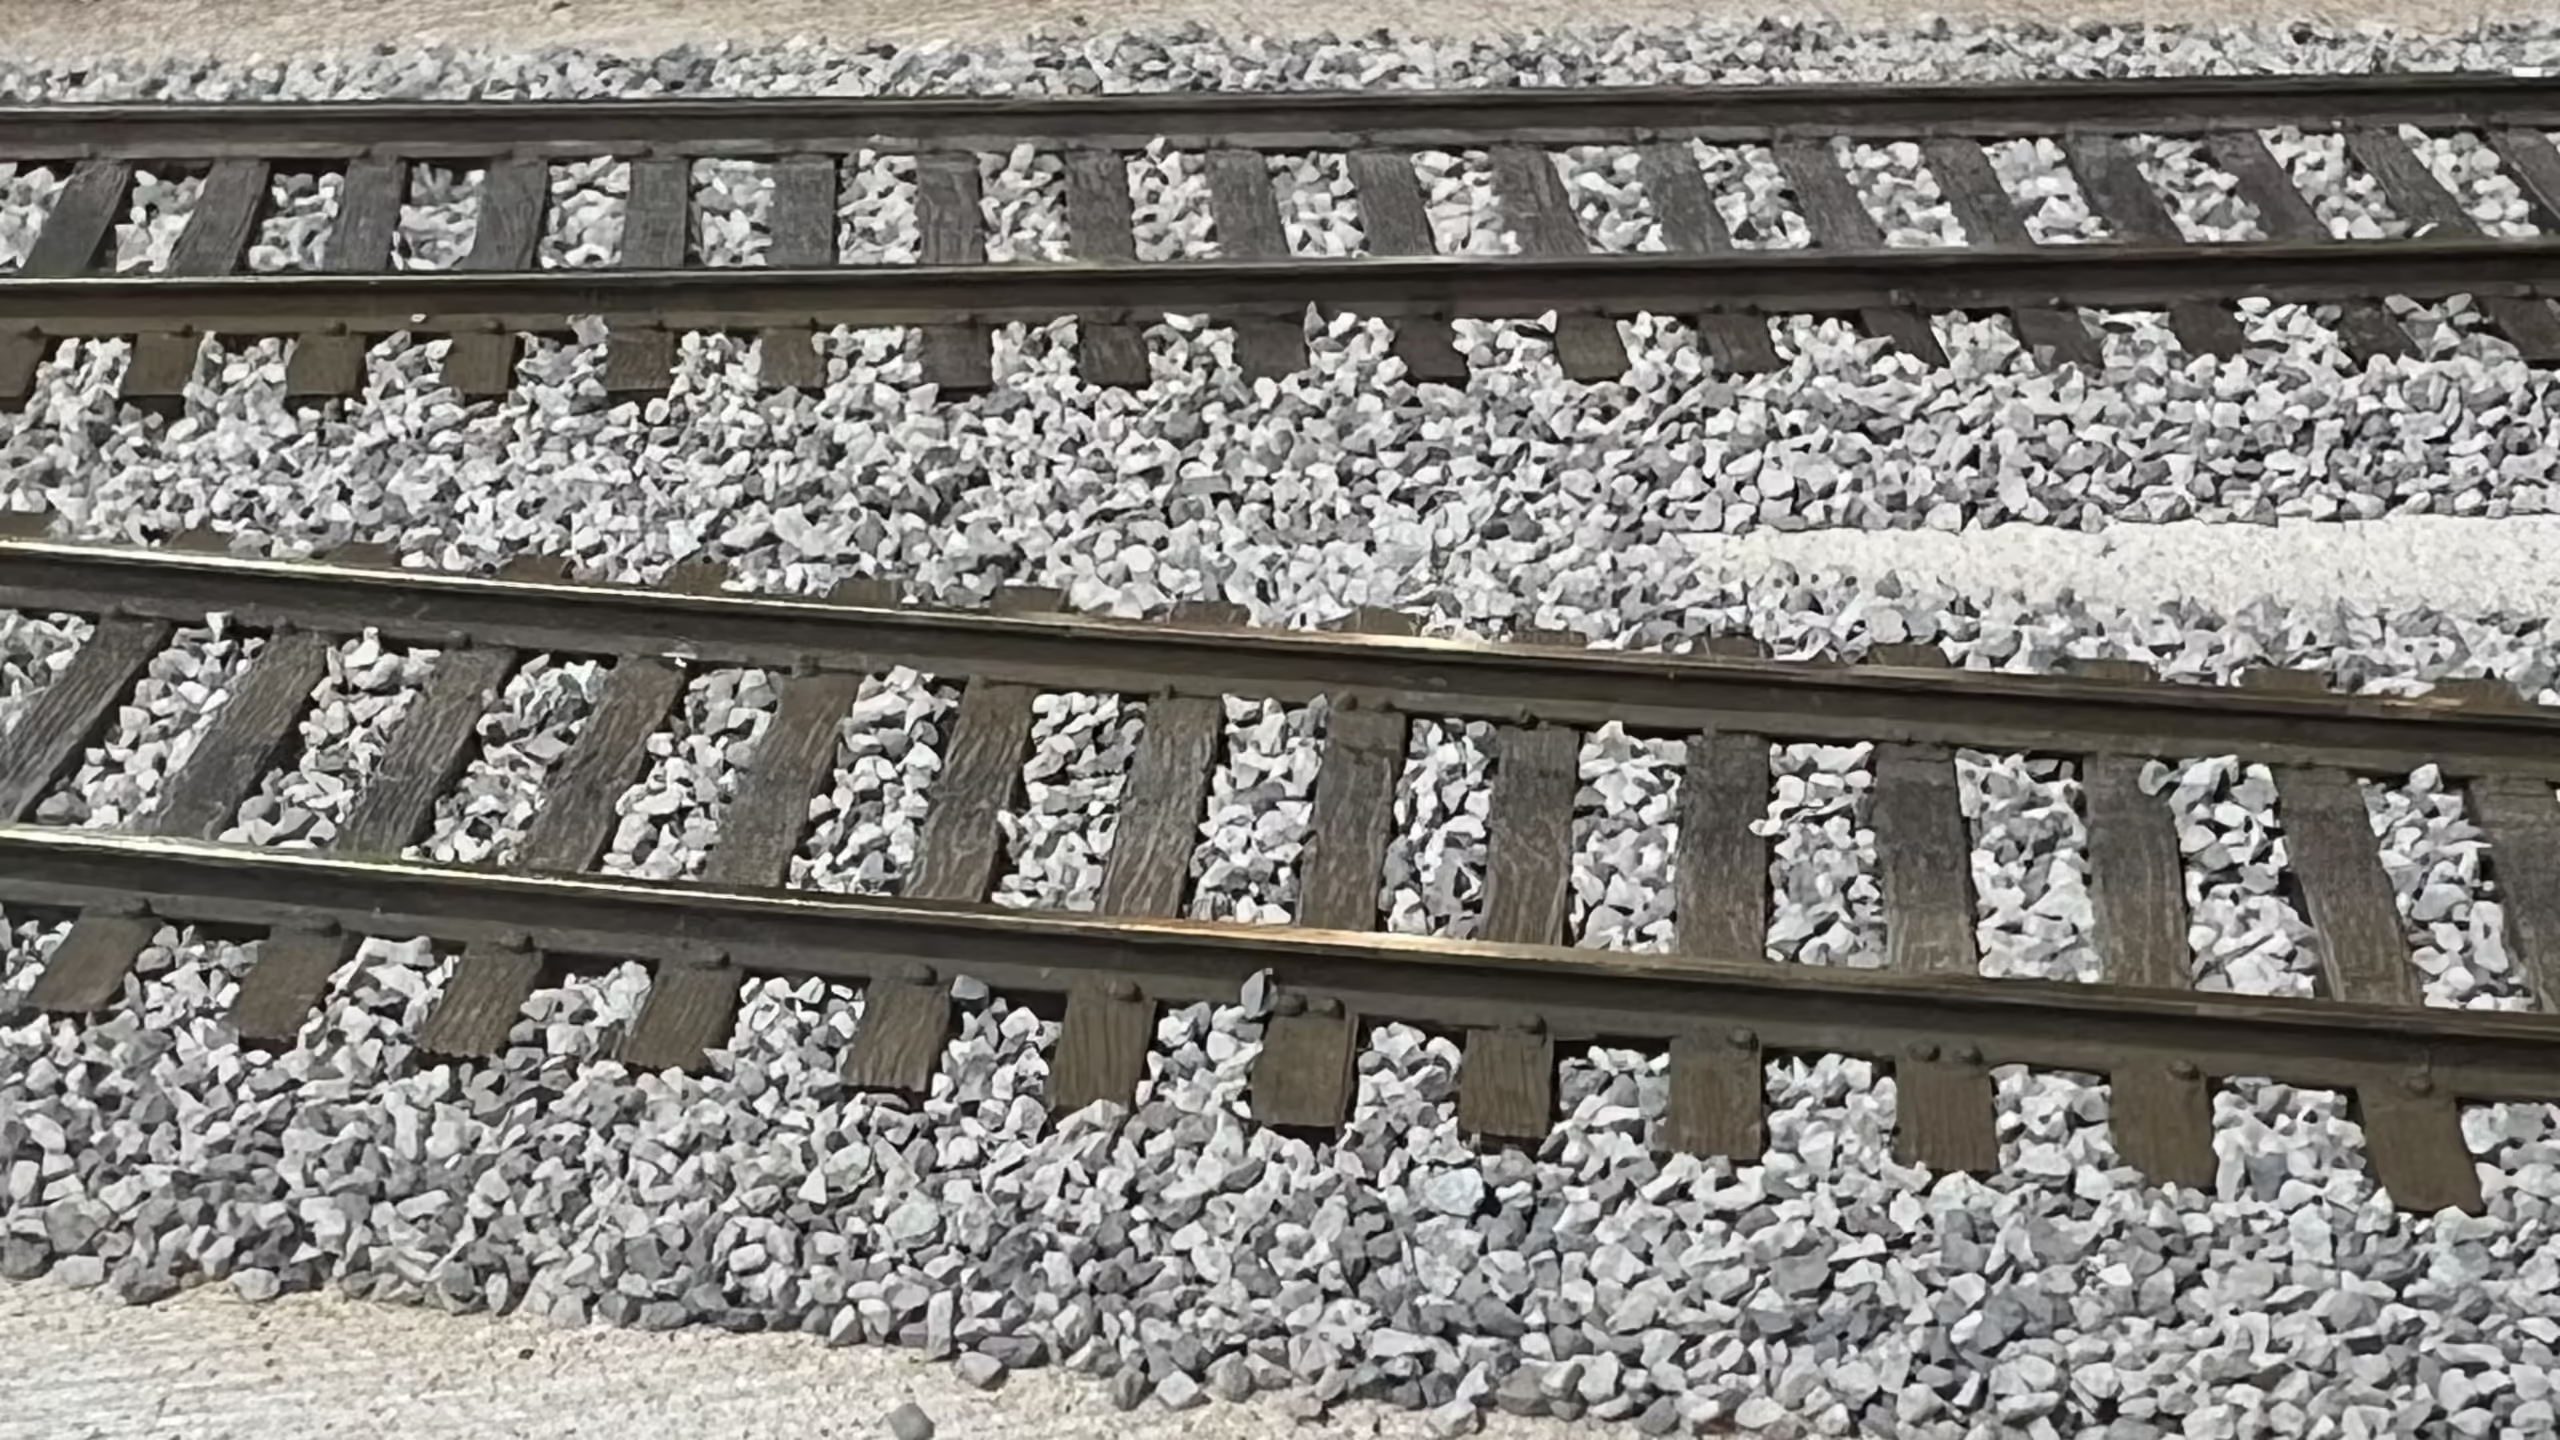
I need to go over the rails with some rust colours. Now the ballasting is out of the way, what to do next?
I’m still not sure what buildings will be on this diorama, but I know I do want a high brick retaining wall in the background.
I always liked the Diorama that John Wiffen at ScaleScenes built.
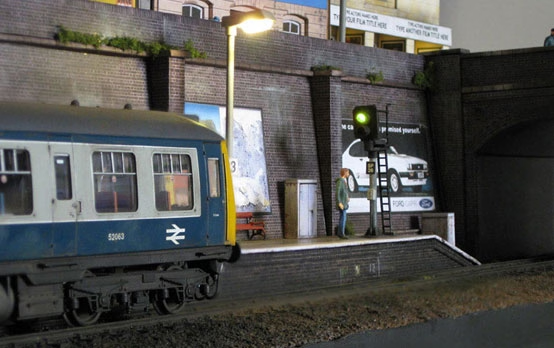
Image Credit – John Wiffen -ScaleScenes
With John’s diorama in mind, I used foam/card sandwich board, it’s very rigid, lightweight, and easy to cut. I’m pretty sure the ScaleScenes papers will be being used again.
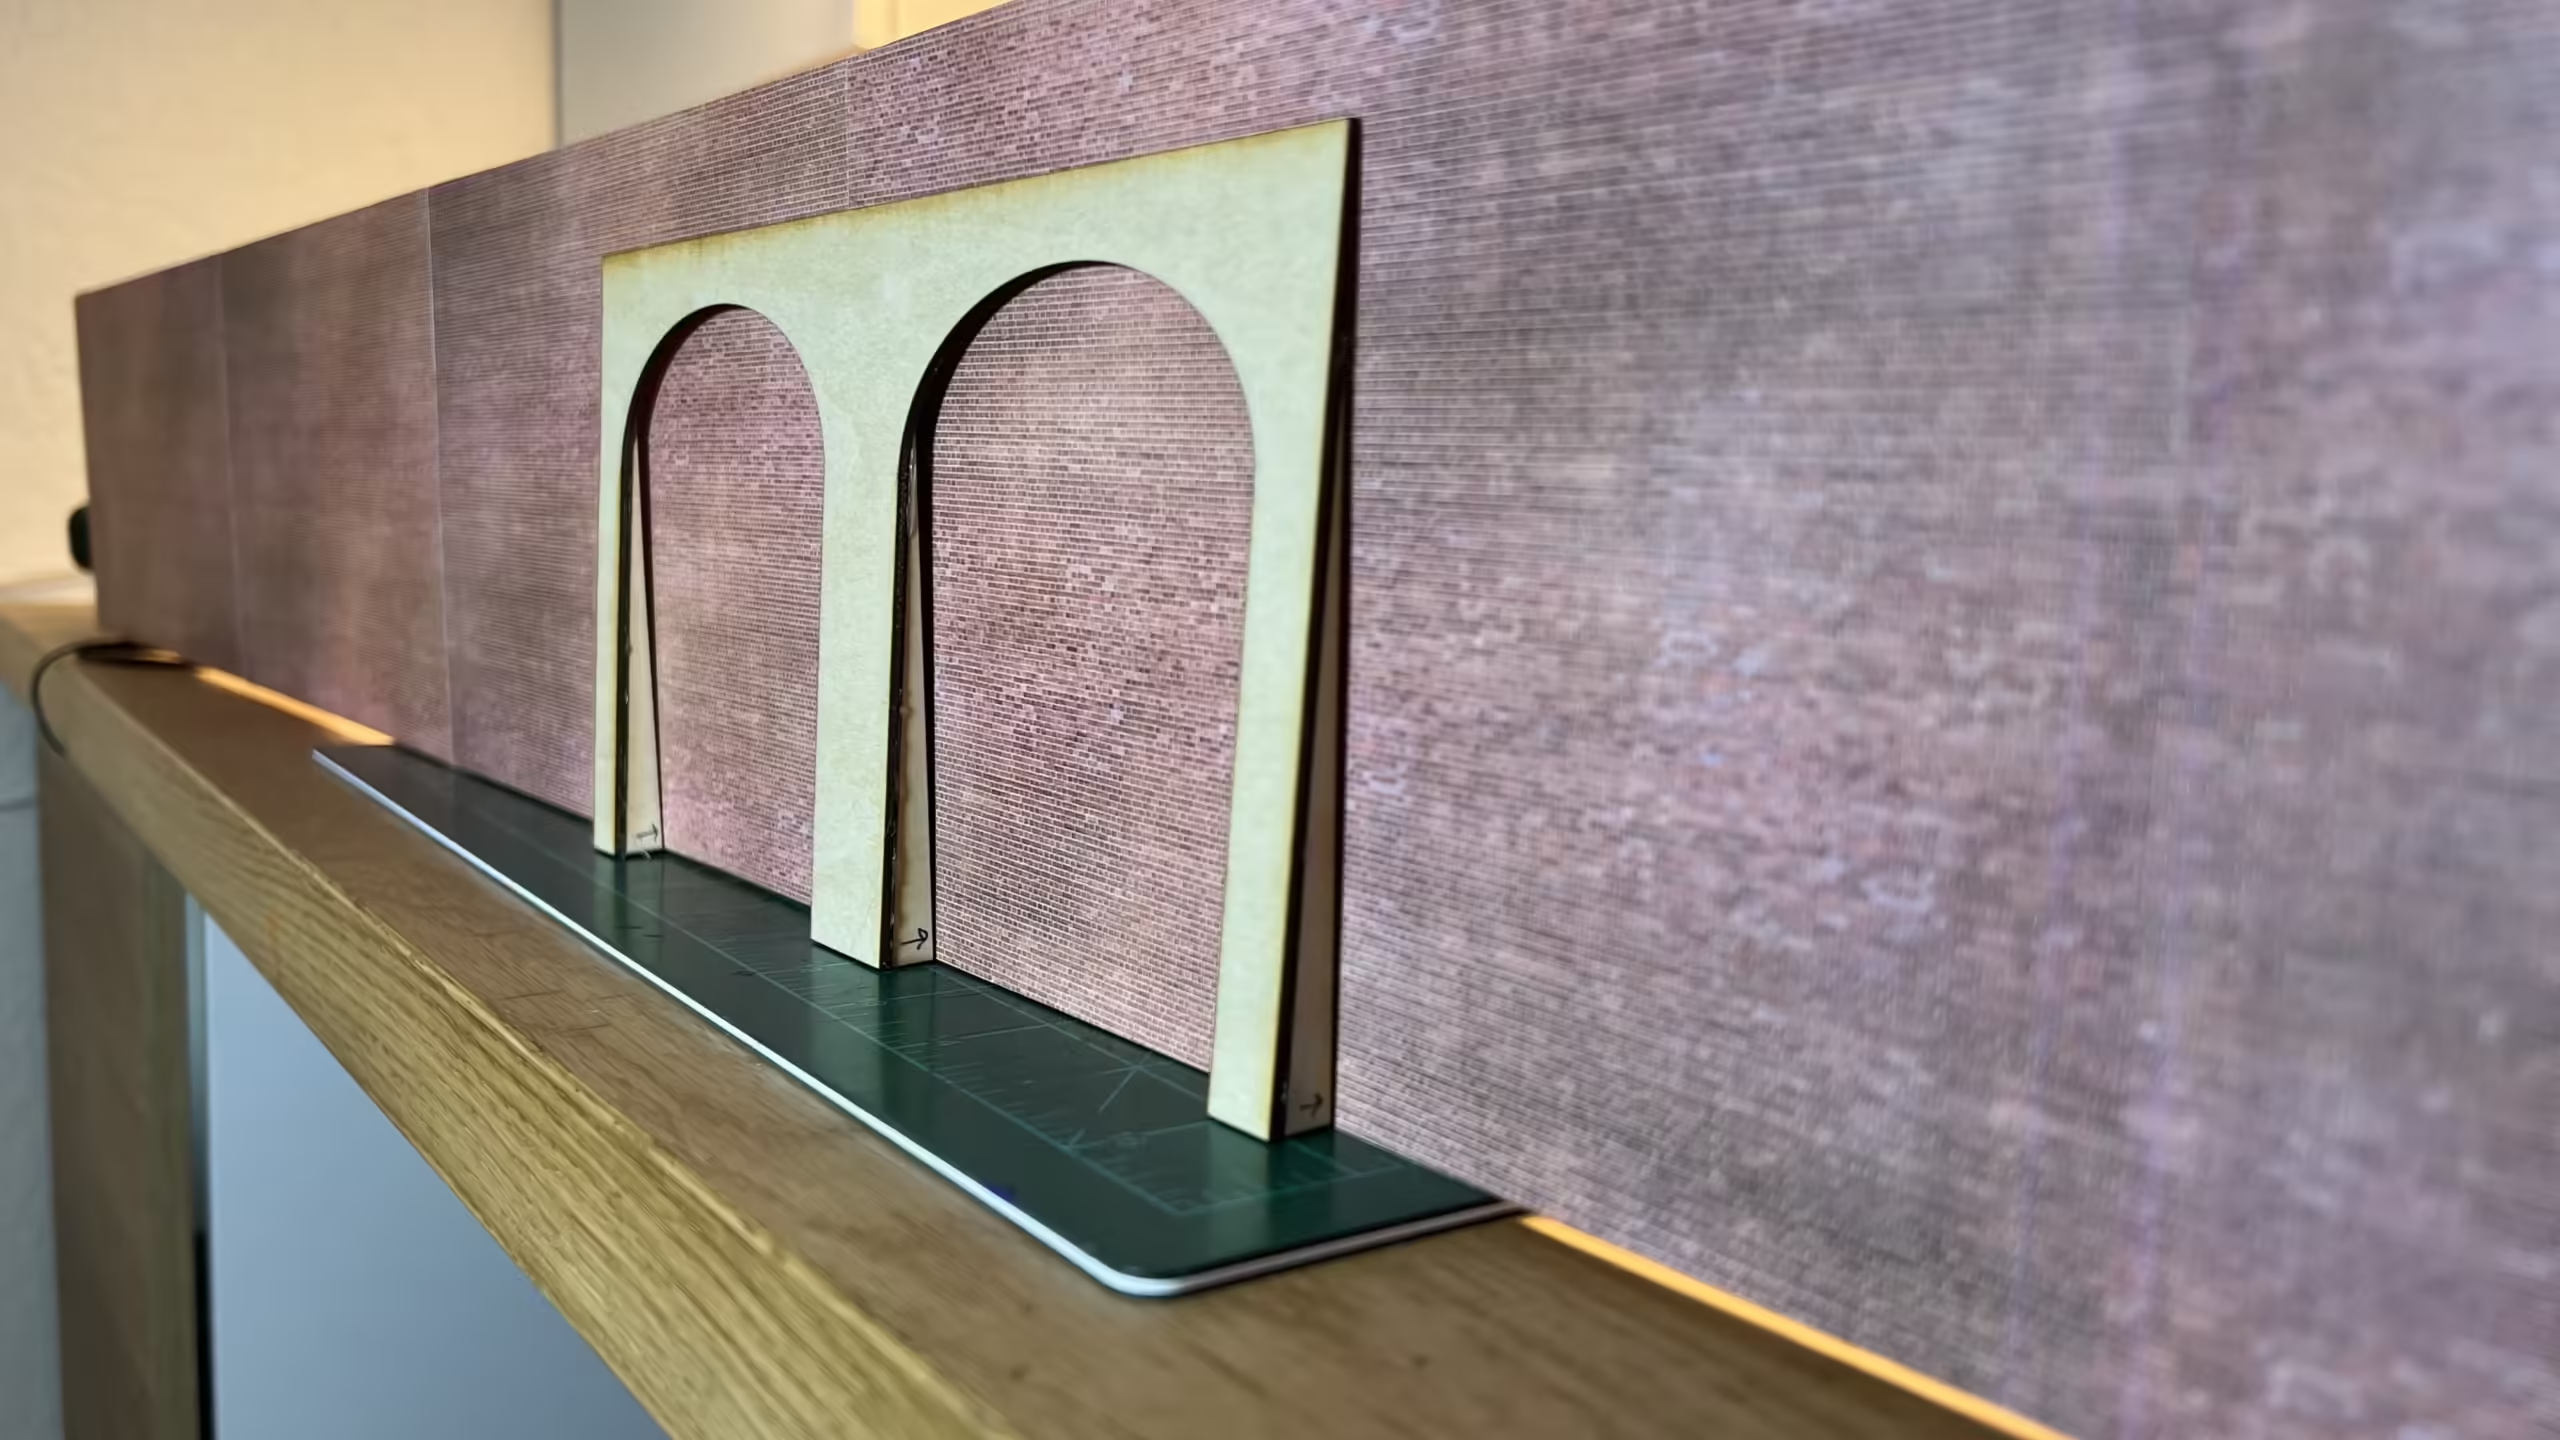
Above you can see the back wall cut to size. I’m going to cut a tunnel opening and use the Laser Cutter to create the tunnel portal. That way I can obtain a perfect opening shape rather than my ham-fisted attempts with a blade.
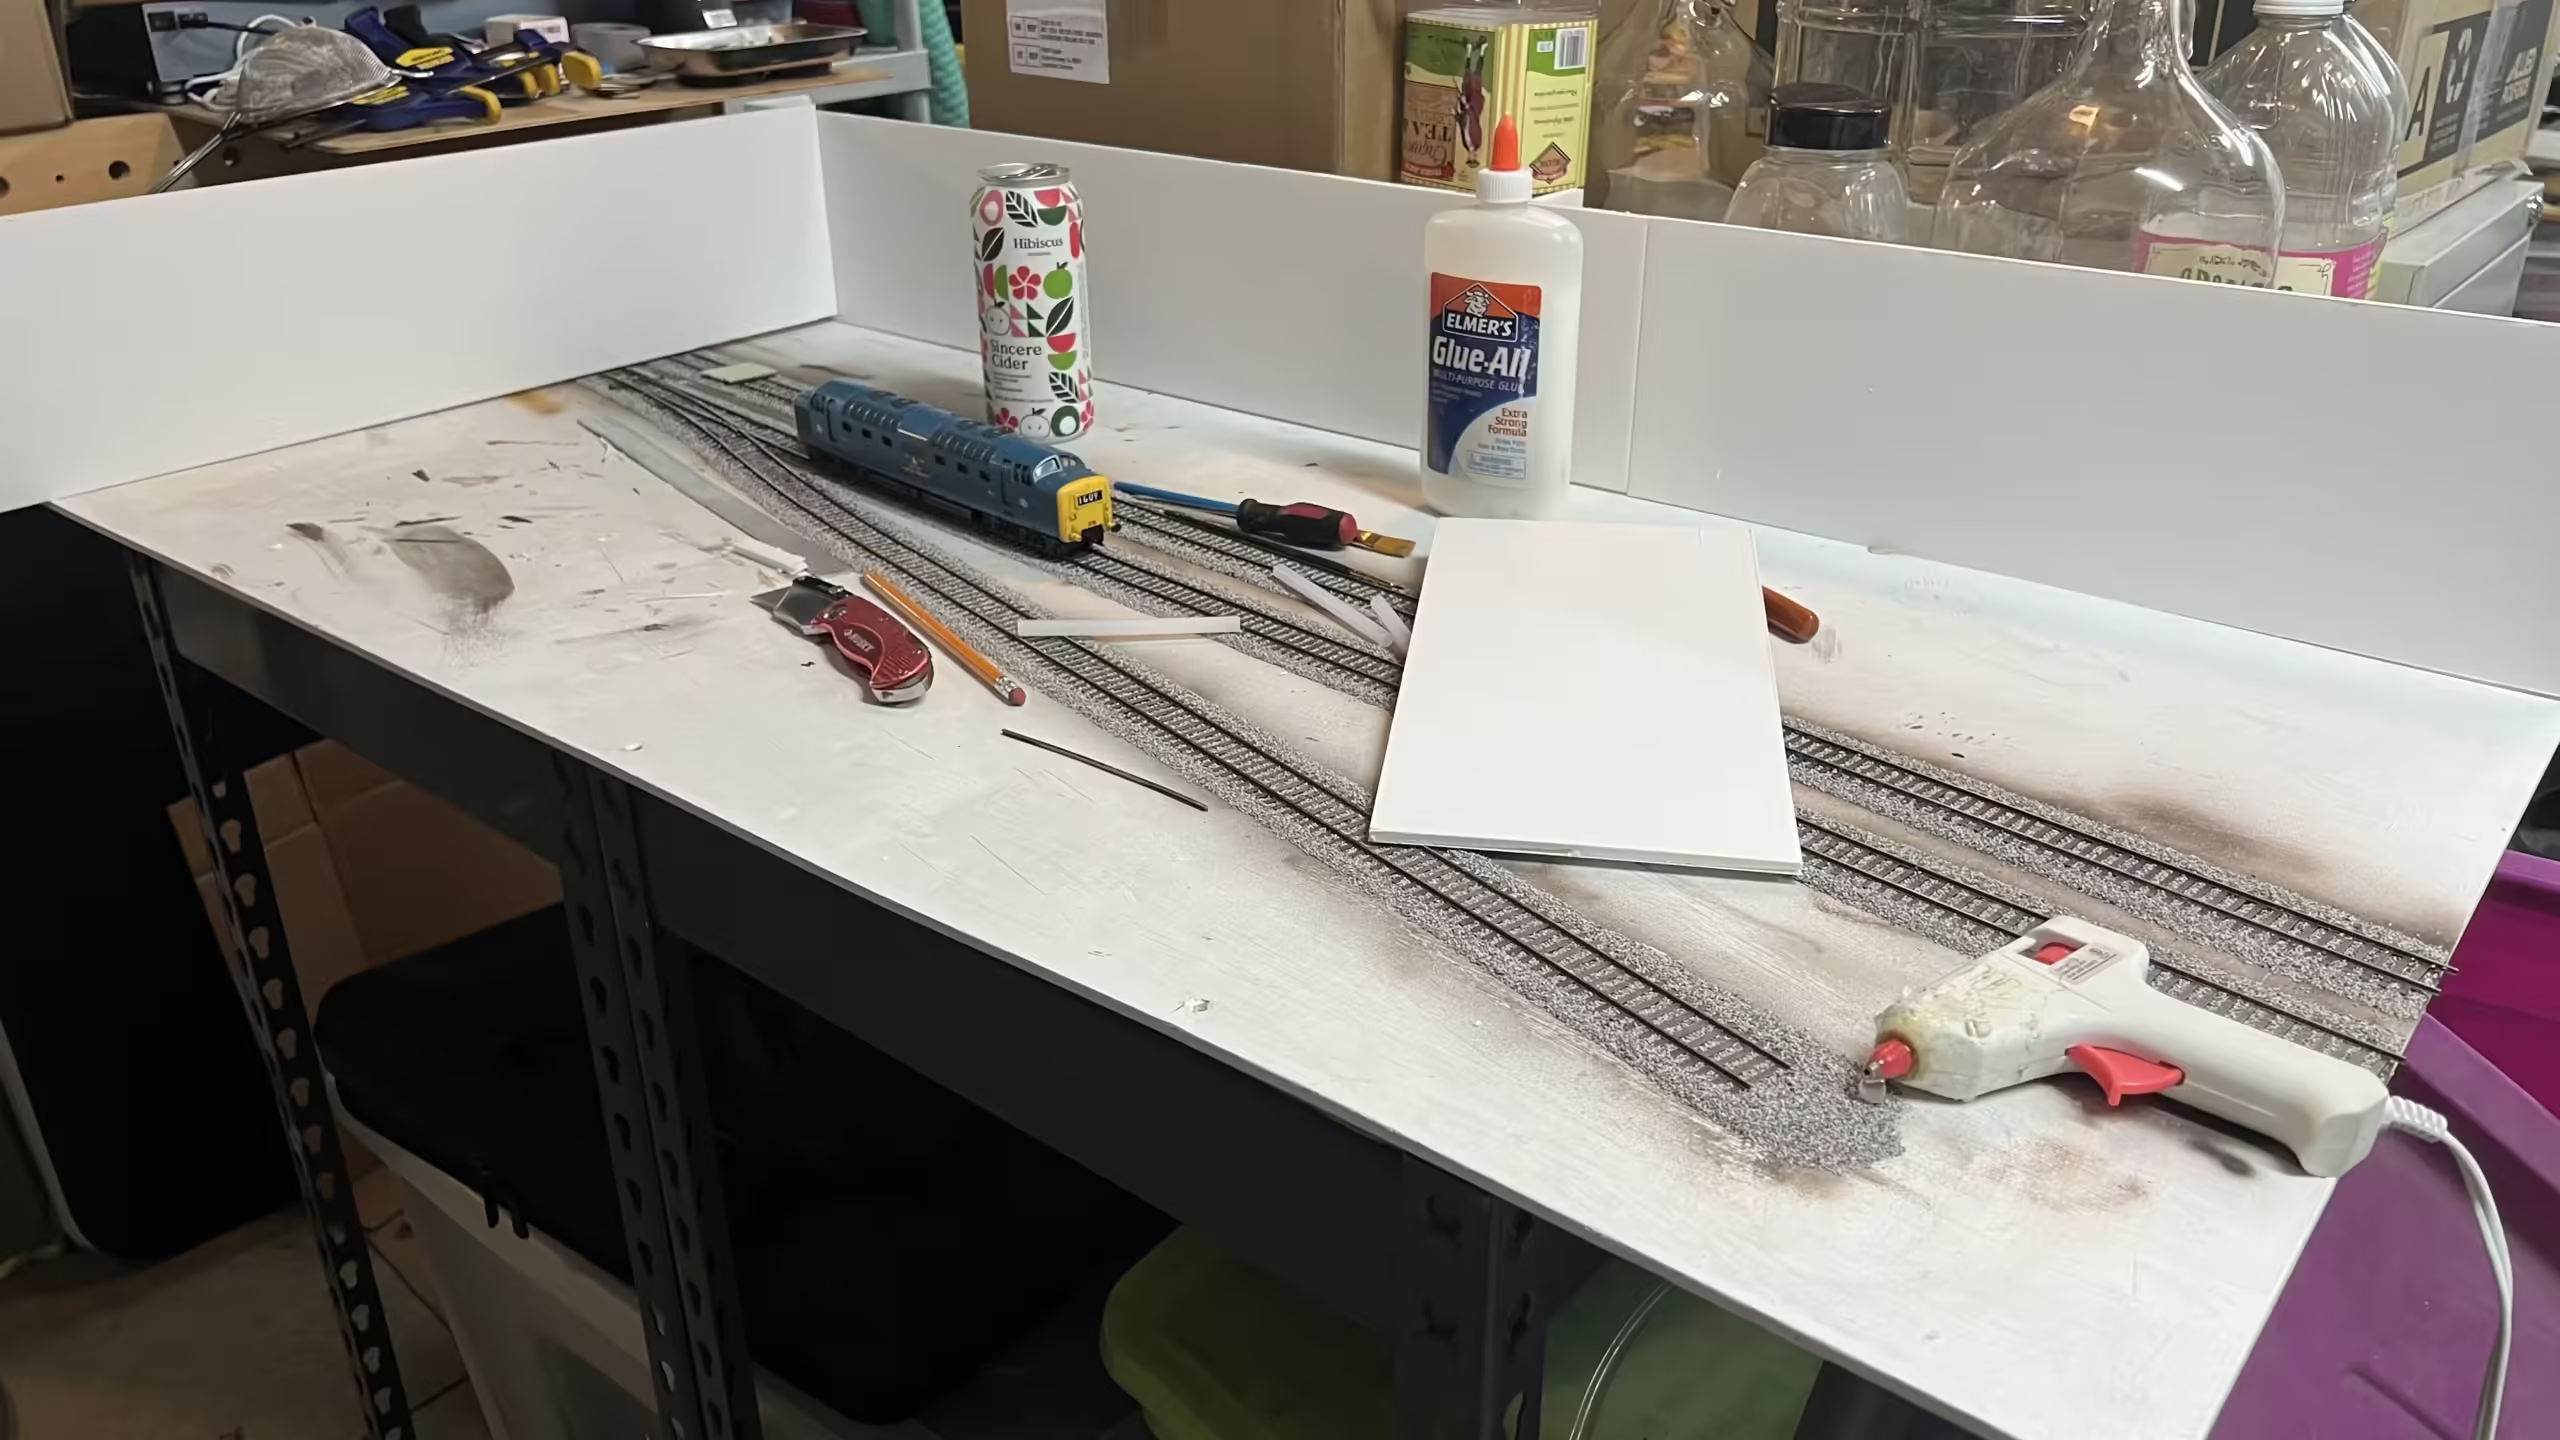
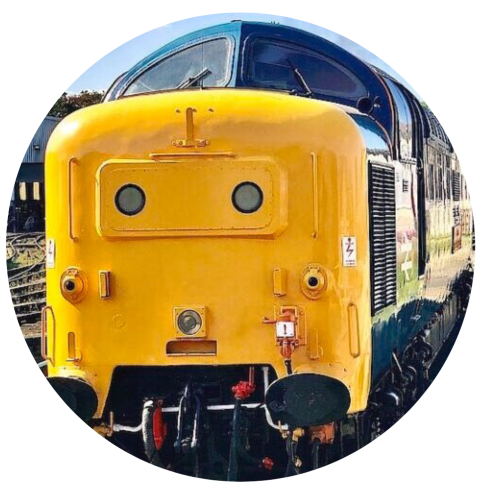
The photo above shows the perspective that the Diorama will have. That Deltic is from my childhood. I remember getting it for my birthday in 1977. It still runs.
As we all know, a retaining wall is usually sloped with buttresses, I didn’t want to just cover the 4ft of foam board with ScaleScenes brick paper, I wanted to give some depth and variation so after an hour or so using the Inkscape program, I created the shapes I wanted for the arches.
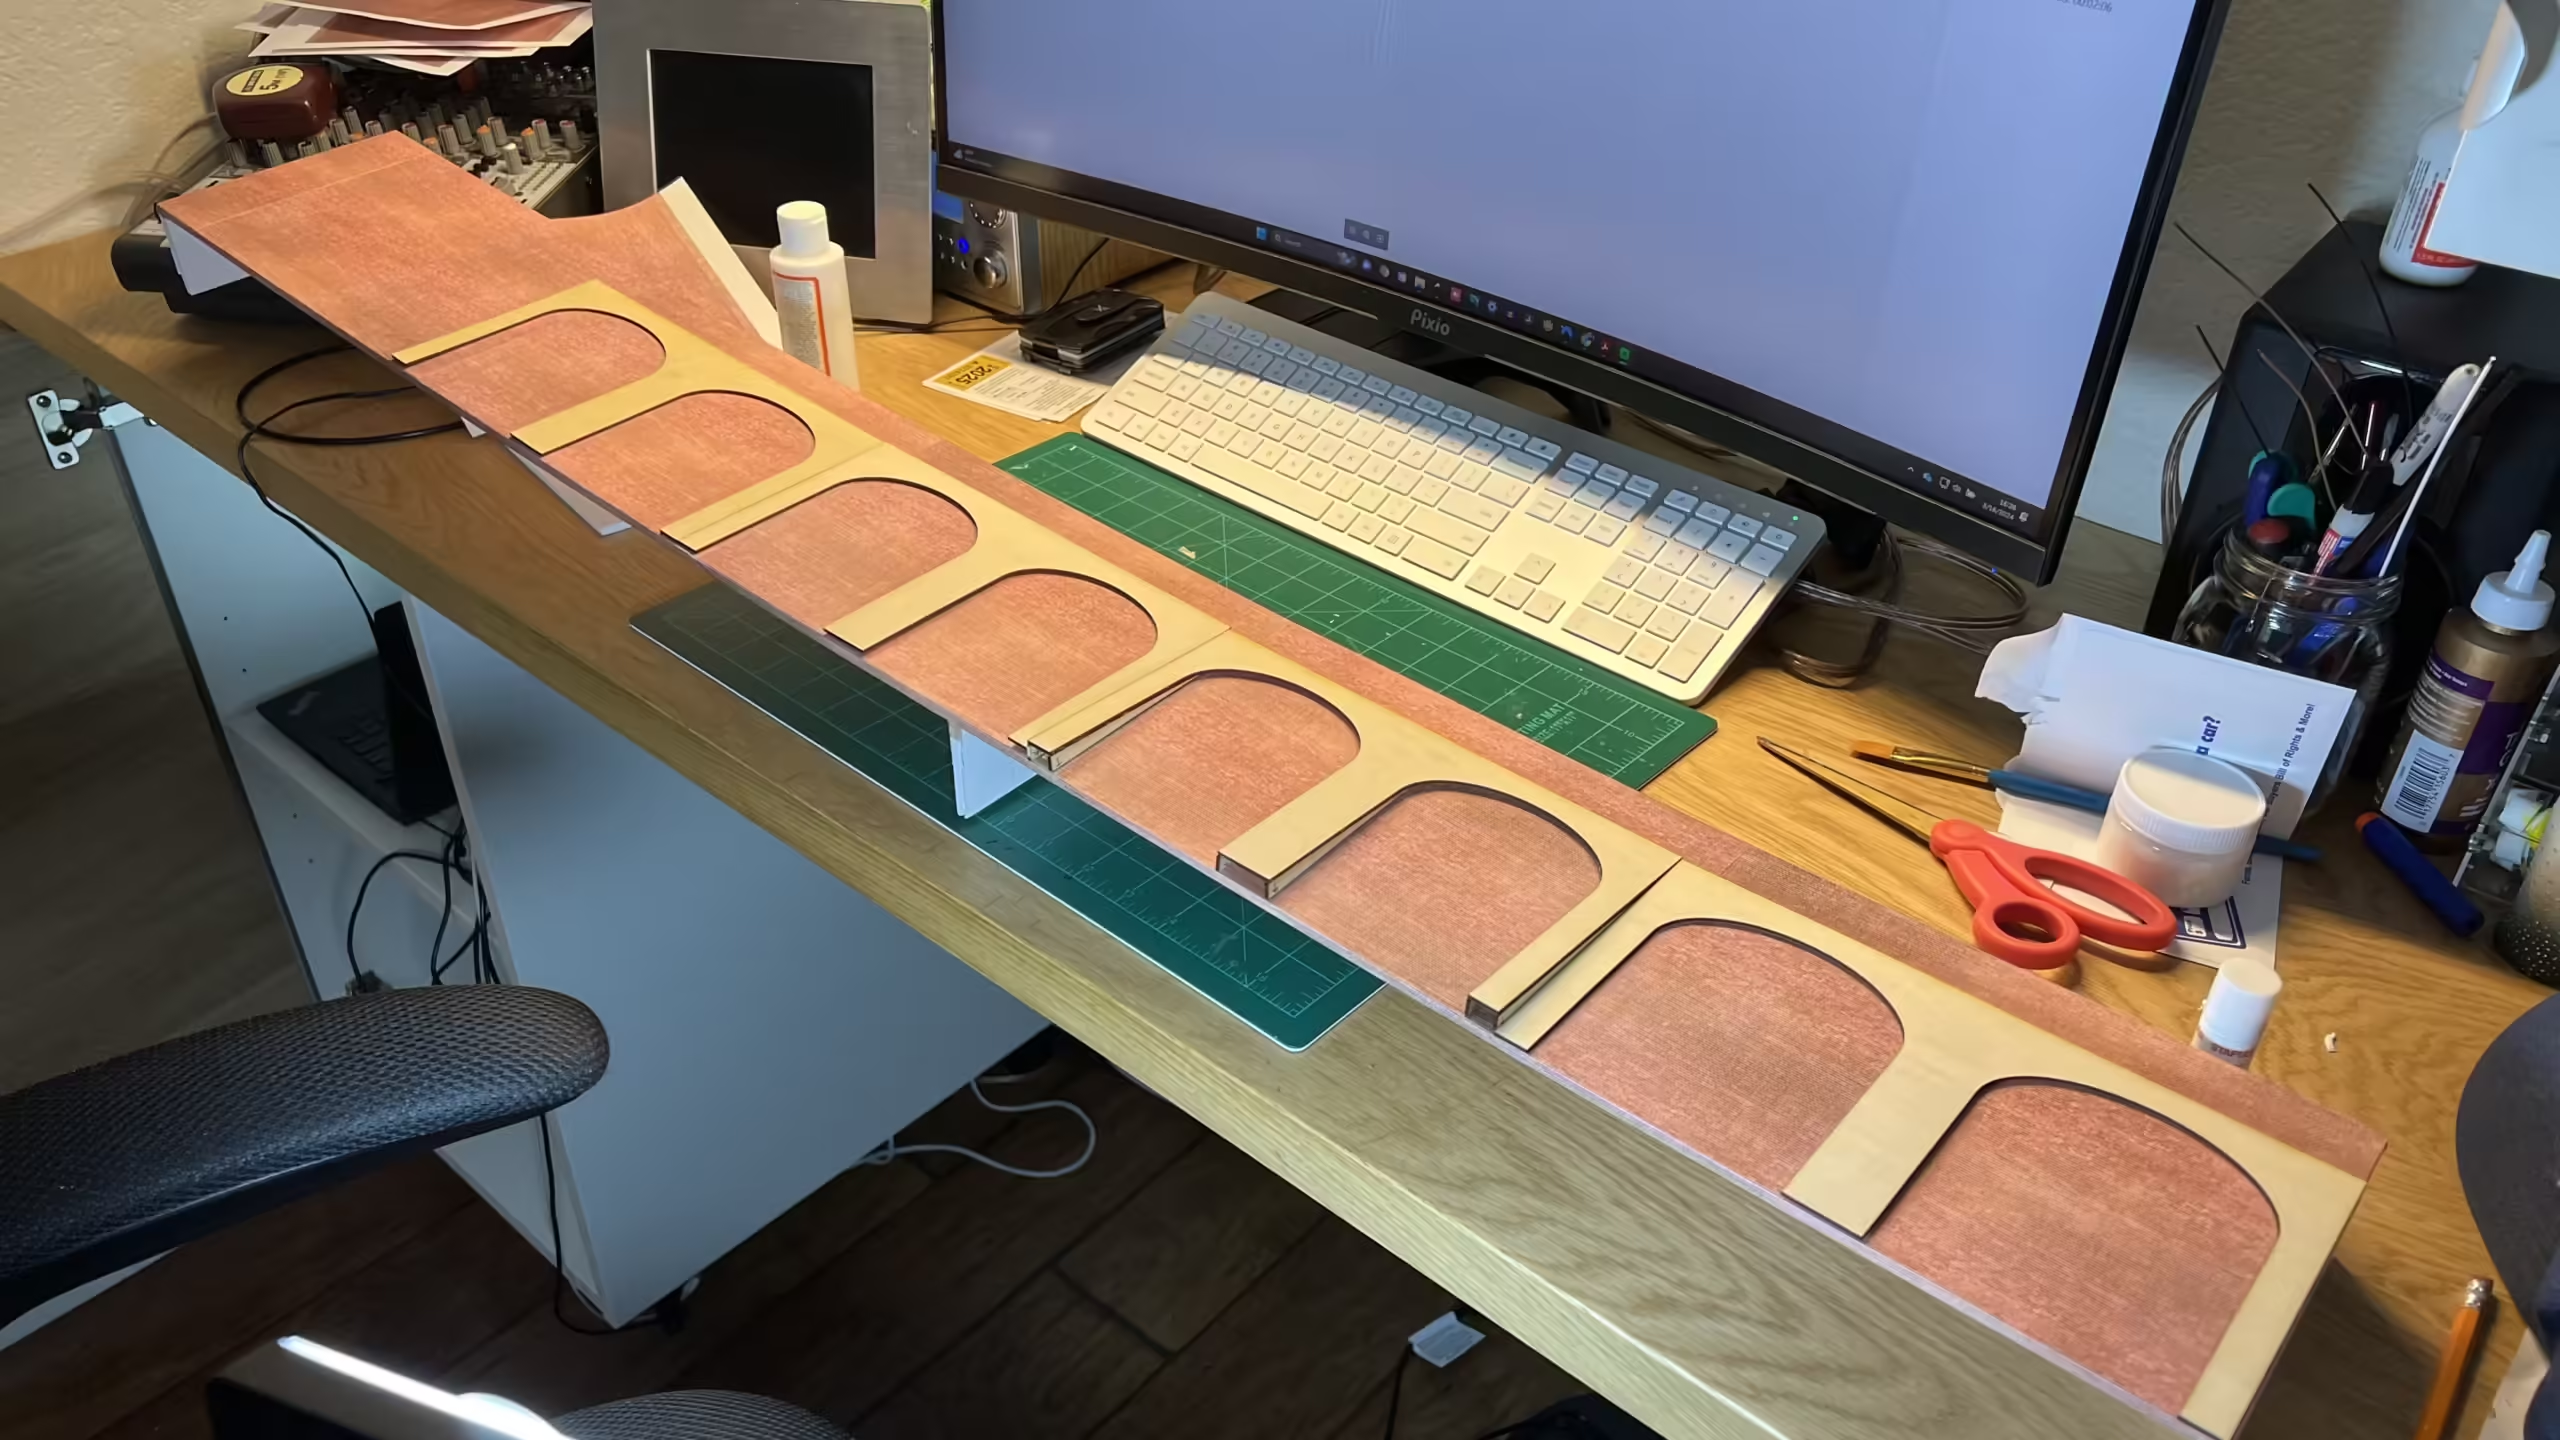 I sent the file to the Laser Cutter and within a few minutes, I had 6 perfectly cut sets of arches. I bloody love that machine. I also created the sloping supports in Inkscape and cut those out too.
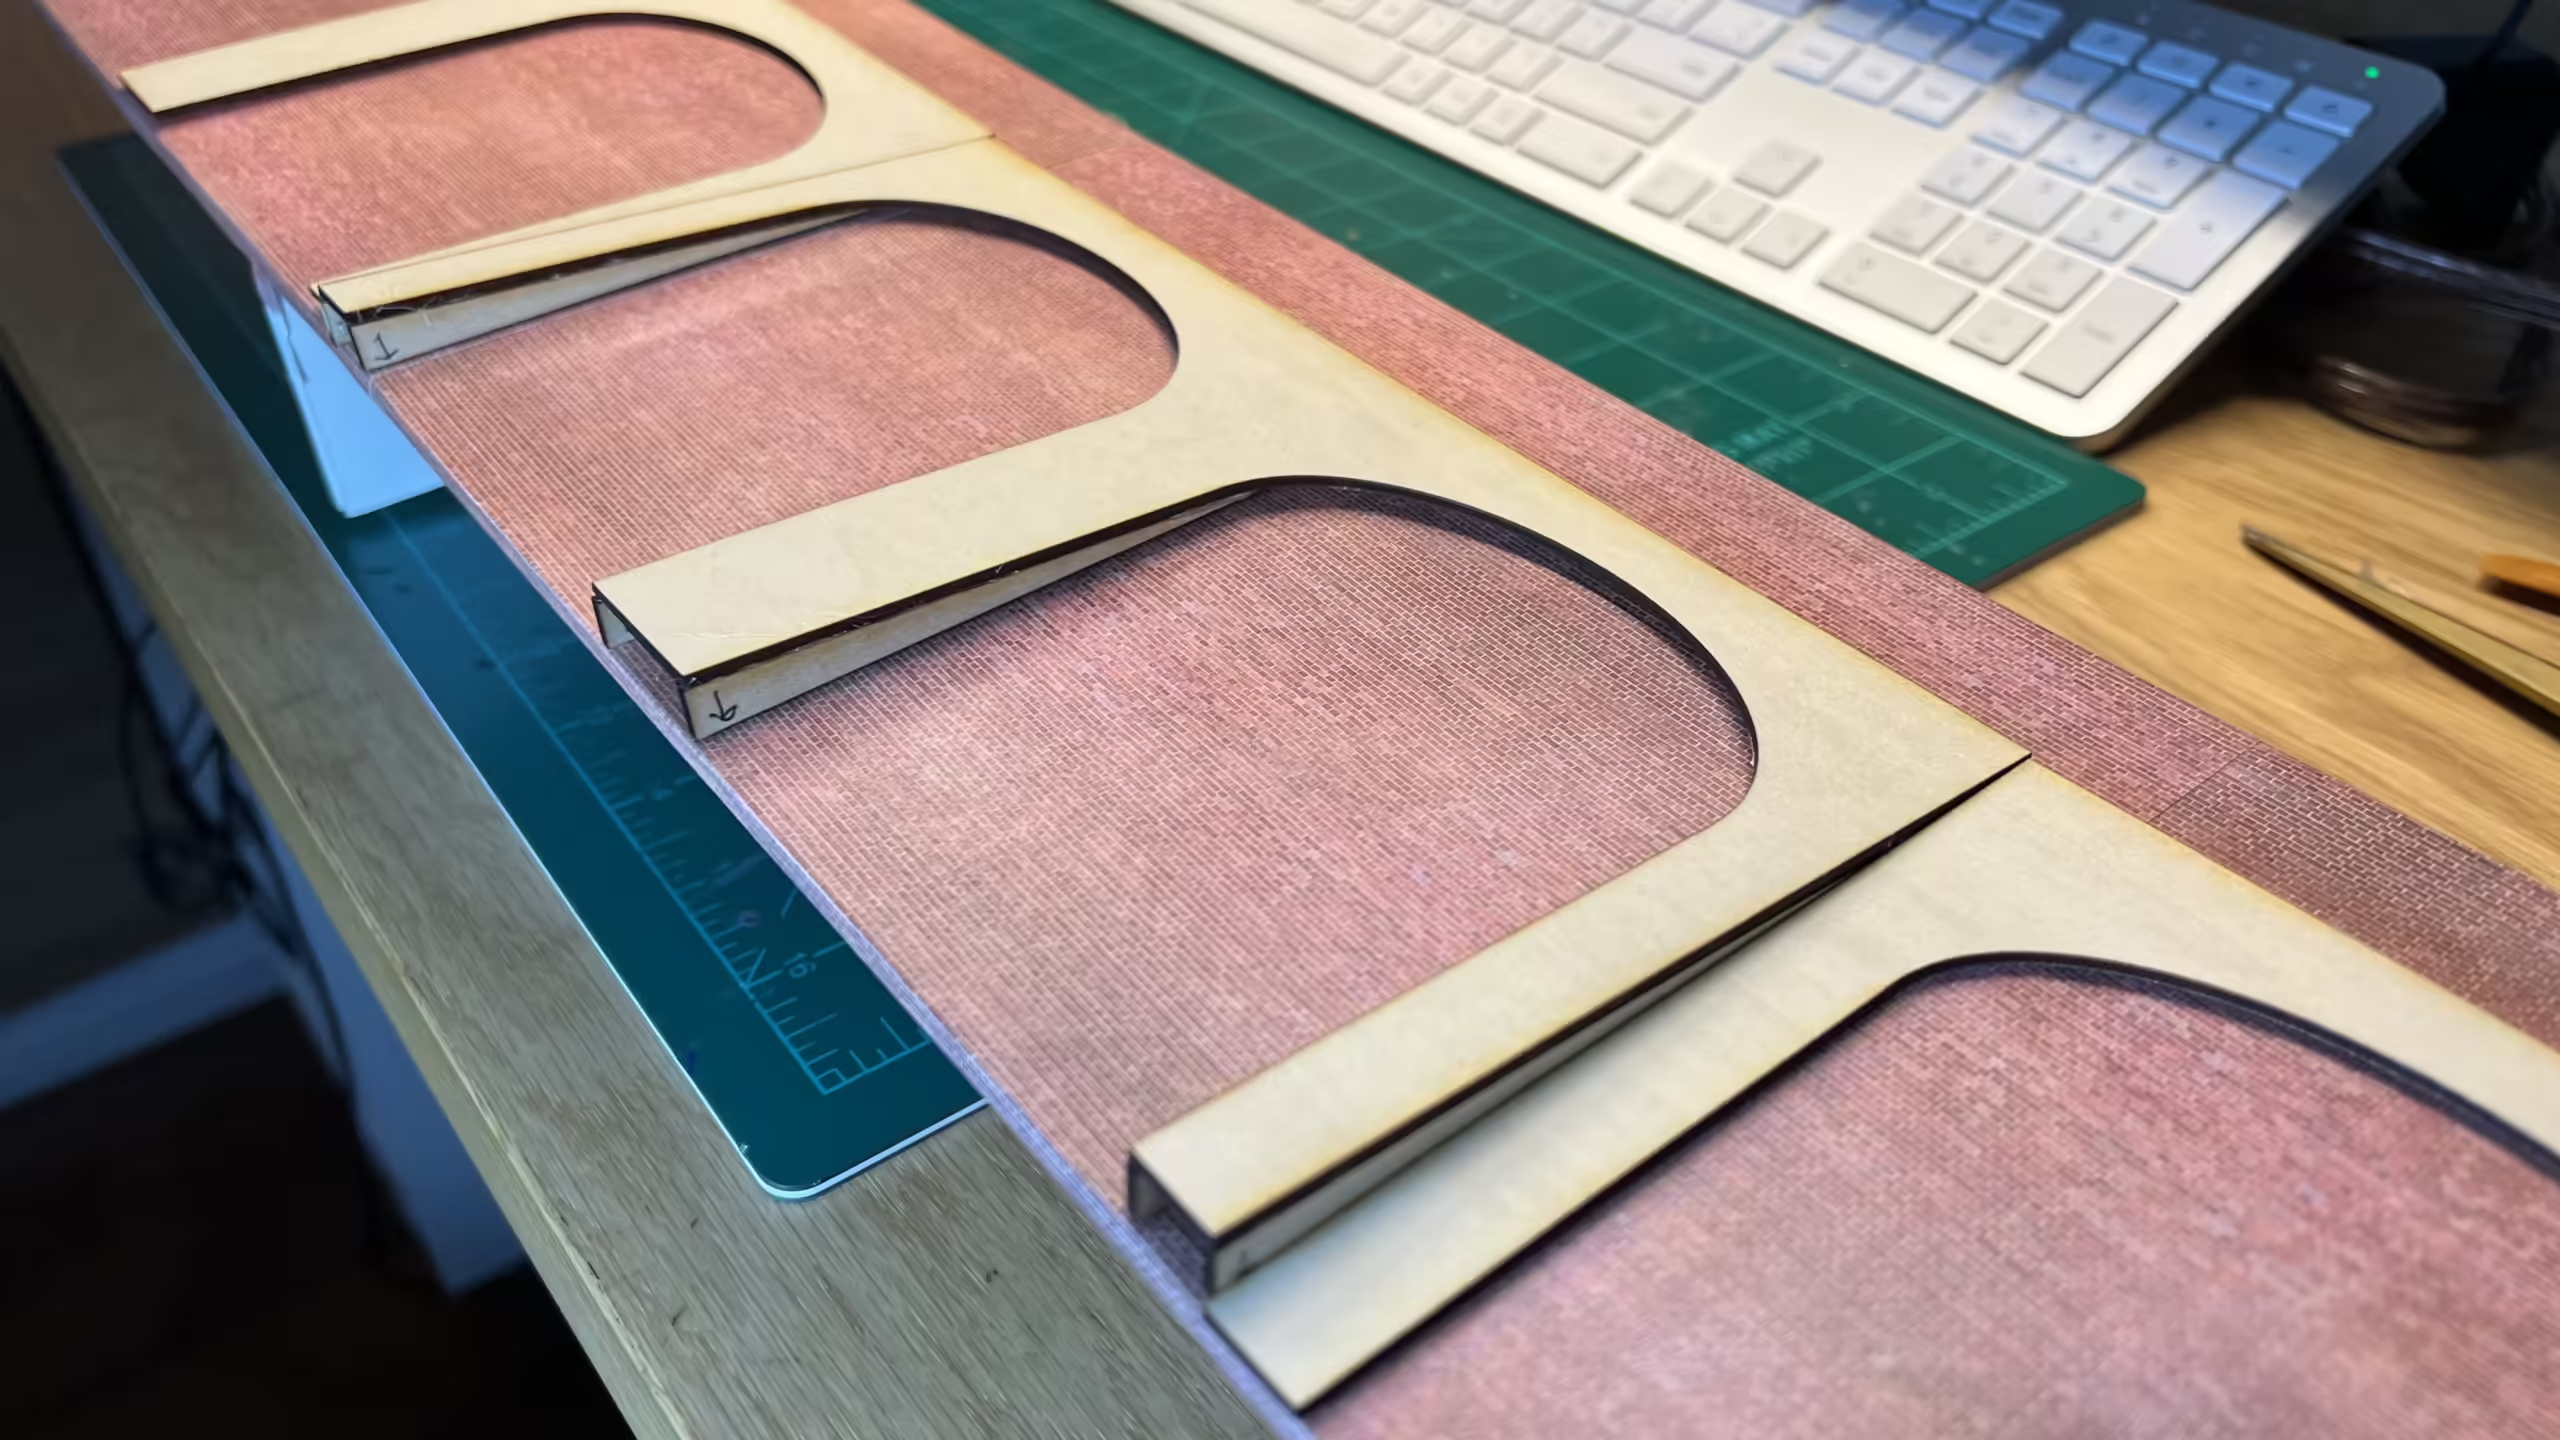
You can see in the photo above where I’ve hot-glued the supports in place on one of the arches.
Now I need to wrap the arches in more ScaleScenes paper.
It took 6 sheets to cover the foam board wall, and due to the nature of the cutting and pattern alignment needed, I’m going to need another 12 sheets to wrap the arches. Good job I printed out 30 sheets last time on my office colour laser printer.
Update – March 12, 2024
Back at the 4x3ft board. I have laid a fair amount of the ground material for the yard. Liberal use of the Woodland Scenics fine ballast was used for this.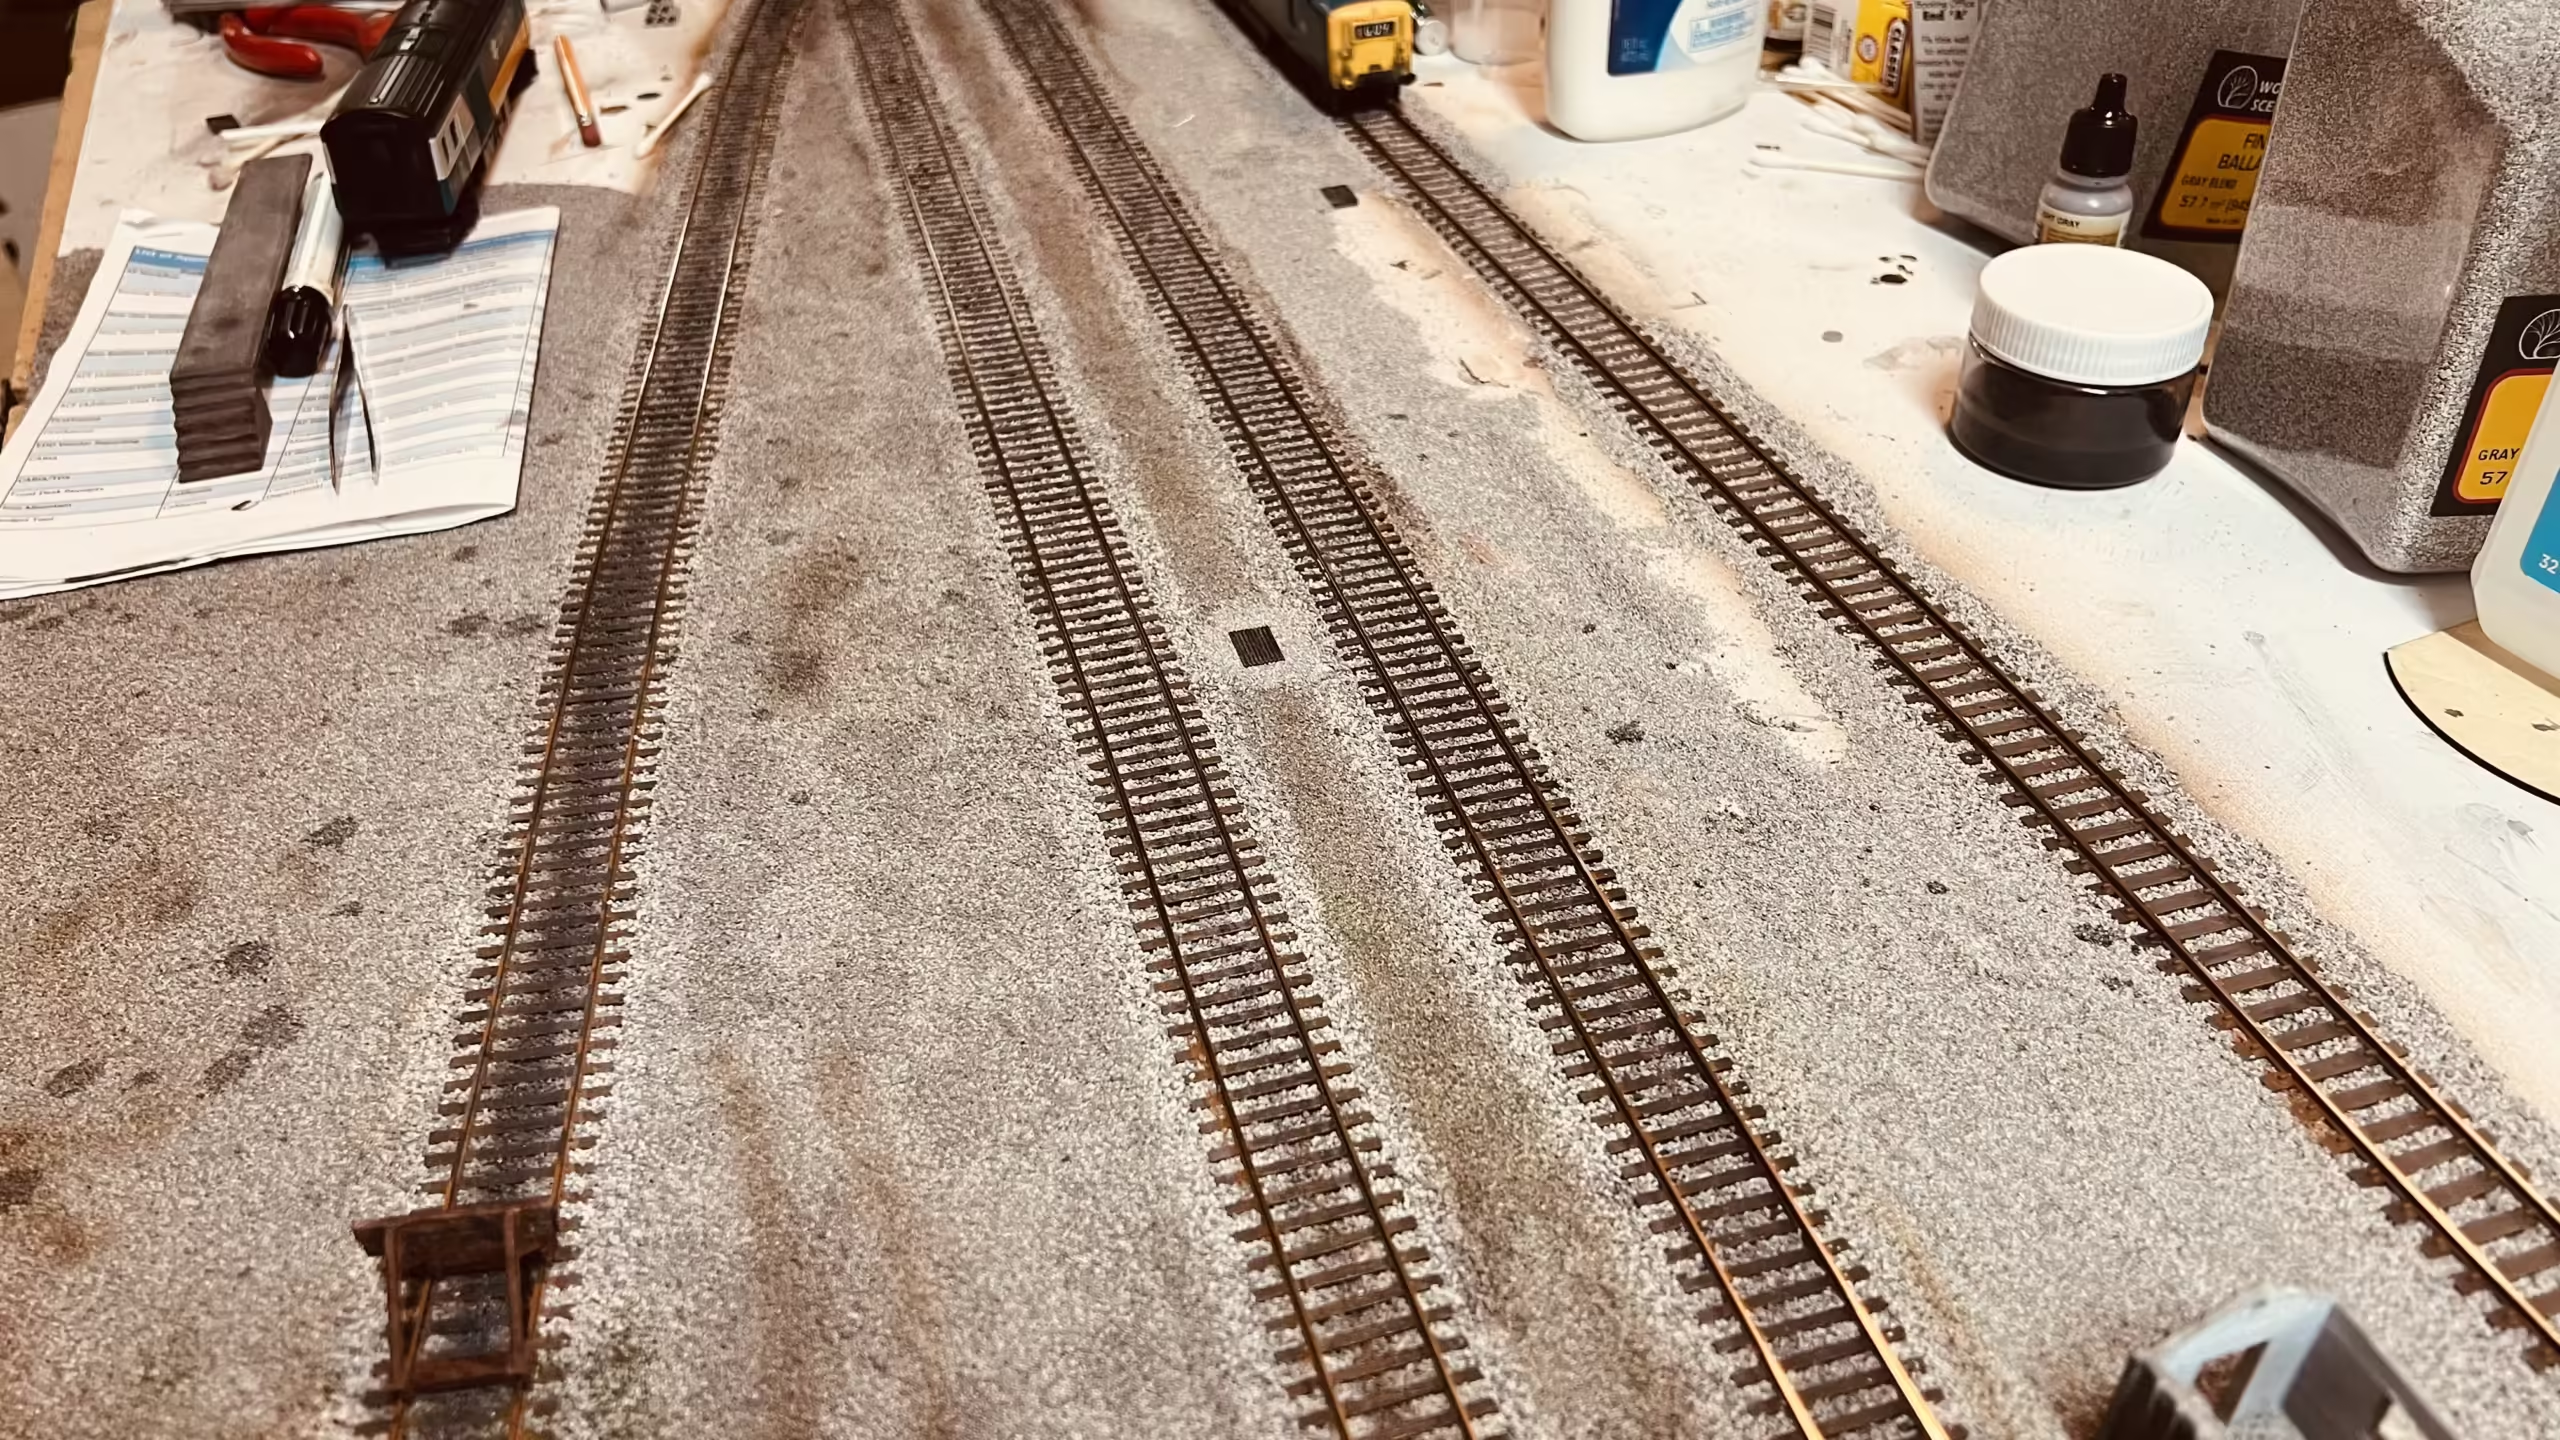
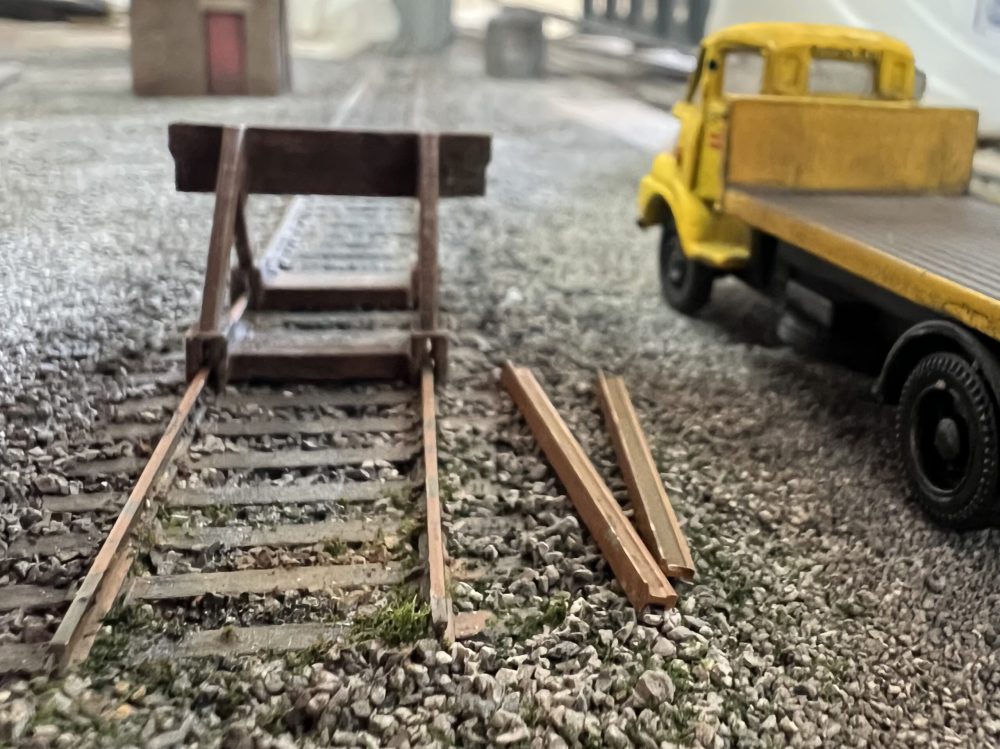
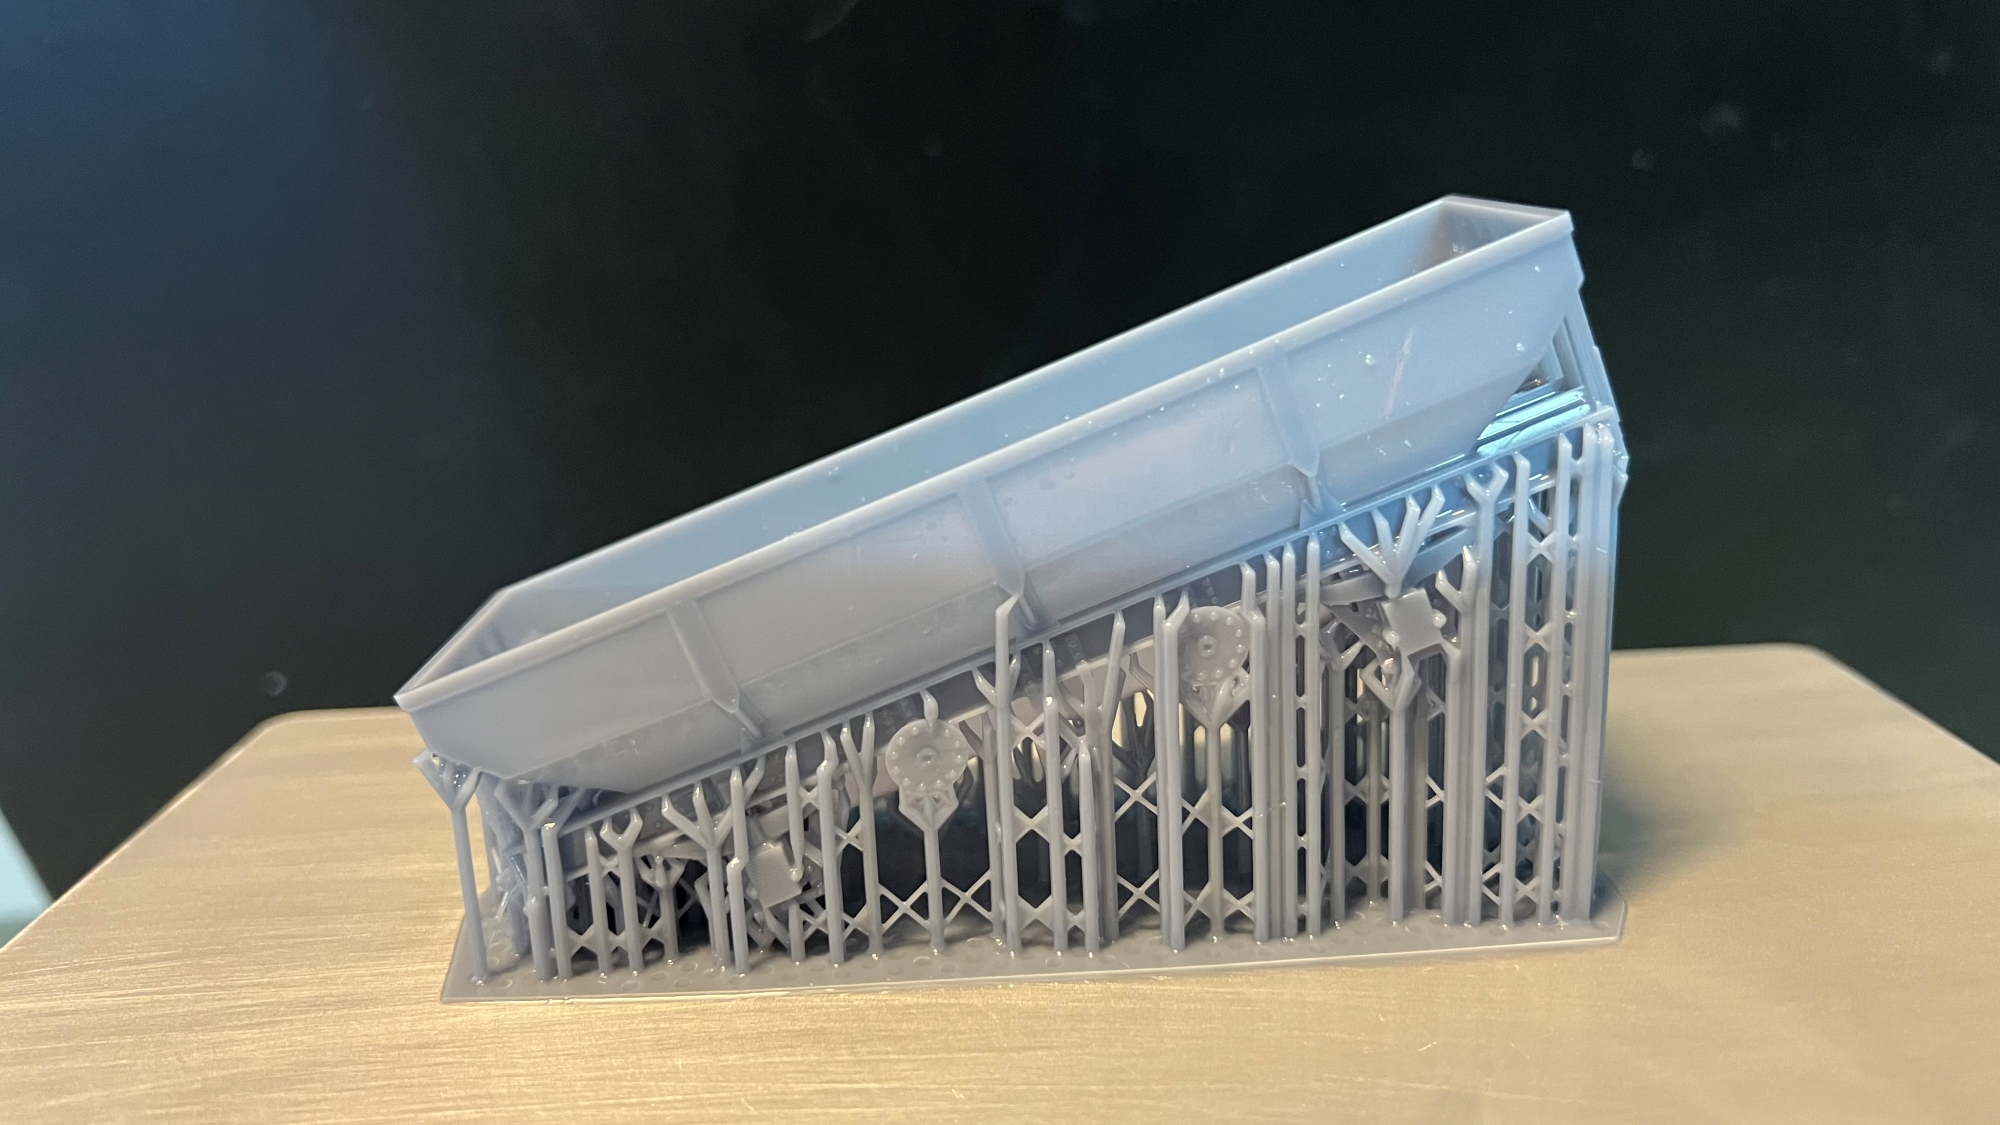
None of the buildings and items are “in-place” yet, I just wanted to see what viewing angles I had. You can see some of my 3D-printed items here. The coal staithes, Biffa bin, oil tank, buffer stop. All from the 3D printer. More on the 3D printer here. 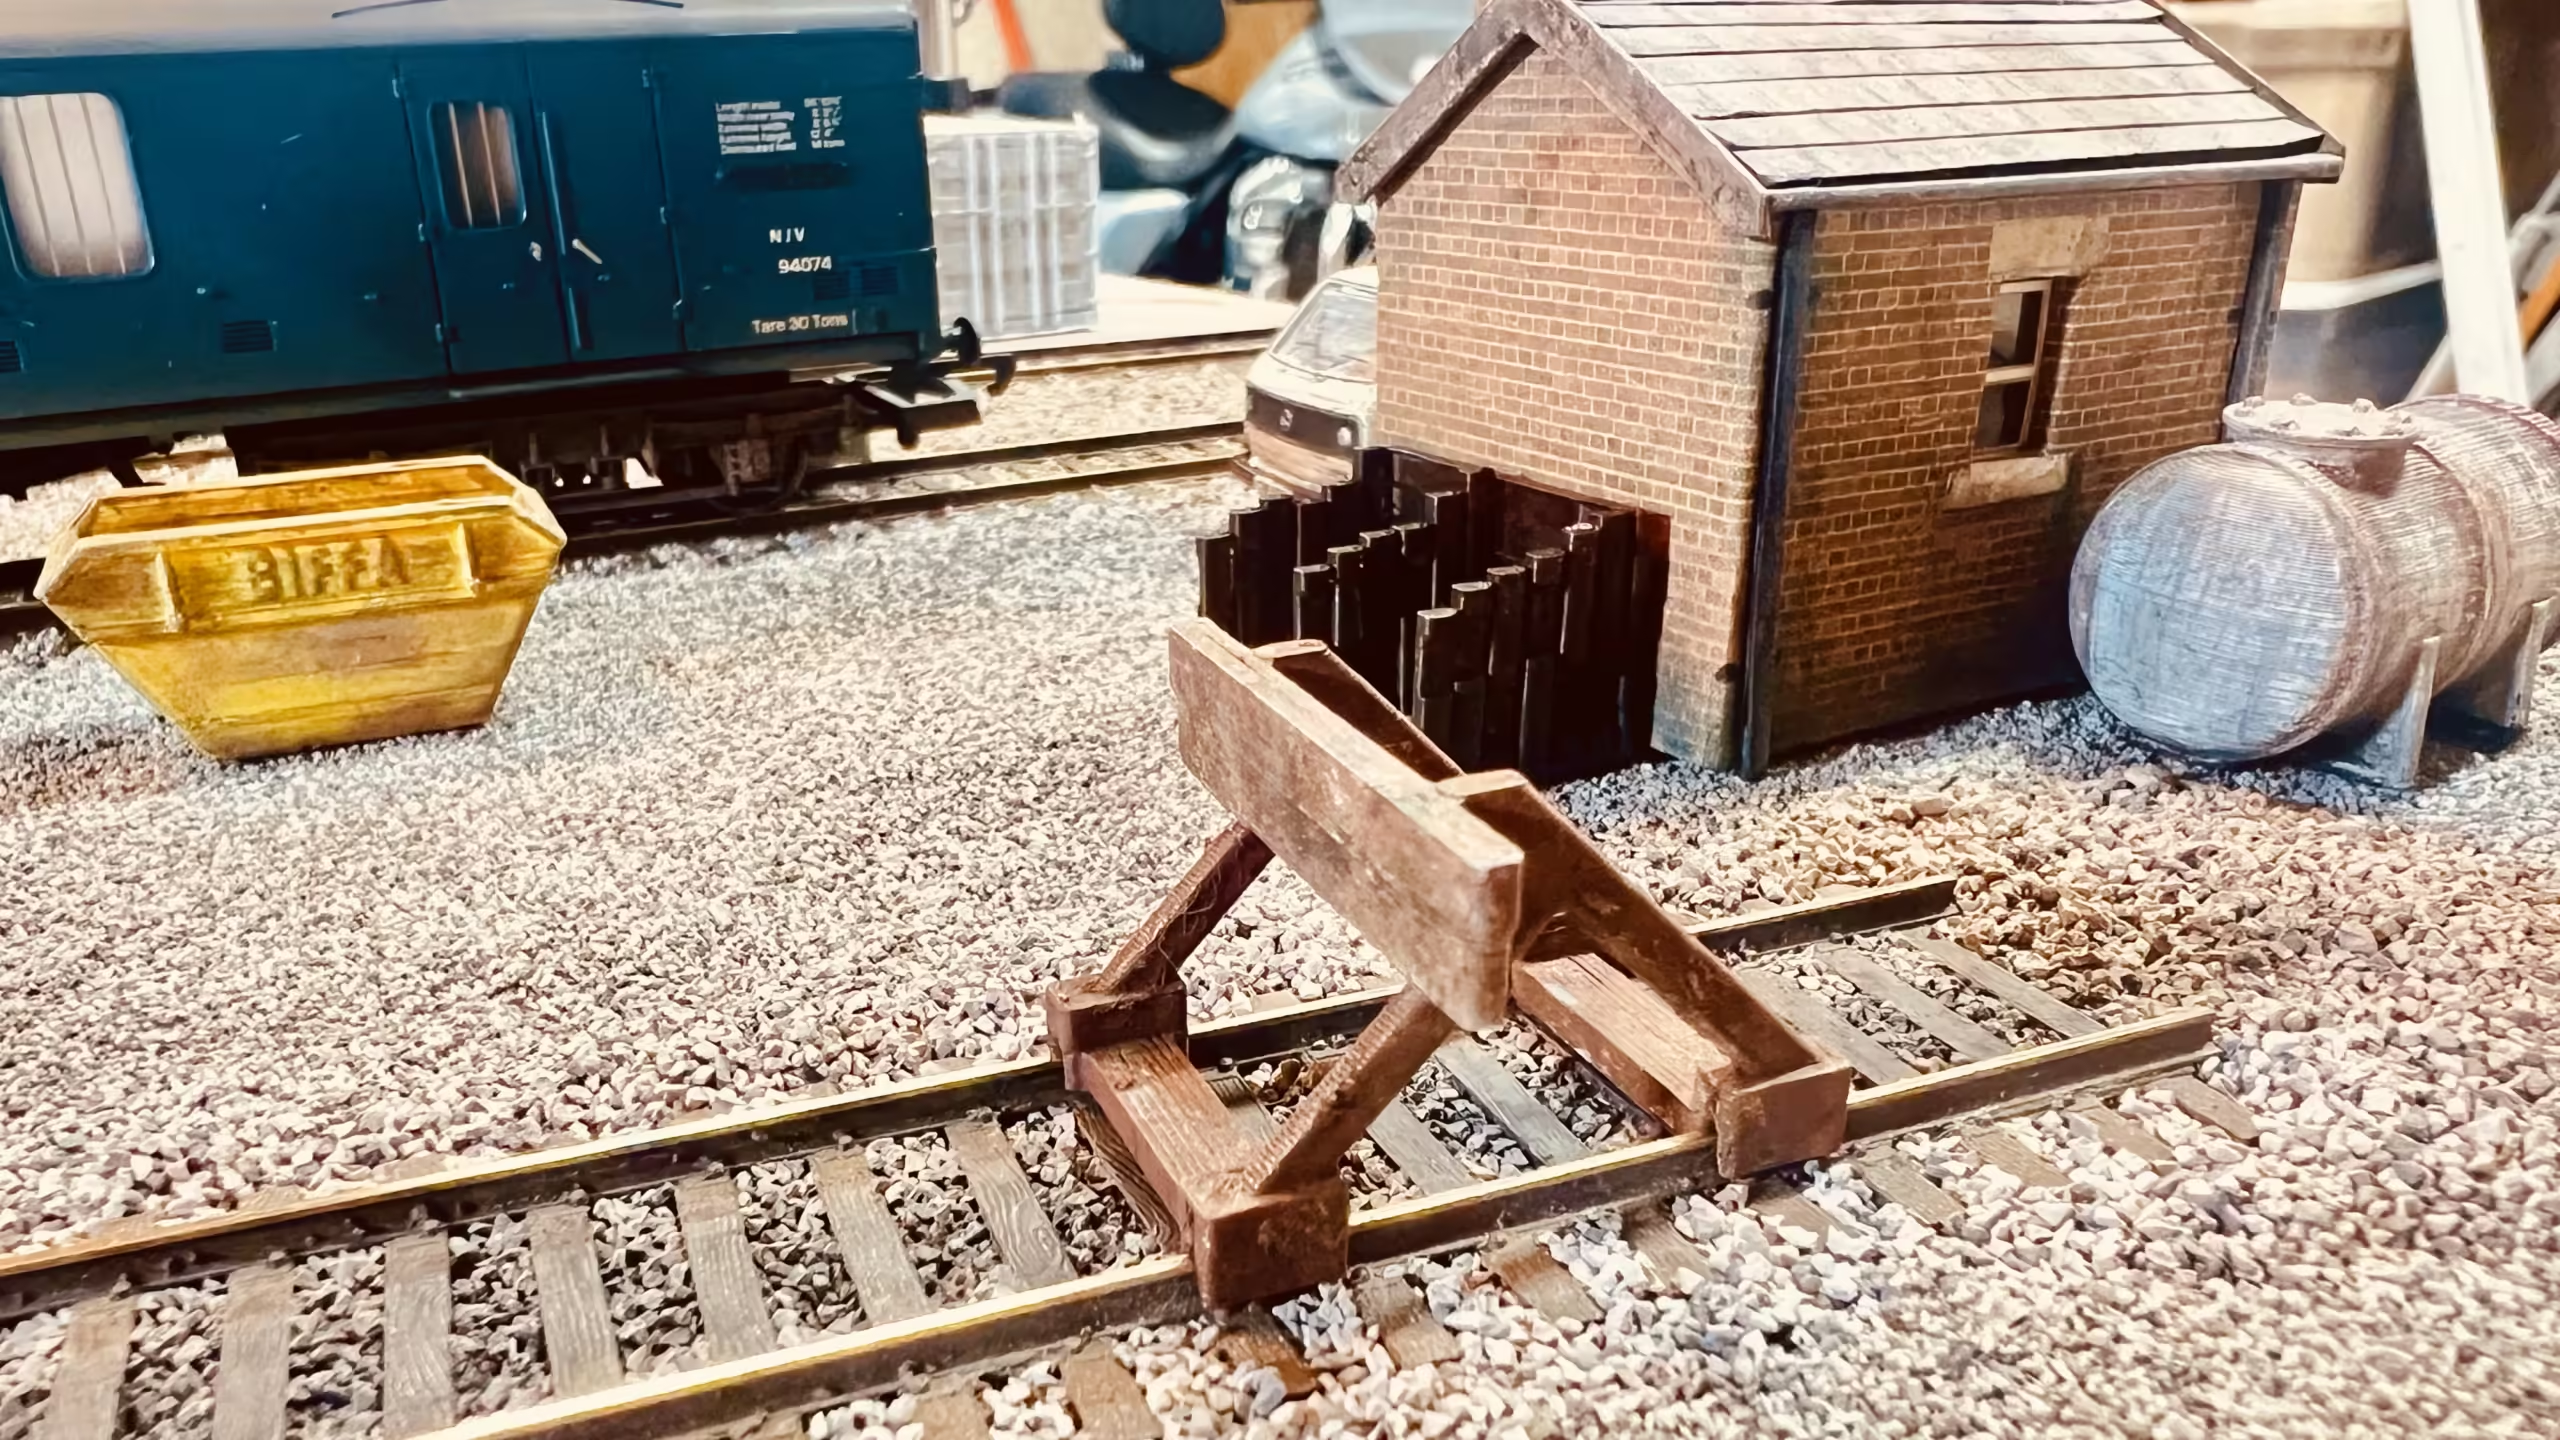
Update – April 6, 2024
I’ve decided to add another siding to the Diorama.
I just felt it needed a bit more “rail action”
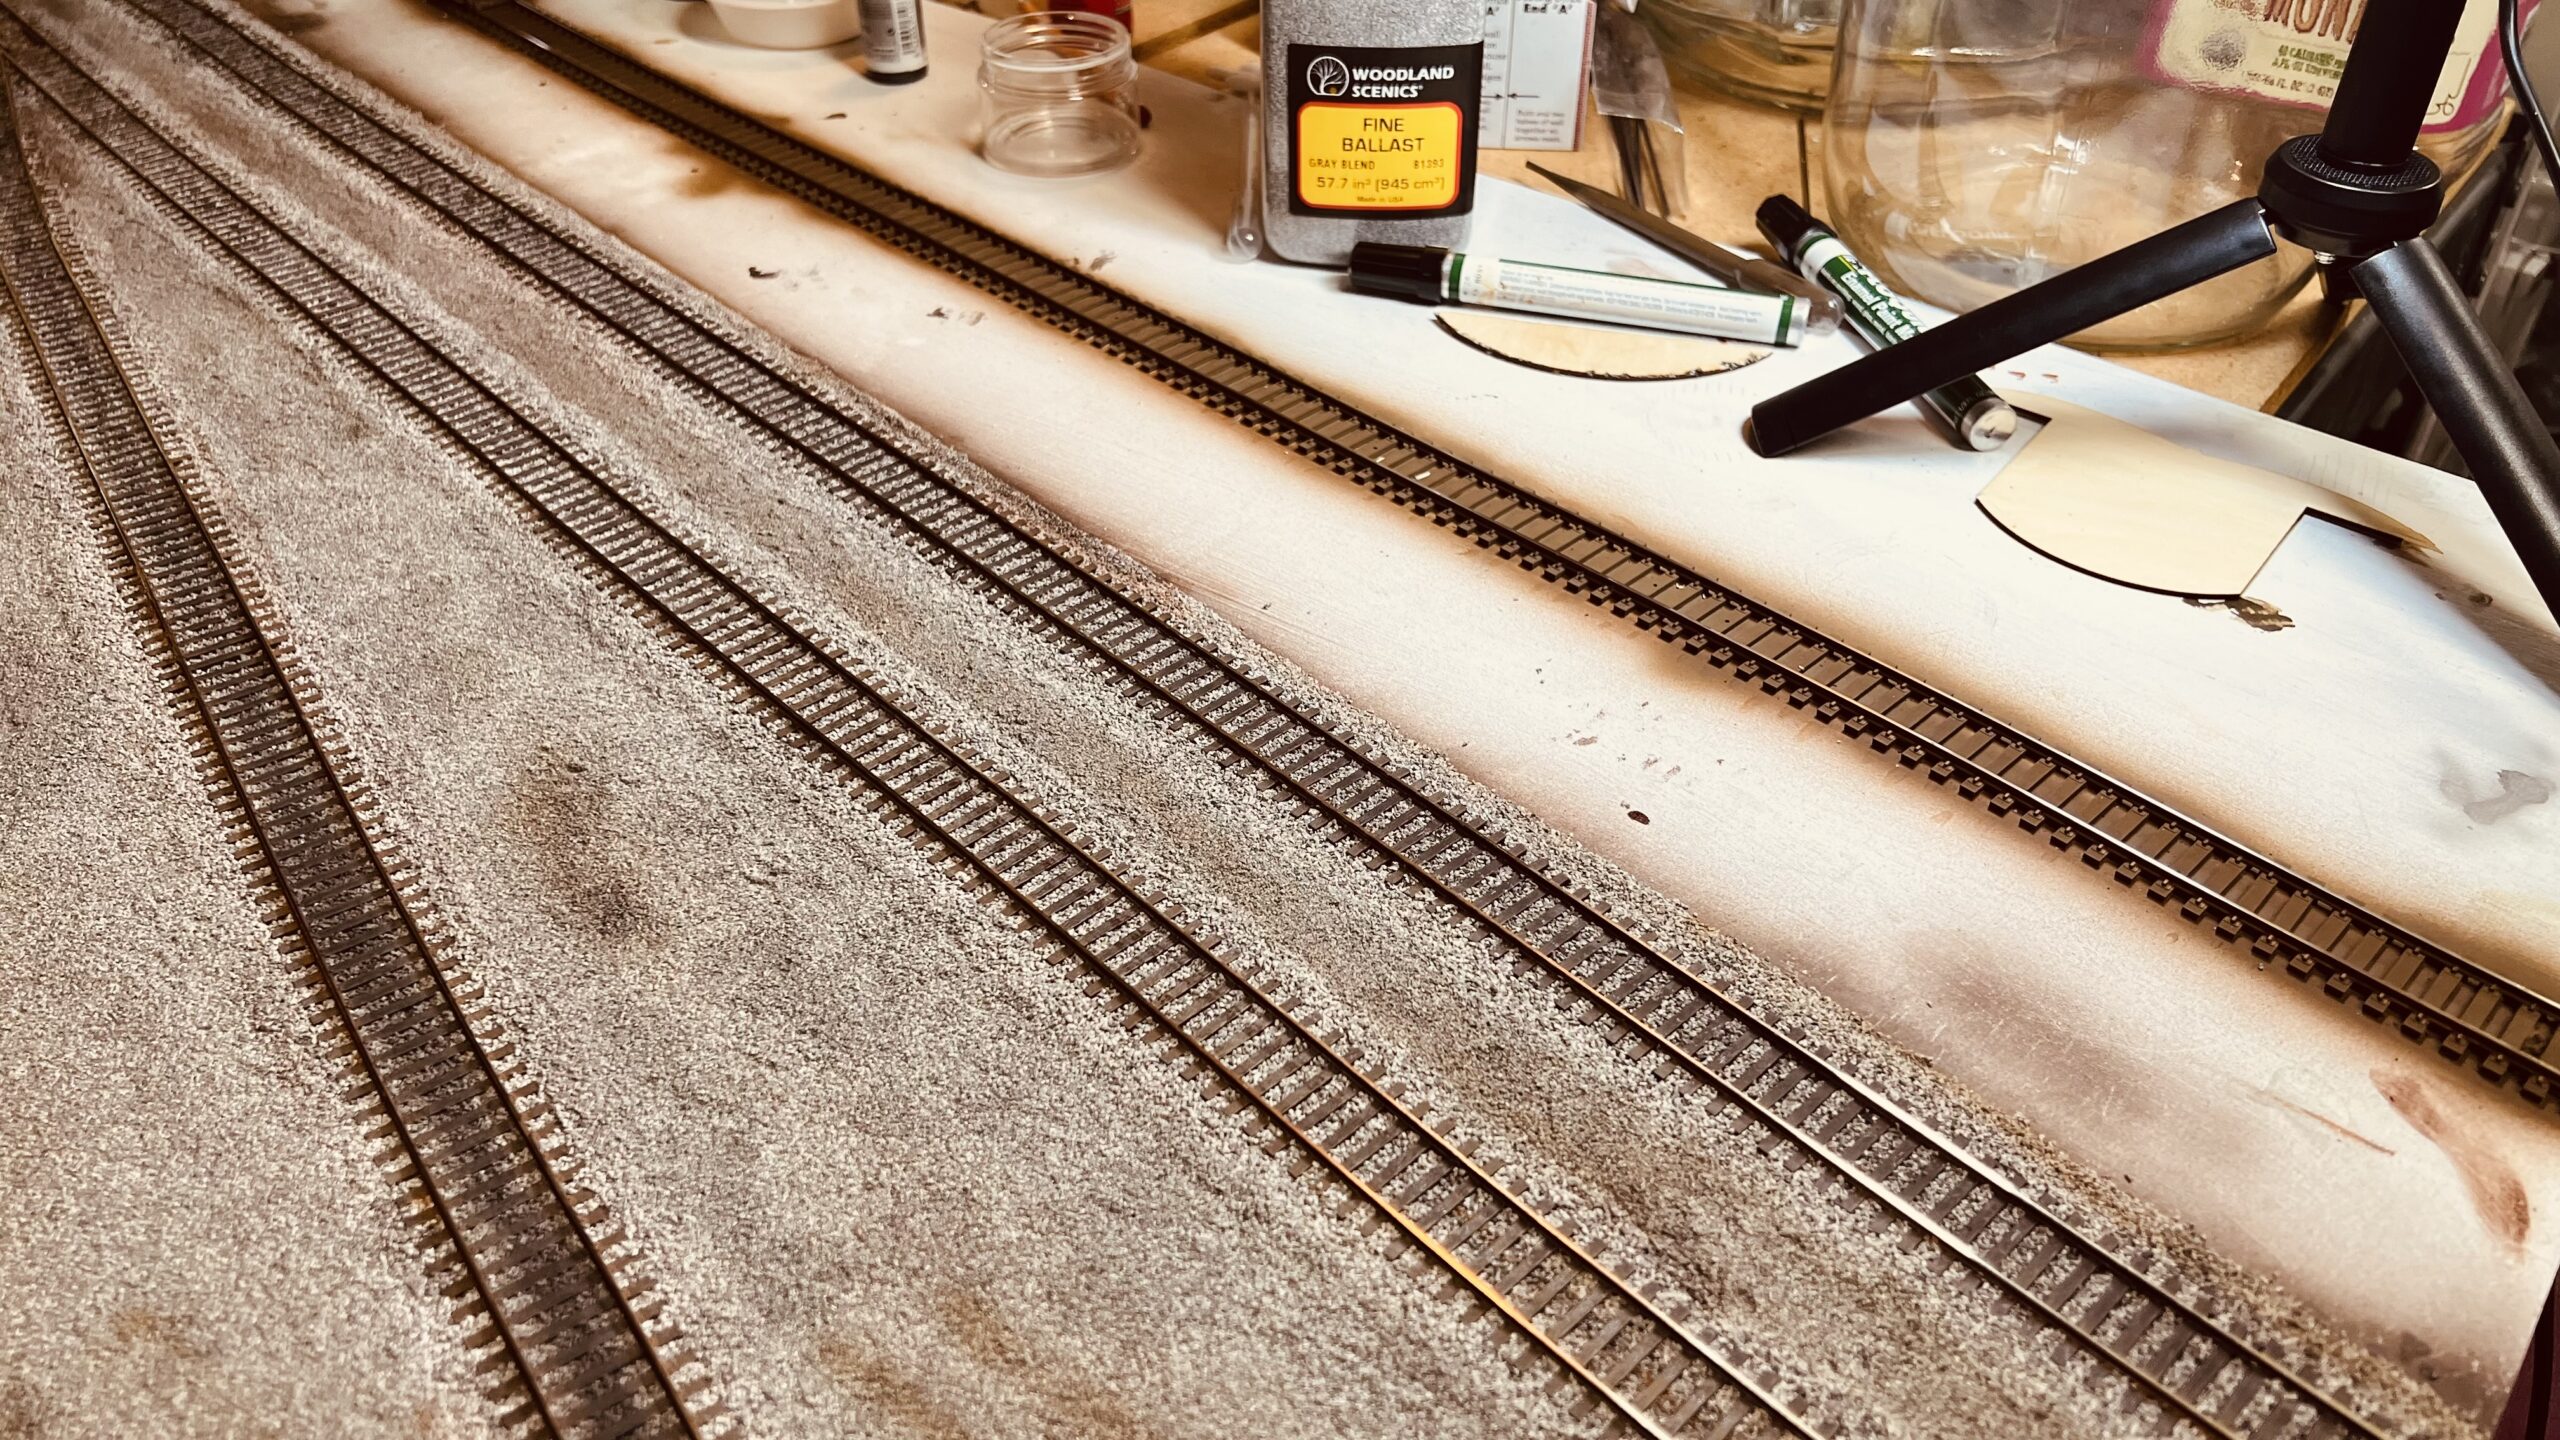
I glued the track down and then airbrushed with Floquil Rail-Tie brown and then a light dust with another brown to give some colour variation. Leaving that to dry overnight and hopefully ballast tomorrow.
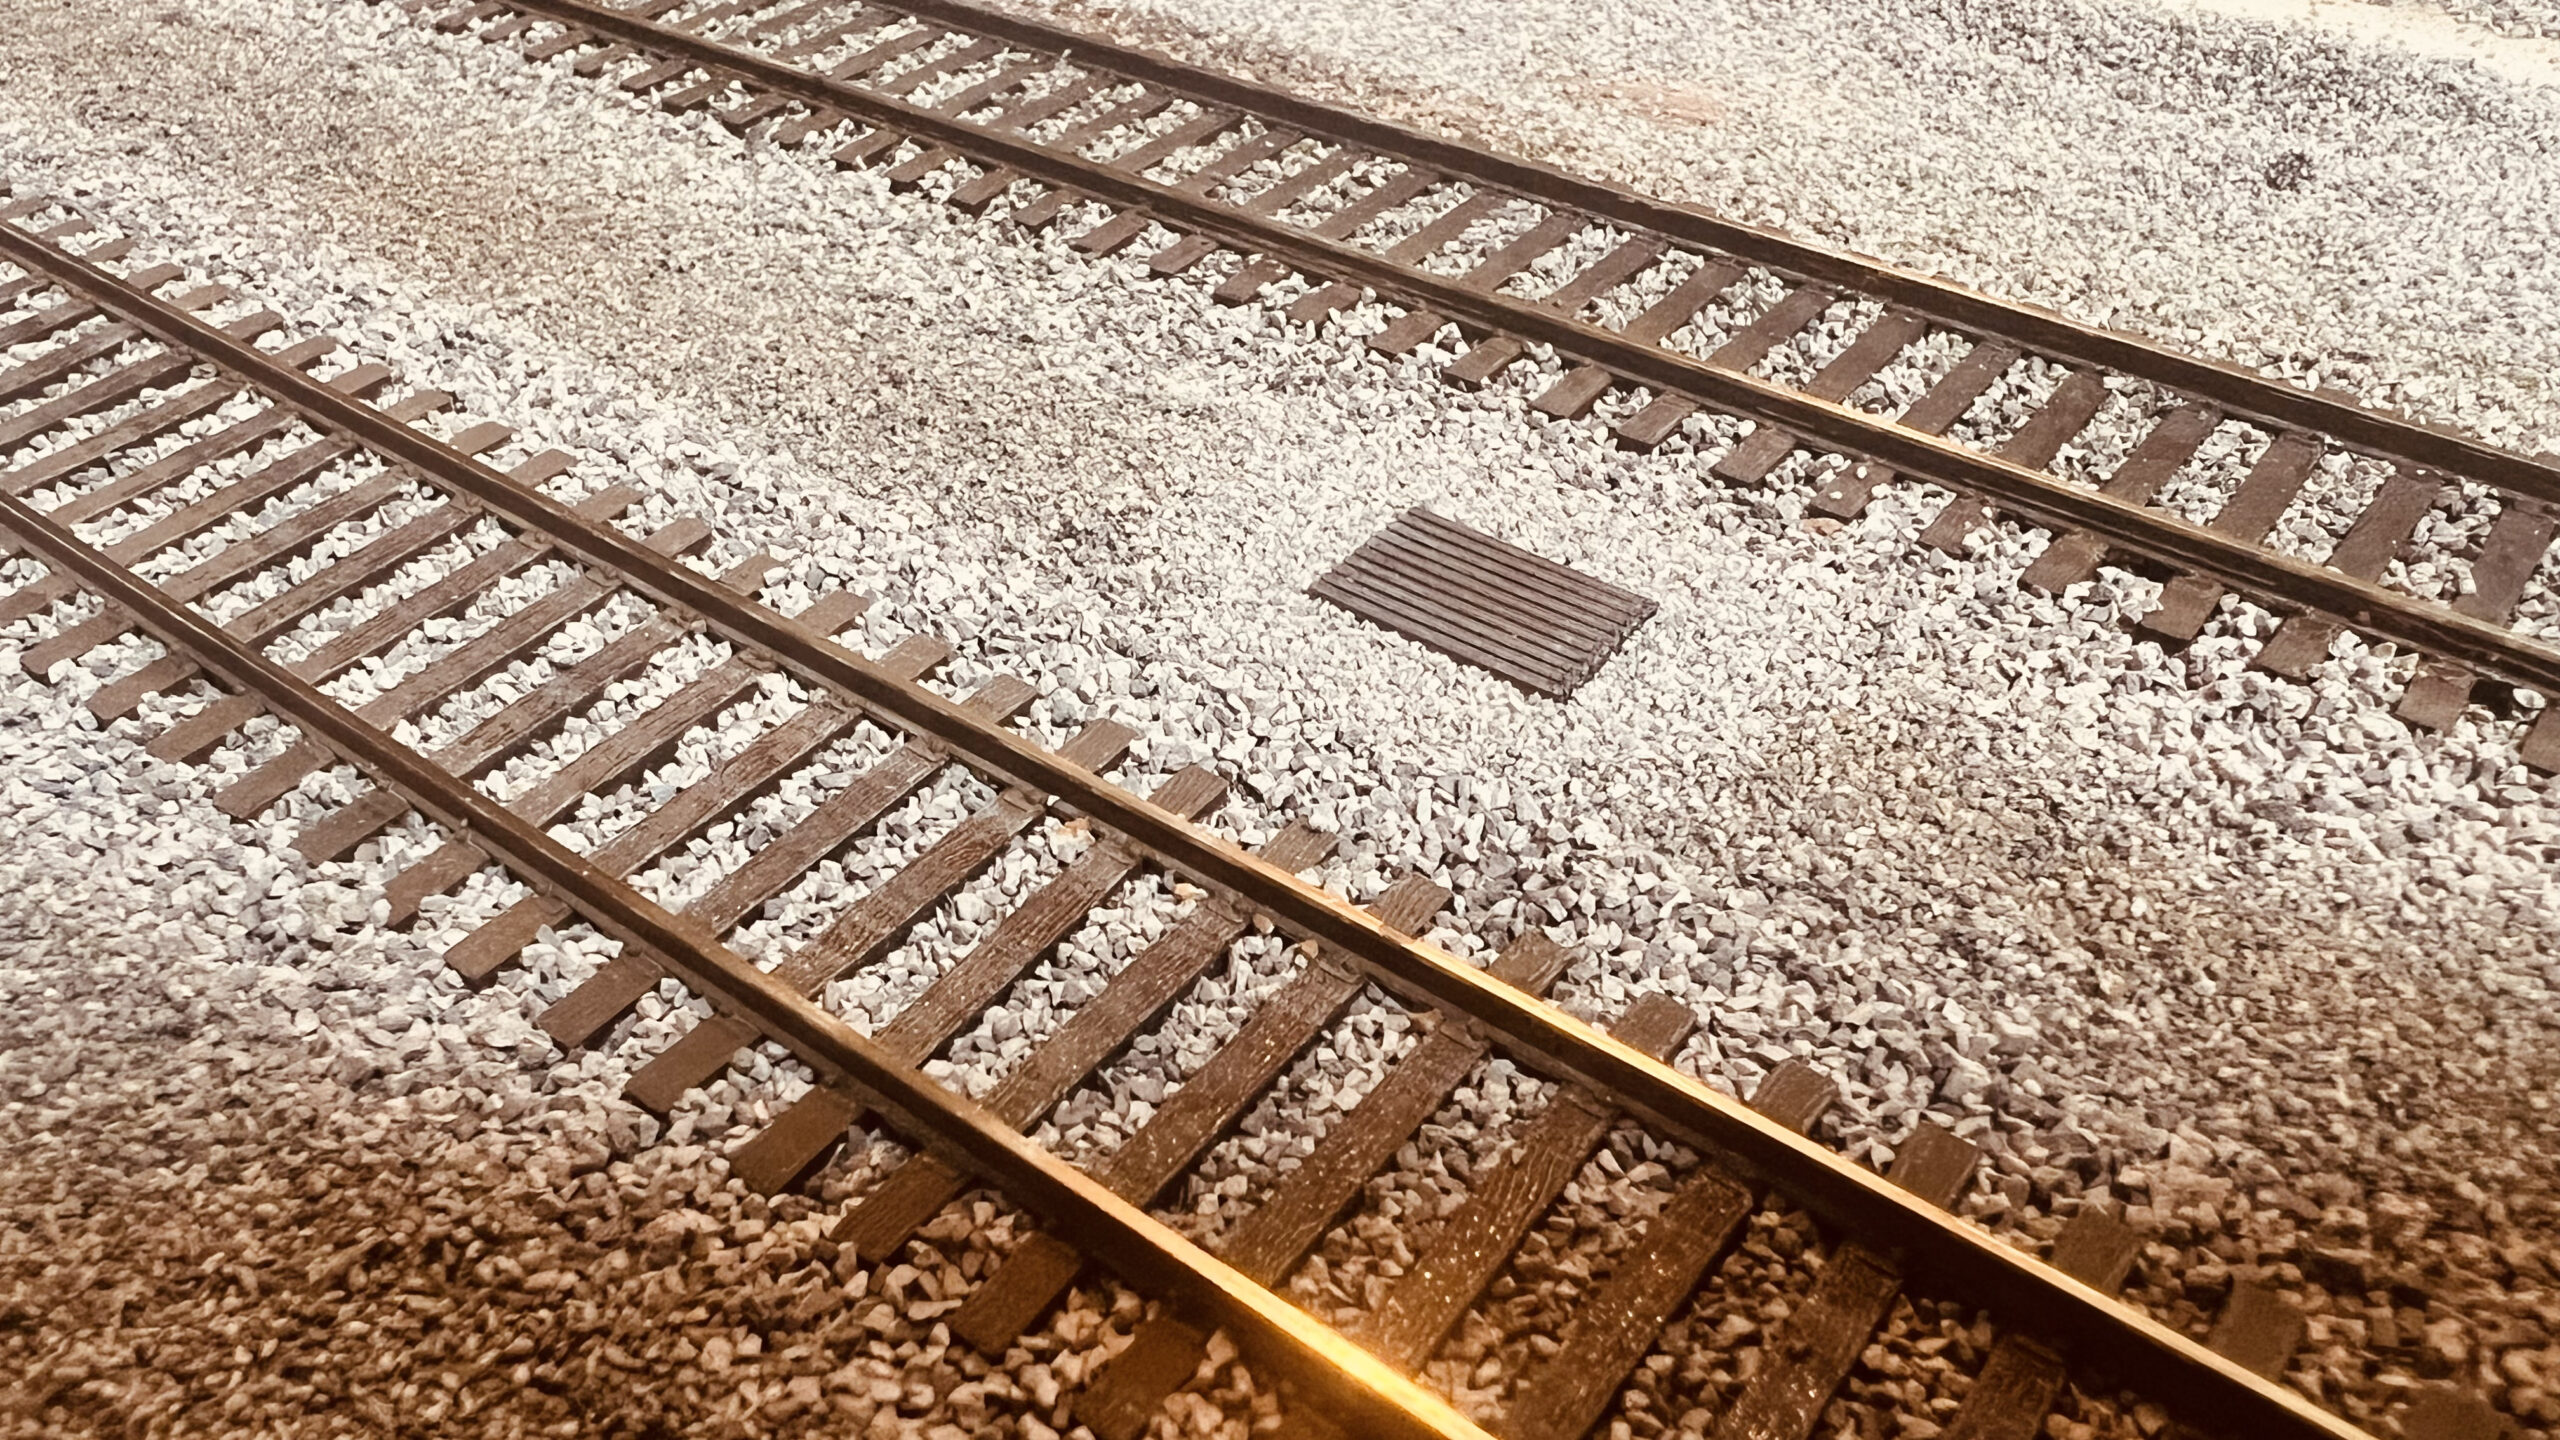
Ballast was added and I’ve added some 3D printed drainage ditch covers, also starting to detail the area at the end of the track to make it look disused. …and yes, I did spatter diluted black paint over the yard. I will need to clean that up.
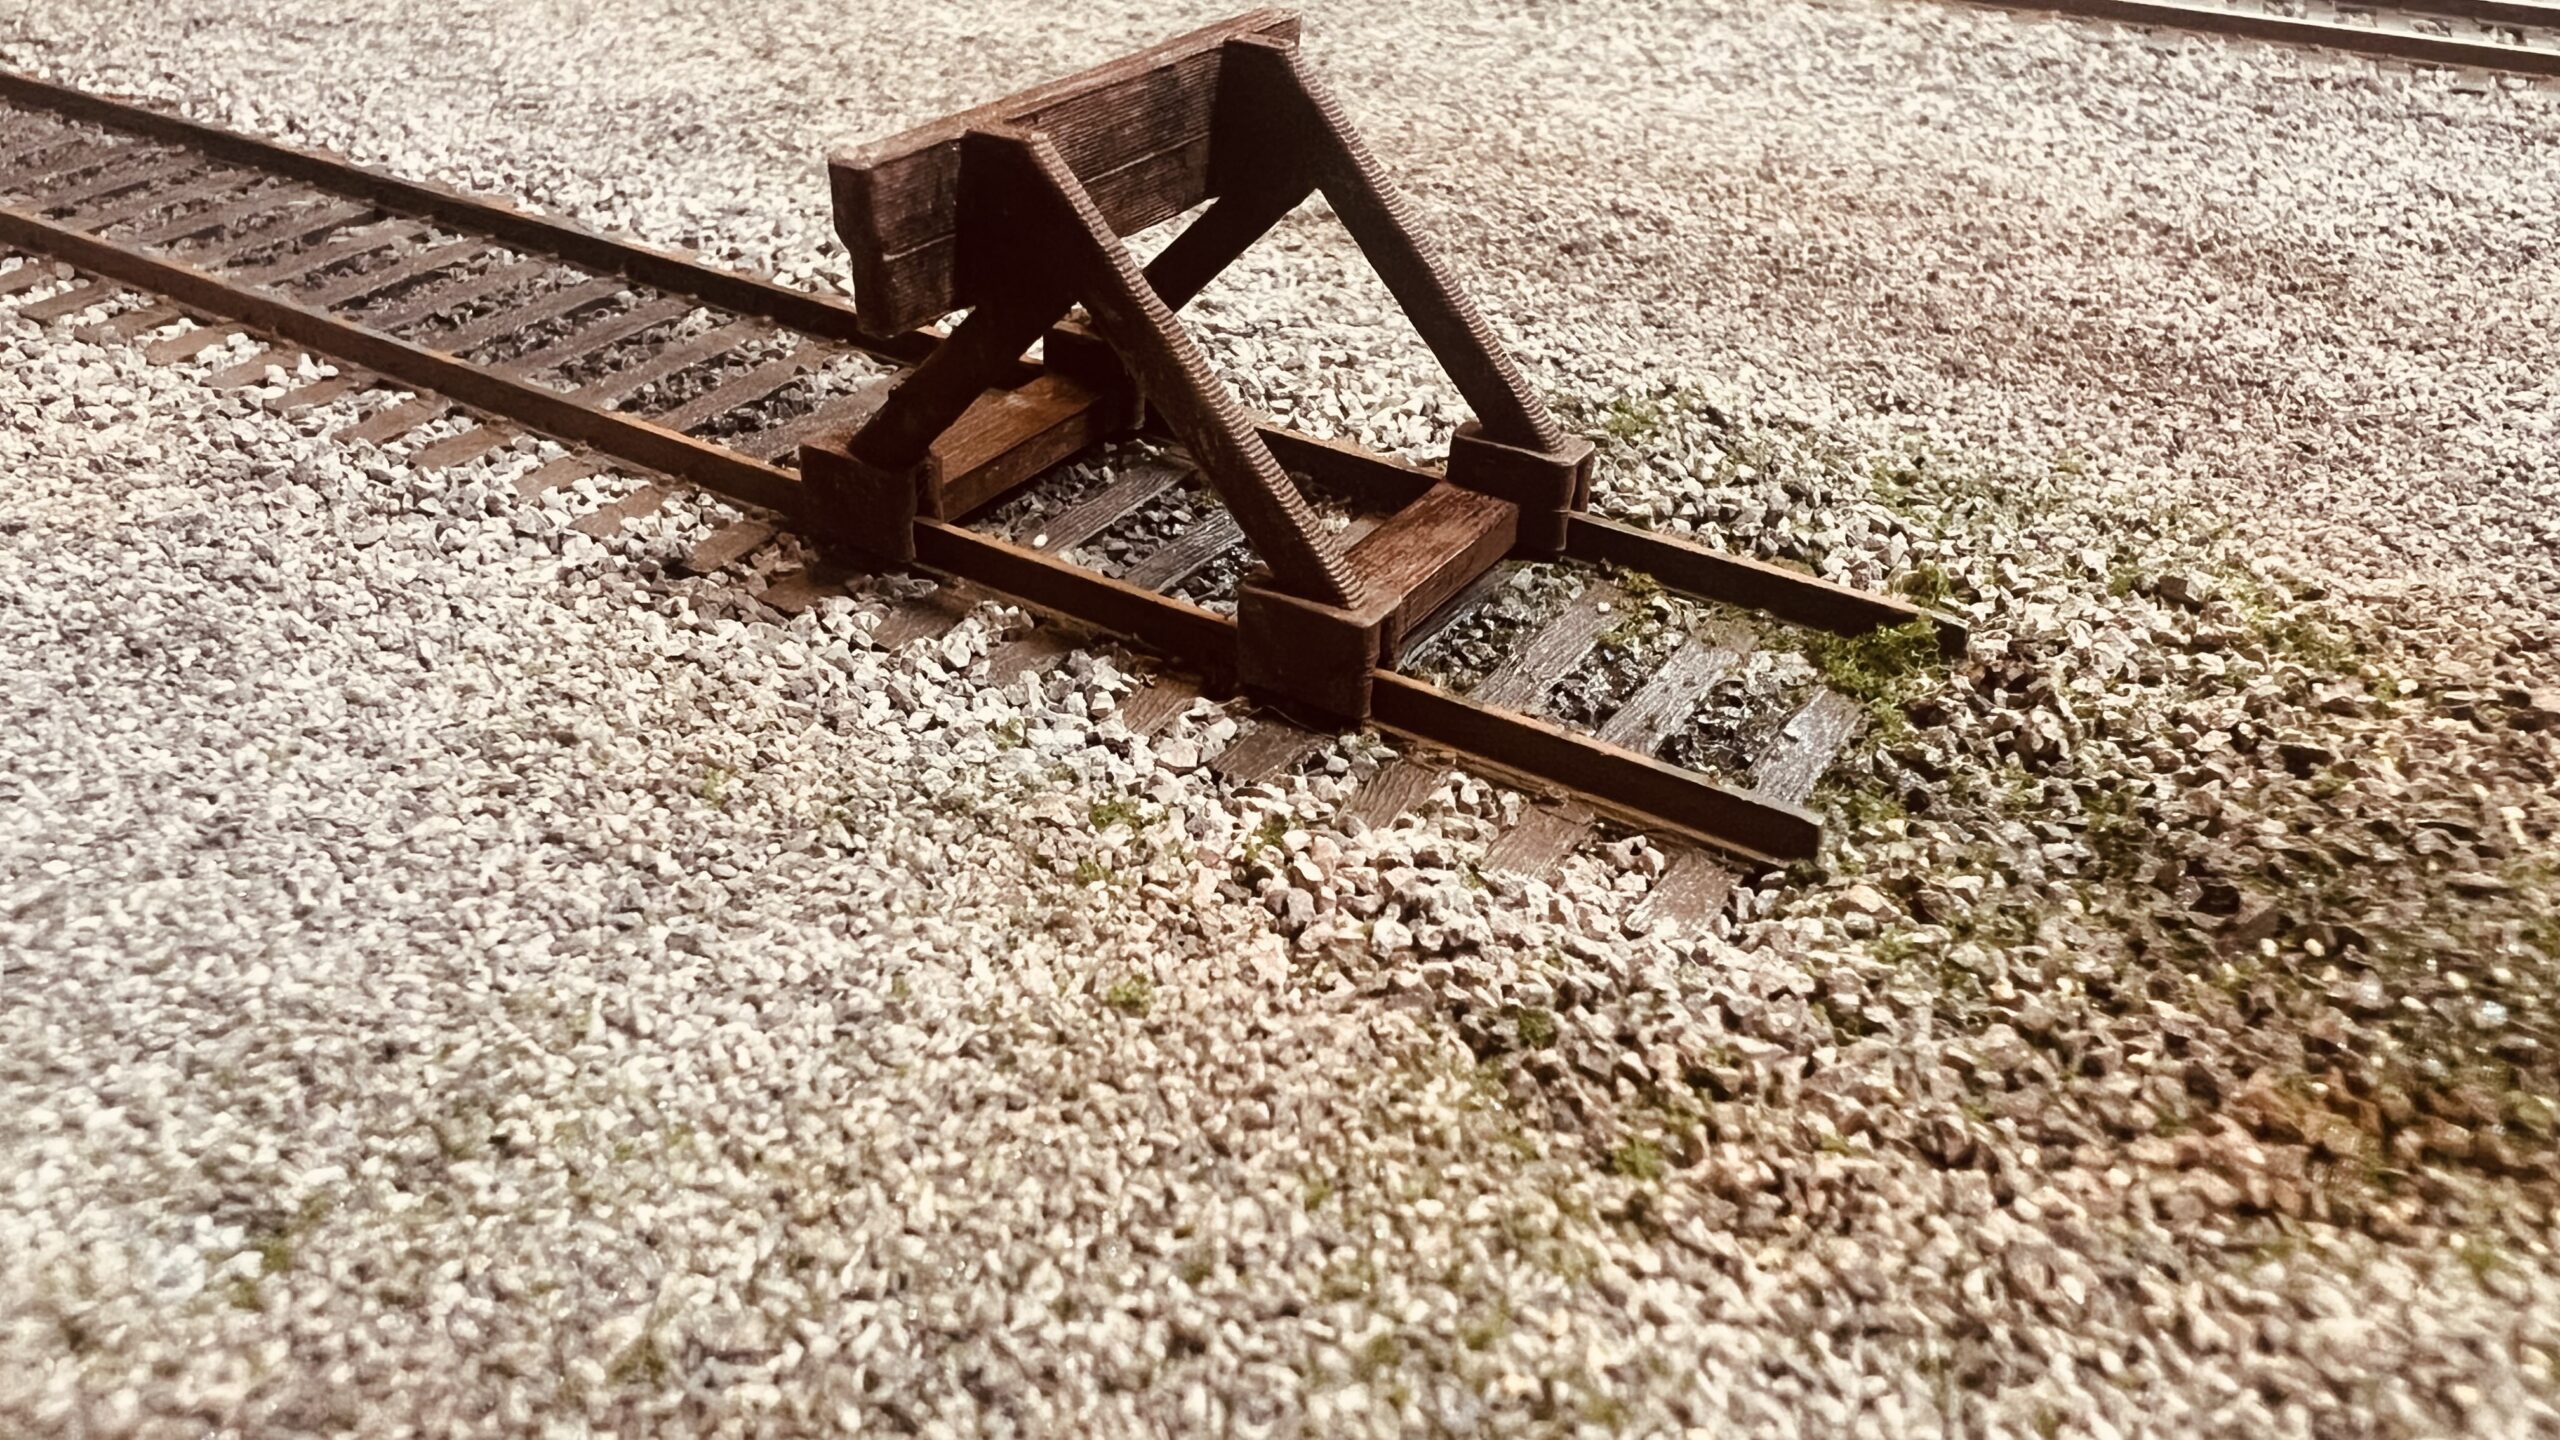
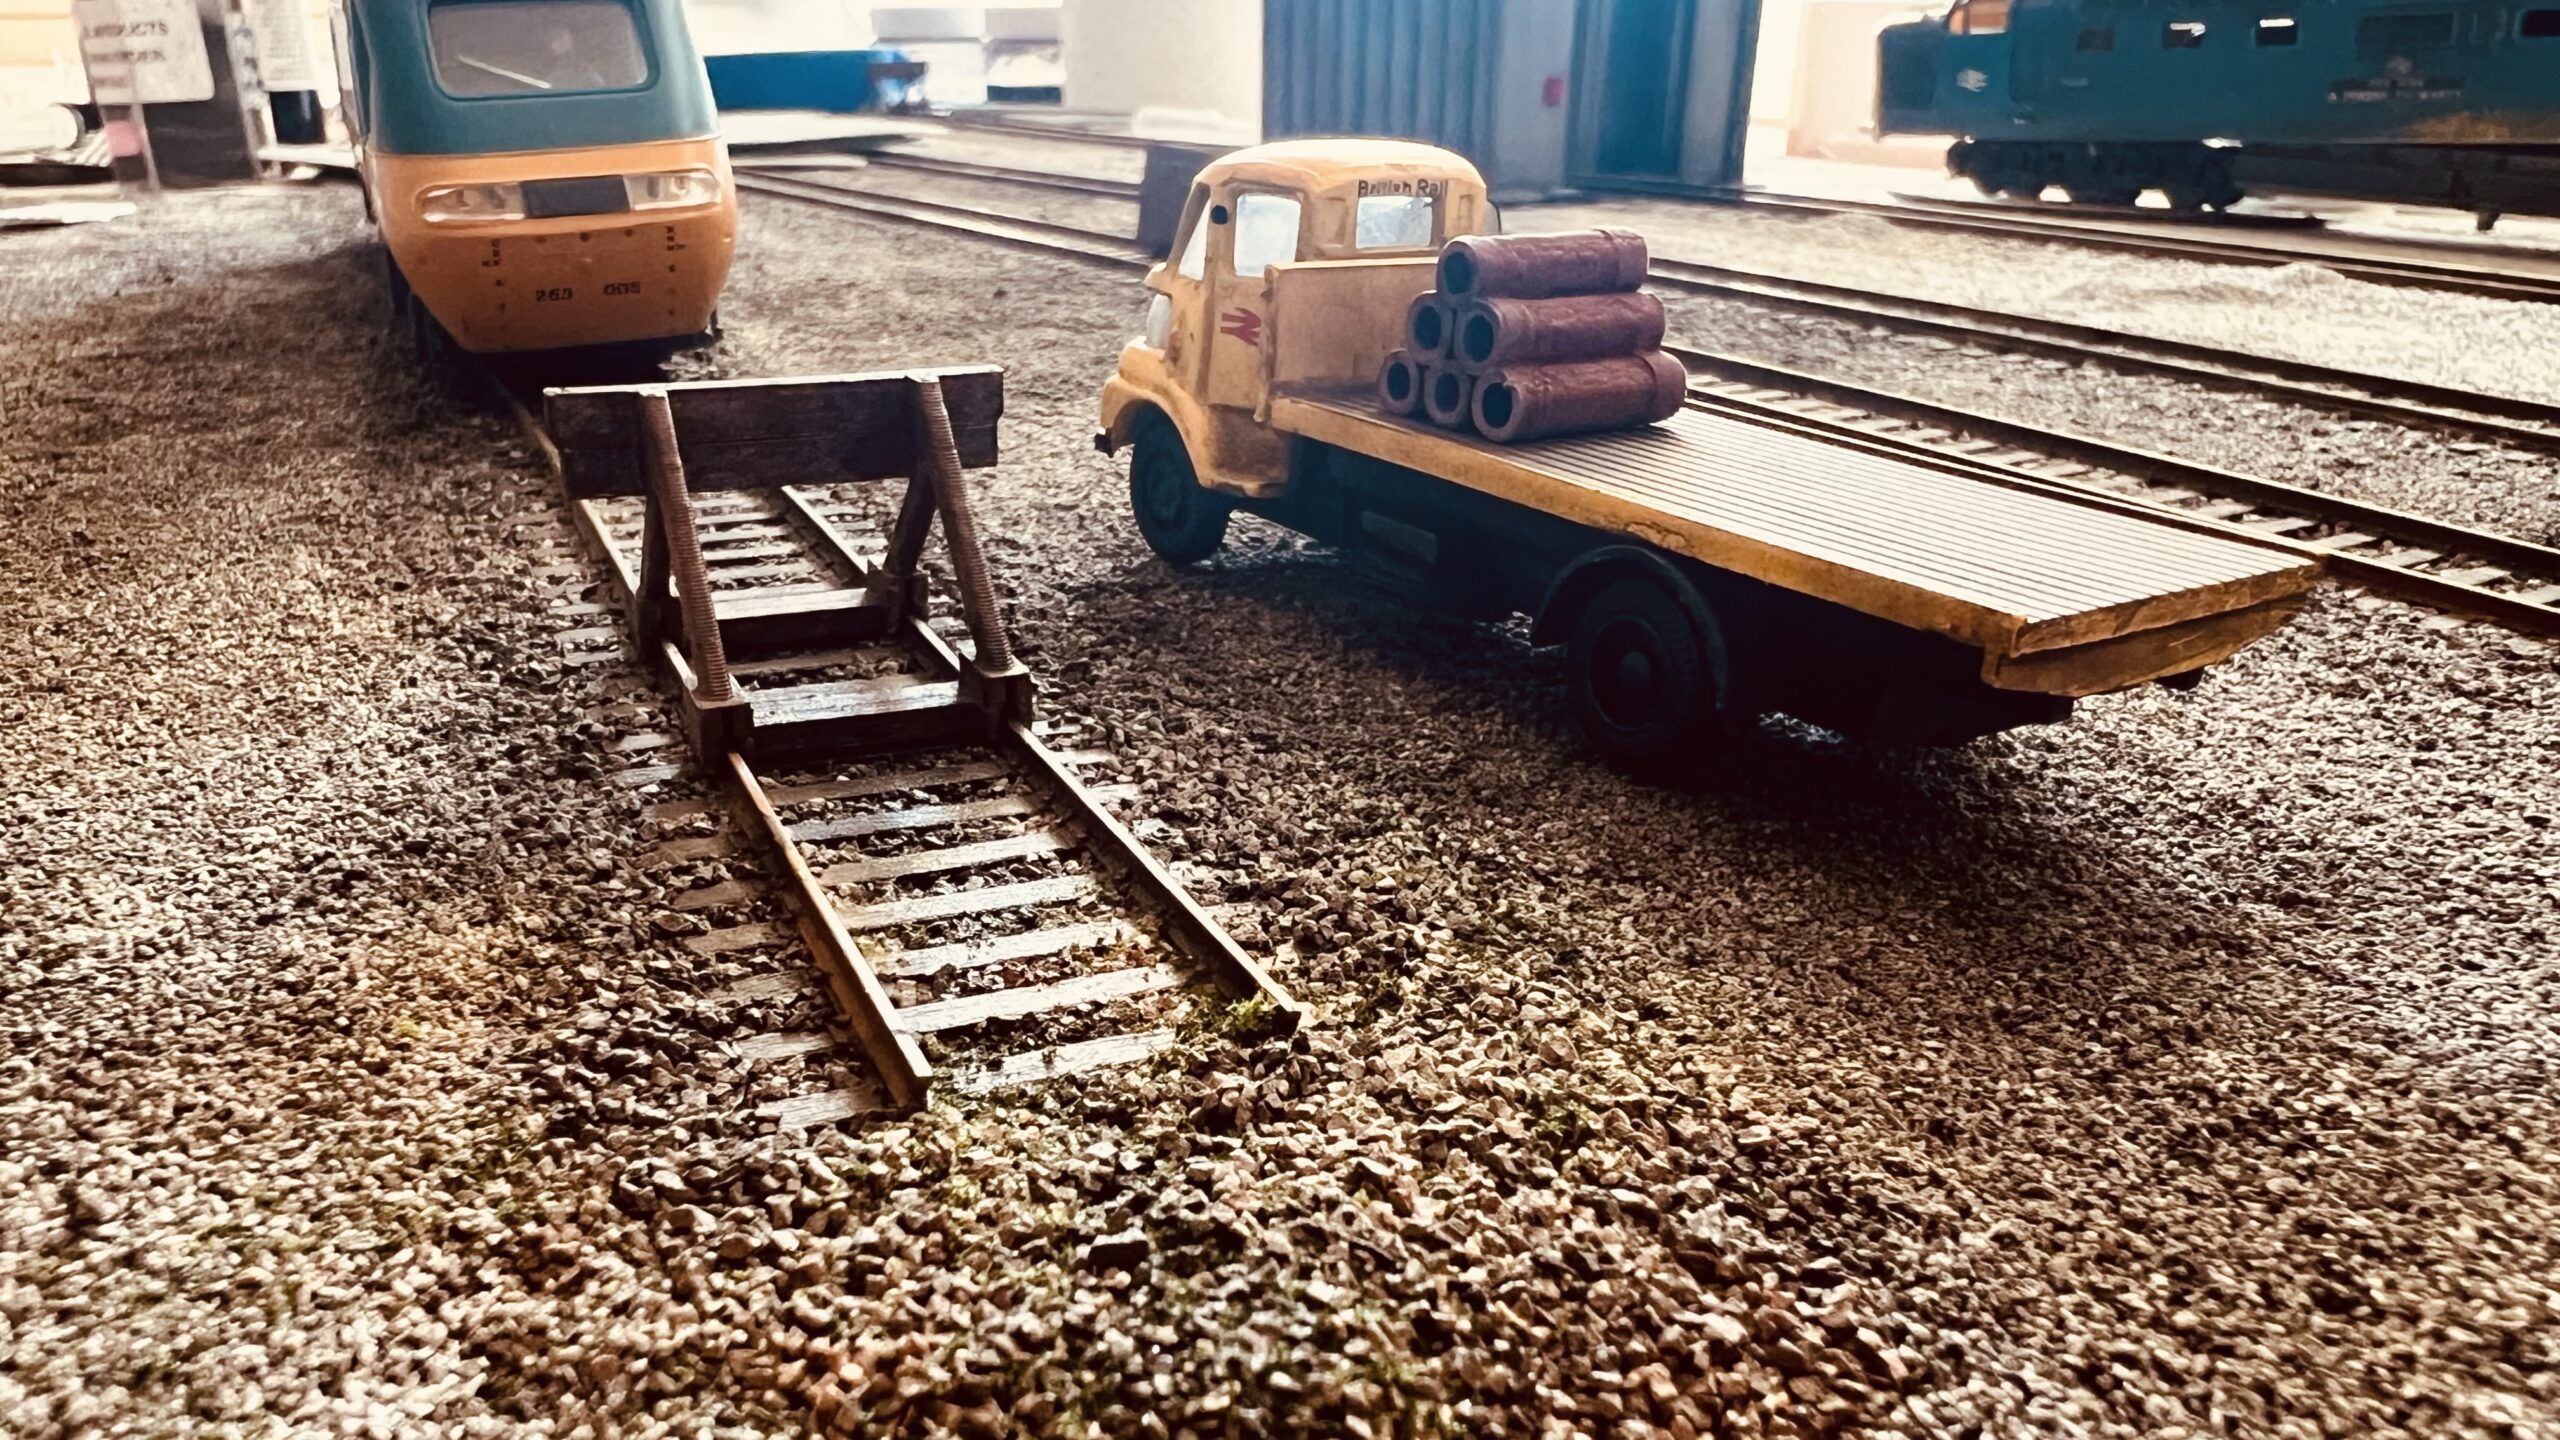
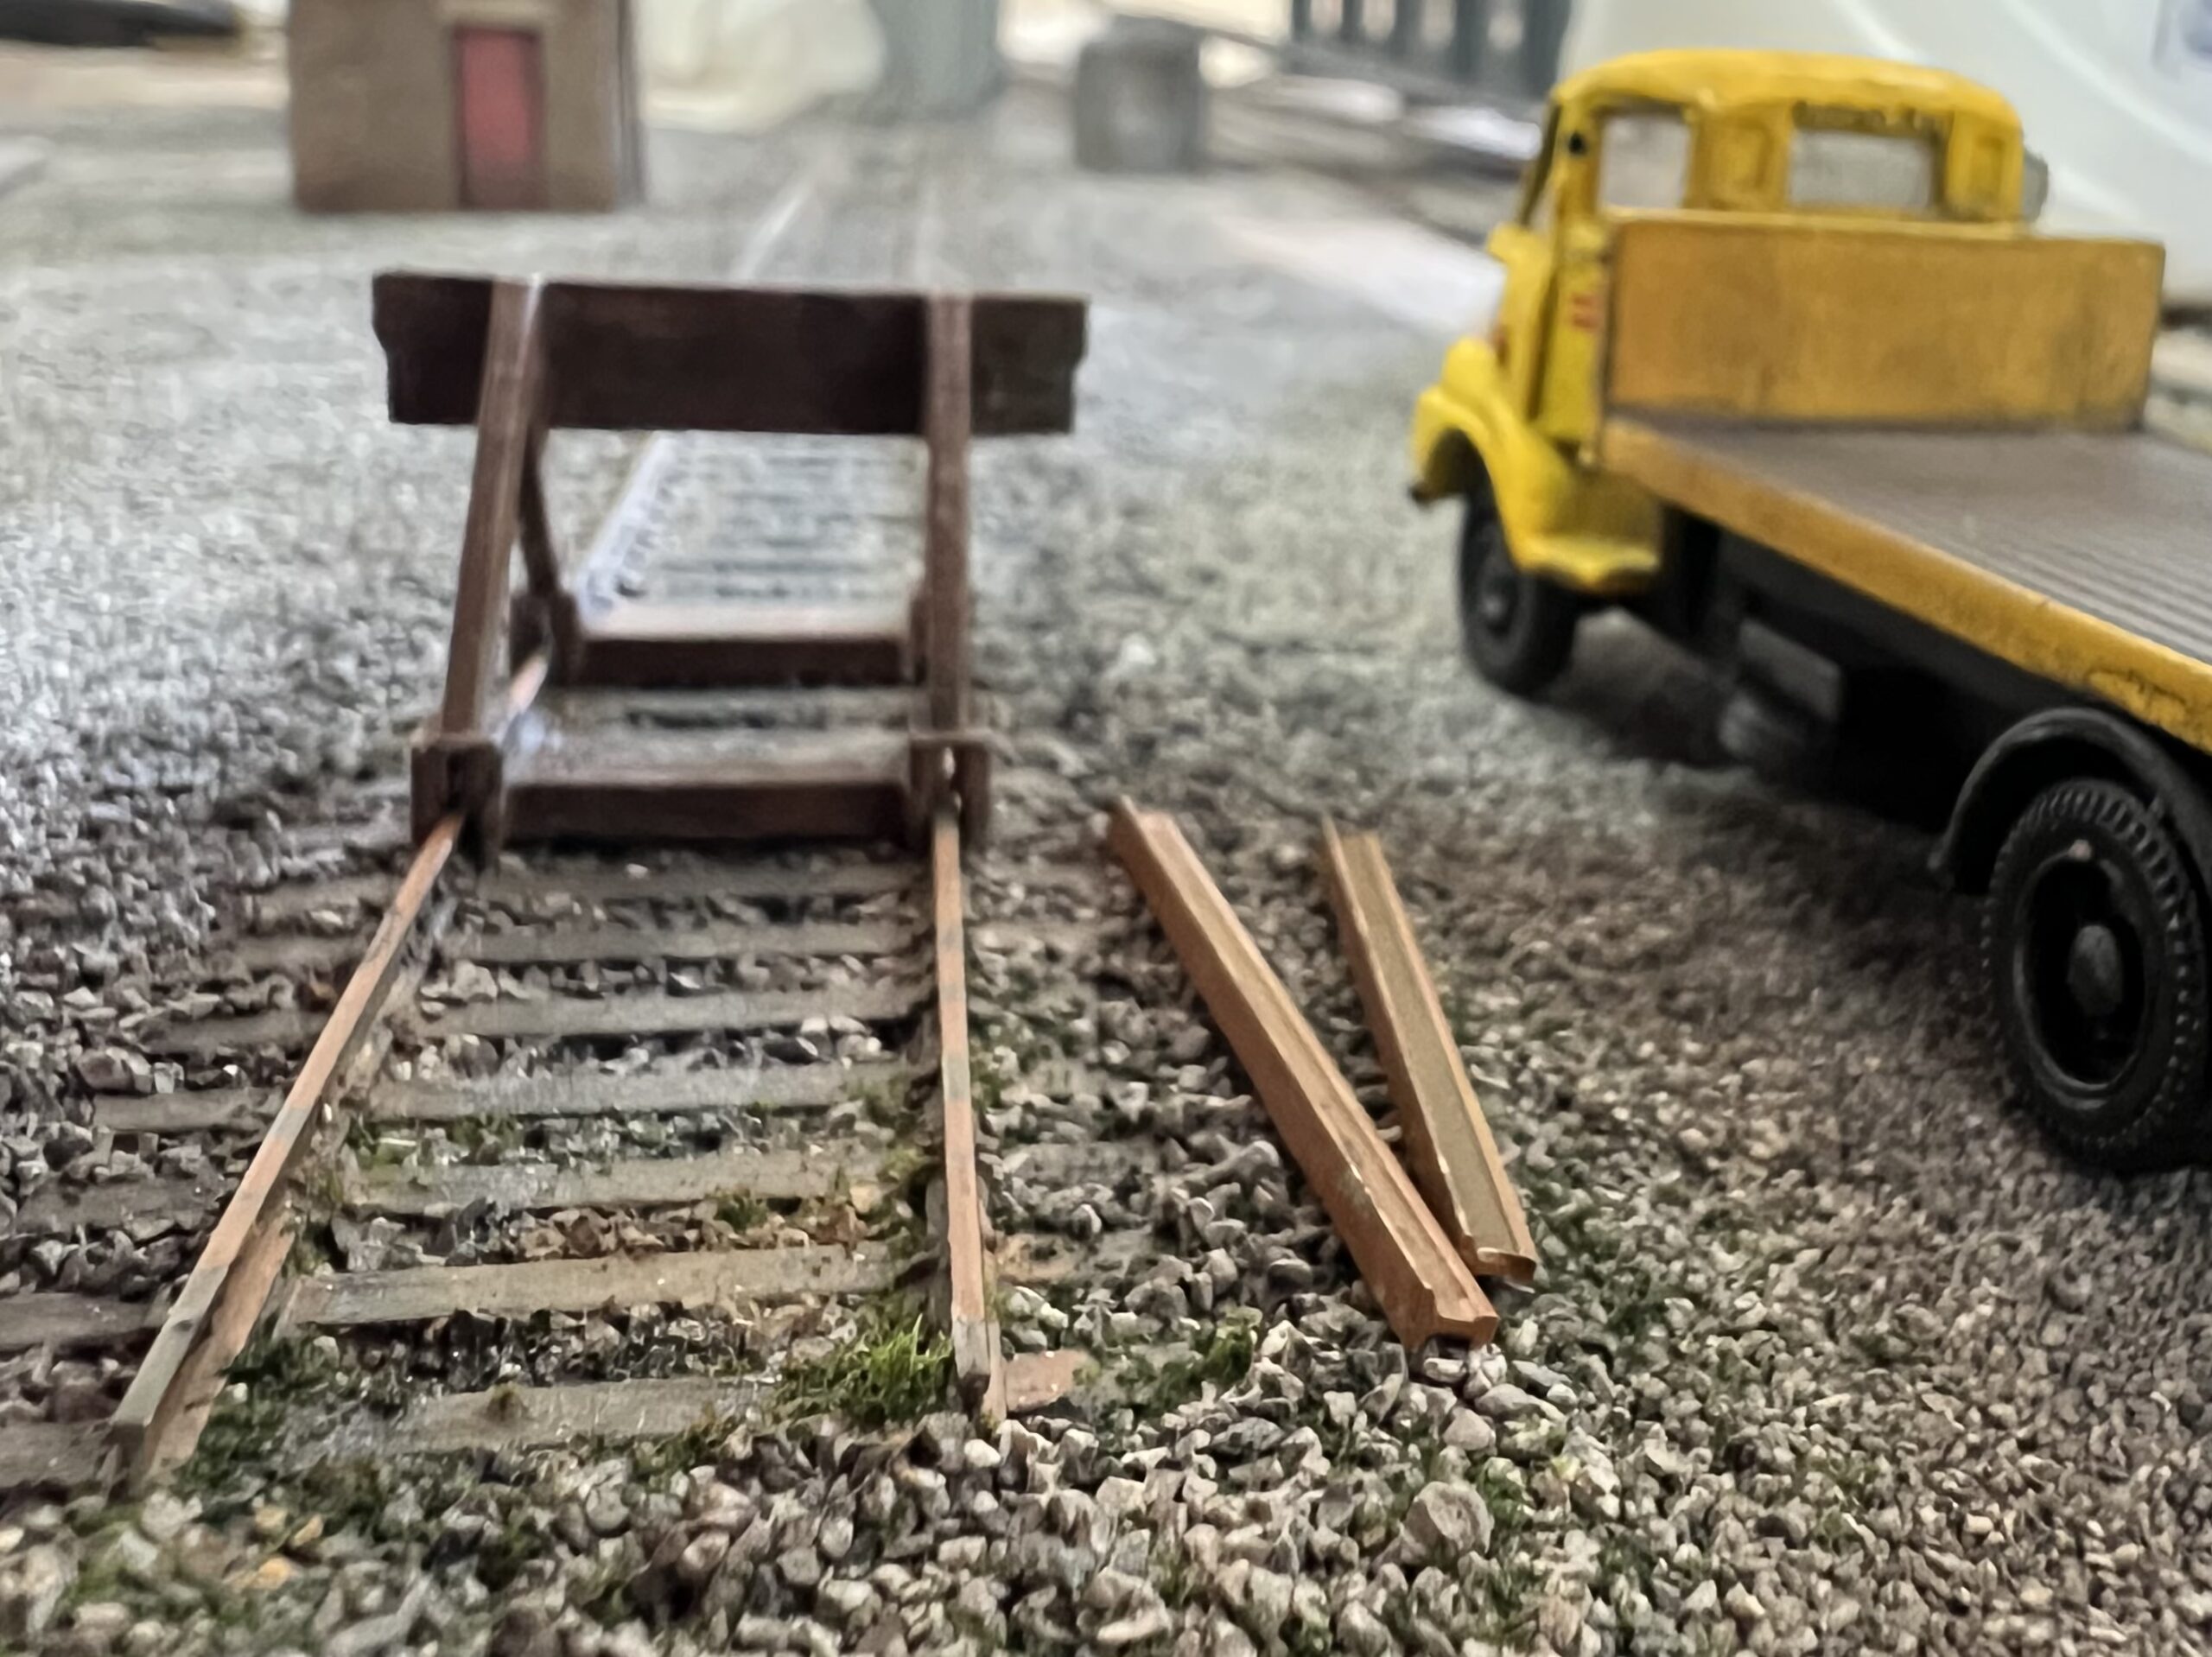
Update April 14th, 2024
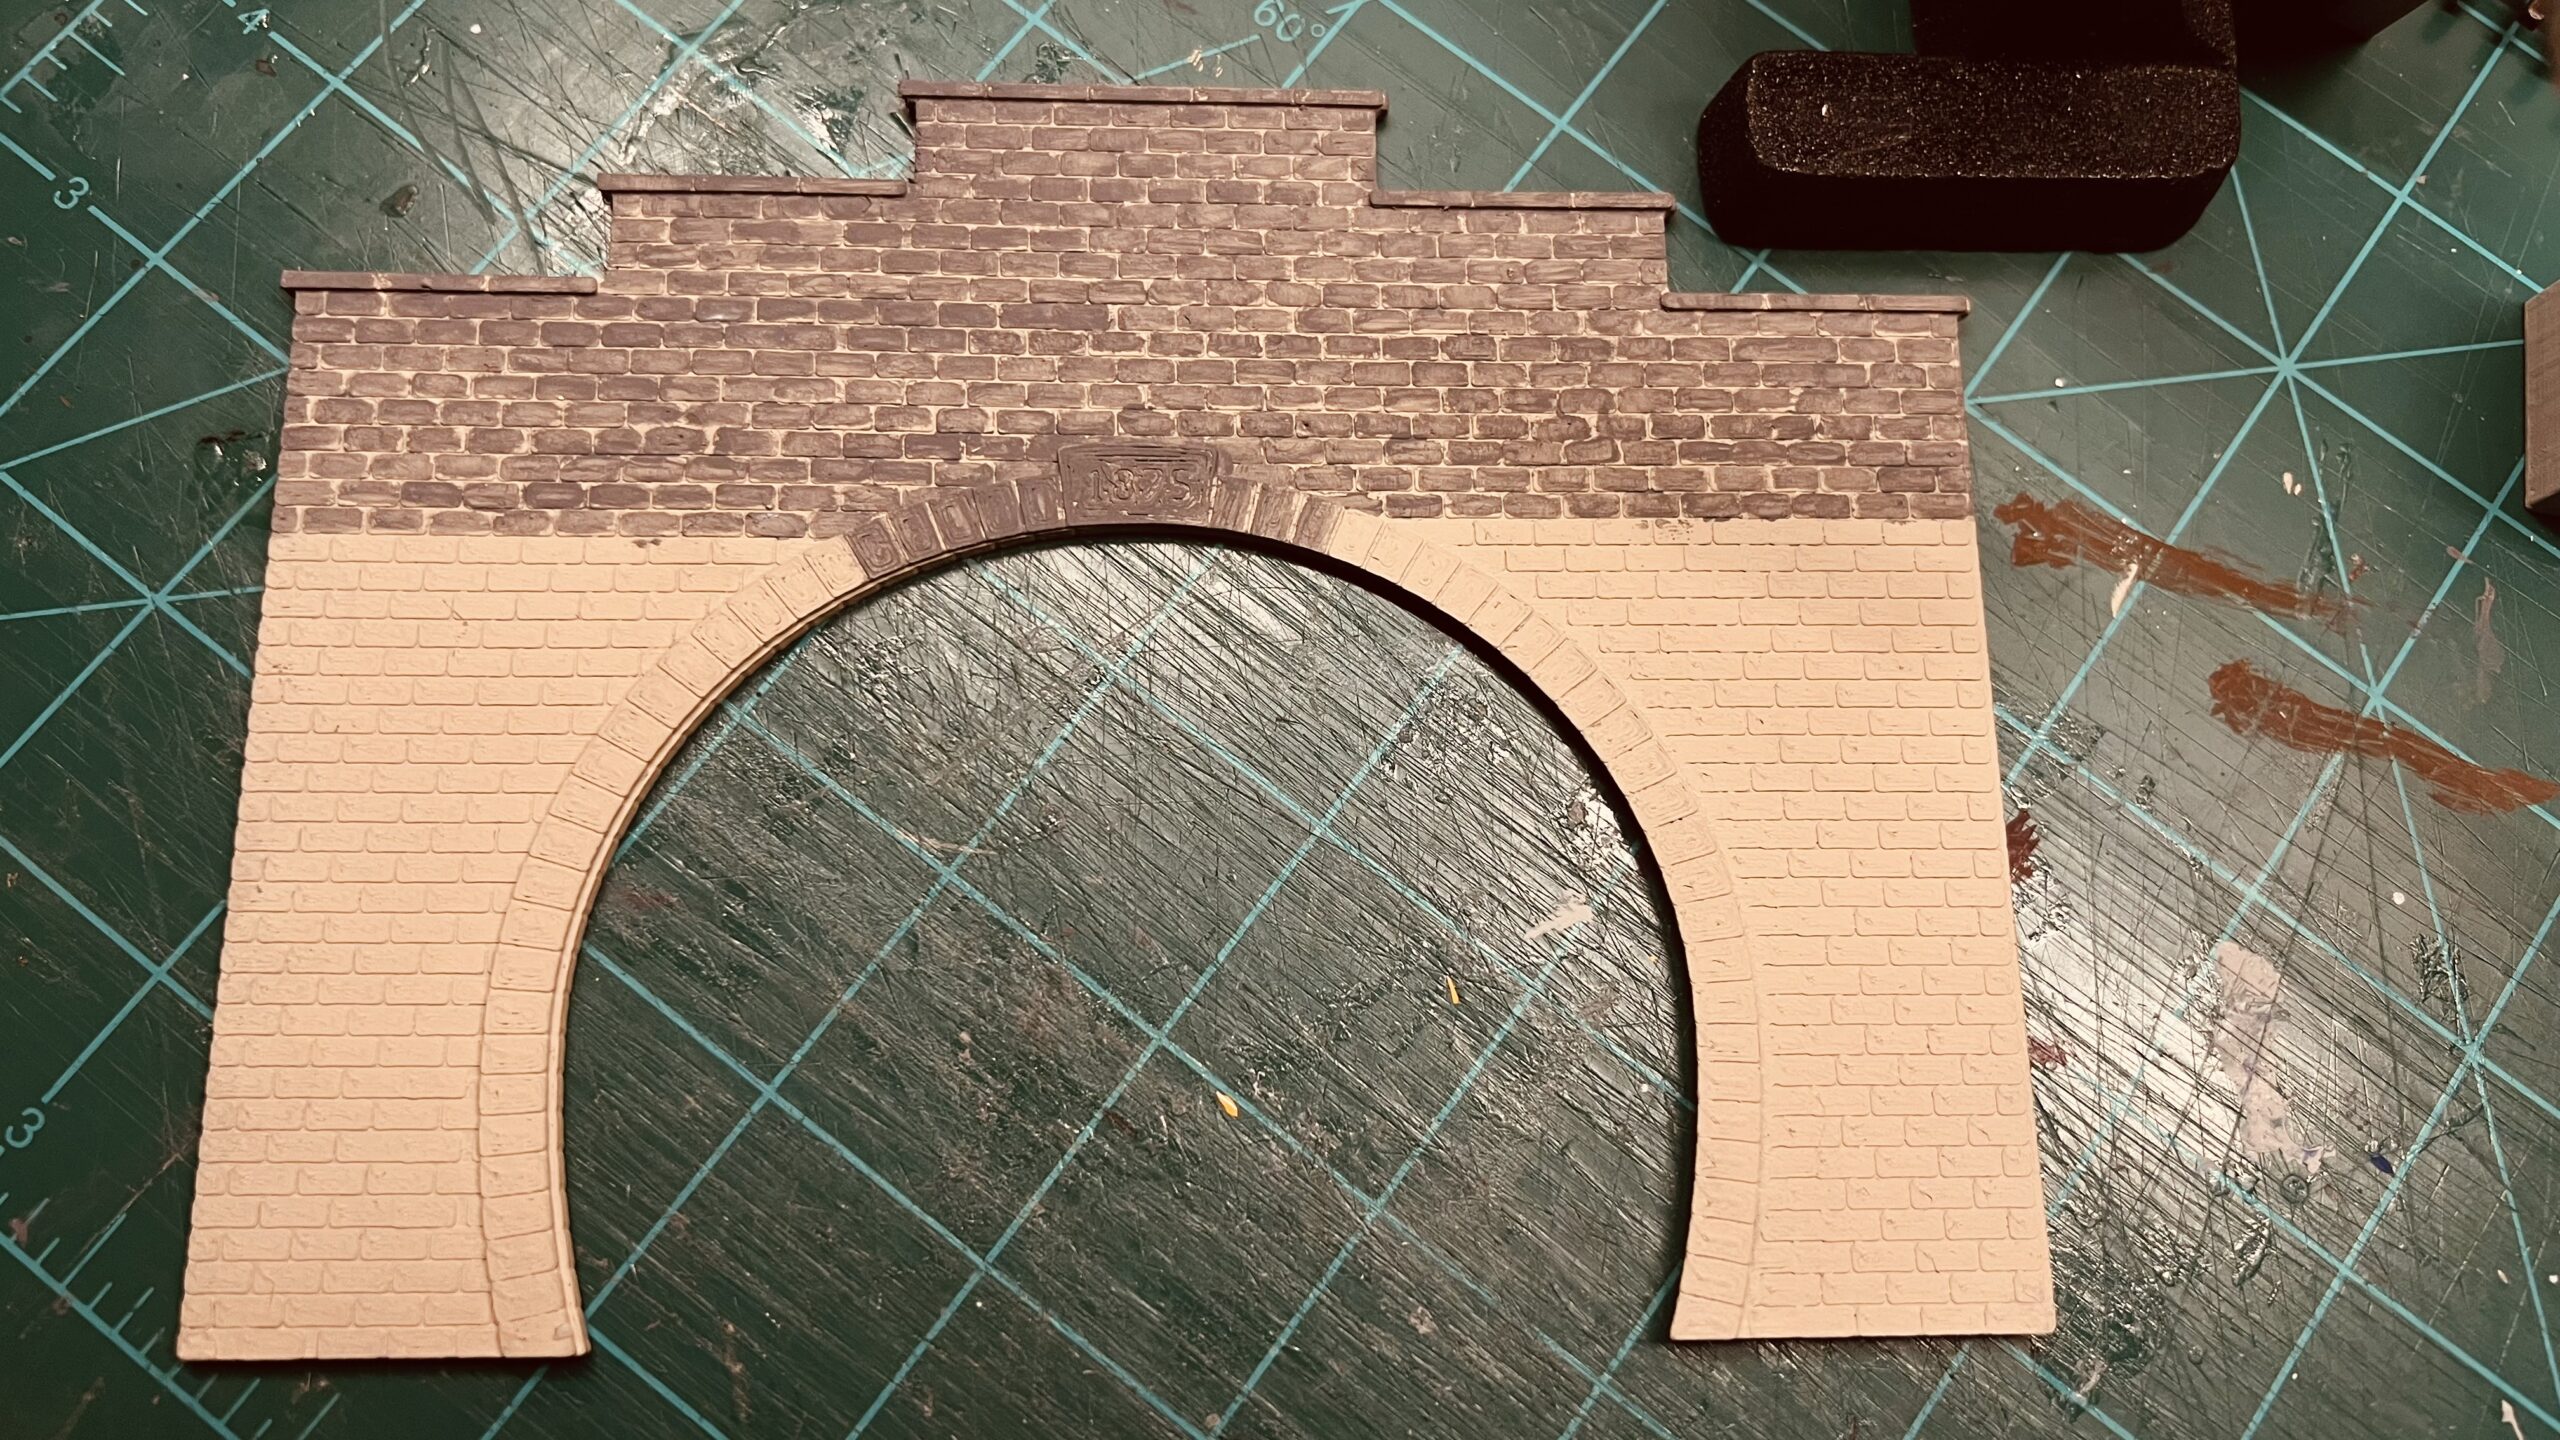
I printed out a tunnel portal on the 3D printer, sprayed a mortar colour basecoat with the airbrush, and now begins the job of dry-brushing all the stones. I’m not sure how the end result will look.
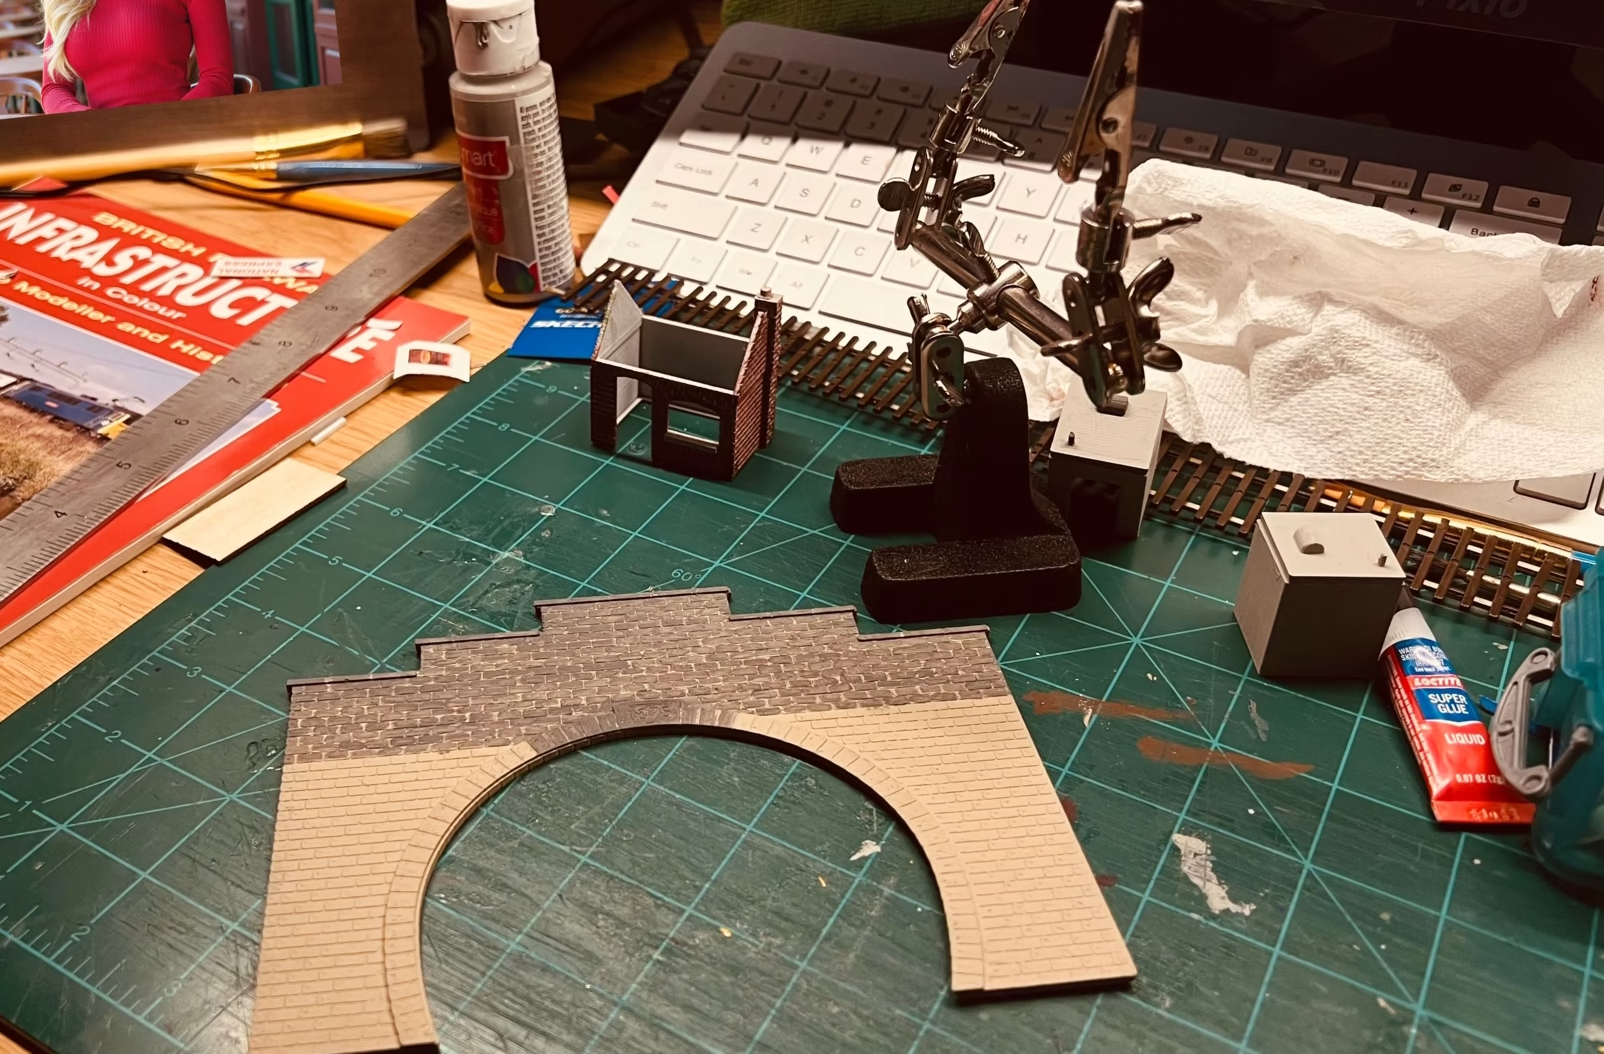
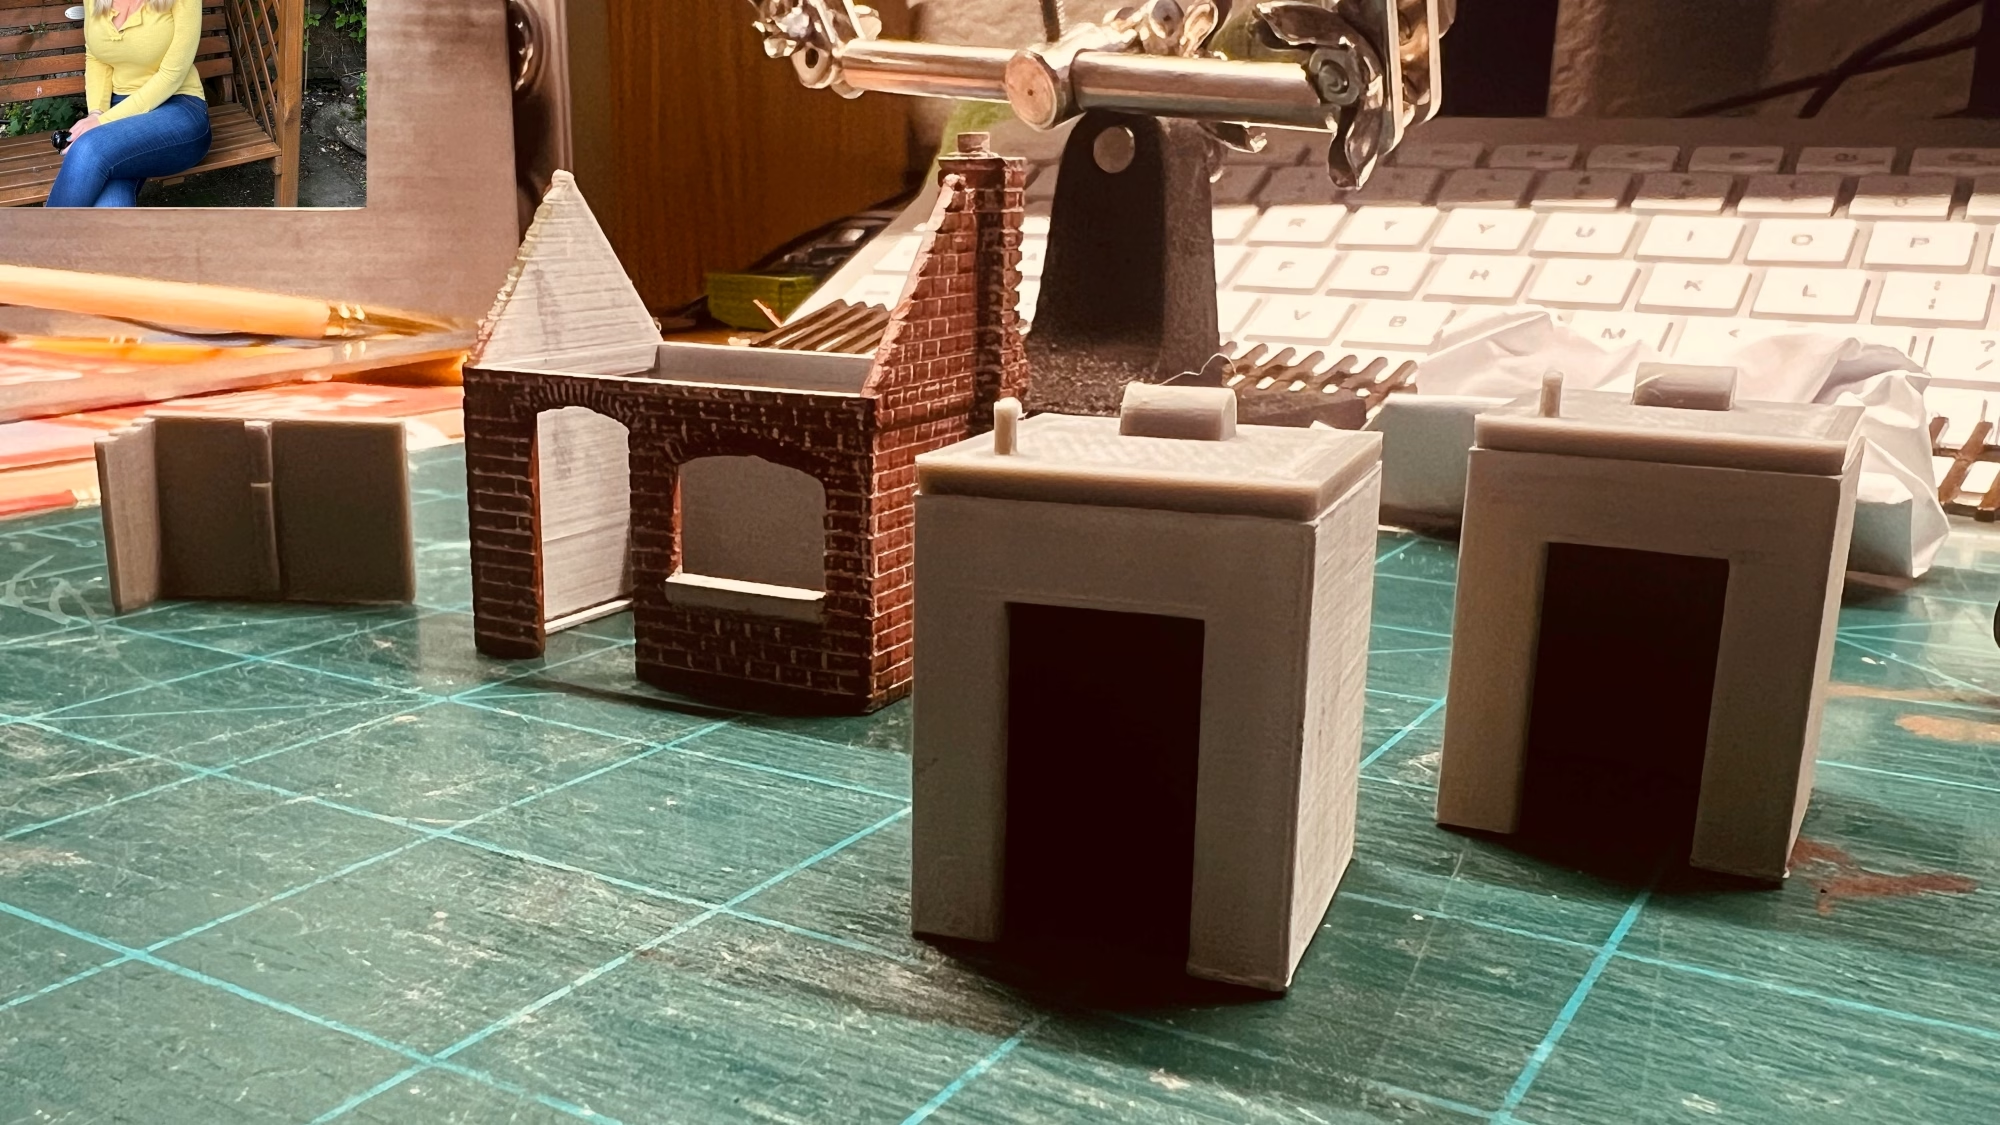
Also from the 3D printer today, a couple of winch houses for the top the Tower Blocks. More on that build here.
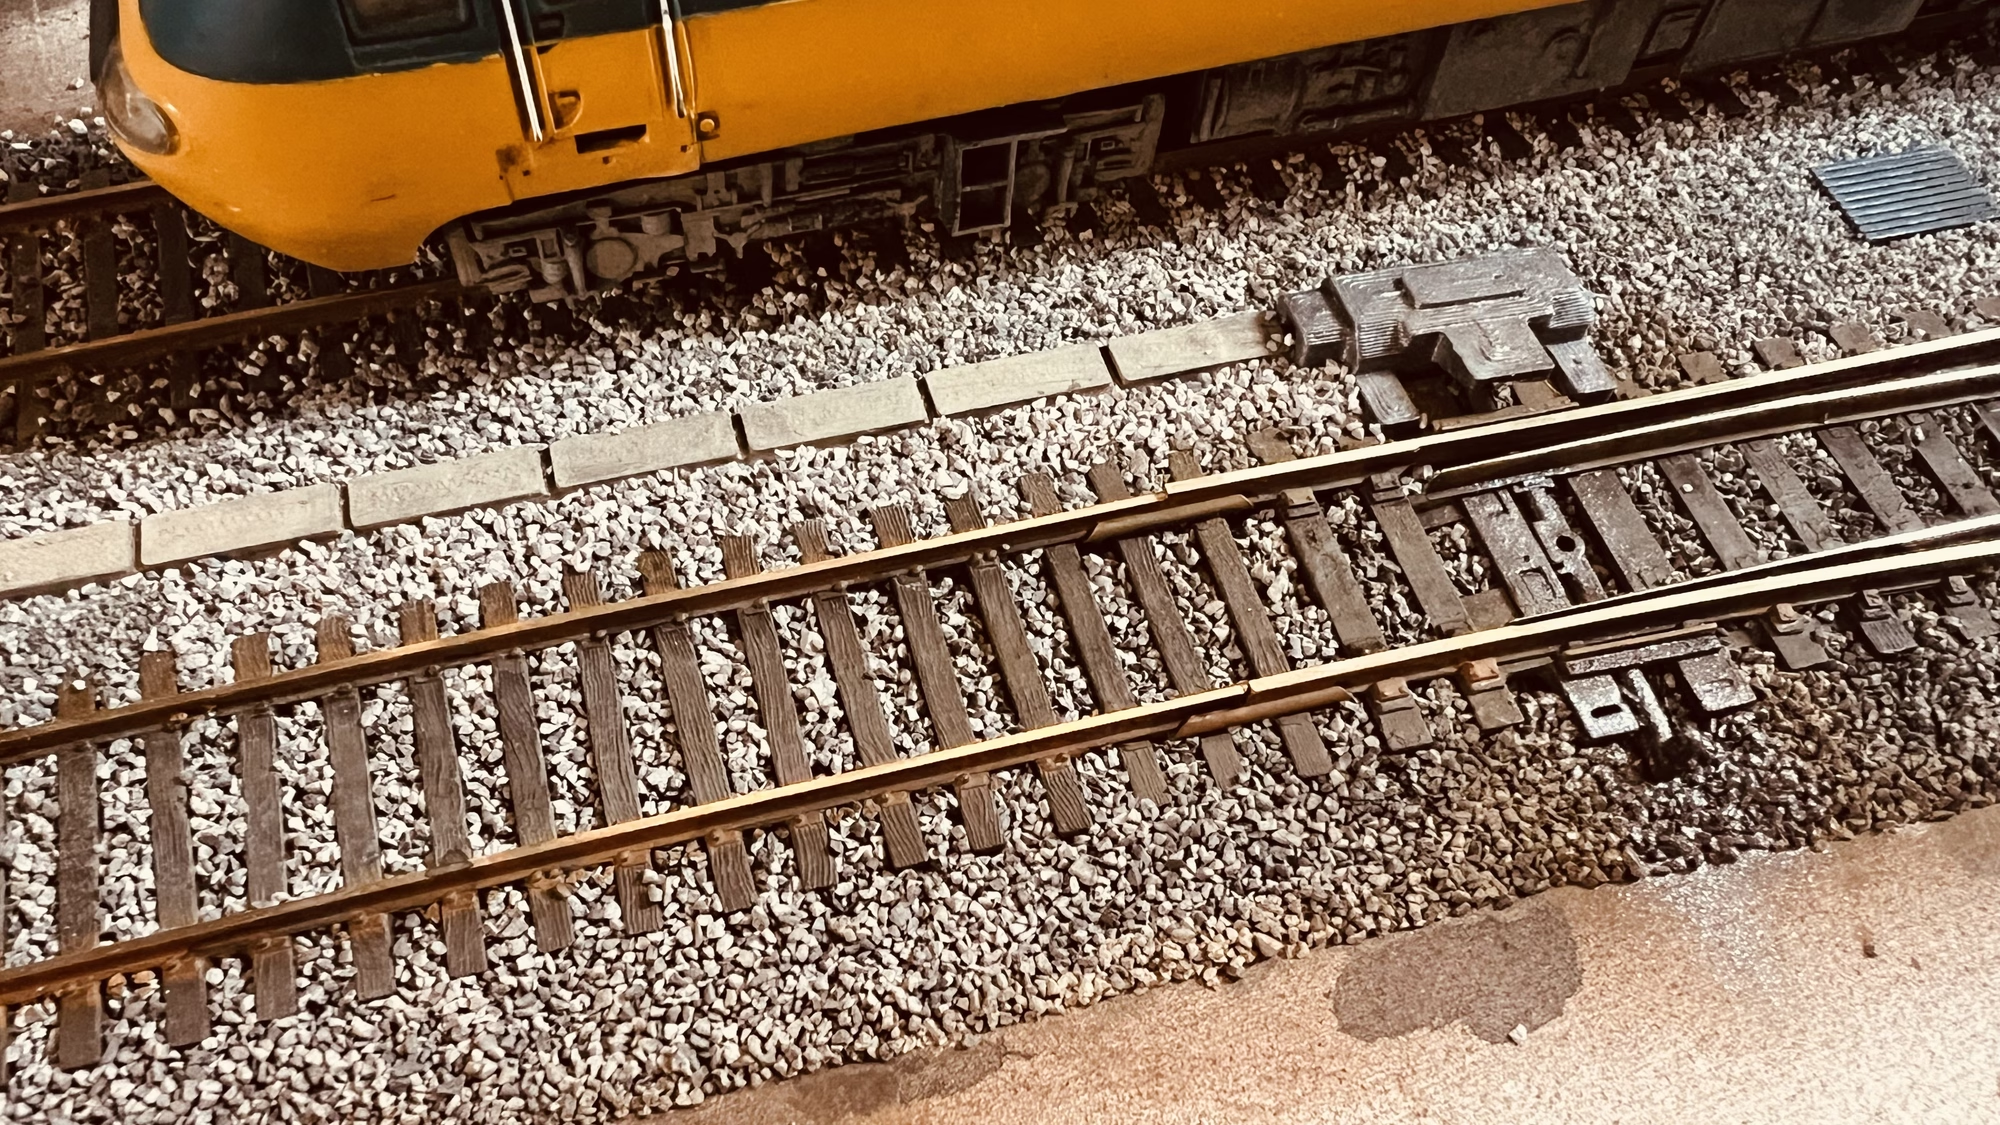
Also this weekend on the 3D printer I printed a point switch housing and some lineside trunking.
Update – May 29, 2024
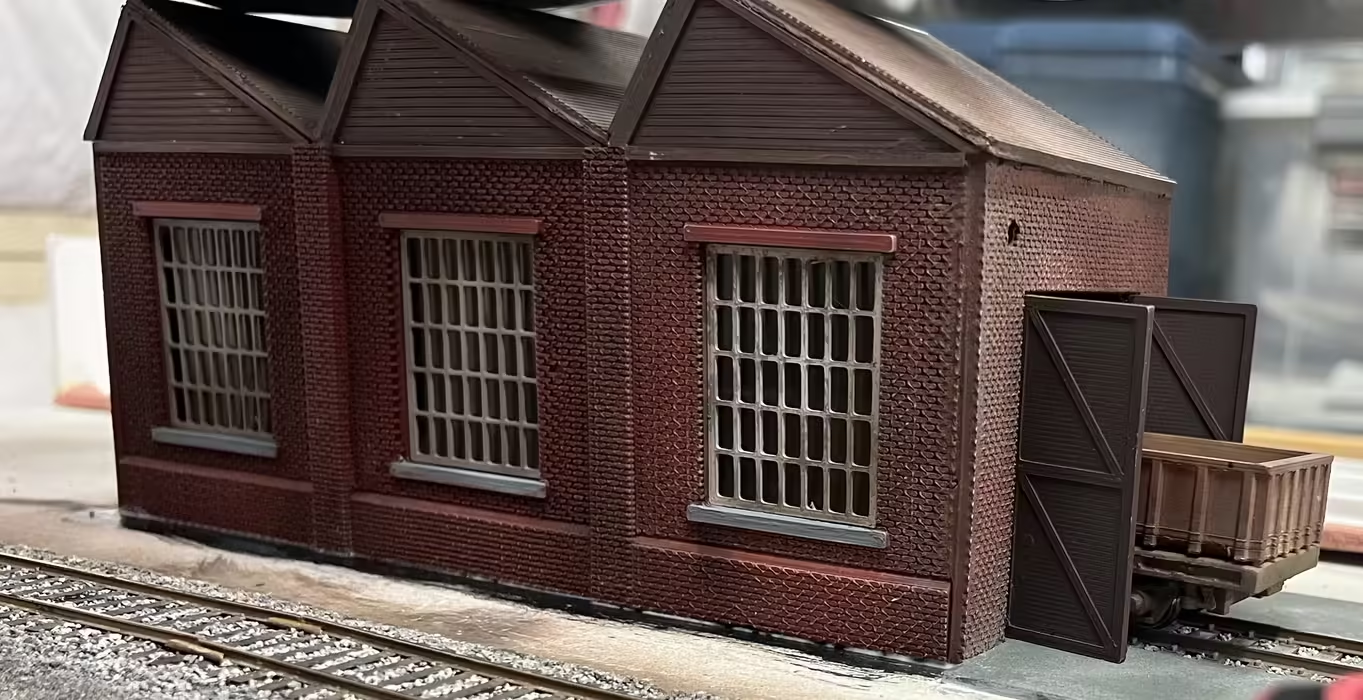
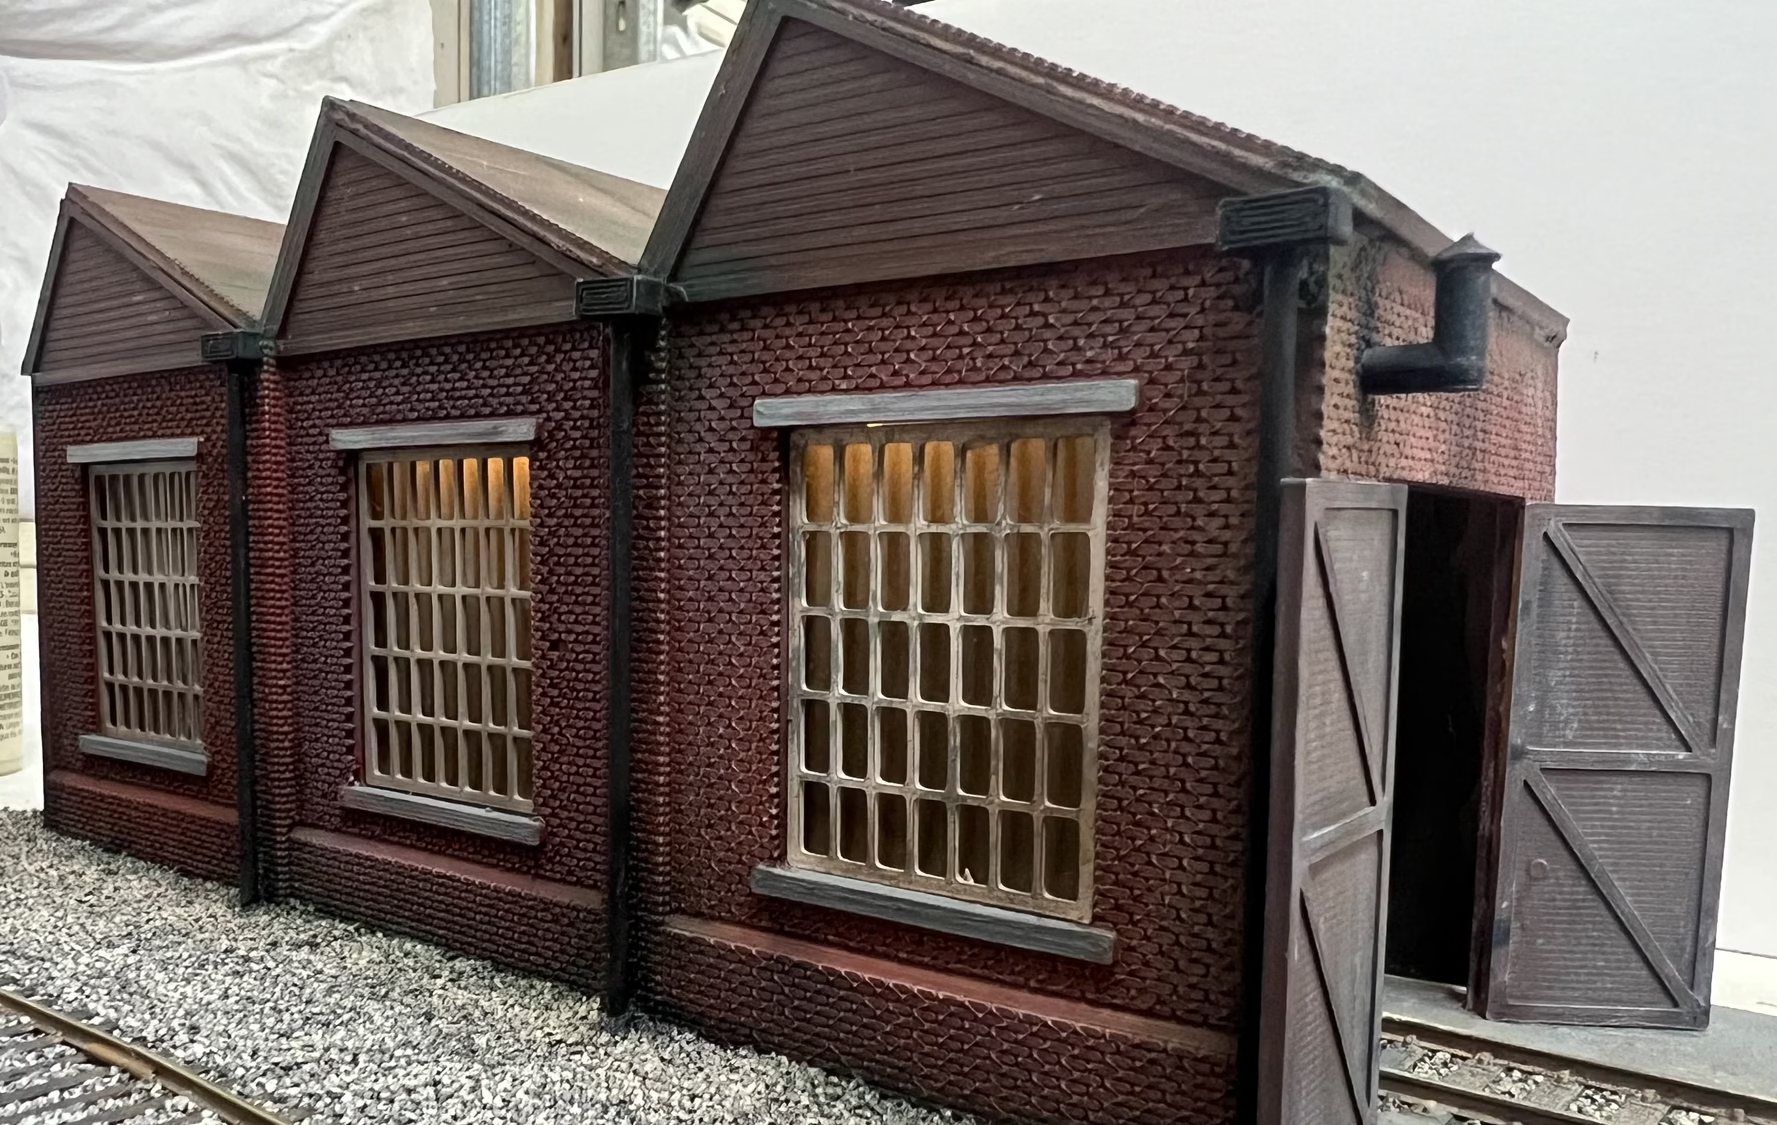
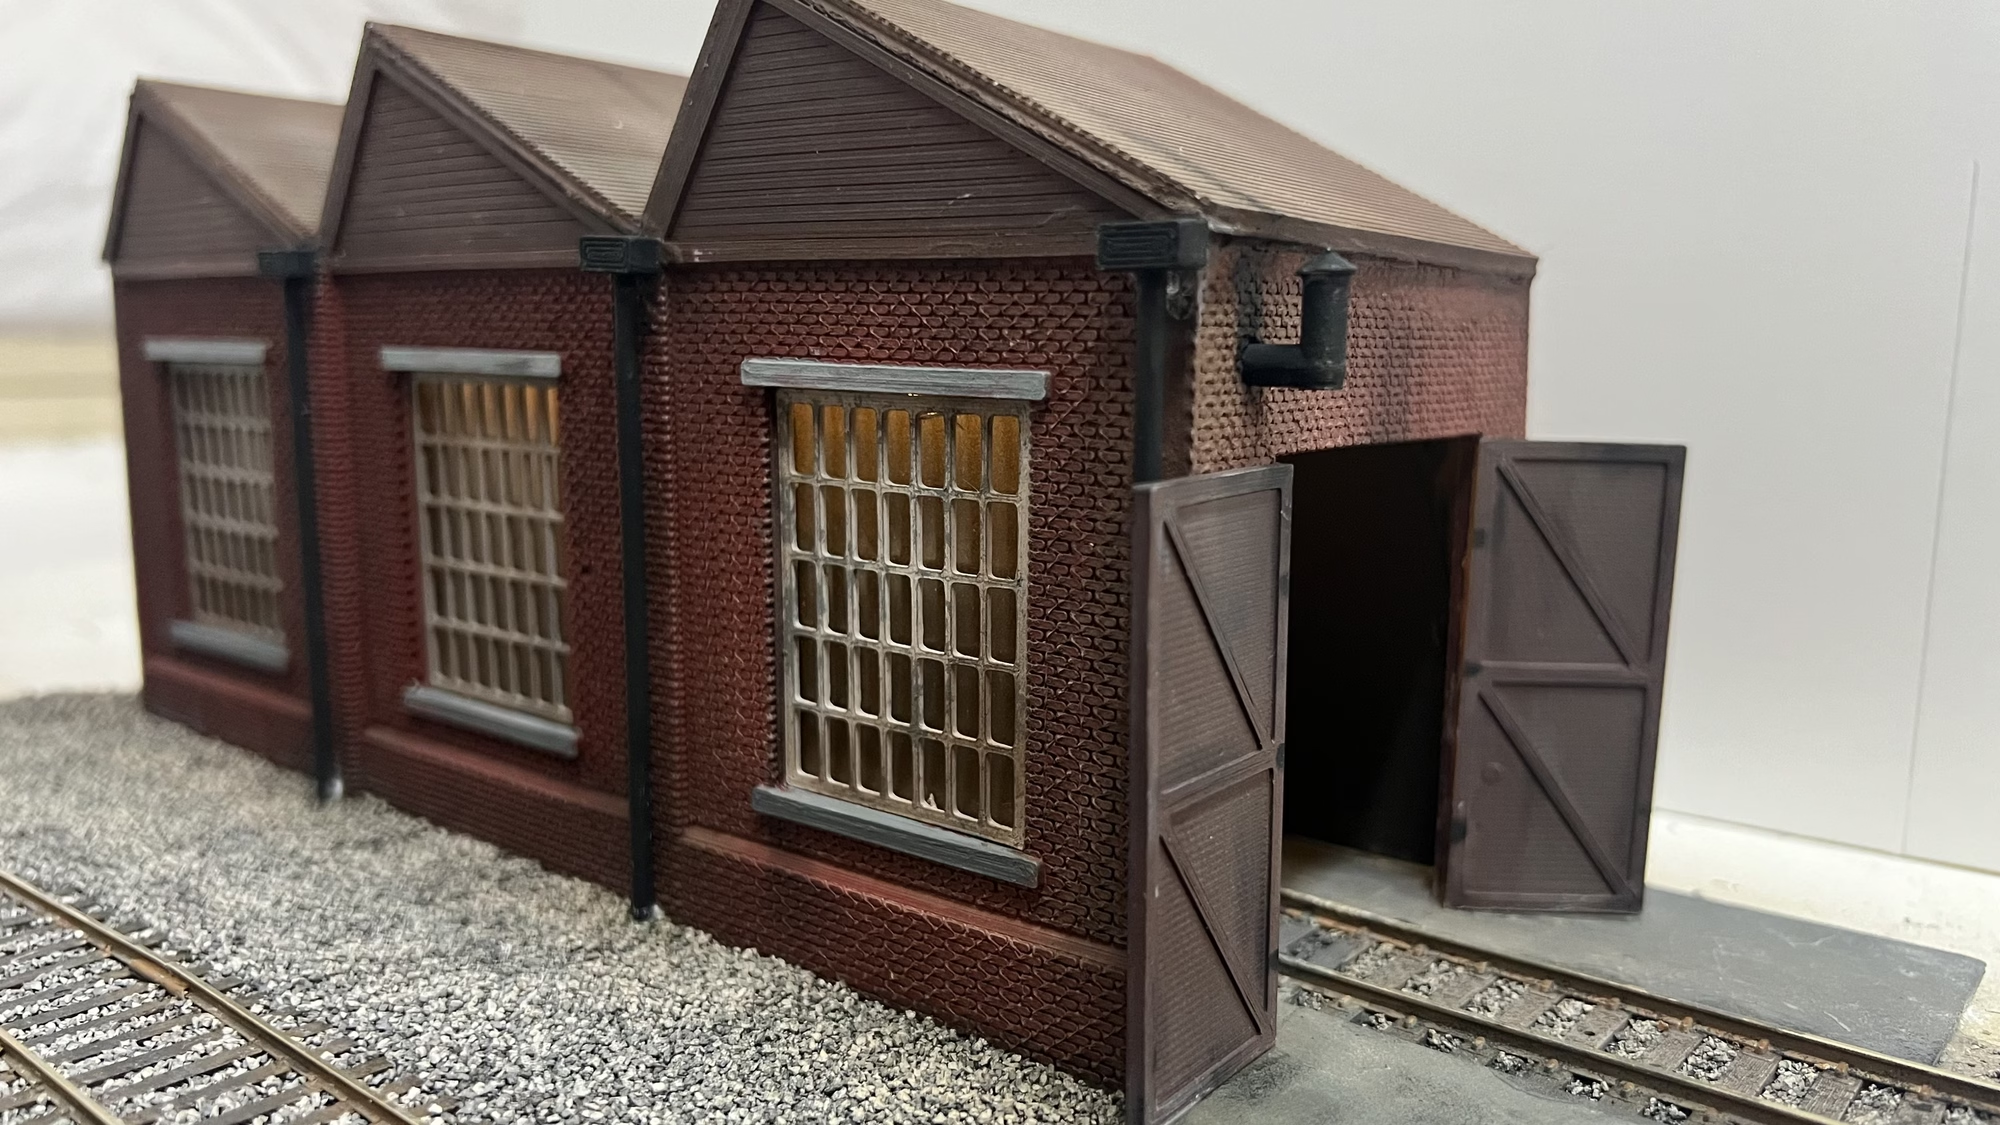
I’ve been active on the 3D printer again. I downloaded an engine shed from the Cults.com website. If you have a 3D printer or Laser Cutter and you haven’t been to that website yet, you might want to take a look. The original file was created by “Kabrumble”
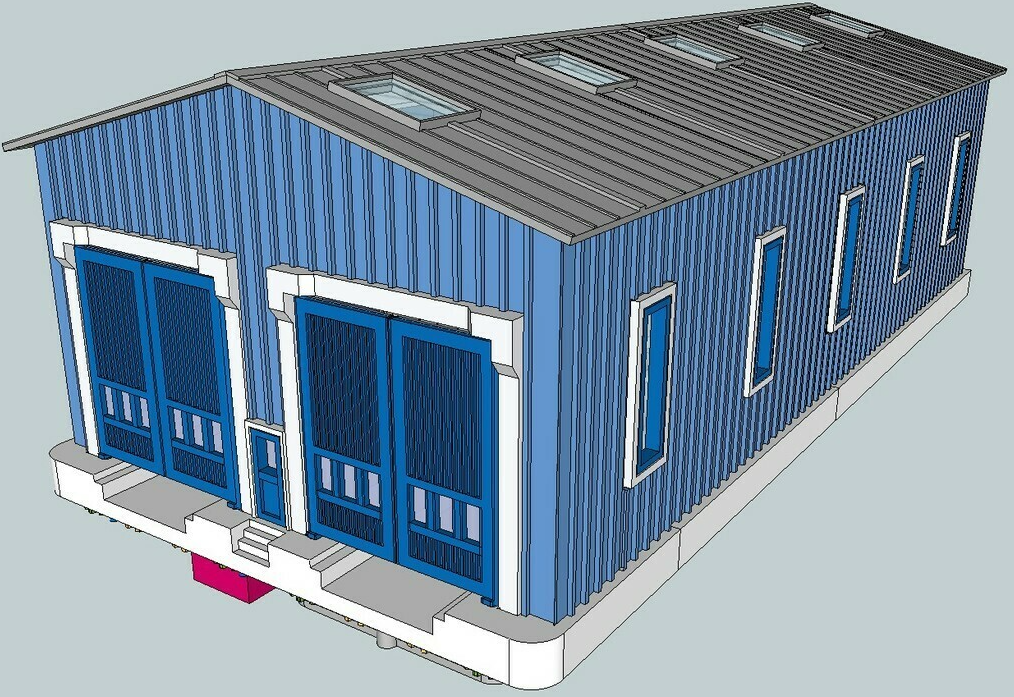
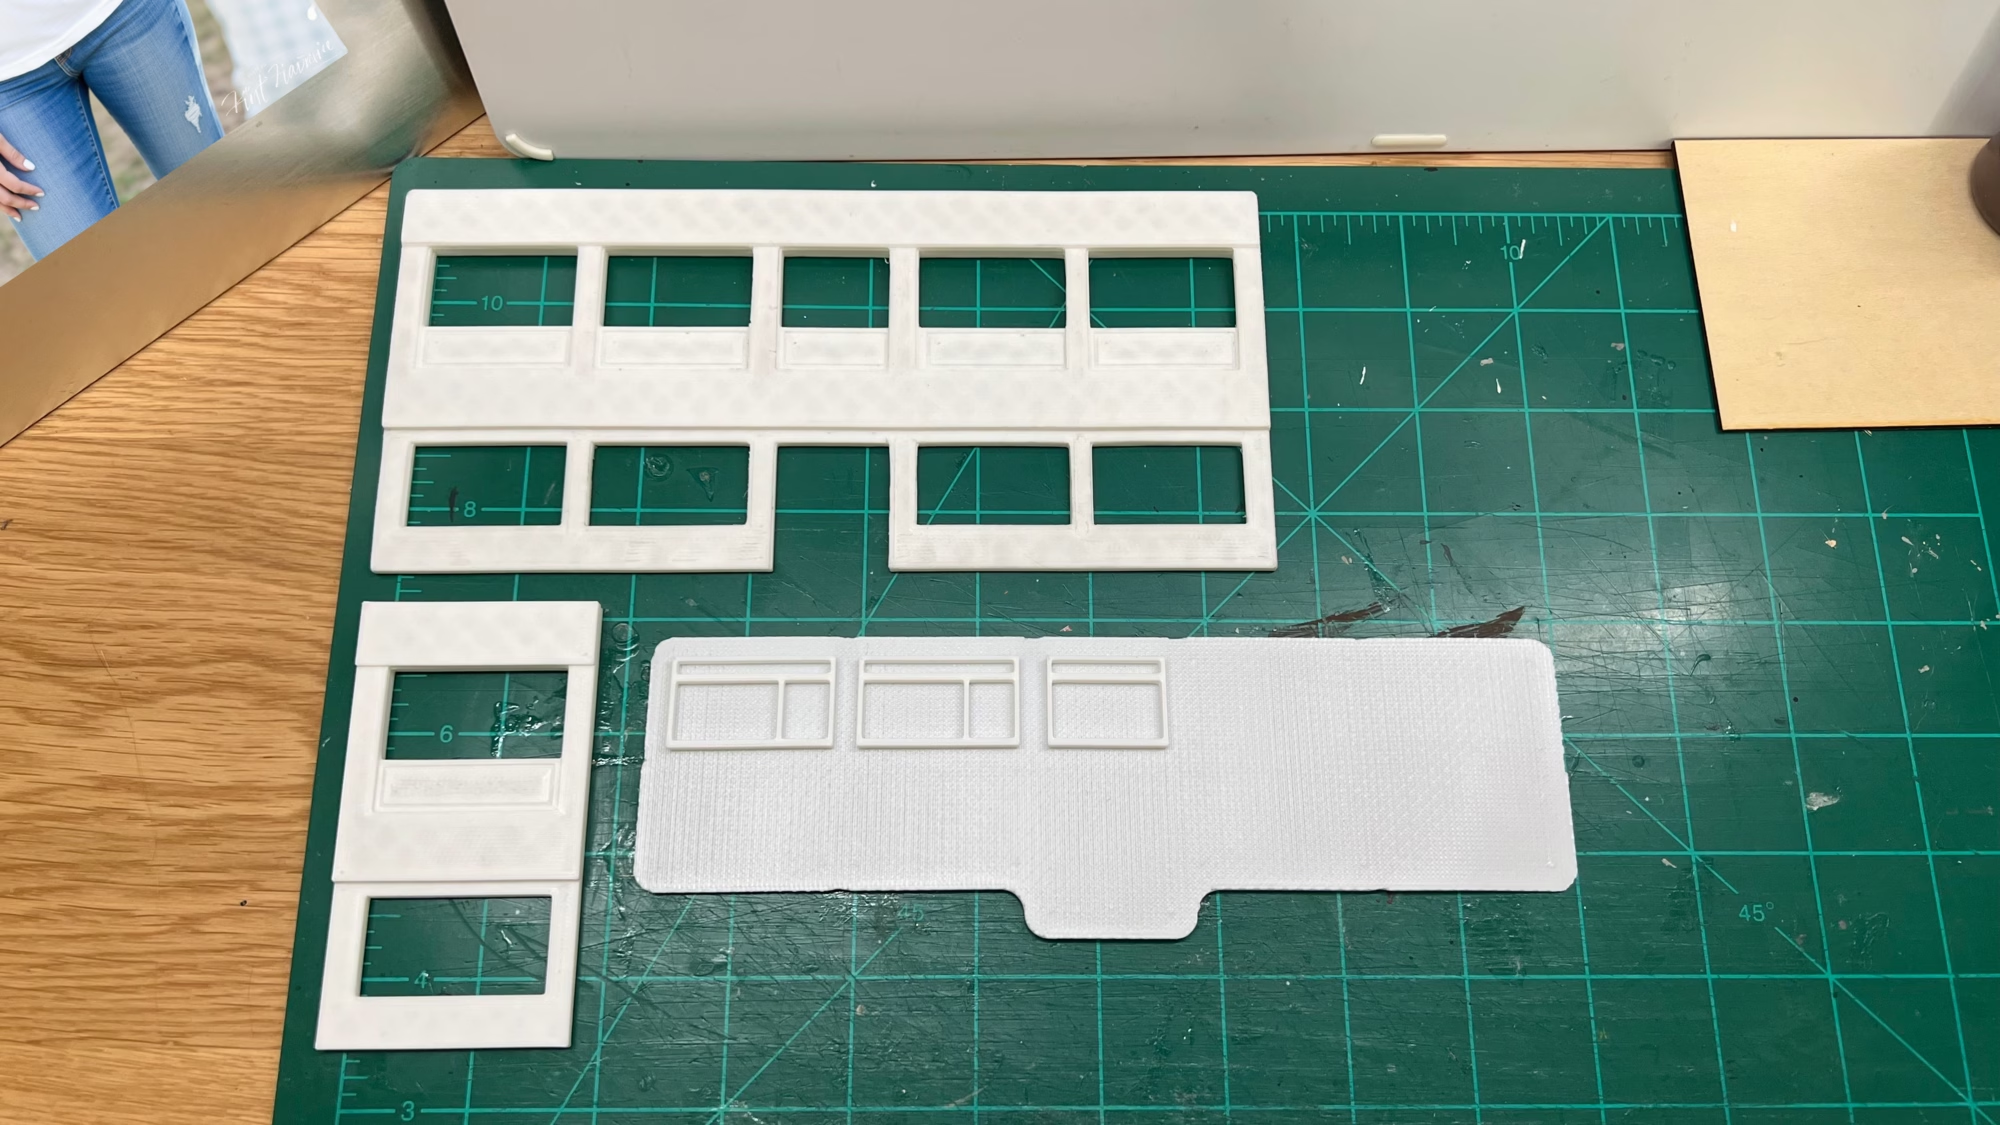
I modified the file a little and then started printing out the walls, roof and the windows.
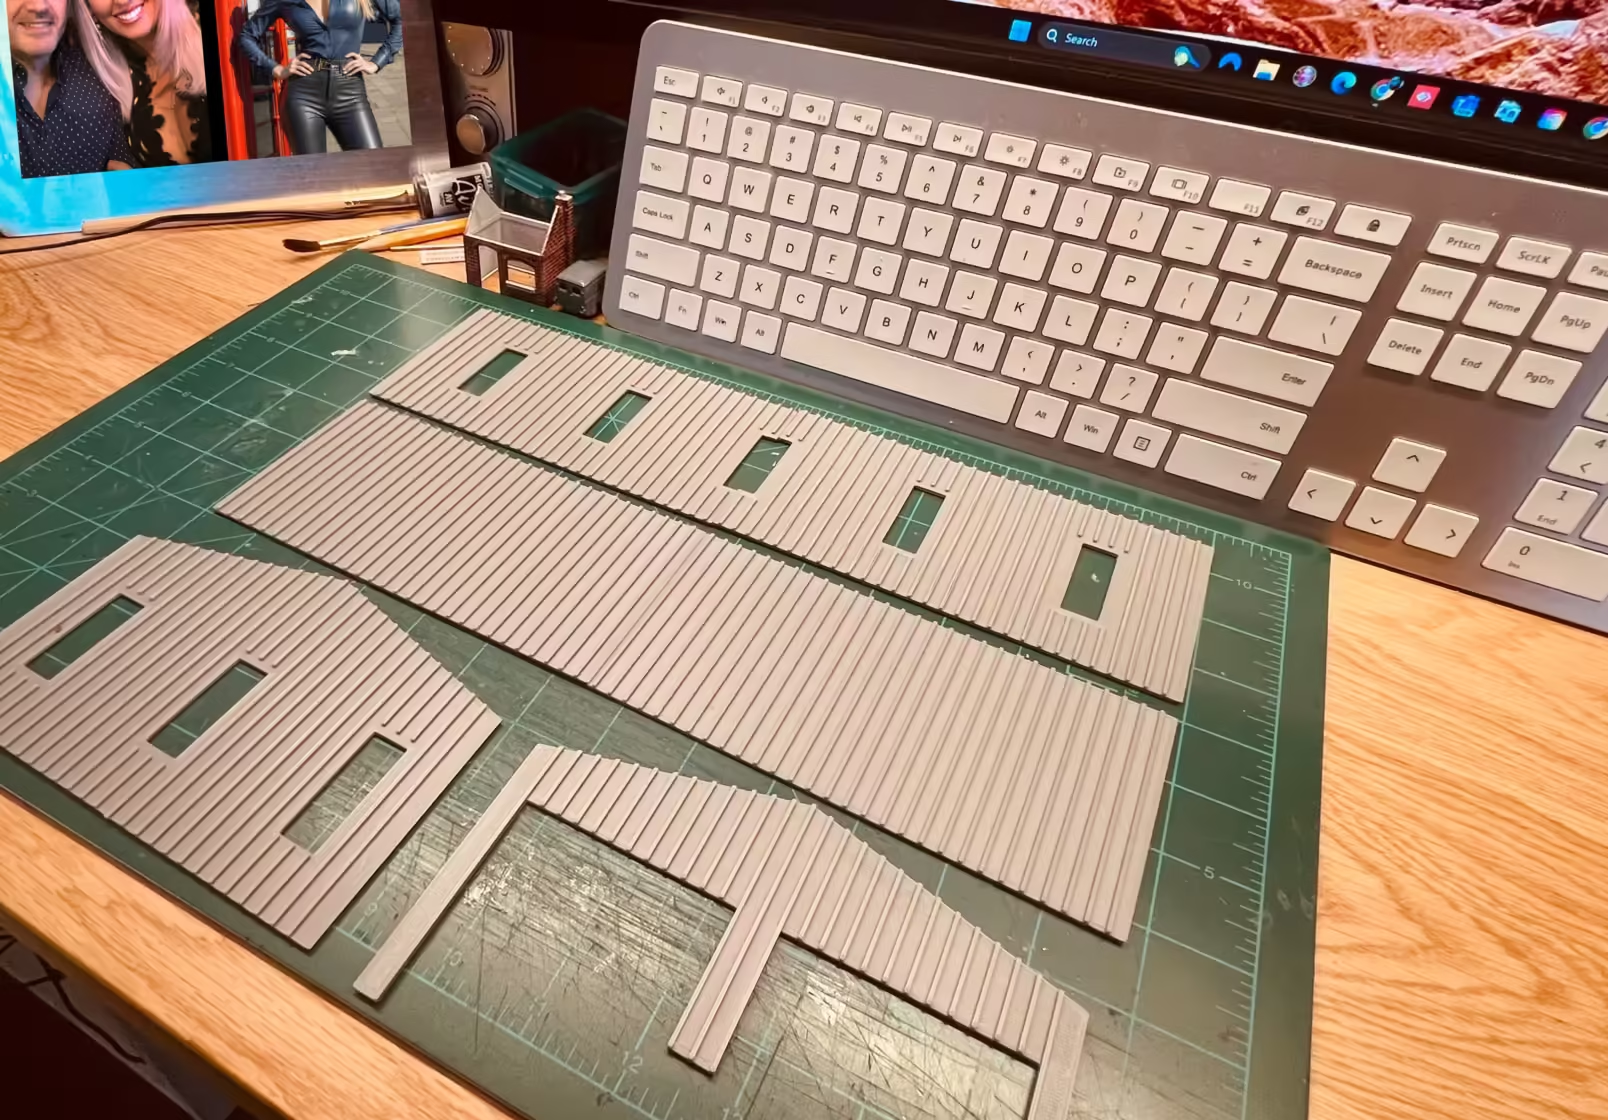
I used the basic settings, not fine printing and I’m really pleased with how they came out.
I calculated the cost of the plastic filament and it was about $3.00 (2.36 GBP) the last time I looked at the prices of the Walthers models, they were in the $60+ range (47 GBP)
Also on the 3D printer, I created some rail crossings. I still need to weather these up a bit more, but you get the idea.
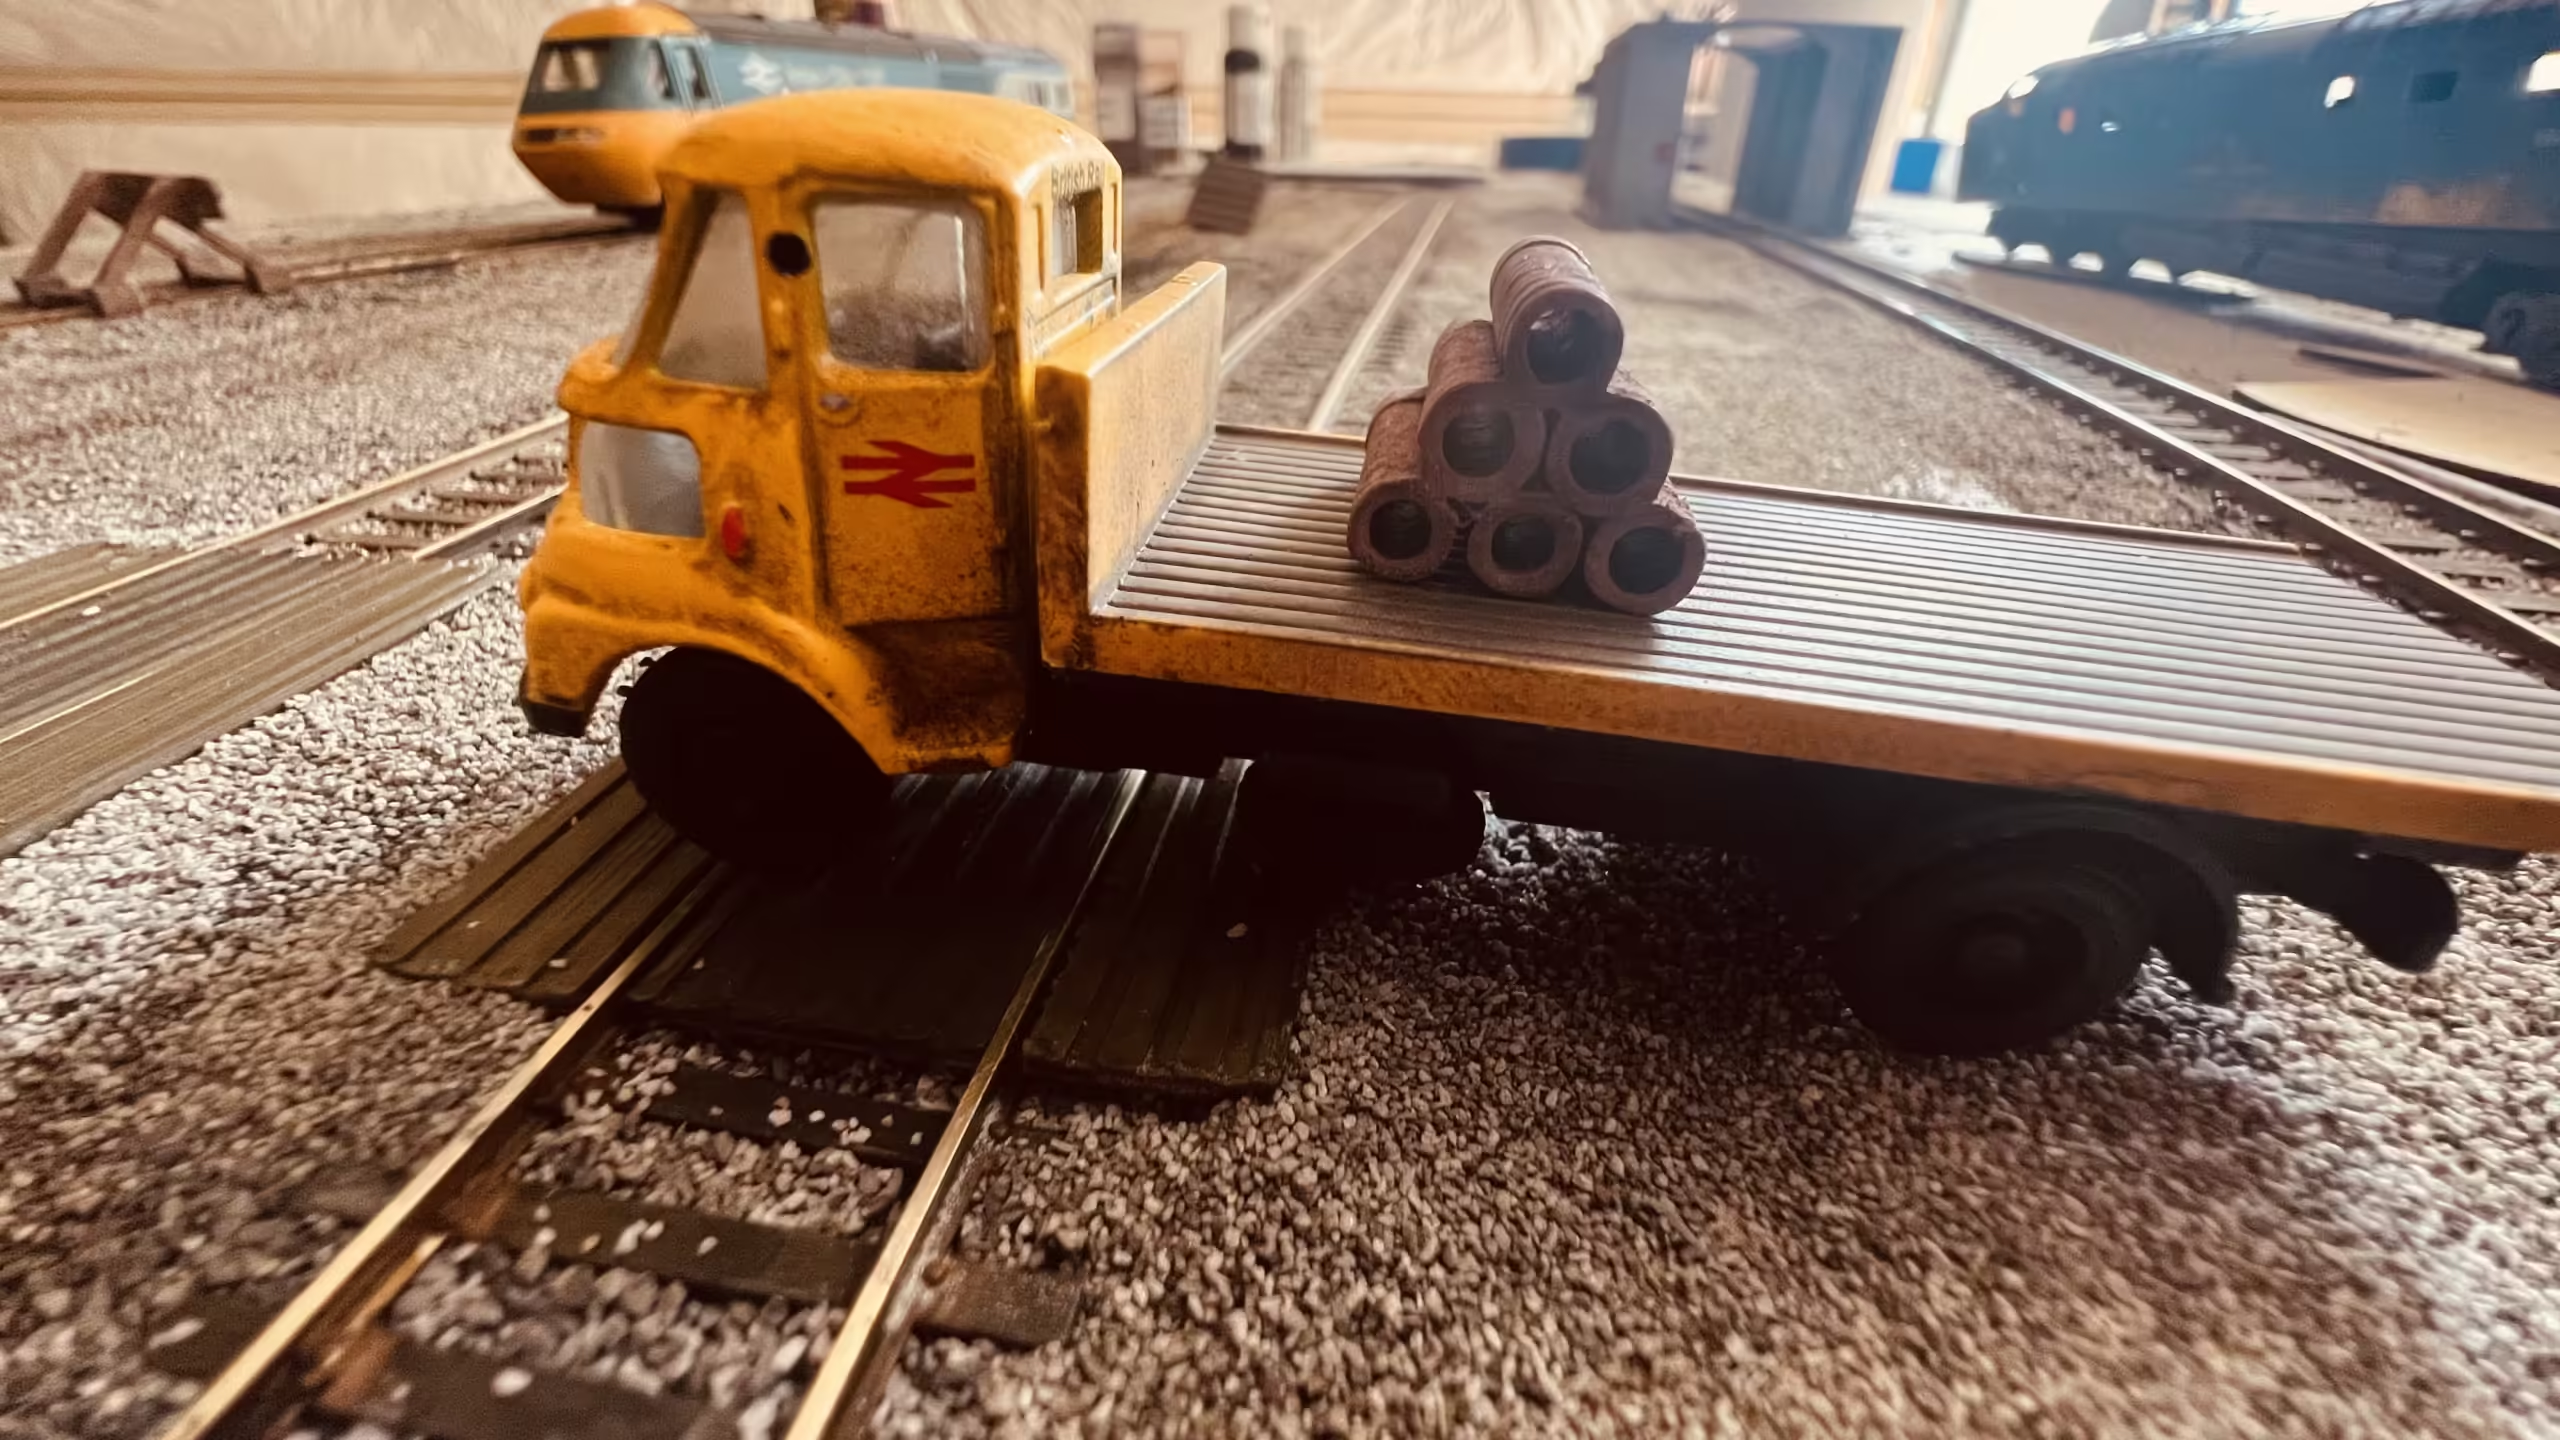
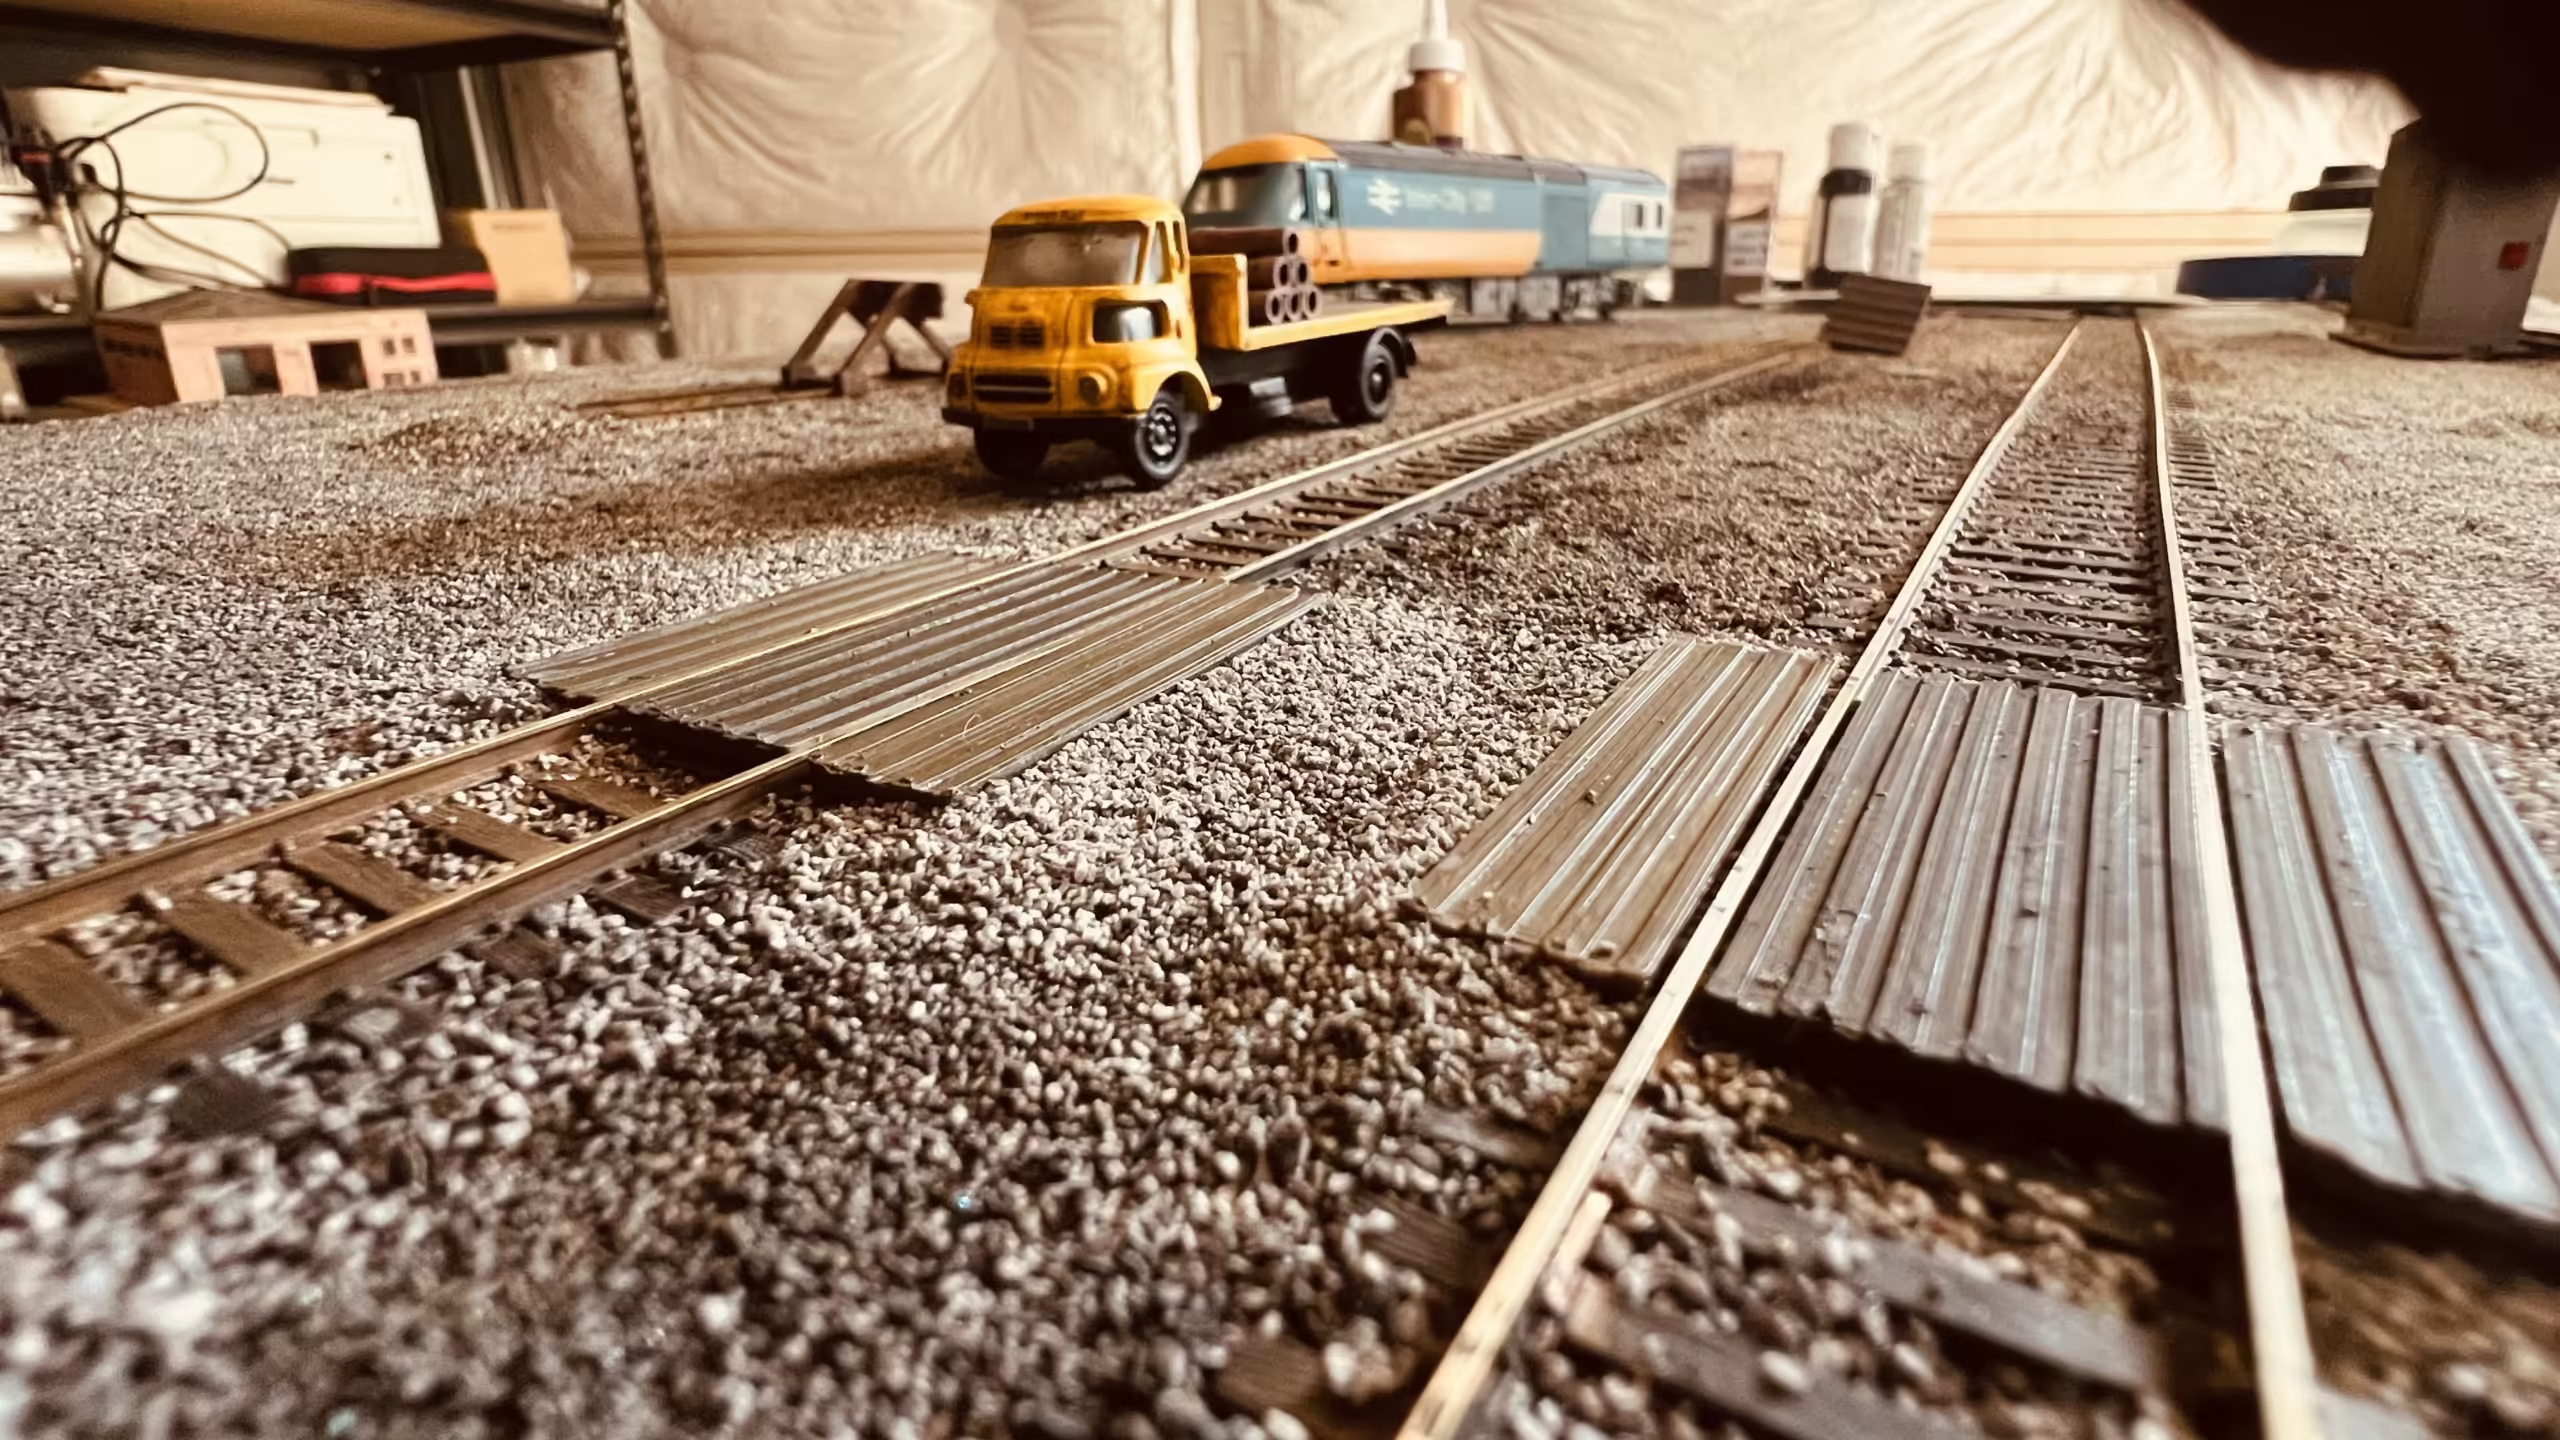 The wonderful Leyland FG lorry. I remember these on the roads very well.
Update – June 1, 2024
I’ve got a lot of painting to do. The 3D printer has been on overtime the last couple of days. All the engine shed parts have been printed out.
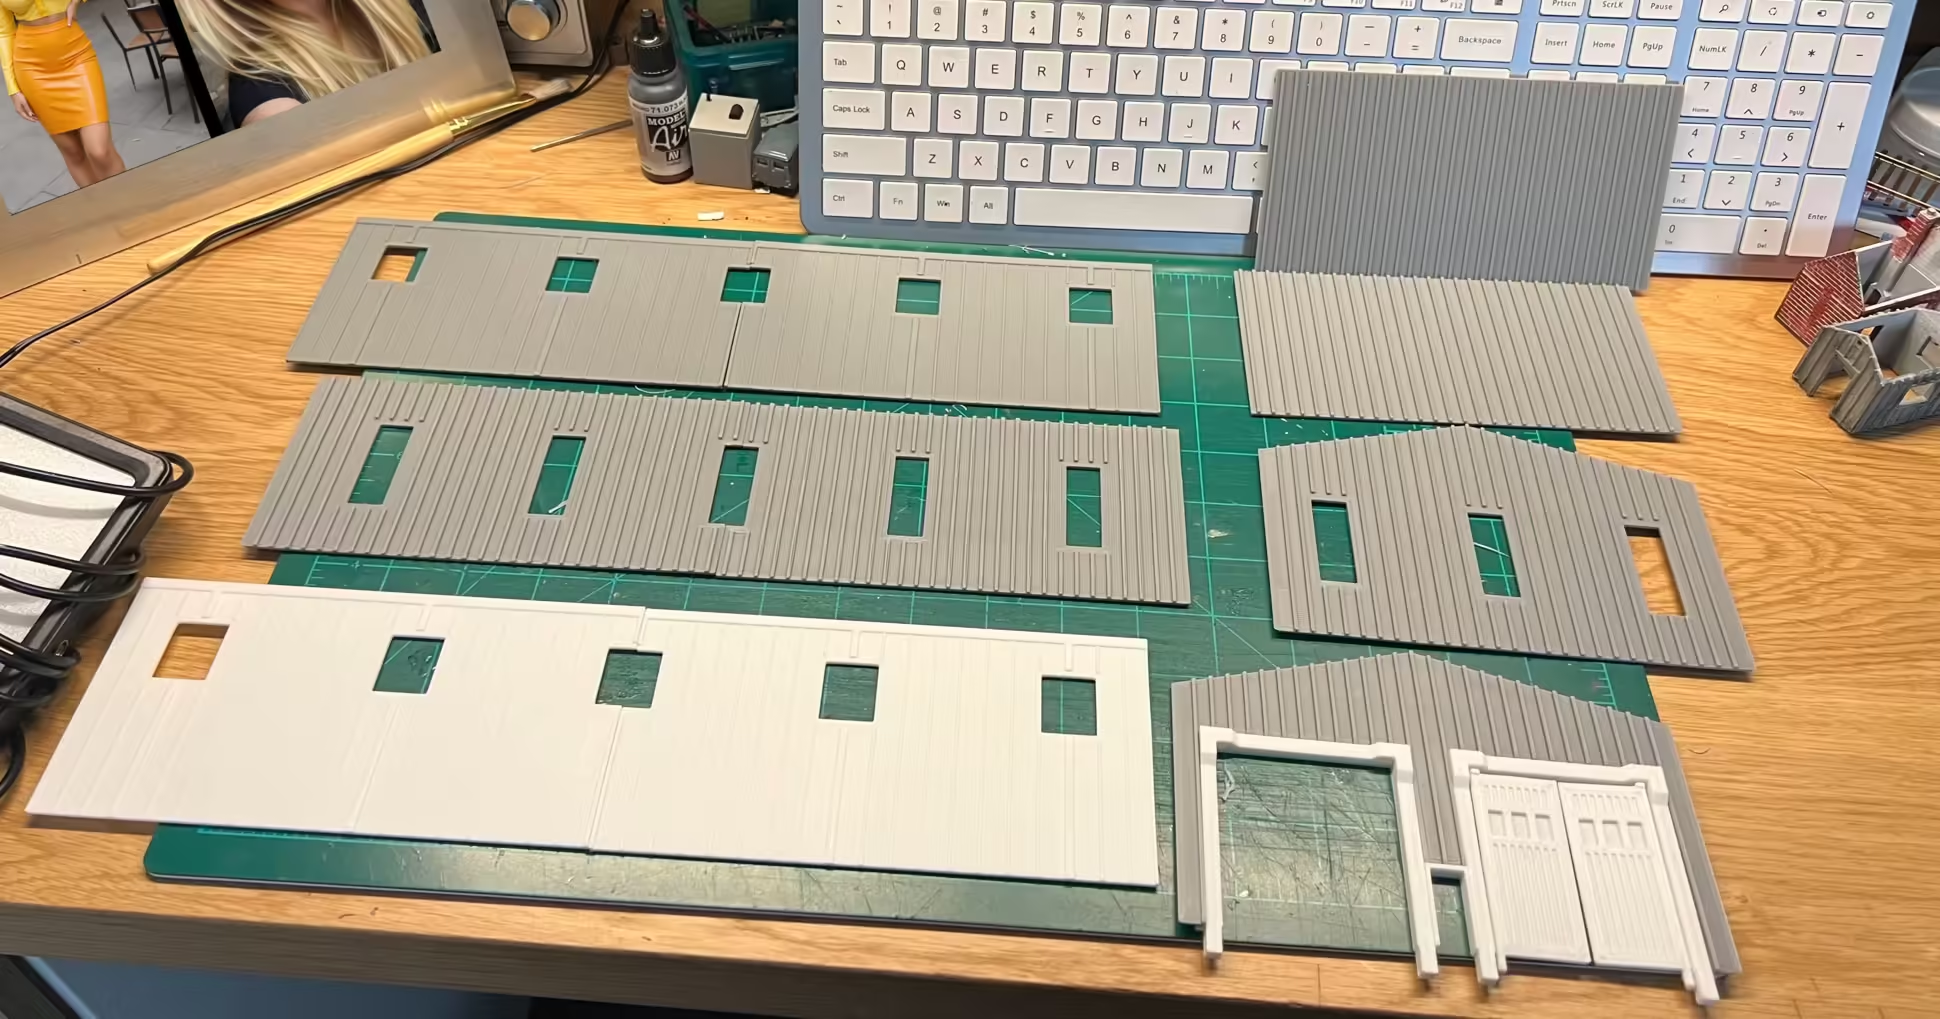
The print bed cannot handle the full width, so it has to be printed in 2 halves. I’m going to be painting the inside black first. The building is going to be lit so I want to stop the light bleed through the plastic.
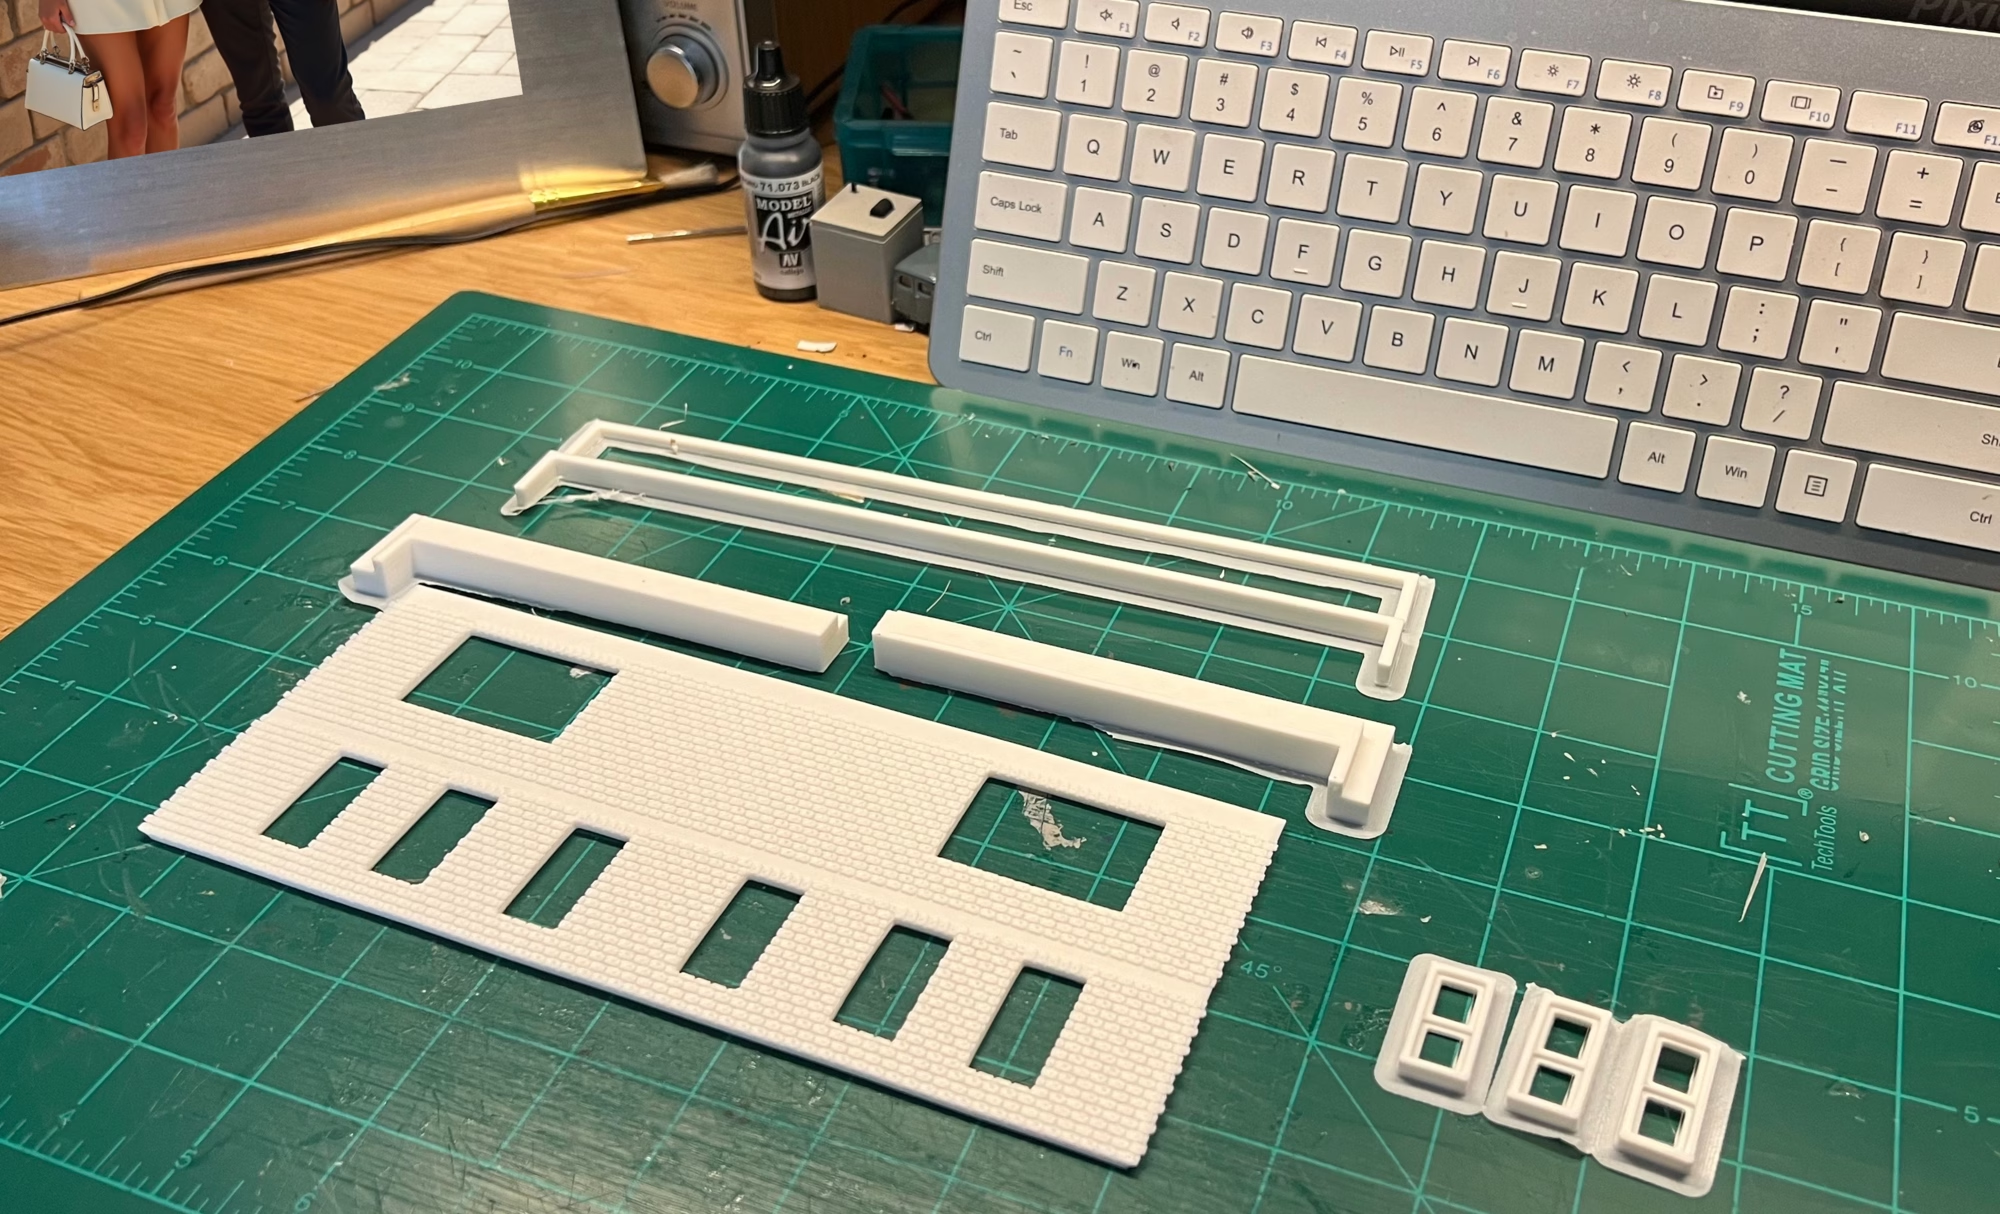
I also finished printing a low-relief office building. It will be same with that. Painting black on the inside first.
Let’s see how much I can get done this weekend. The clock is ticking.
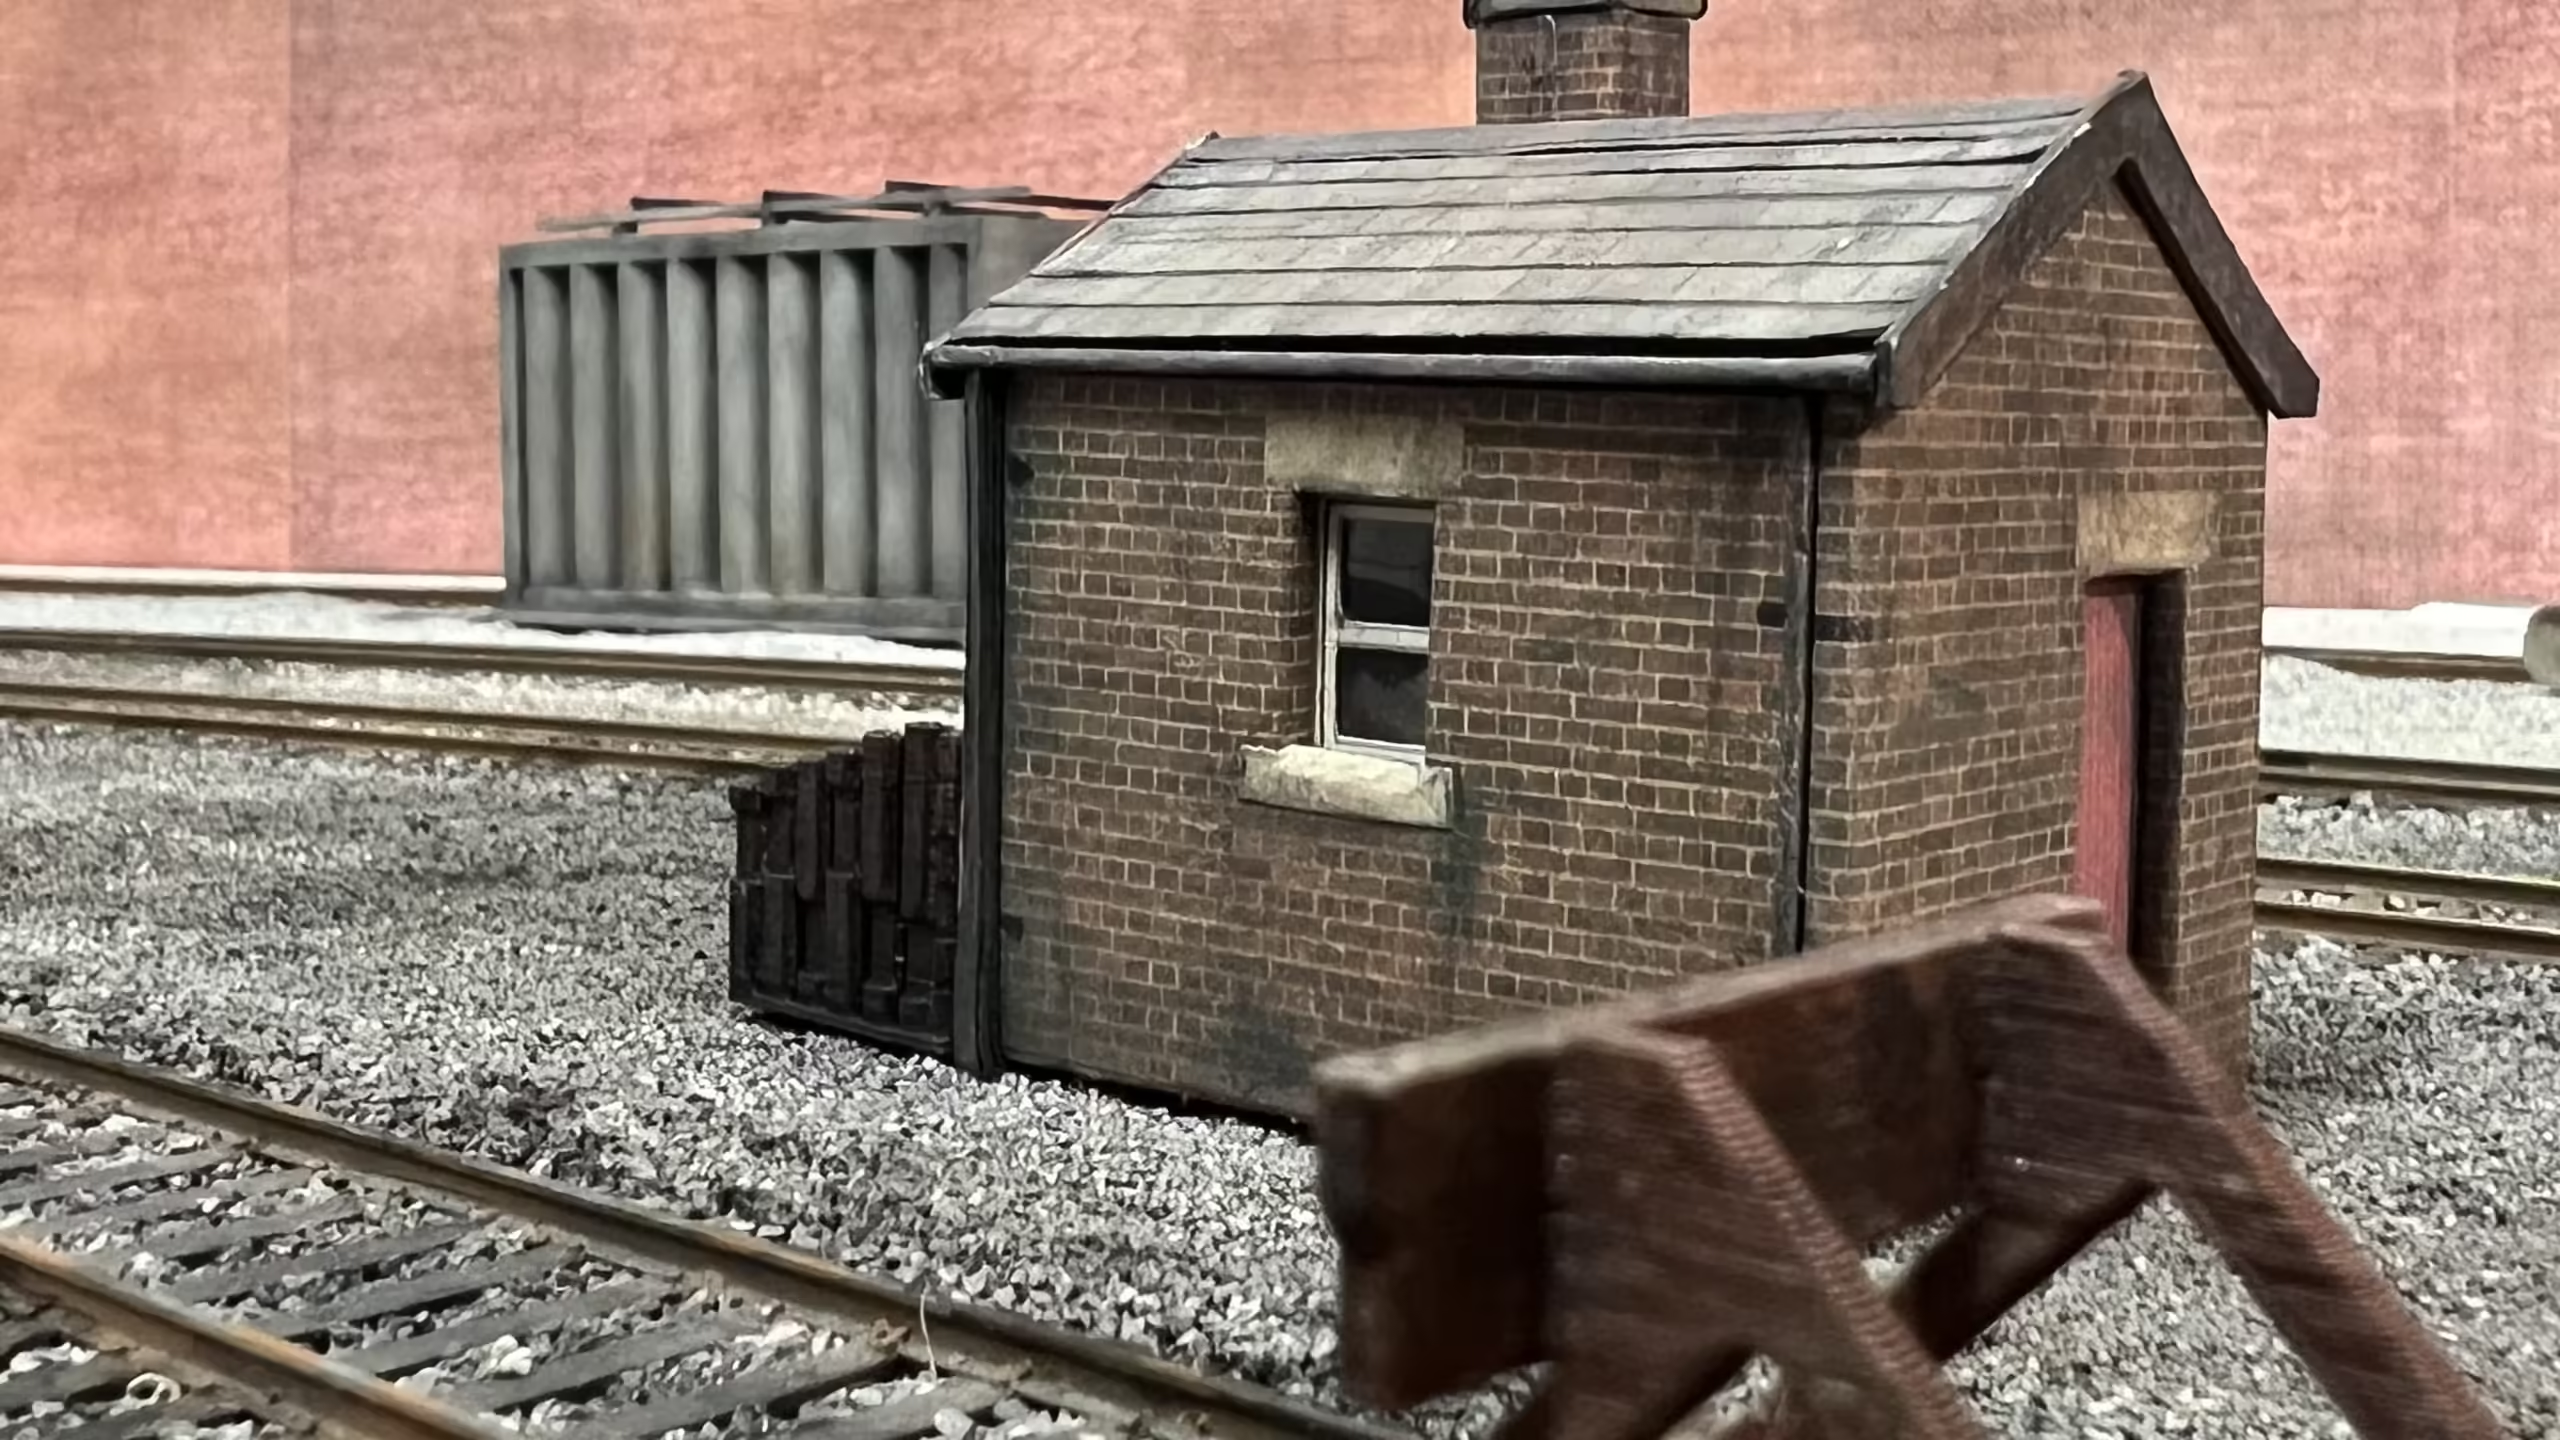
 A pet hate of mine is the “gap” between buildings and the surface… This hut below will be embedded into the ground when it’s in the final position.
Update – June 9, 2024
I’ve been thinking about this change for a couple of weeks.
Ever since I finished 3D printing the parts for the engine shed, I’ve been going back and forth over whether I should place it on the Diorama or not.

Printing the parts out was as much an exercise for me fiddling with the various settings. When it turned out good, I’m now tempted to use it.
Before I could change my mind again, I ripped up a section of track.
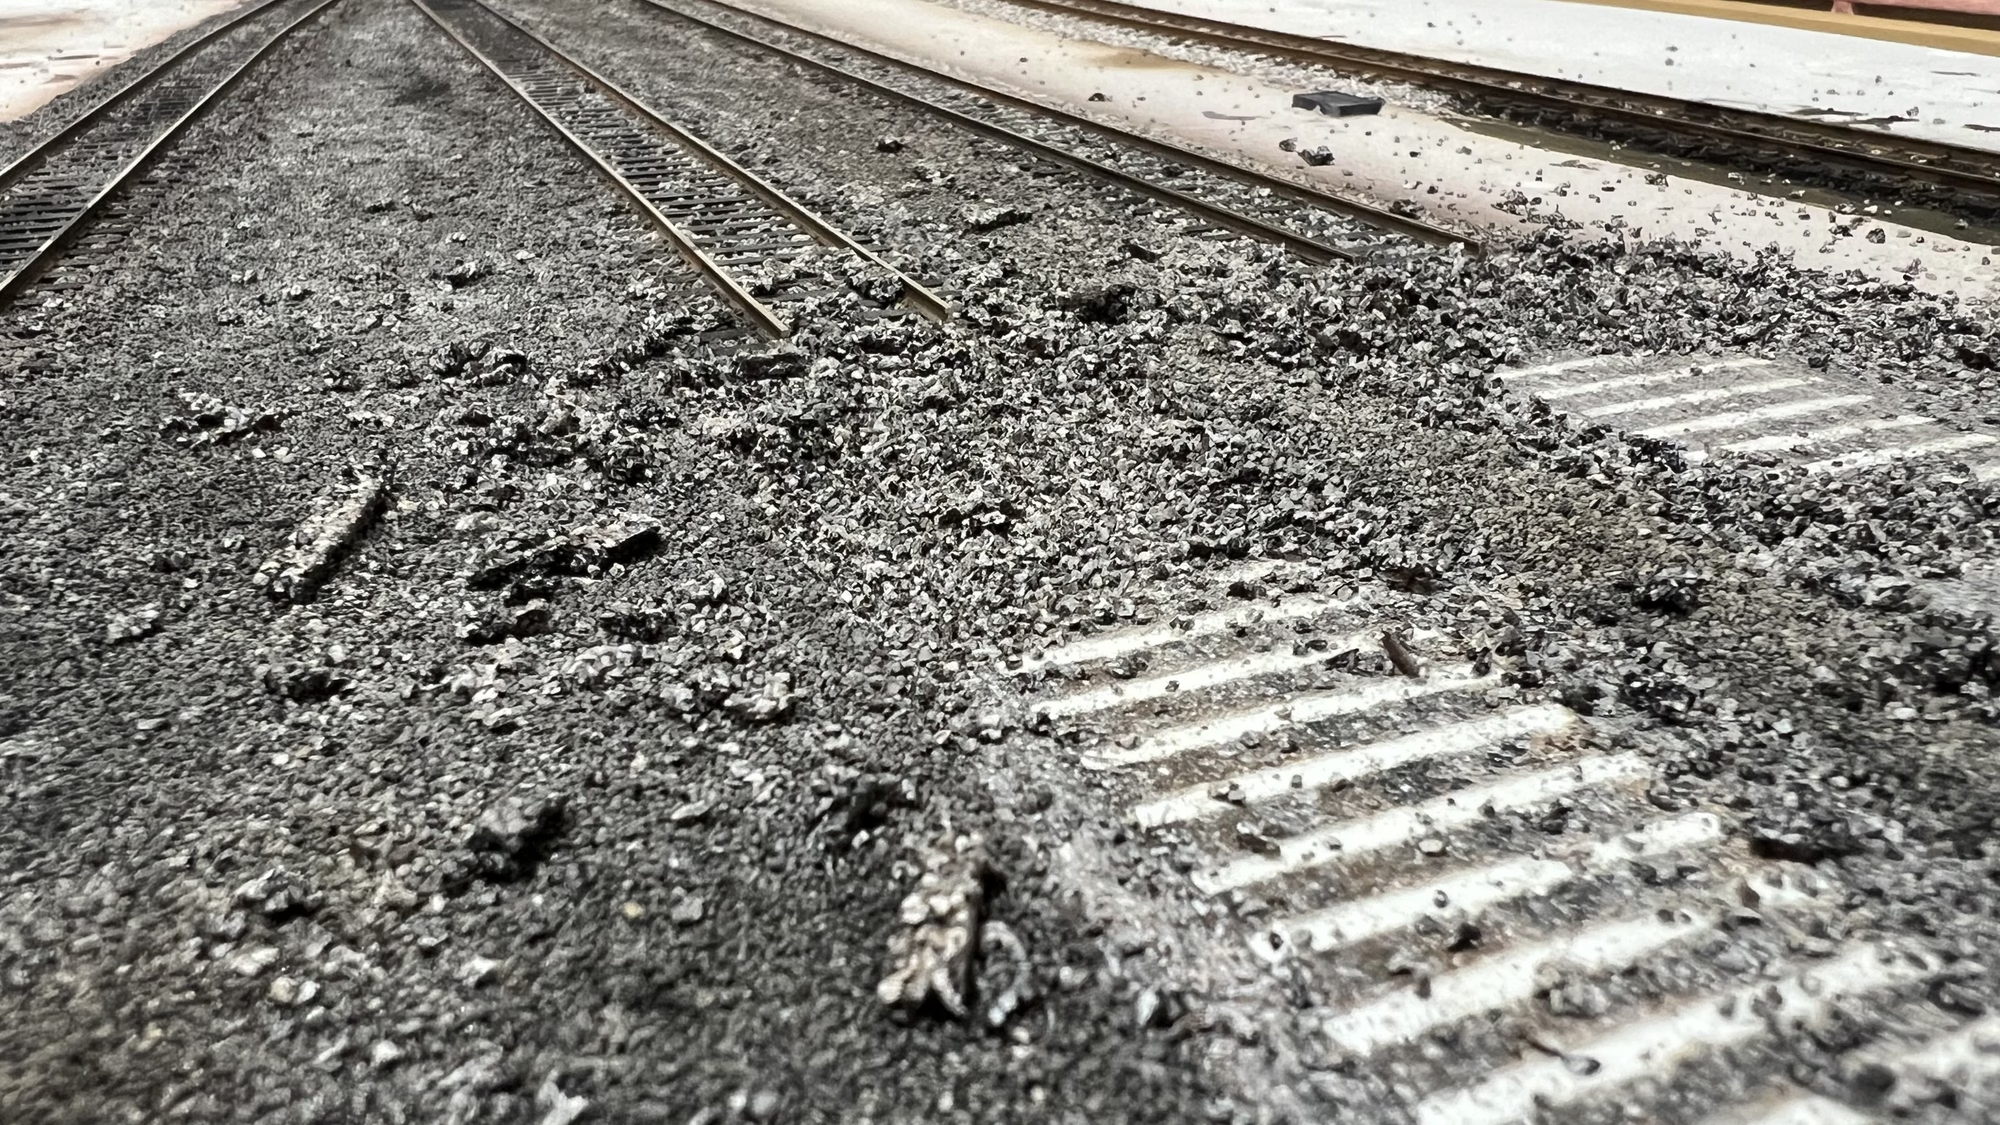
I needed to insert new sections of track, I wanted the floor of the engine shed to be concrete. So the ballasted track needed to come up.
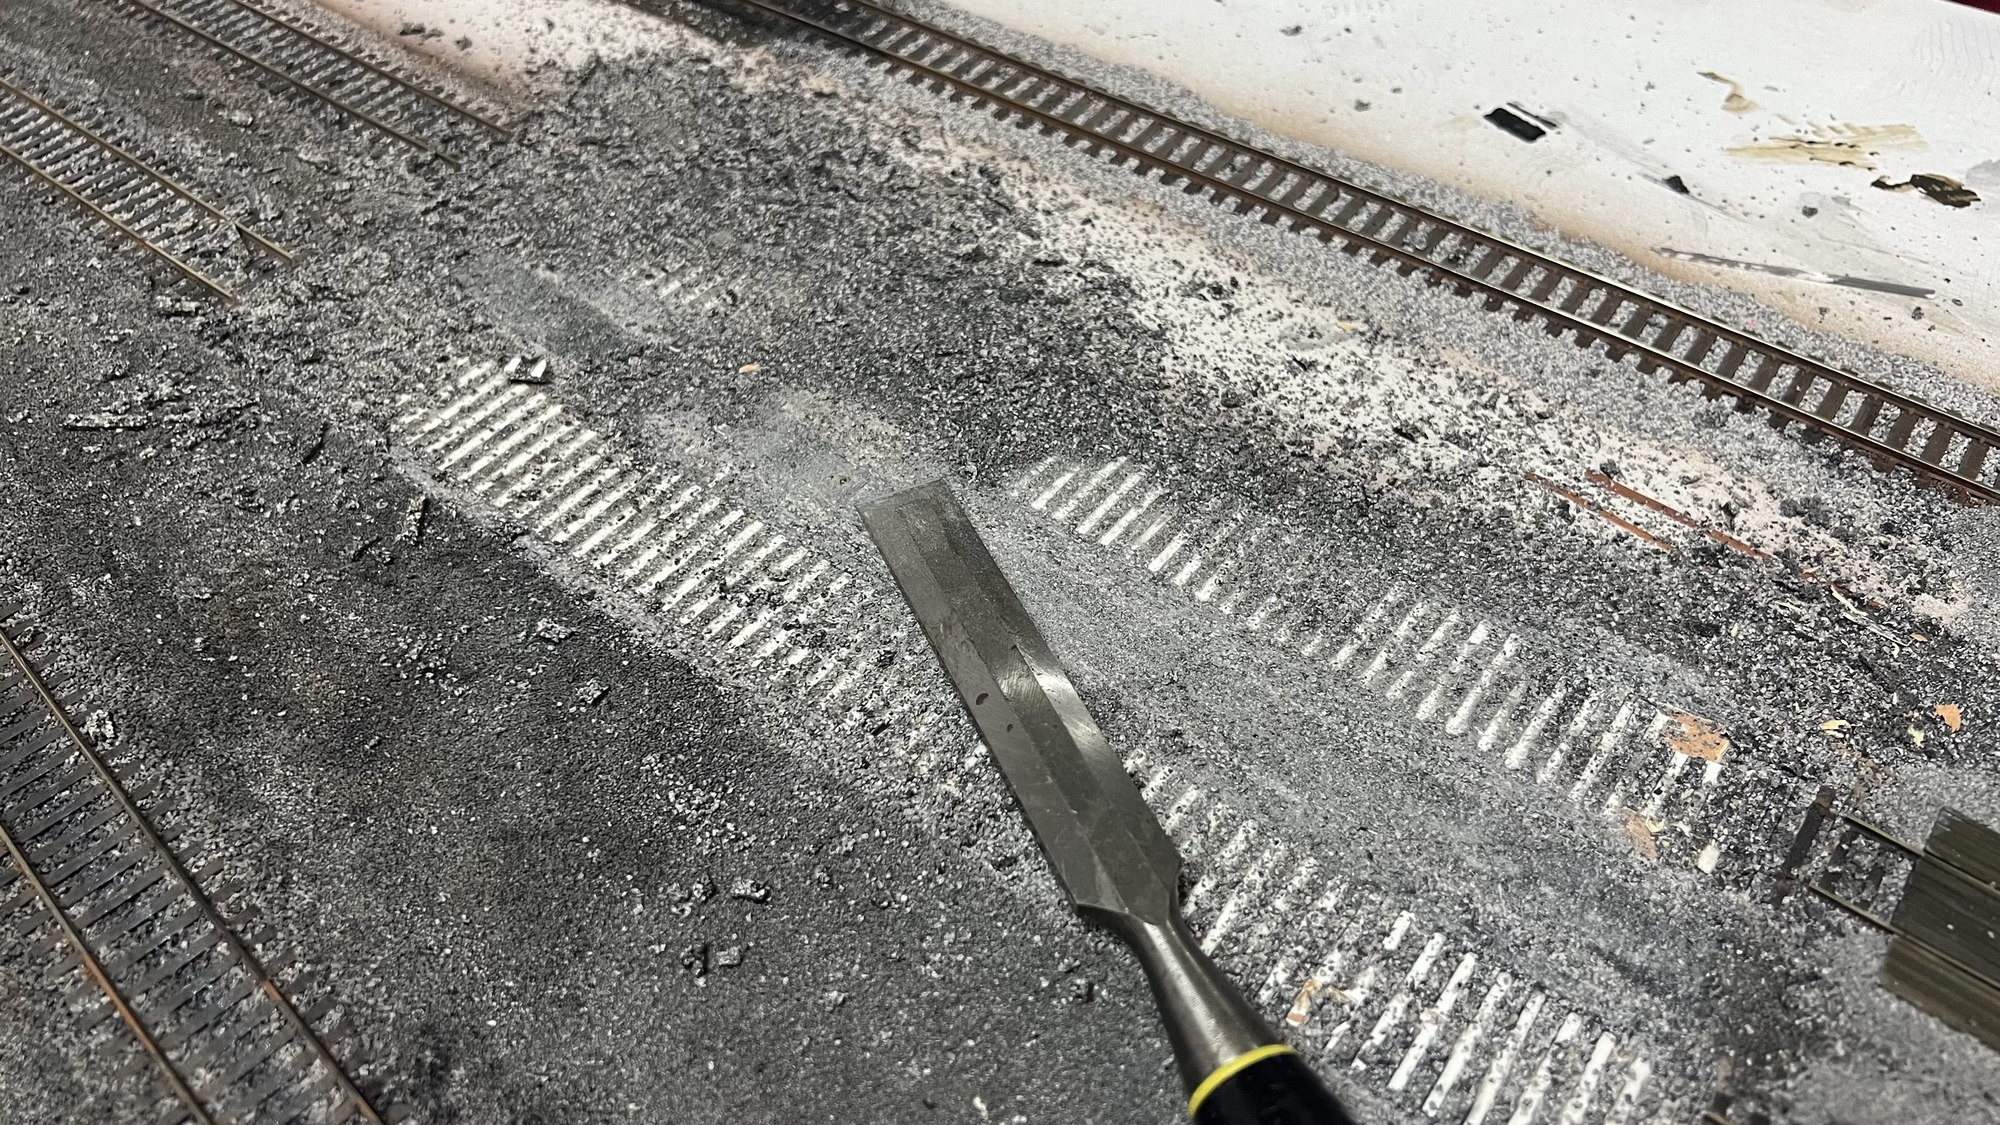
I wanted the floor of the engine shed to resemble concrete so I fired up the Laser Cutter and created sections of “Concrete” from 2mm plywood.
These were airbrushed and weathered with some powders to give the effect of age and dirt.
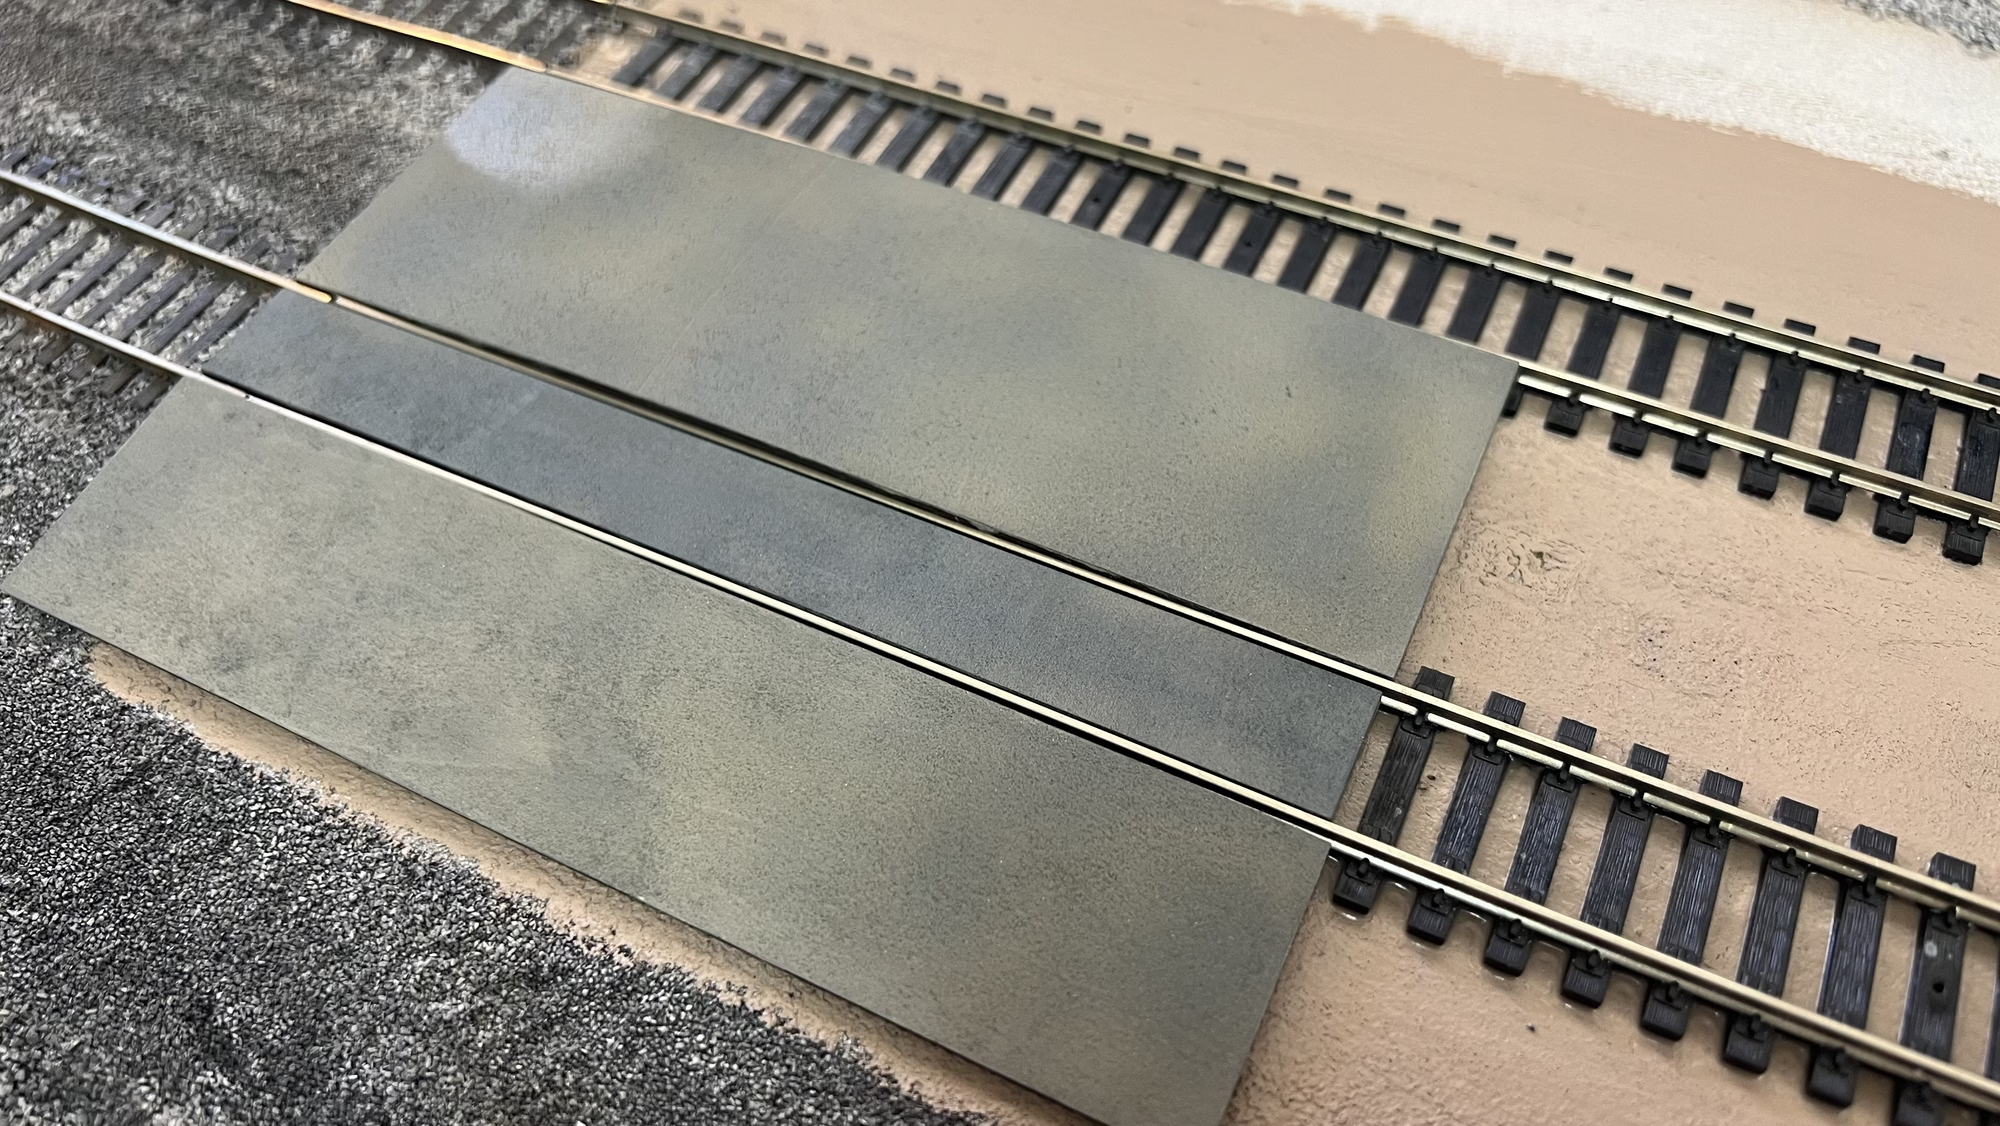
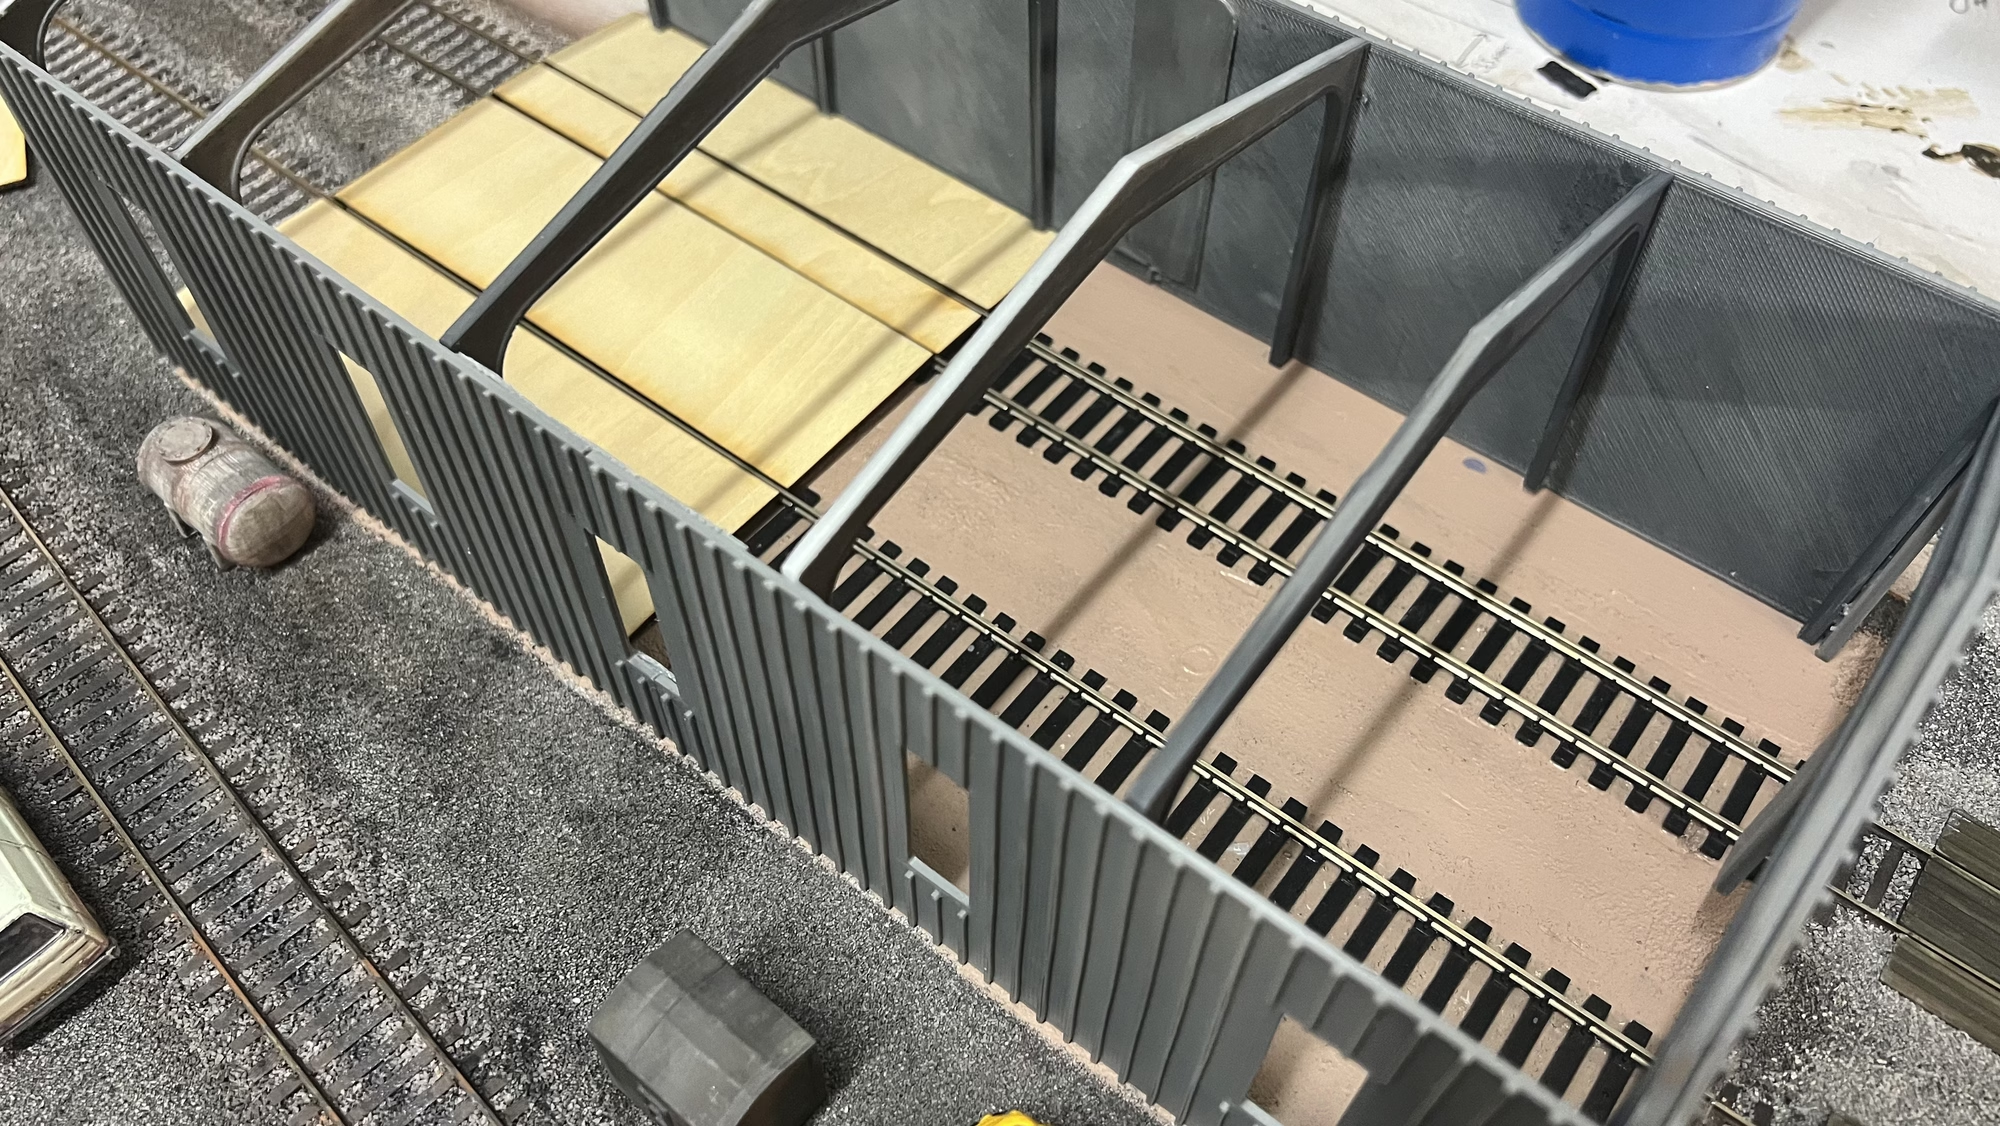
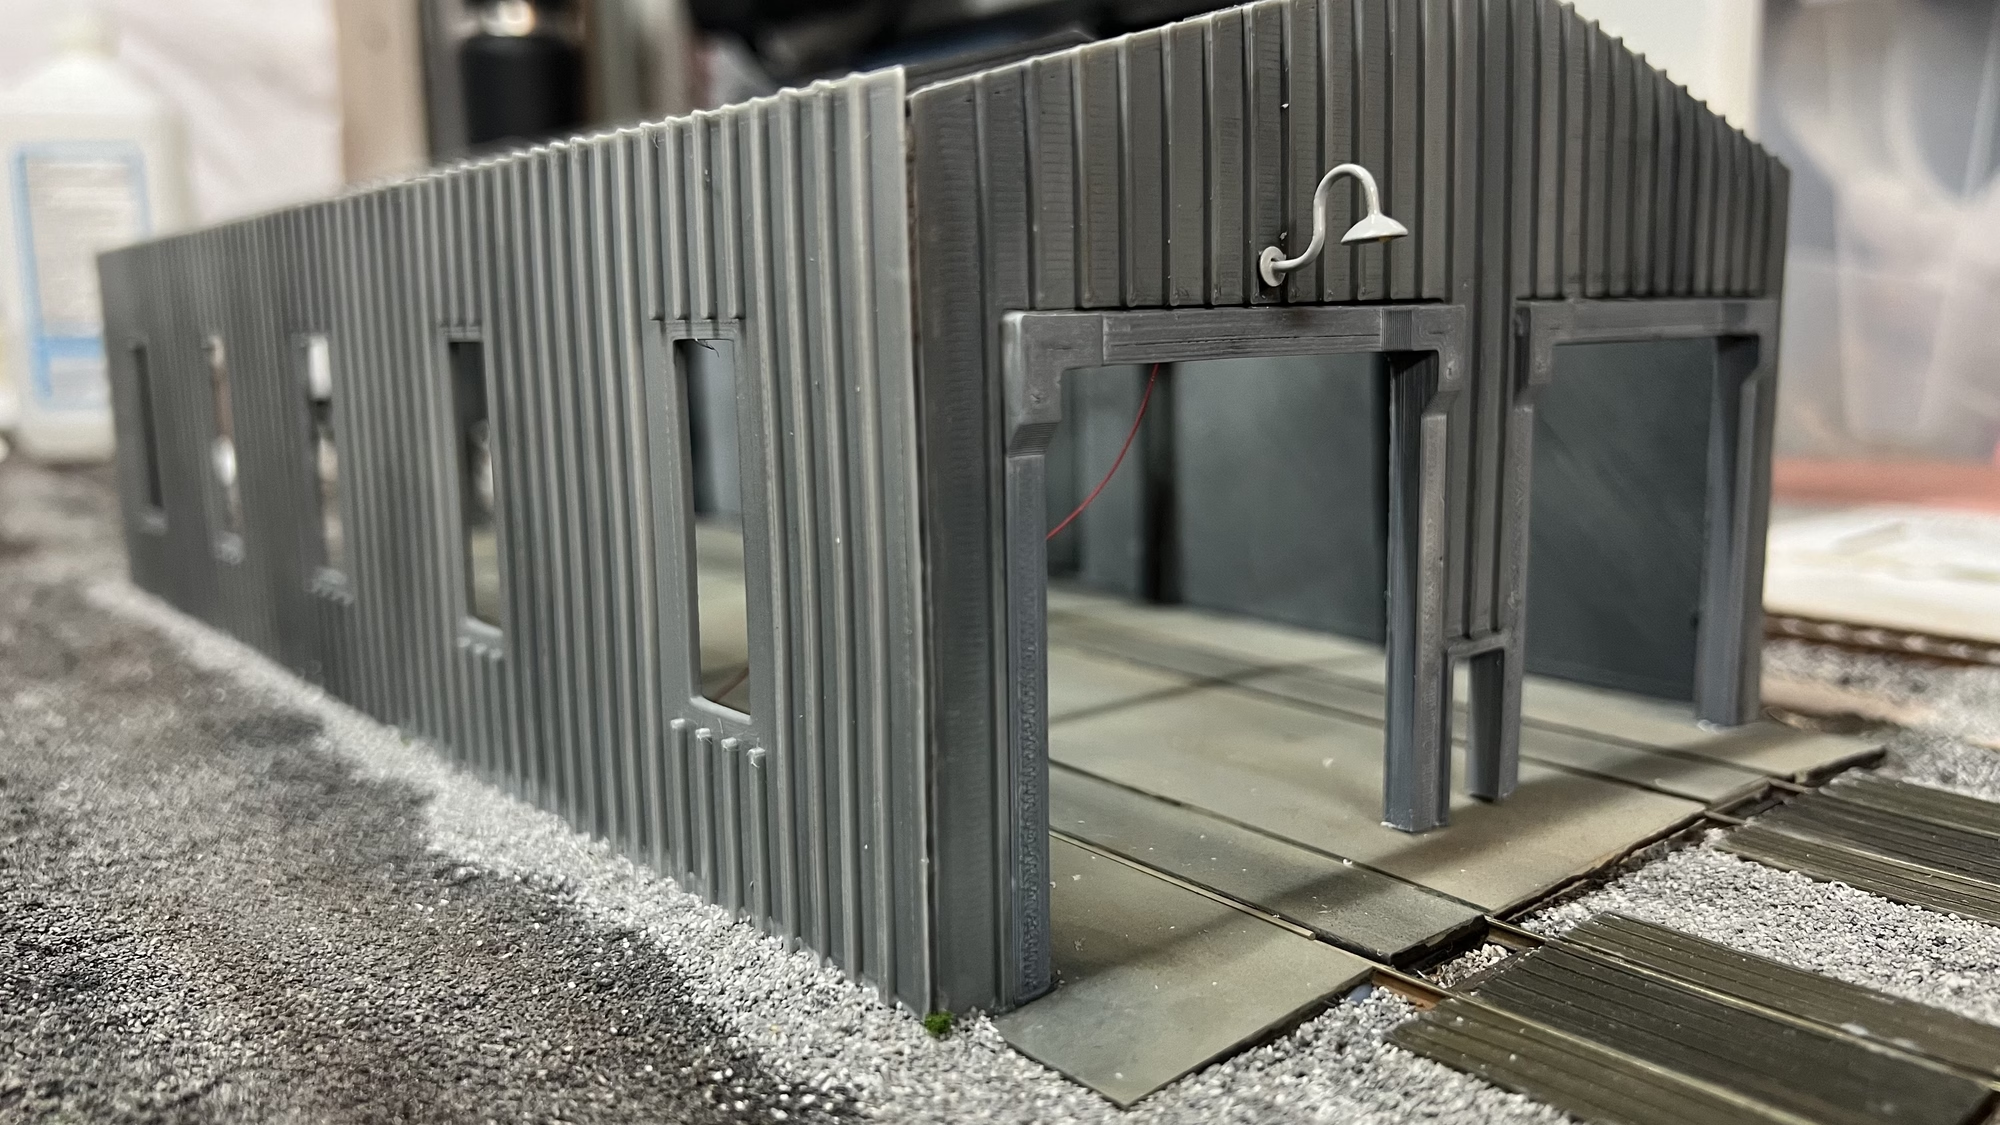
With the “Concrete” floor laid, it was time to glue the frame of the shed in place.
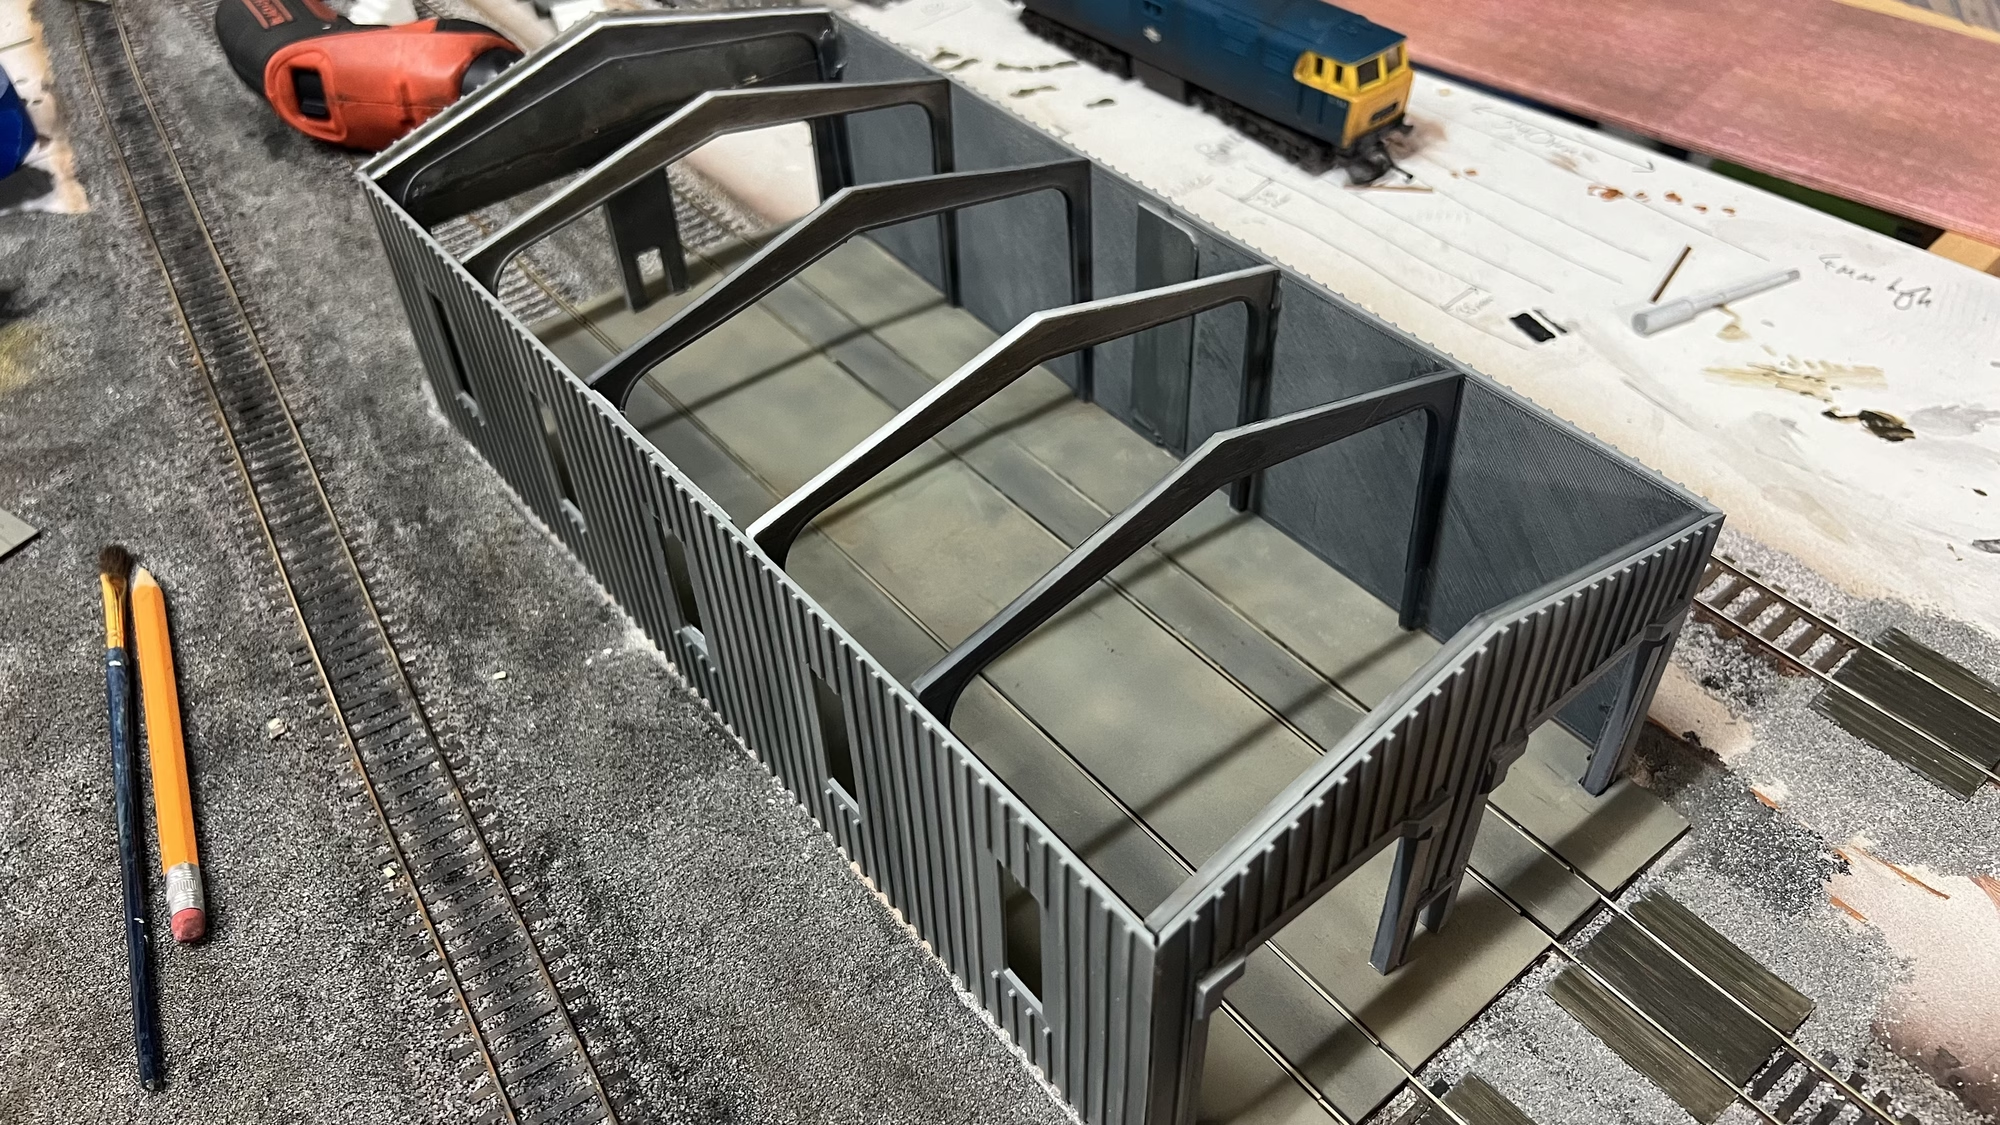
In this picture, you can see the roof on. It’s only lying on the frame. I want to make the roof removable because I’m sure I’ll end up detailing the inside at some point.
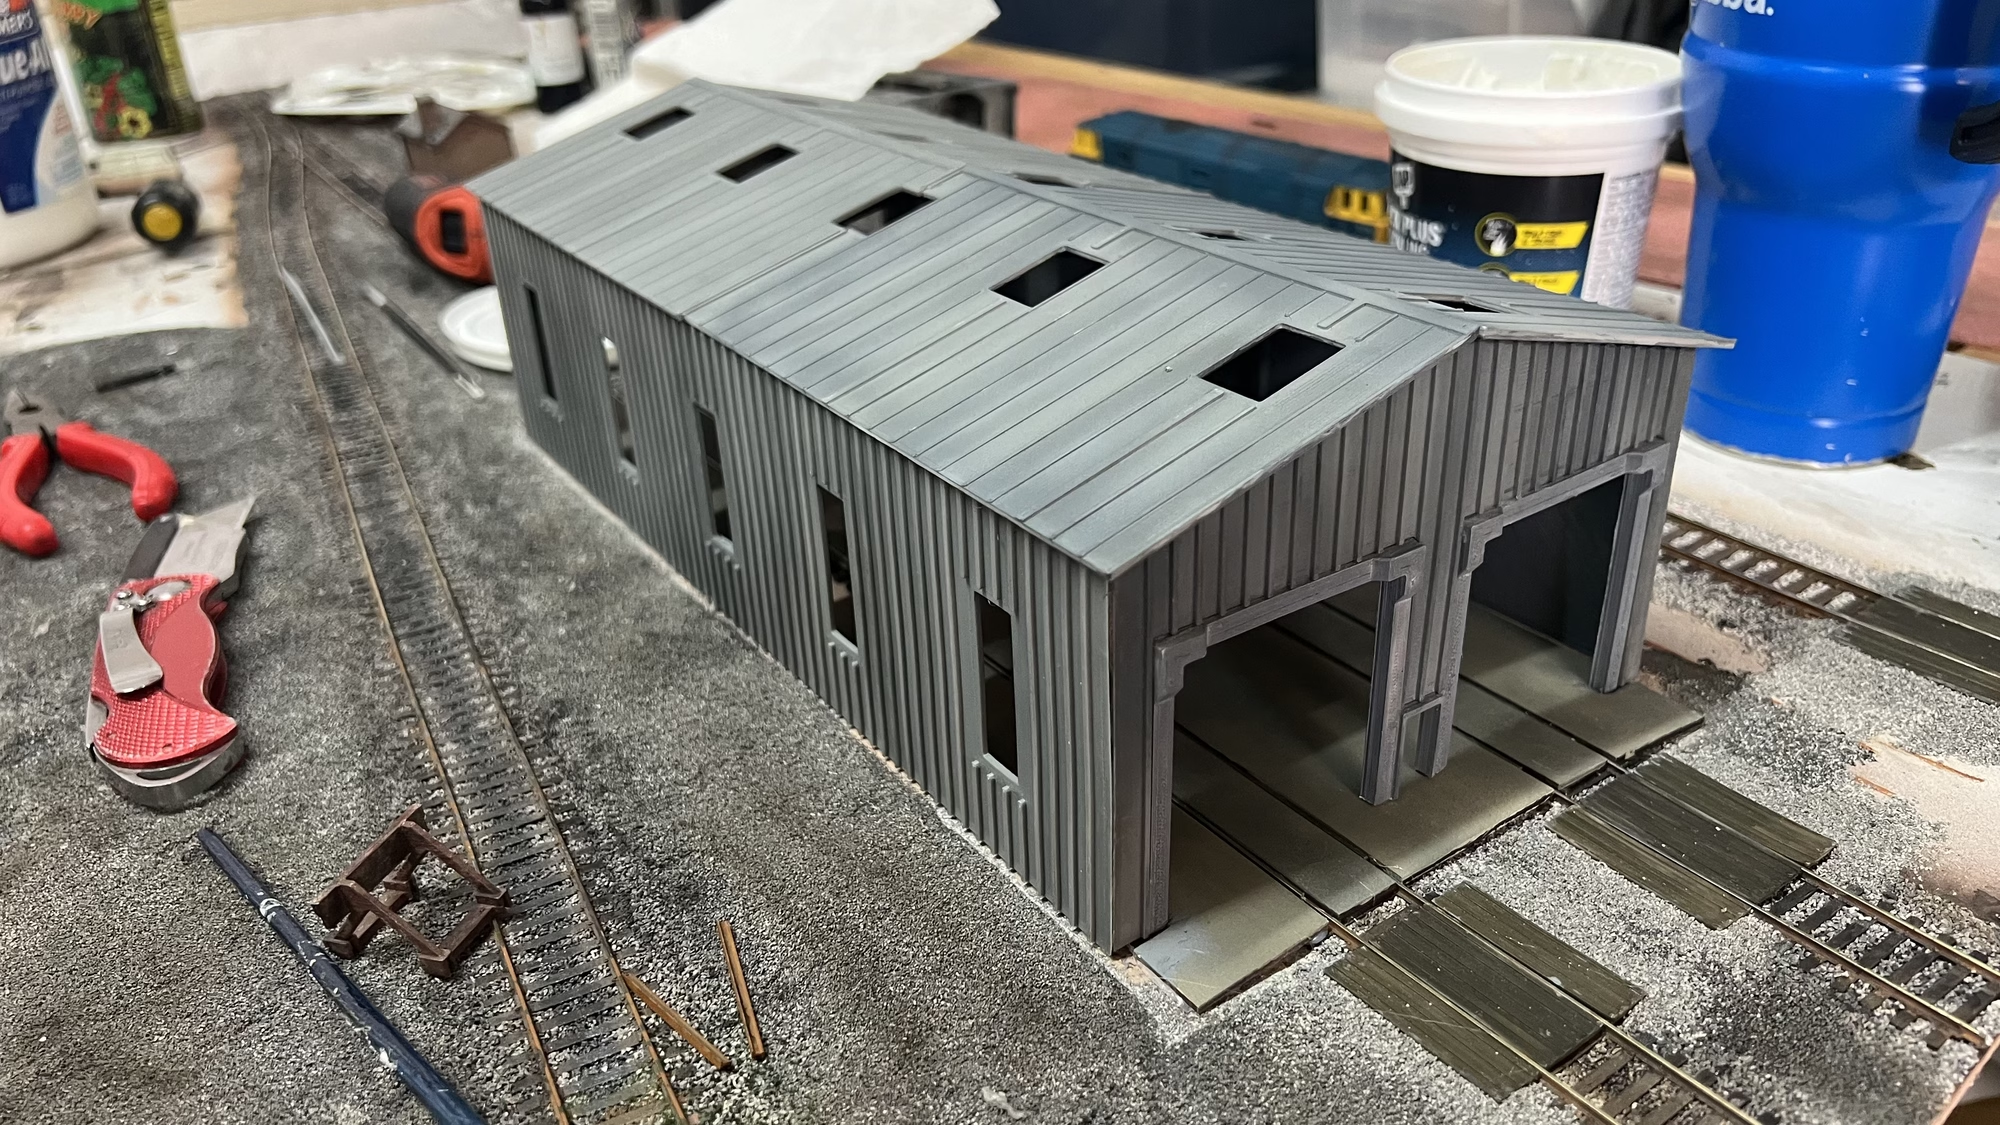
The shed is now glued in place. Here I am test fitting an LED lamp I got off eBay.
…and here is the elevated platform for the maintenance crew that will be placed inside the shed, fresh off the 3D printer.

Update – June 16, 2024
In my typical fashion, I’m doing 5 things at once. As the build of the Maintenance Shed continues, I decided that no respecting railway yard would be complete without a PortaKabin. Full build-out can be found here.
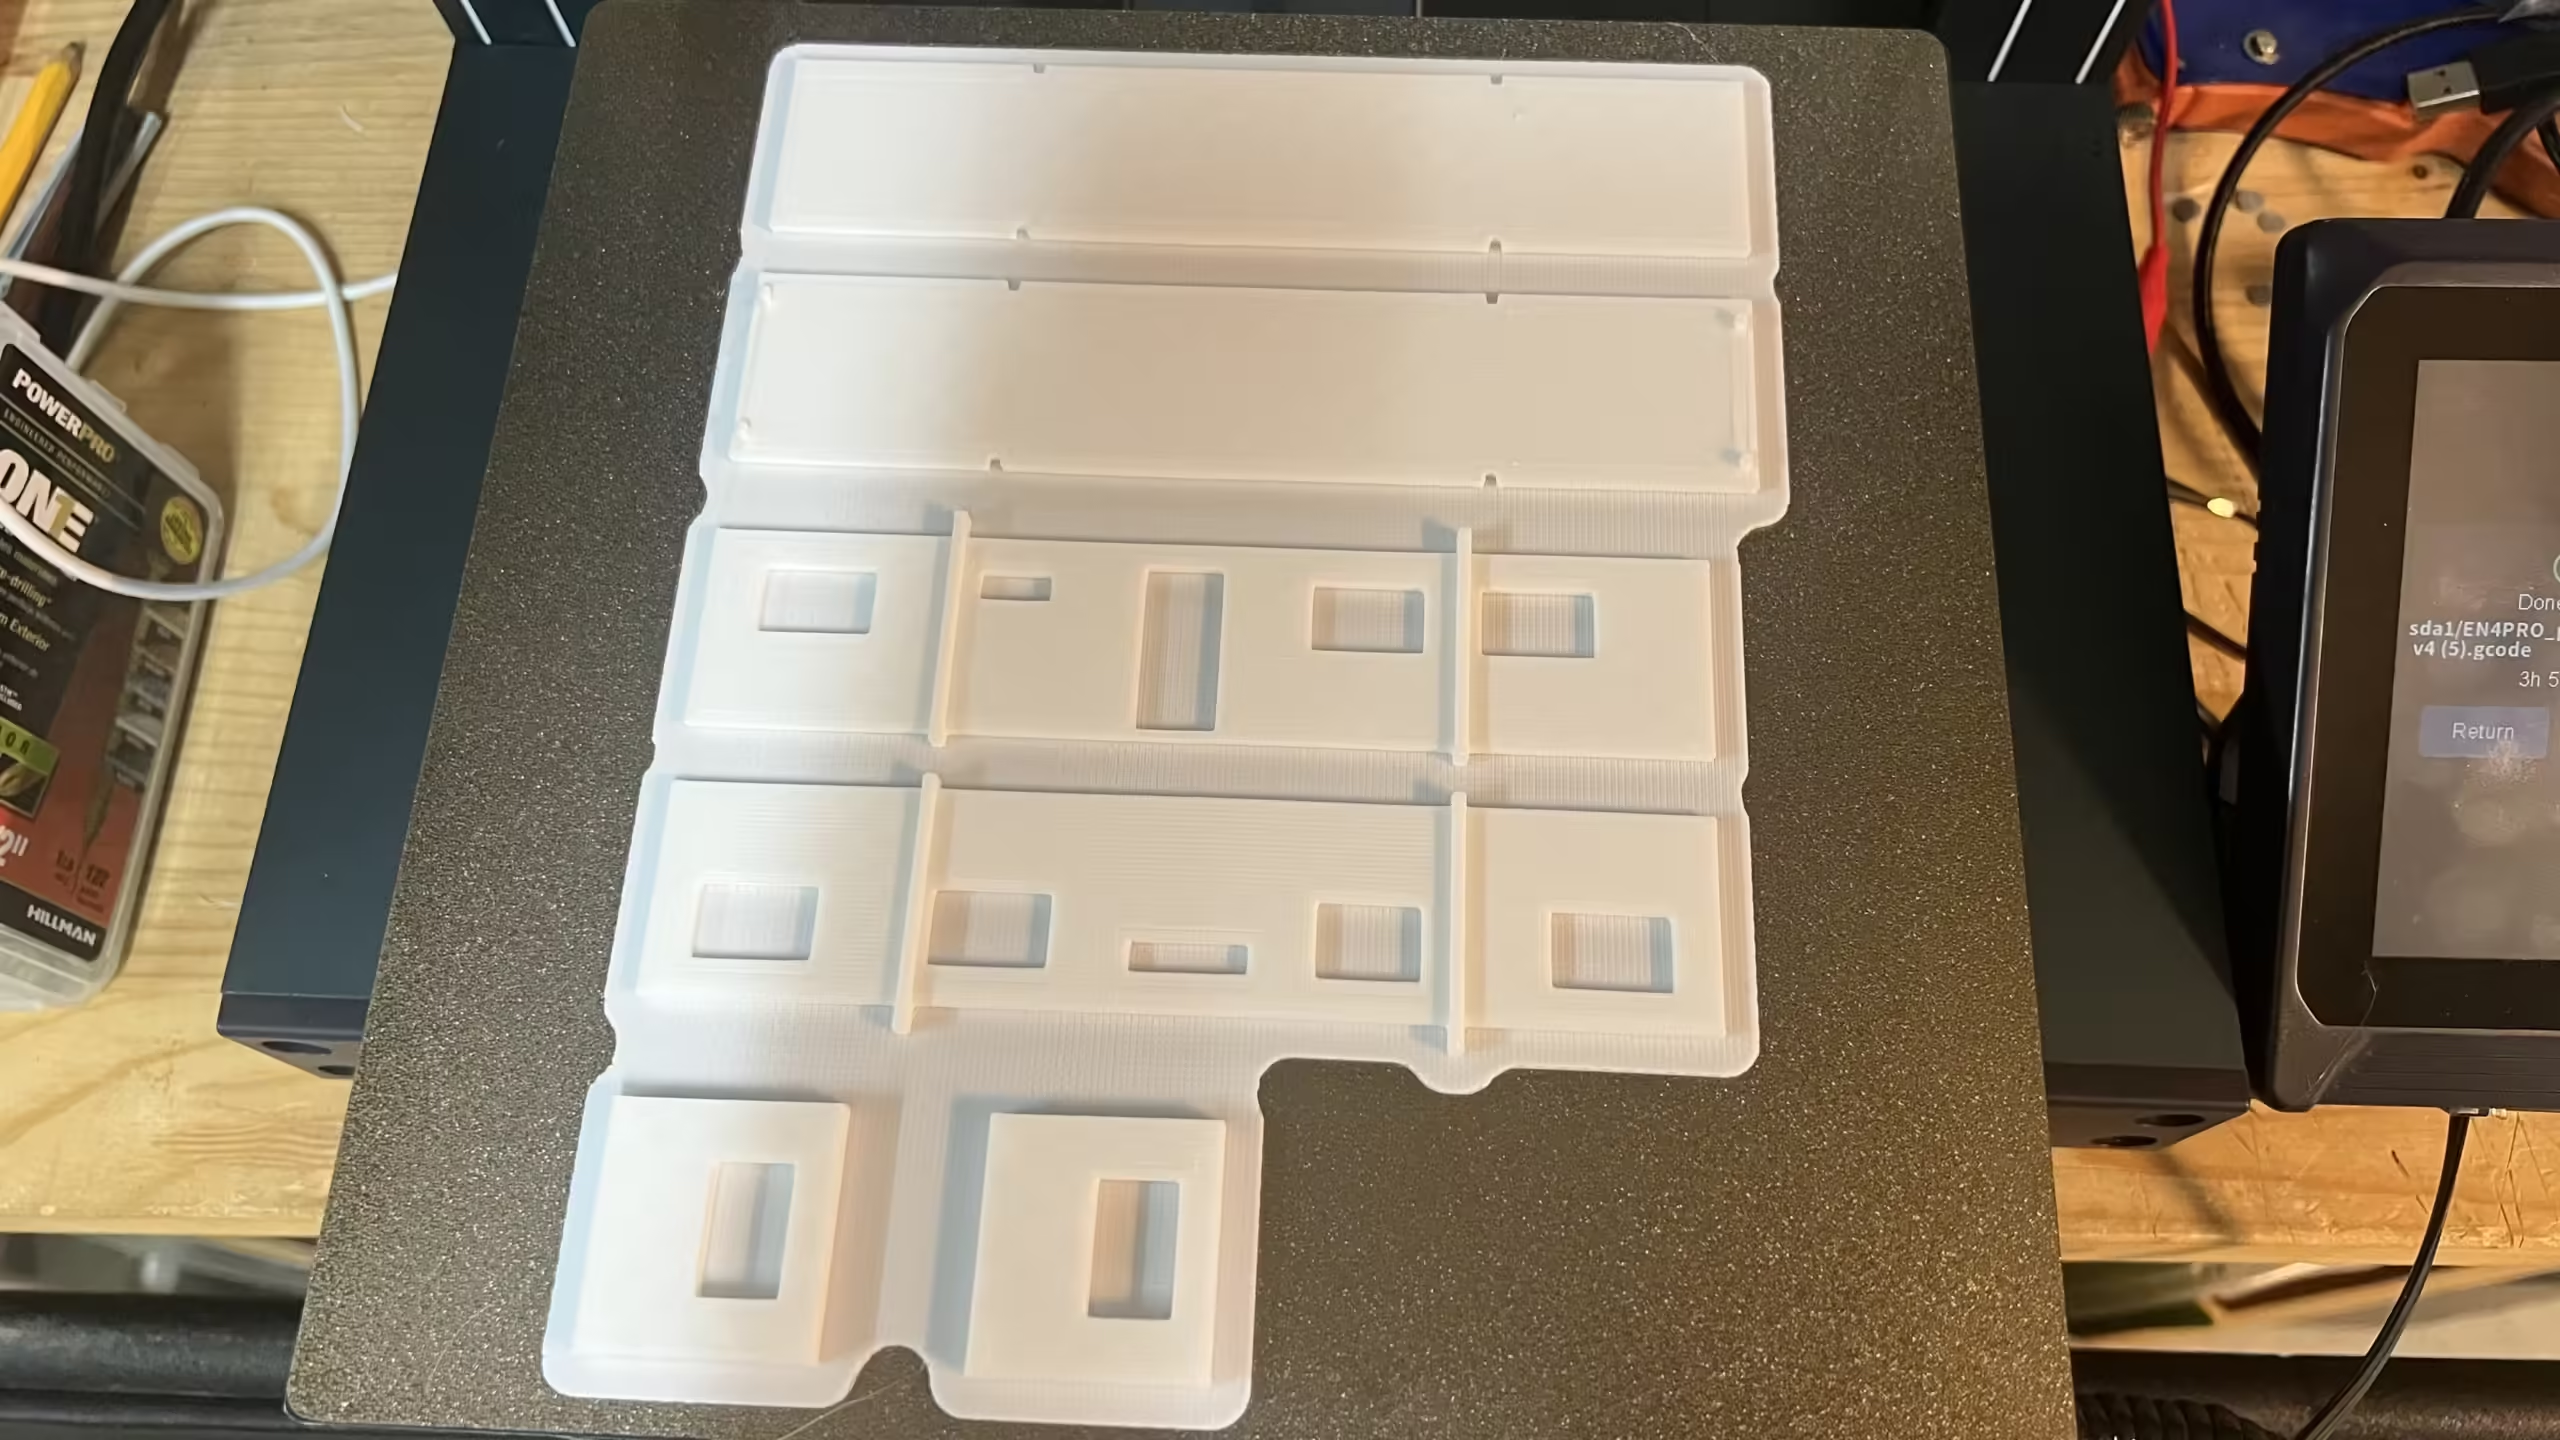
Working from the many images on the Internet I created a simple version in Tinkercad, 4 walls, a roof, and a floor.
About 30 minutes later the 3D printer churned out the parts.
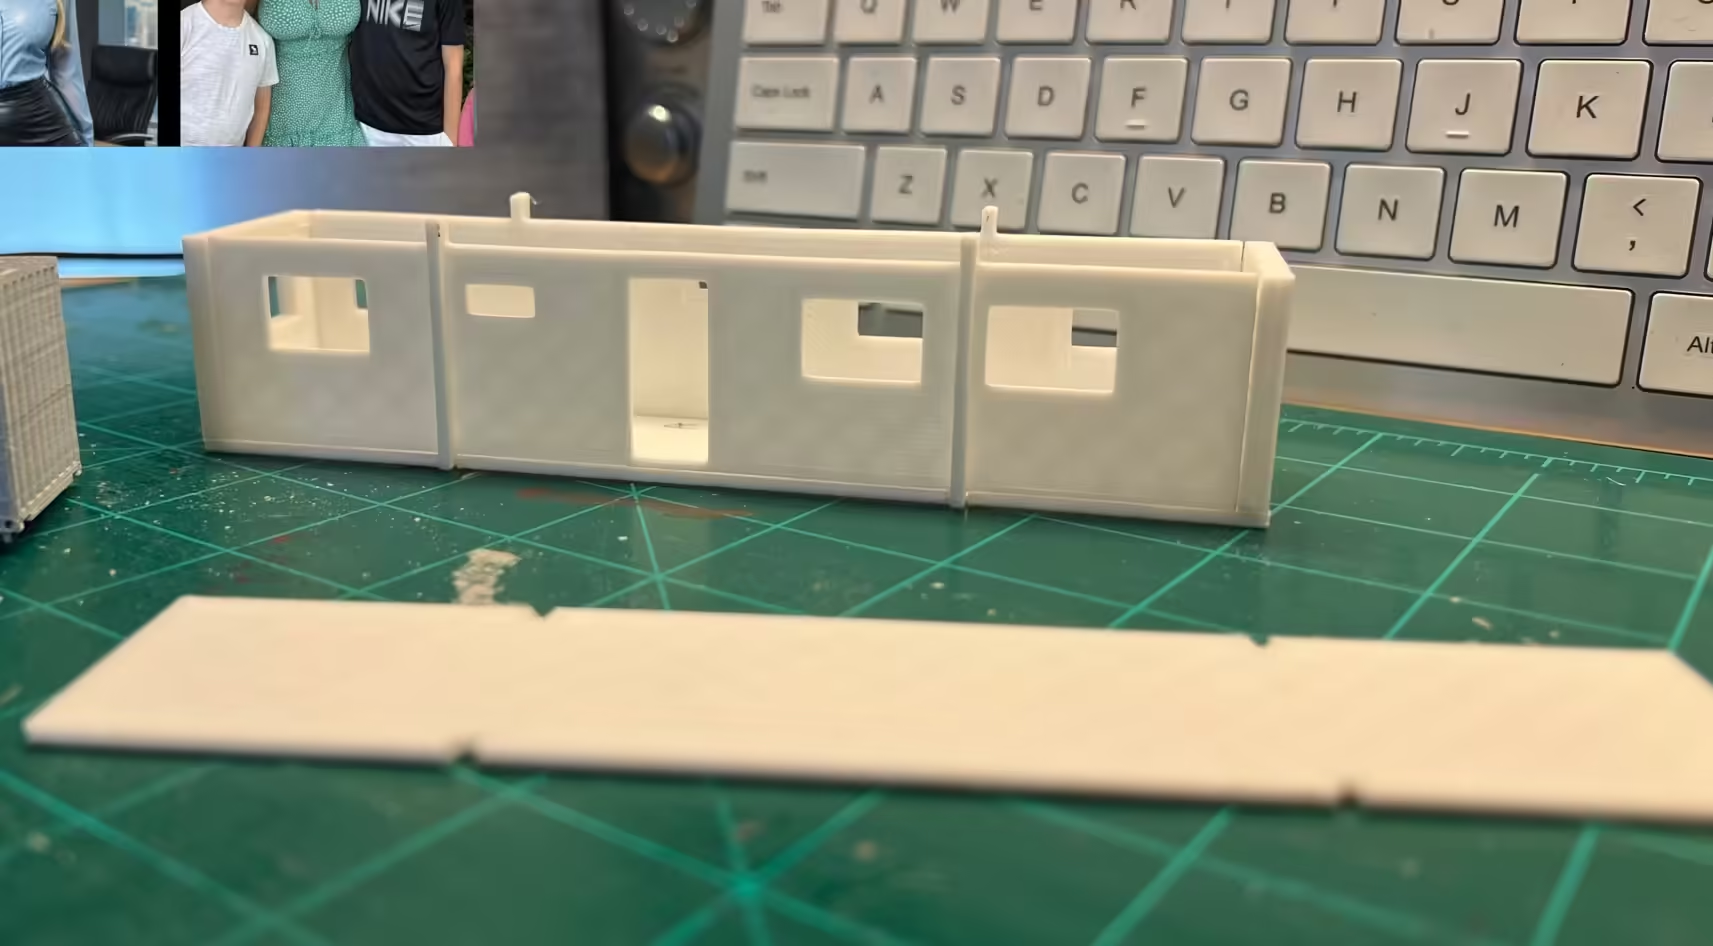
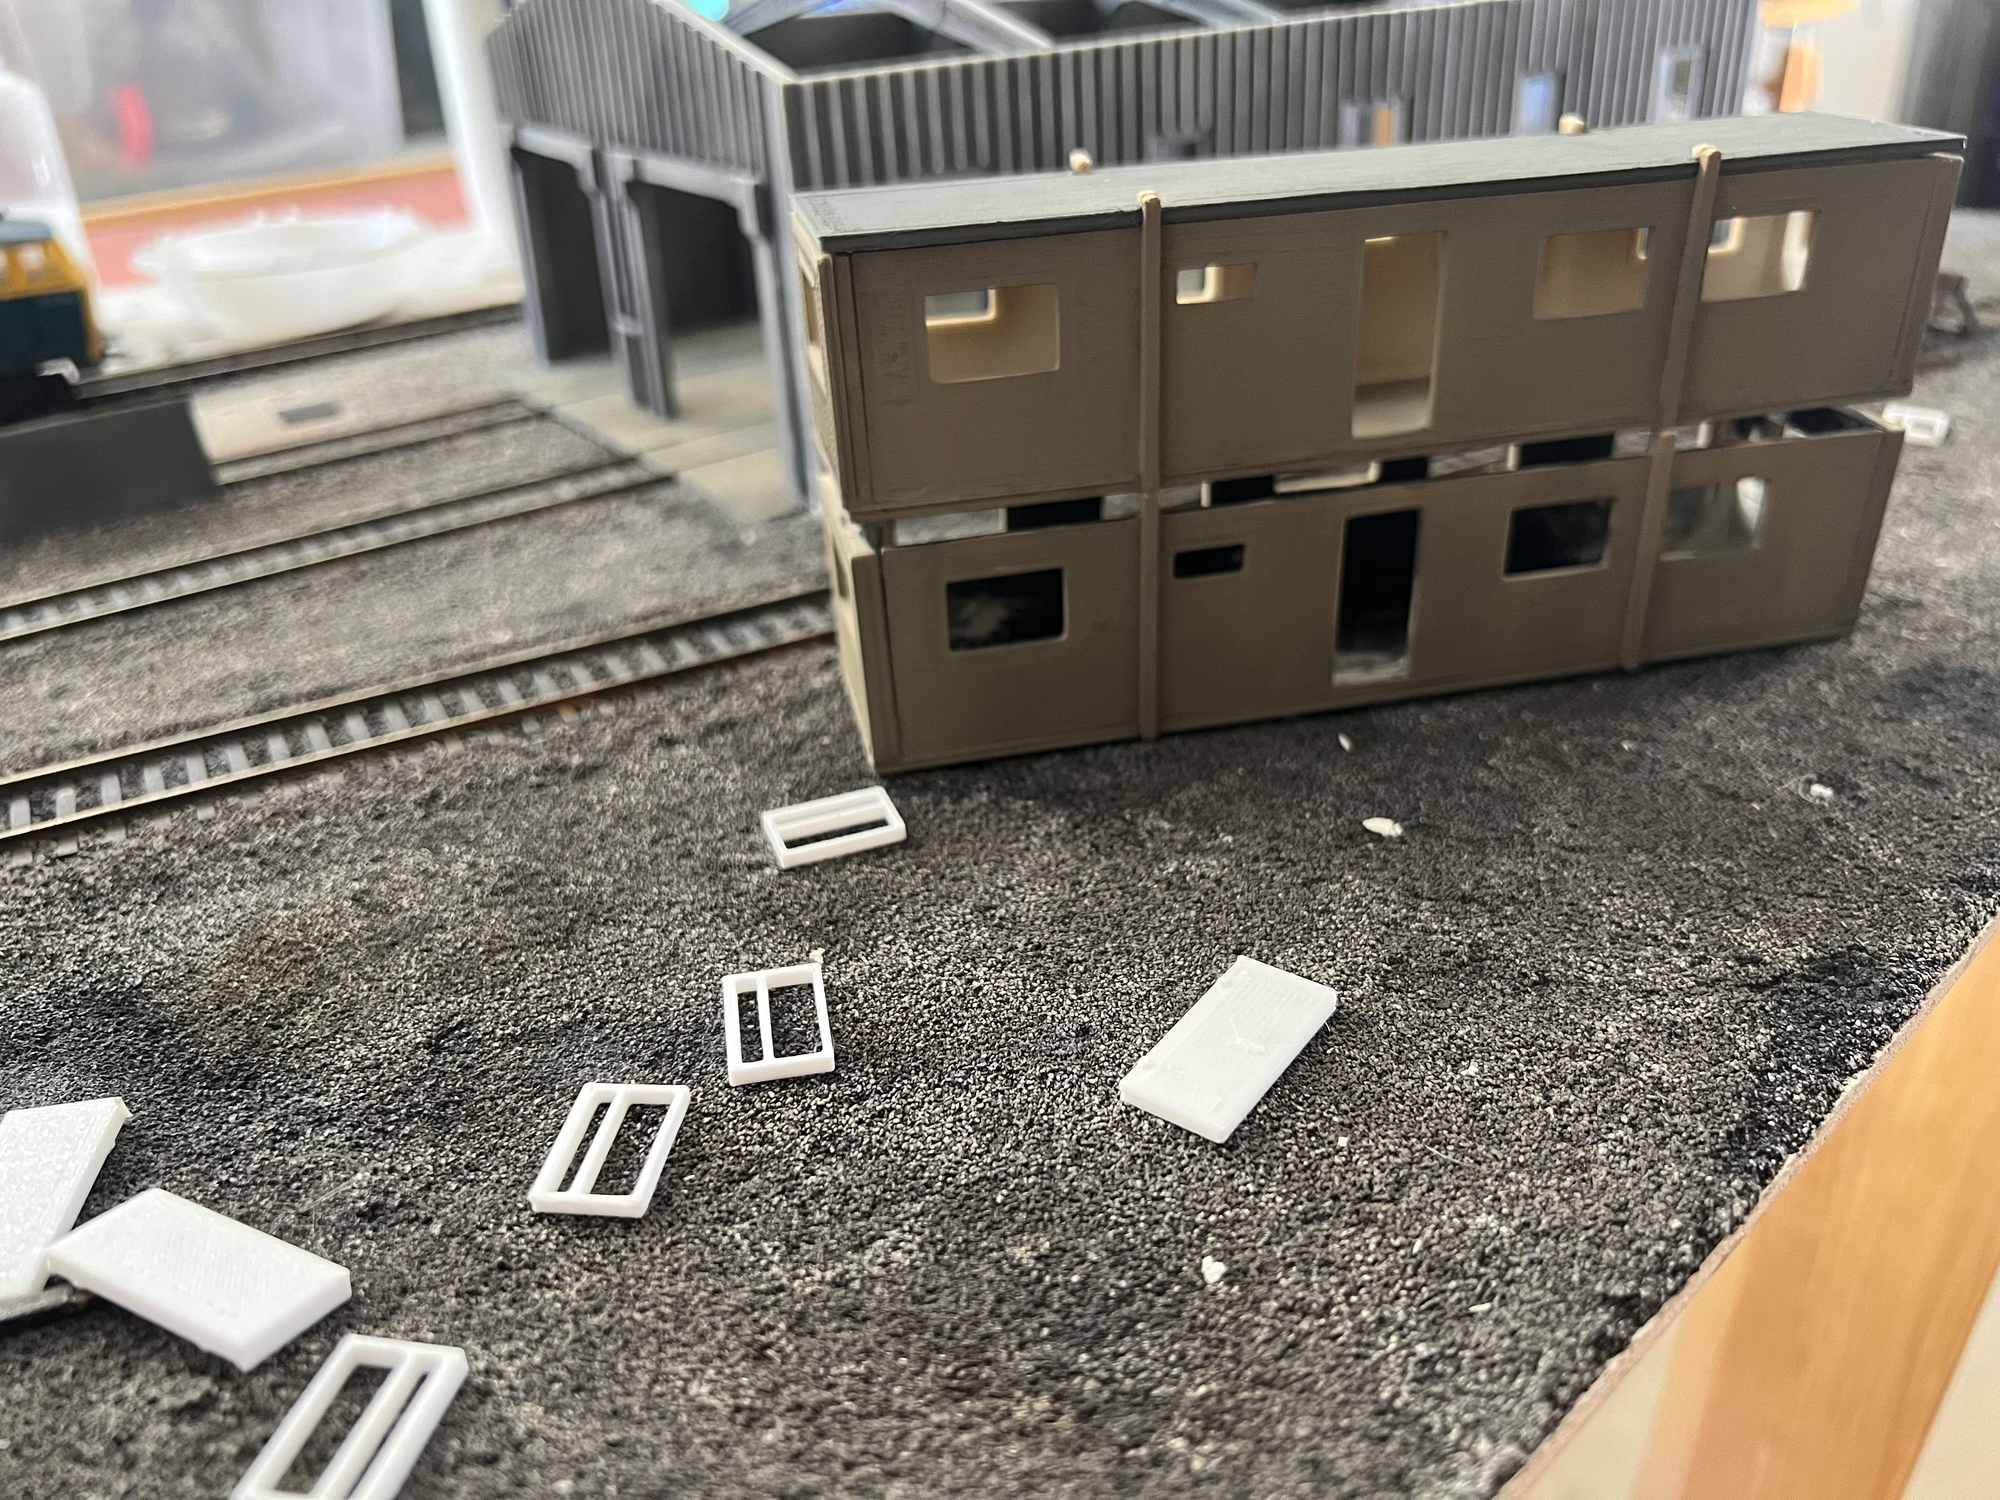
Into my makeshift spray booth. AKA a cardboard box, painted in a mix of sand yellow, dark earth, and grey. Here they are stacked on the Diorama awaiting the windows and doors to be fitted.
Update – July 13, 2024
Back on the Diorama after the family holiday to England
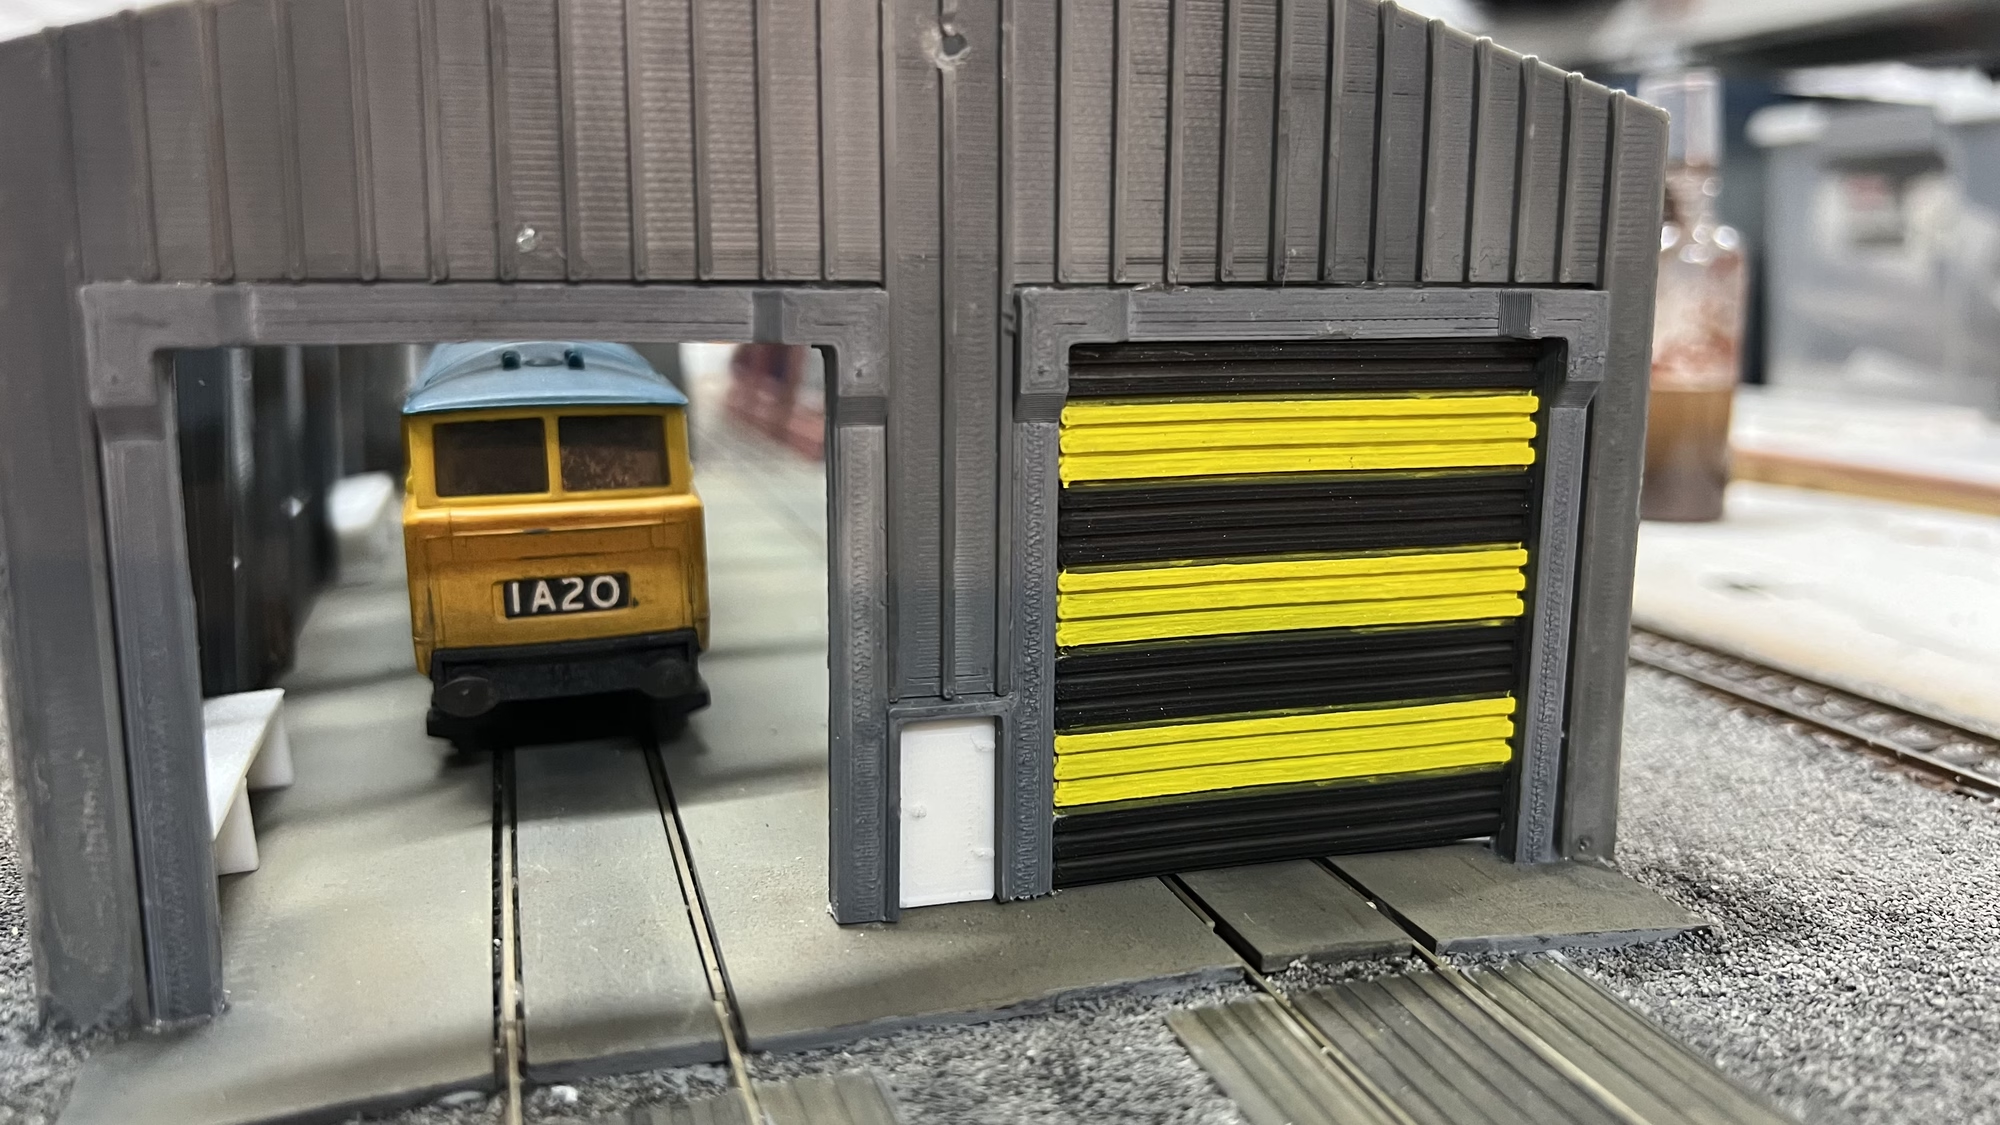
I really must try and concentrate on one thing. Back in Tinkercad I created some roller shutter doors for the maintenance shed. 25 minutes later hot off the 3D printer here they are test-fitting into the doorways.
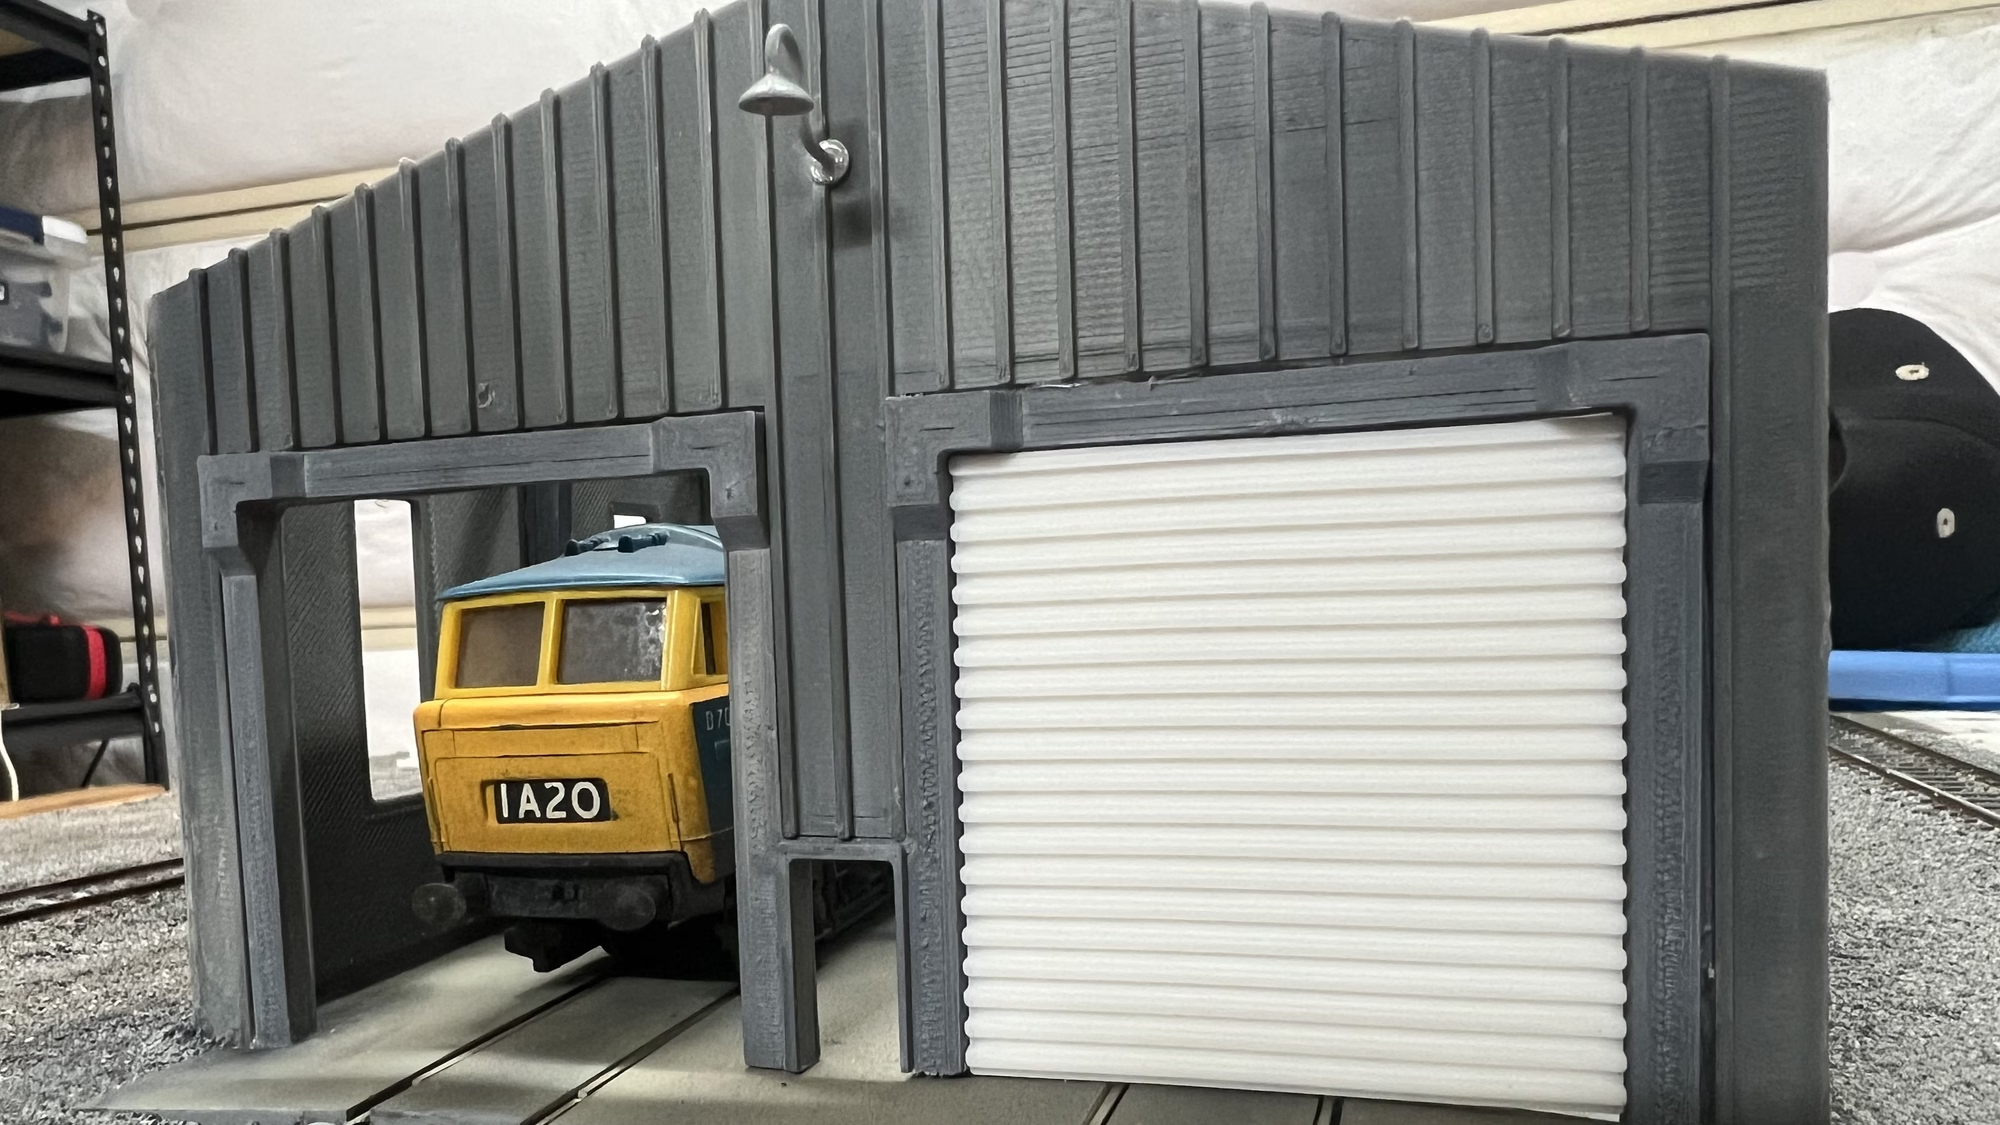
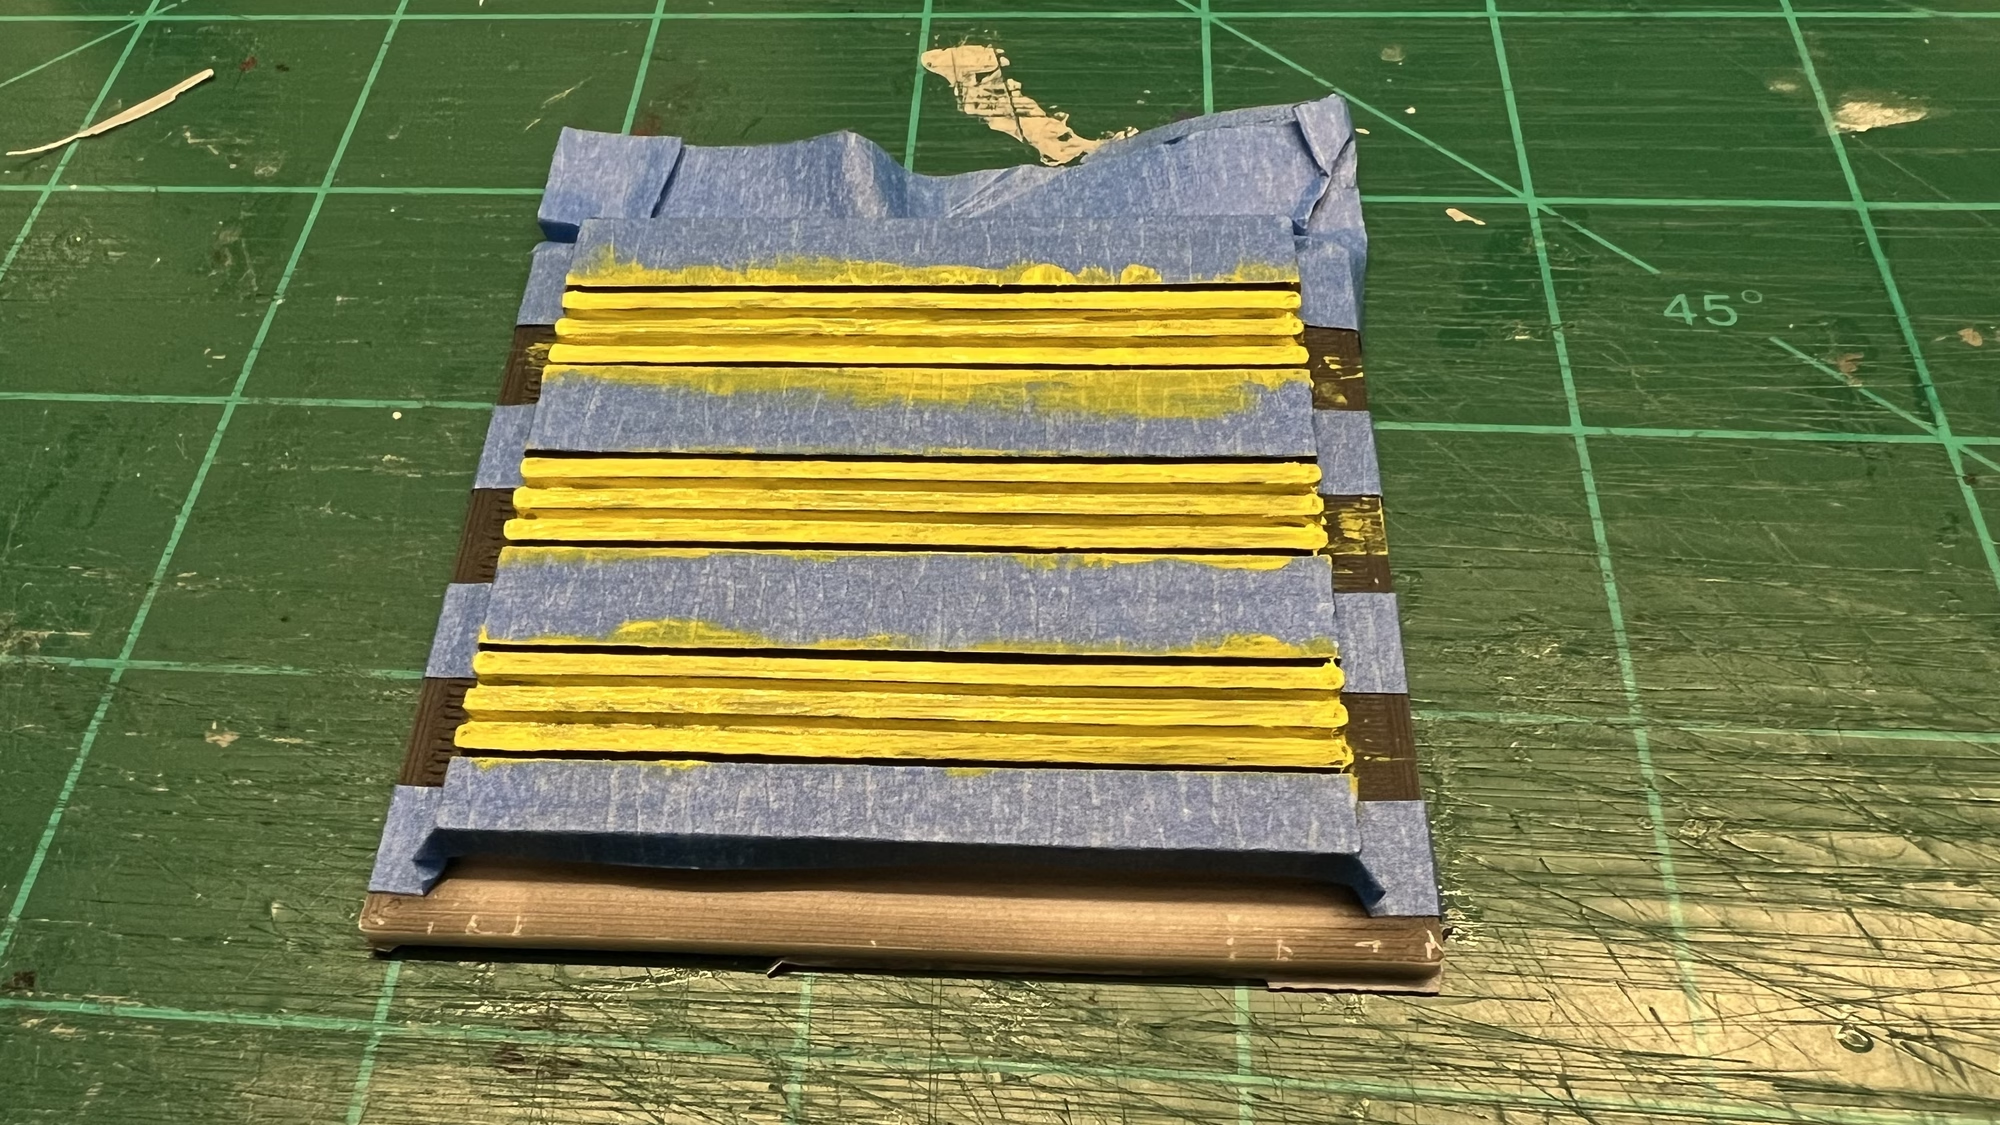
Next, I airbrushed the doors black on both sides, when that was dry I cut 5mm strips of painter’s tape and stuck them on, then gave multiple coats of yellow to create the “Wasp Effect”
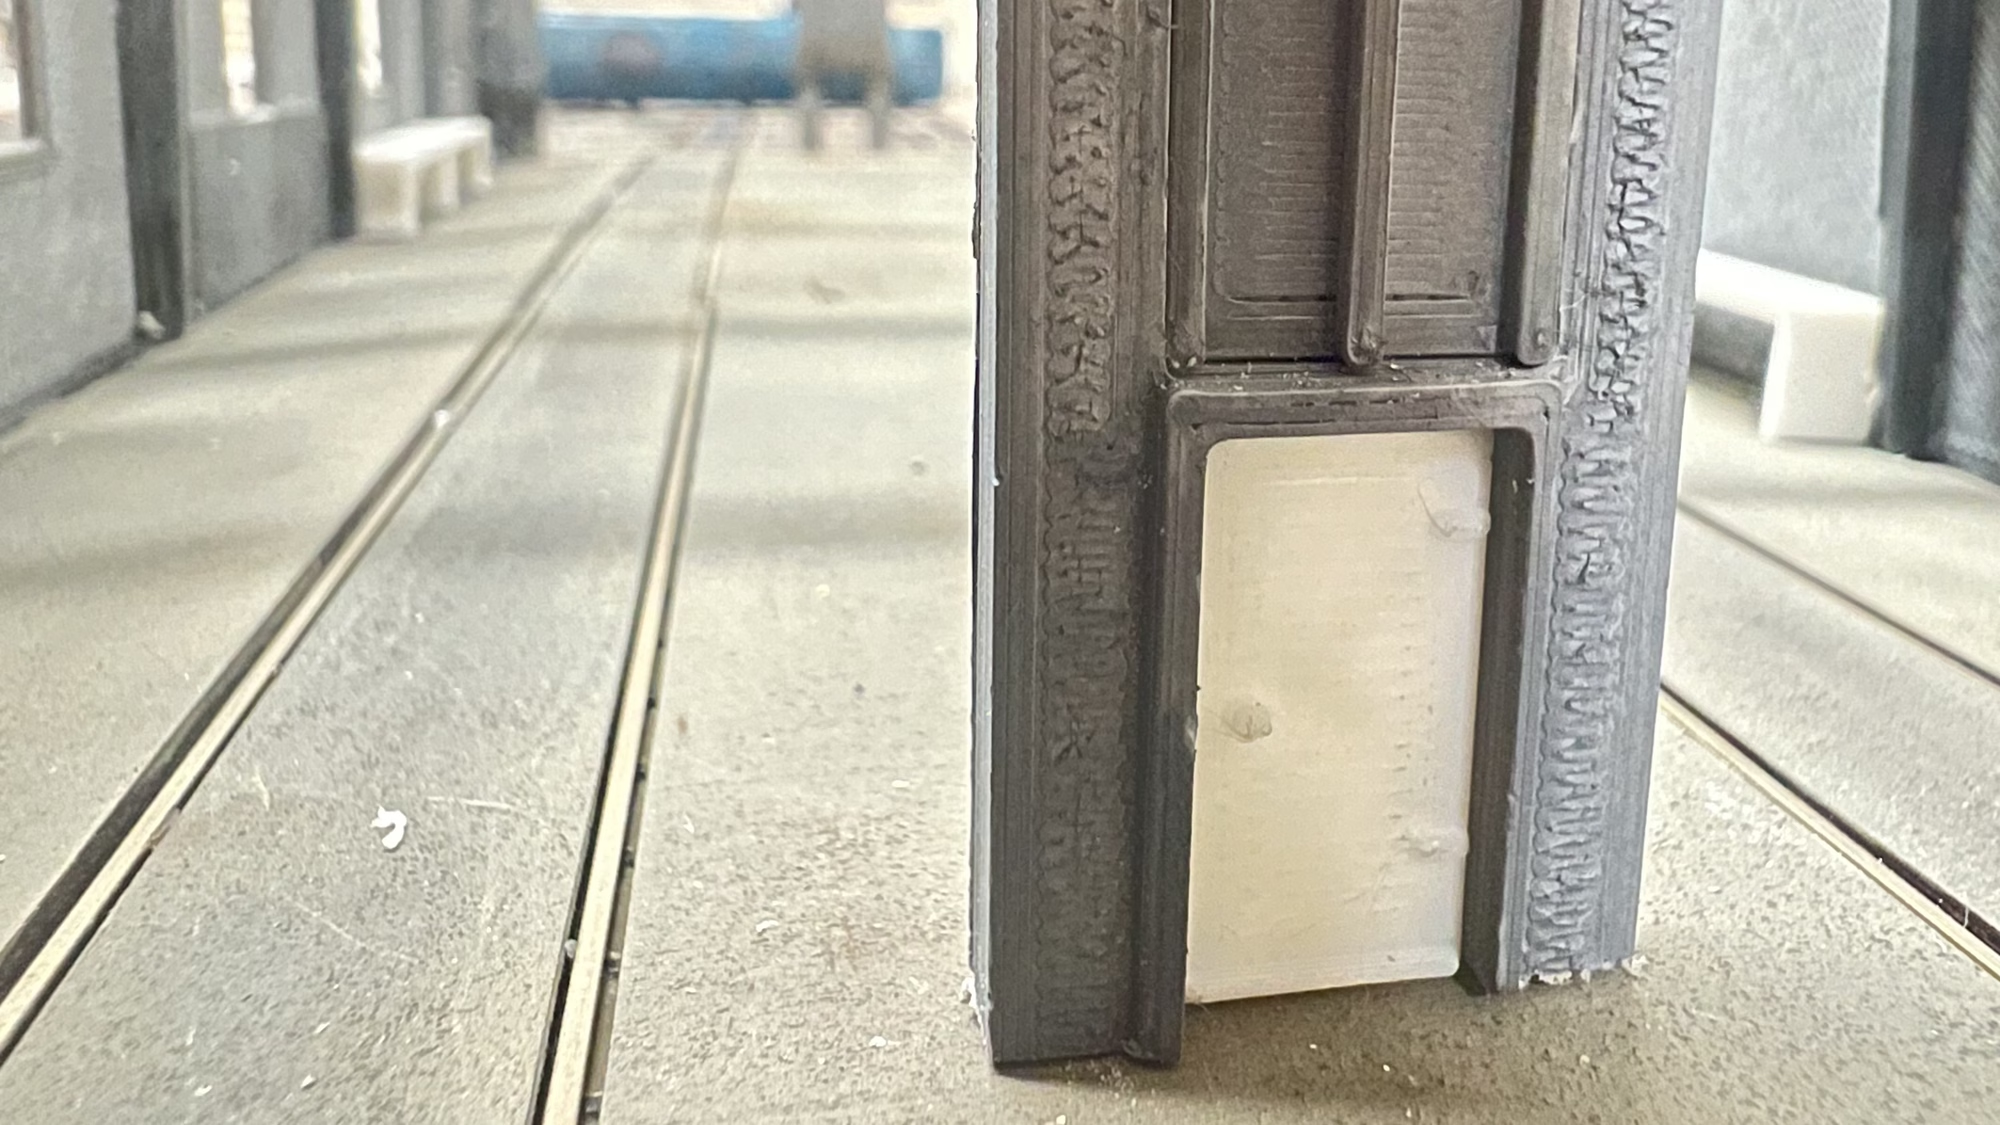
While making the shutter doors I also 3D printed the access door. I’m not quite sure what colour to paint this. There is so much grey all over the diorama.
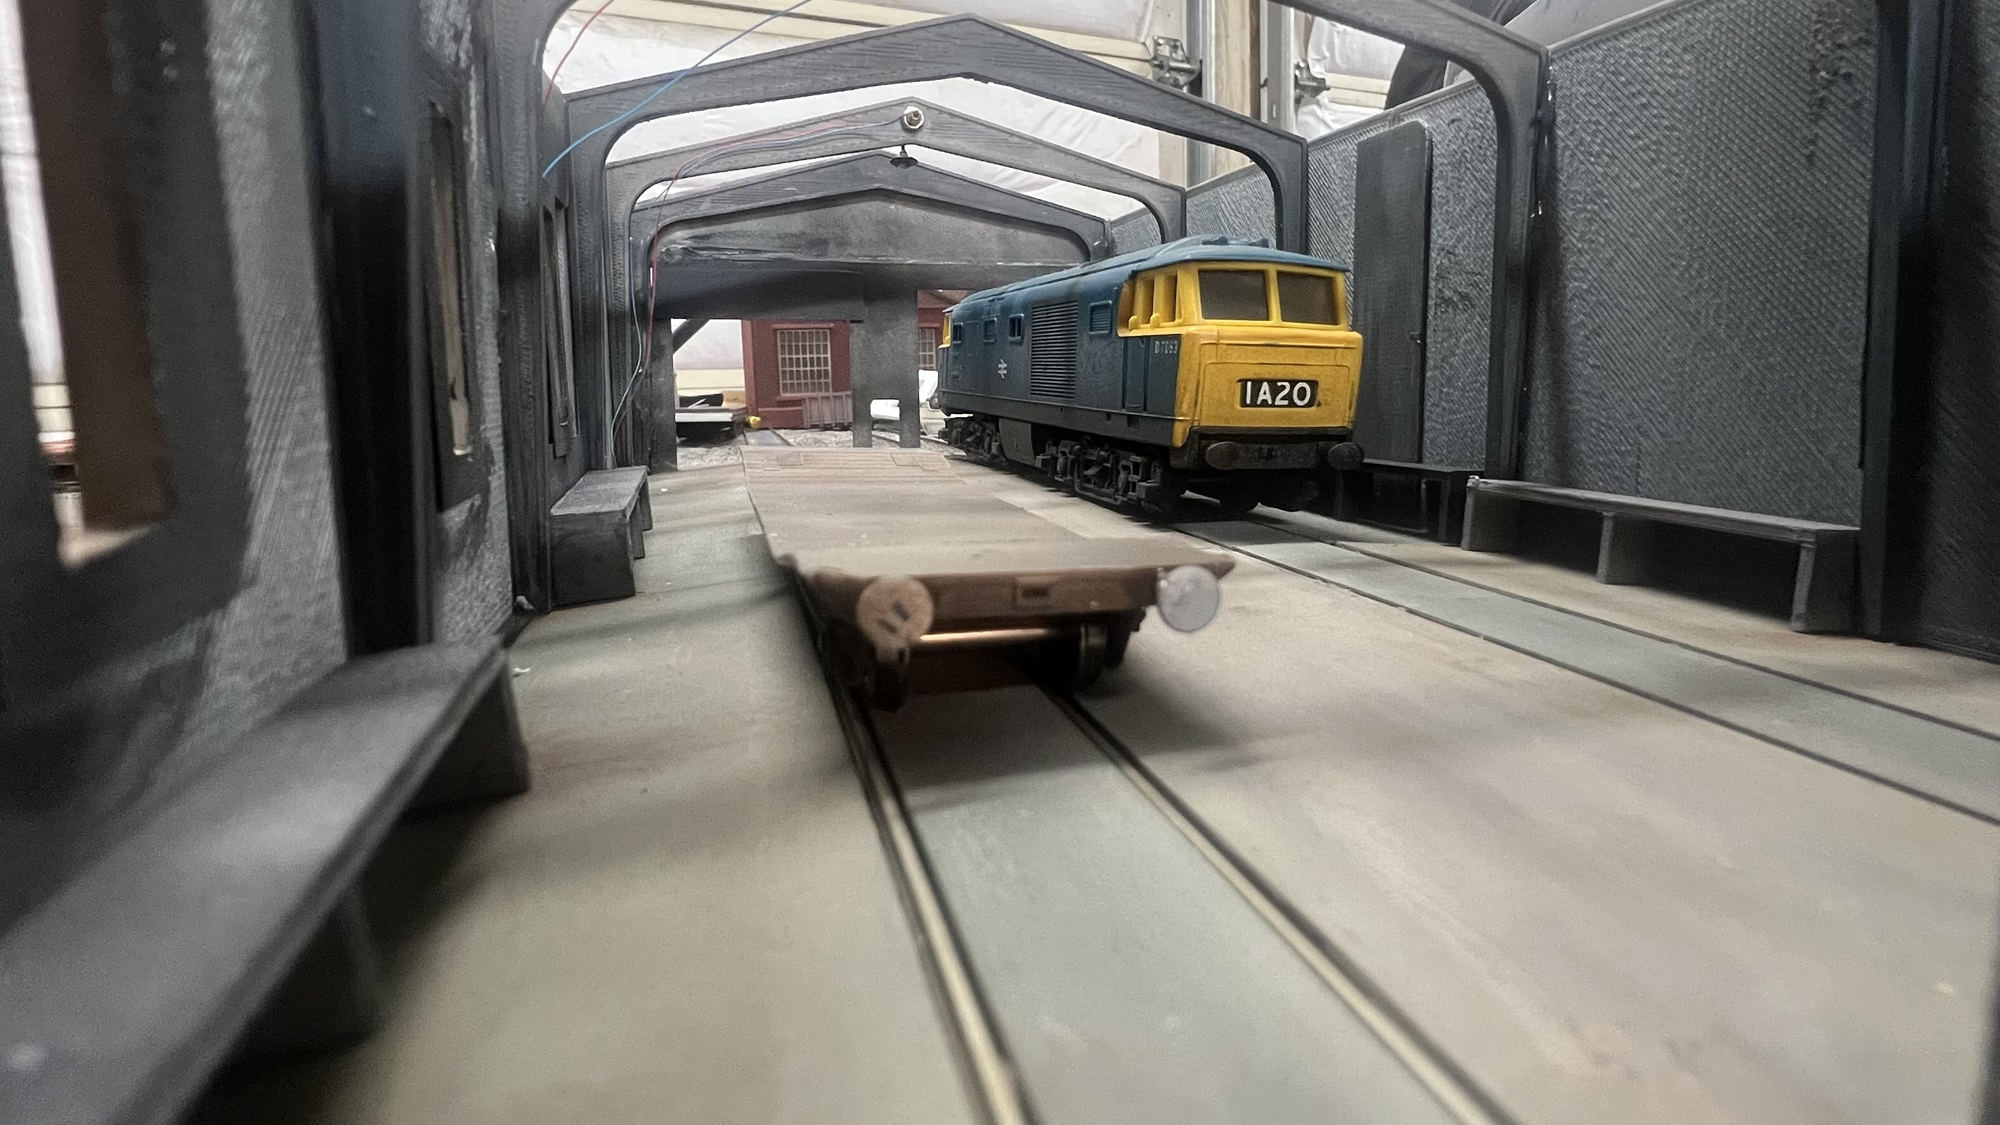
In the picture above you can also see the workbenches also 3D printed. Everything you see in this update took about 4 hours and only 2 minutes to read on this website.
Update – July 23, 2024
I’ve been trying to finish up several things on the Diorama, but the lure of the 3D printer keeps getting in the way. The urge to design and build something is just too strong.
I think the maintenance shed doors turned out well. I still need to “weather” them down a bit.
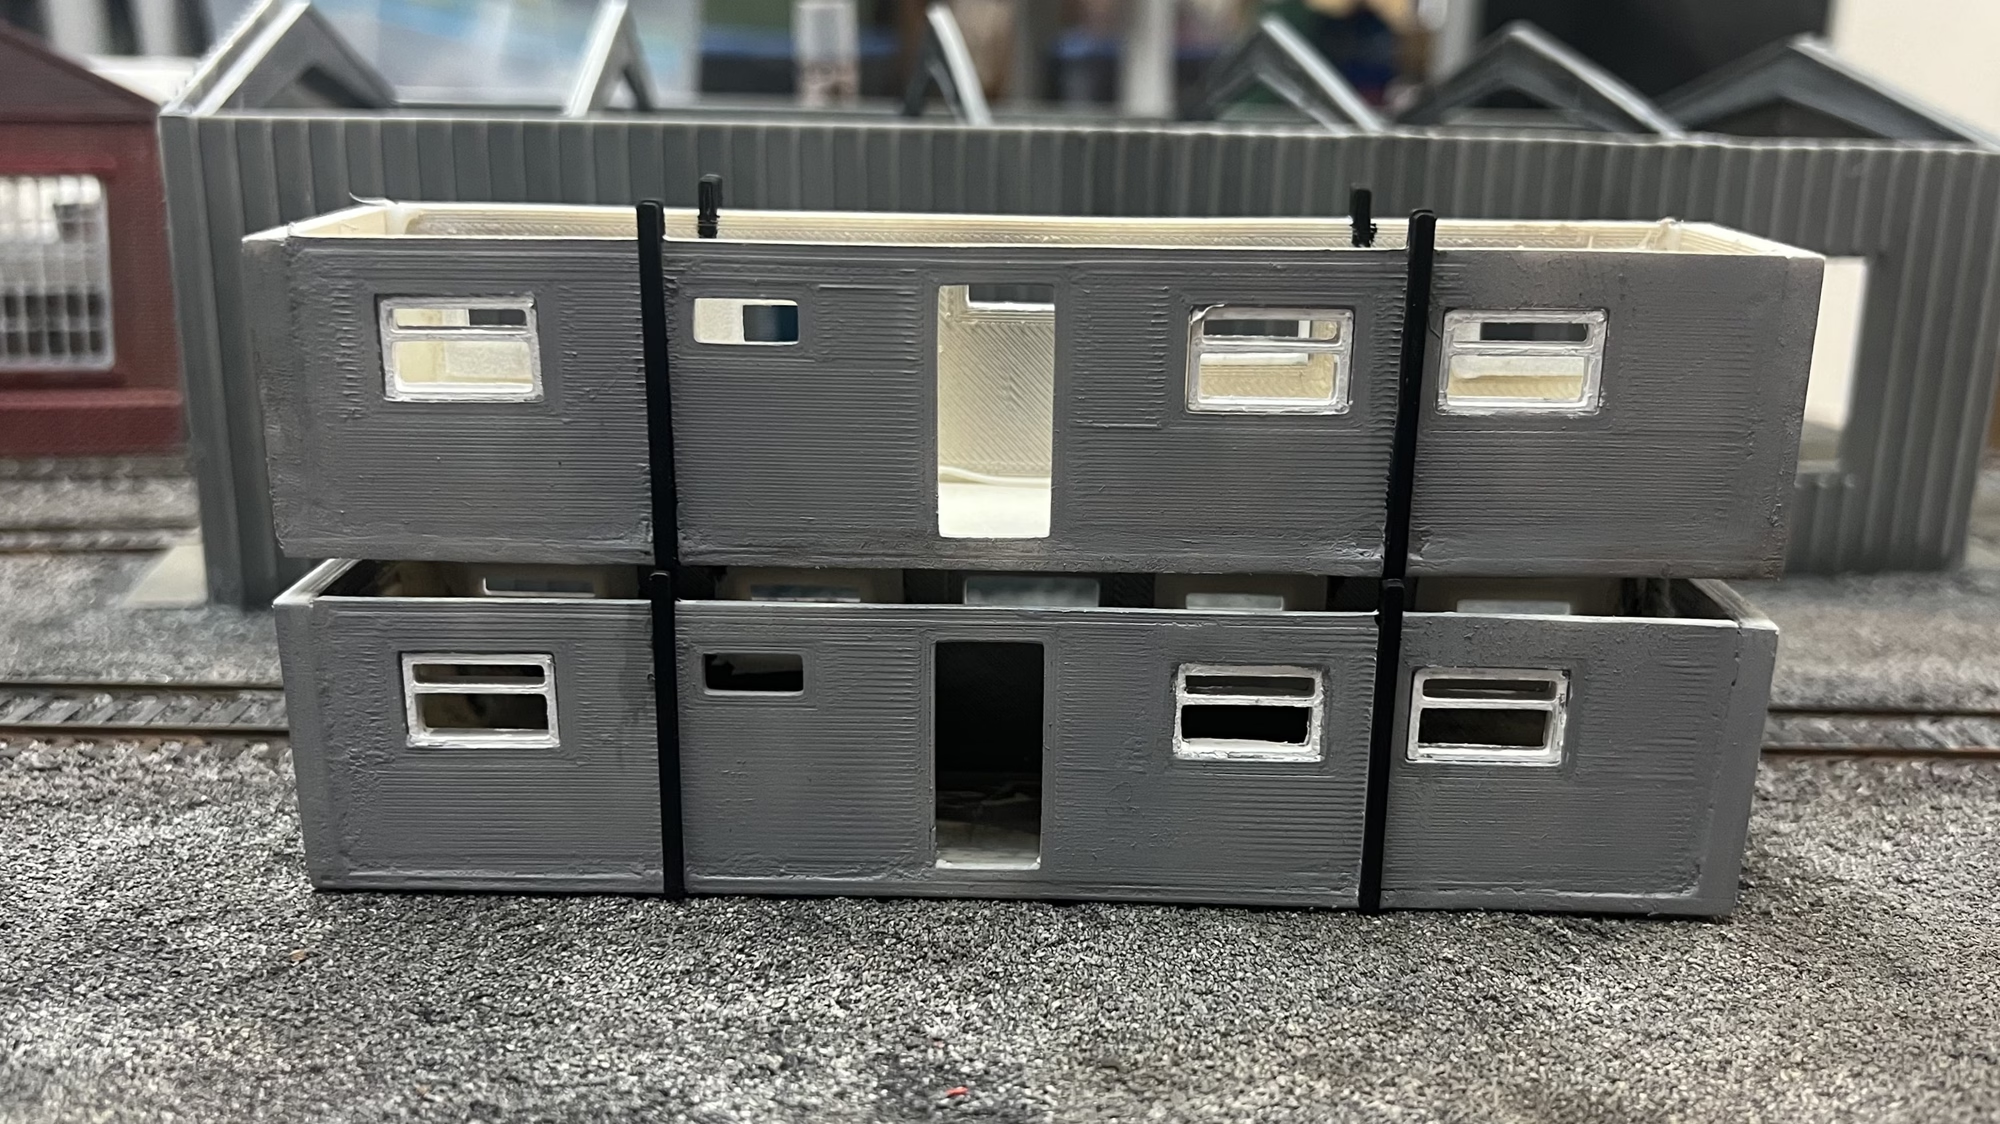
I resprayed the PortaKabins, I didn’t like the sand colour. I’m waiting for some LEDs to arrive from China, once they turn up, I’ll add a couple, glaze the windows, and put the roof on.
…and yes, I’m working on yet another building for the Diorama. I really must stop with the 3D printer.
This is going to be a workshop.
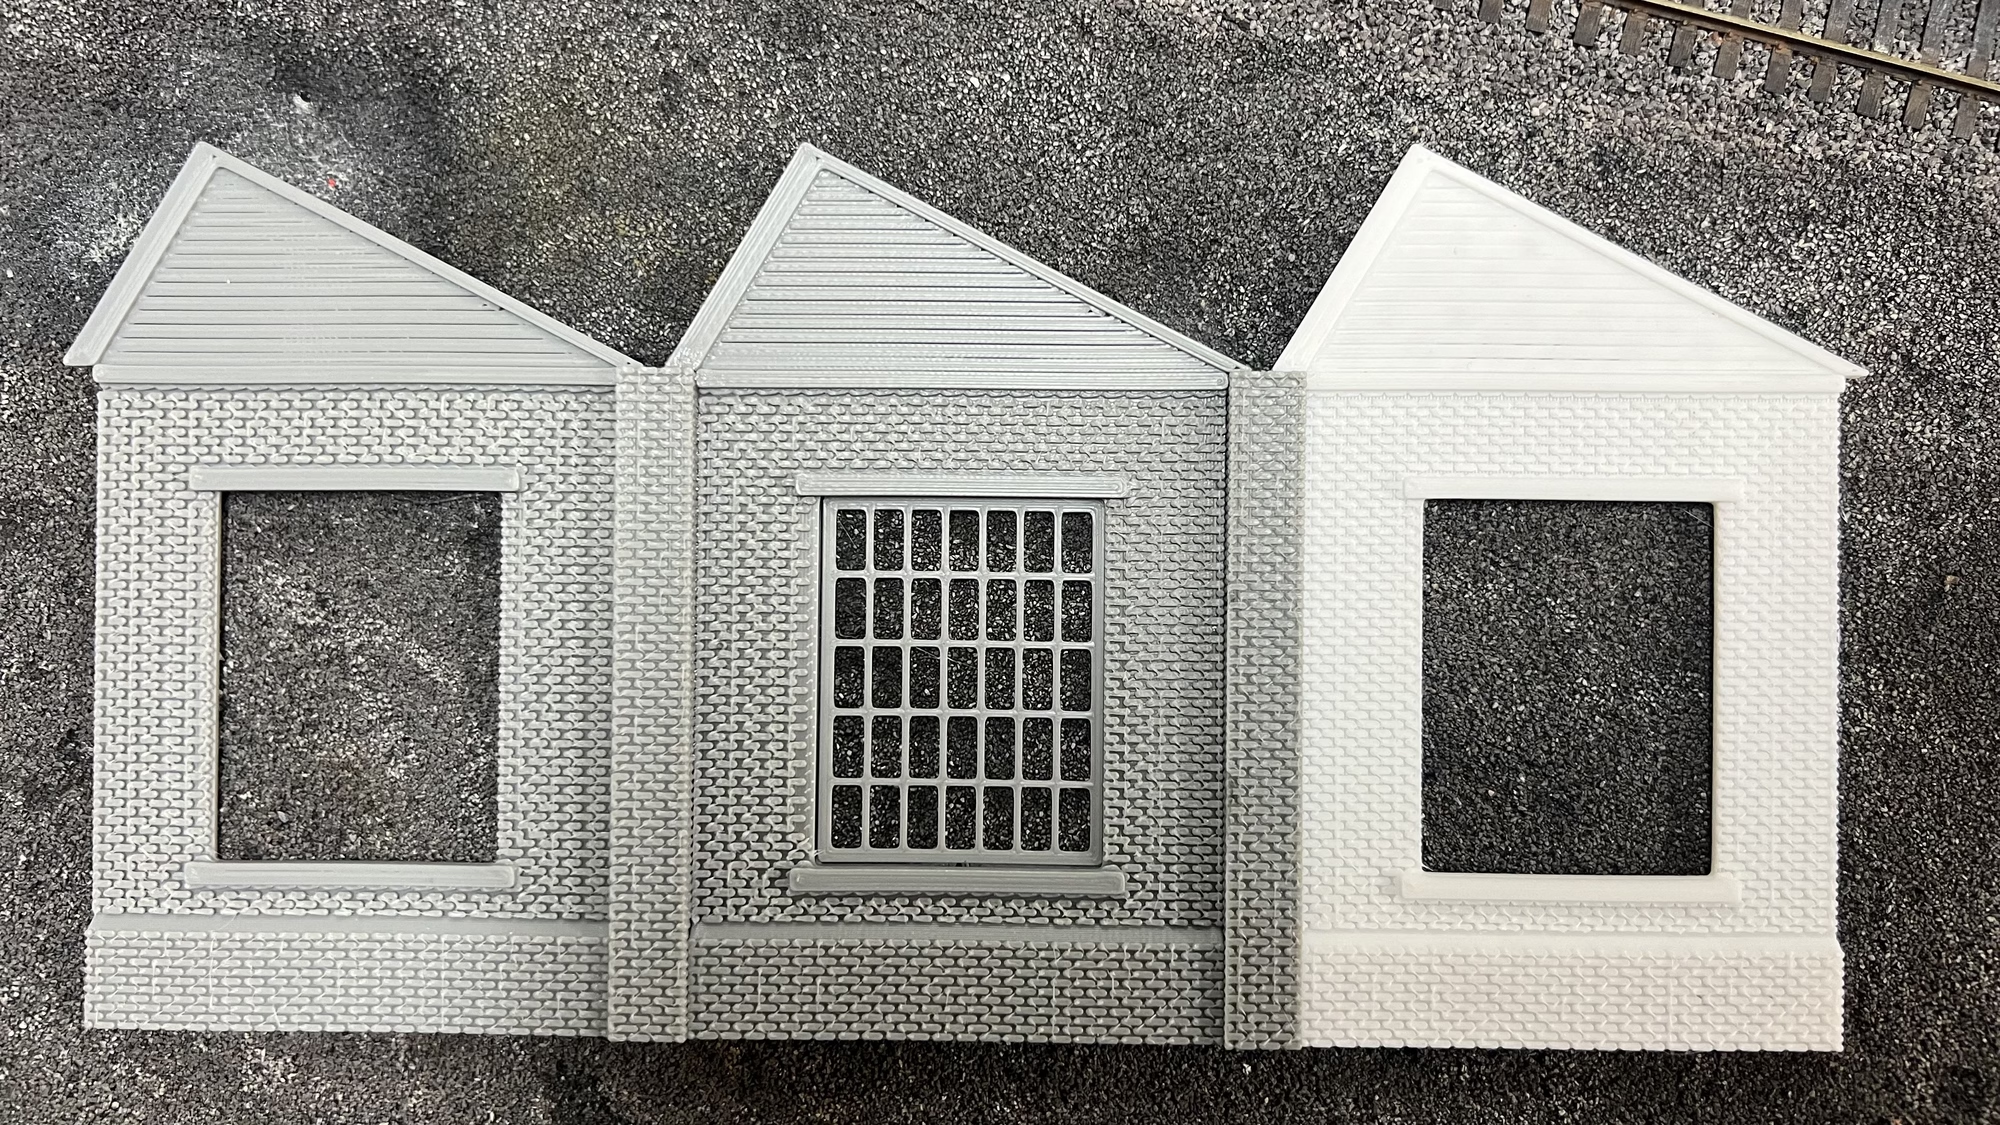
Full details on the workshop build can be found here.
WORKSHOP BUILD
October 3, 2024
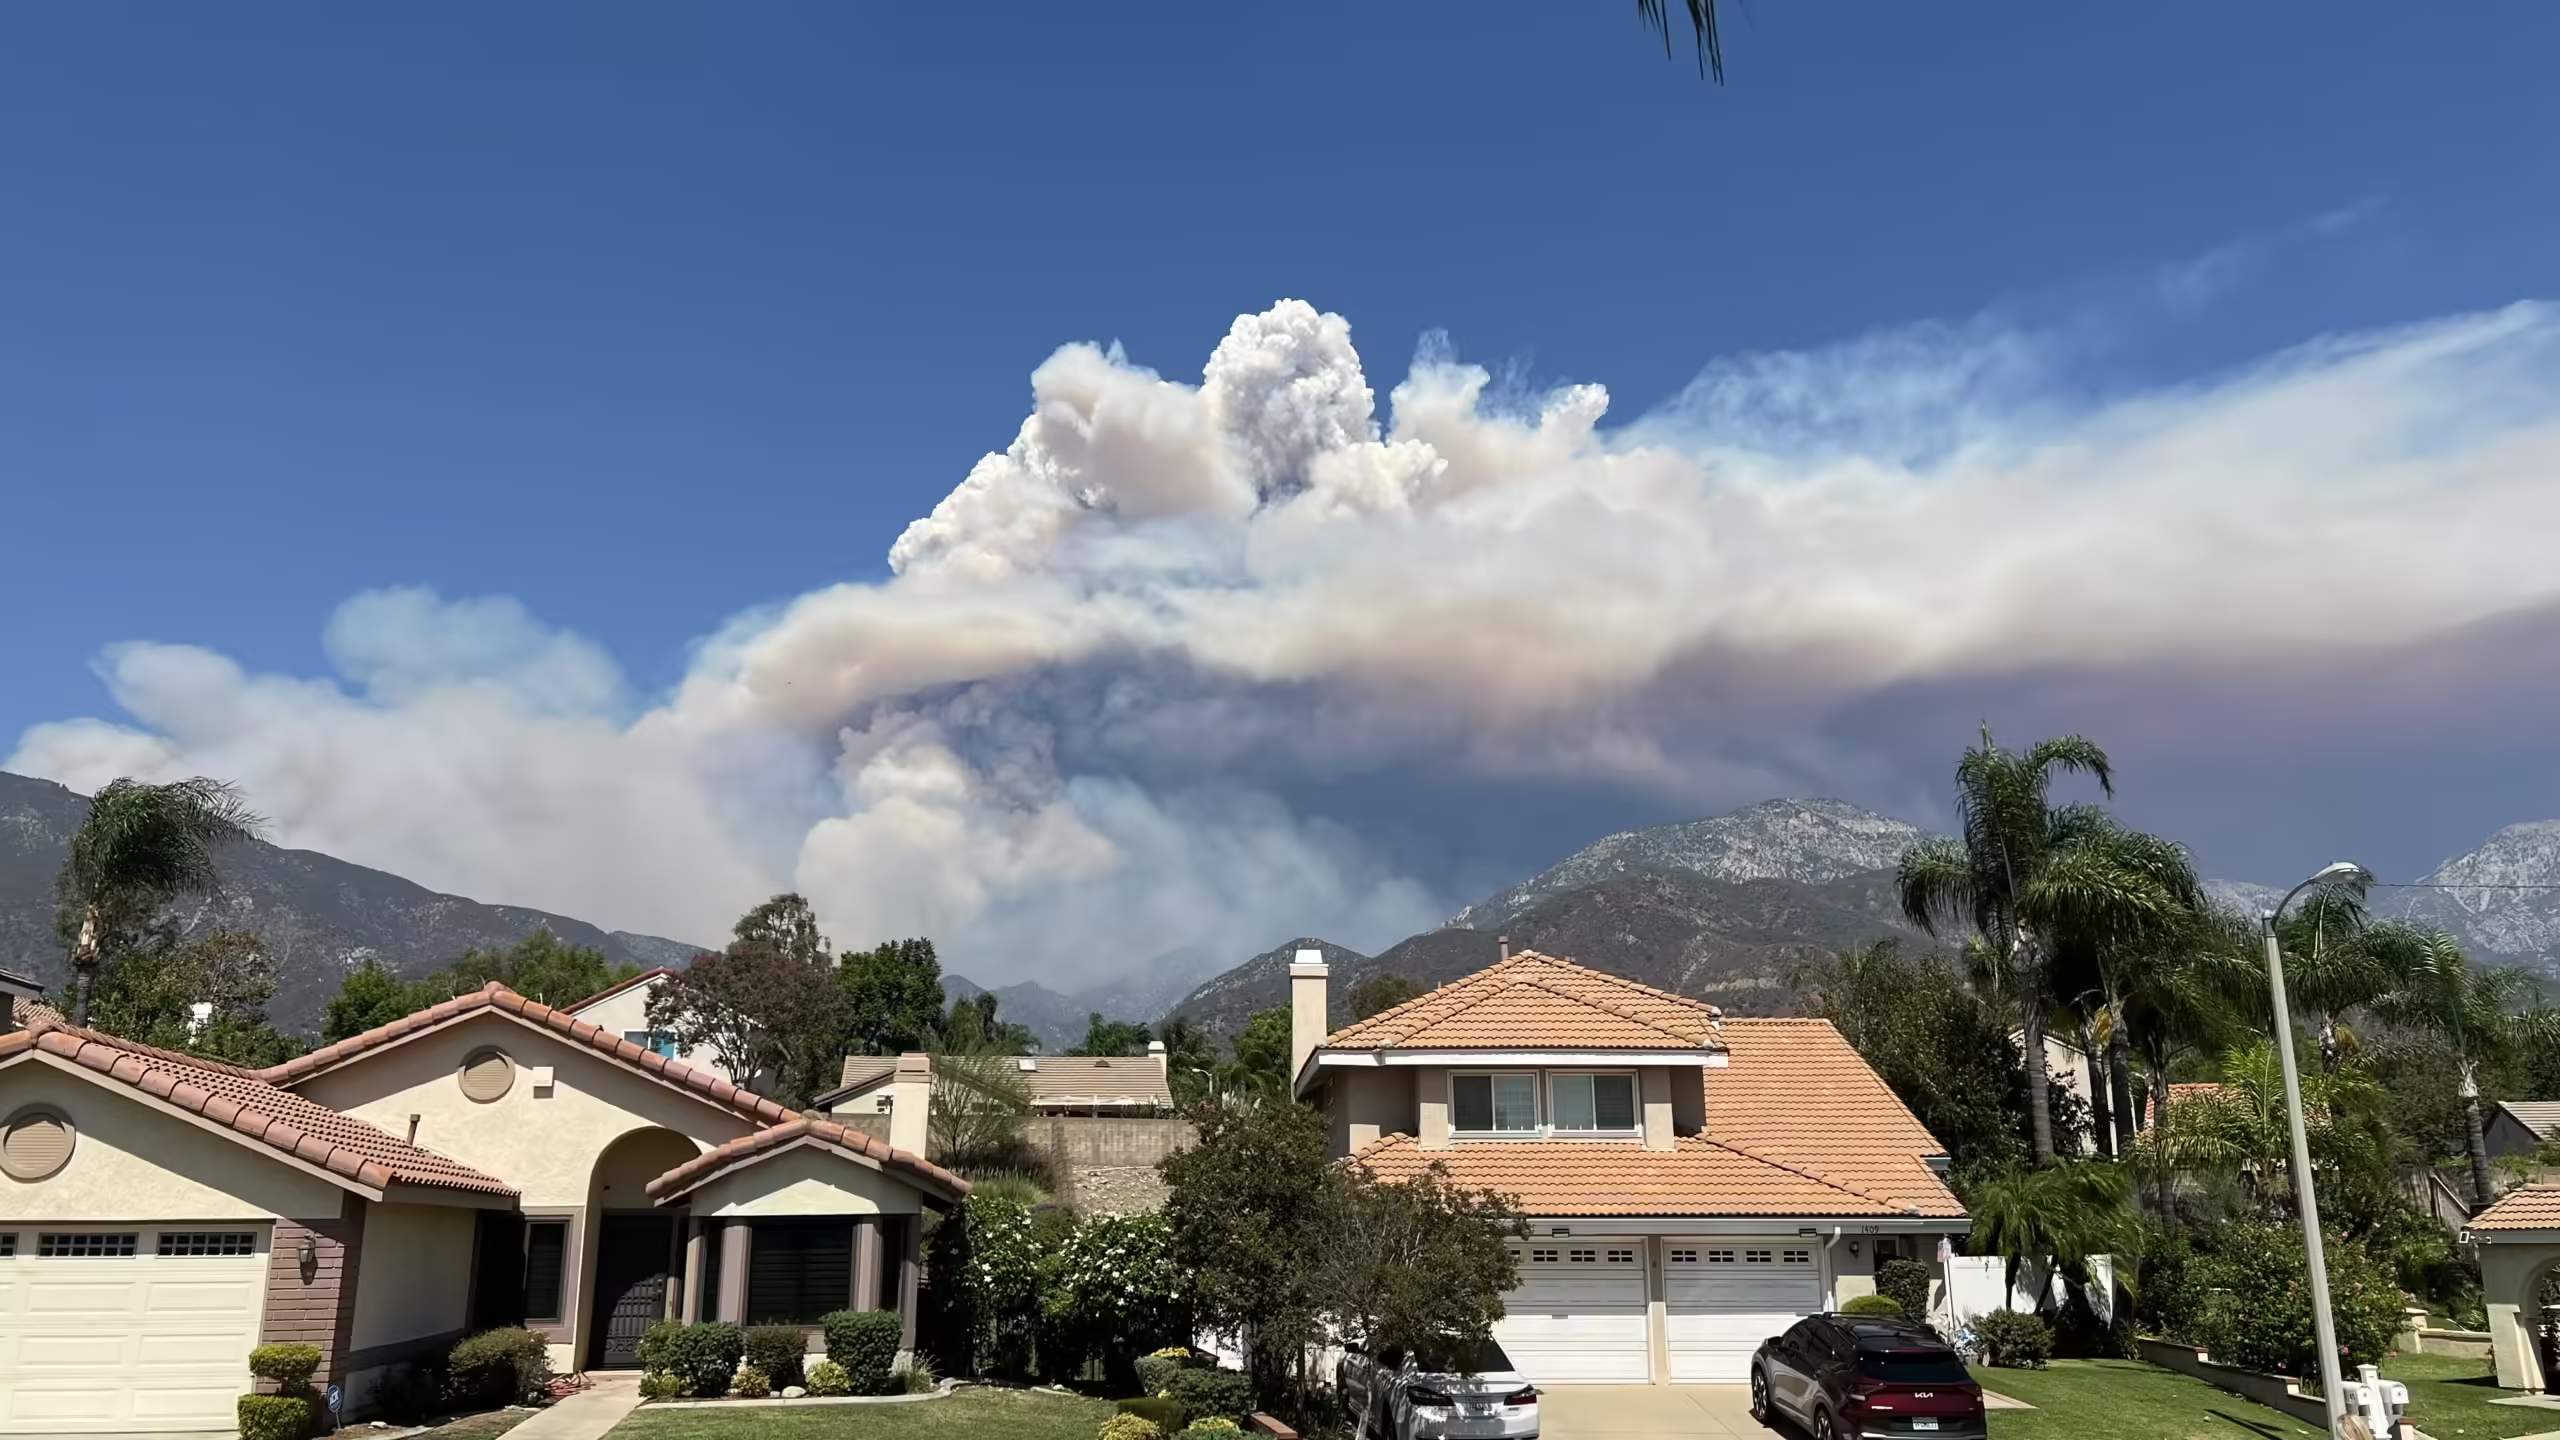
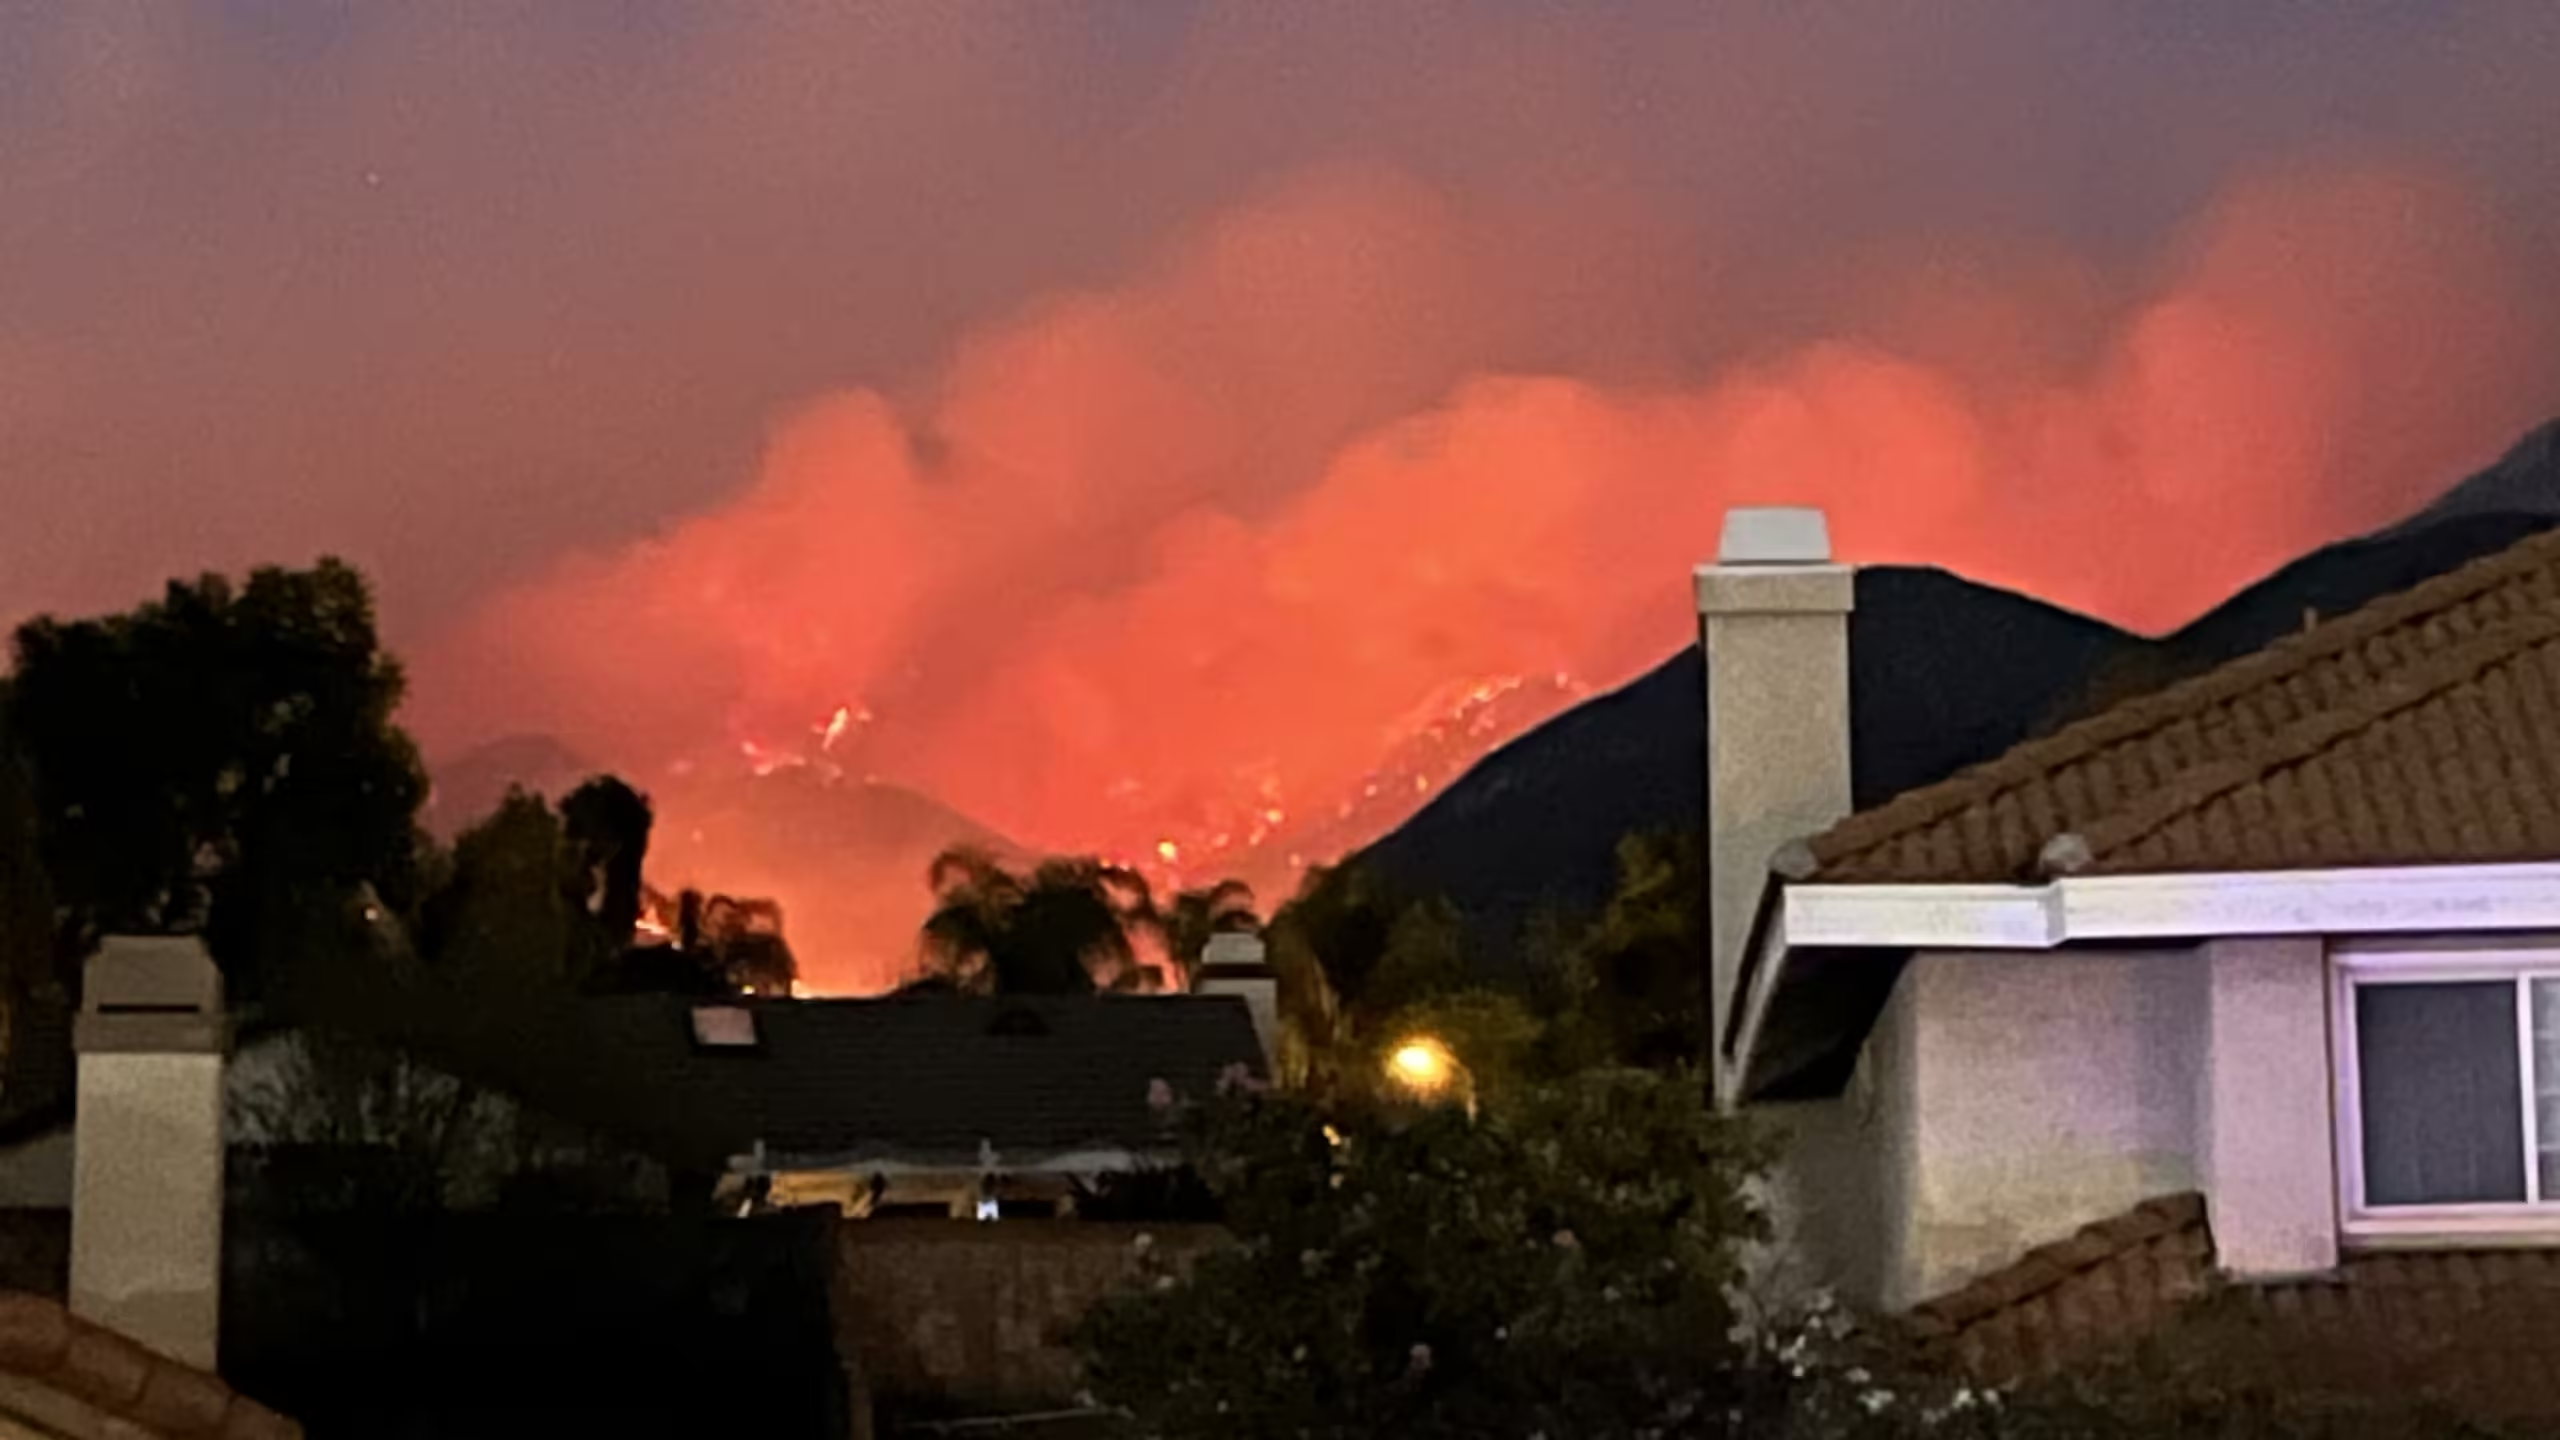
It’s been a few weeks since the last update. With the wildfires raging behind the house and temperatures going over 40C (105F), it’s been either too smoky or too hot to be in the garage.
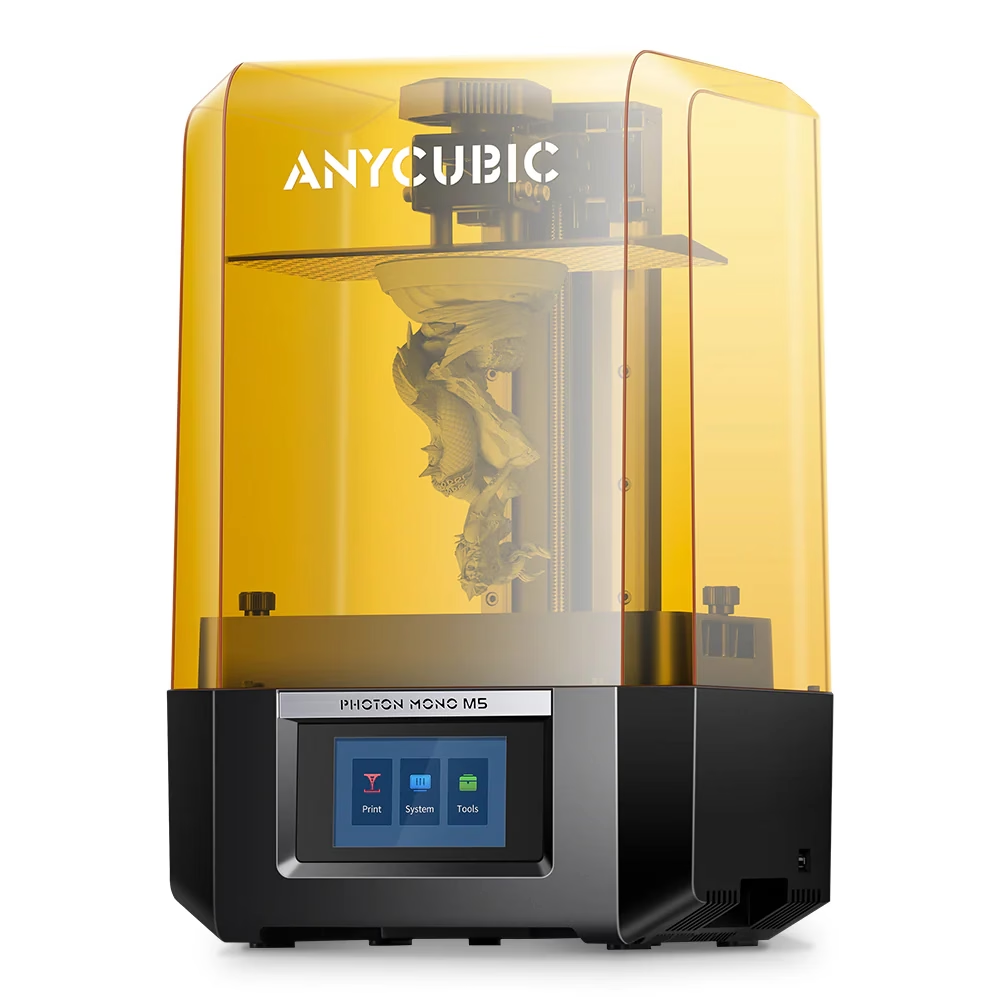
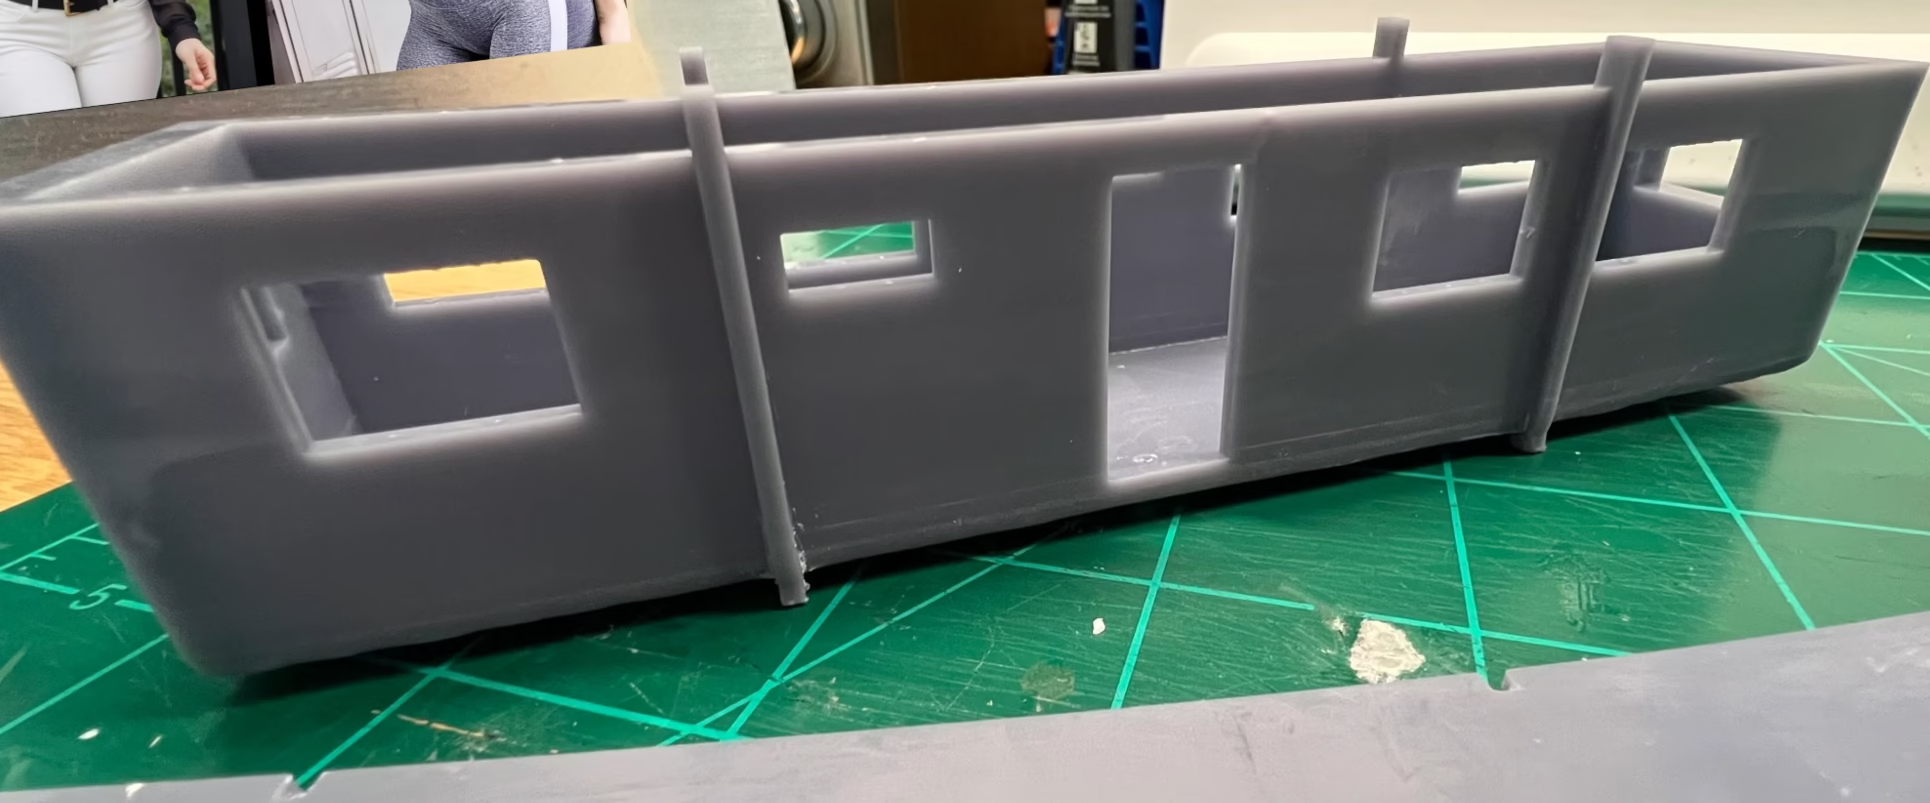
Back to the modeling. I completely changed my mind about the Portakabins again. I 3D printed some new ones on the resin printer and airbrushed them in a lovely sand/beige. I now need to print out a new set of windows and doors.
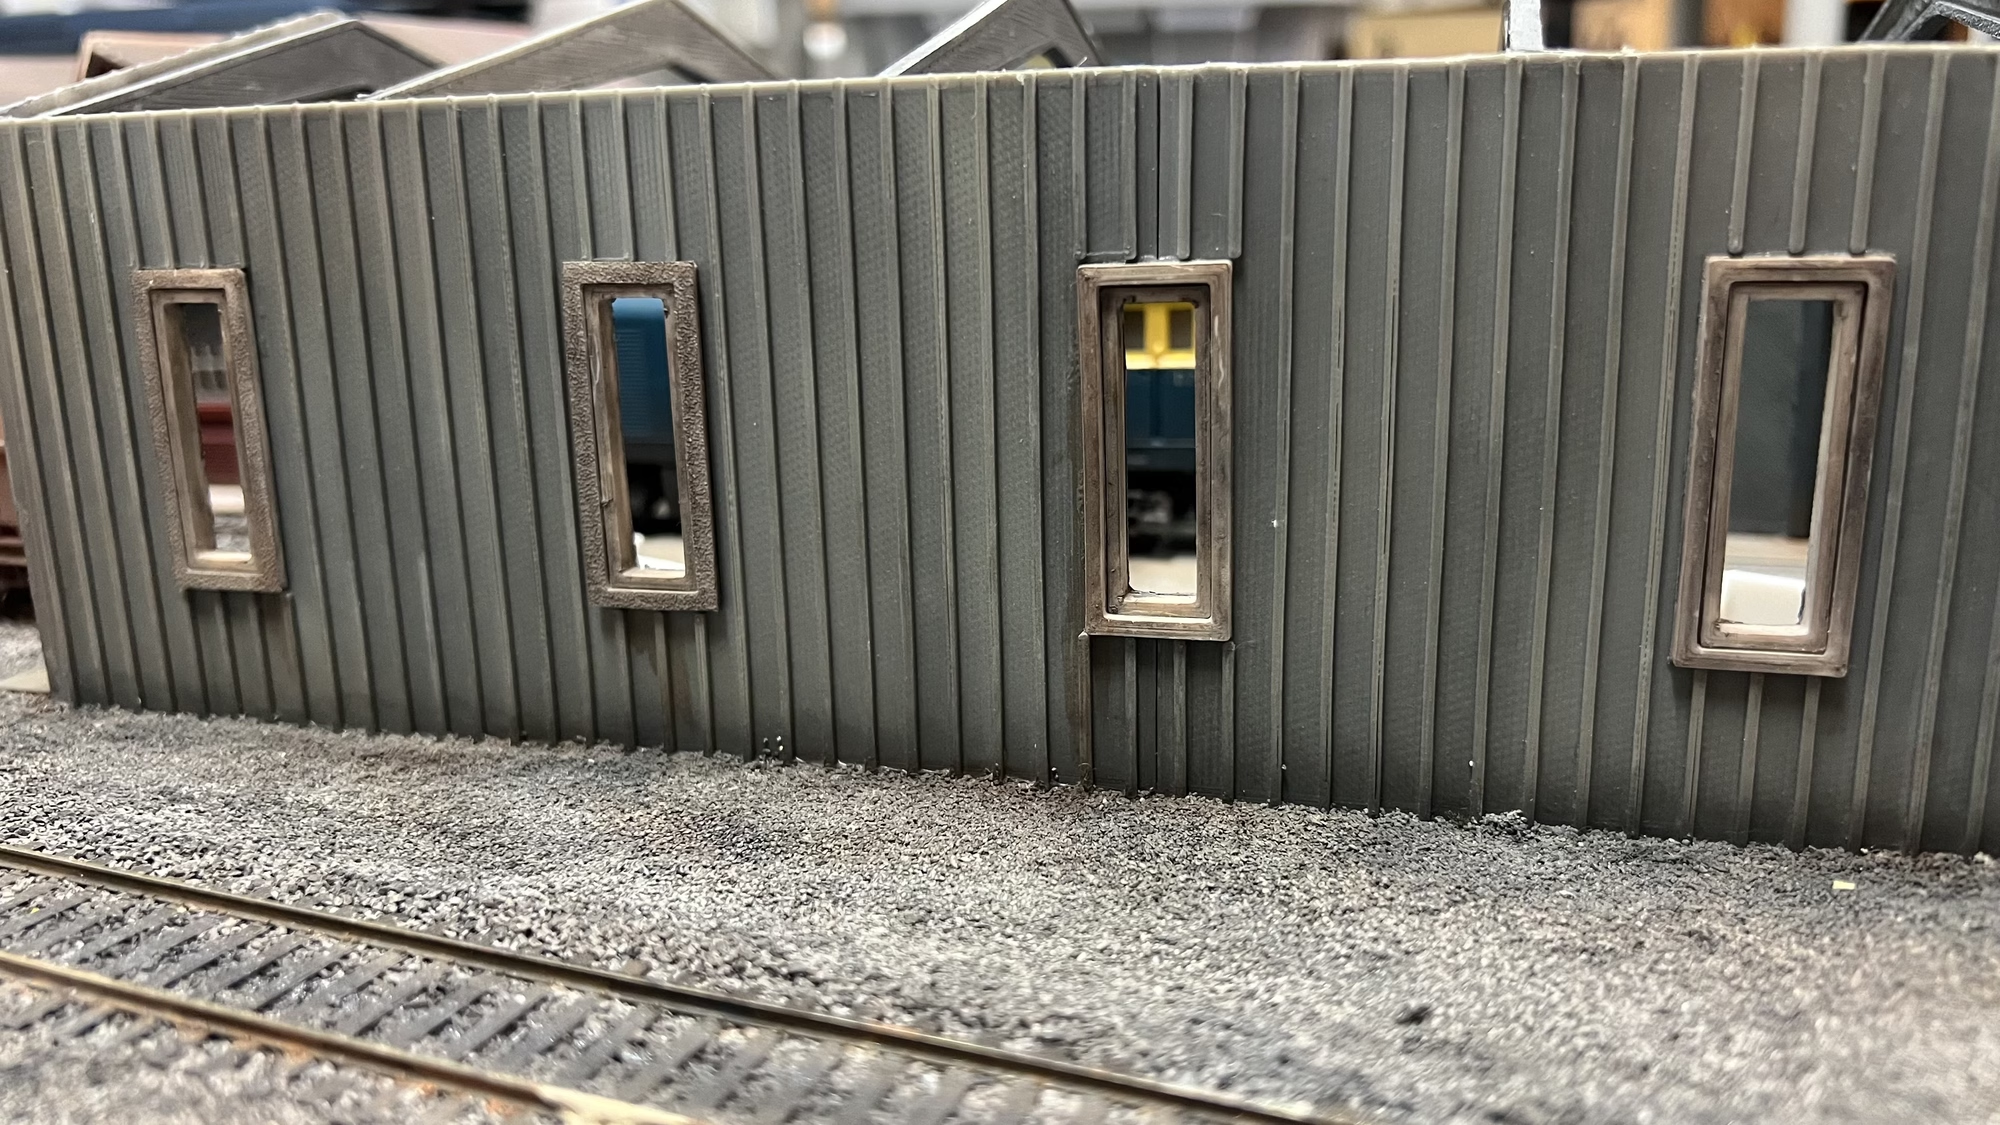
I fitted the dirty windows on the maintenance shed and started to “weather” the building with some Vallejo Grime Wash.
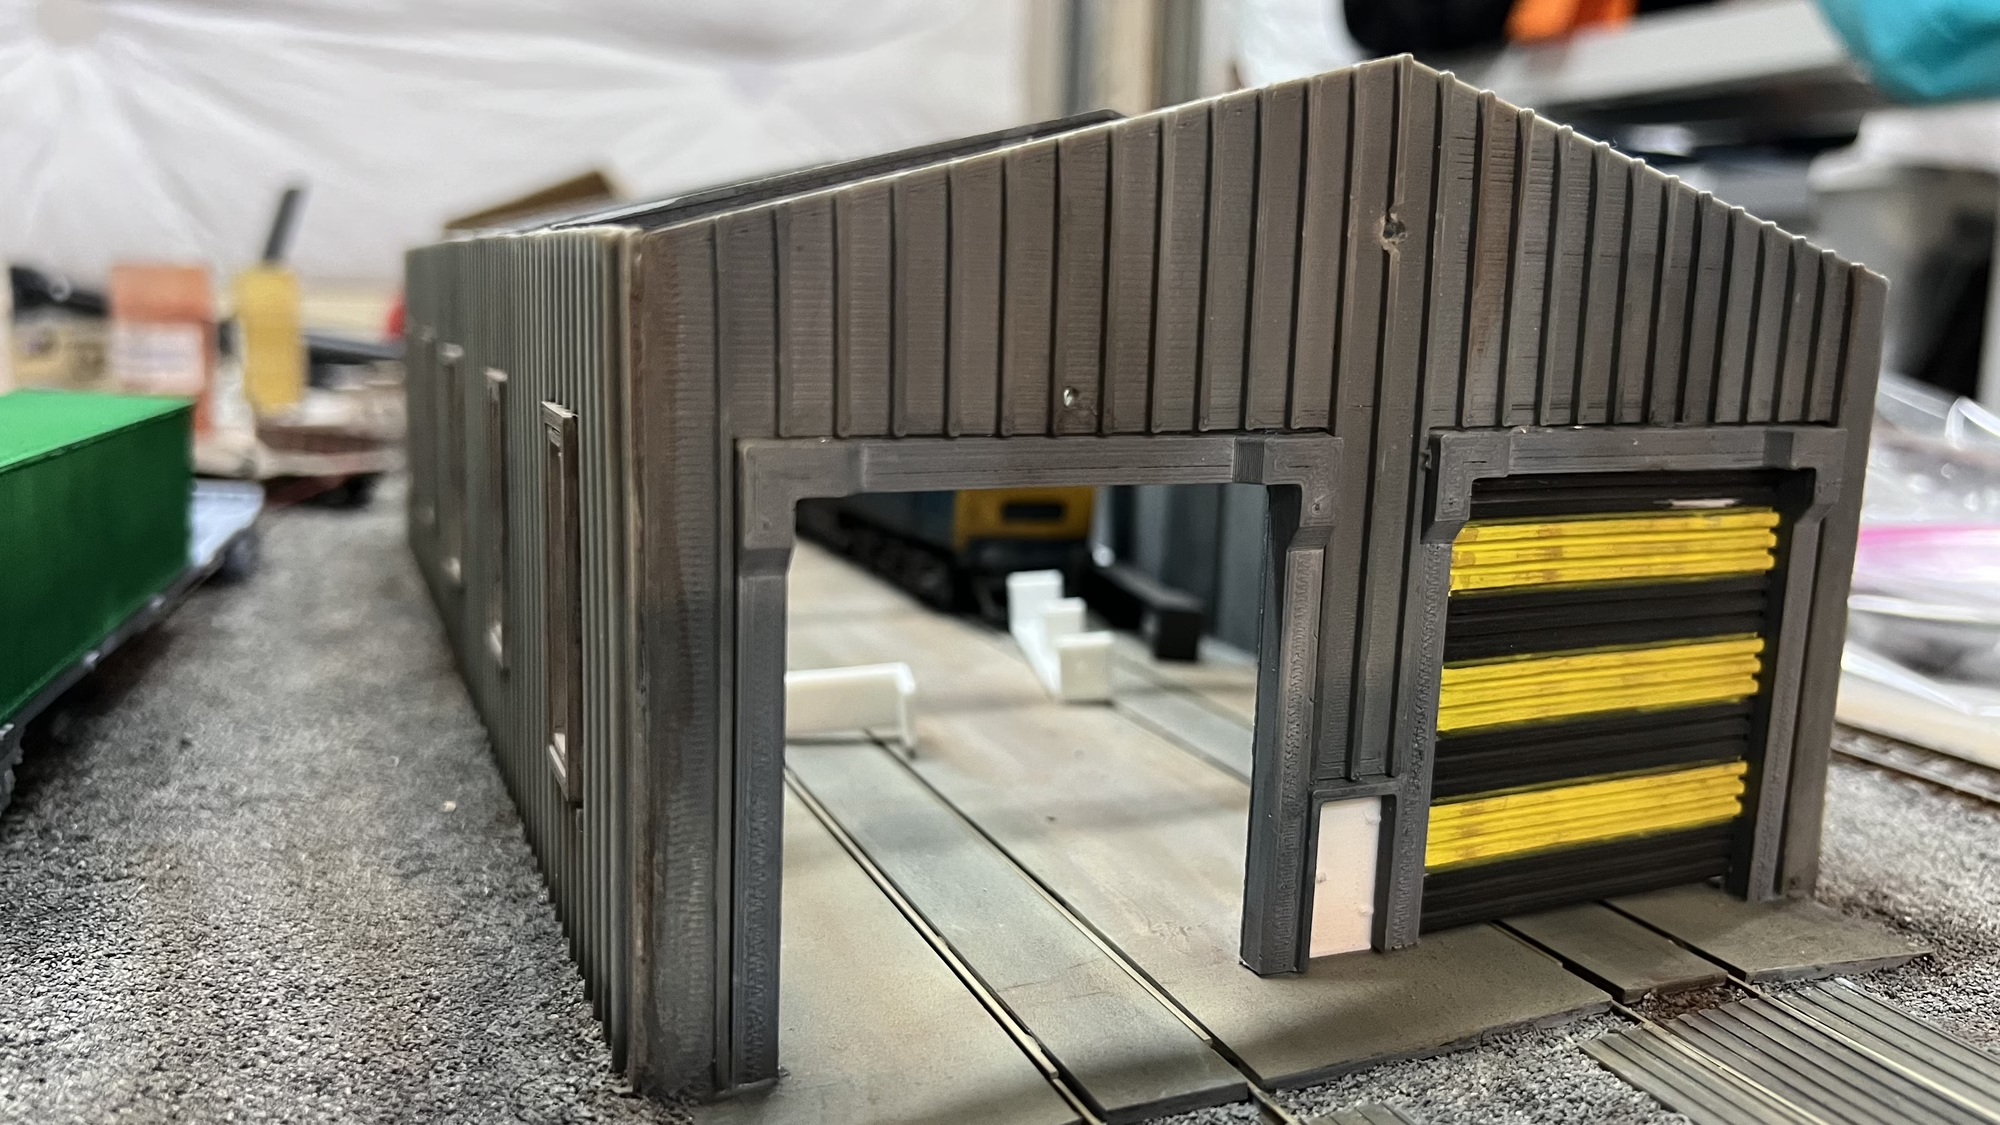
I’m impressed with the grime wash. I was trying to get this colour correct and was failing. I’m really happy with how this turned out on the container wagon below.
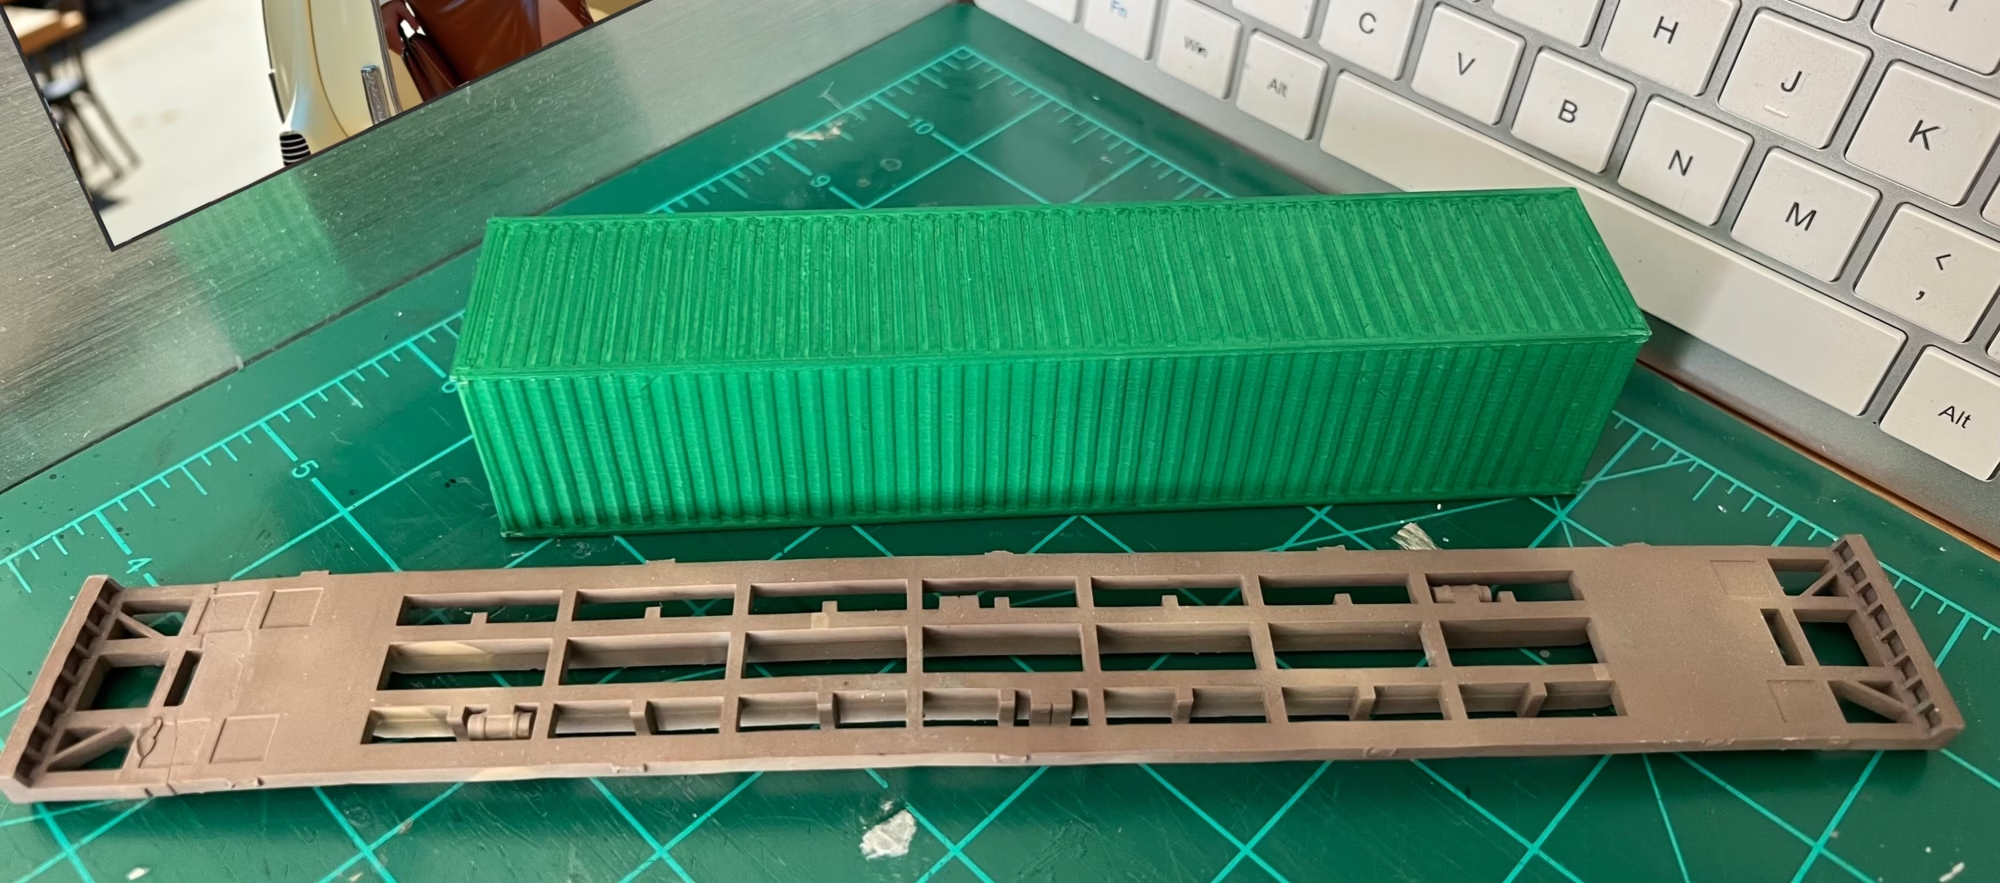
Here you can see one of the containers I made on the 3D printer being airbrushed in a Railfreight green colour. More on that next time.
Update – October 19, 2024
I finally finished the maintenance shed. Click here to read about that.
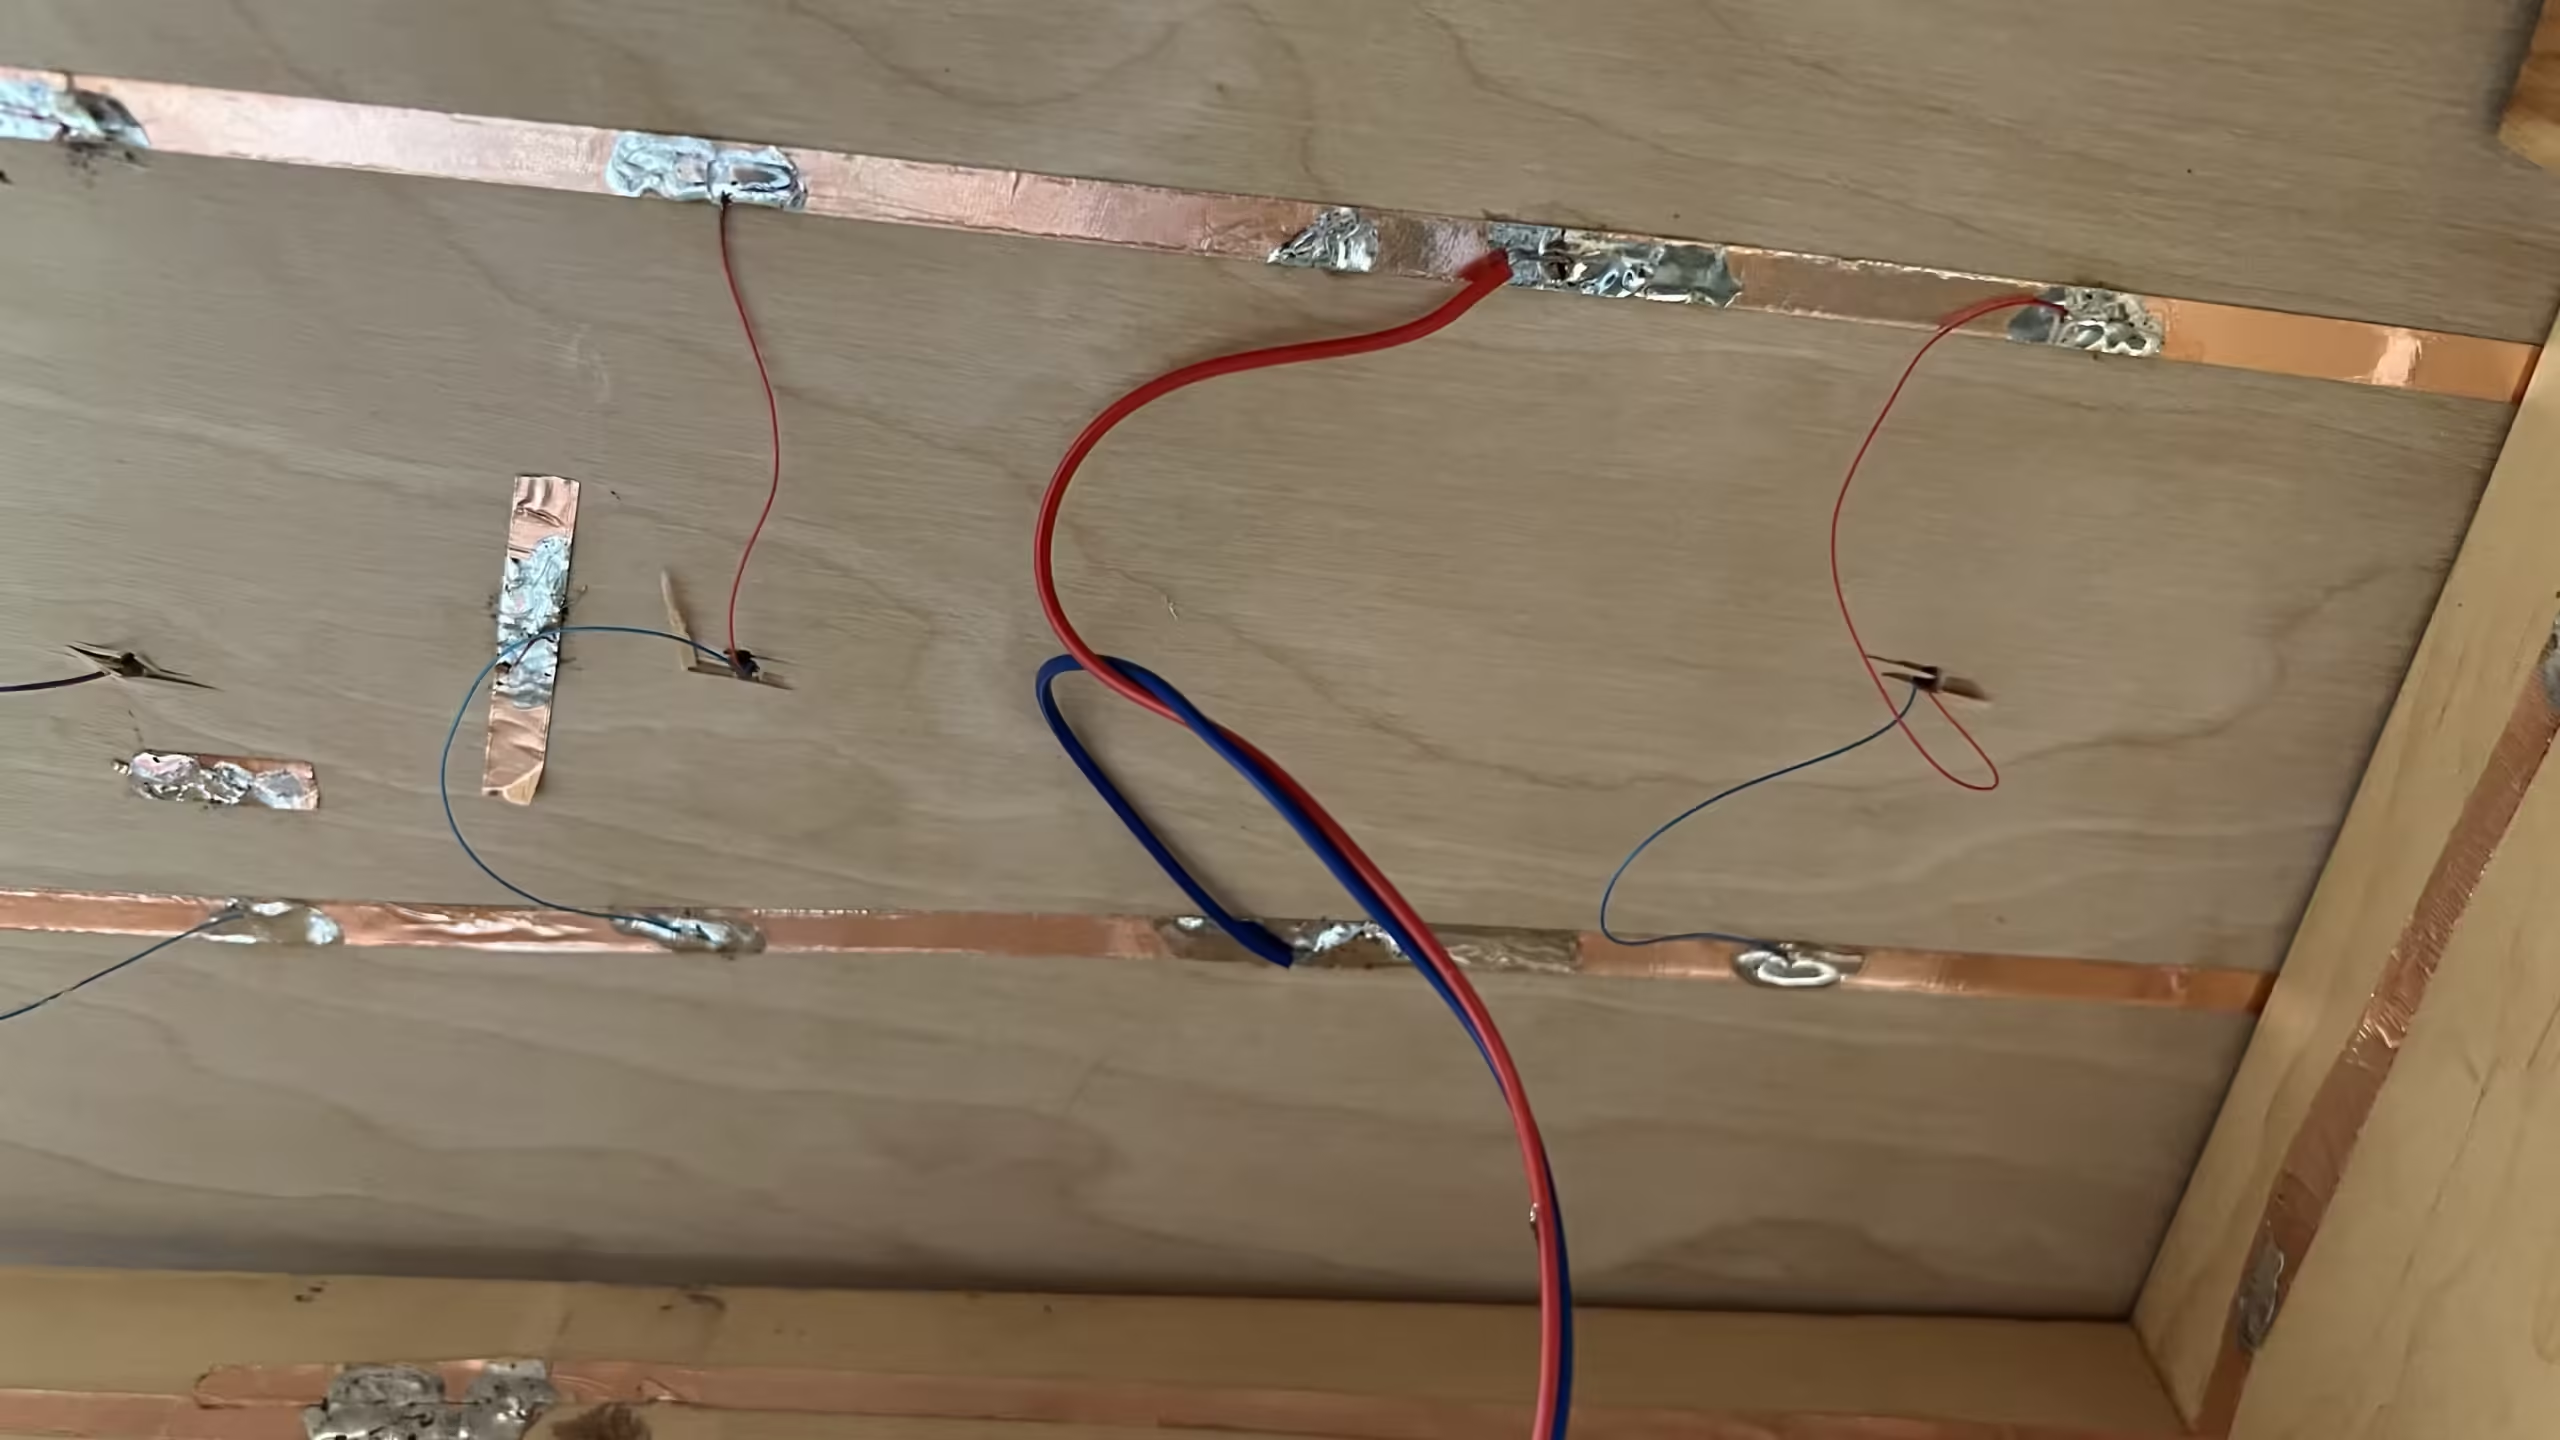
I also prepped and wired up the board to enable the LEDs to work.
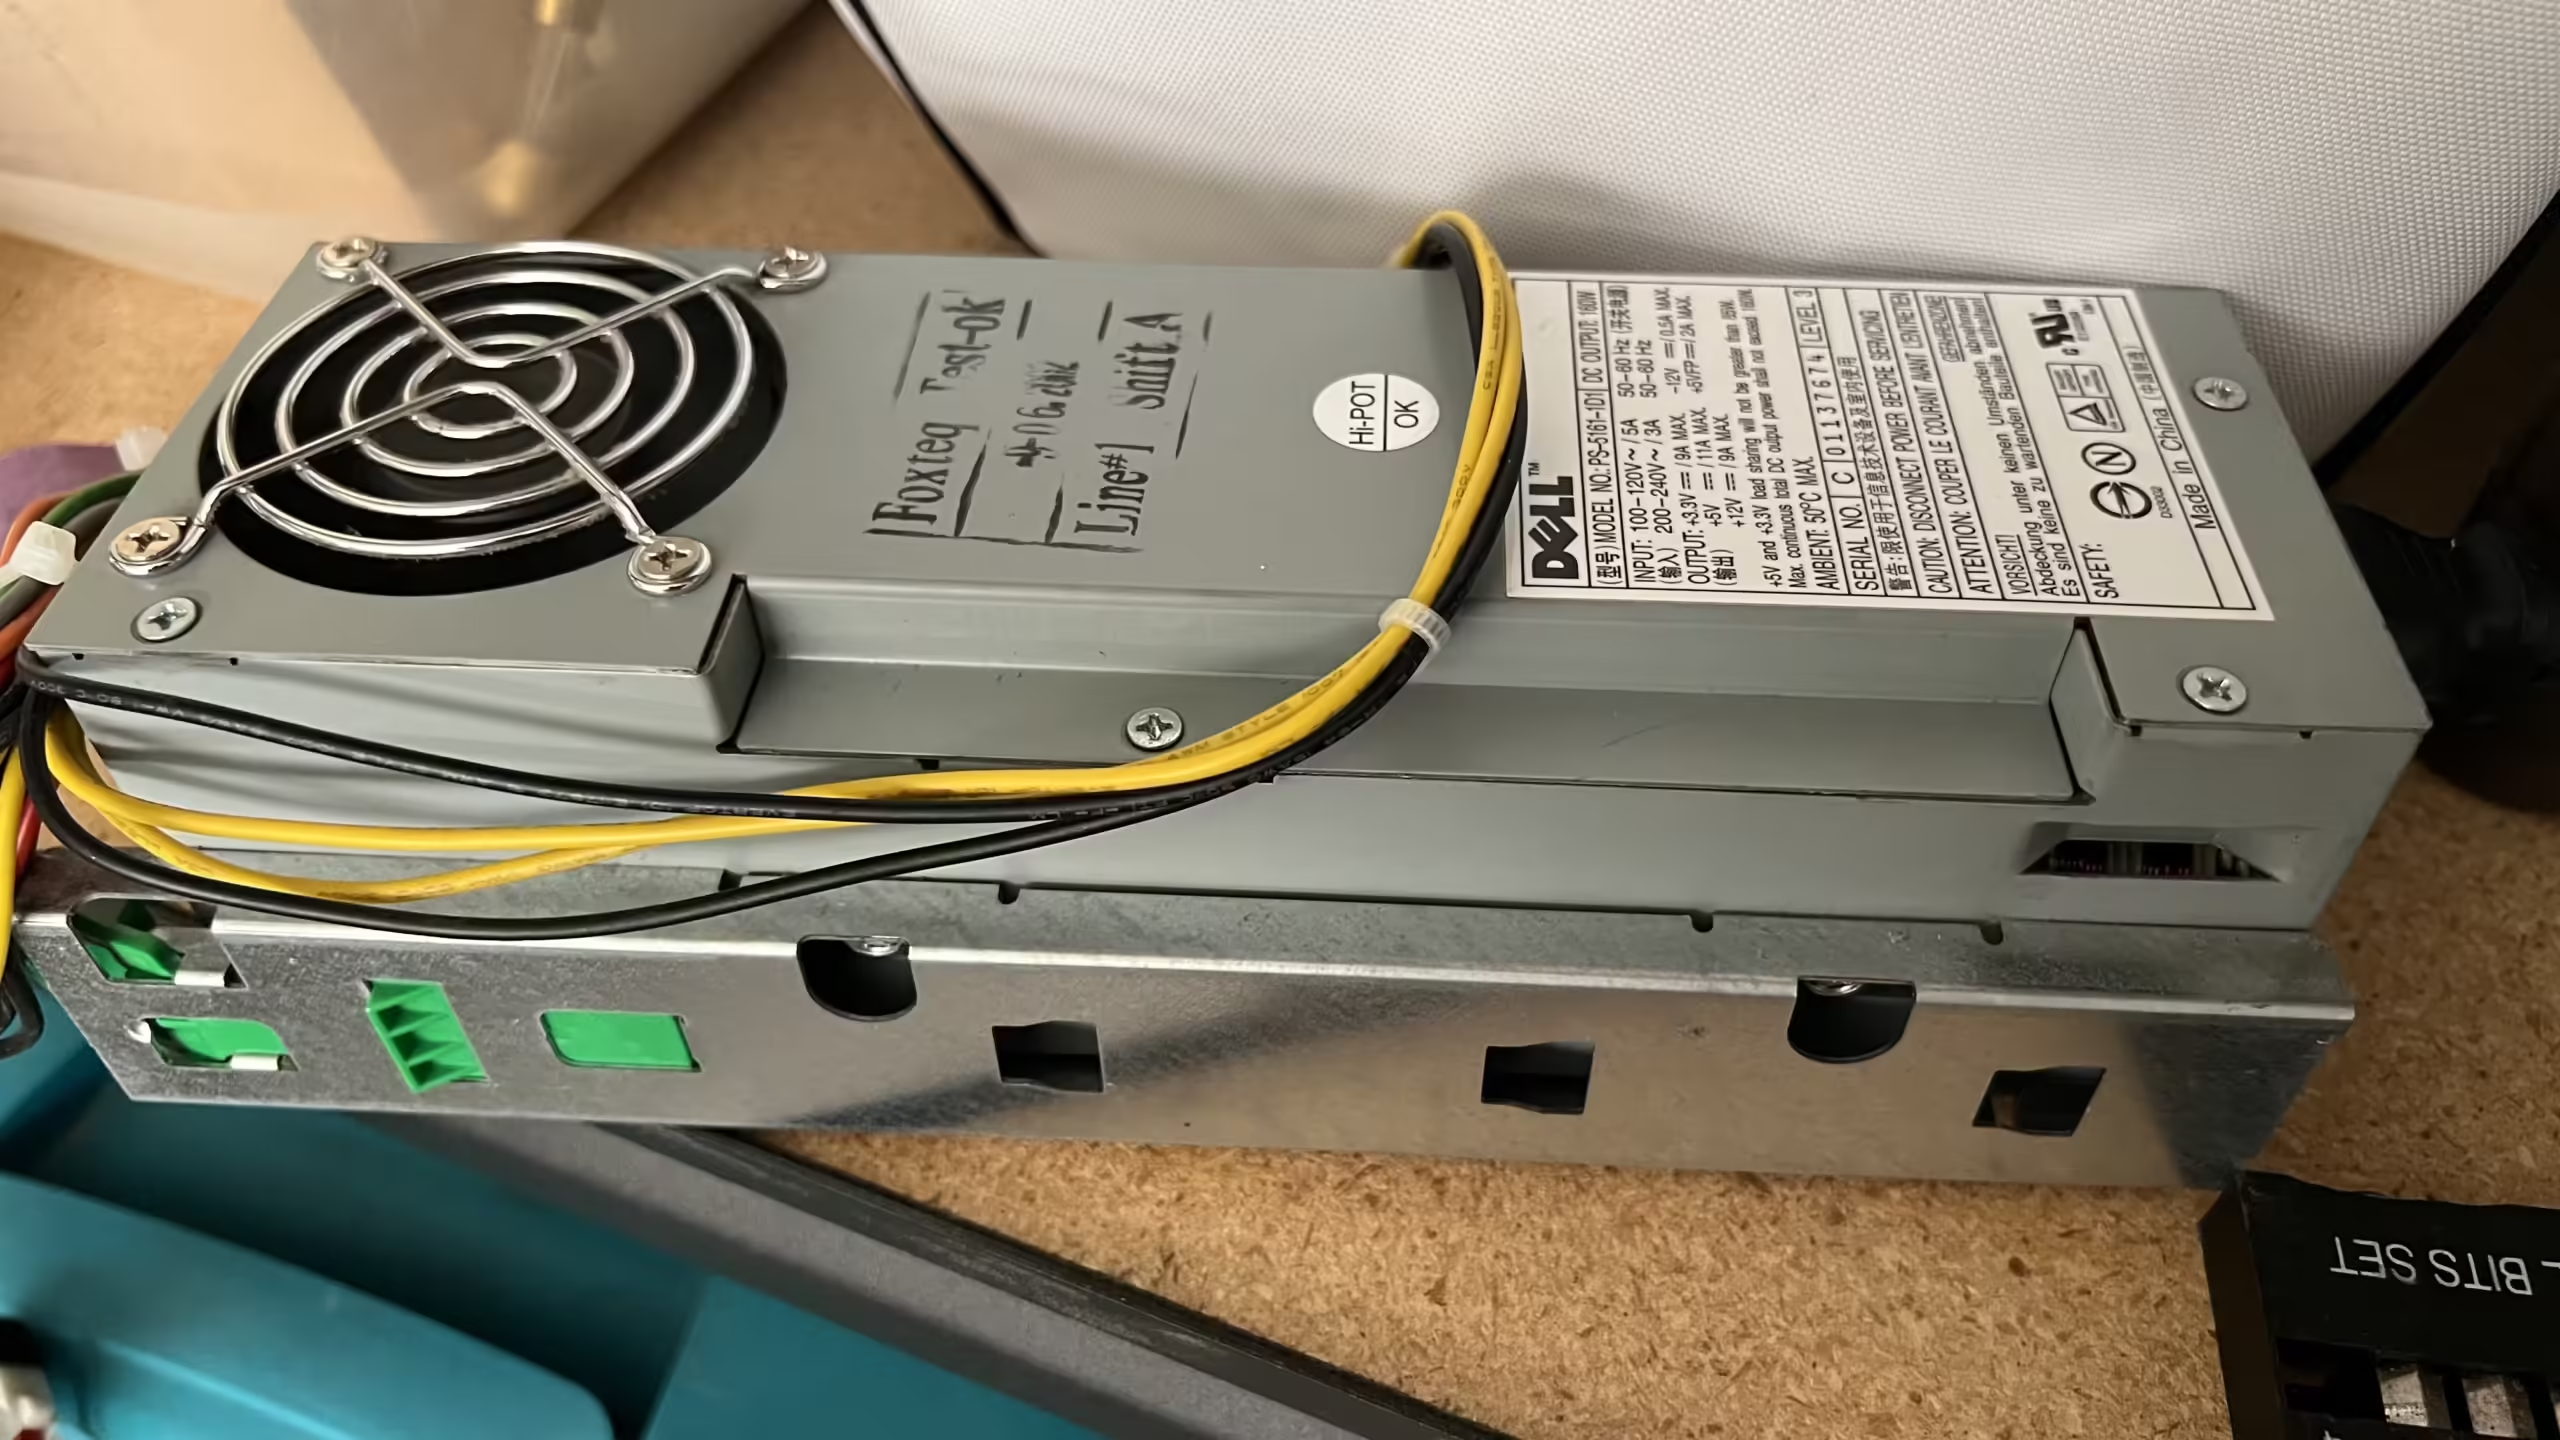
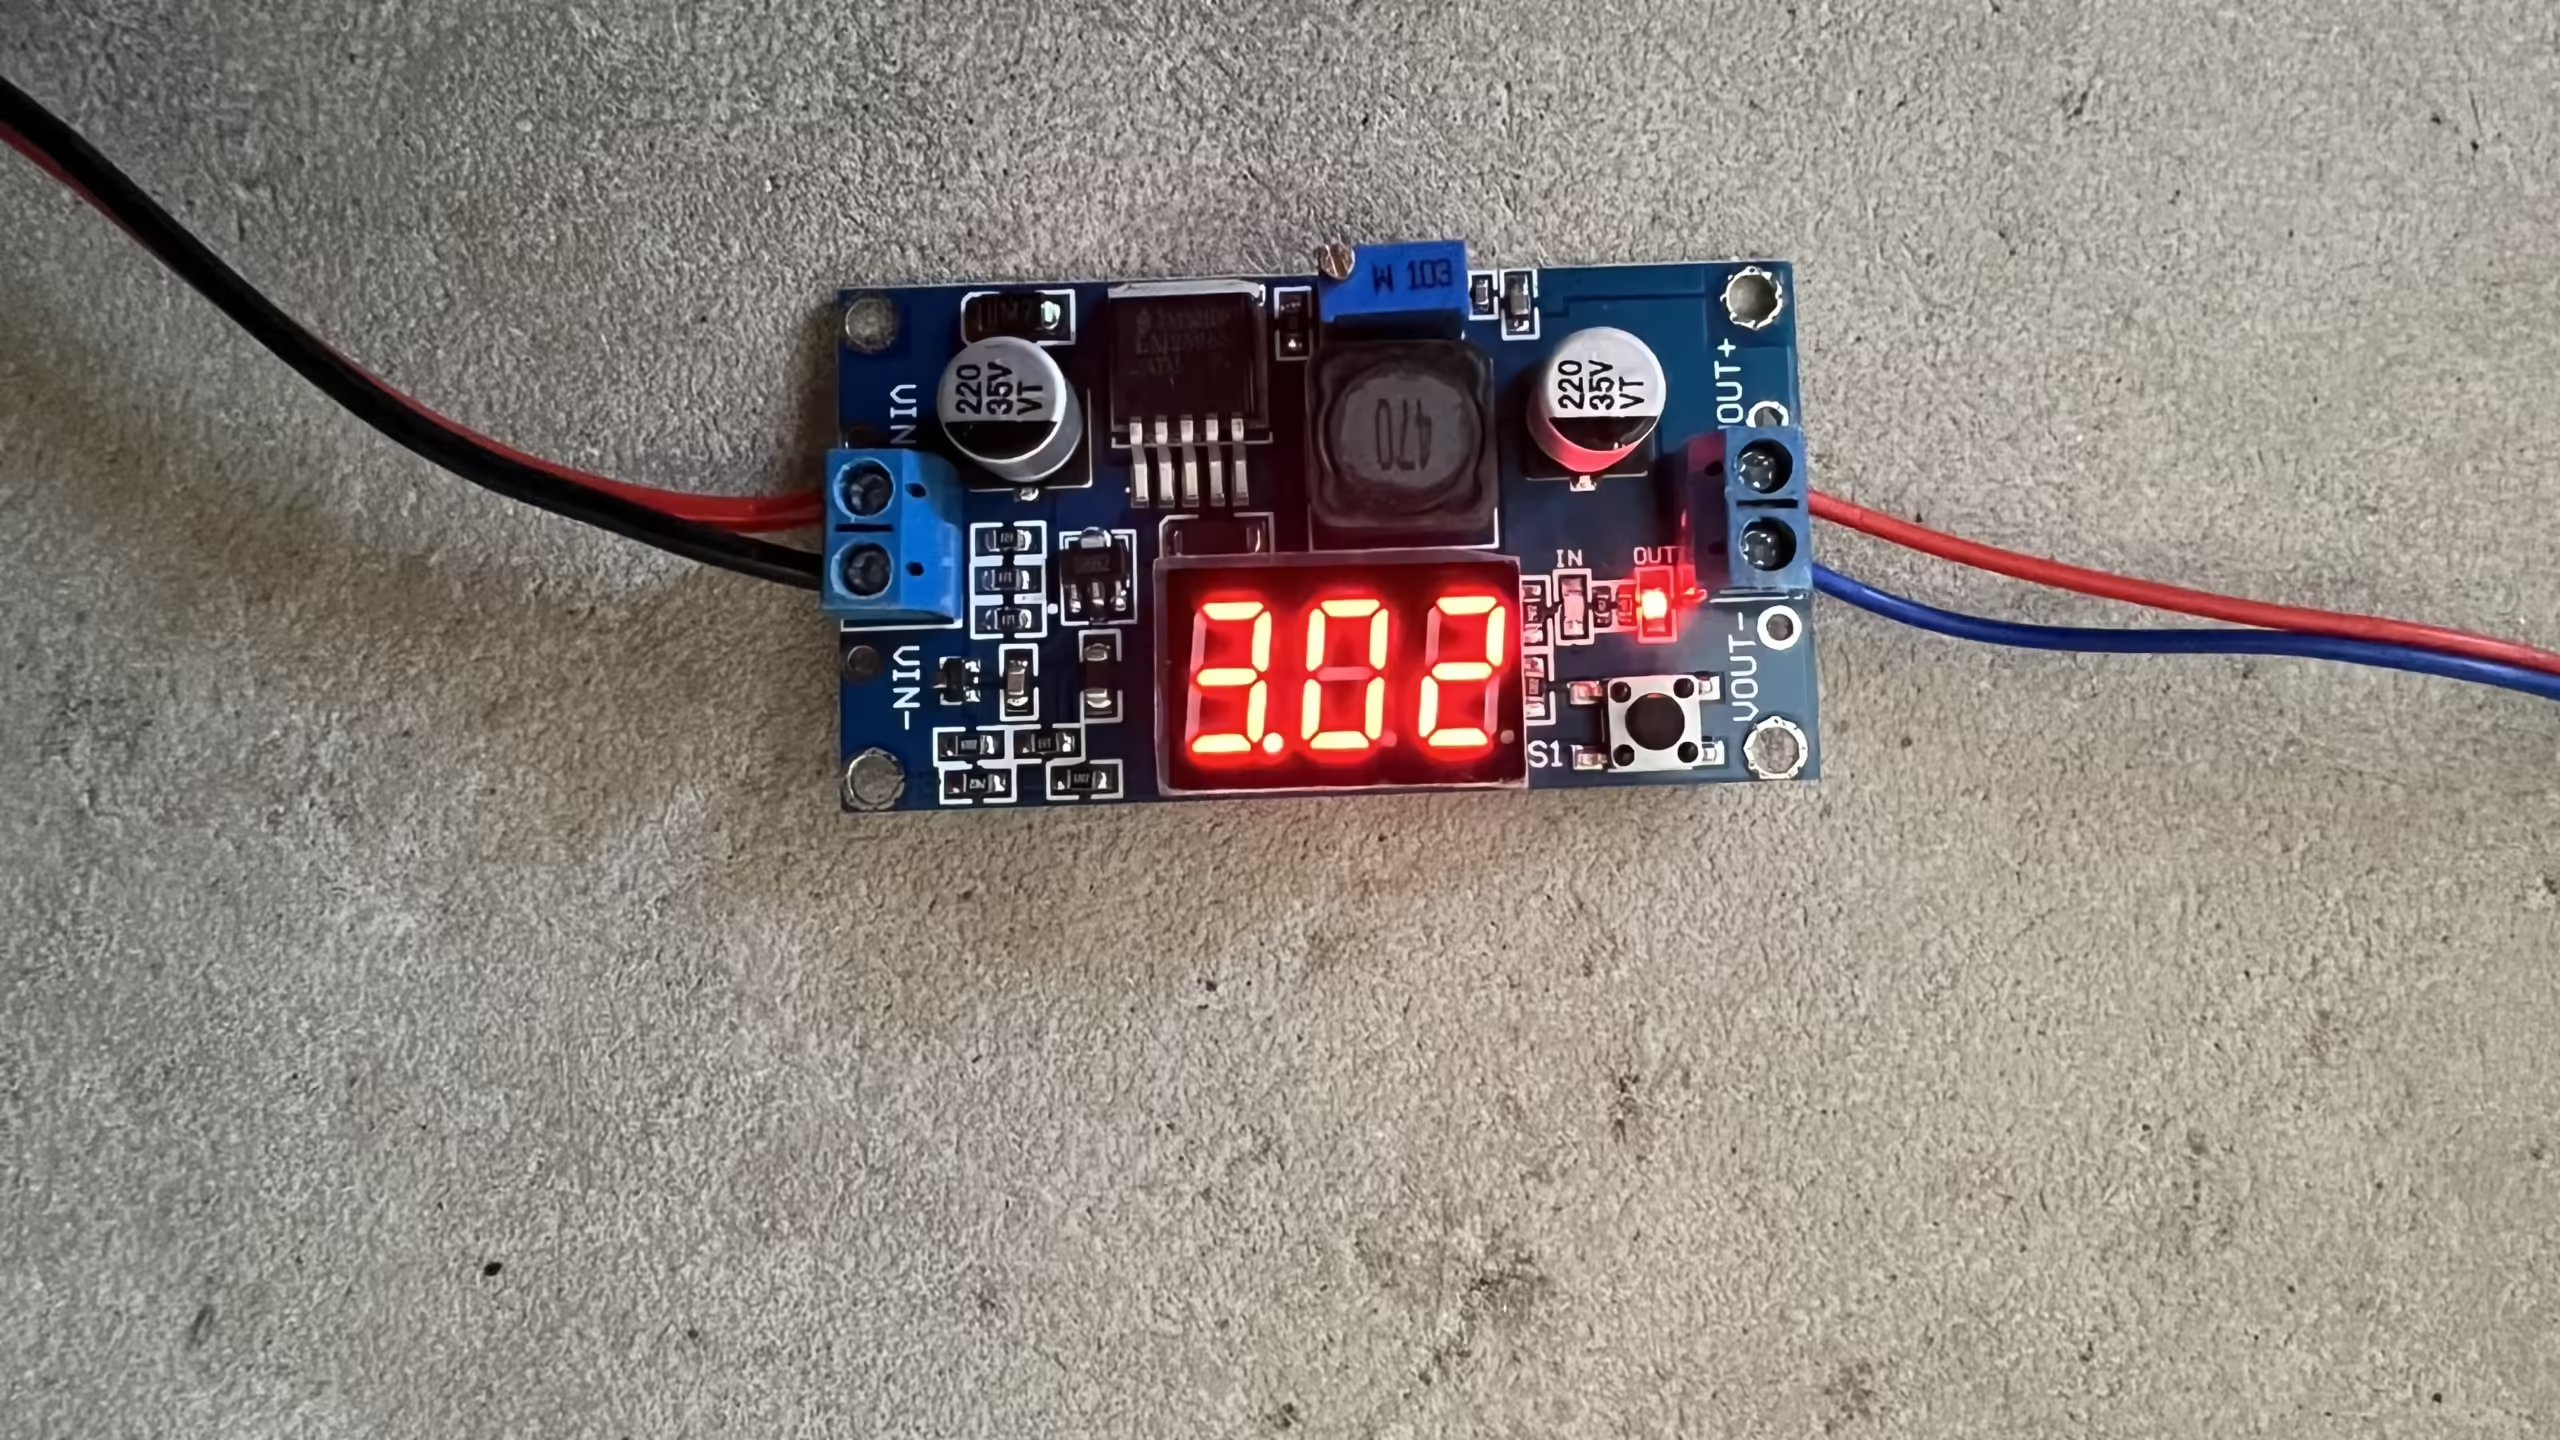
Using an old Dell PC power supply, I fed the 12v DC output into a step-down voltage converter set to 3v output. This means I don’t have to bugger about with resistors on the impossibly thin LED wires.
Then I stuck some copper tape underneath the board, making life much easier.
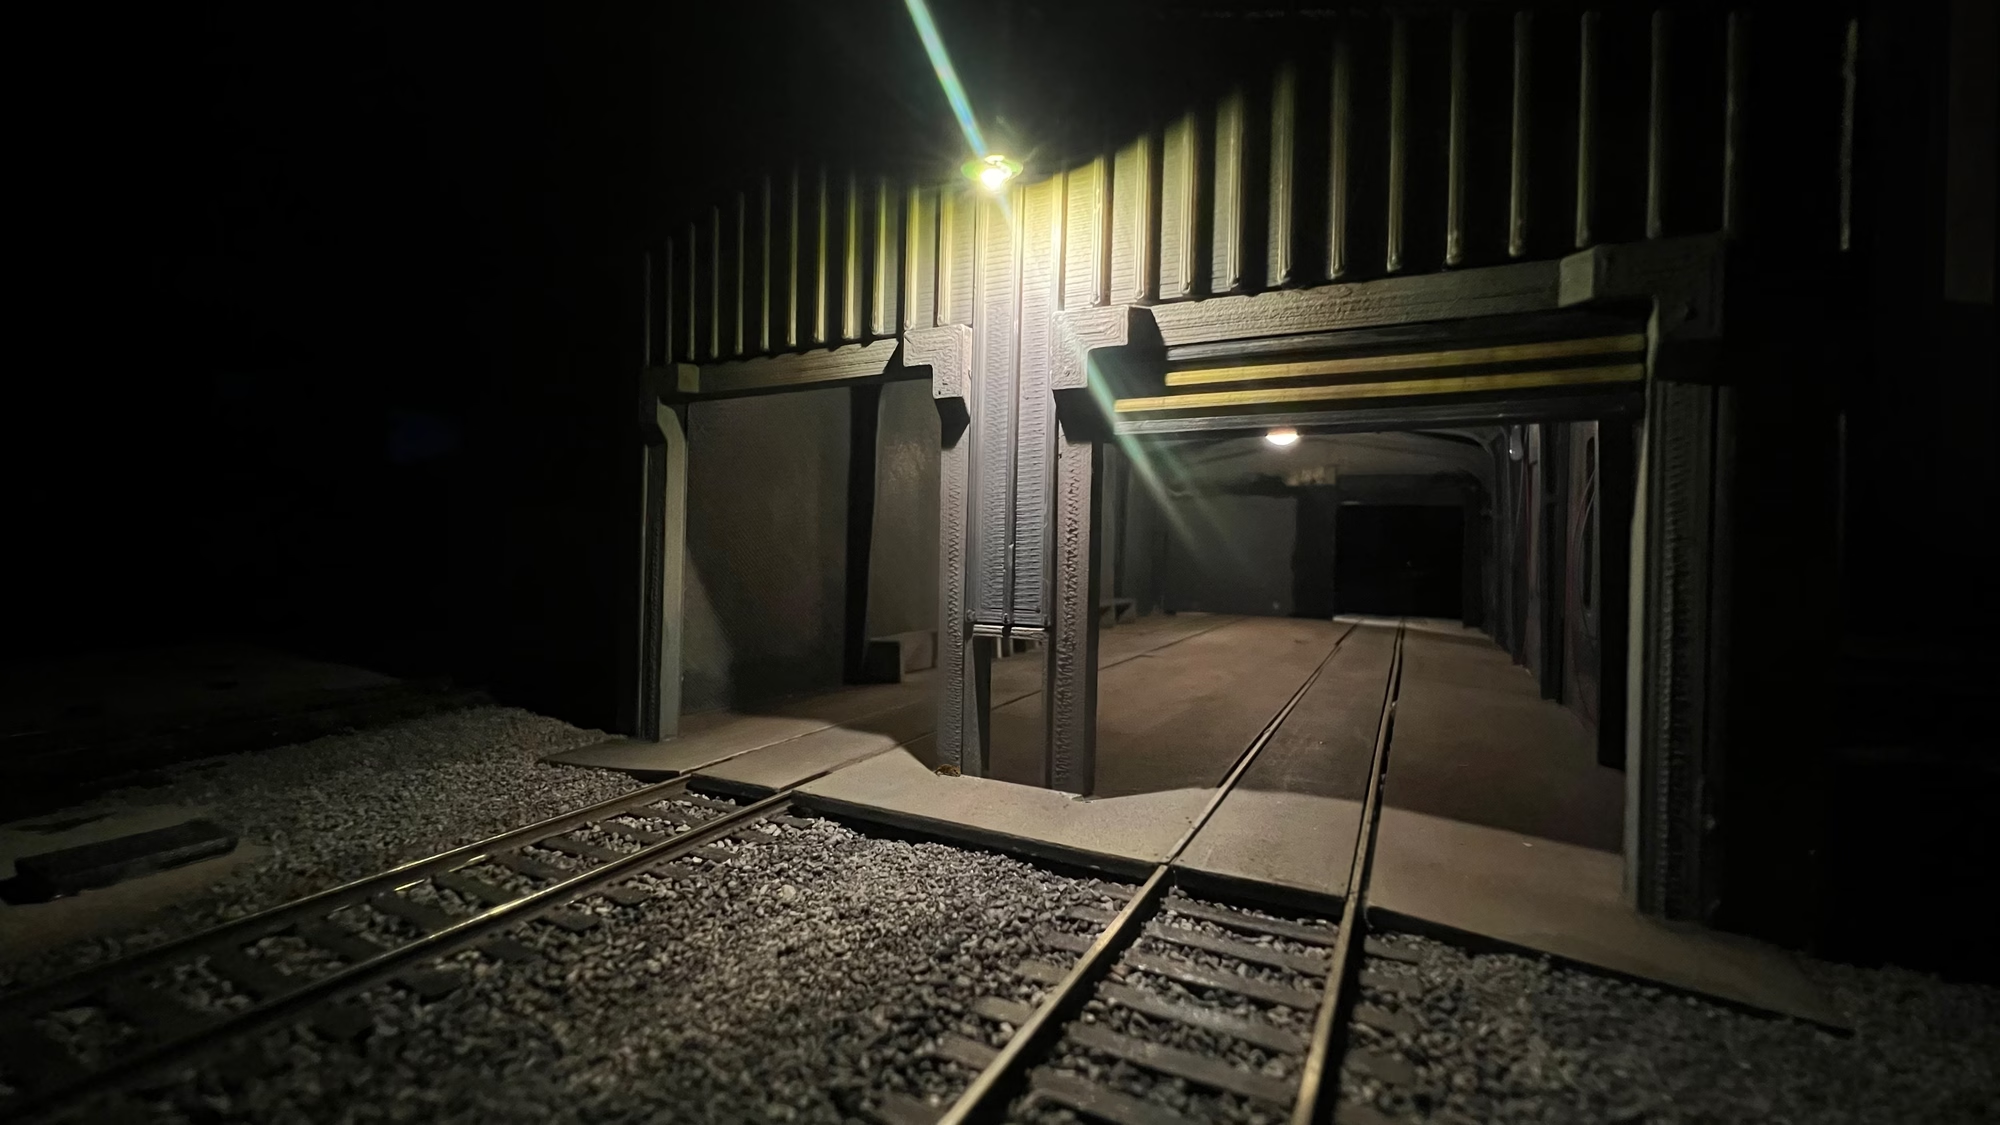
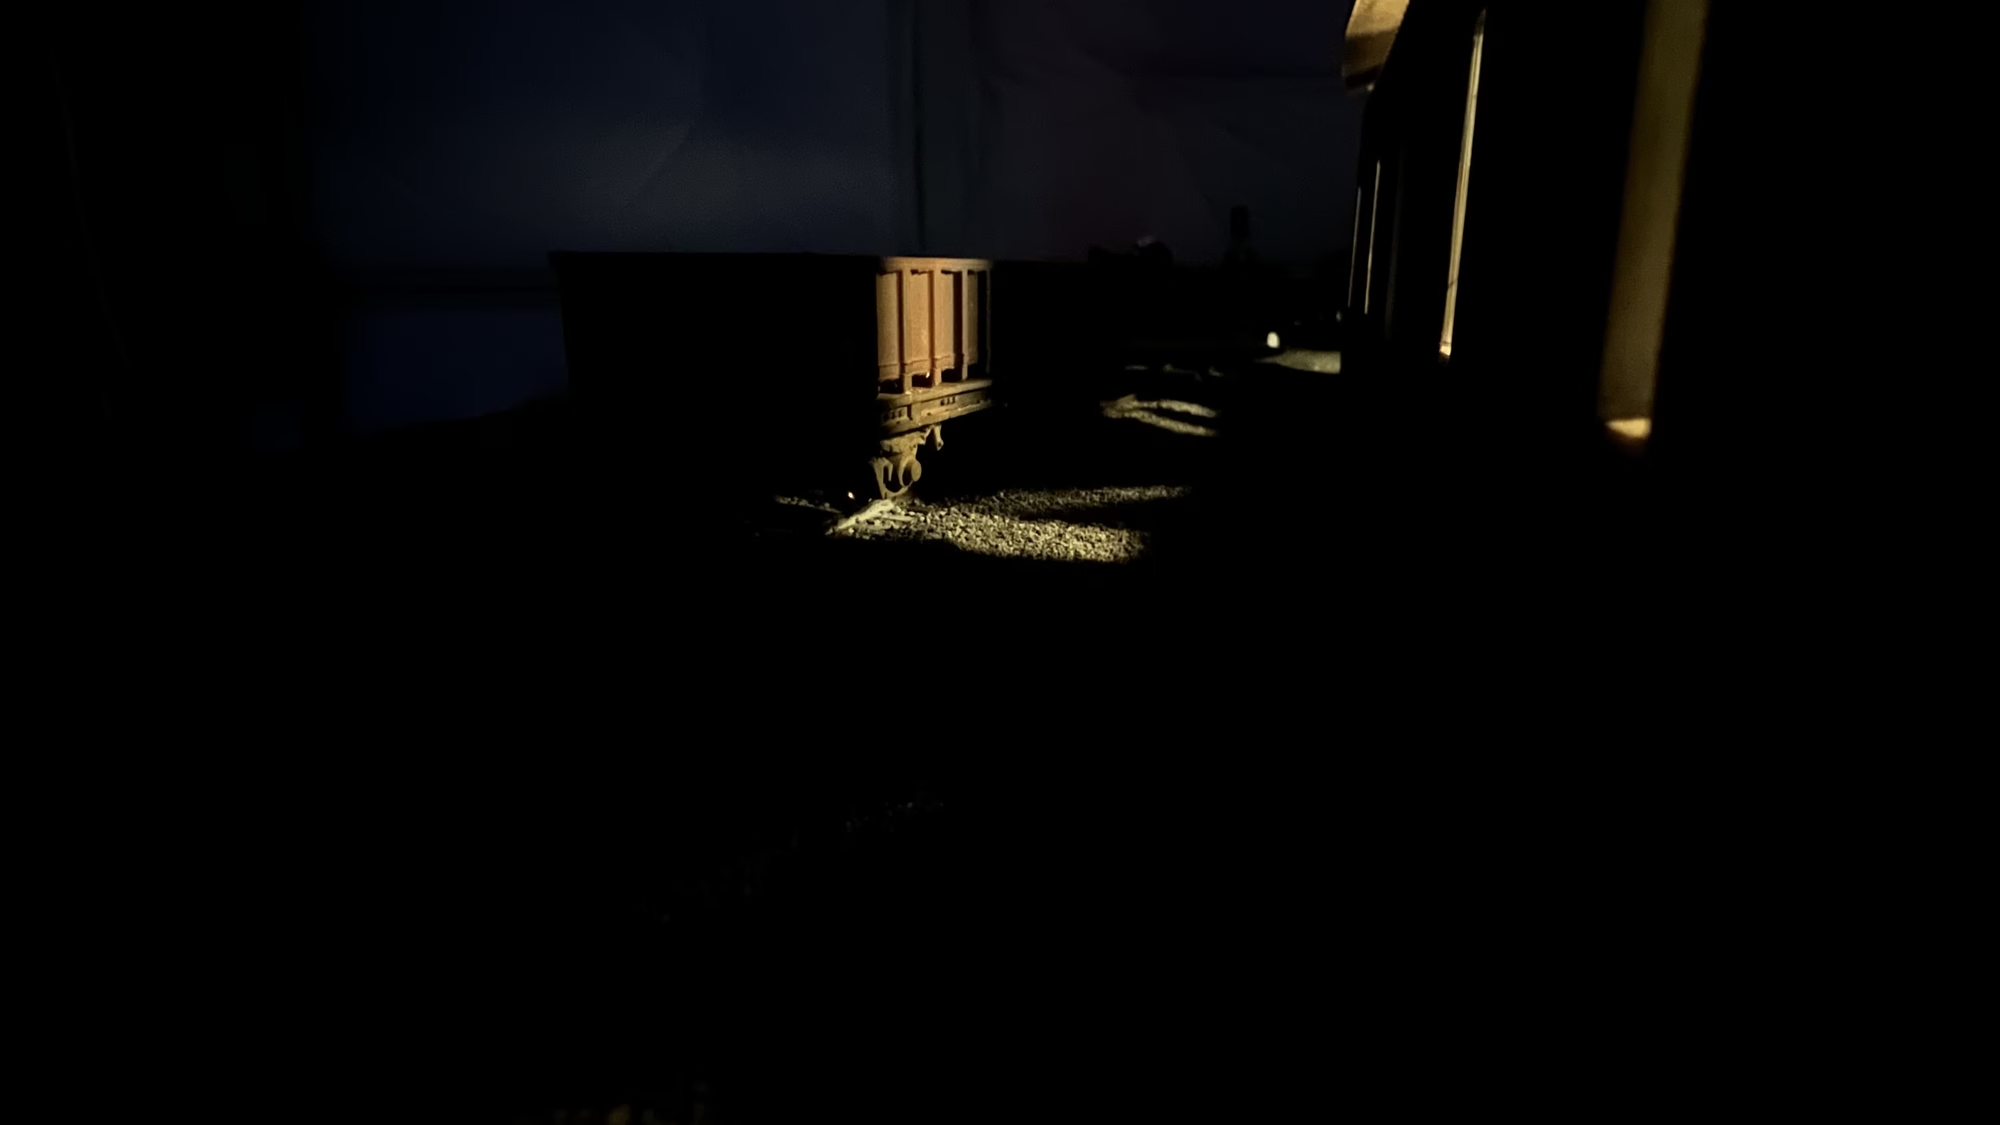
Now I can finally see the effects of the LEDs in the buildings.
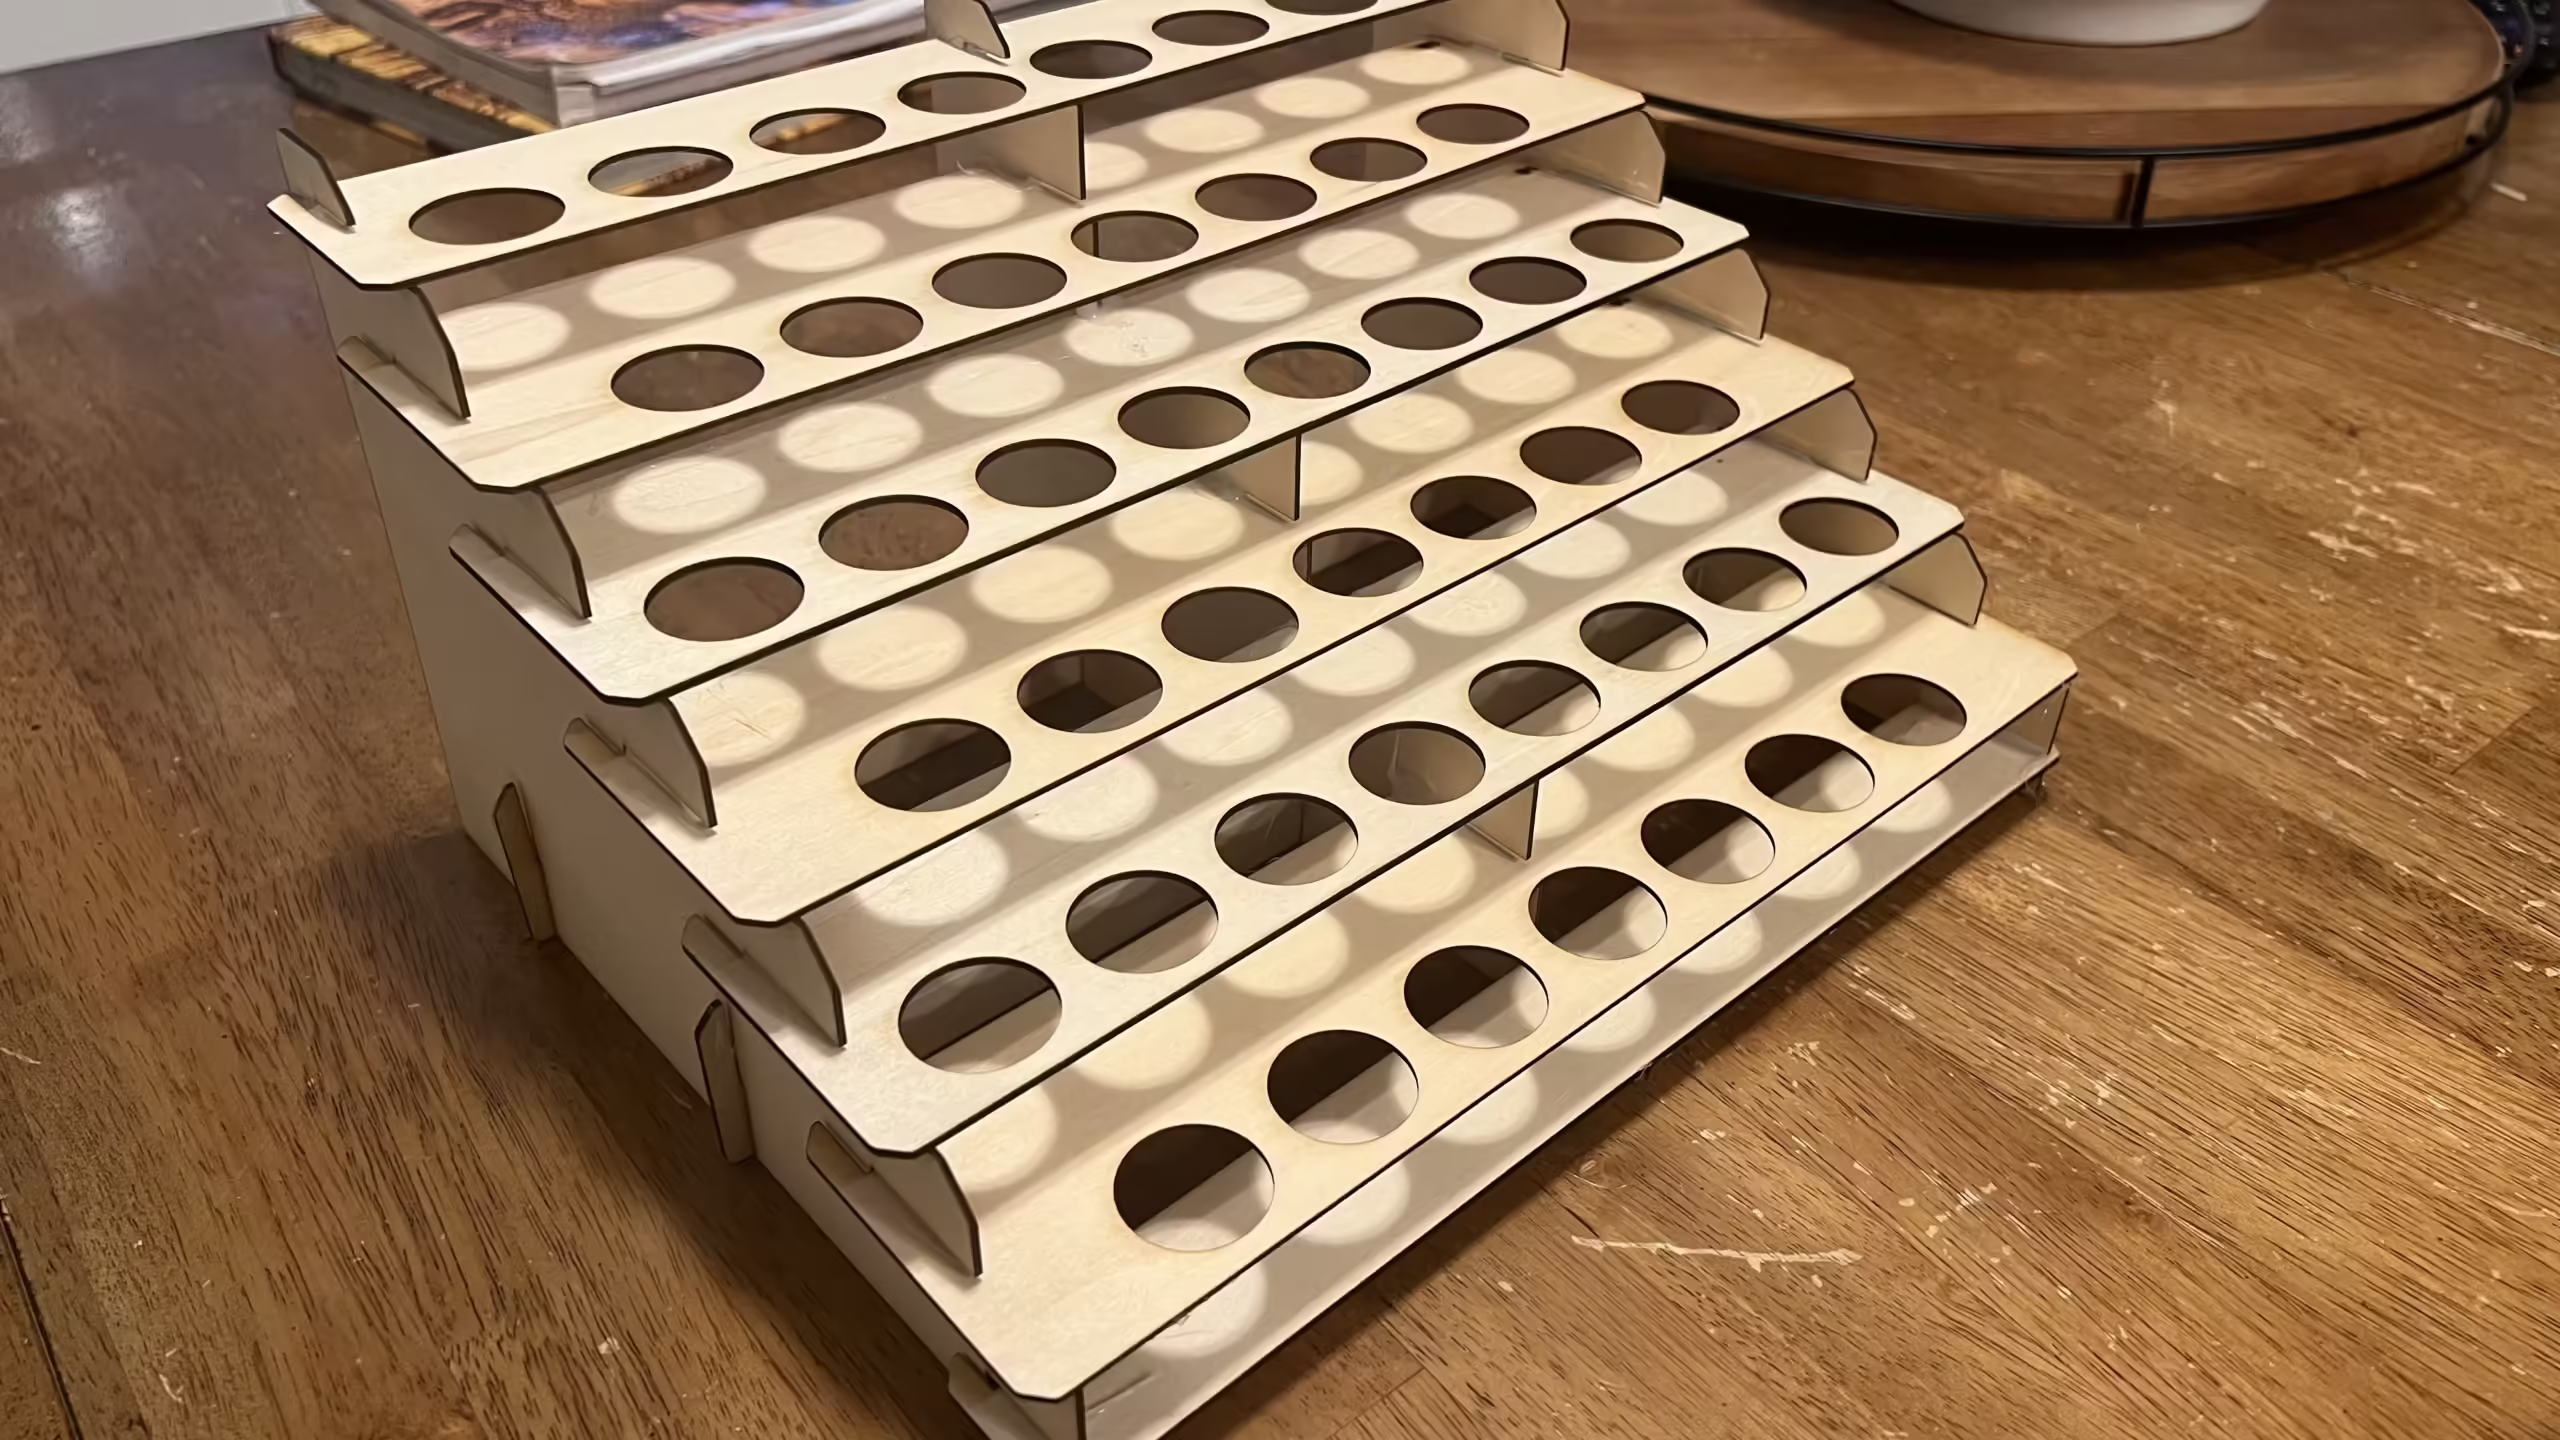
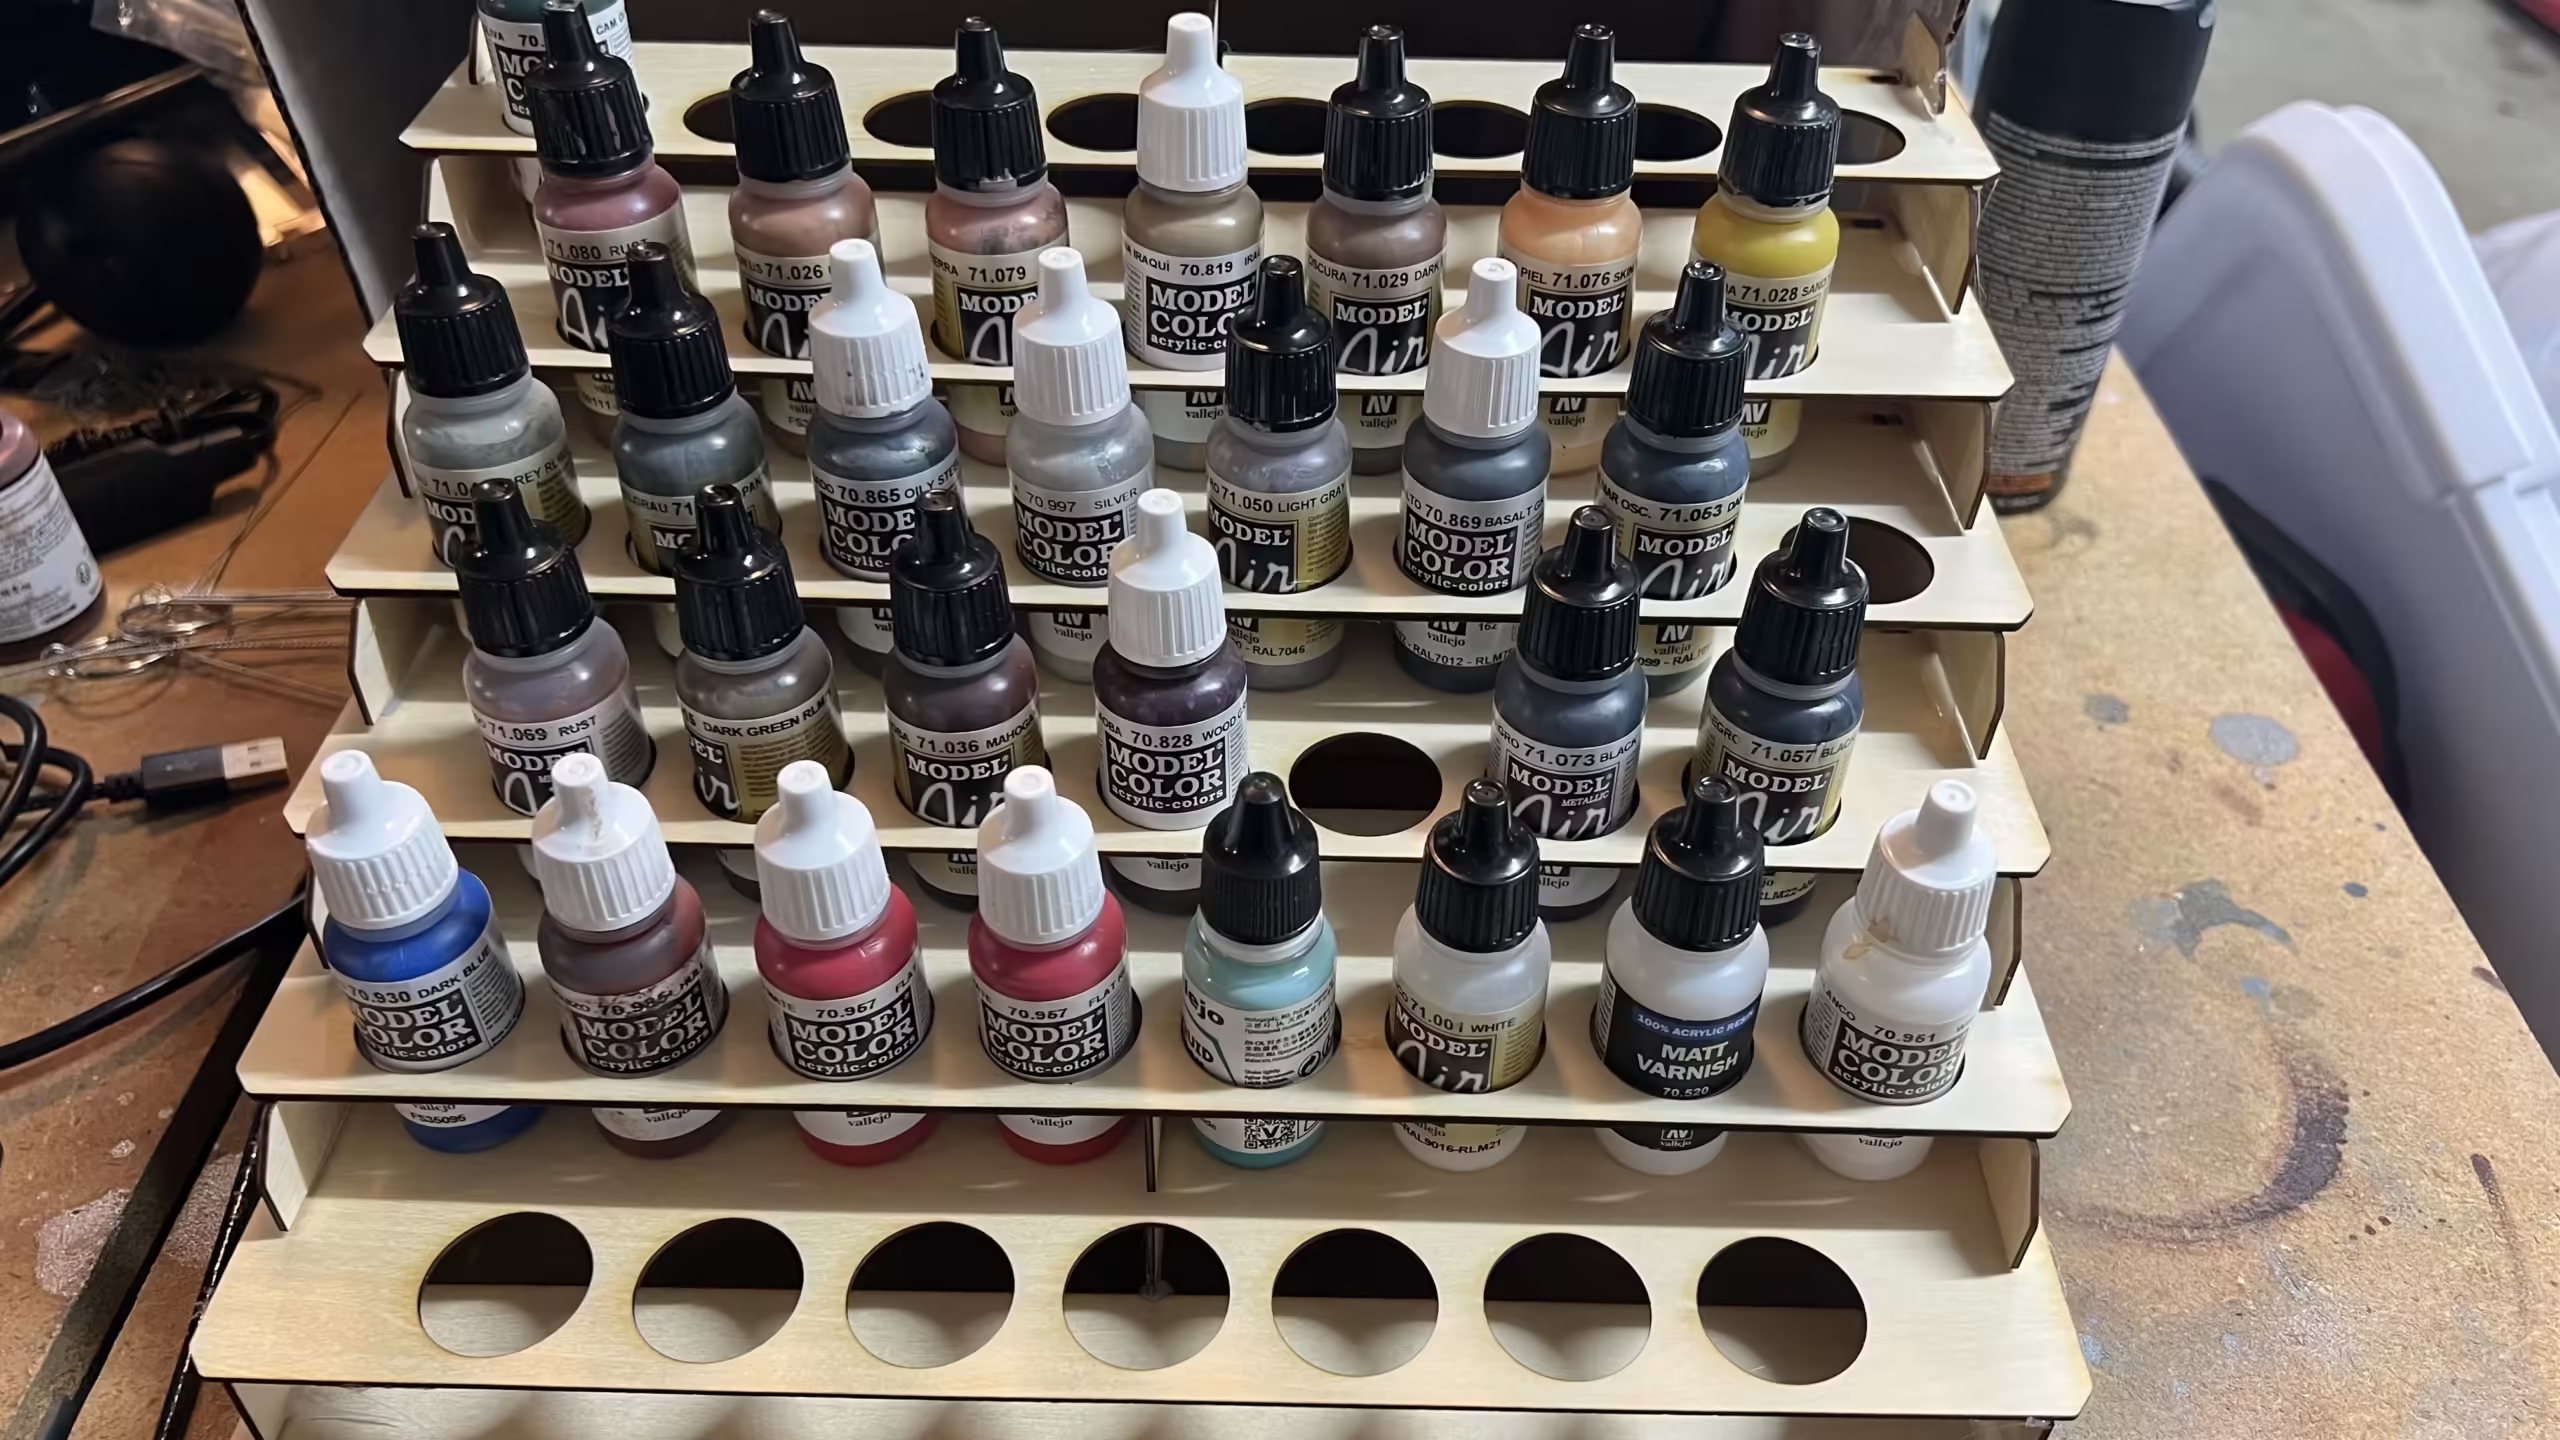
I also fired up the Laser Cutter to create a rack for the Vallejo paints I use with the airbrush.
I’m really pleased with how this turned out.
Update – November 26, 2024
A few small changes on the diorama. I 3D printed rain downpipes, a chimney, and some doors for the OO Scale Workshop.
I painted them black and then airbrushed them with some Vallejo grime.
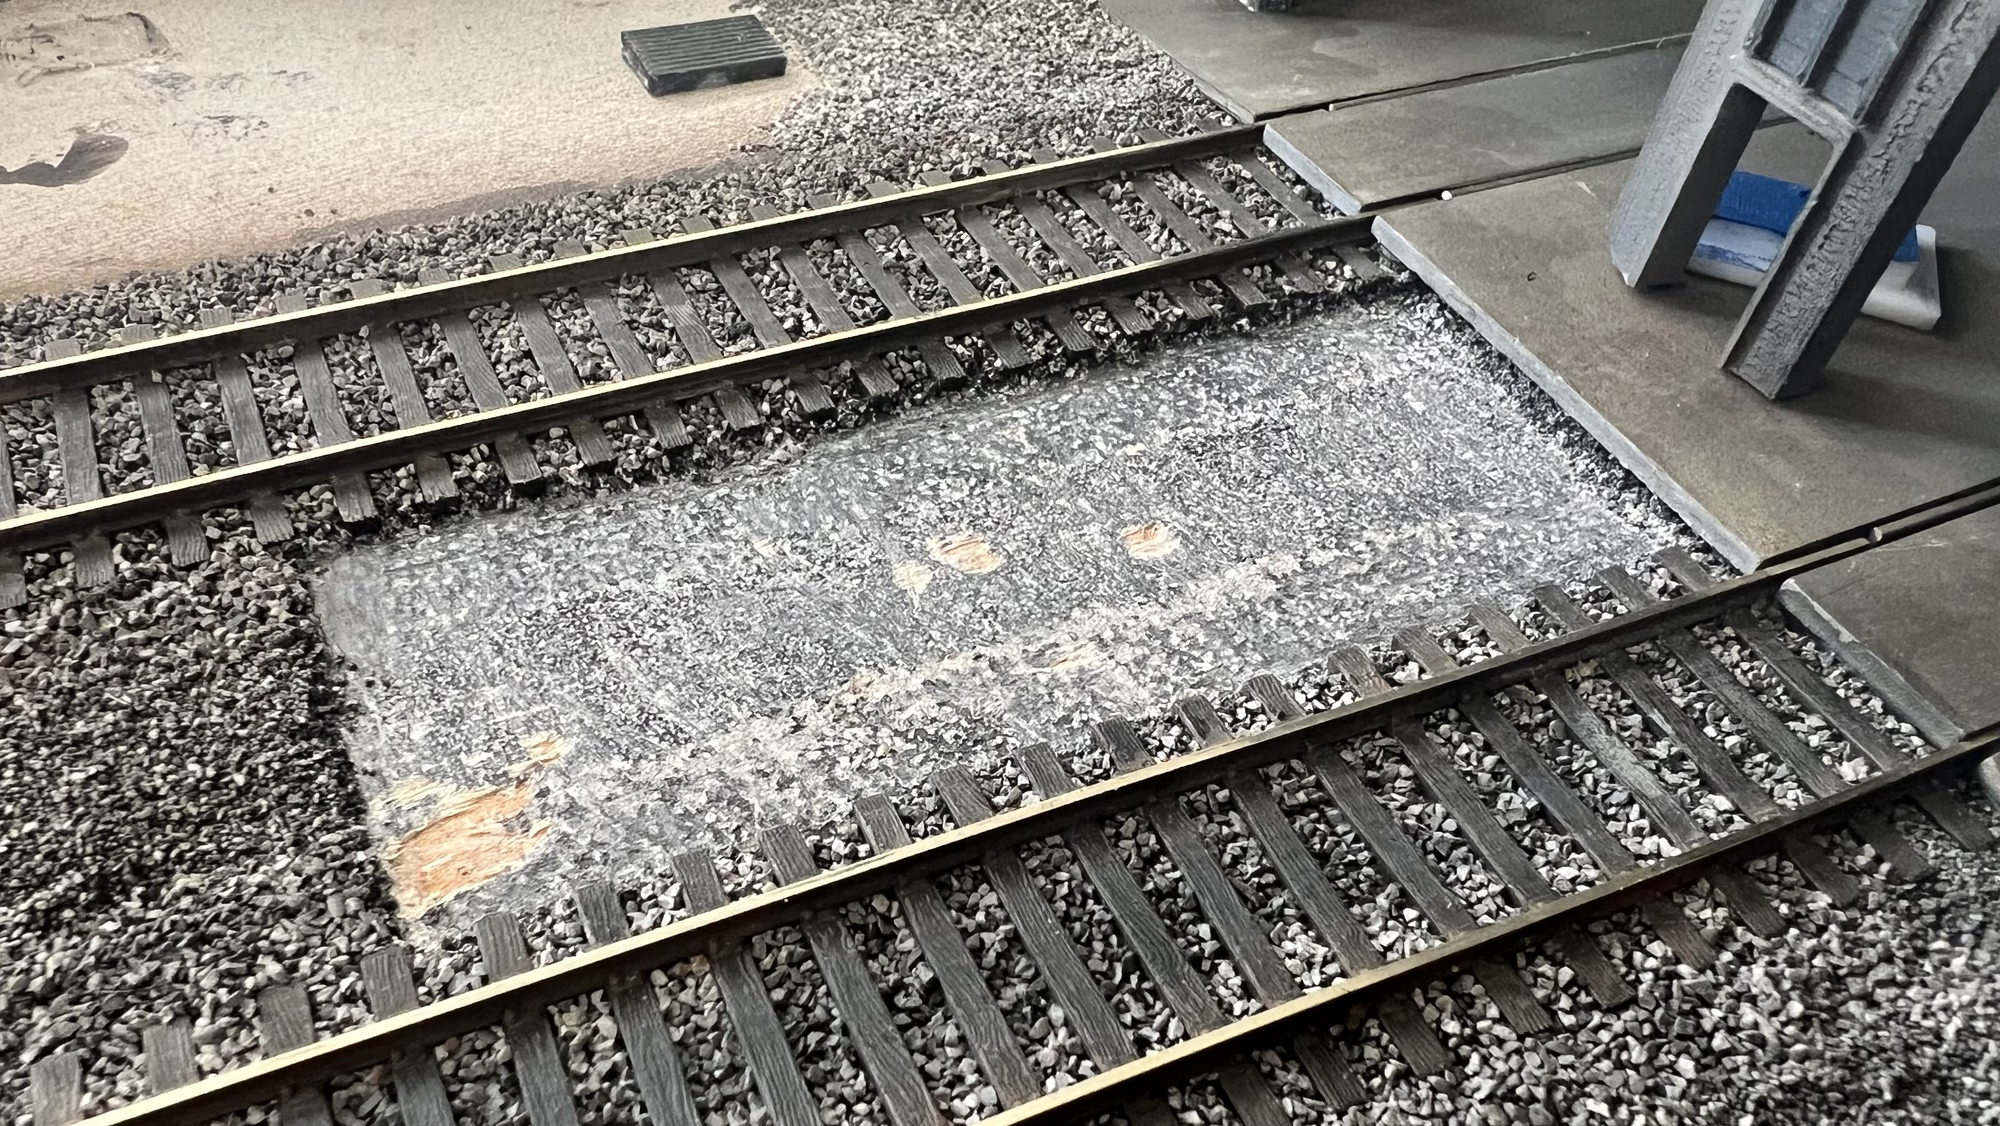
I also decided that I wanted a bit more concrete outside the front of the engine shed. A quick chisel away of the ballast and a piece of 2mm plywood cut to size.
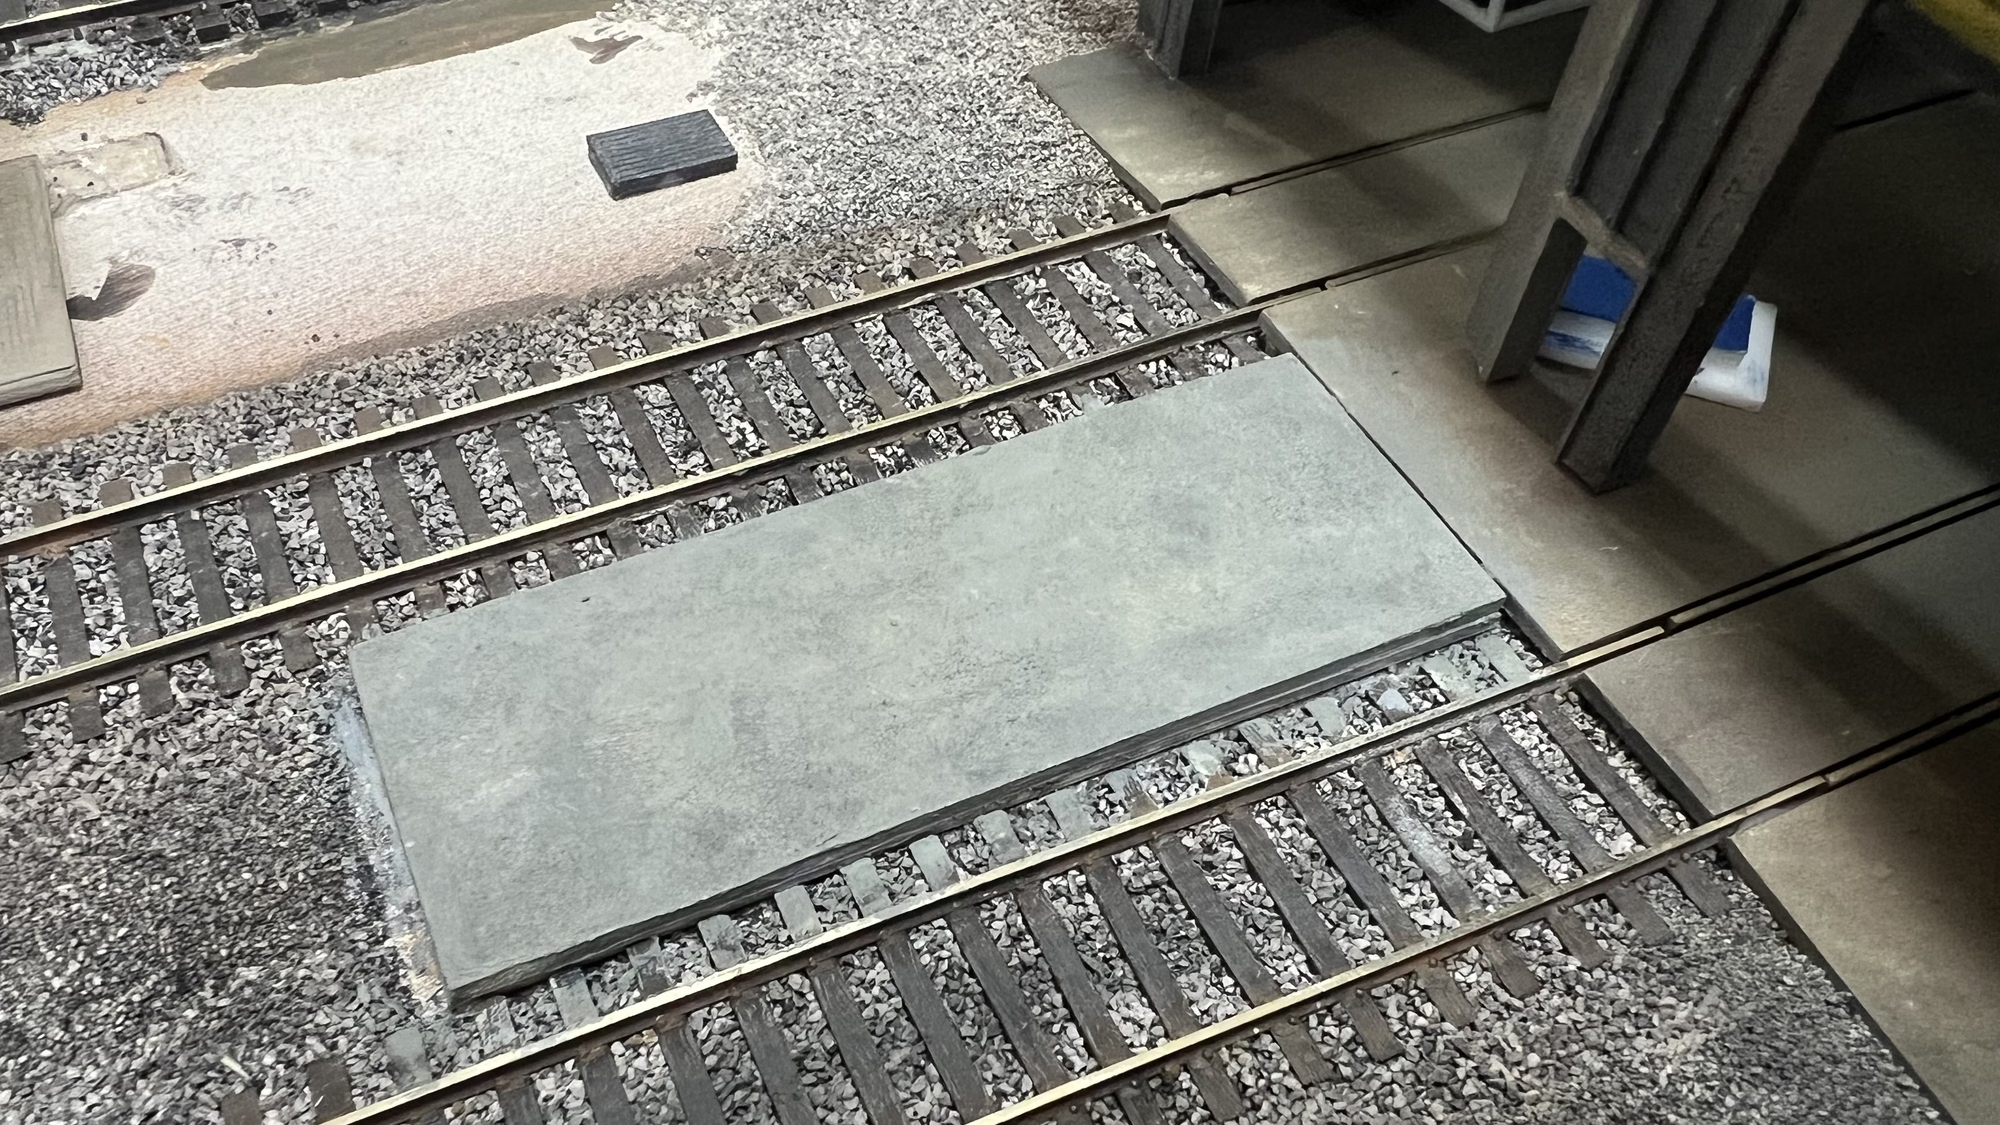
In the pic above you can see the start of the concrete colouring and weathering.
The next thing I tackled was something I’ve been putting off because I found it tedious, especially when I could have been fiddling around with the 3D printers.
I’ve finally wrapped all the arches in ScaleScenes papers and stuck them to the retaining wall.
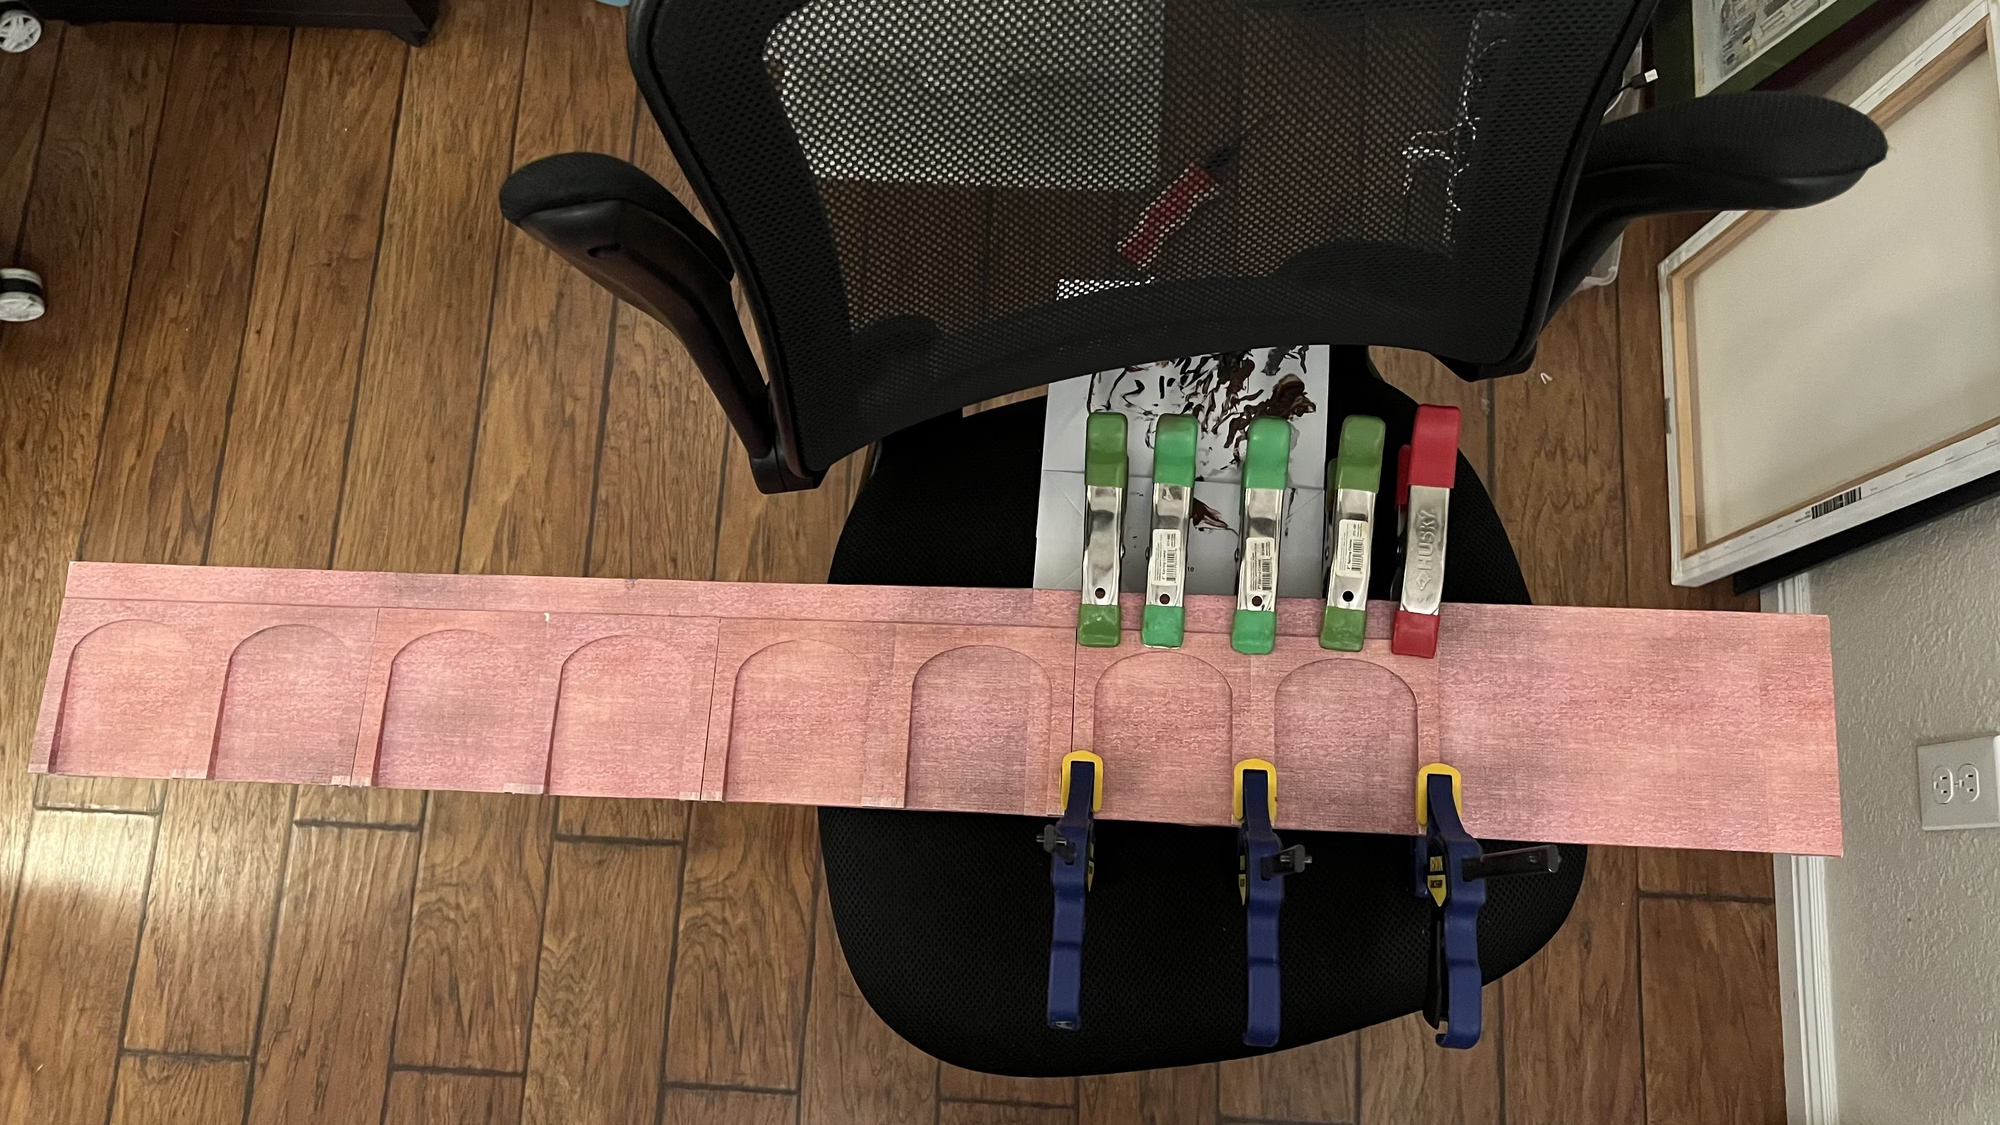
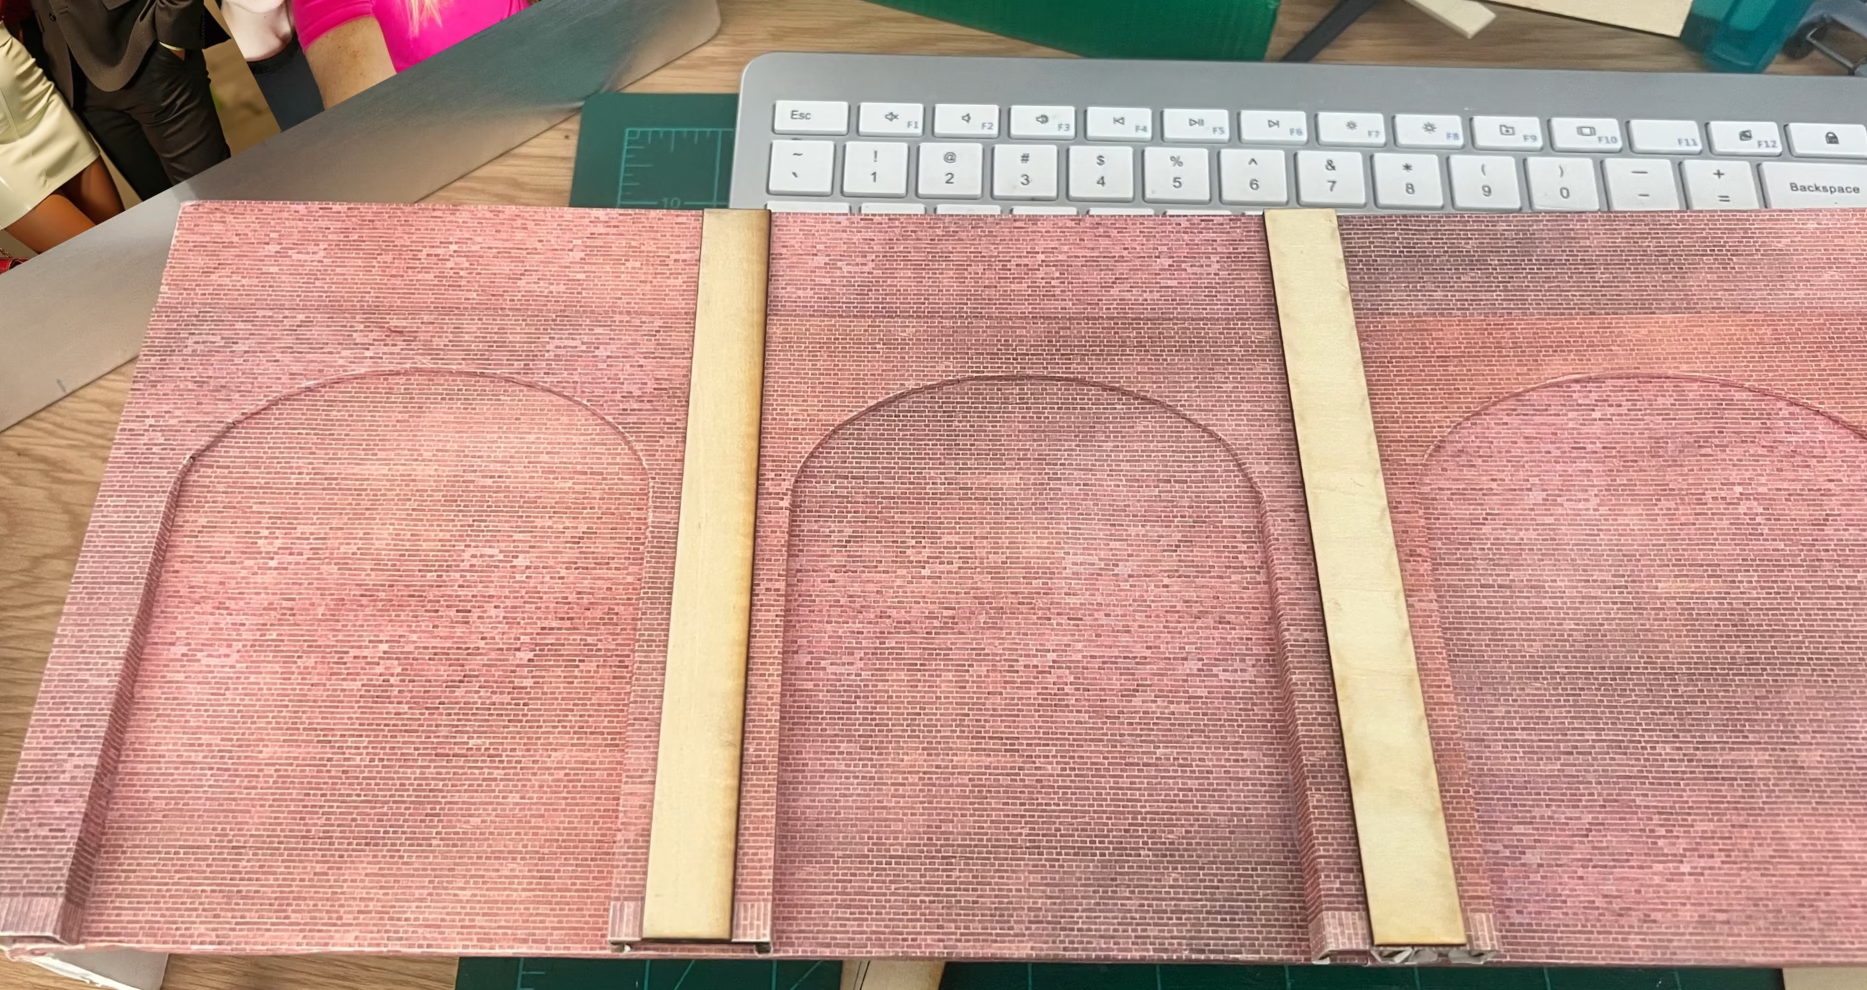
I then used my laser cutter to create 9 strips of plywood which will be covered in more ScaleScenes papers, this will cover the joins in the arches.
It’s been a while since I touched the arches, just a quick reminder, the arches were cut on the laser cutter, an I’m really pleased with how they turned out.
Update – December 10, 2024
15 days to Christmas as my two boys reminded me this morning.
I’m not feeling very festive. I got laid off last week. 3 weeks before Christmas.
I was with that company 13 years and as Vice President of IT and Operations I designed them several software applications that has saved them over a million $USD over the years. Apparently that didn’t stand for much. Corporate America at it’s best right there…
I’m hoping the technology world gets better in the new year, because right now it’s bad. So many people got laid off in Tech jobs in the last 2 years.
Anyway. I suppose that will give me more time for modelling, but I’m spending so much time applying for jobs, maybe not…
Back on the 3D printer. This time it was some telegraph poles, with a couple of Pole Mounted Auto Reclosers thrown in.
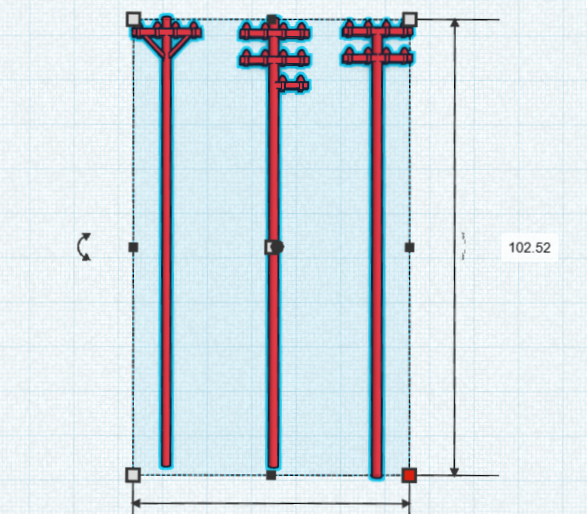
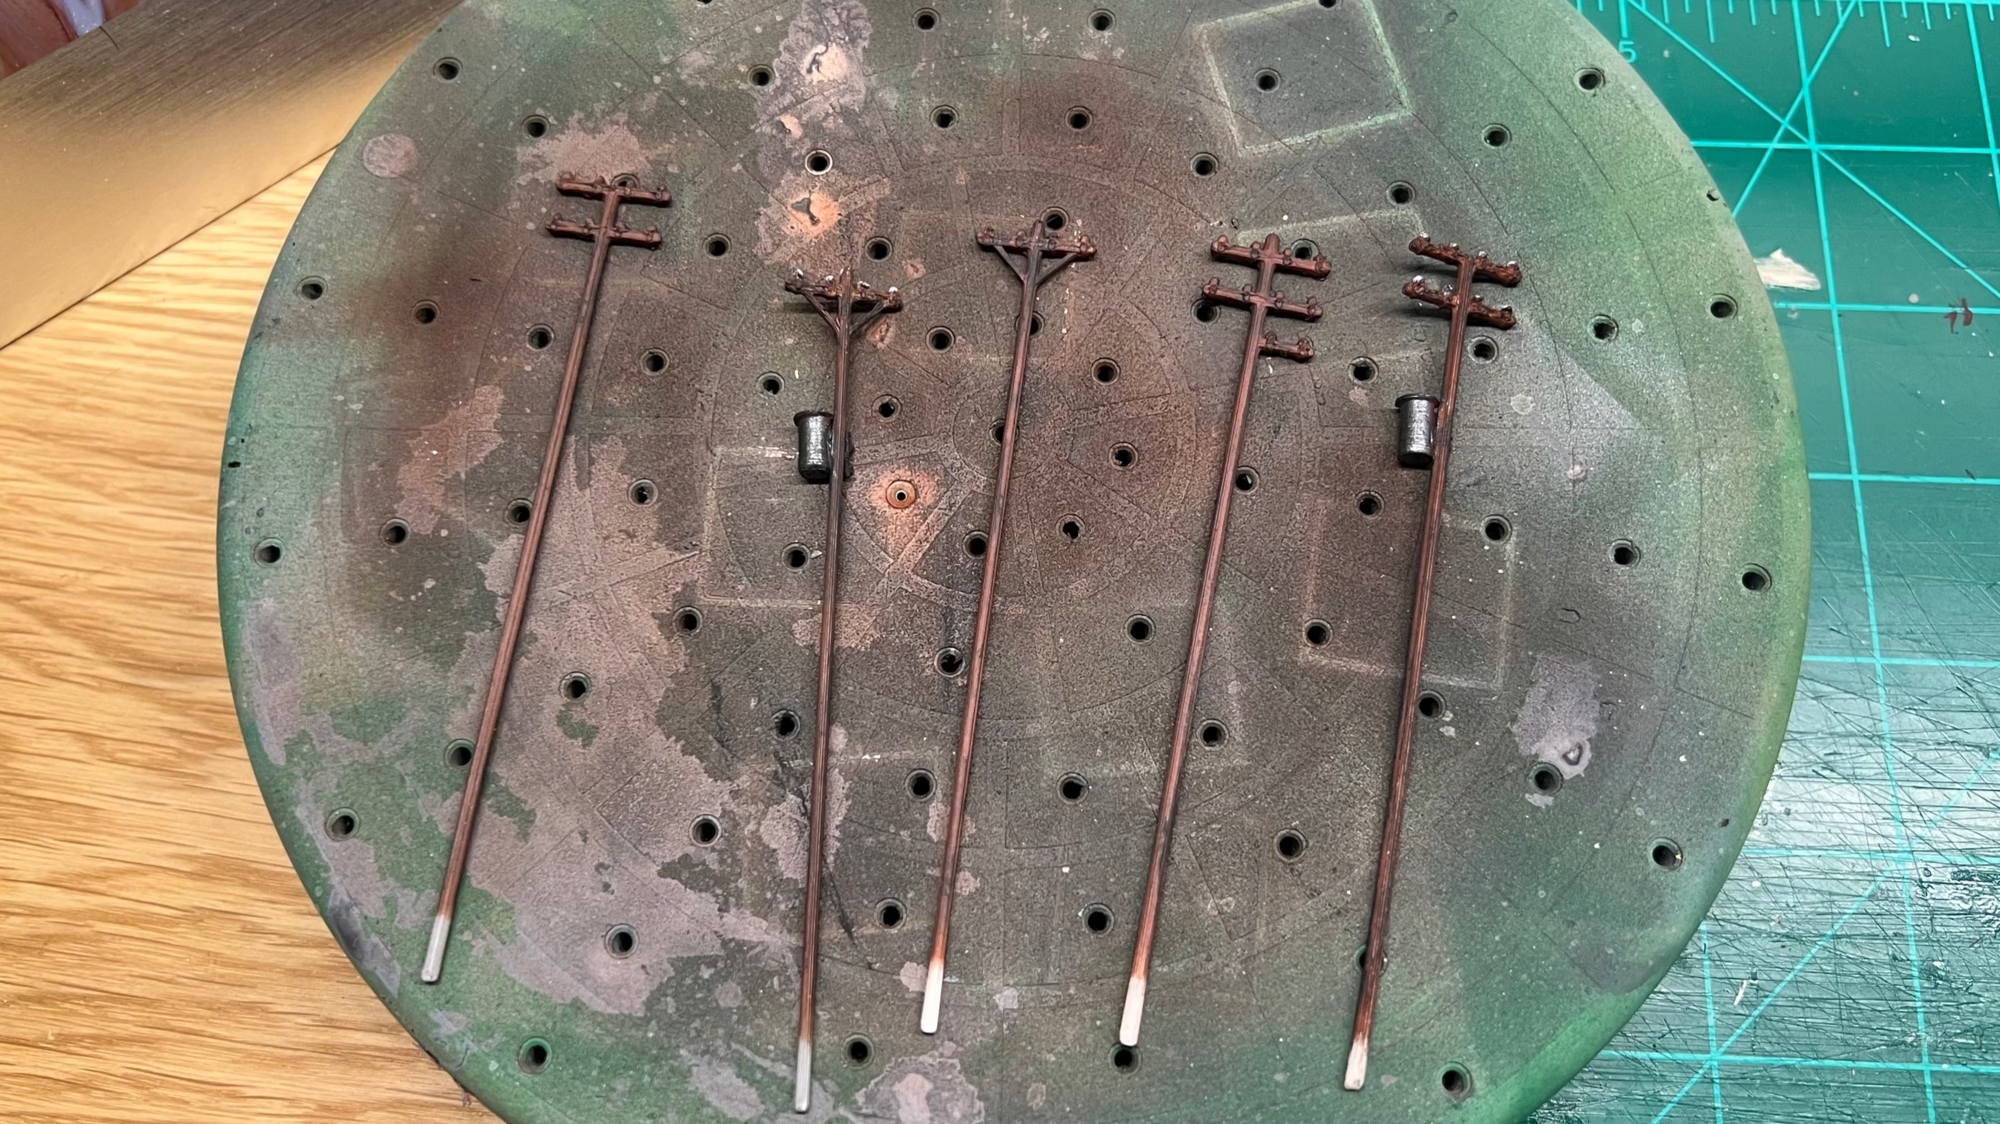
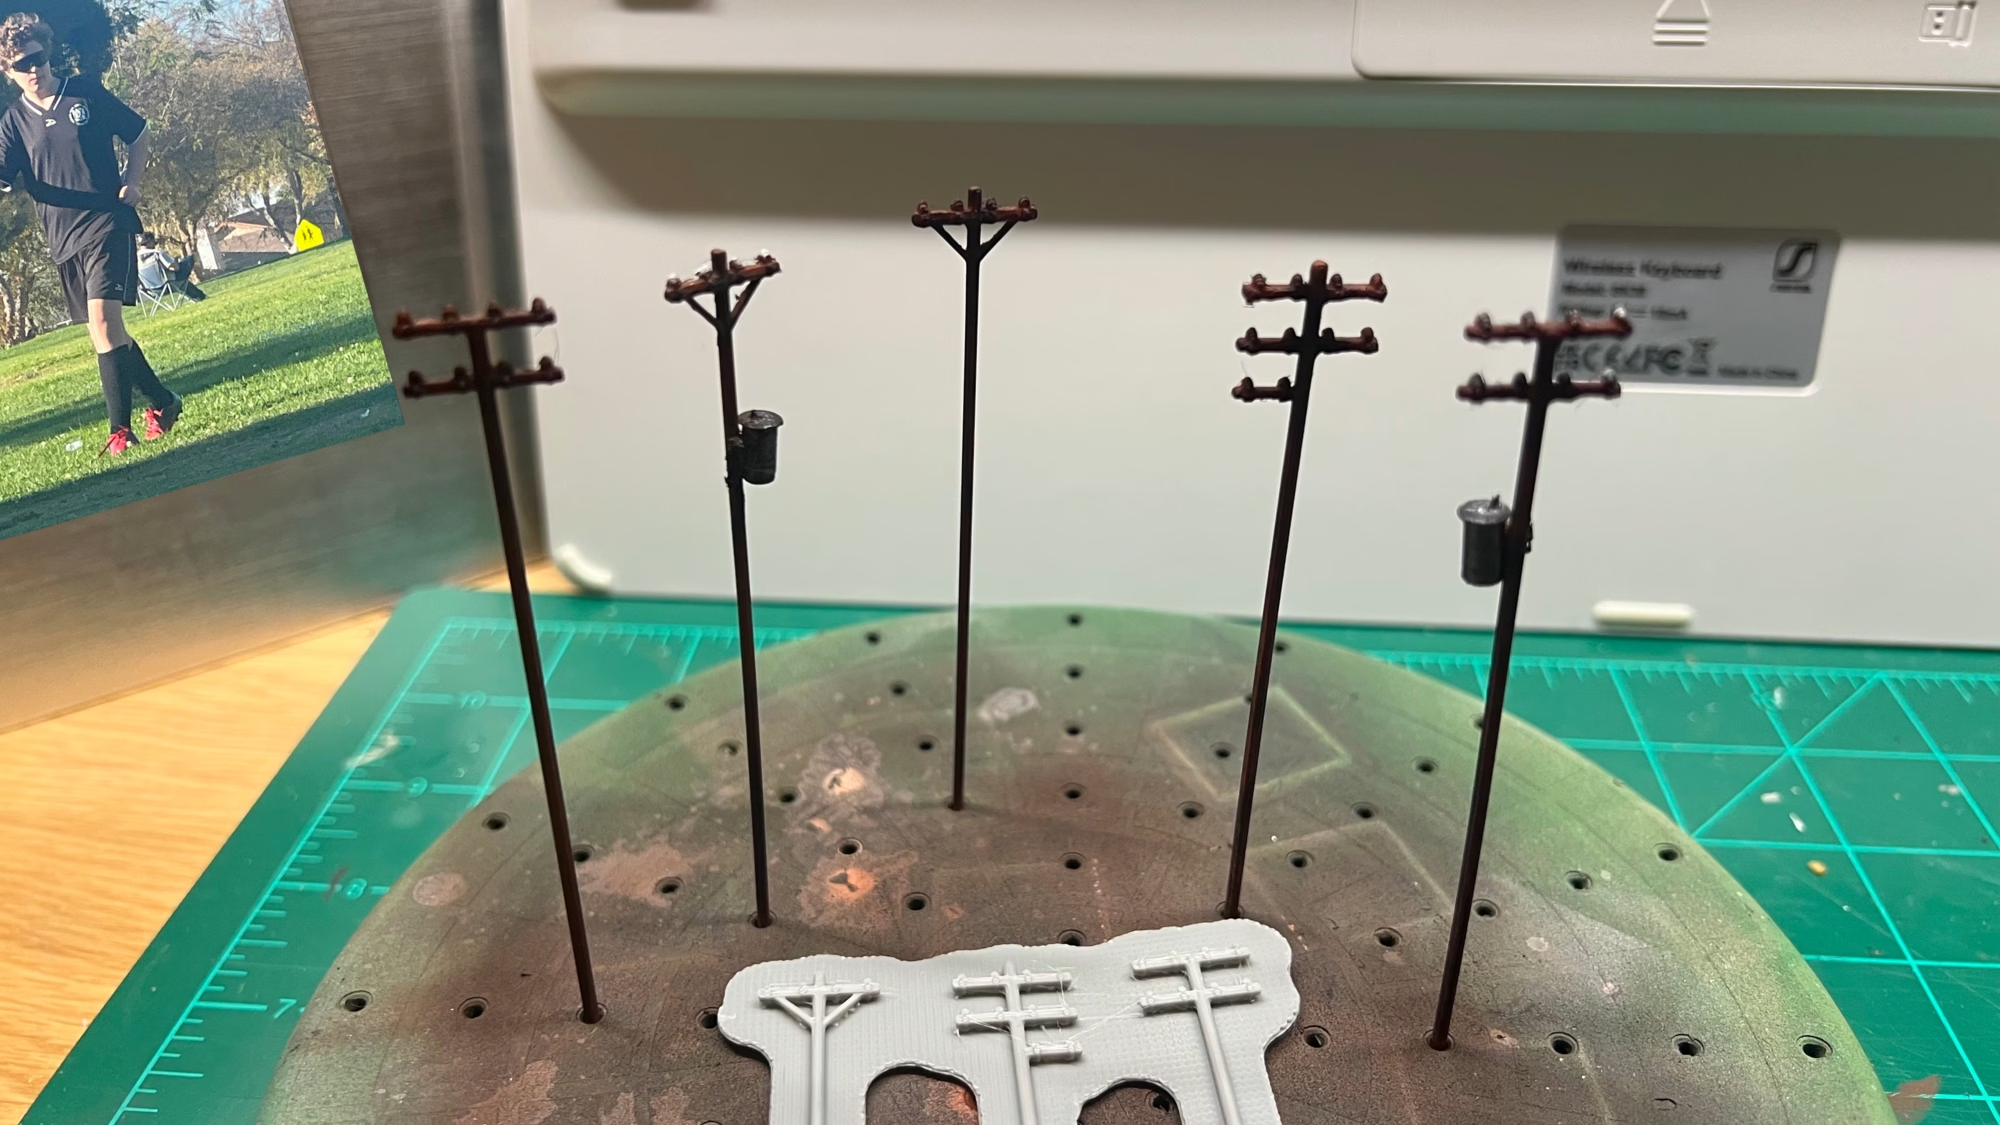
I wont install these until the end of the build. Also from the 3D printer this week some racking for storing the general crap that always seems to be around yards of any type.
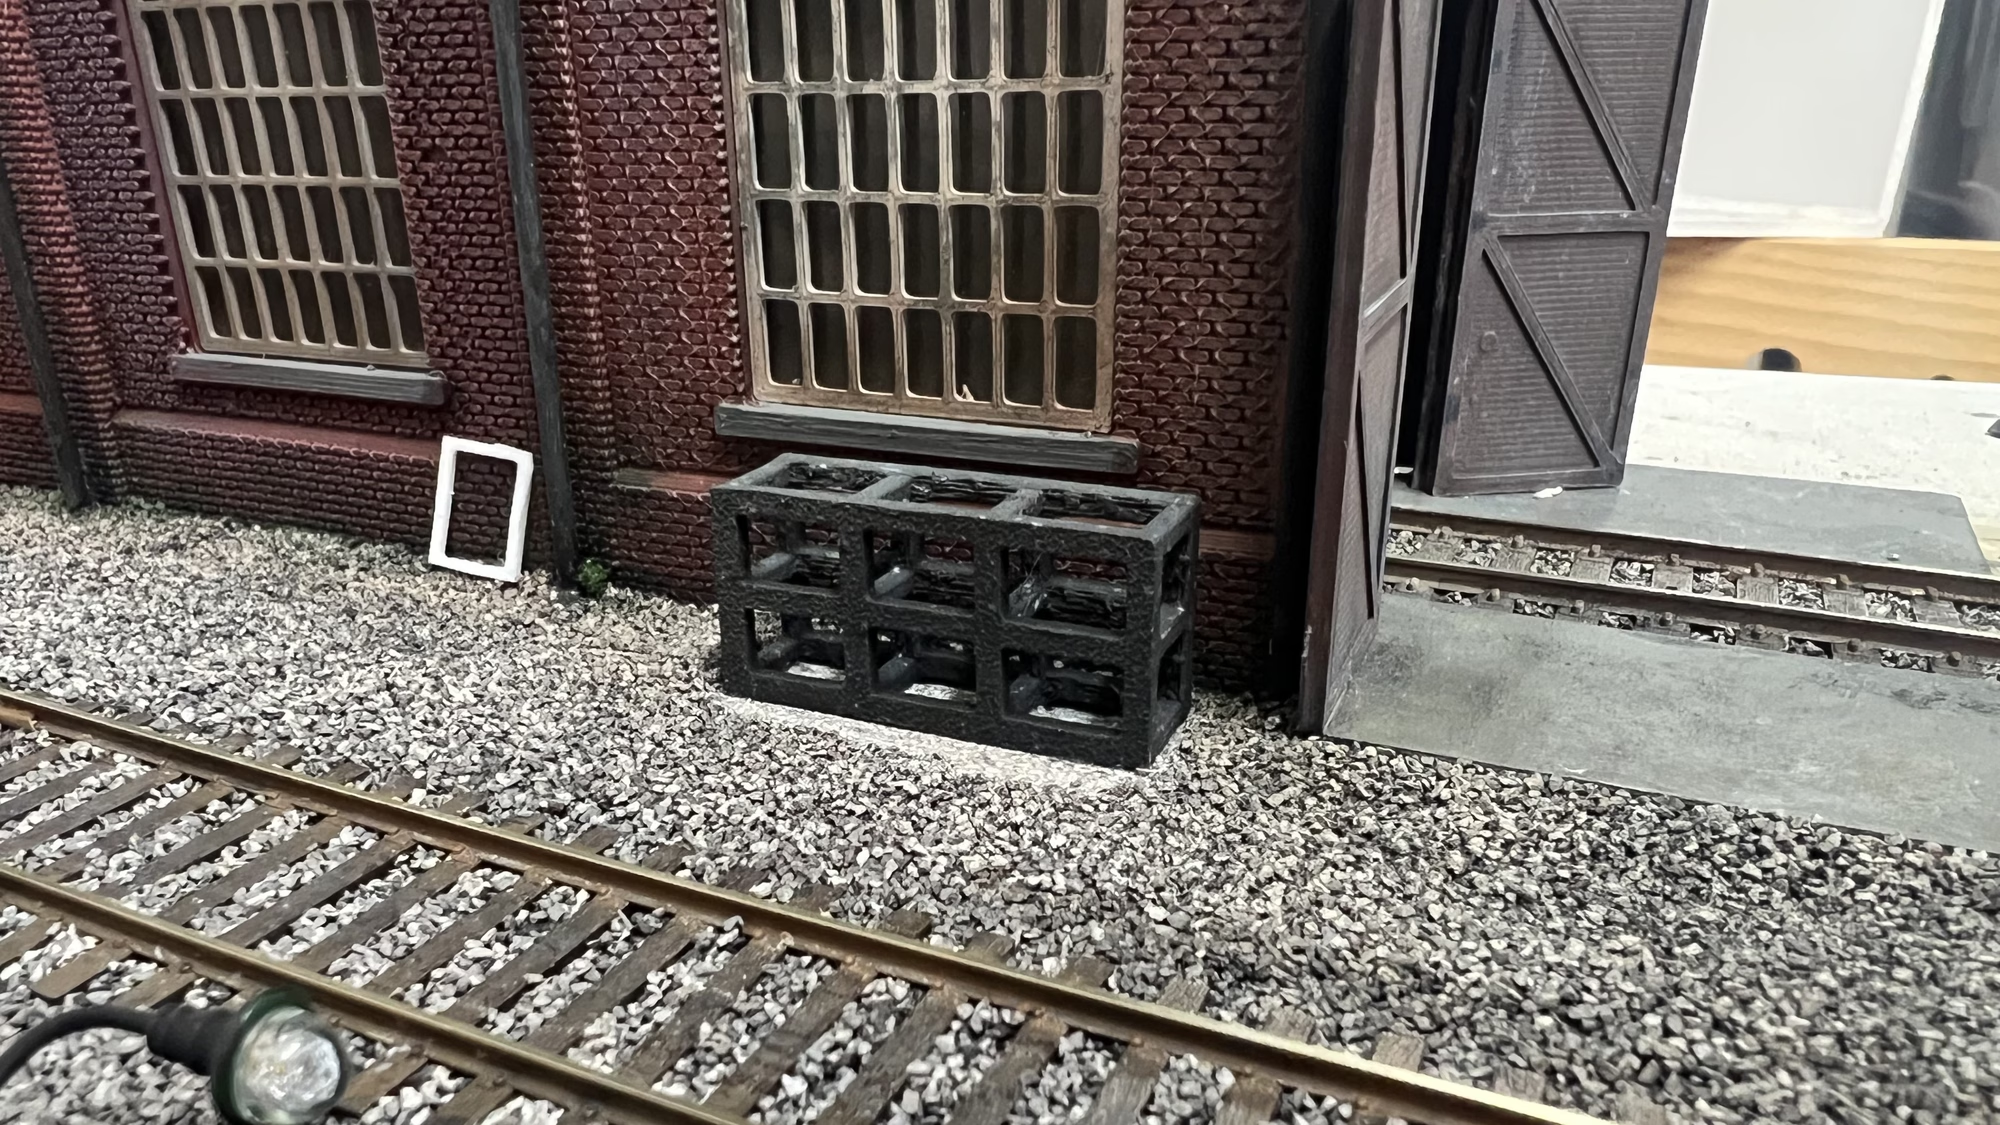
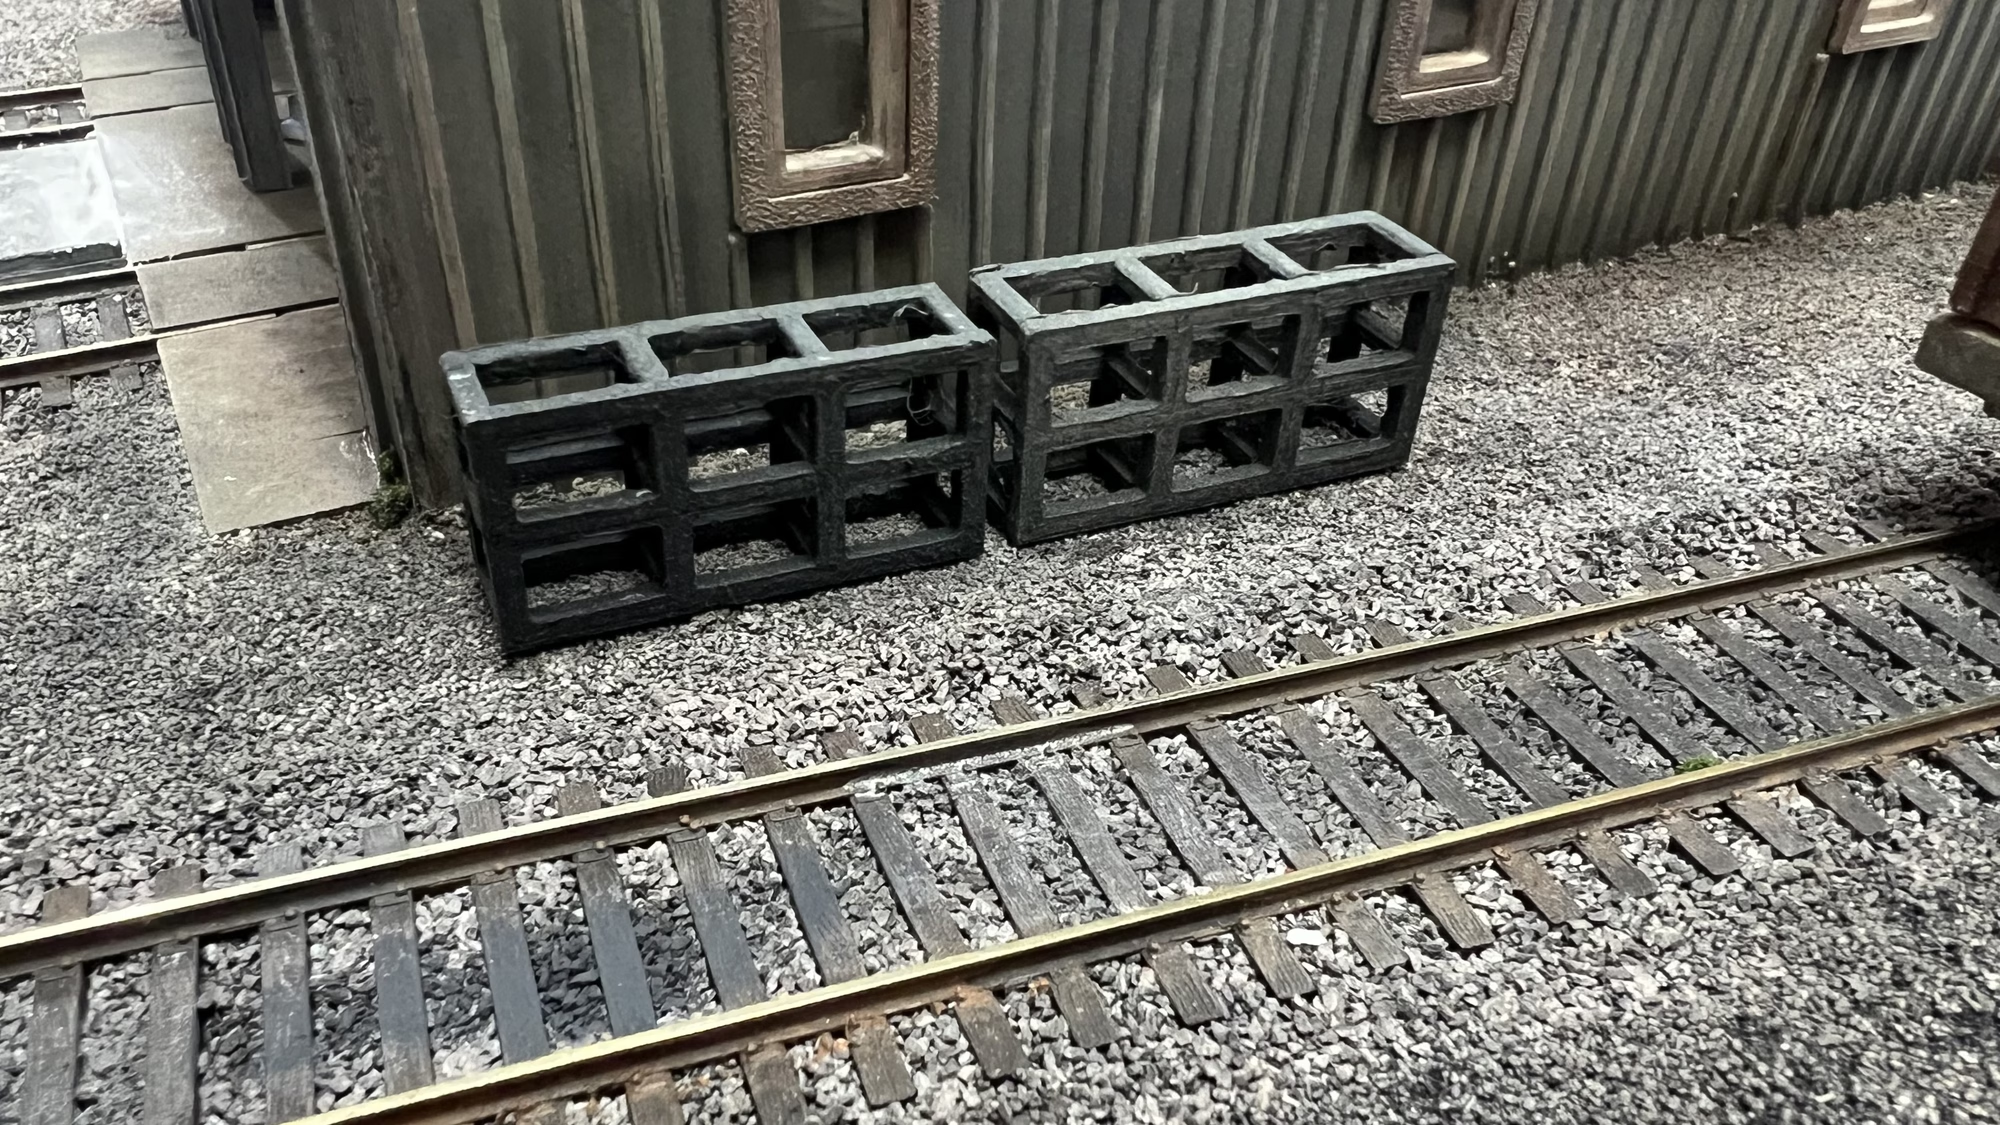
The racking may look a little thick, but it’s only 1.5mm. I tried 1mm but it just kept snapping when I removed the supports.
…and finally I 3D printed some scrap metal “loads” for the XXX wagons.
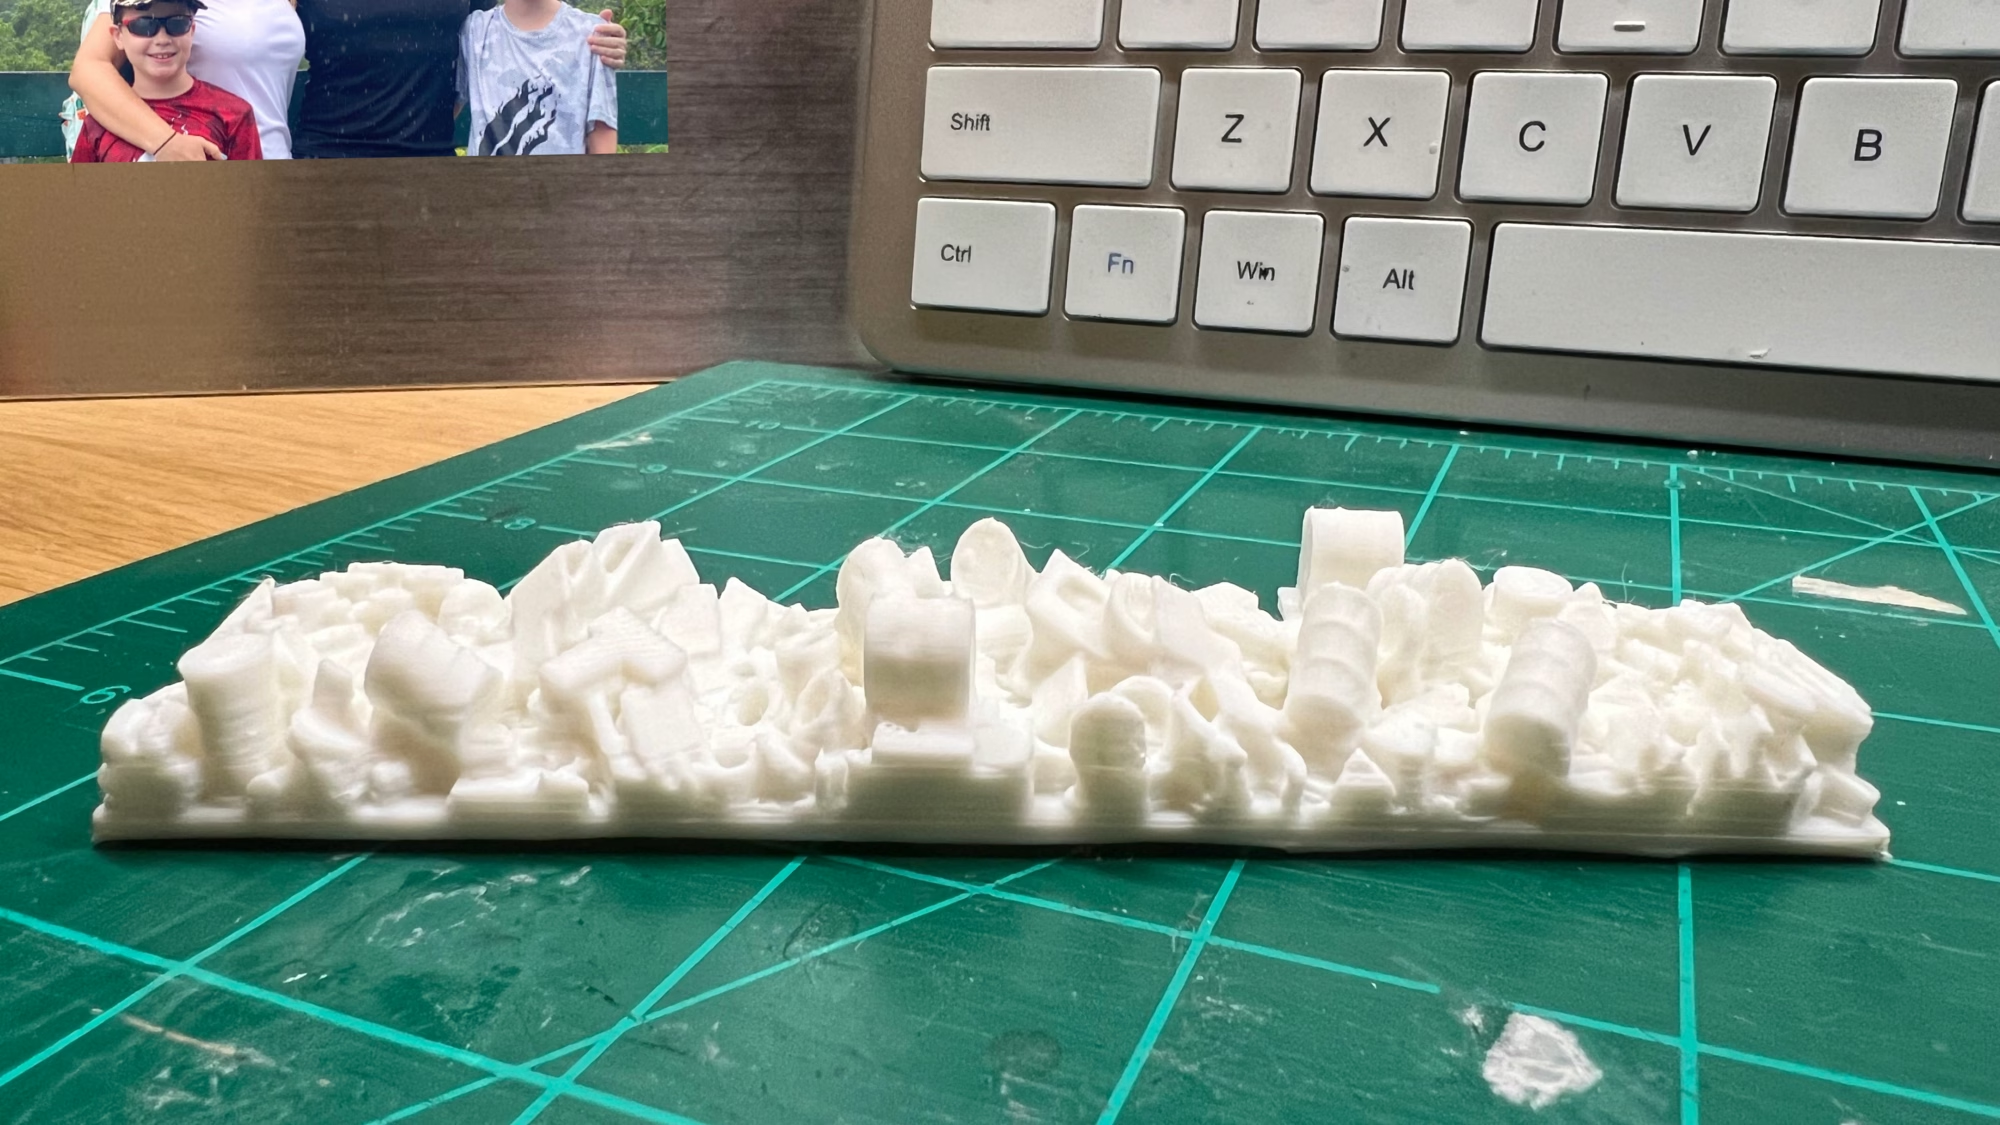
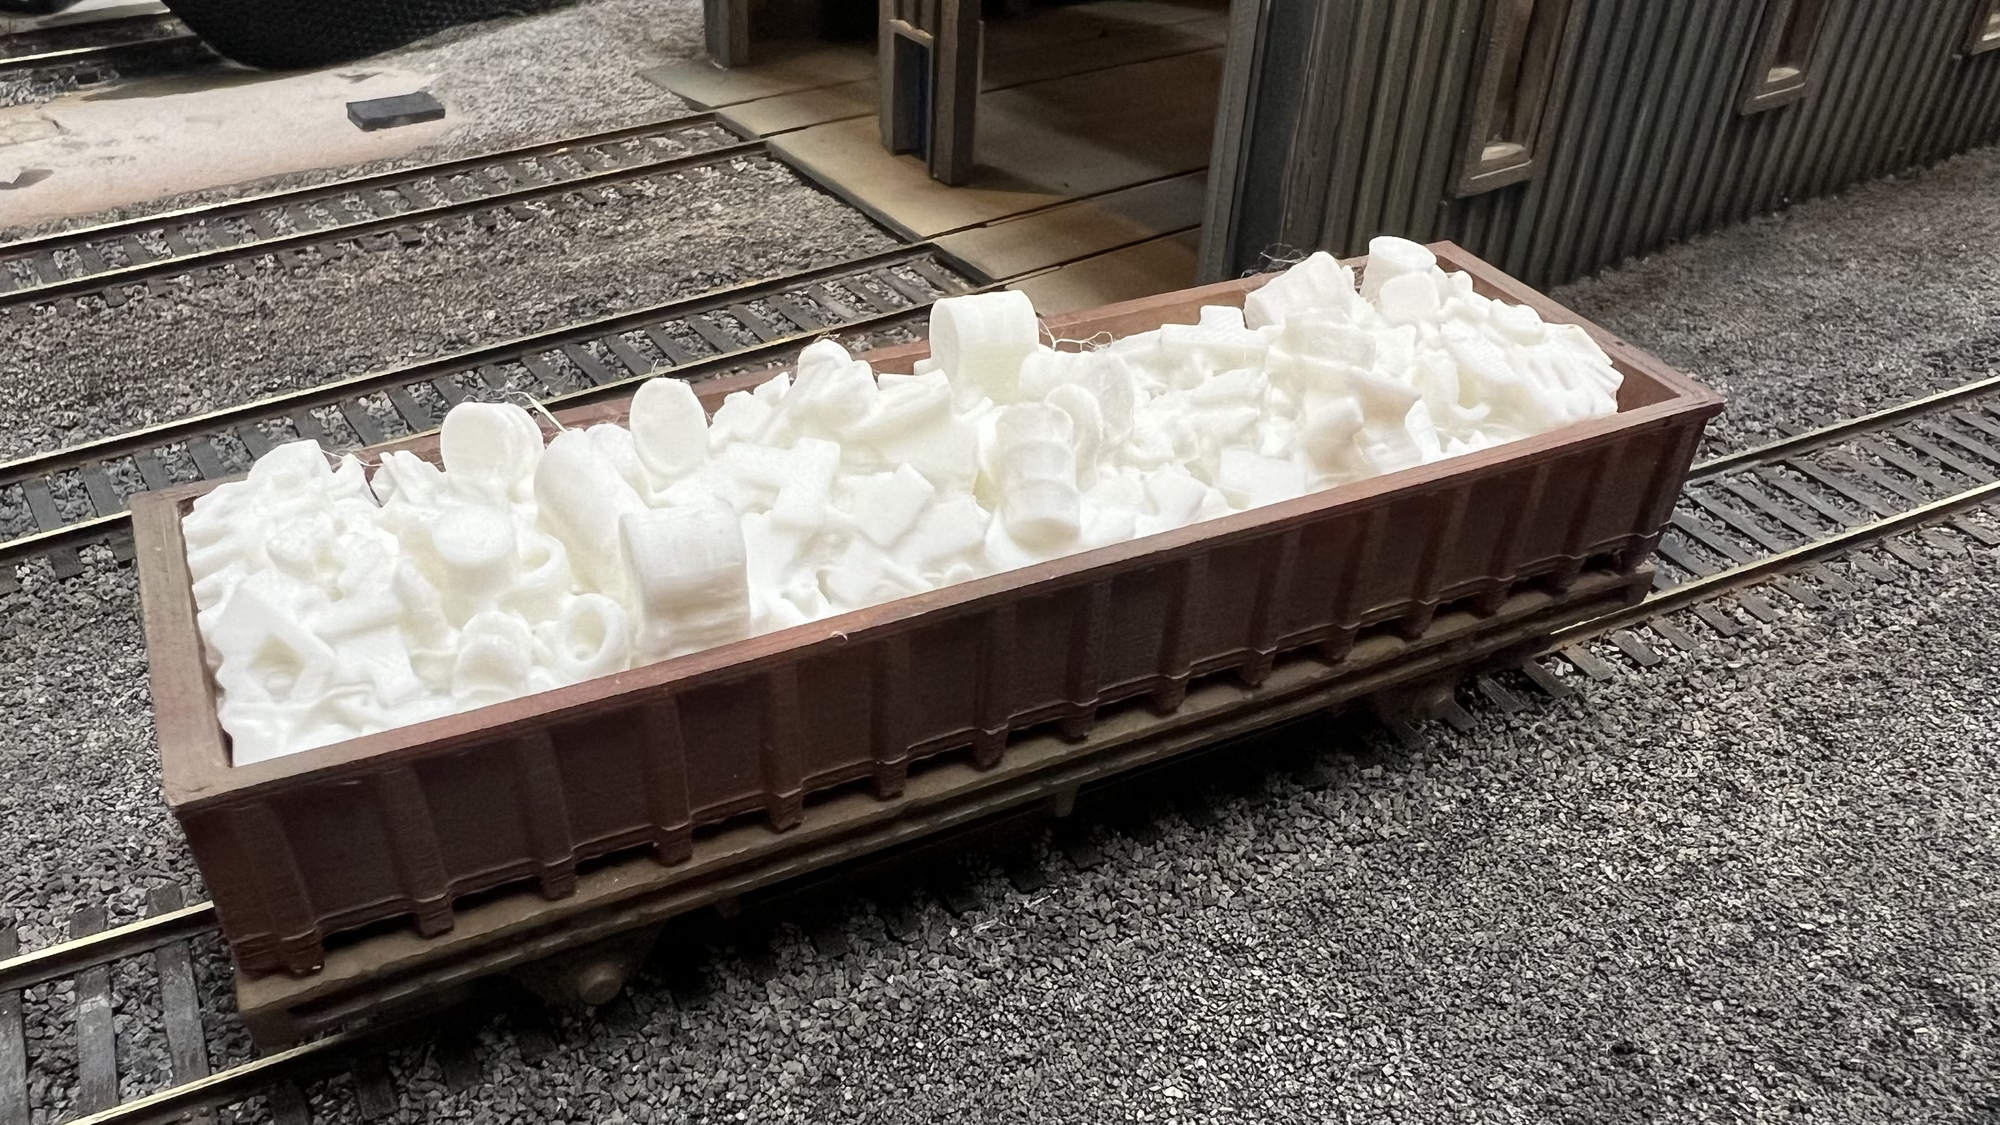
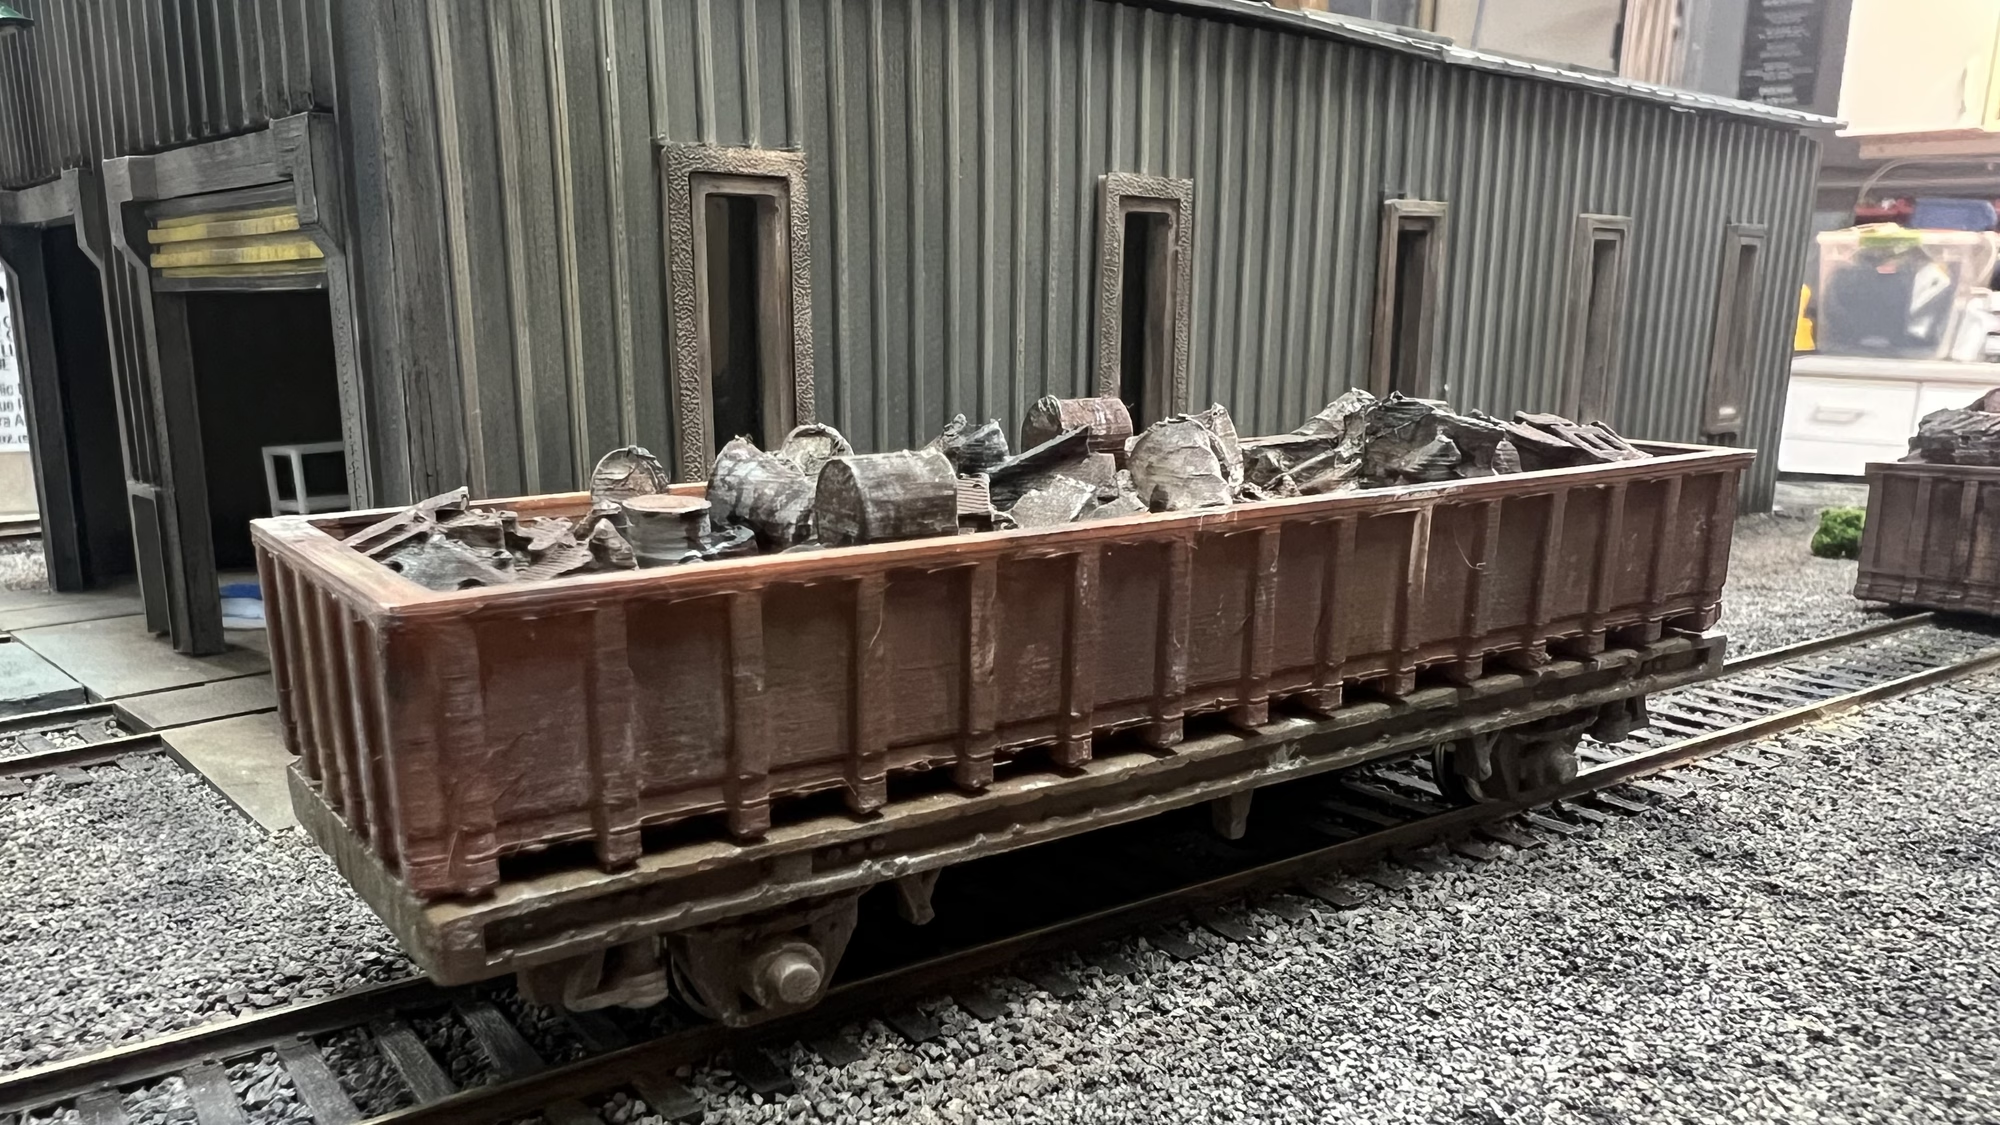
That was fun painting and weathering the “load”.
OK, the next post is going to be about the diesel refueling station. I 3D printed this a while ago but didn’t do much with it. It’s a bit basic at the moment so I’m going to be working on that.
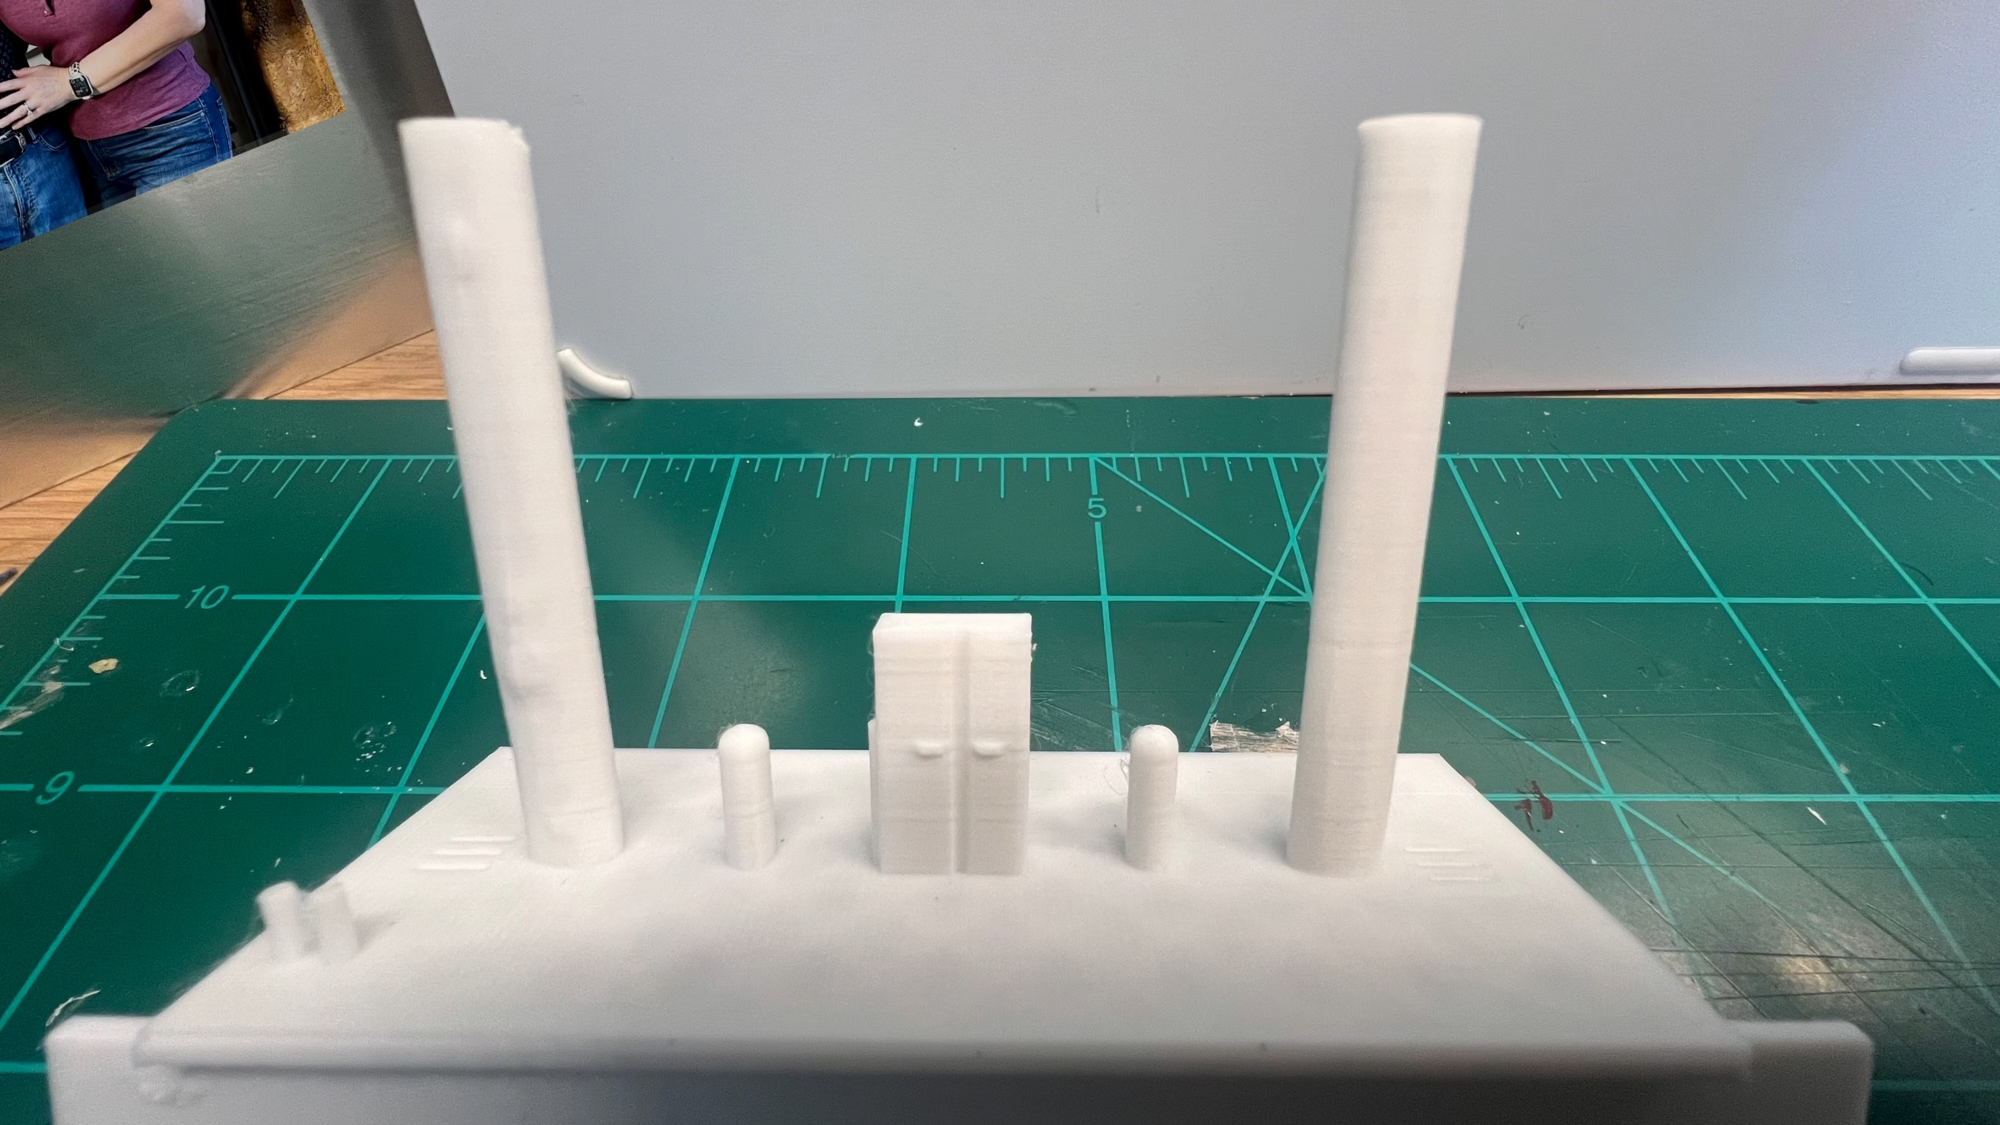
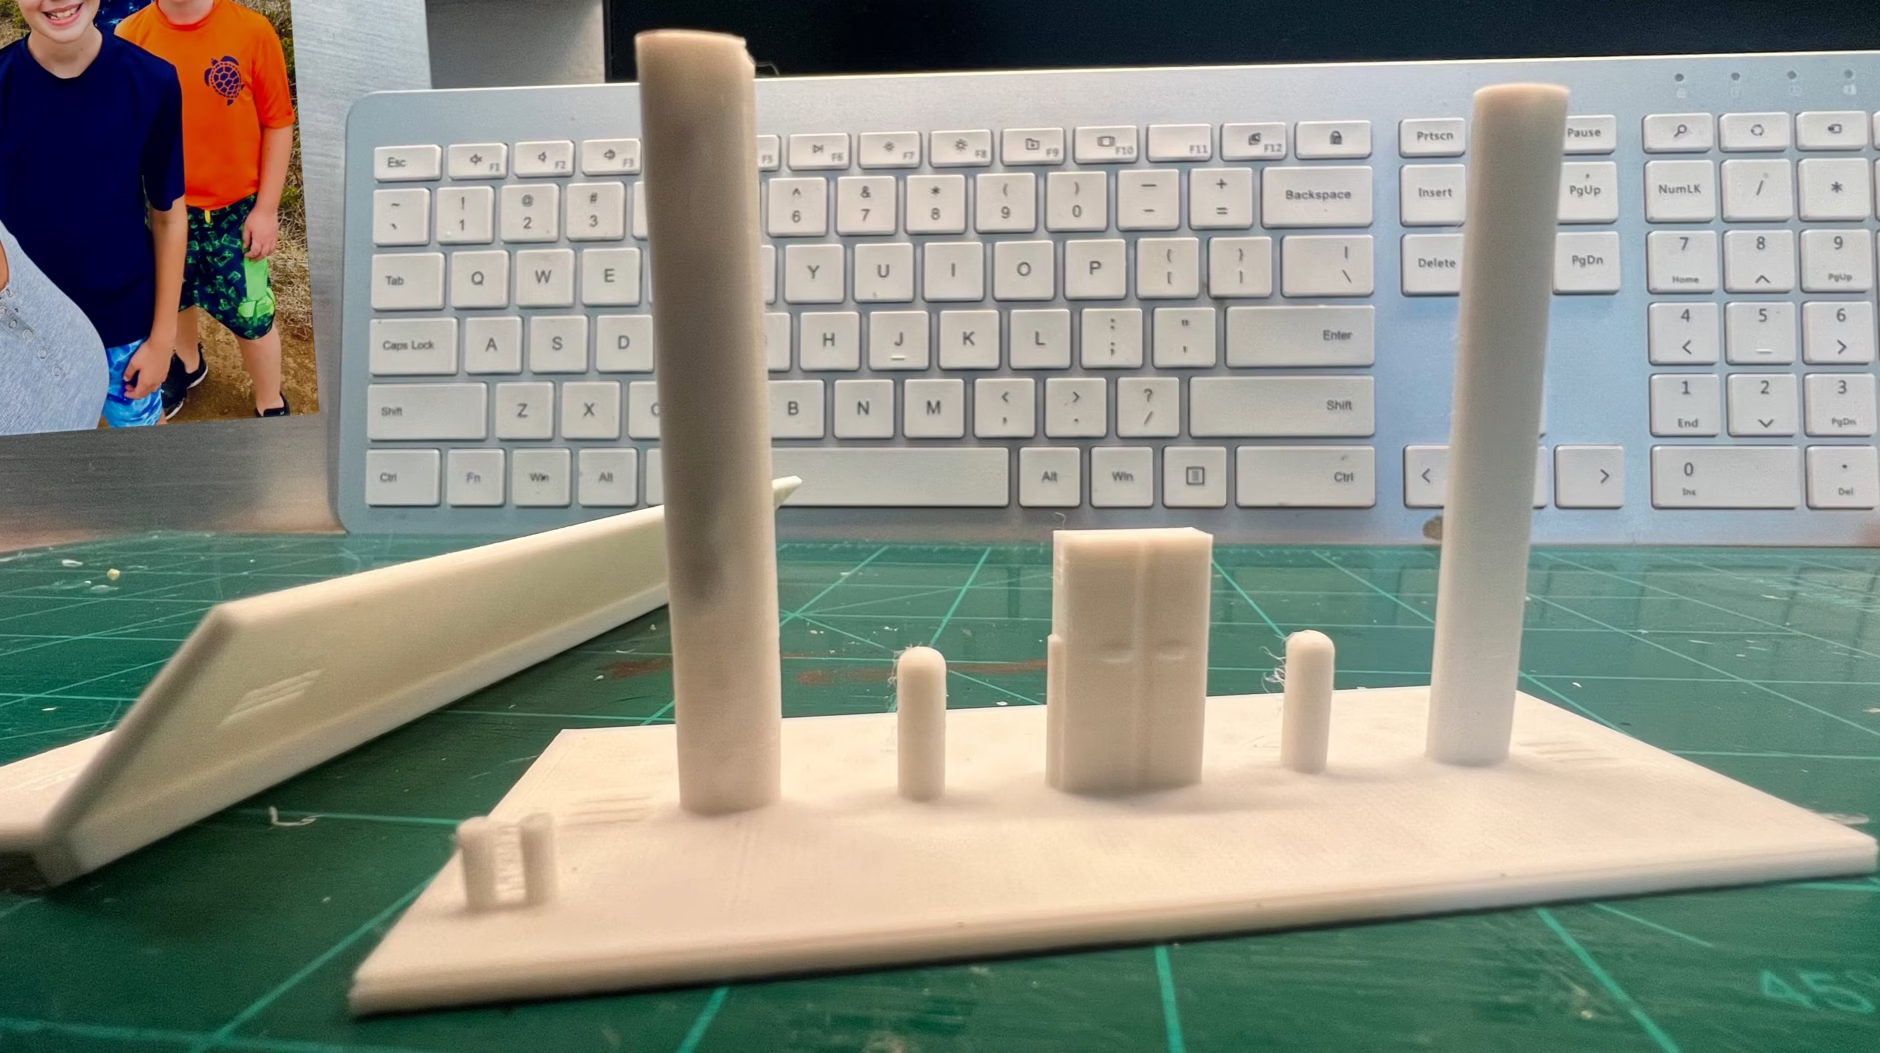
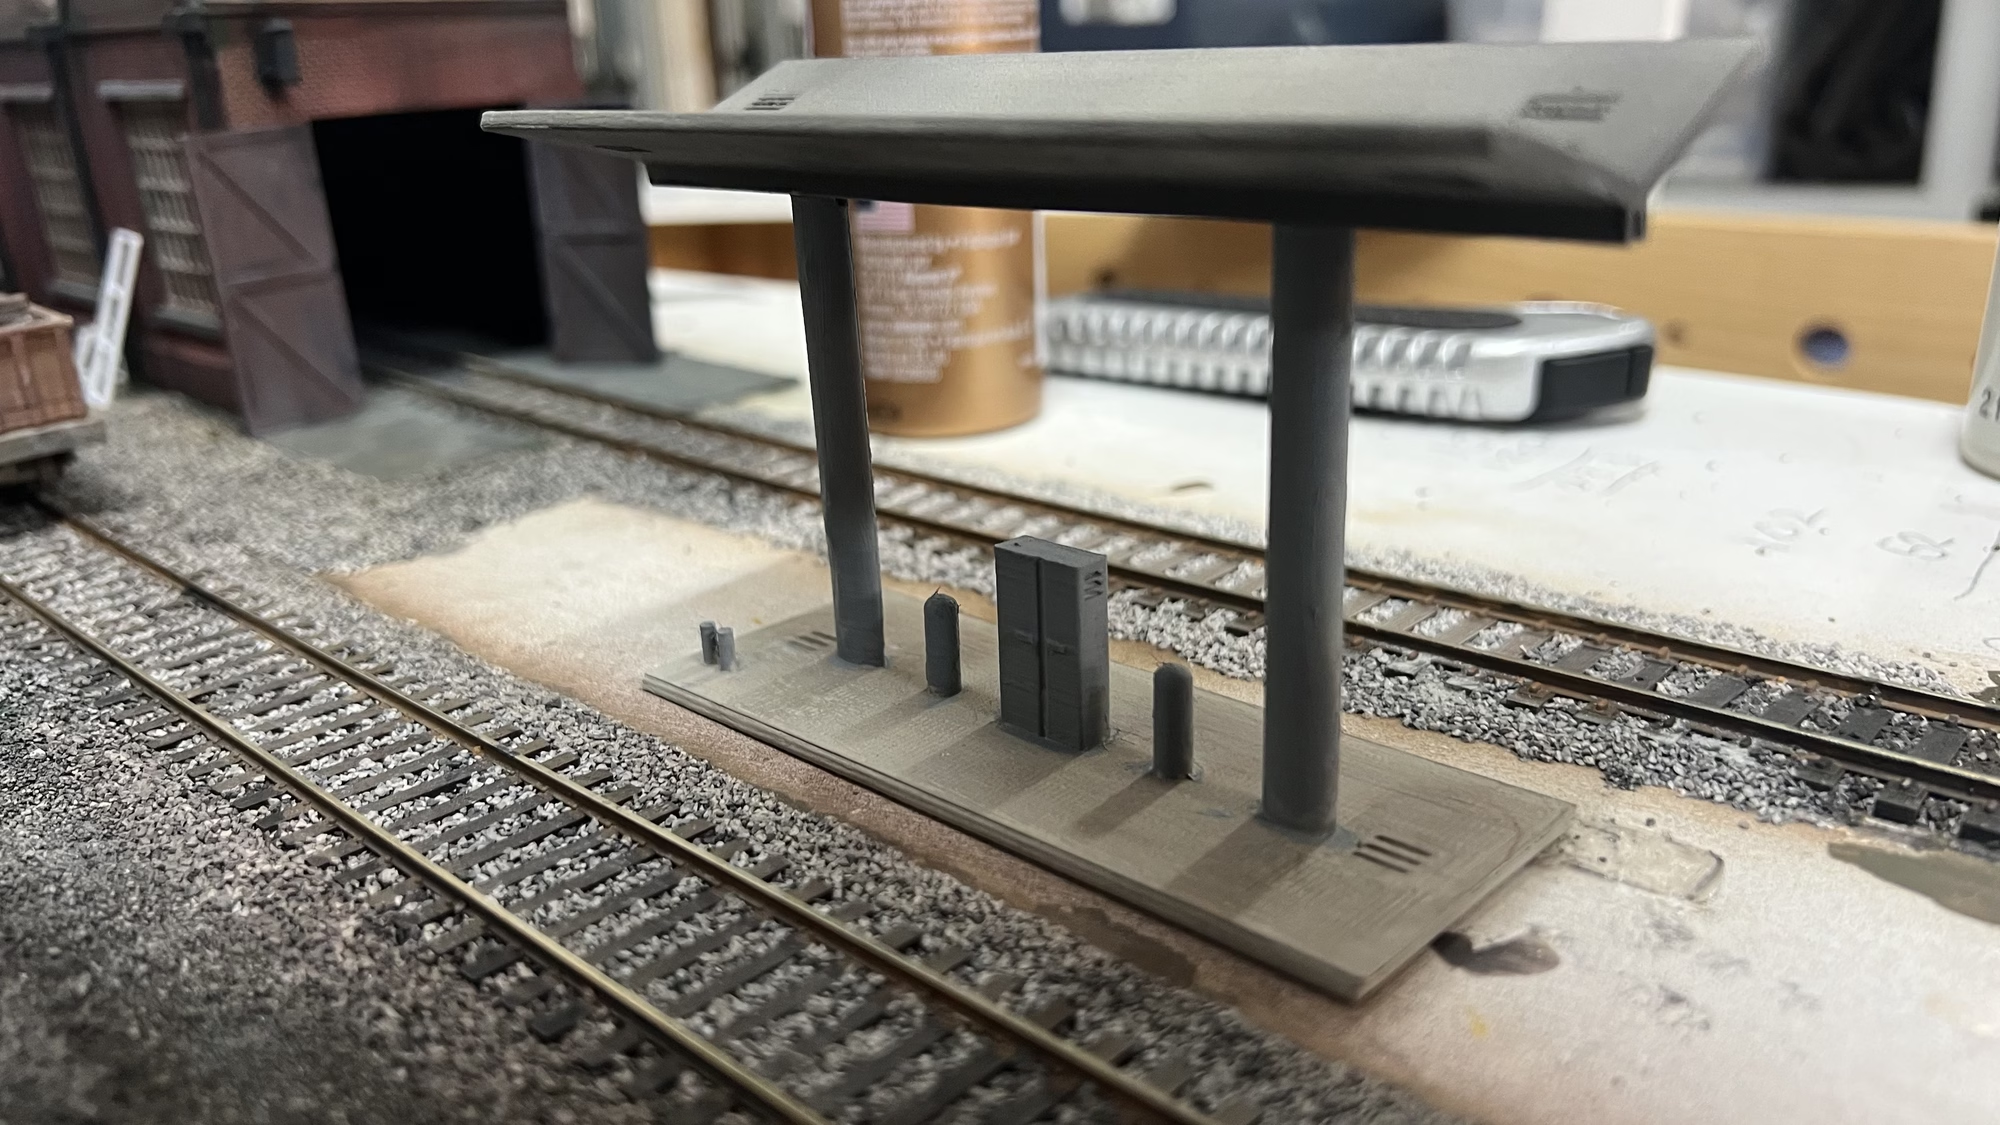
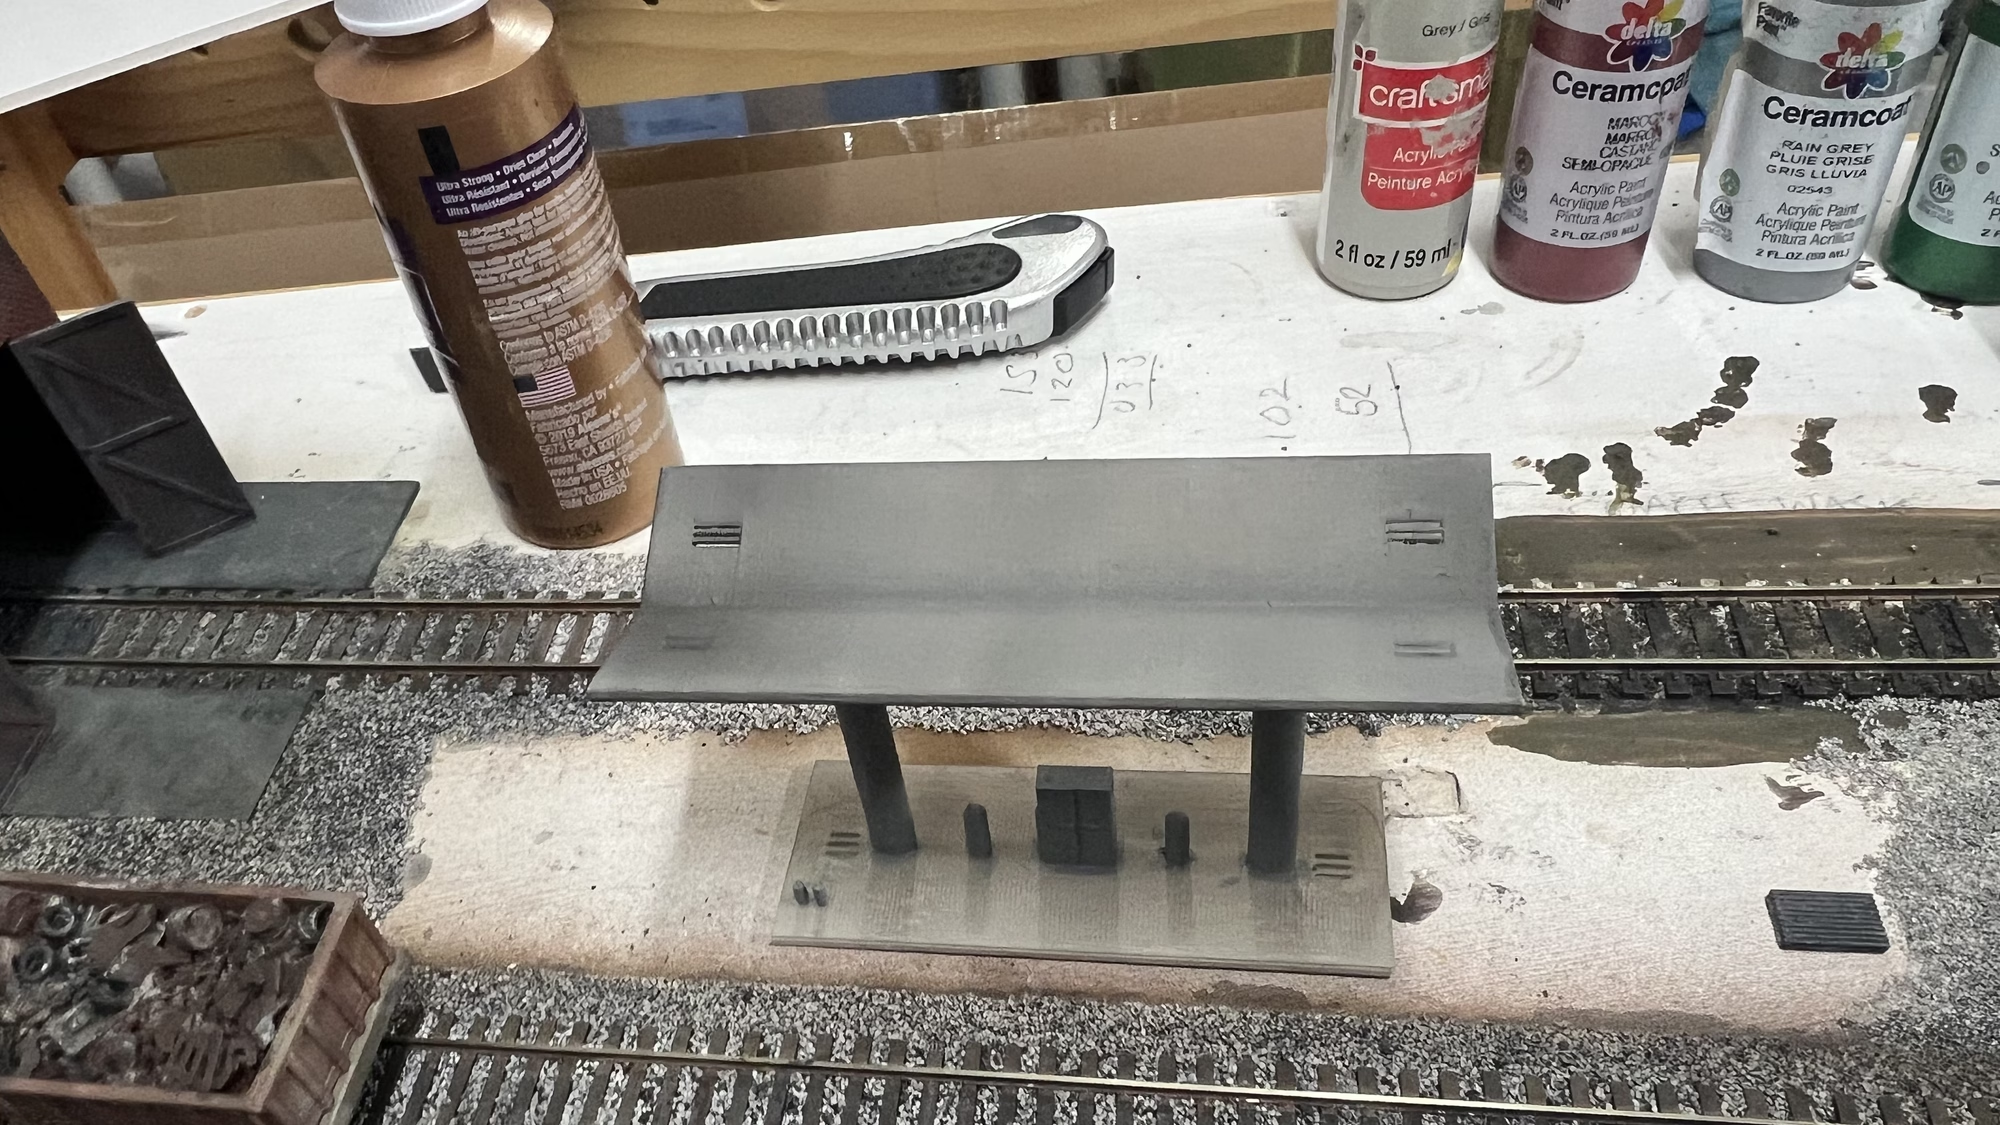 More to come… thanks for checking in.
Update – December 22, 2024
I’ve finally finished all the parts of the retaining wall. The last sections were wrapped in ScaleScenes papers and glued in place.
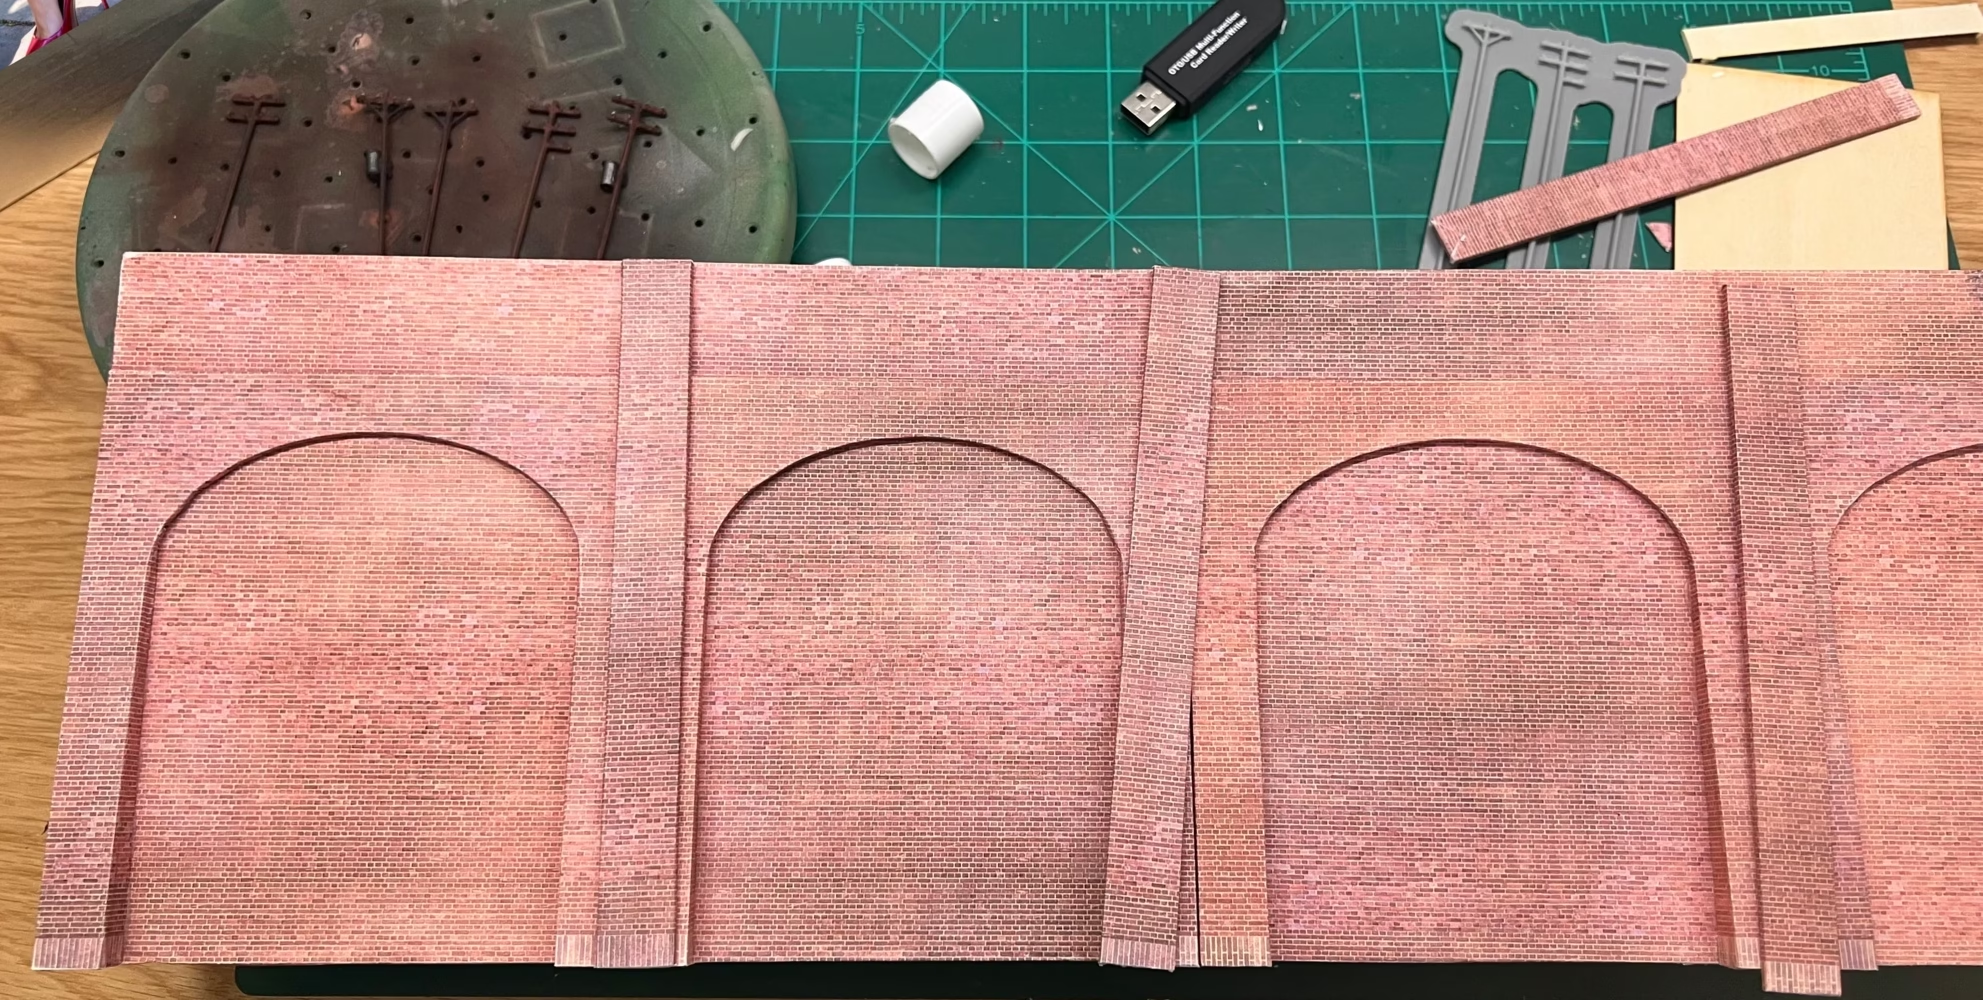
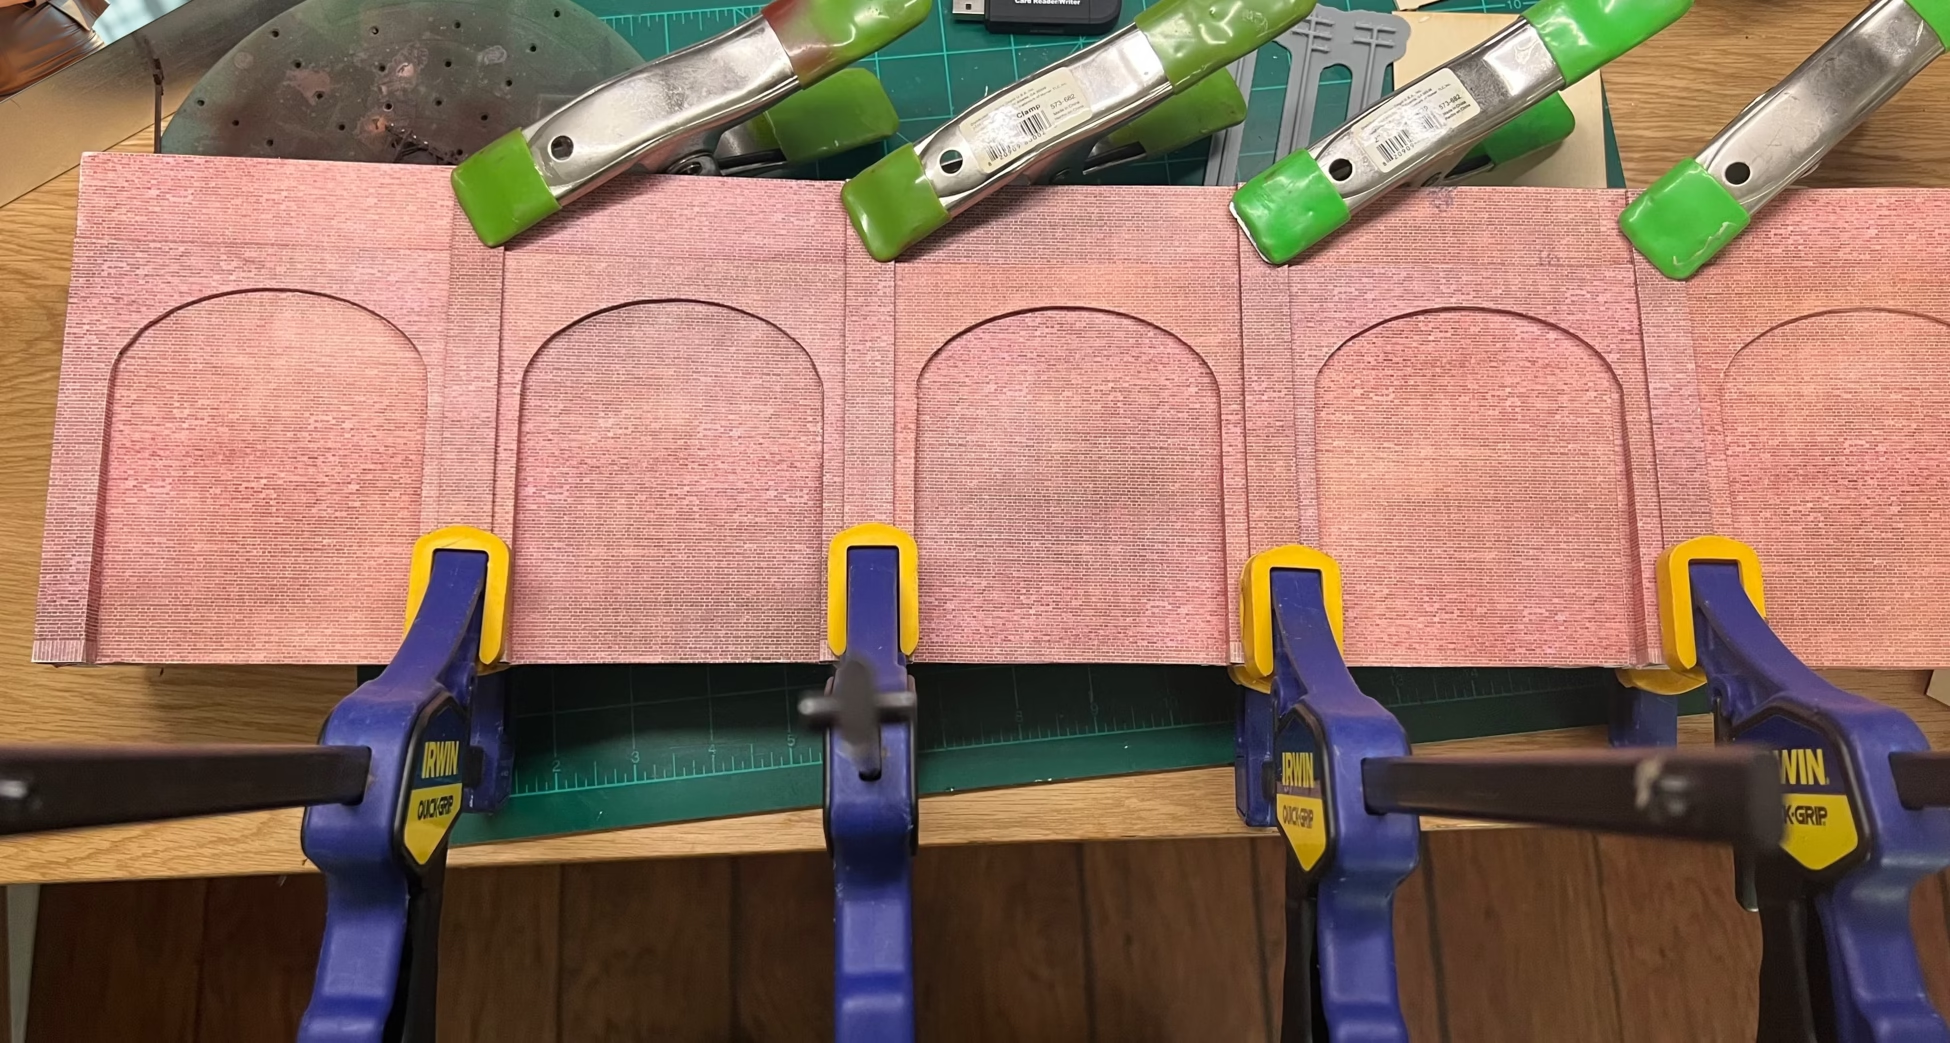
Now it’s time to glue it in place on the Diorama. You can see below I’ve scattered the Woodland Scenics ballast followed by the usual dishwashing liquid gently dropped onto the ballast with a pipette, then the PVA white glue and water mix followed.
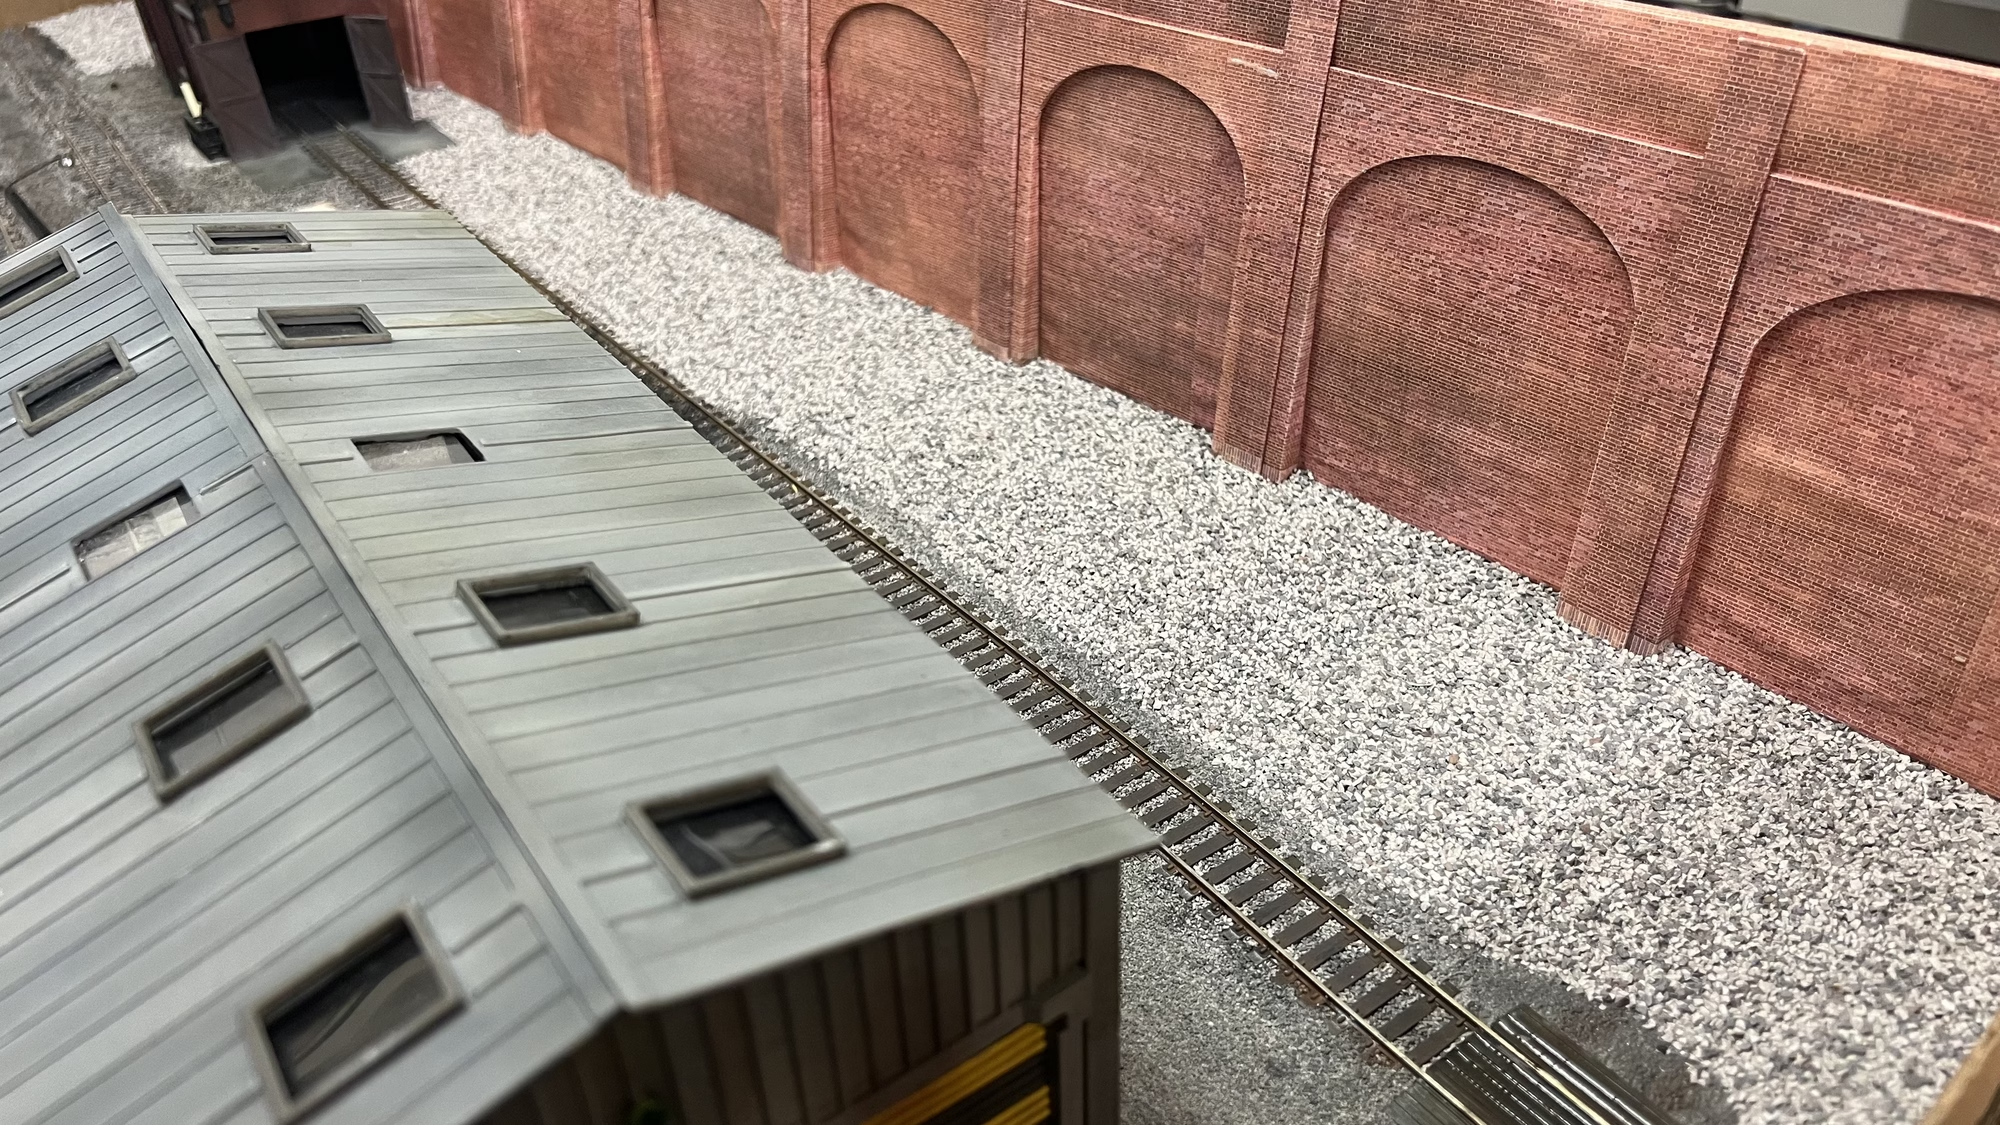
There is still a lot to do with the retaining wall to make it look more interesting, and of course I need to weather the ballast to match the existing.
There probably wont be another update before Christmas so I’ll wish everyone a Merry Christmas. (other faith based seasonal events are available)
Update – January 5, 2025
There has been some progress on the Diorama over the Christmas break.
I wasn’t working on anything major, but a lot of fiddly bits and detailing.
I filled in the gaps around the concrete pad.
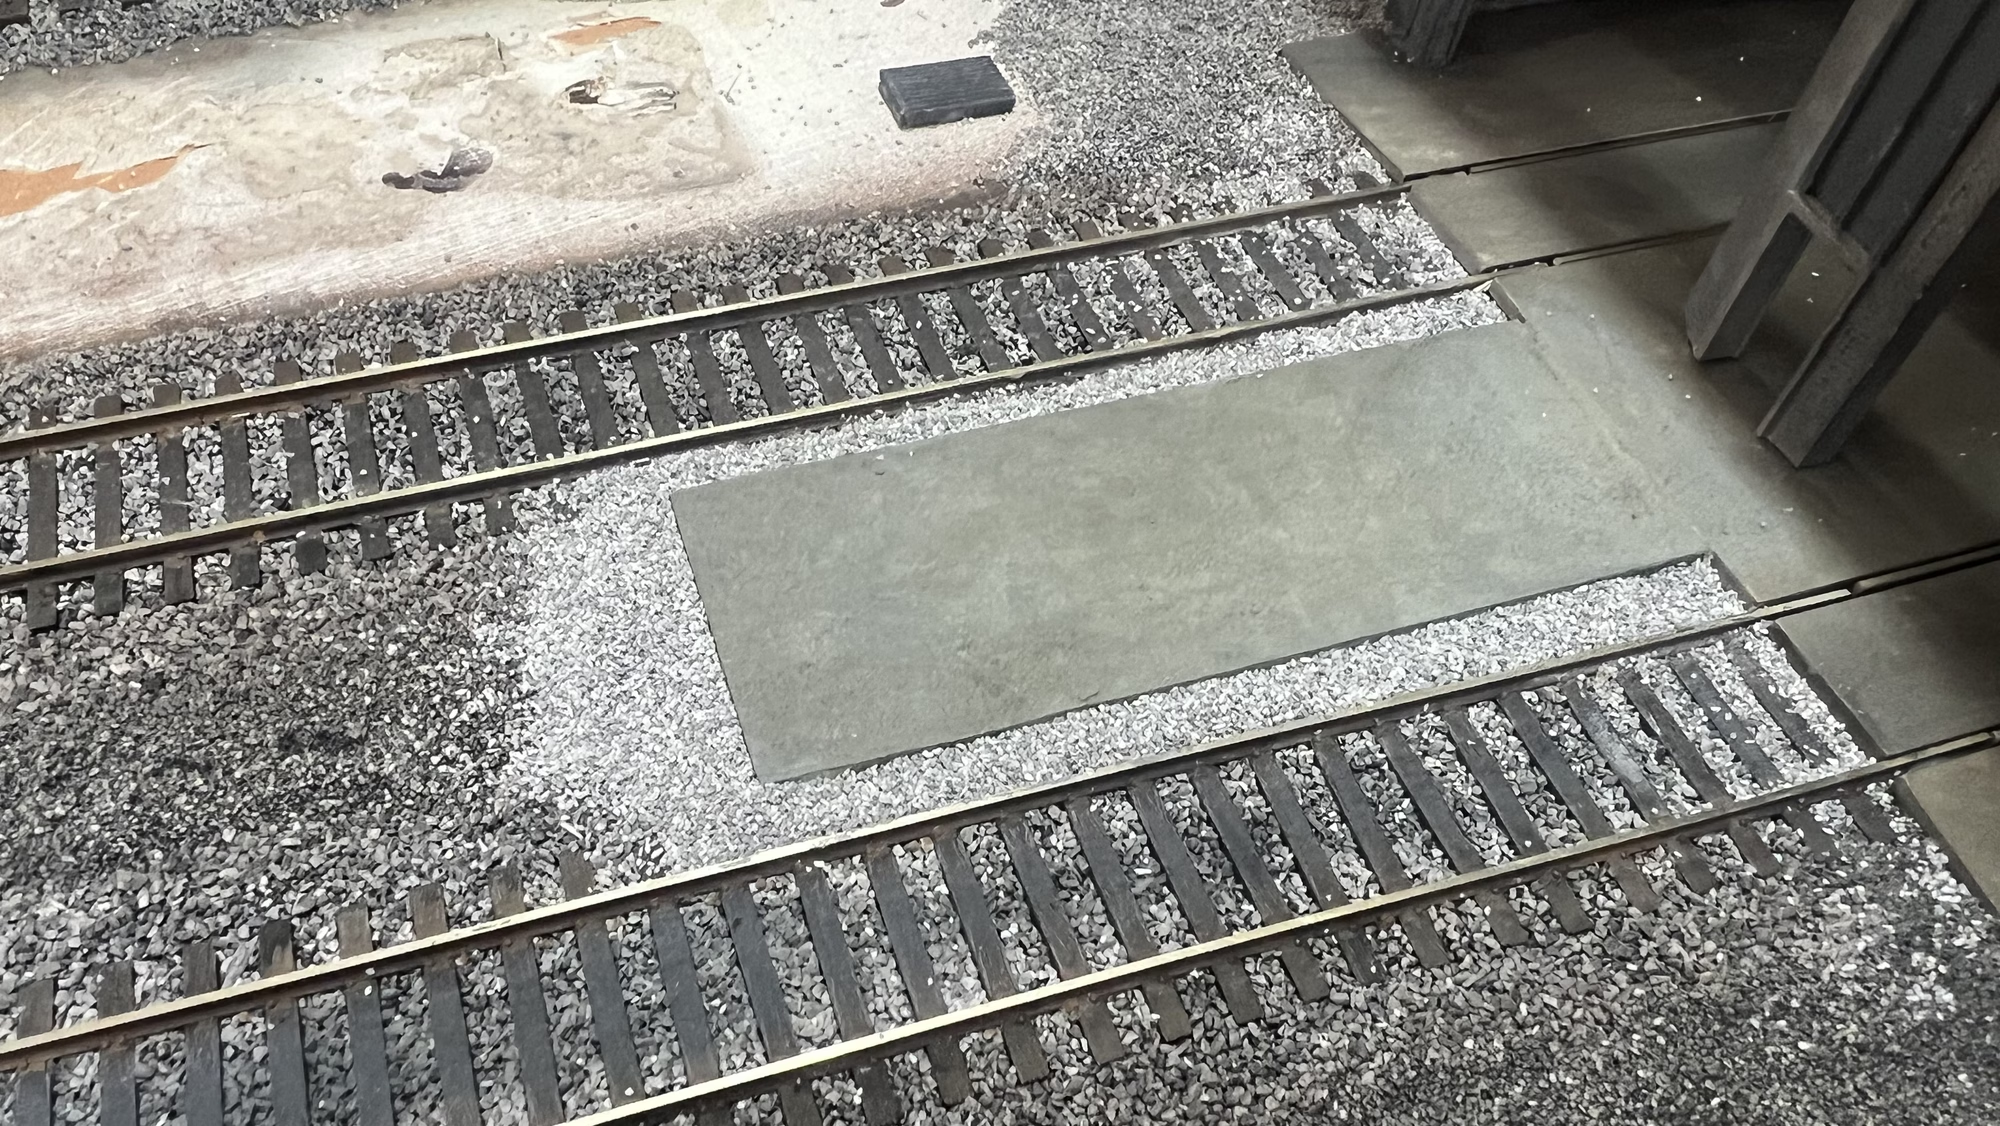
I gouged out some ballast to glue the rack in place, then reballasted around. I will clean off all the excess ballast when they are dry. 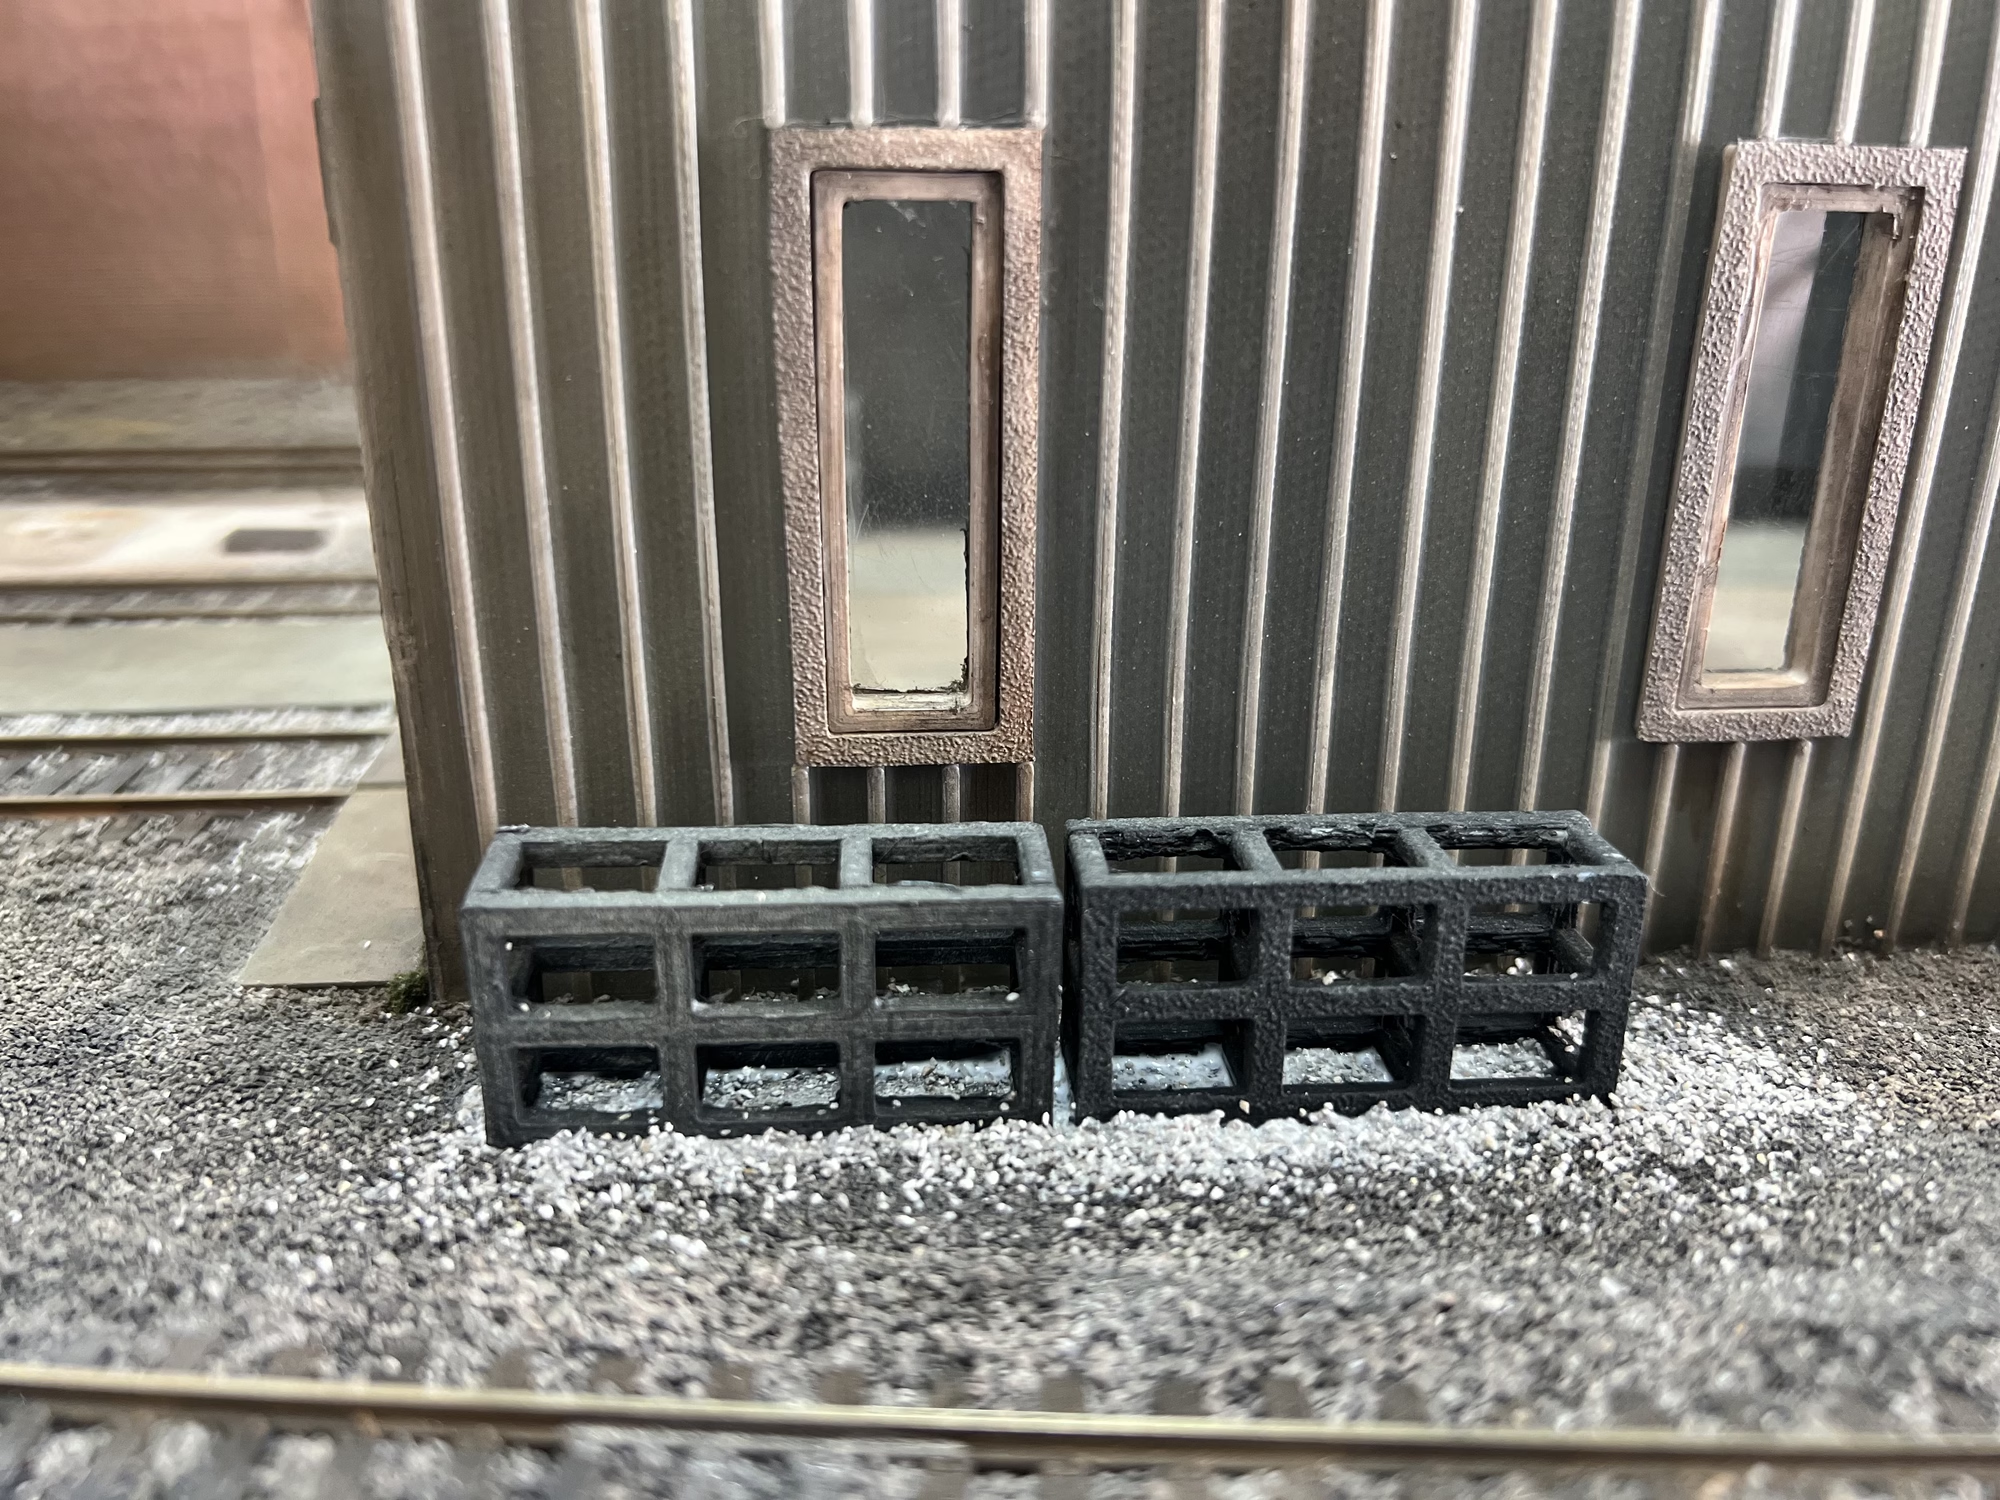
I started to experiment with some grass scatter. I’m not a fan of a piece of day-glo green grass sitting in the middle of a scene. This will be a trial and error until I get what I’m looking for. I also planted one of my telegraph poles to see if I had the dimensions correct.
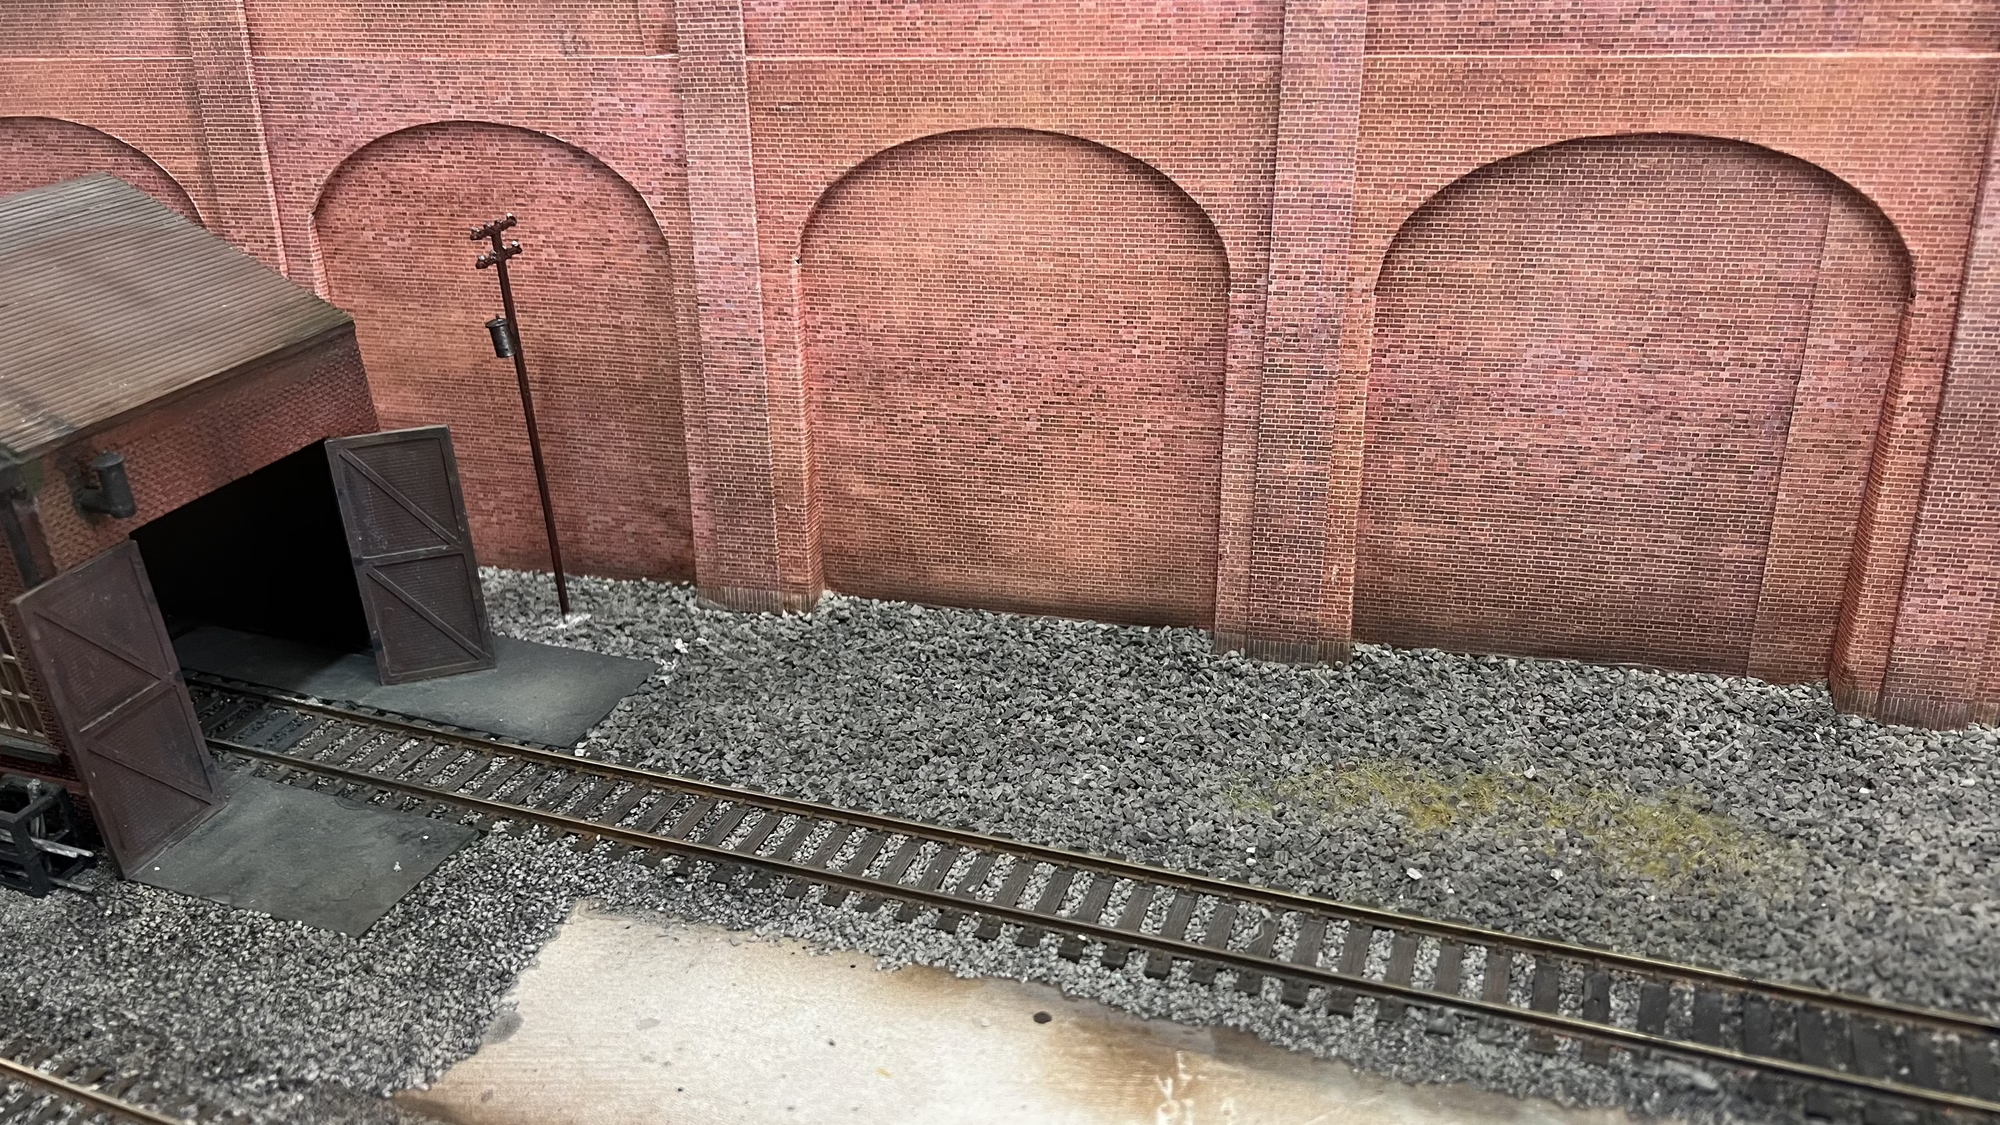
Here we have a ScaleScenes hut that I built years ago. I gouged out more ballast to glue it in place, then reballasted around. I did the same with some coal staithes that I created in Tinkercad and 3D printed. The hut needs some attention, the paper is peeling away in a couple of places. The list of little things never stops growing.
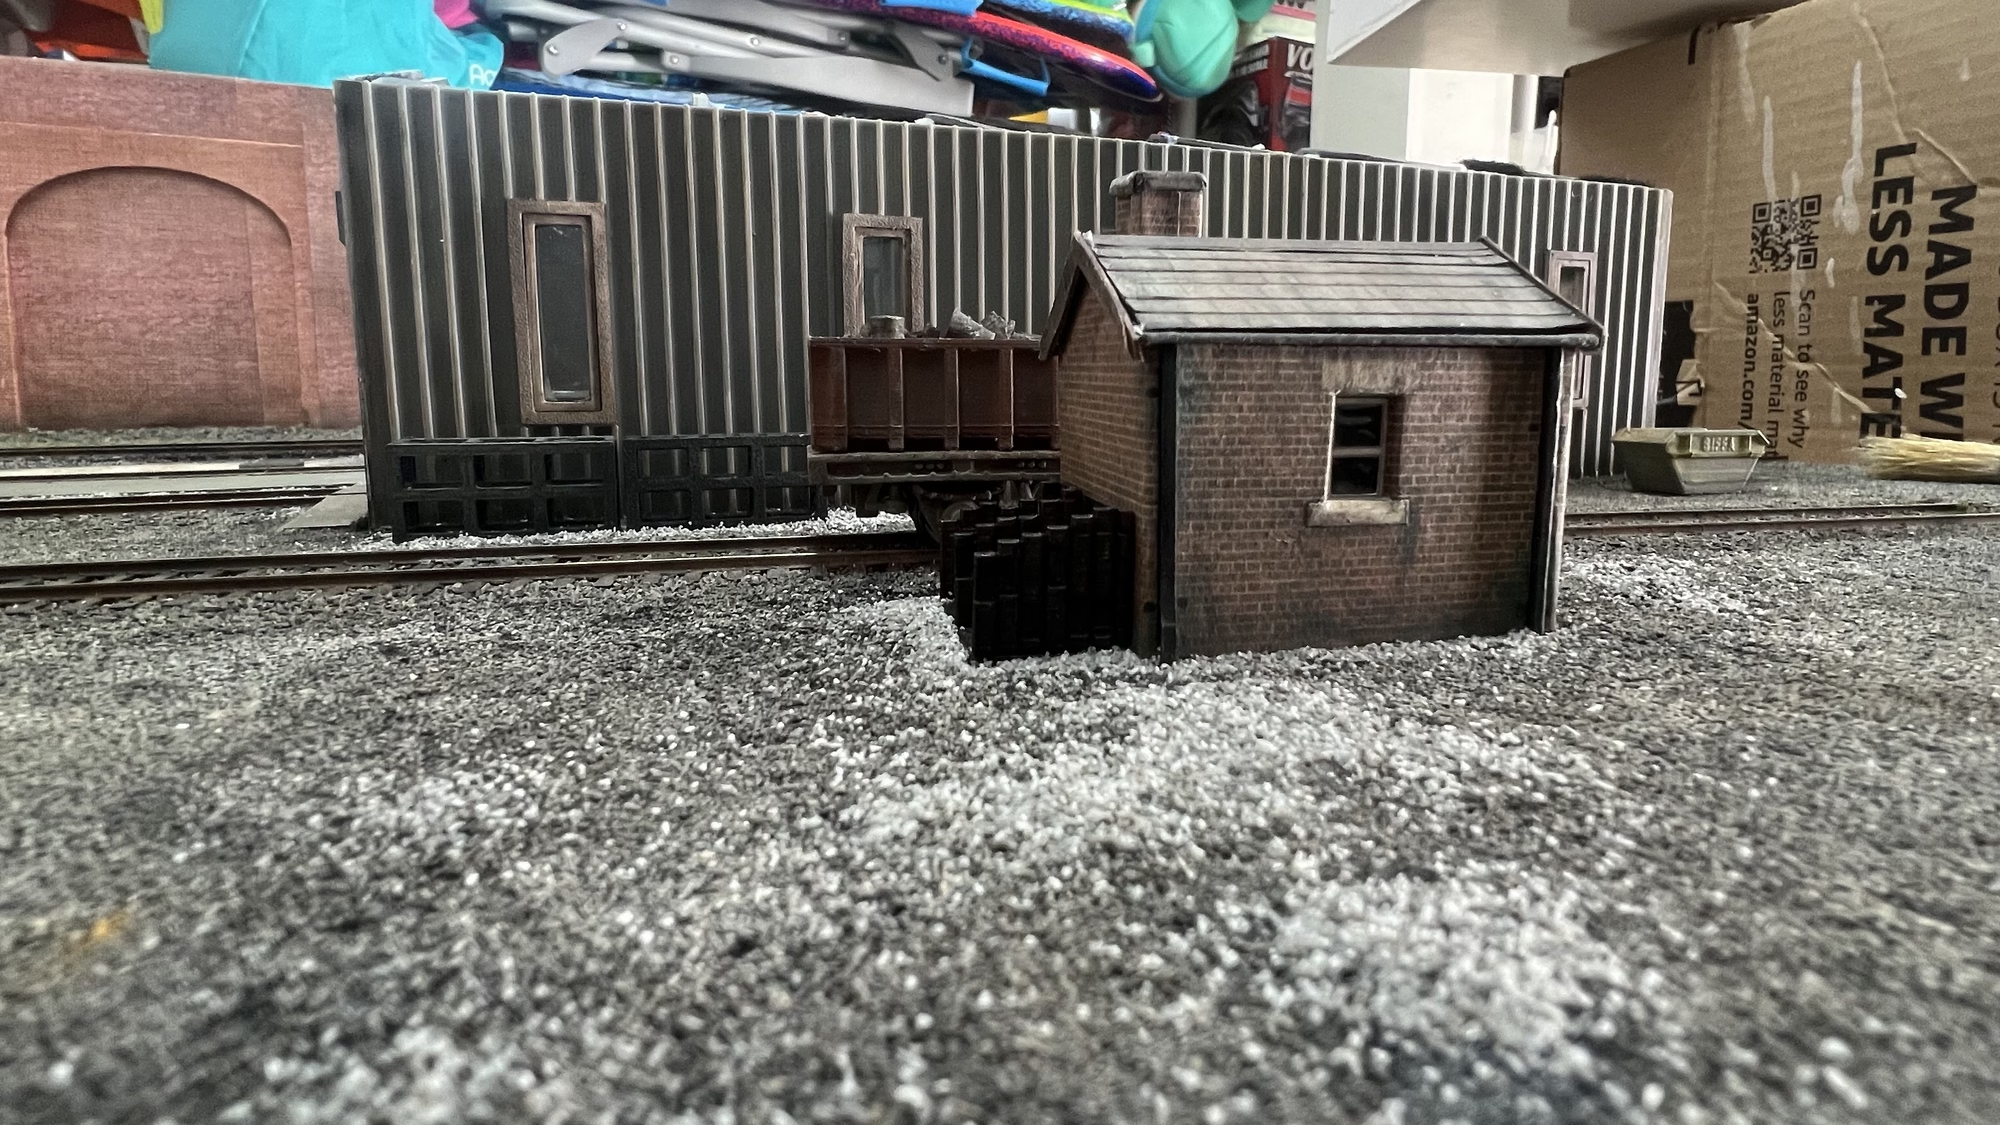
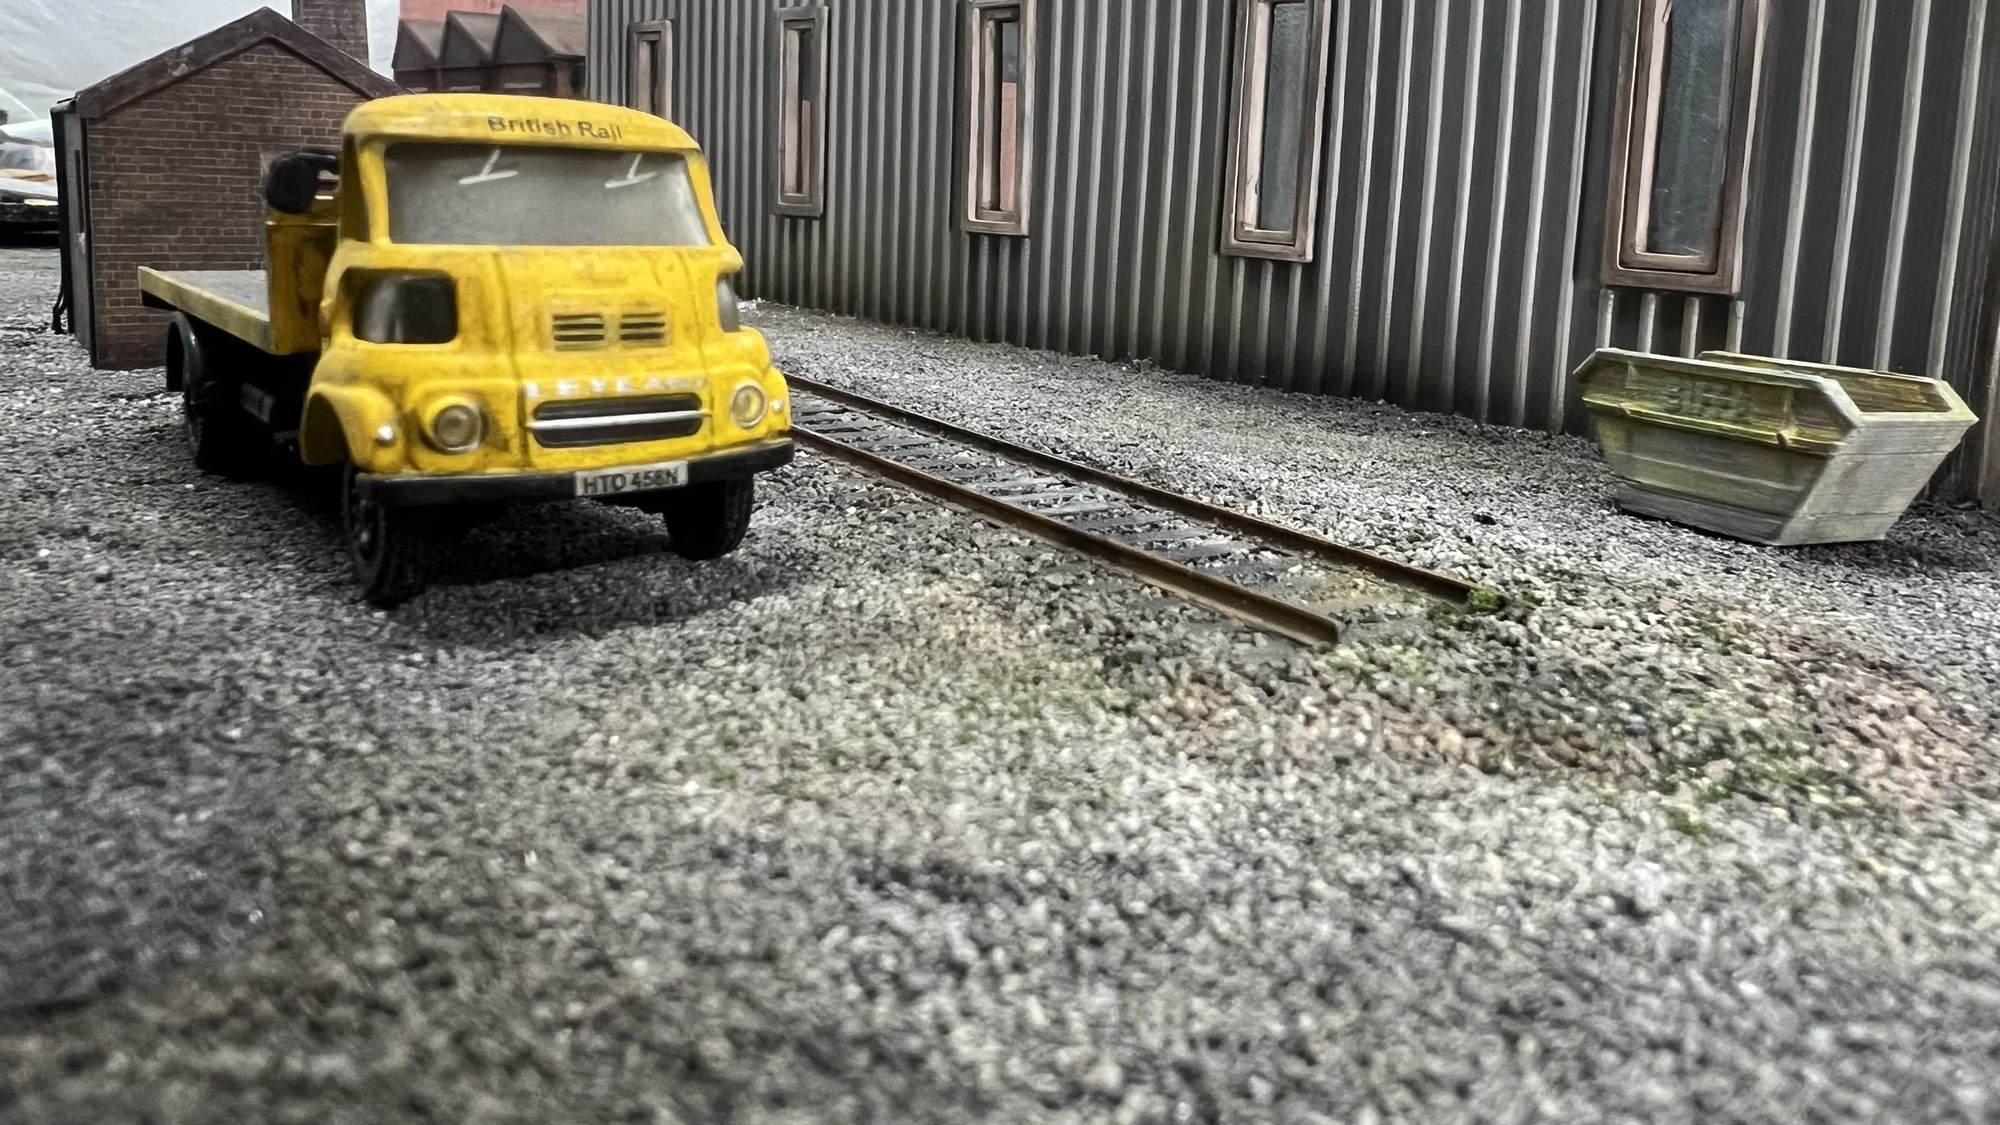
Next a couple of shots showing the freshly planted ScaleScenes building with a lovely weathered British Leyland FG lorry. They were so ugly, but I can remember the sound of their engine very well. 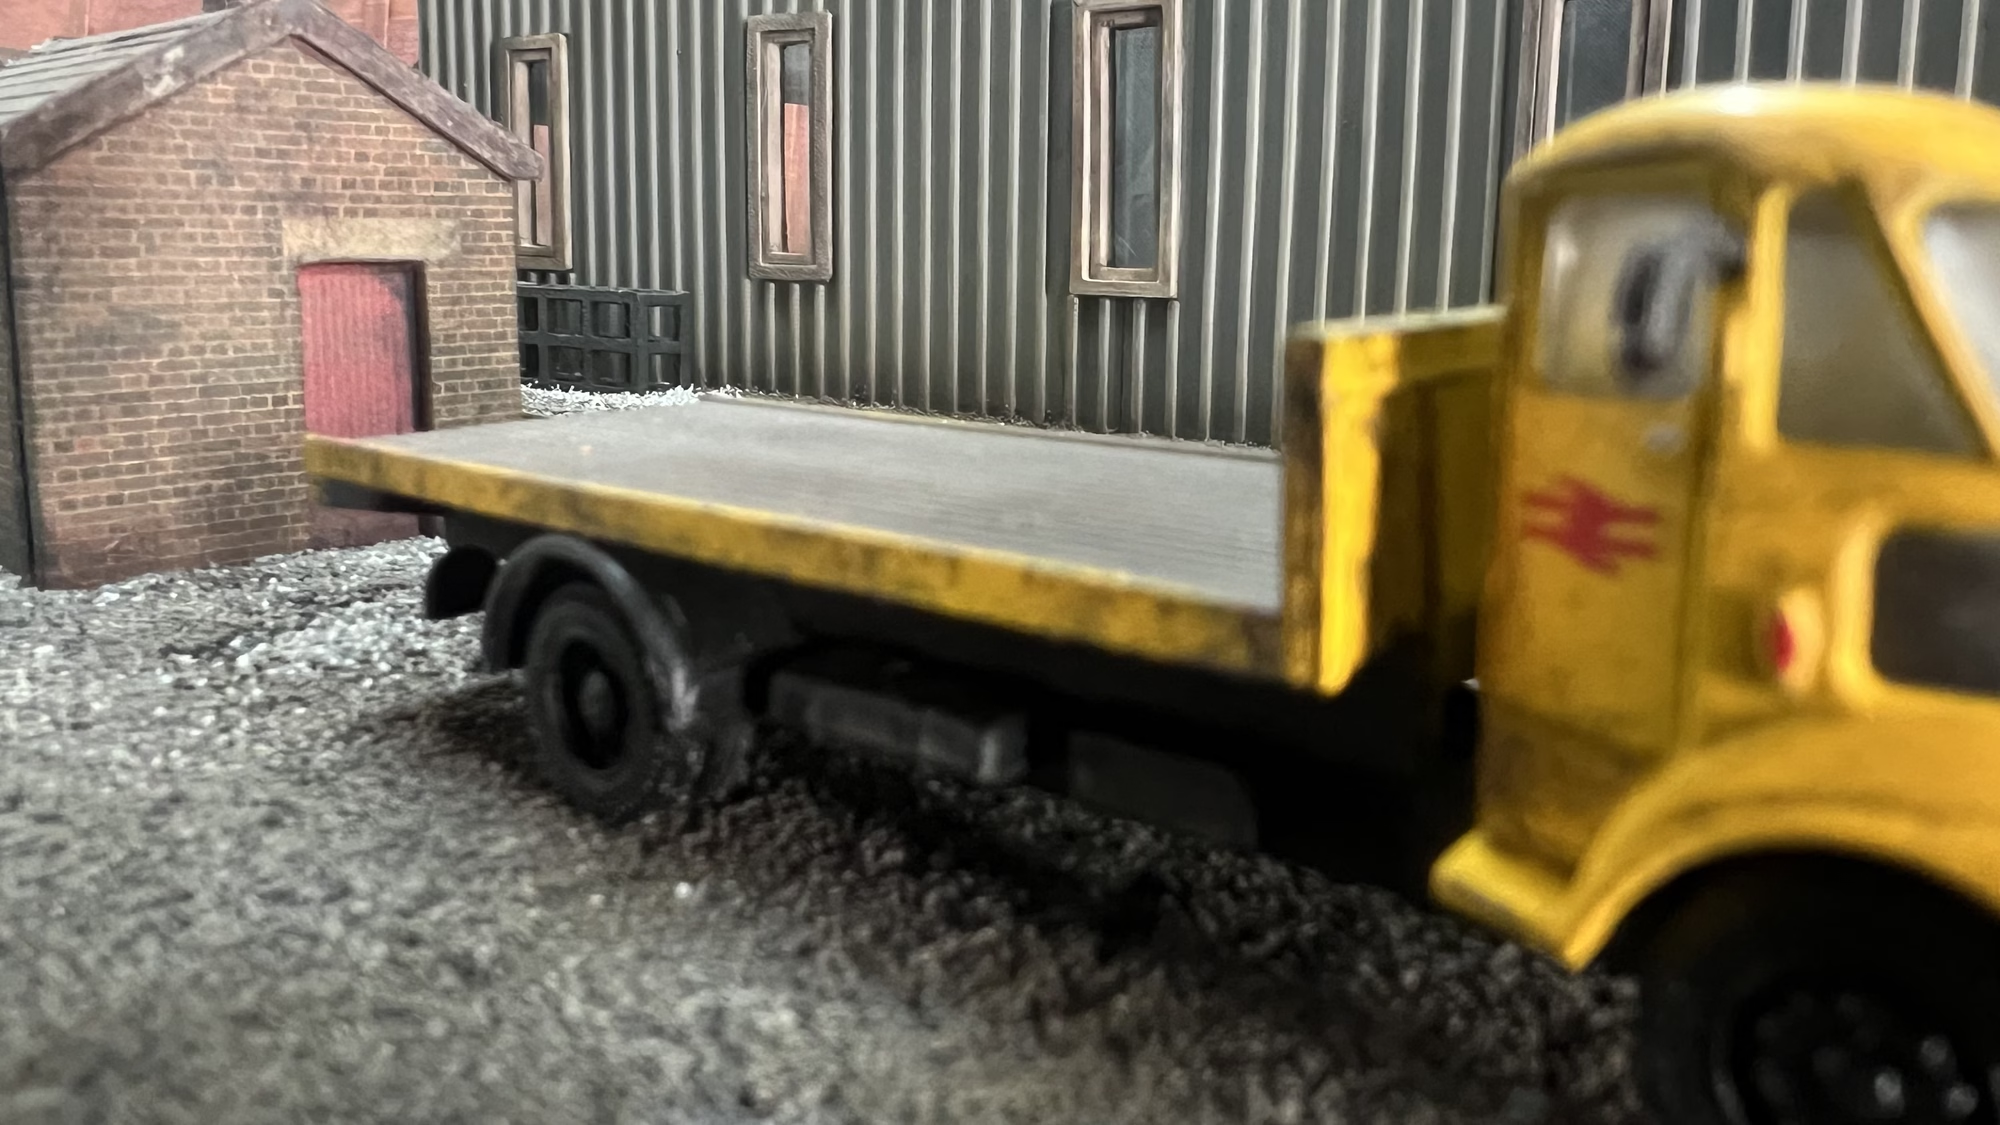
I need to get some rubbish piled into the Biffa bin.
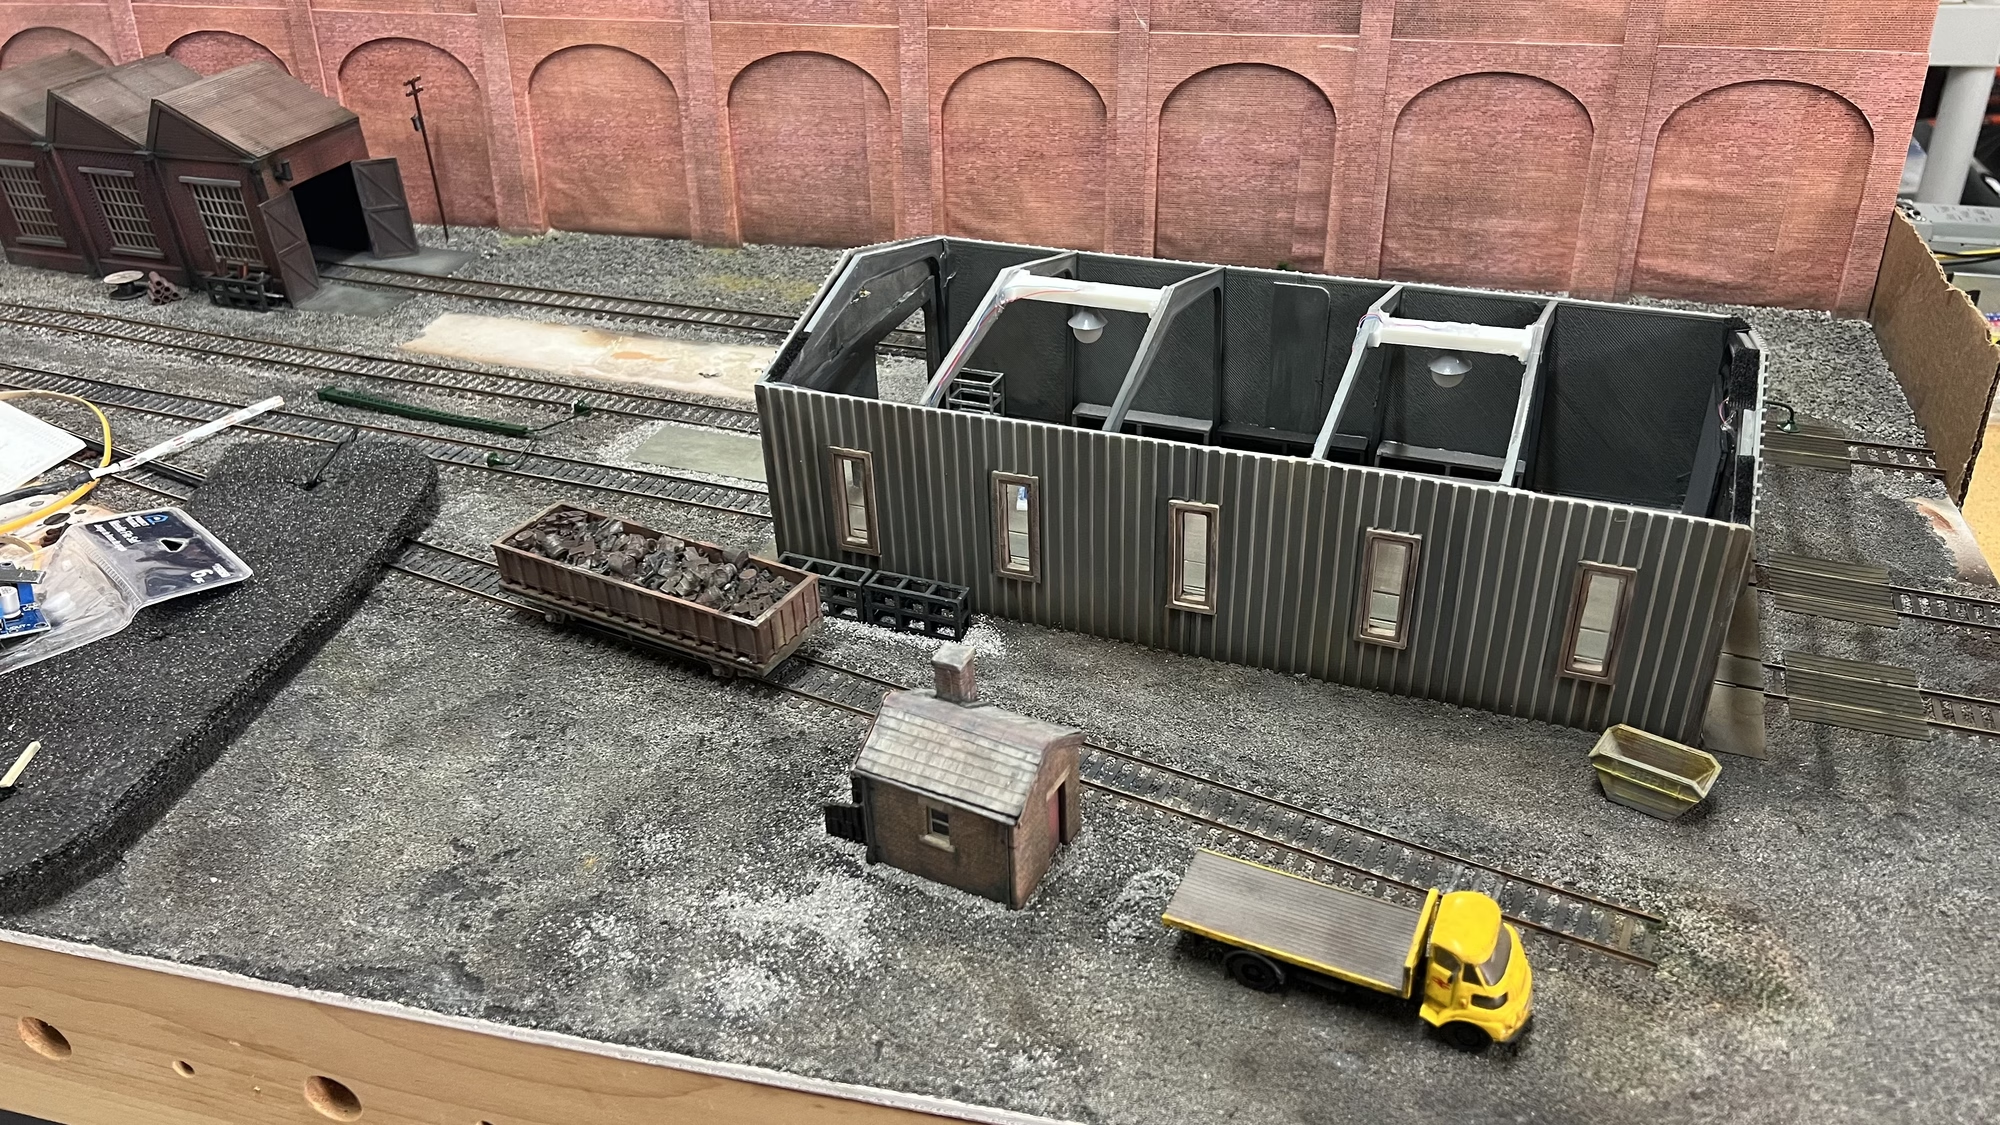
Here we have an aerial view of the 3x4ft diorama. You can see the ScaleScenes papers on the retaining wall have absorbed some of the water/glue mix from the ballast, and have bubbled up. I need to sort that out. If anyone has any suggestions, please comment below.
Back over at the workshop I placed some wood and steel into the racks, and you can see where I’m debating on placing some greenery. Suitabley toned down of course.
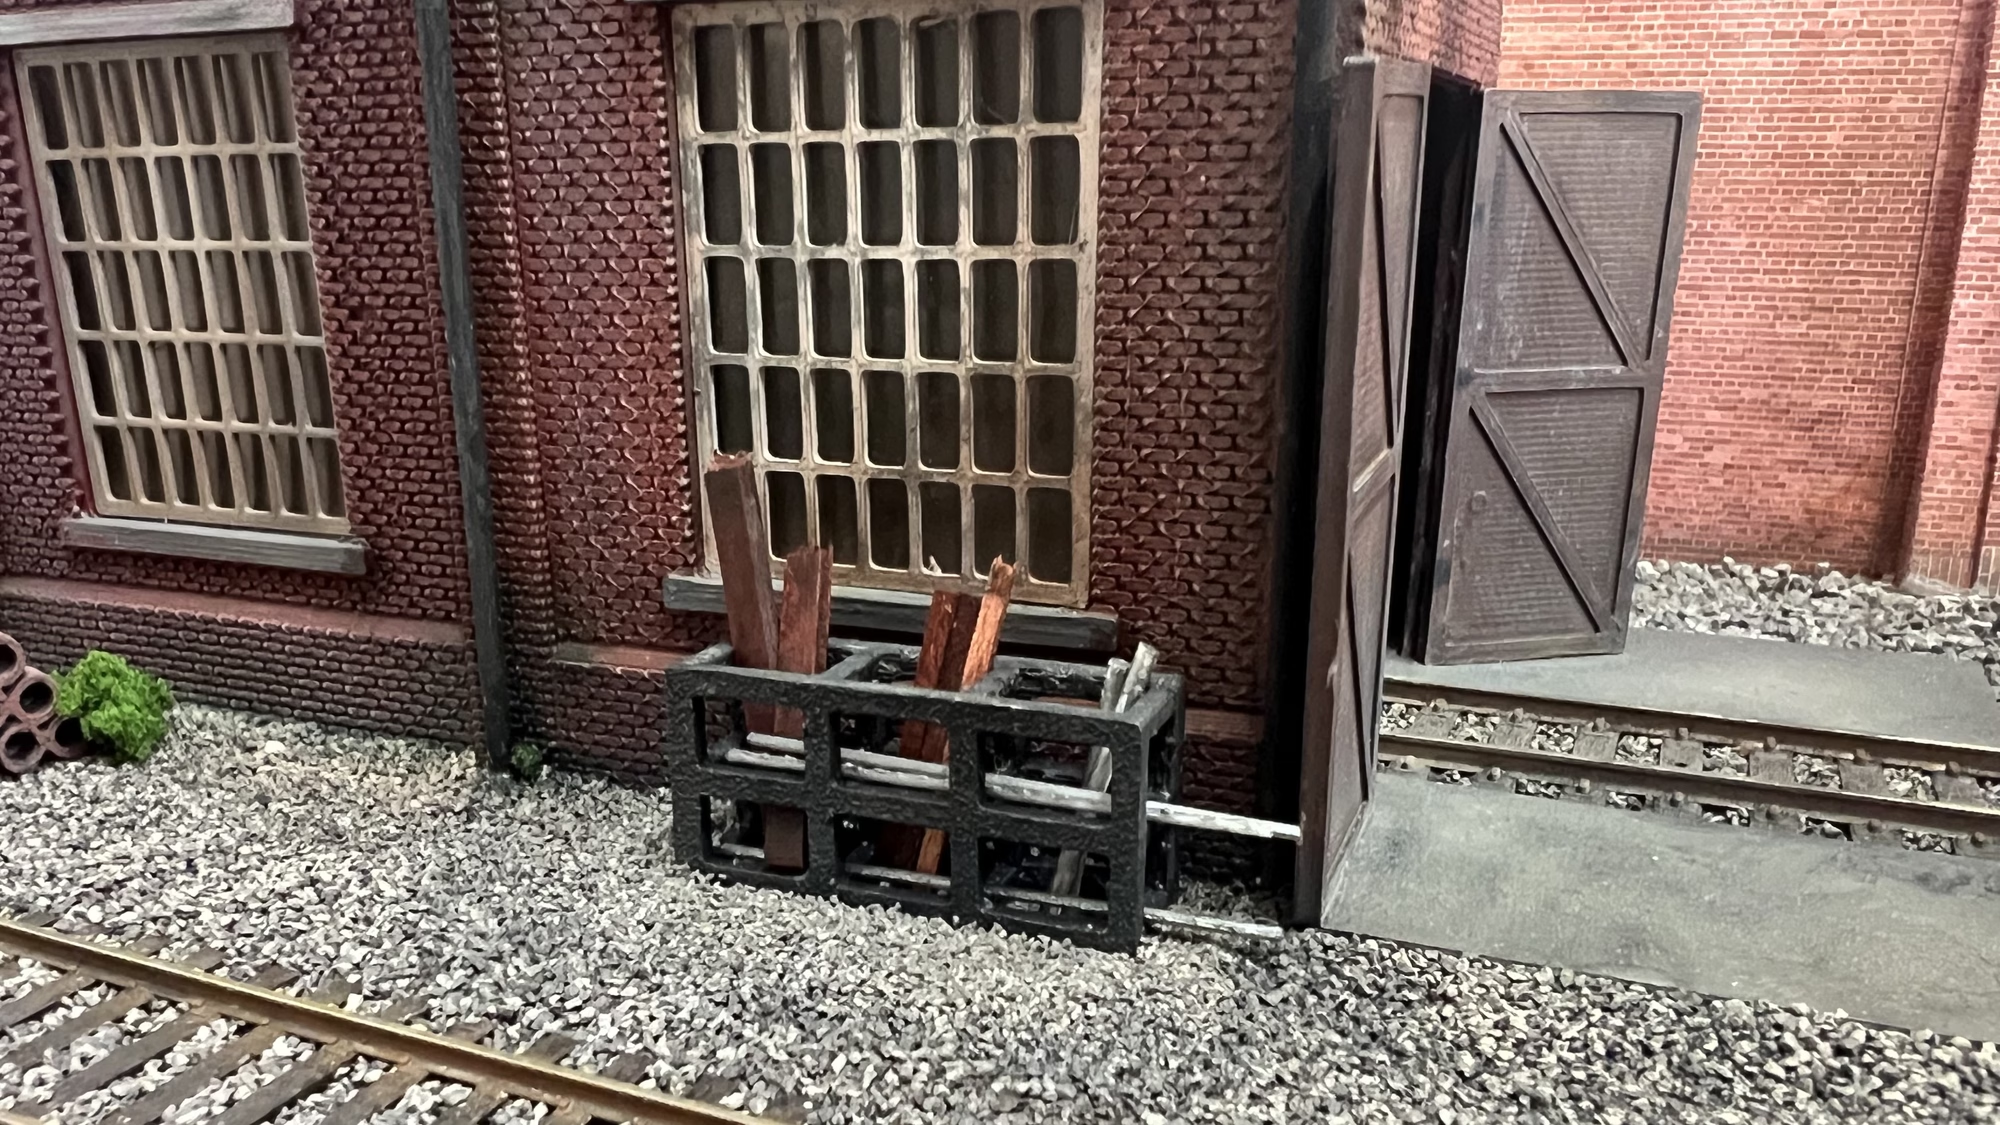
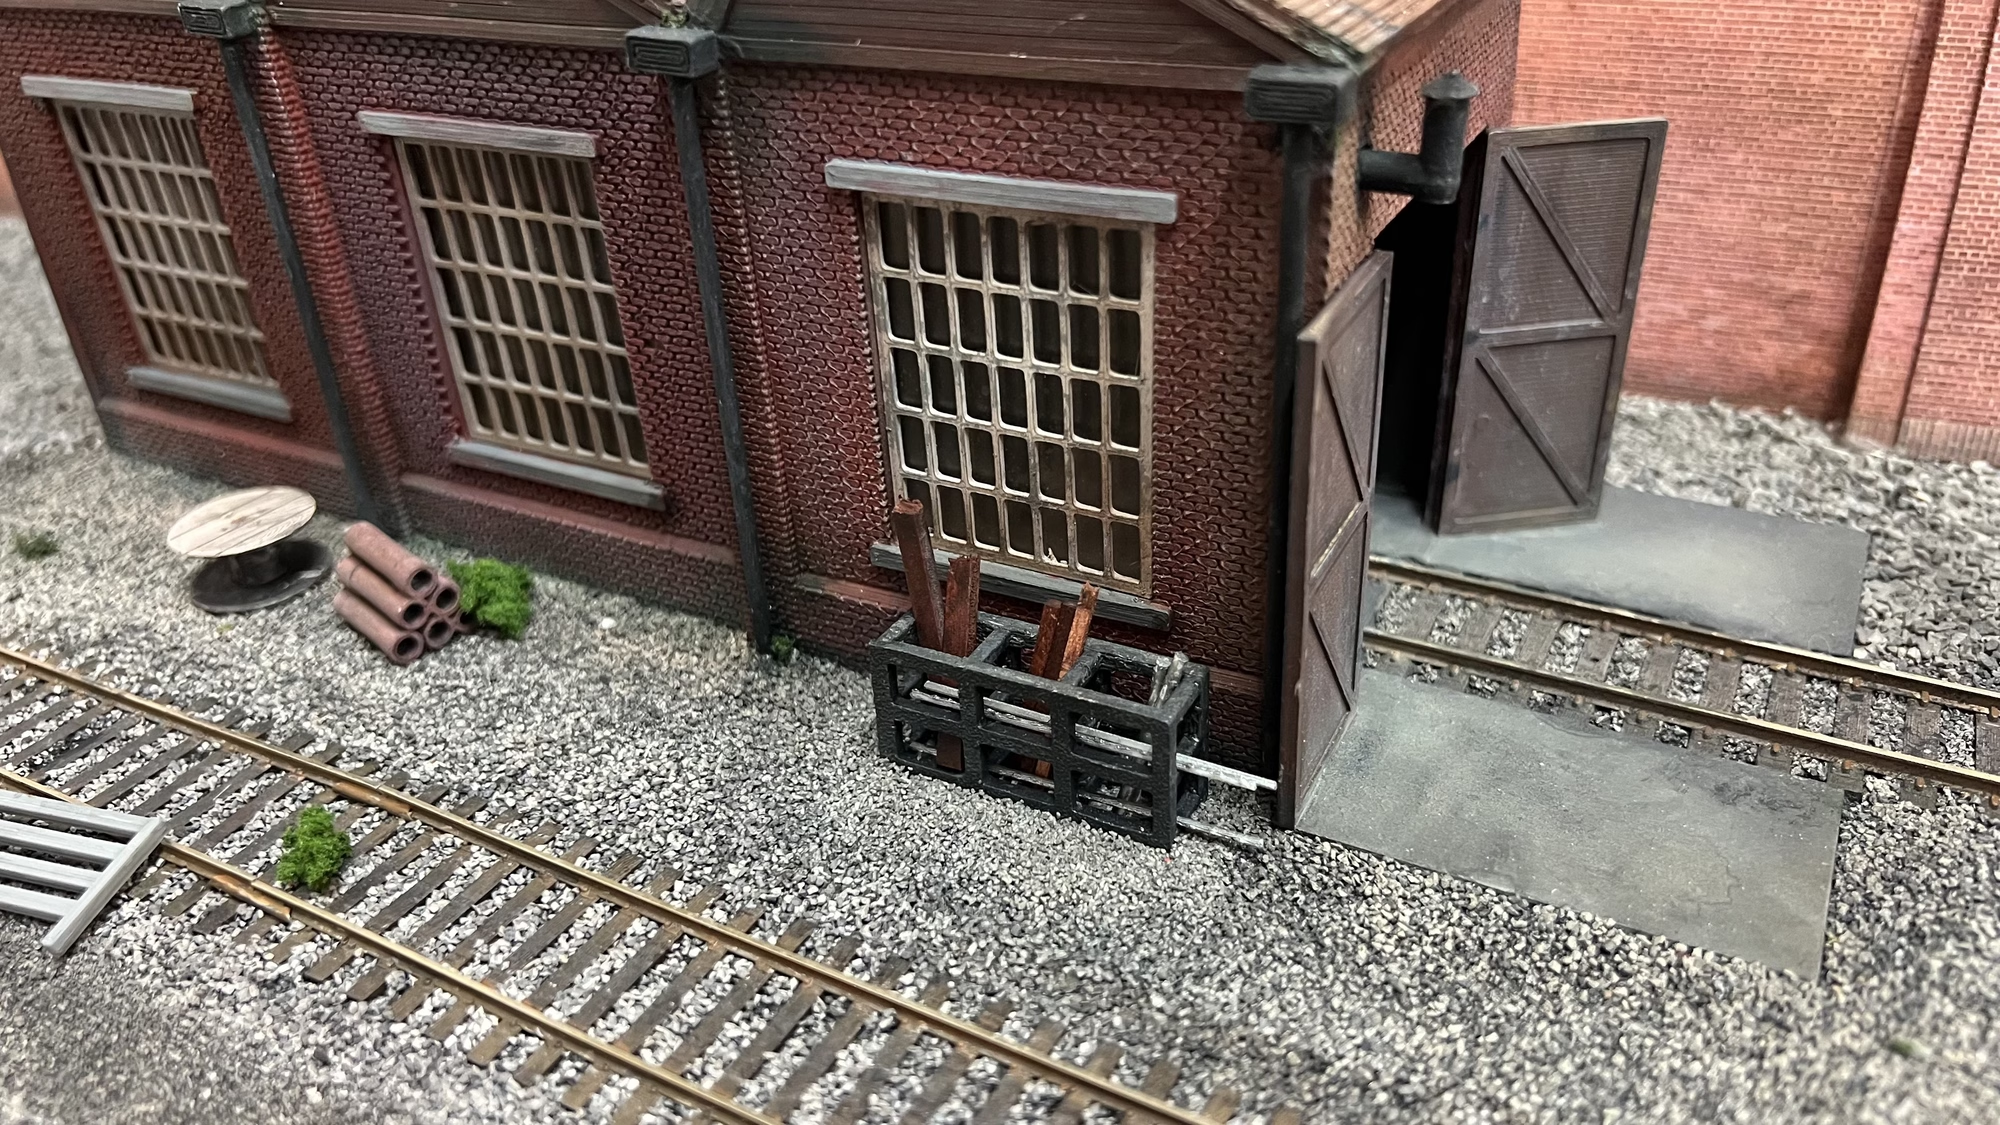
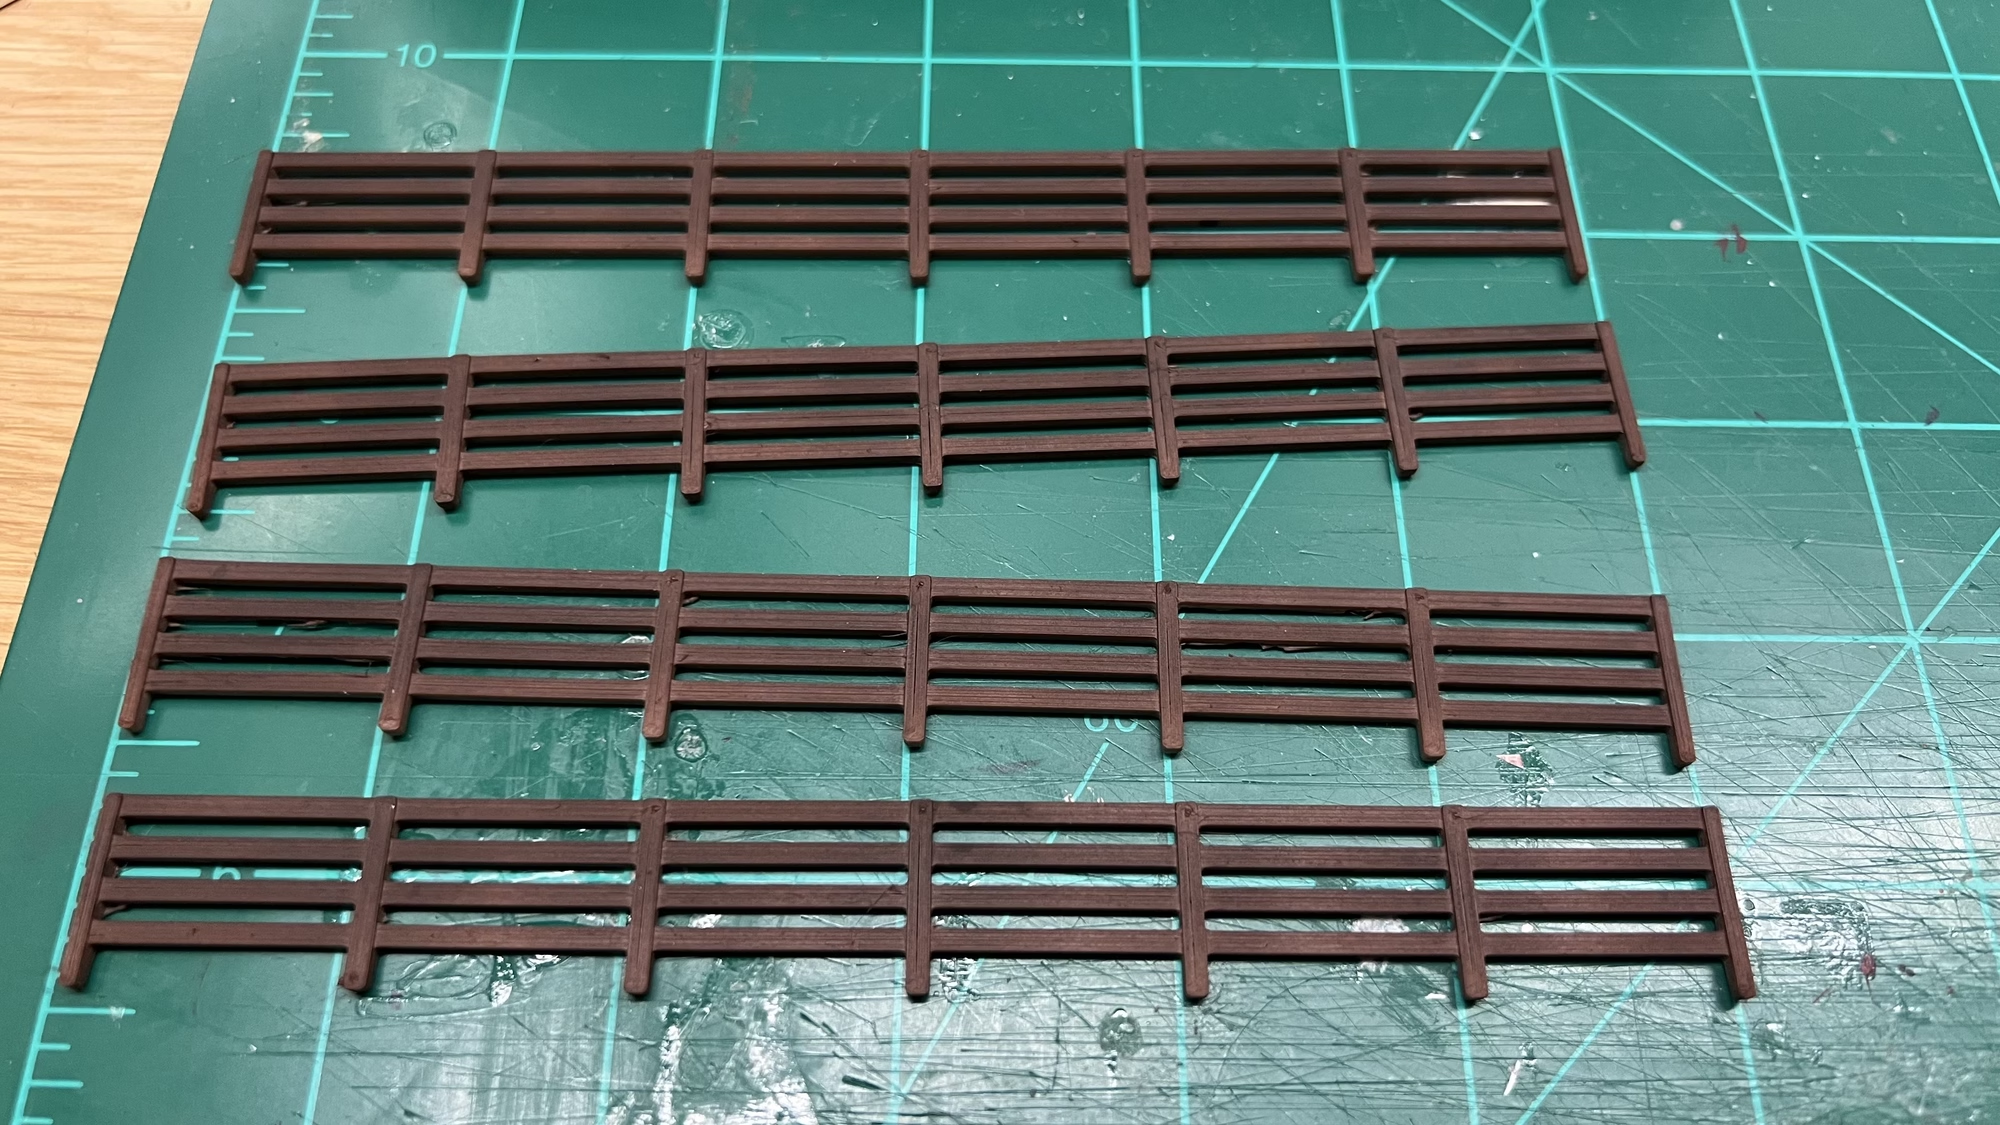
I also airbrushed some fencing that I 3D printed. This needs to be weathered down before I plant it.
This last one I keep going back and forth on. It’s the diesel refuelling station.
I created one in Tinkercad and 3D printed it. I’m not sure I like it.
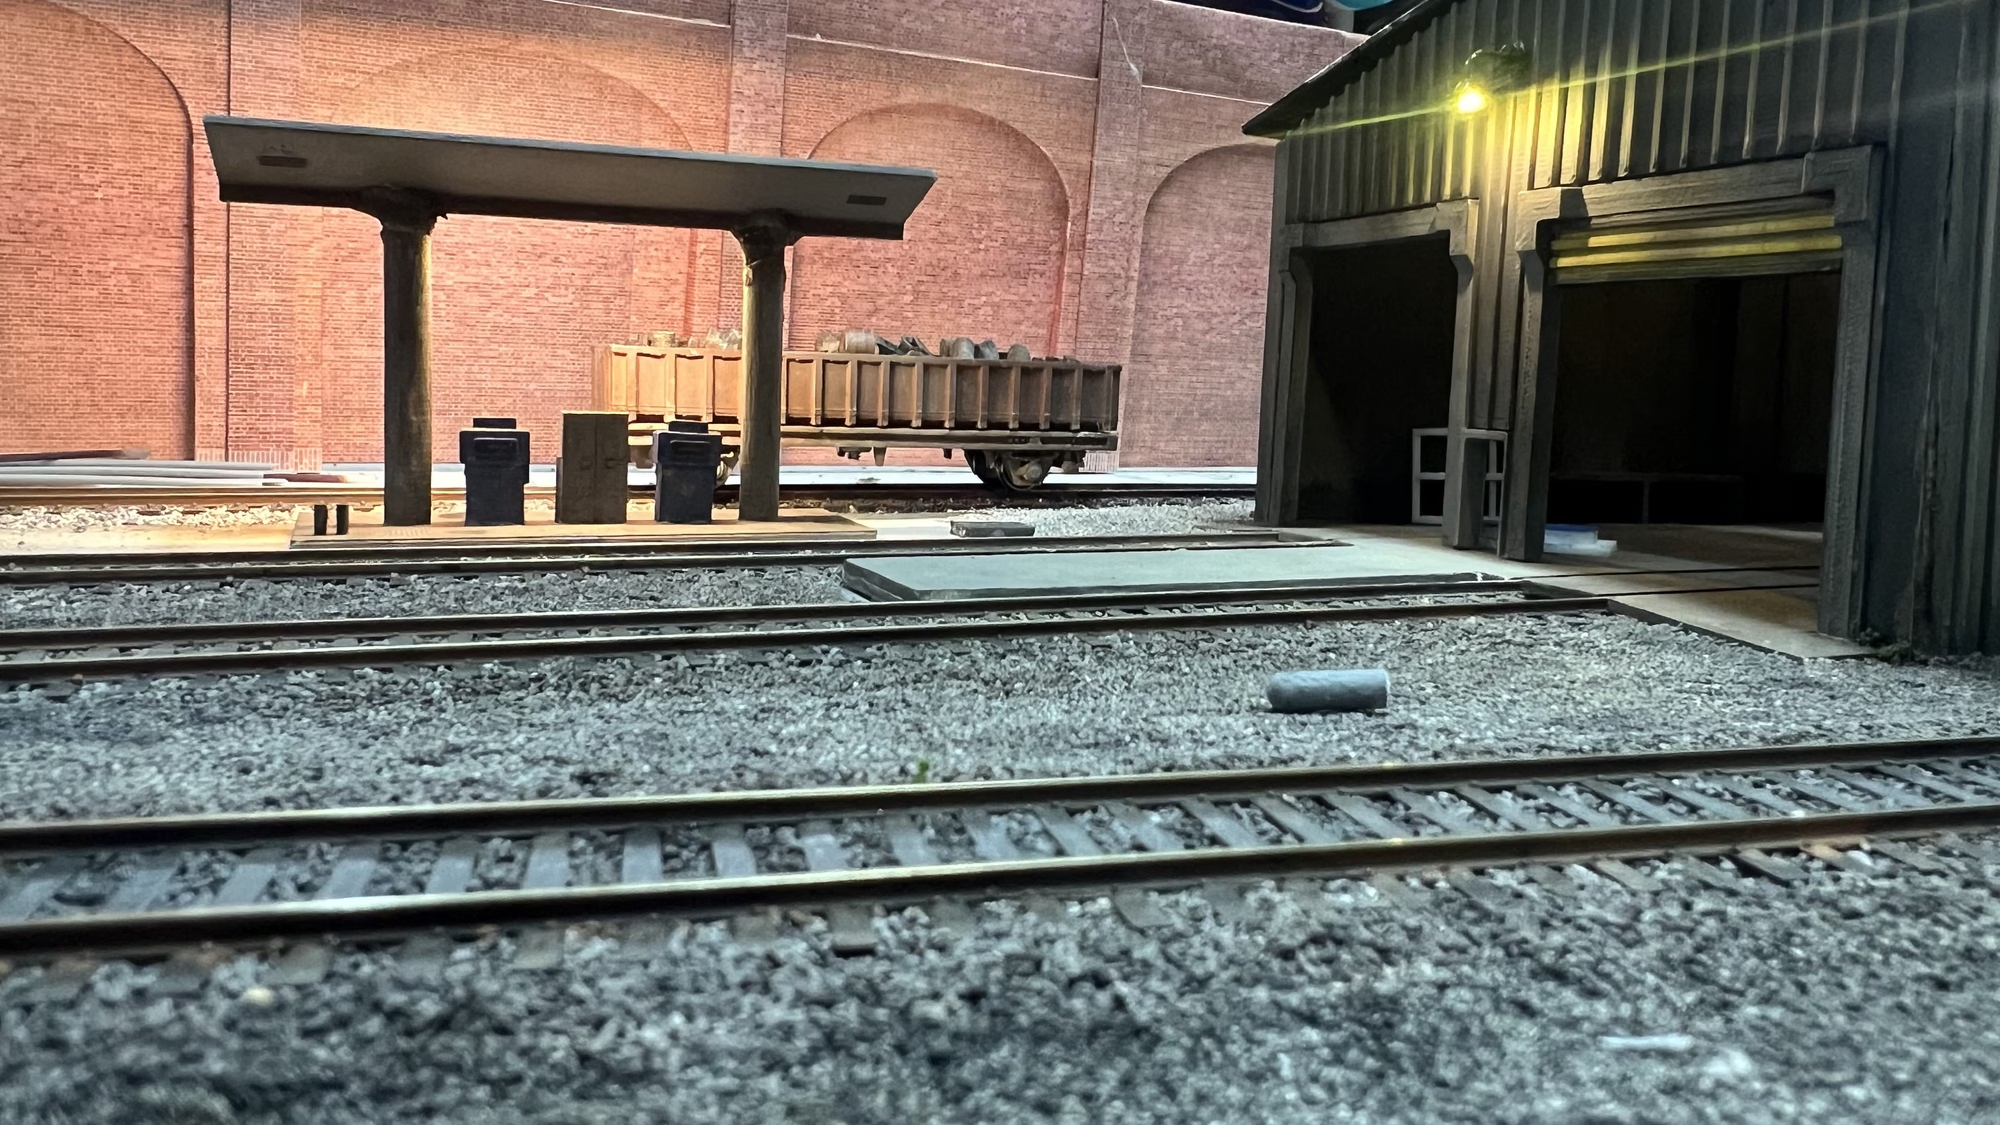
I don’t think I’ve got the layout right or the dimensions.
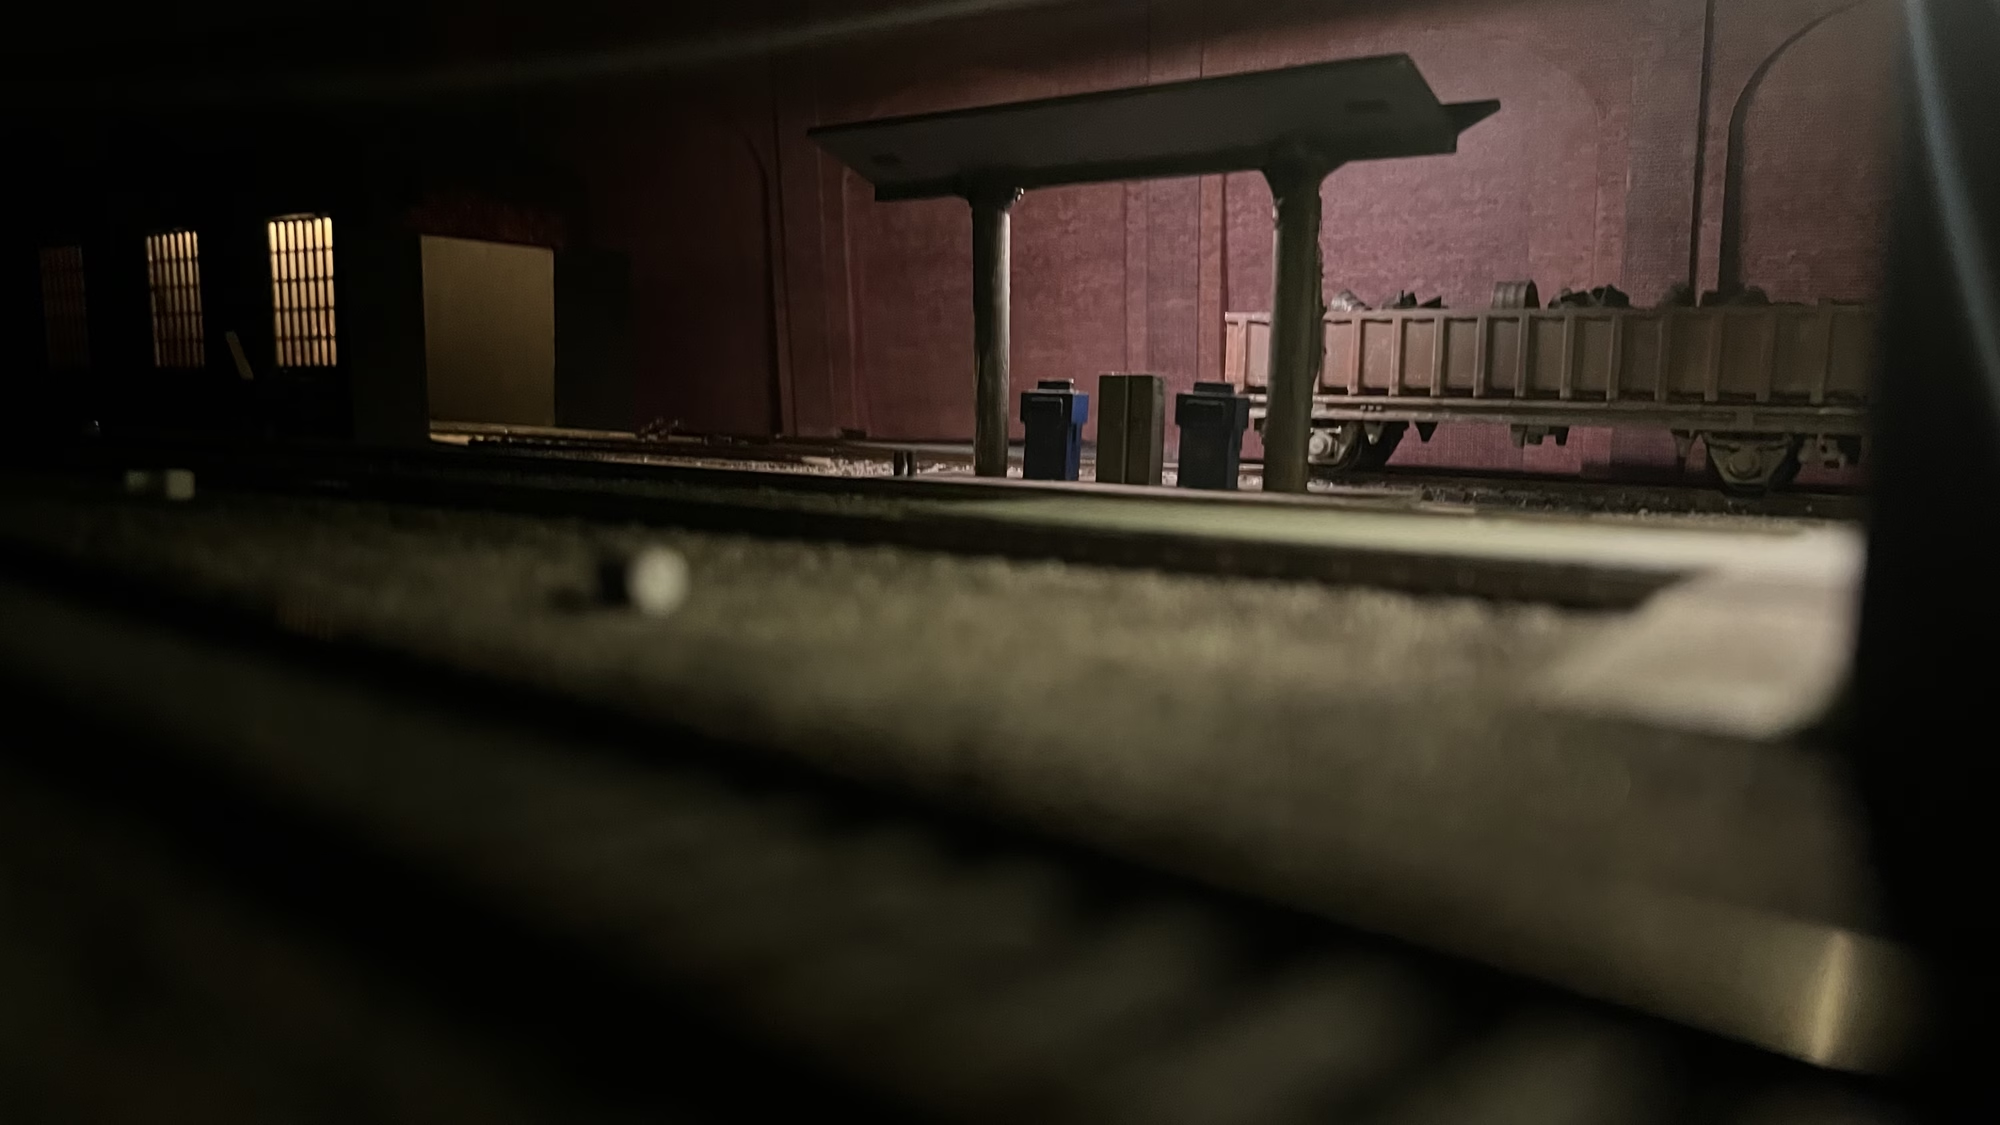
I like how the “striplight” LEDs came out. I’ll be using those again, I need to back off the voltage a bit though. They are too bright.
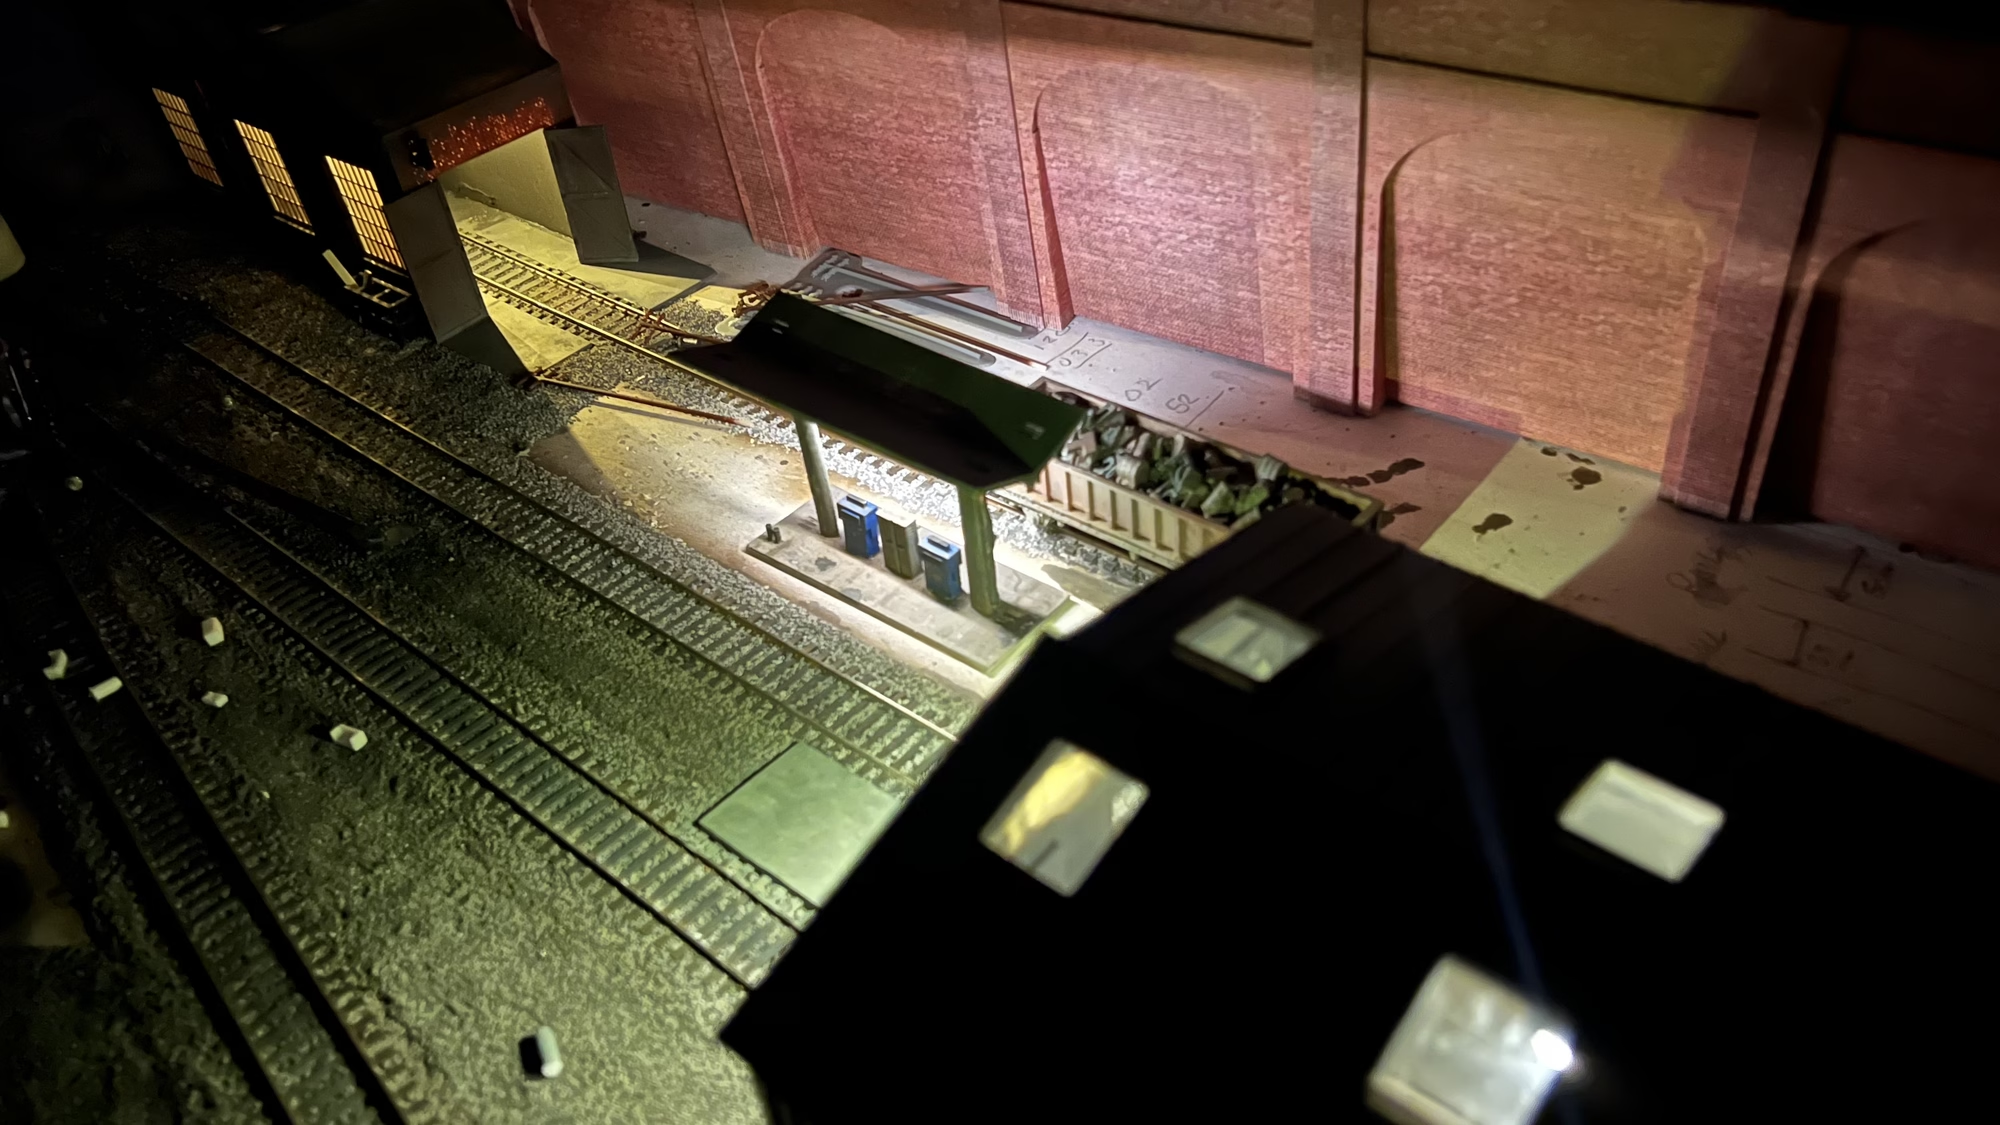
I like the concept of the refuelling station, I’m going to design and build a new one.
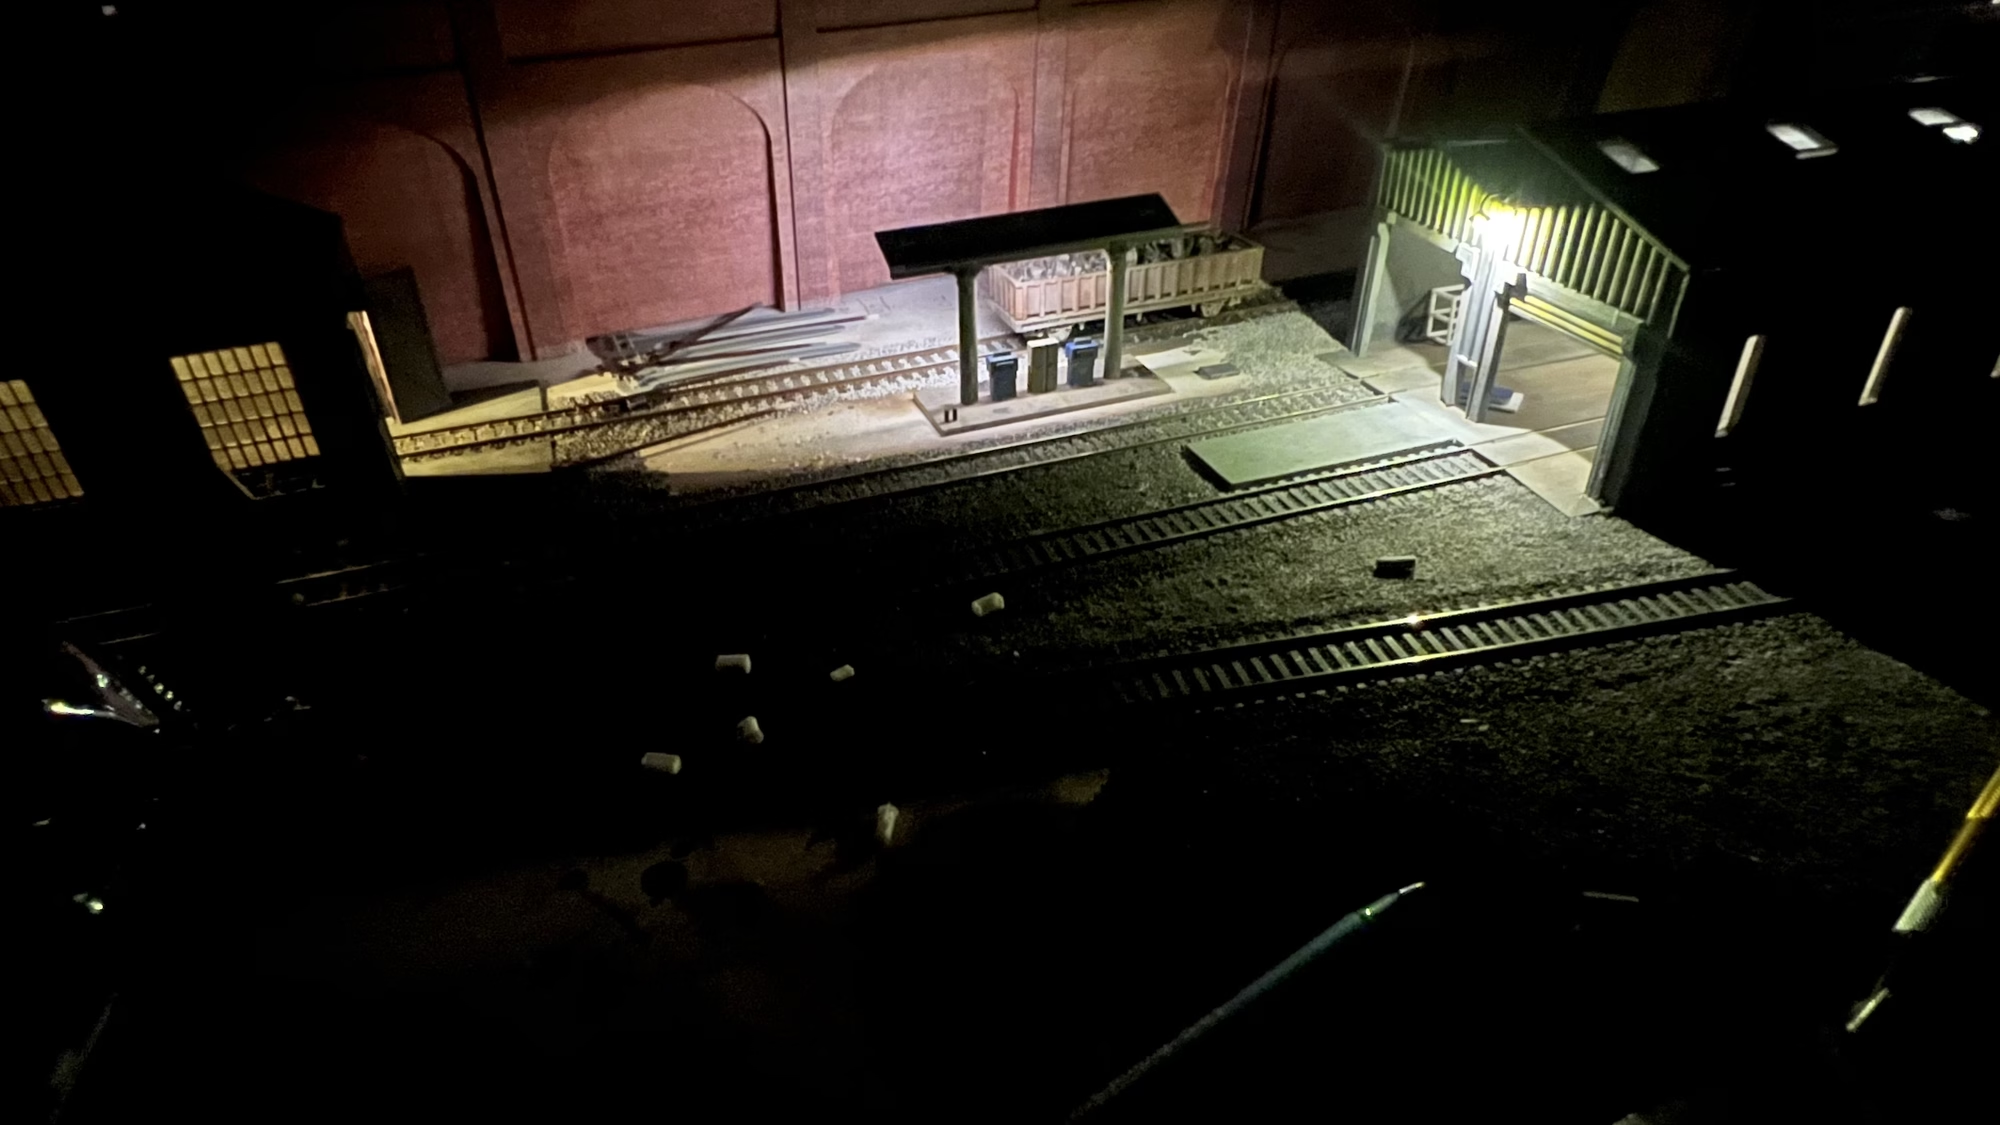
Thanks for checking in.
Update – January 18, 2025
This time around I’ve been working on the 1970s office building which is going to be the yard office, and some more fiddly bits for detailing.
Let’s start with the office building. I created a 1970s style office front. You cant see it very well here, but there is some “relief” detail in the panels below the upper windows.
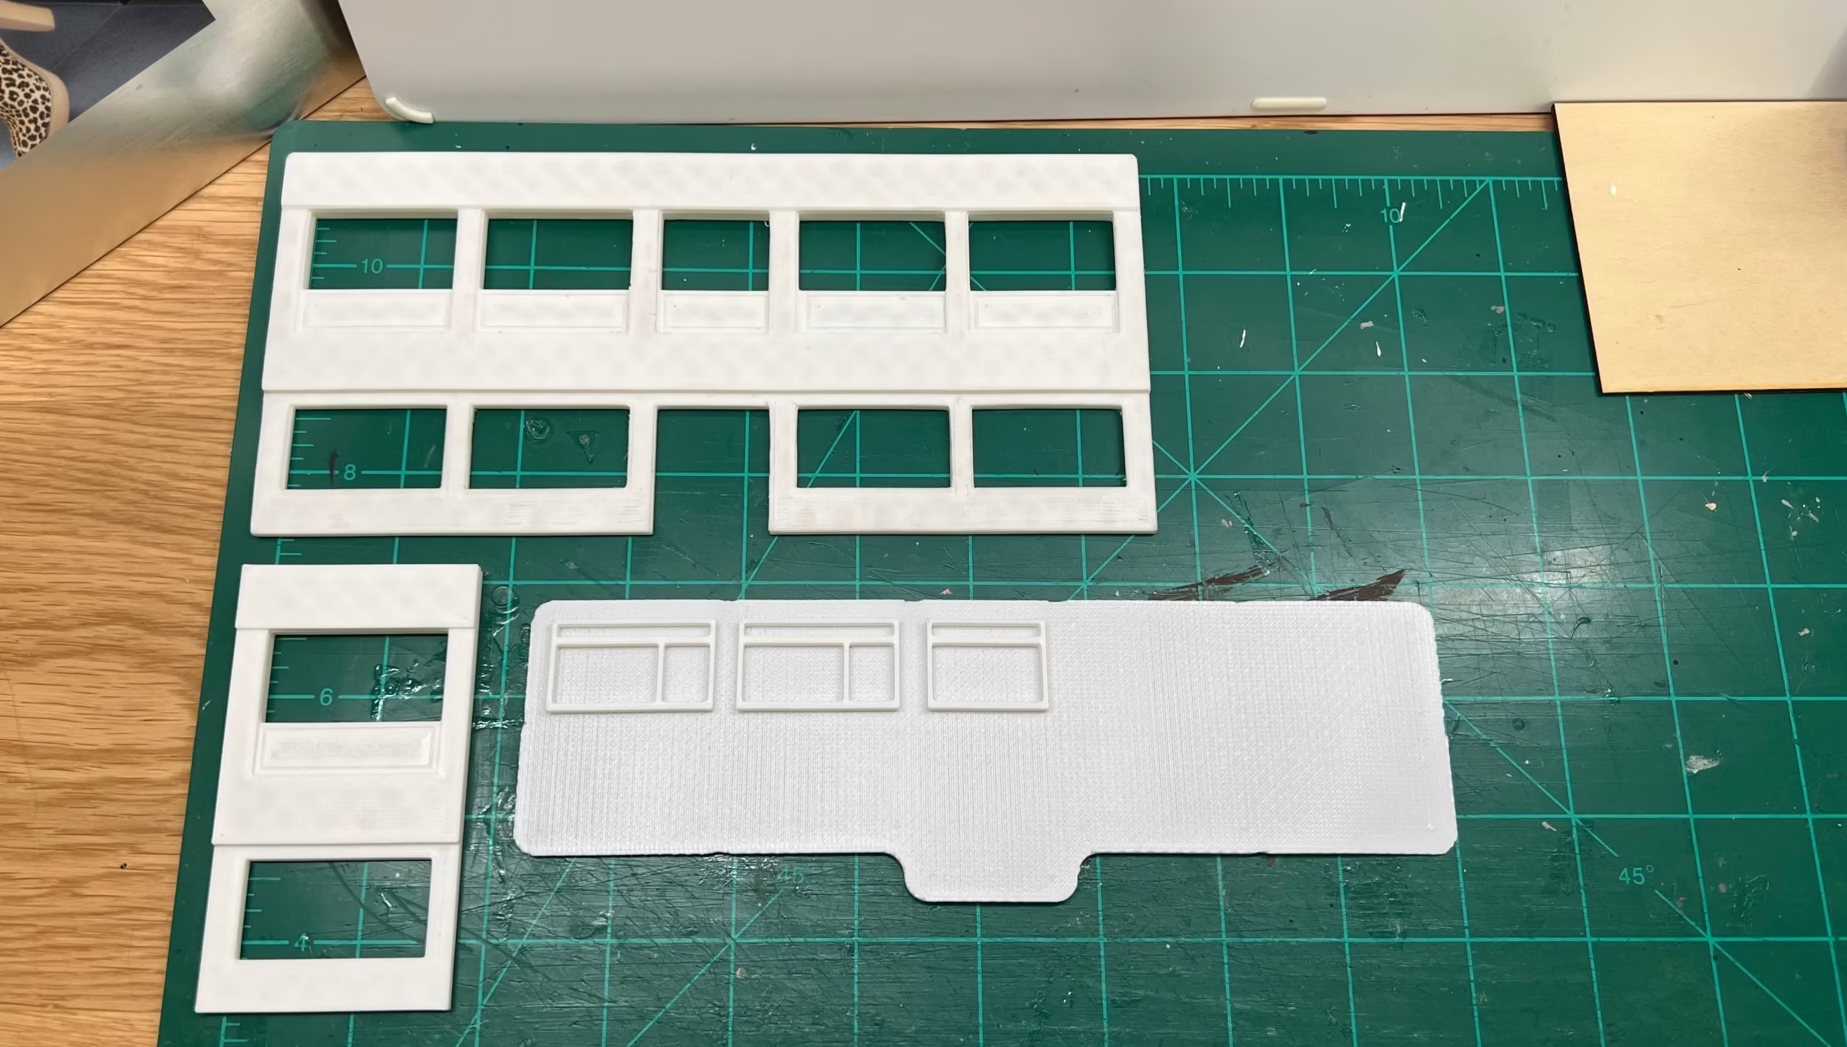
…and to keep it true to the 1970s, some of the fascia was painted brown.
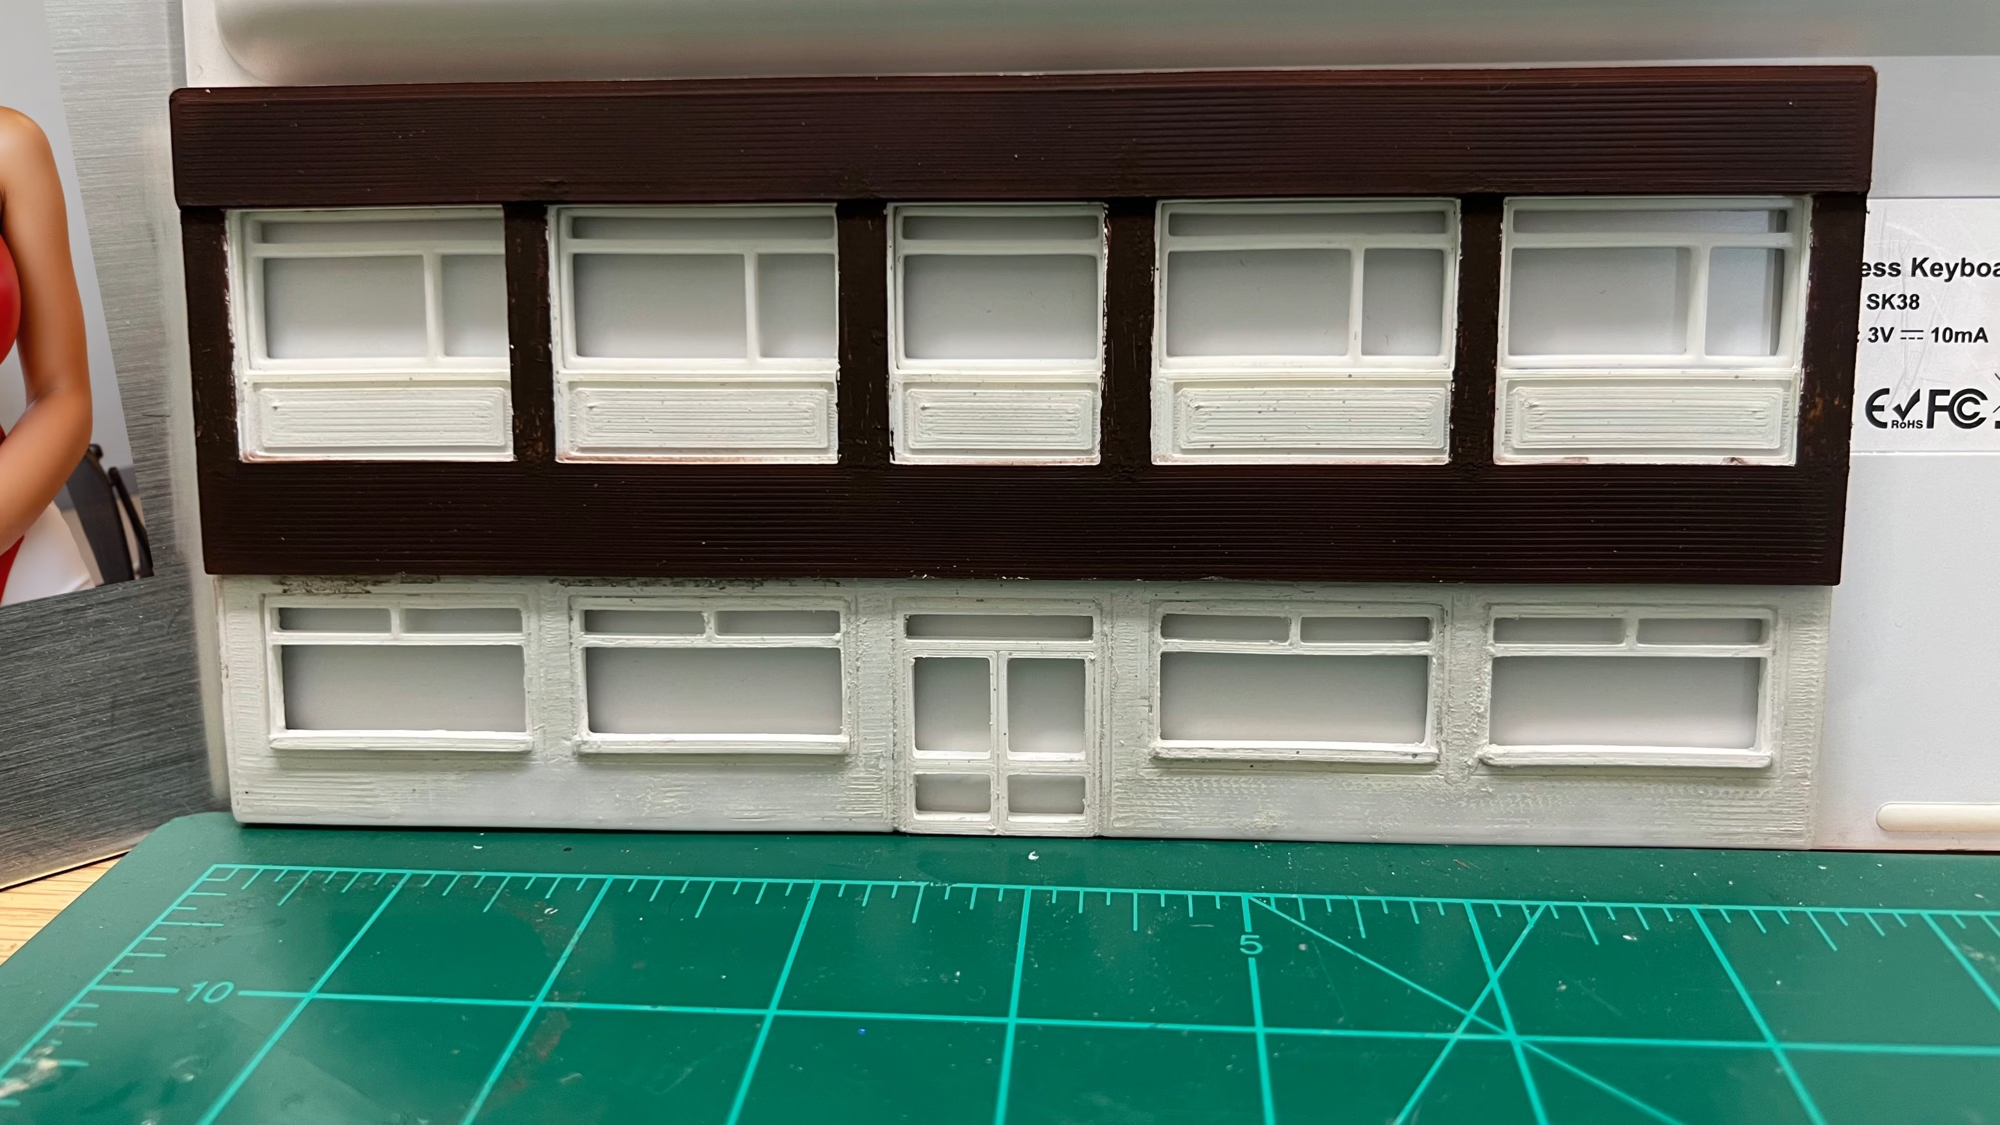
I need to sand down the front some more. Too much of the 3D print process is showing through.
