Transform Your Layout with Stunning Scenery
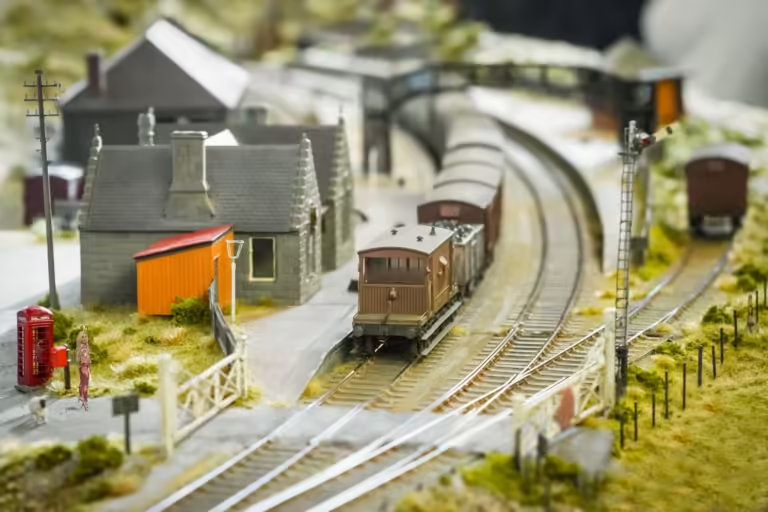
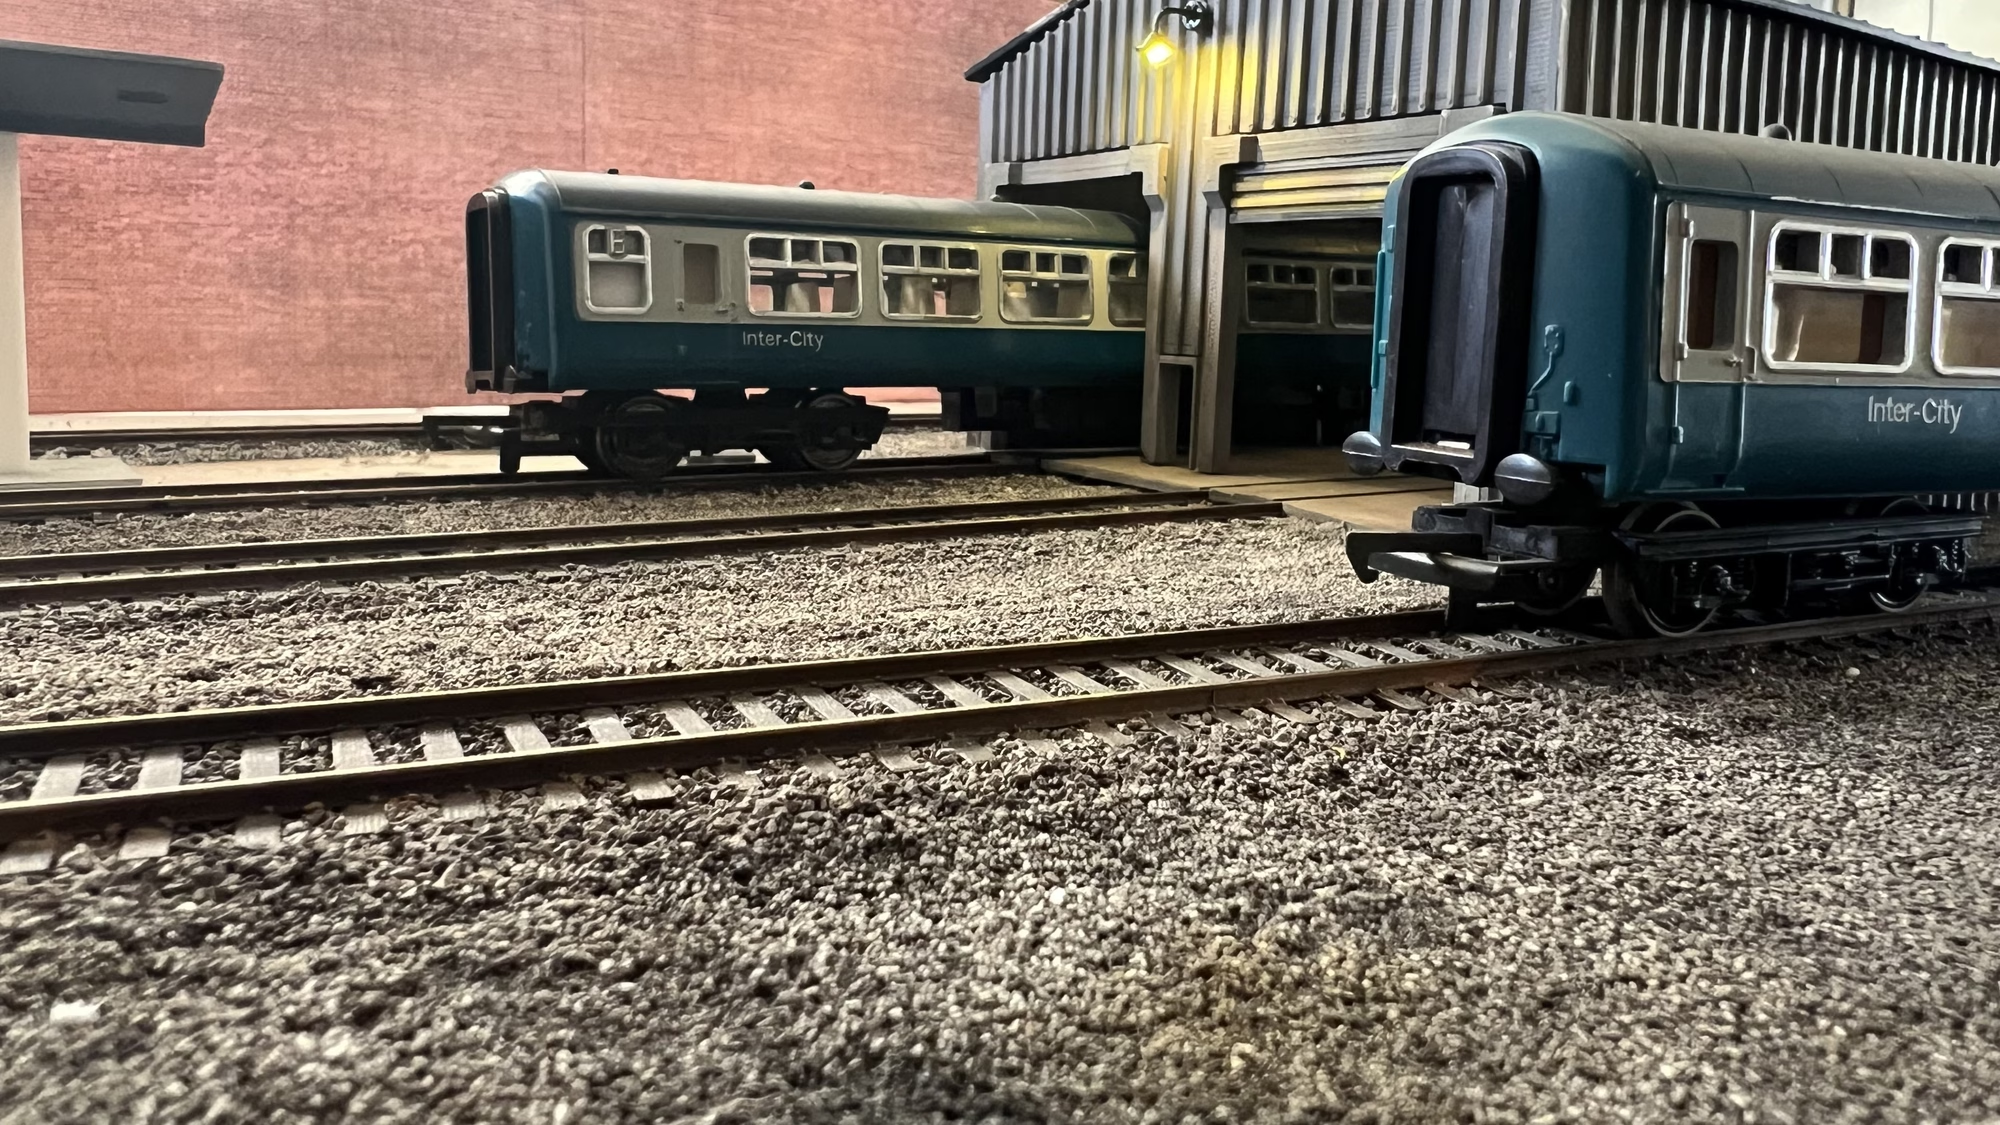
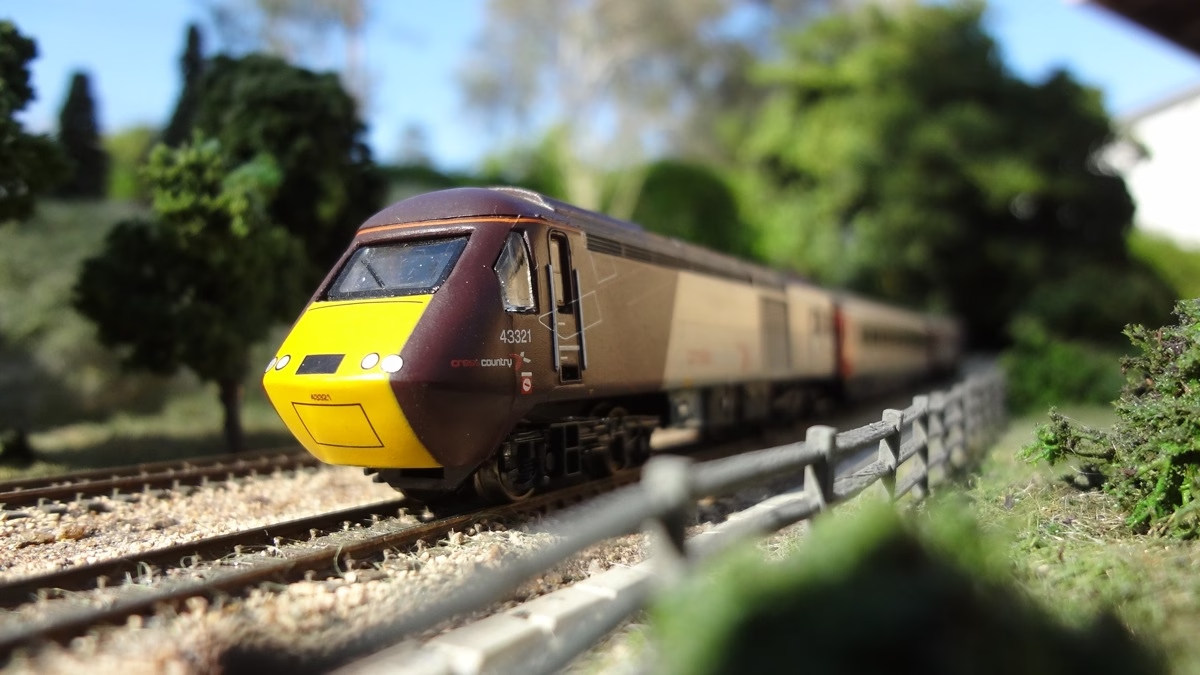
Creating realistic scenery for your model railroad layout can be one of the most rewarding aspects of the hobby. With the right techniques and materials, you can bring your miniature world to life. Let’s dive into the steps to achieve breathtaking scenery that will captivate anyone who sees it.
If you take away one thing from reading this, let it be this.
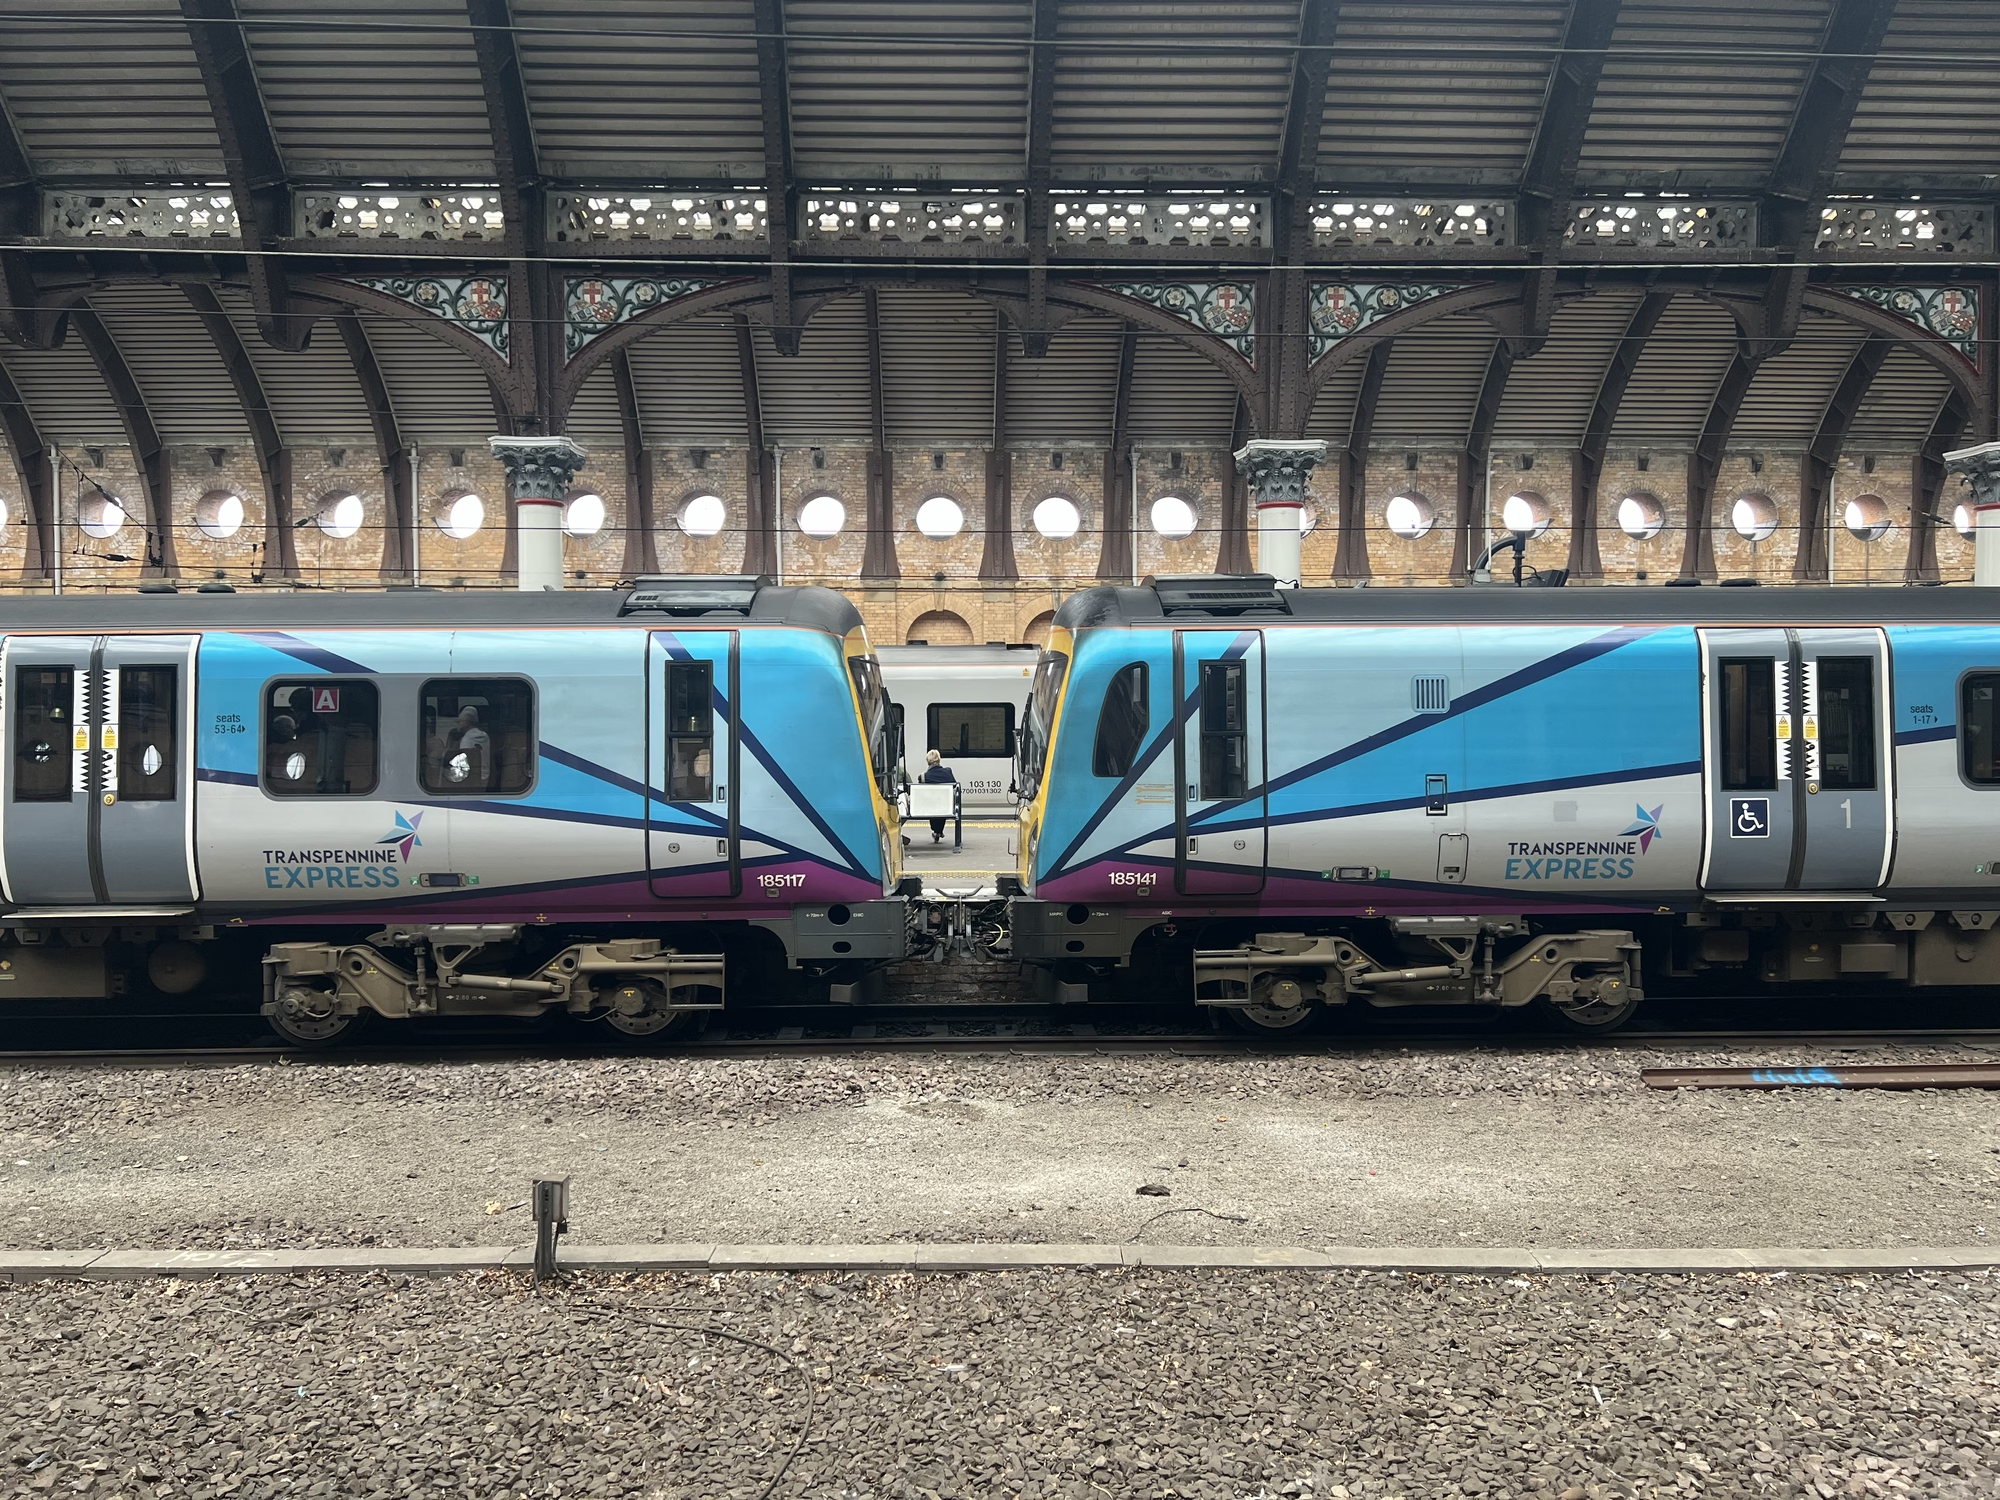
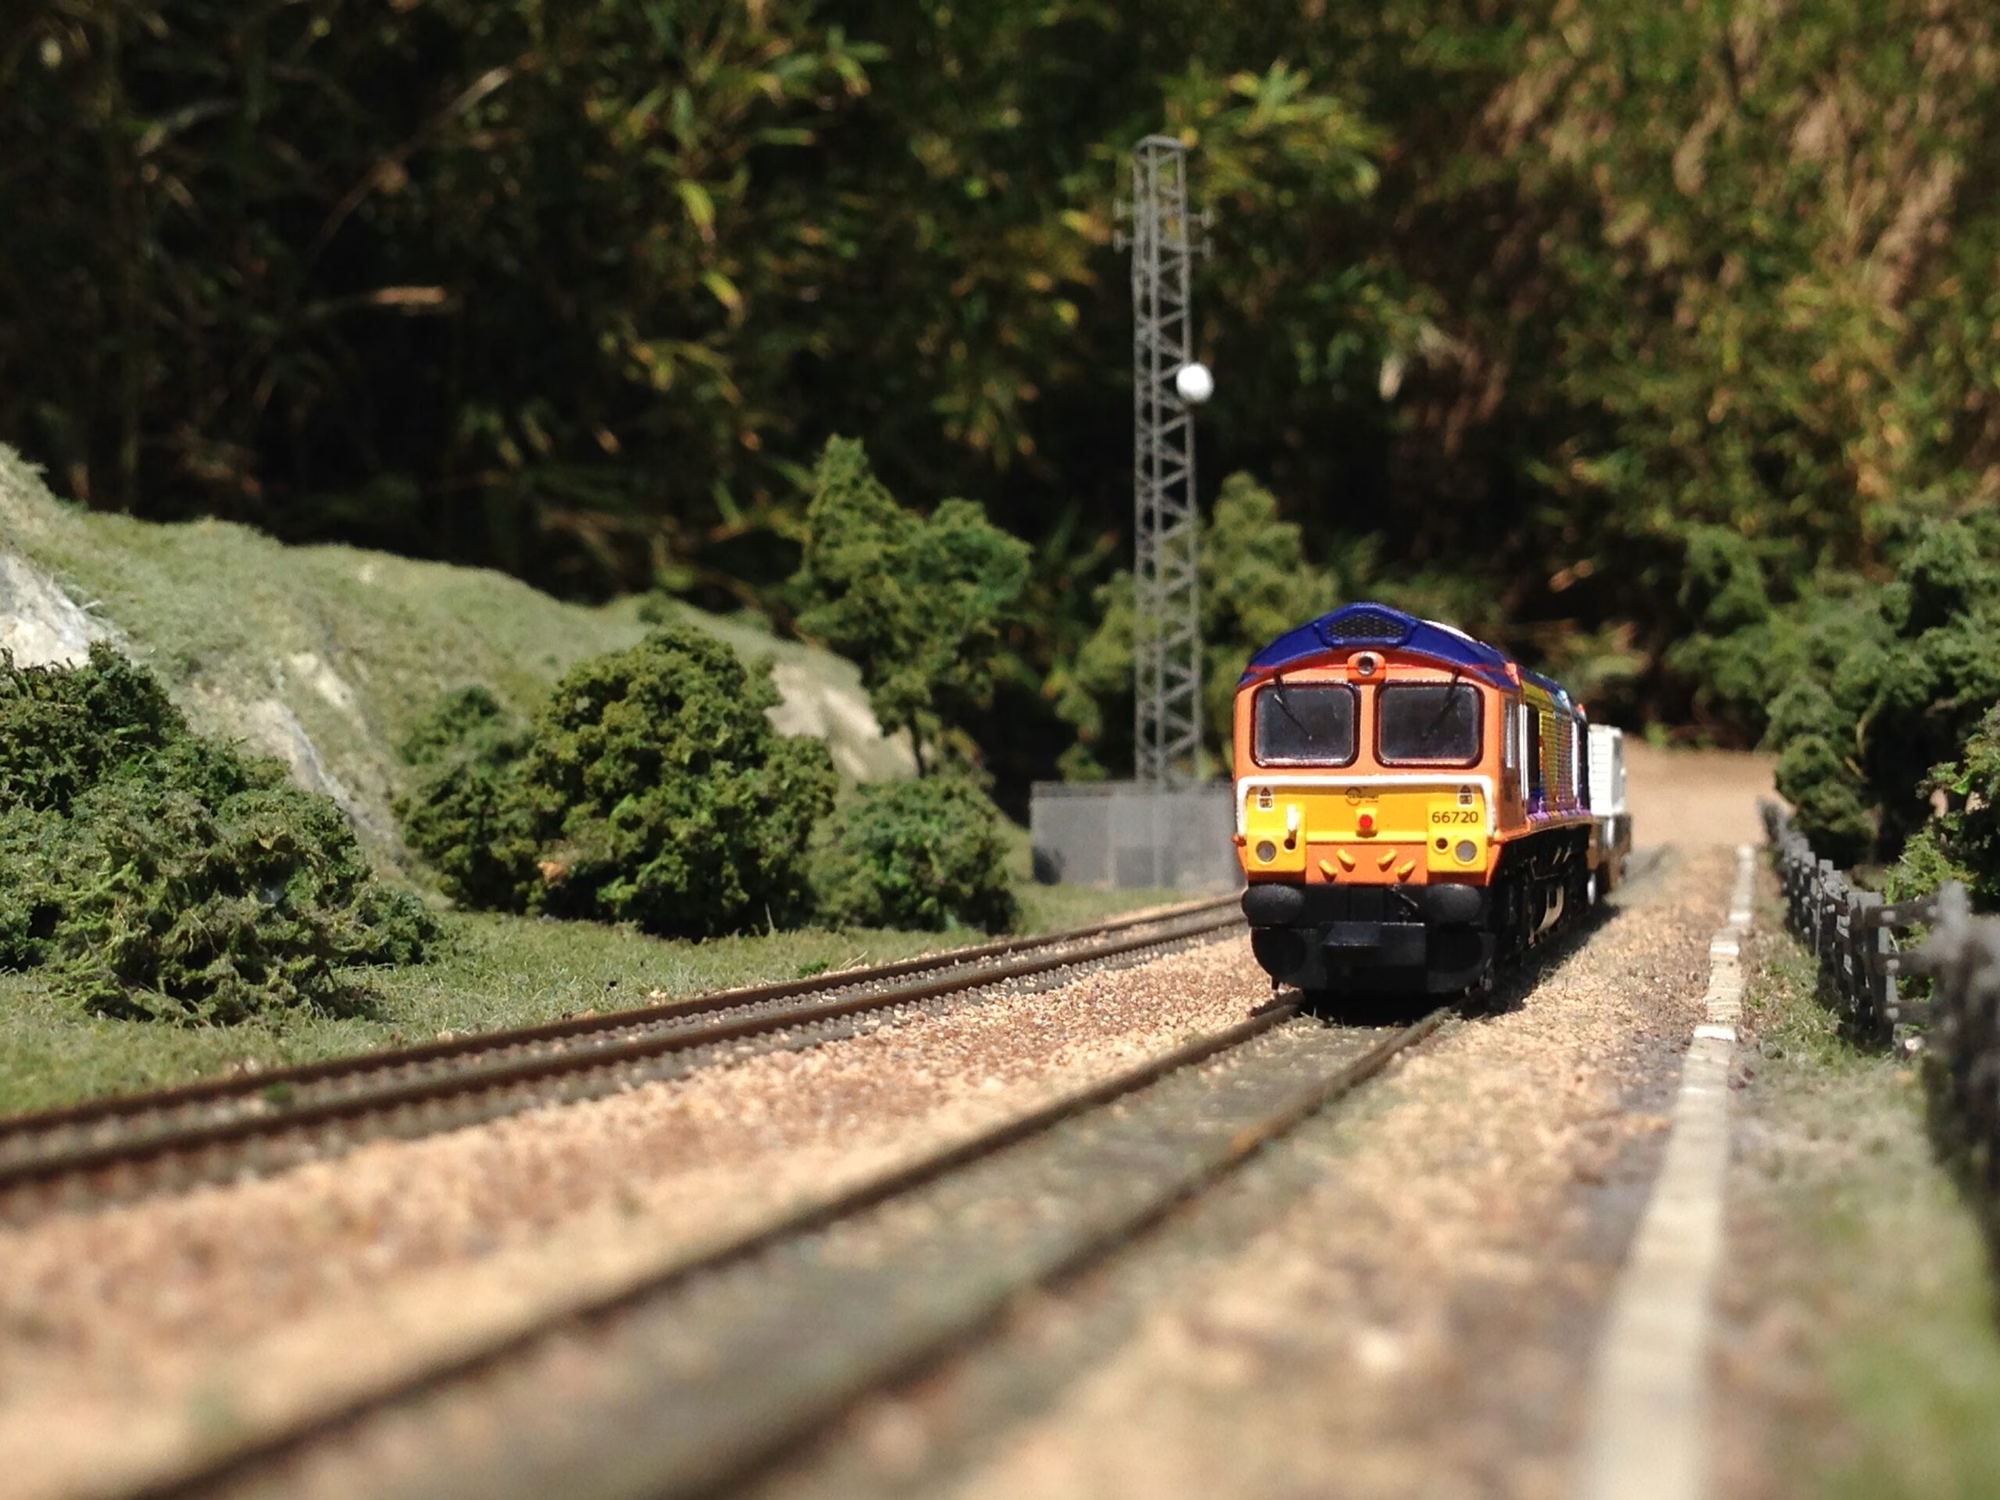
Use real-world prototype images and photographs as your guide. Don’t try to just wing it, study photos of rolling hills, mountains or urban scenes to see how the colors actually blend and look.
Fields are NOT day-glow green.
Start with a Solid Foundation
First and foremost, ensure your base is sturdy and level. Use plywood or foam board as your foundation. This will provide a stable surface for your scenery and prevent any future issues. Once your base is ready, you can begin shaping the landscape.
Shape the Terrain
Next, use foam or plaster to create hills, mountains, and other terrain features. Foam is lightweight and easy to carve, making it ideal for creating varied landscapes. Alternatively, plaster can be used for more detailed and durable terrain. Apply it over a wire mesh framework to form mountains and other structures.
Add Ground Cover
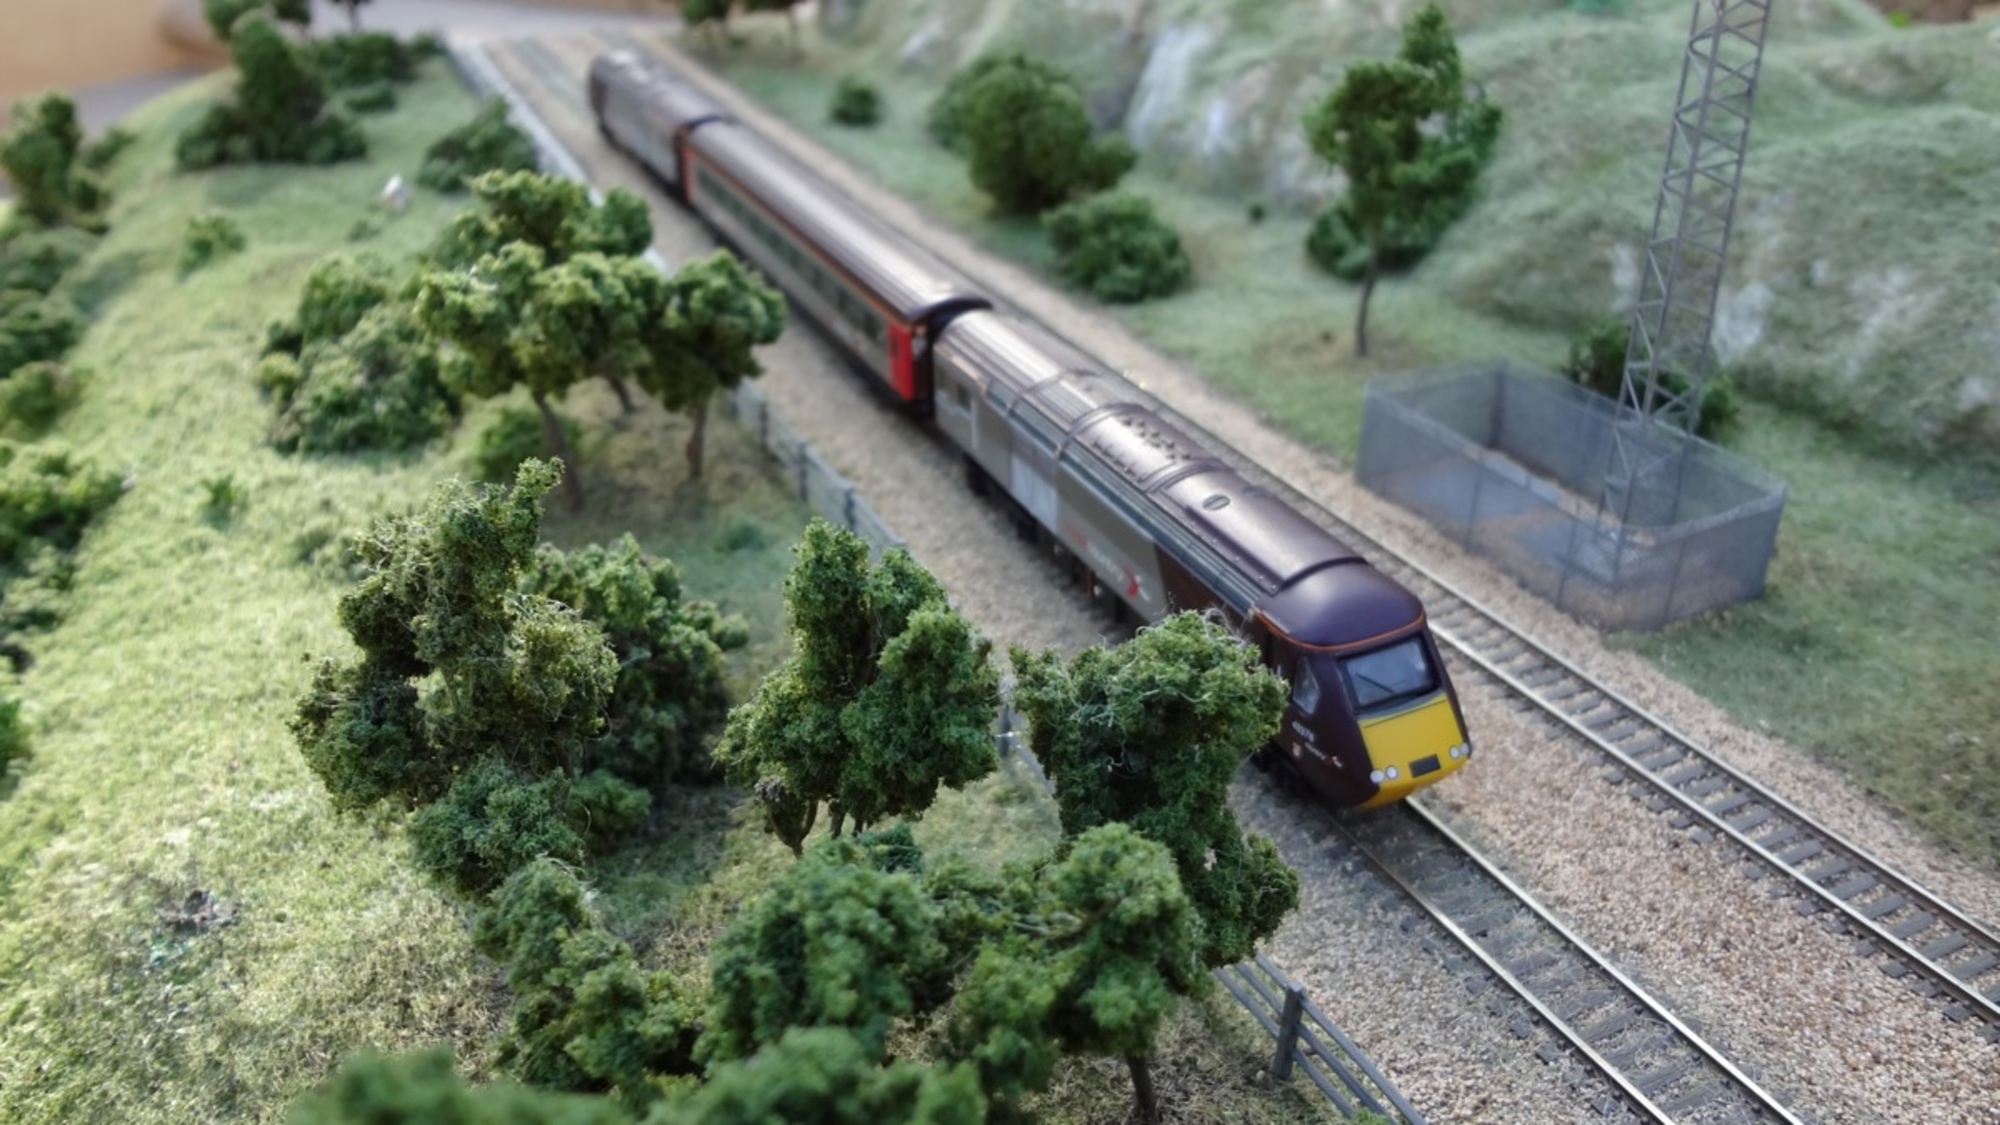
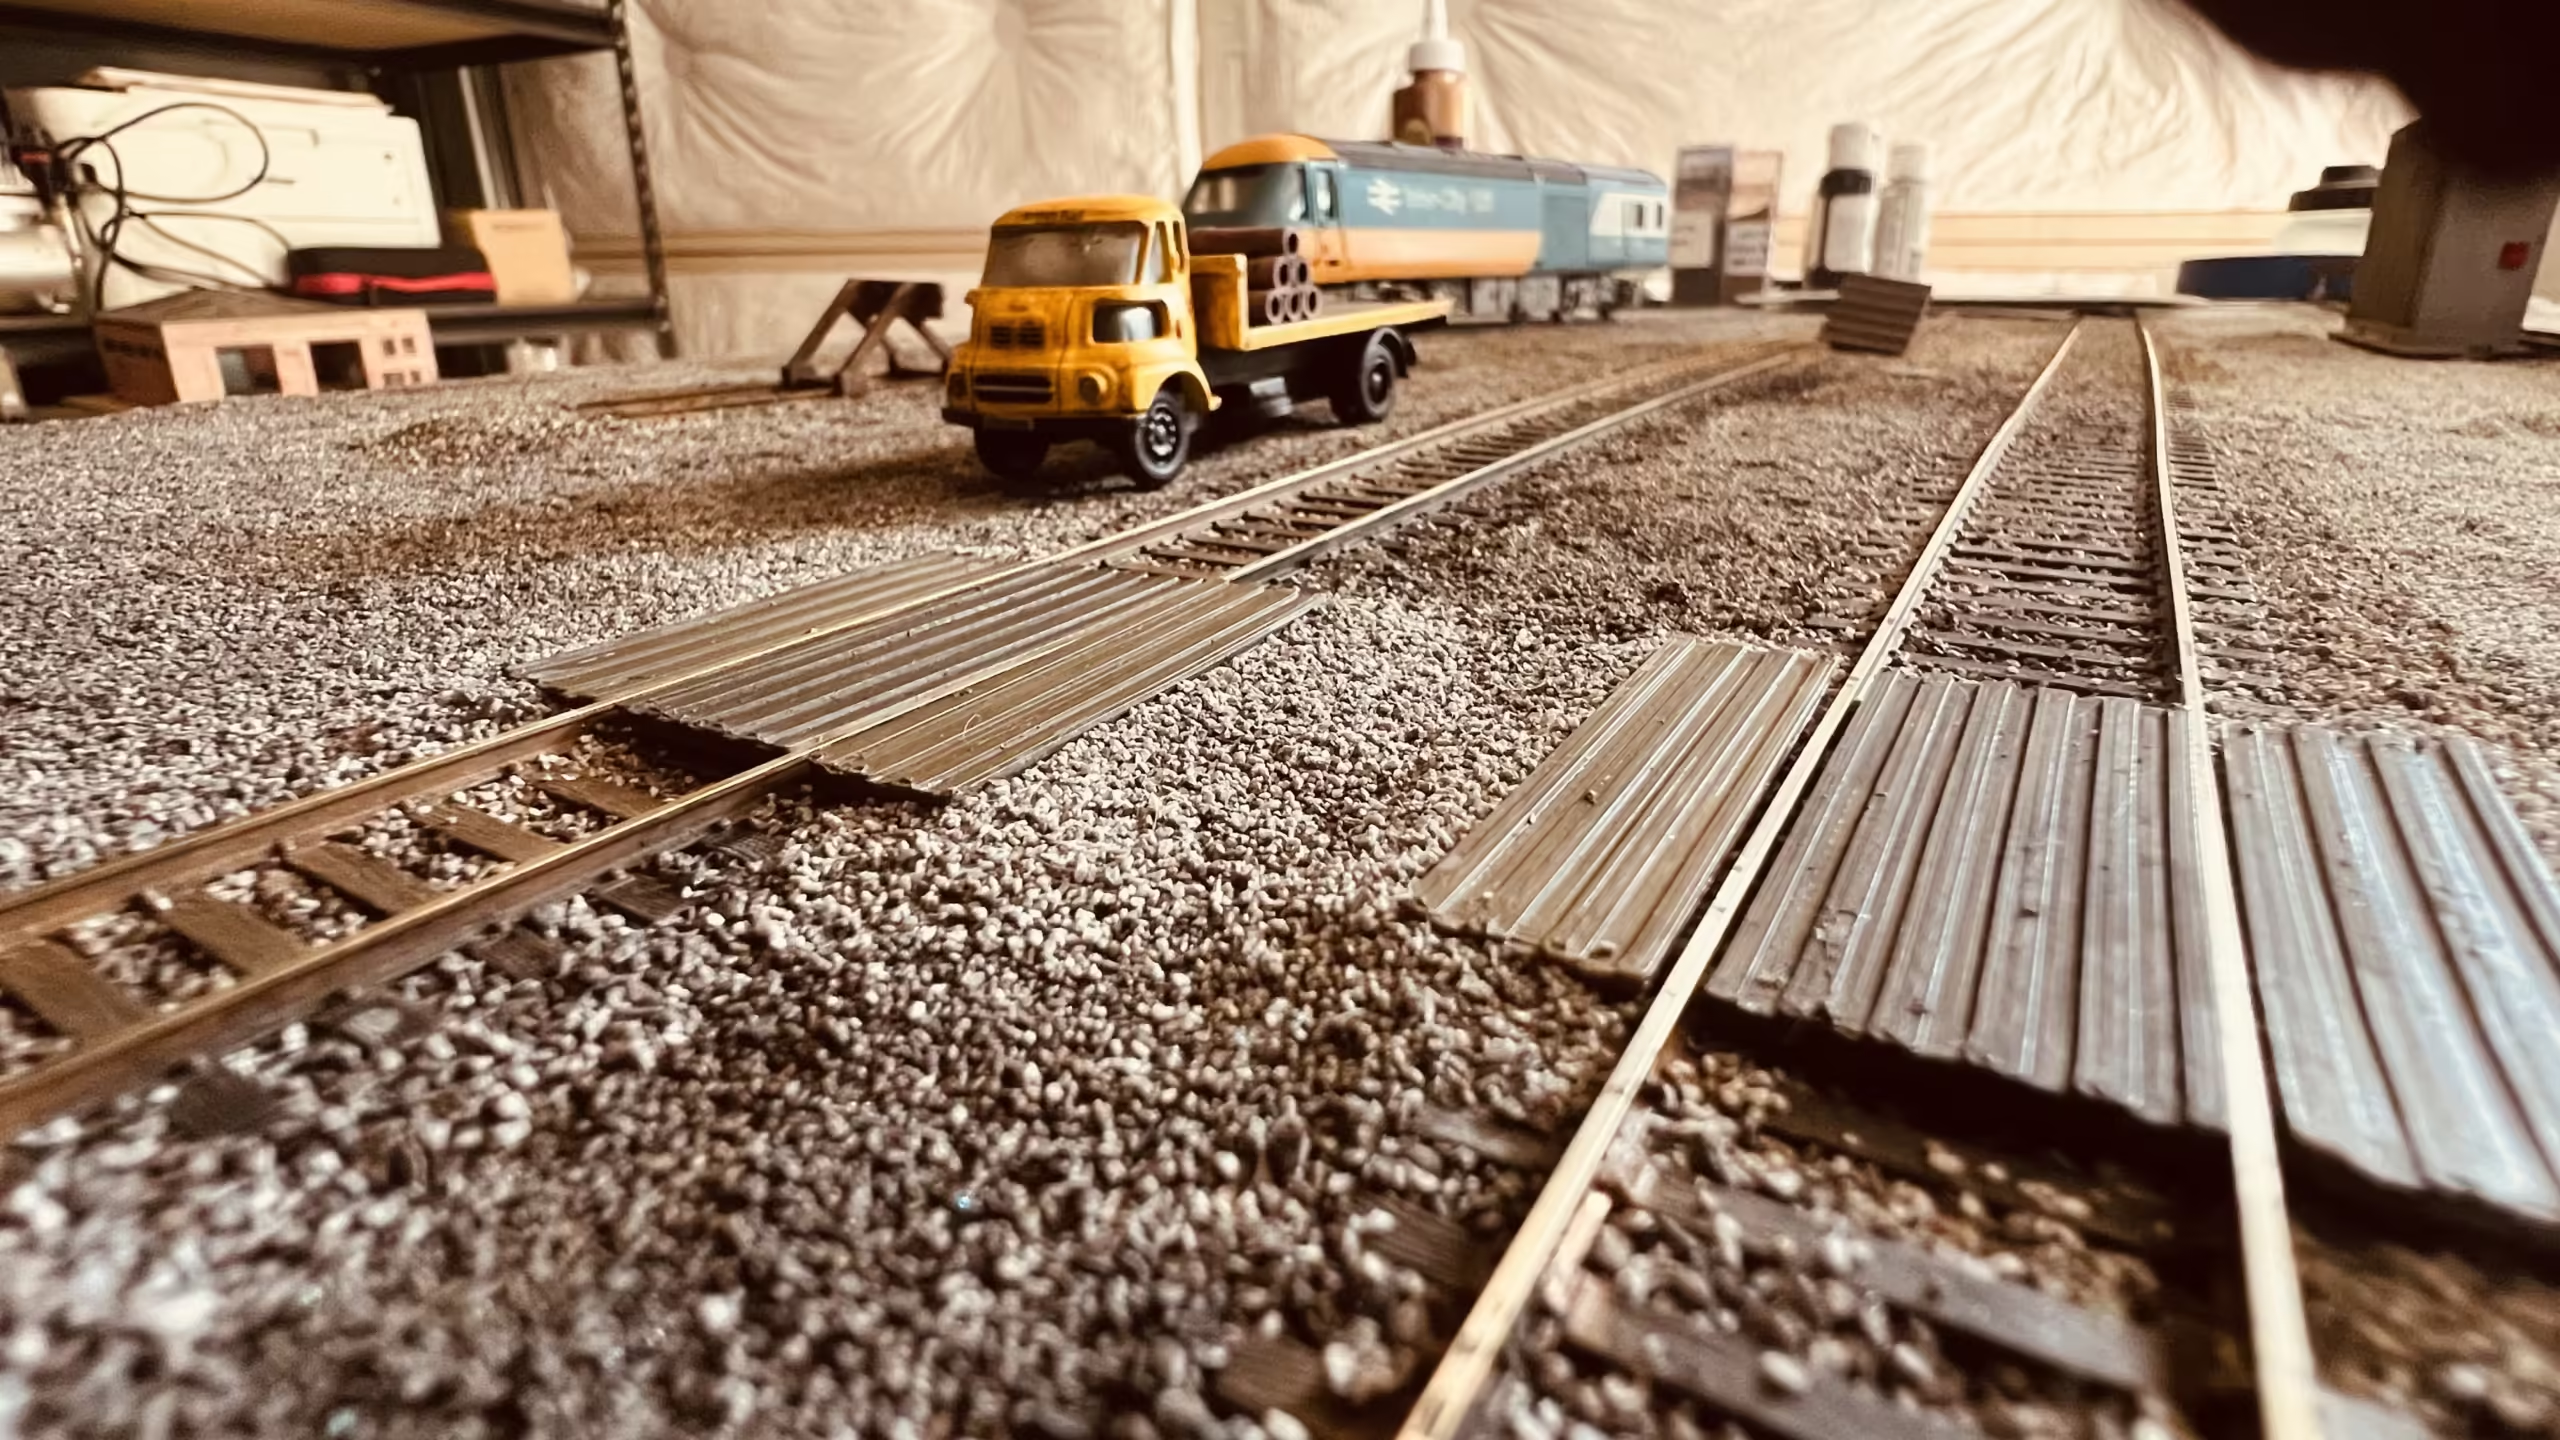
Now, it’s time to add ground cover. Start by painting the base with earth-toned colors to create a natural look. Then, sprinkle on various materials like fine turf, grass, and dirt to mimic real ground textures. Use a mix of colors and textures to add depth and realism.
Create Water Features
To add rivers, lakes, or ponds, use realistic water products or clear resin. Begin by carving out the water feature in your terrain. Then, paint the base with shades of blue and green to create depth. Finally, pour the resin or water product, allowing it to settle and harden. This will give your water features a lifelike appearance.
You could use this method to create realistic looking water.
Creating realistic water for your model railroad can add a stunning visual element to your layout. Here are some steps and tips to help you achieve this:
Materials Needed
- Resin or epoxy (e.g., EnviroTex Lite)
- Acrylic paints (various shades of blue, green, and brown)
- Plaster or sculptamold
- Gloss medium or water effects gel
- Brushes and mixing tools
- Masking tape and plastic sheeting
Steps to Create Realistic Water
Prepare the Water Bed:
- Shape the riverbed or pond using plaster or sculptamold. Ensure the surface is smooth and free of debris.
- Paint the base with darker colors in the center and lighter colors towards the edges to create the illusion of depth.
Seal the Area:
- Use masking tape and plastic sheeting to create a dam around the area where you will pour the resin. This prevents leaks and keeps the resin contained.
Mix and Pour the Resin:
- Mix the resin or epoxy according to the manufacturer’s instructions. Pour it slowly into the prepared area to avoid bubbles.
- Use a heat gun or blow gently on the surface to remove any bubbles that form.
- Experiment with Layers: Pour the resin in thin layers, allowing each layer to cure before adding the next. This can help create a more realistic depth effect.
Create Surface Texture:
- Once the resin has cured, you can add surface texture using a gloss medium or water effects gel. Apply it with a brush to create ripples, waves, or other water effects.
Add Final Details:
- Enhance the realism by adding small details like rocks, vegetation, or even small boats. You can also use dry brushing techniques to highlight the edges and add depth.
Plant Trees and Vegetation
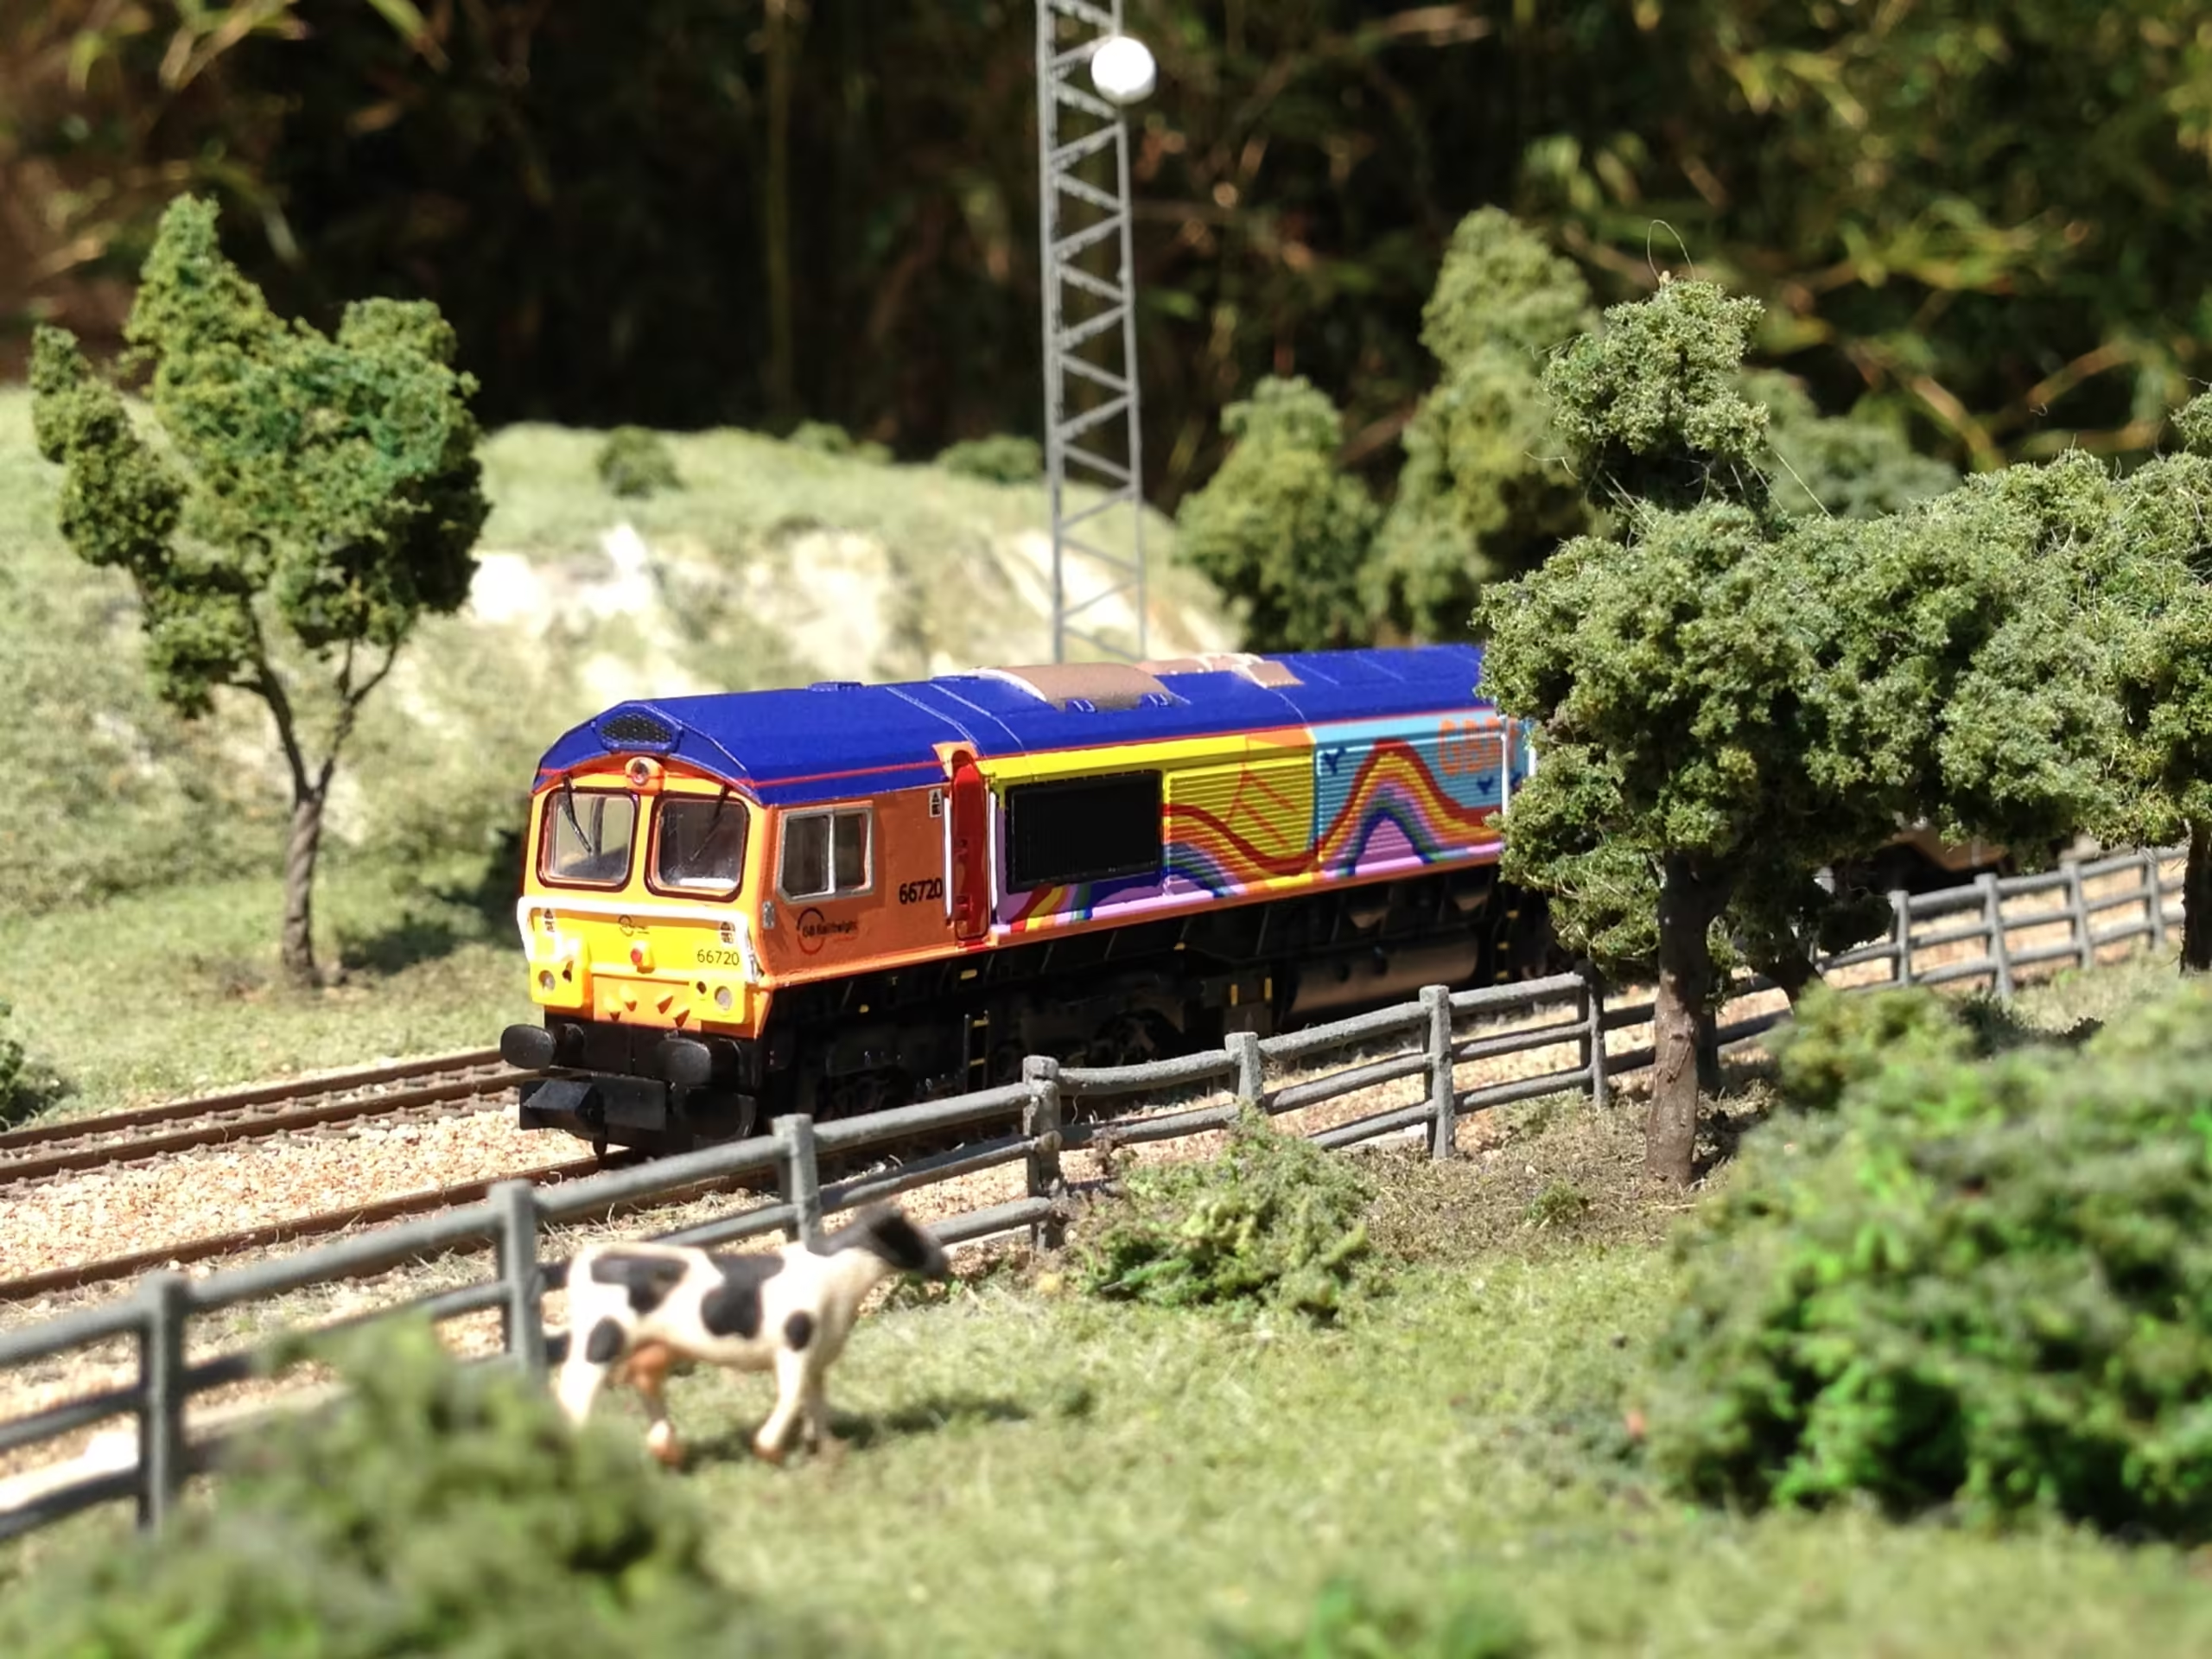
Next, plant trees and vegetation to bring your landscape to life. Use a variety of tree types and sizes to create a natural look. You can purchase pre-made trees or make your own using wire and foliage materials. Additionally, add bushes, shrubs, and other vegetation to fill in the gaps and enhance realism.
Here is a tried and tested way to make great looking trees from scratch.
Materials Needed
- Wire (florist wire works well)
- Plaster of Paris or latex rubber
- Paints (various shades of brown and green)
- Foliage material (such as ground foam or static grass)
- Glue (superglue gel or spray adhesive)
Steps to Create Realistic Trees
Form the Trunk and Branches:
- Cut several strands of wire to your desired tree height.
- Twist the wires together to form the trunk, then separate and twist smaller groups of wires to create branches.
Add Texture:
- Coat the wire tree with plaster of Paris or latex rubber to hide the twisted wire and give it a bark-like texture.
- Once dry, paint the trunk and branches with various shades of brown to add depth and realism.
Apply Foliage:
- Use spray adhesive or superglue gel to attach foliage material to the branches. Ground foam or static grass can simulate leaves.
- For added realism, you can sprinkle different colors of foliage to represent seasonal changes or different tree species.
Build Structures
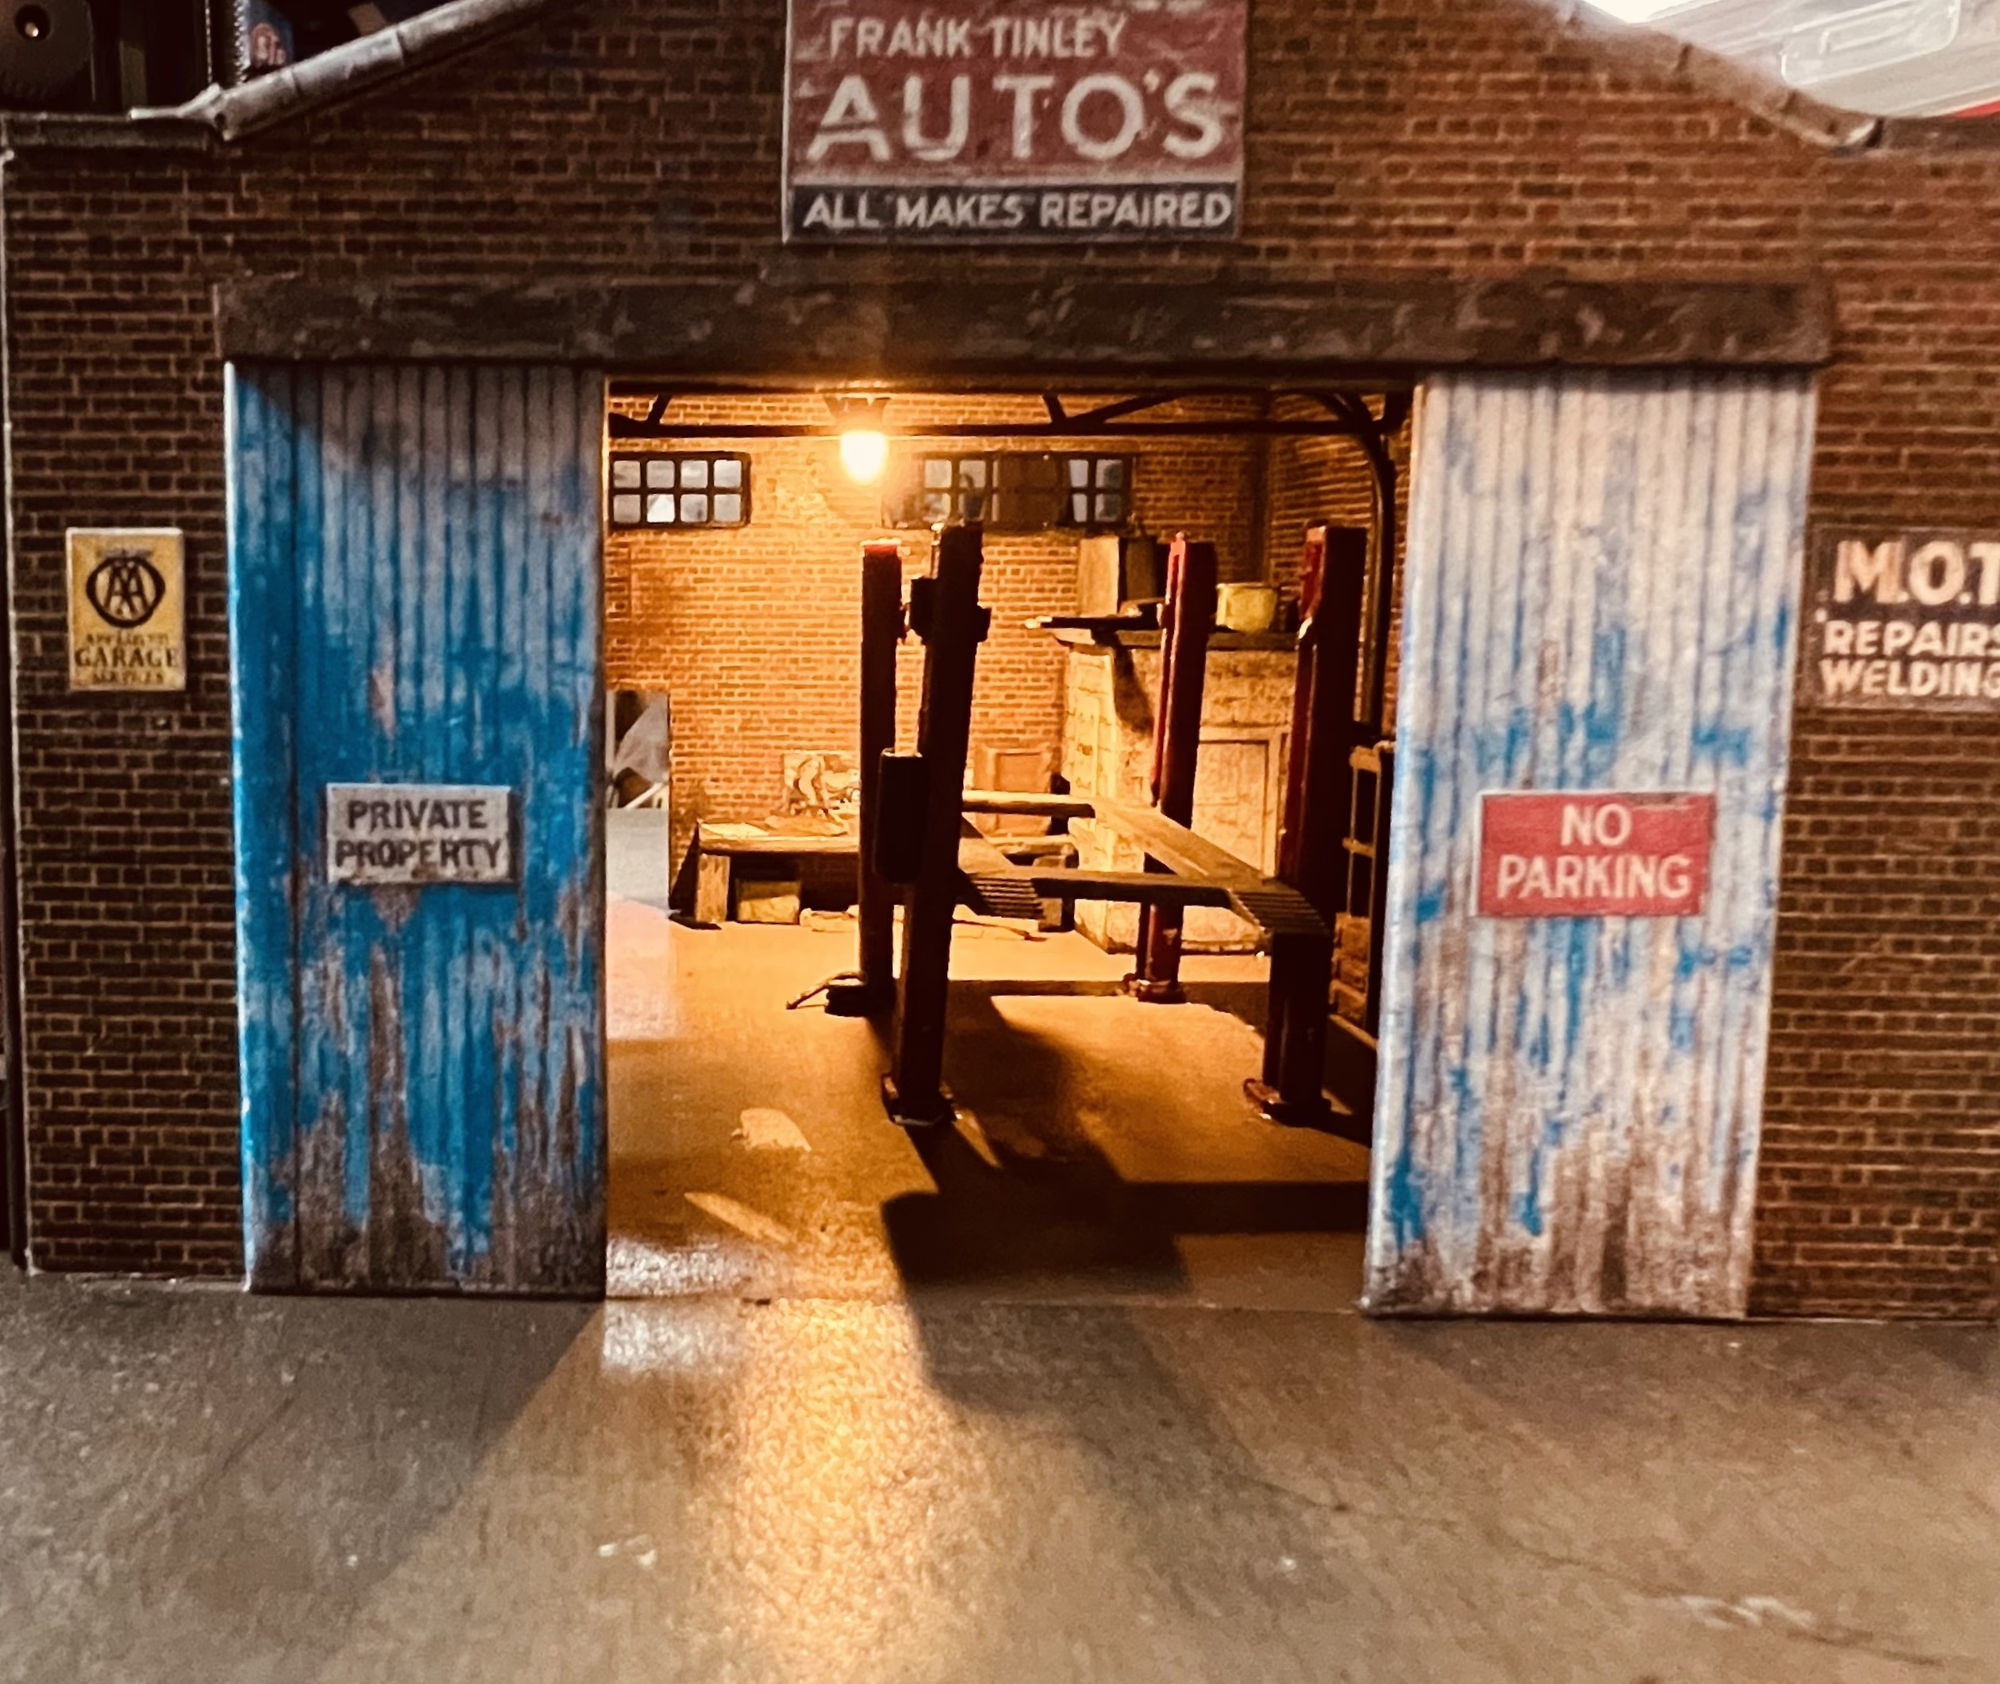
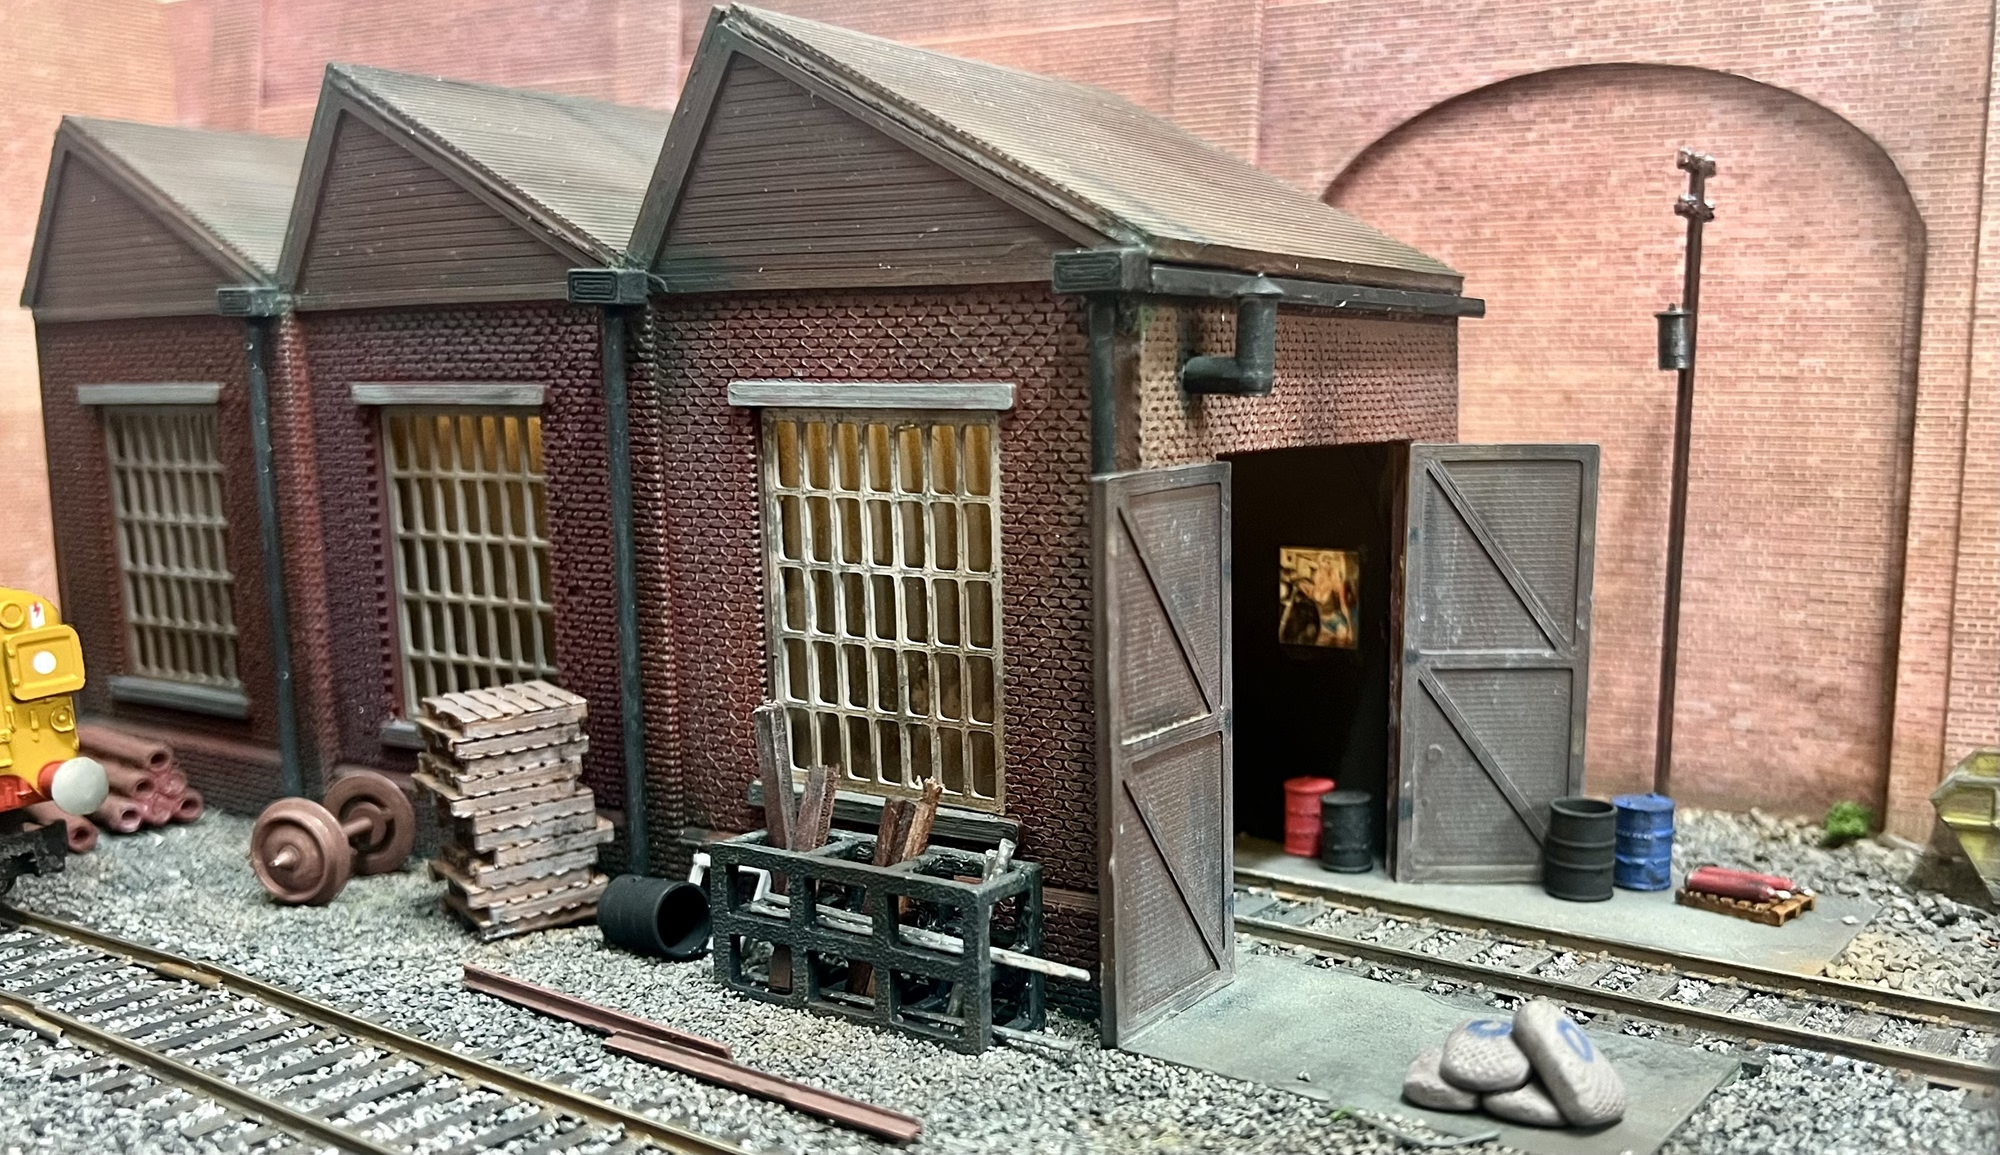
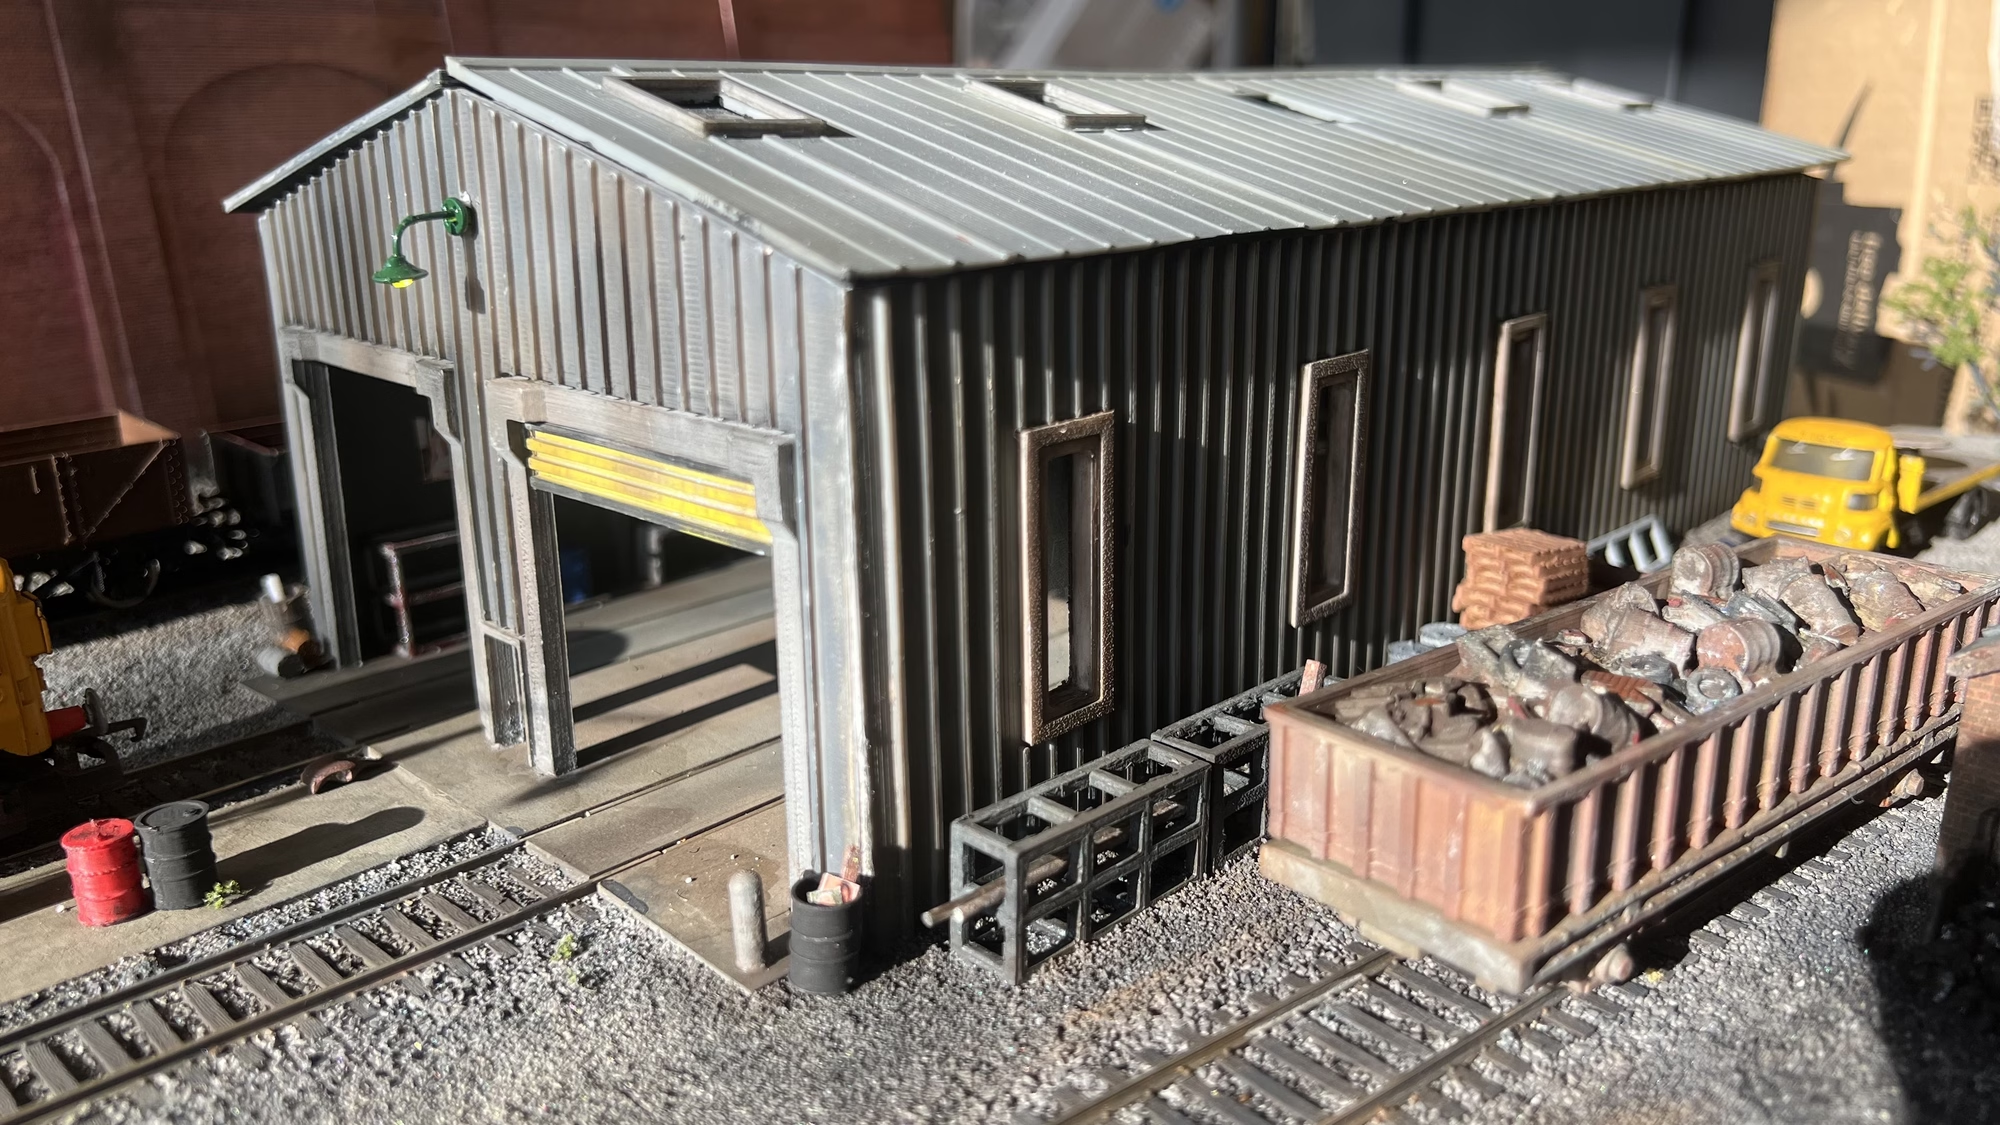
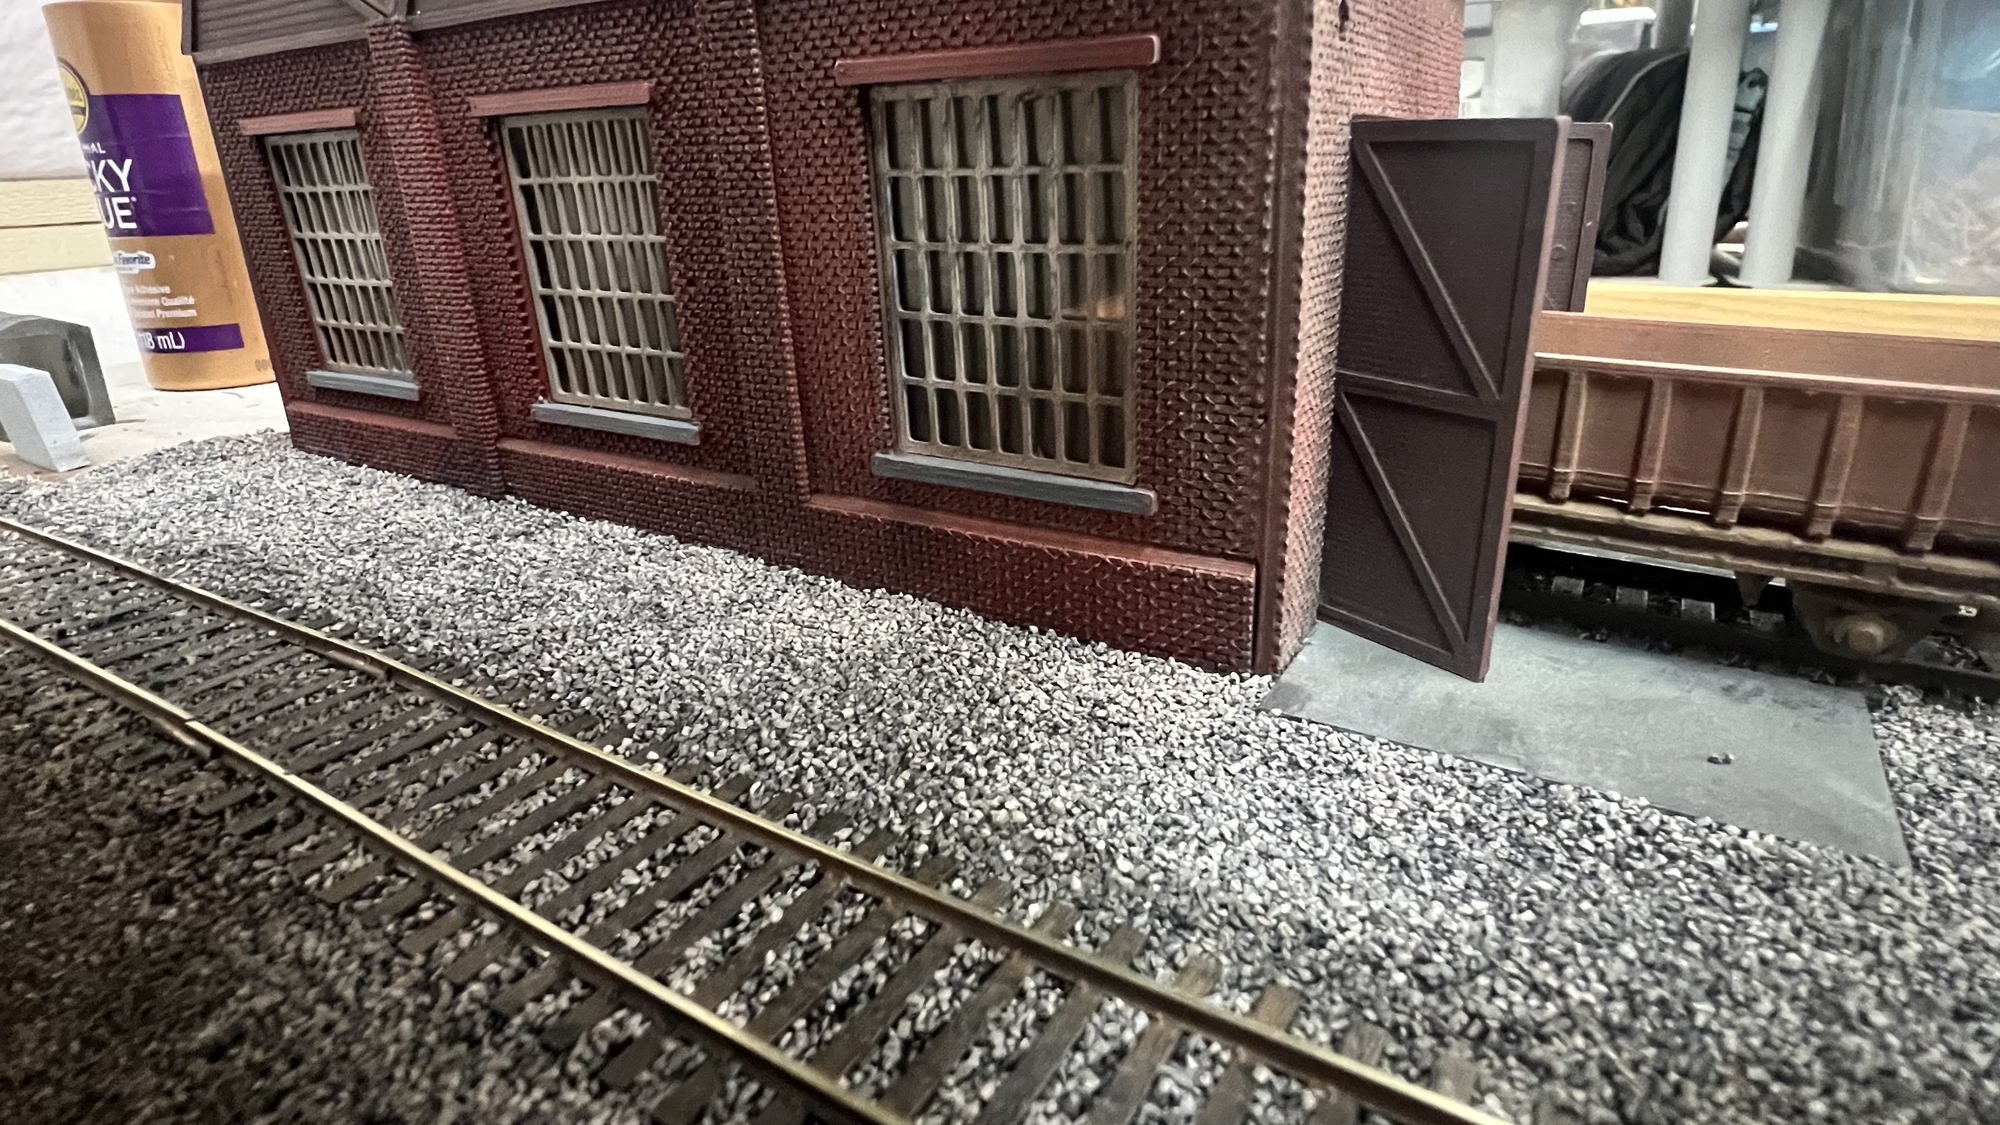
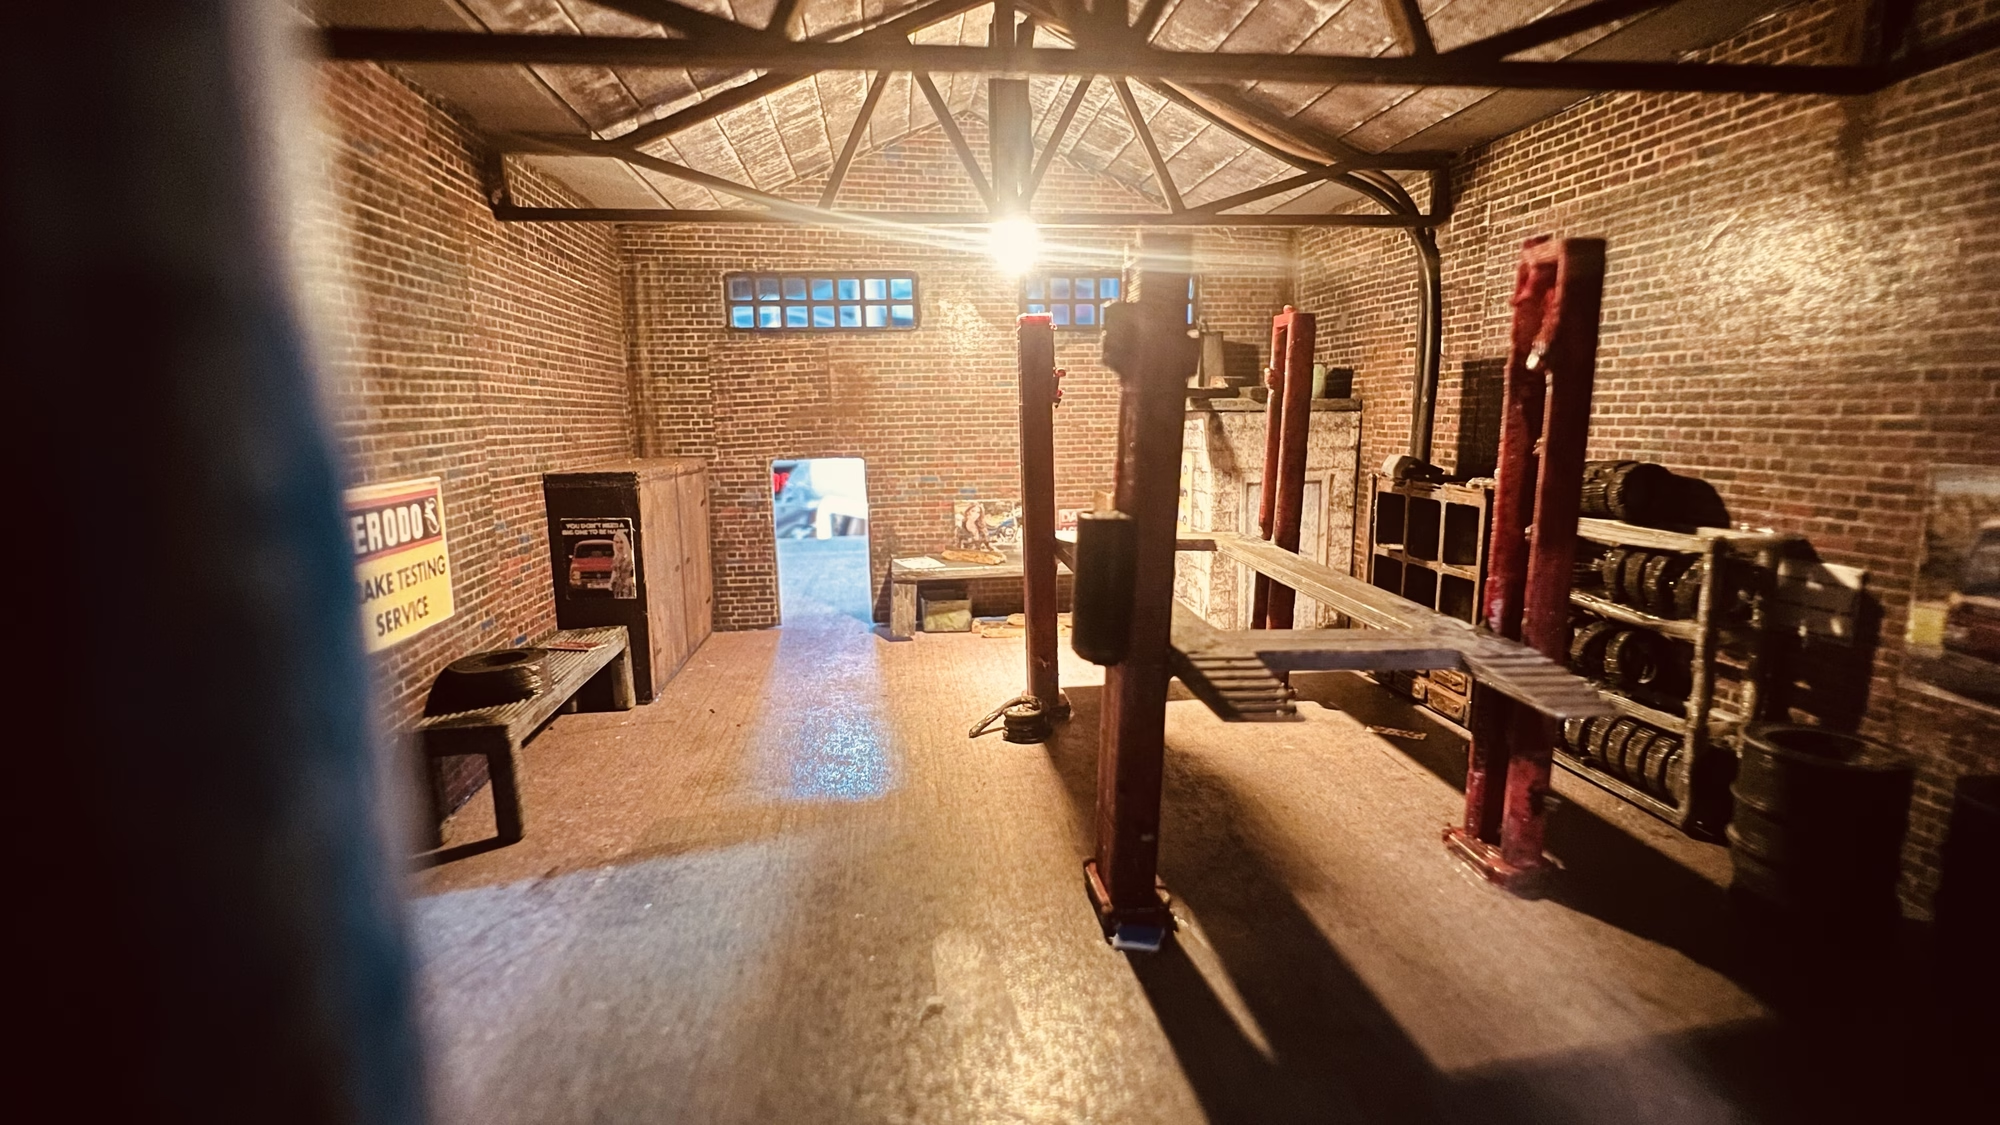
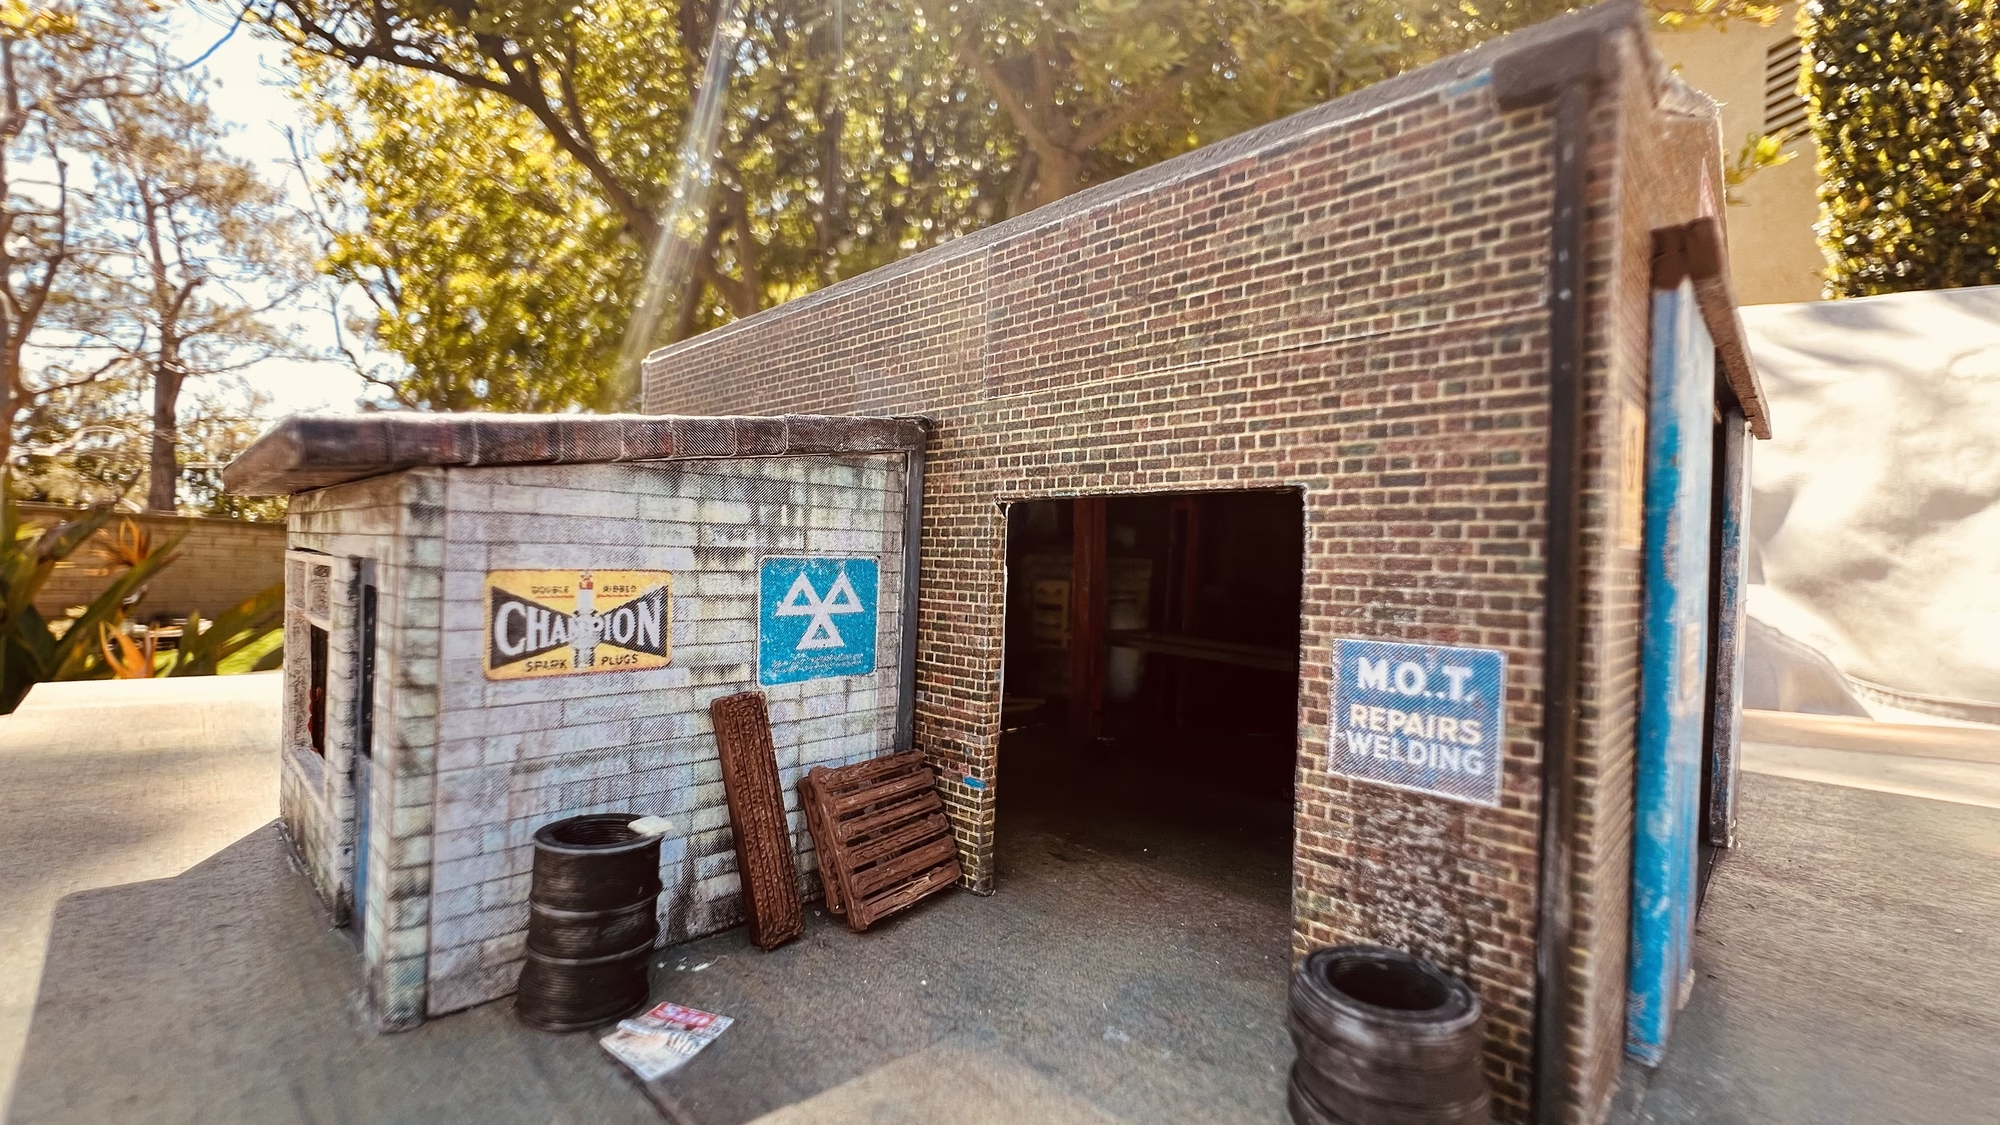
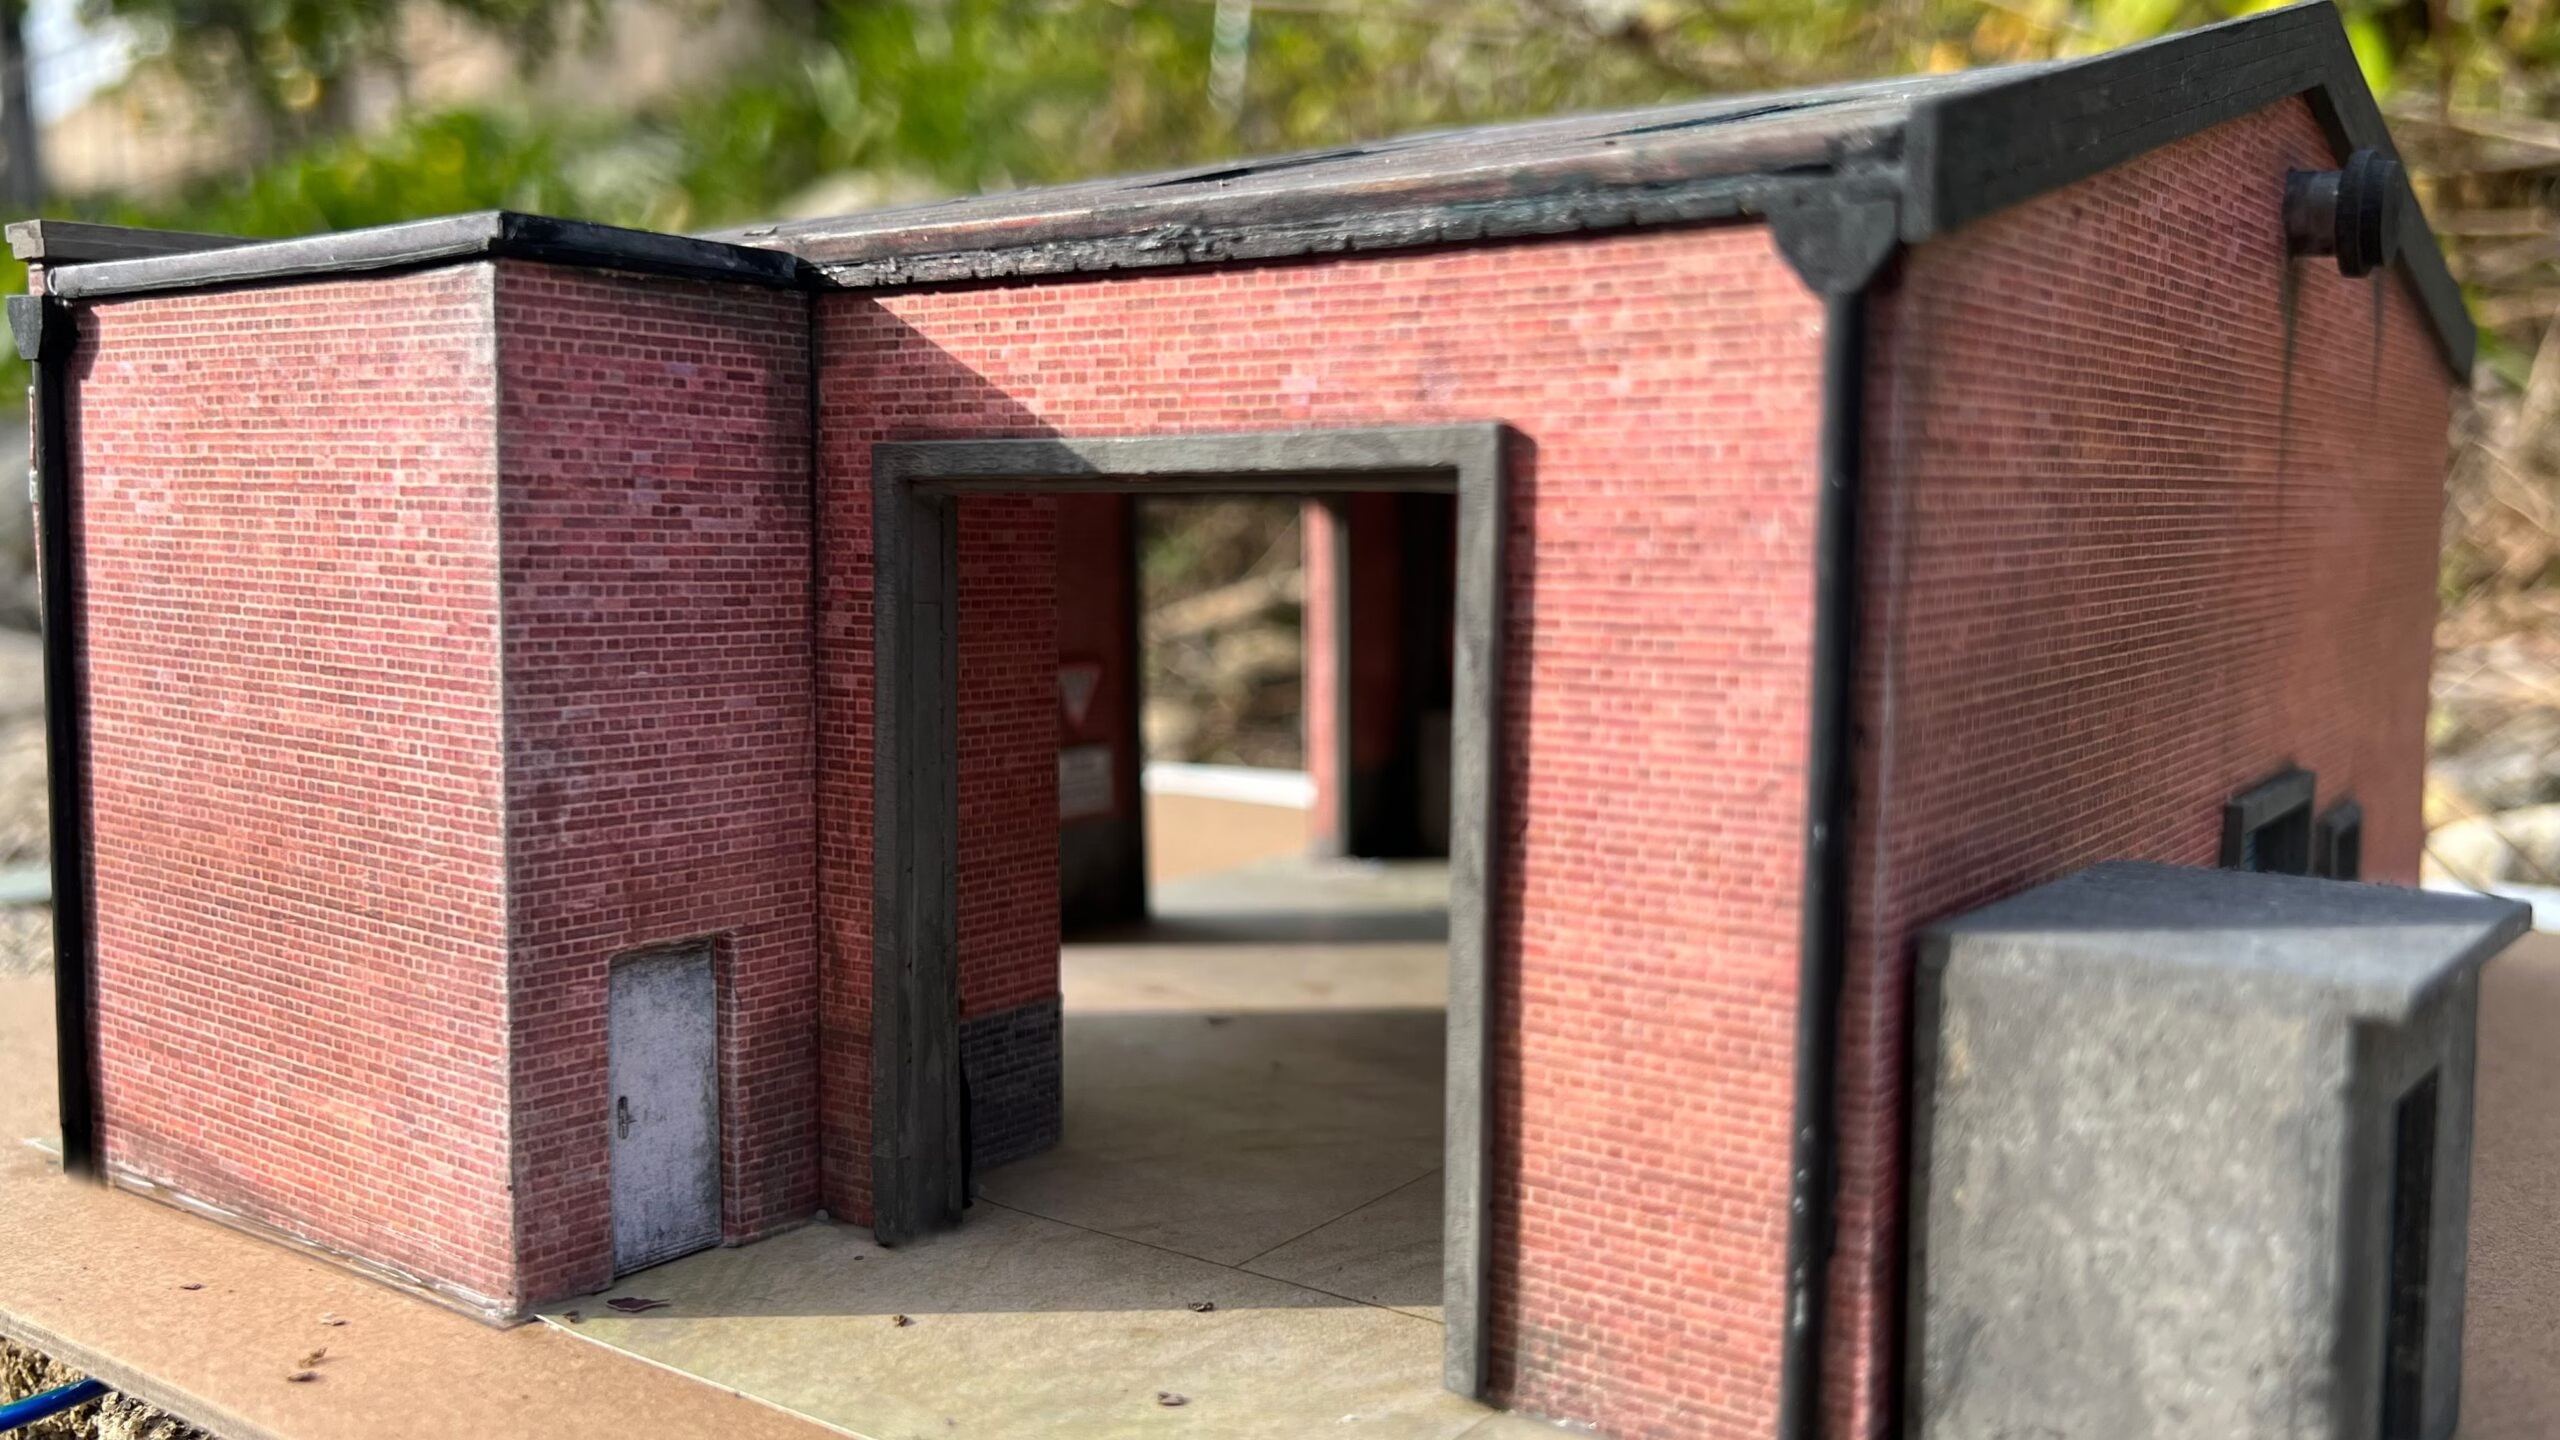
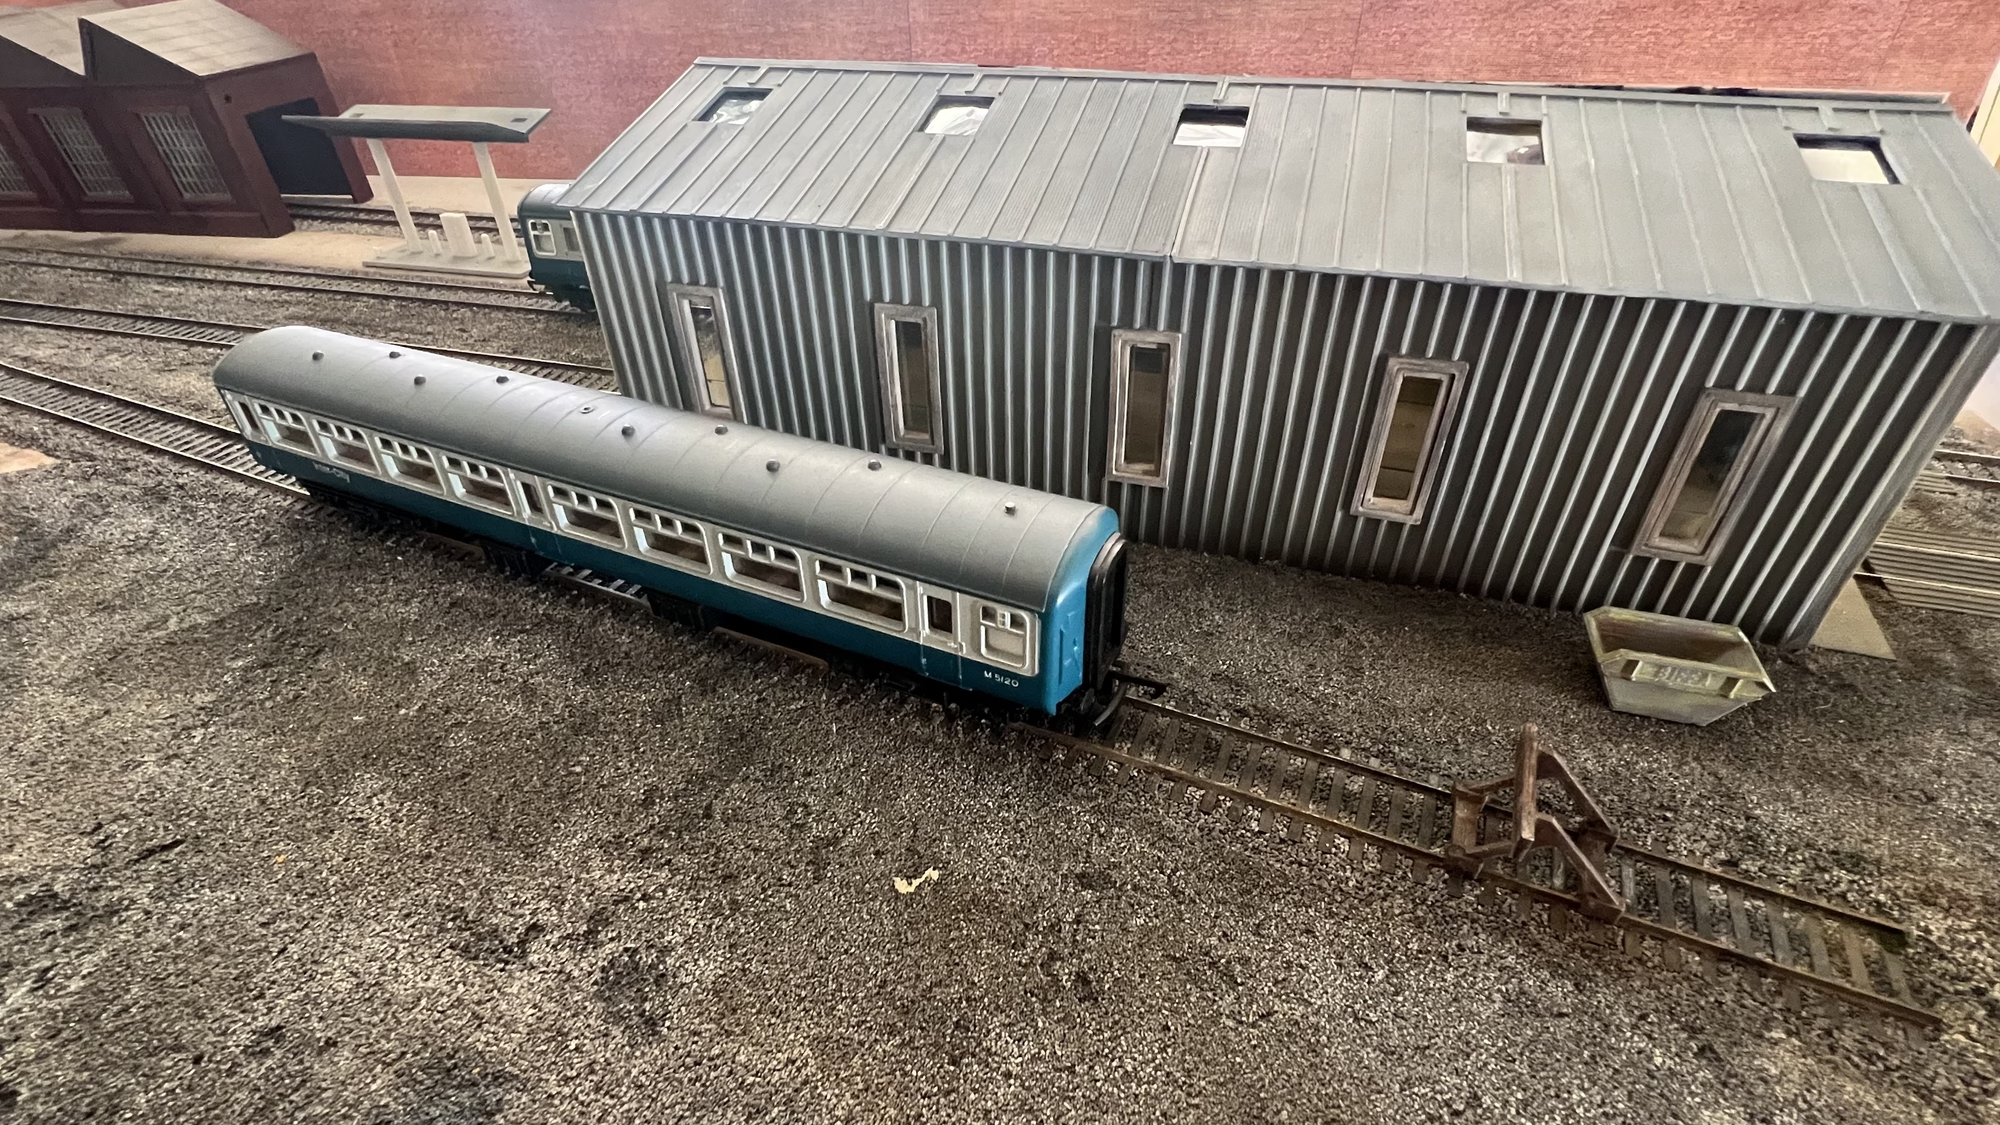
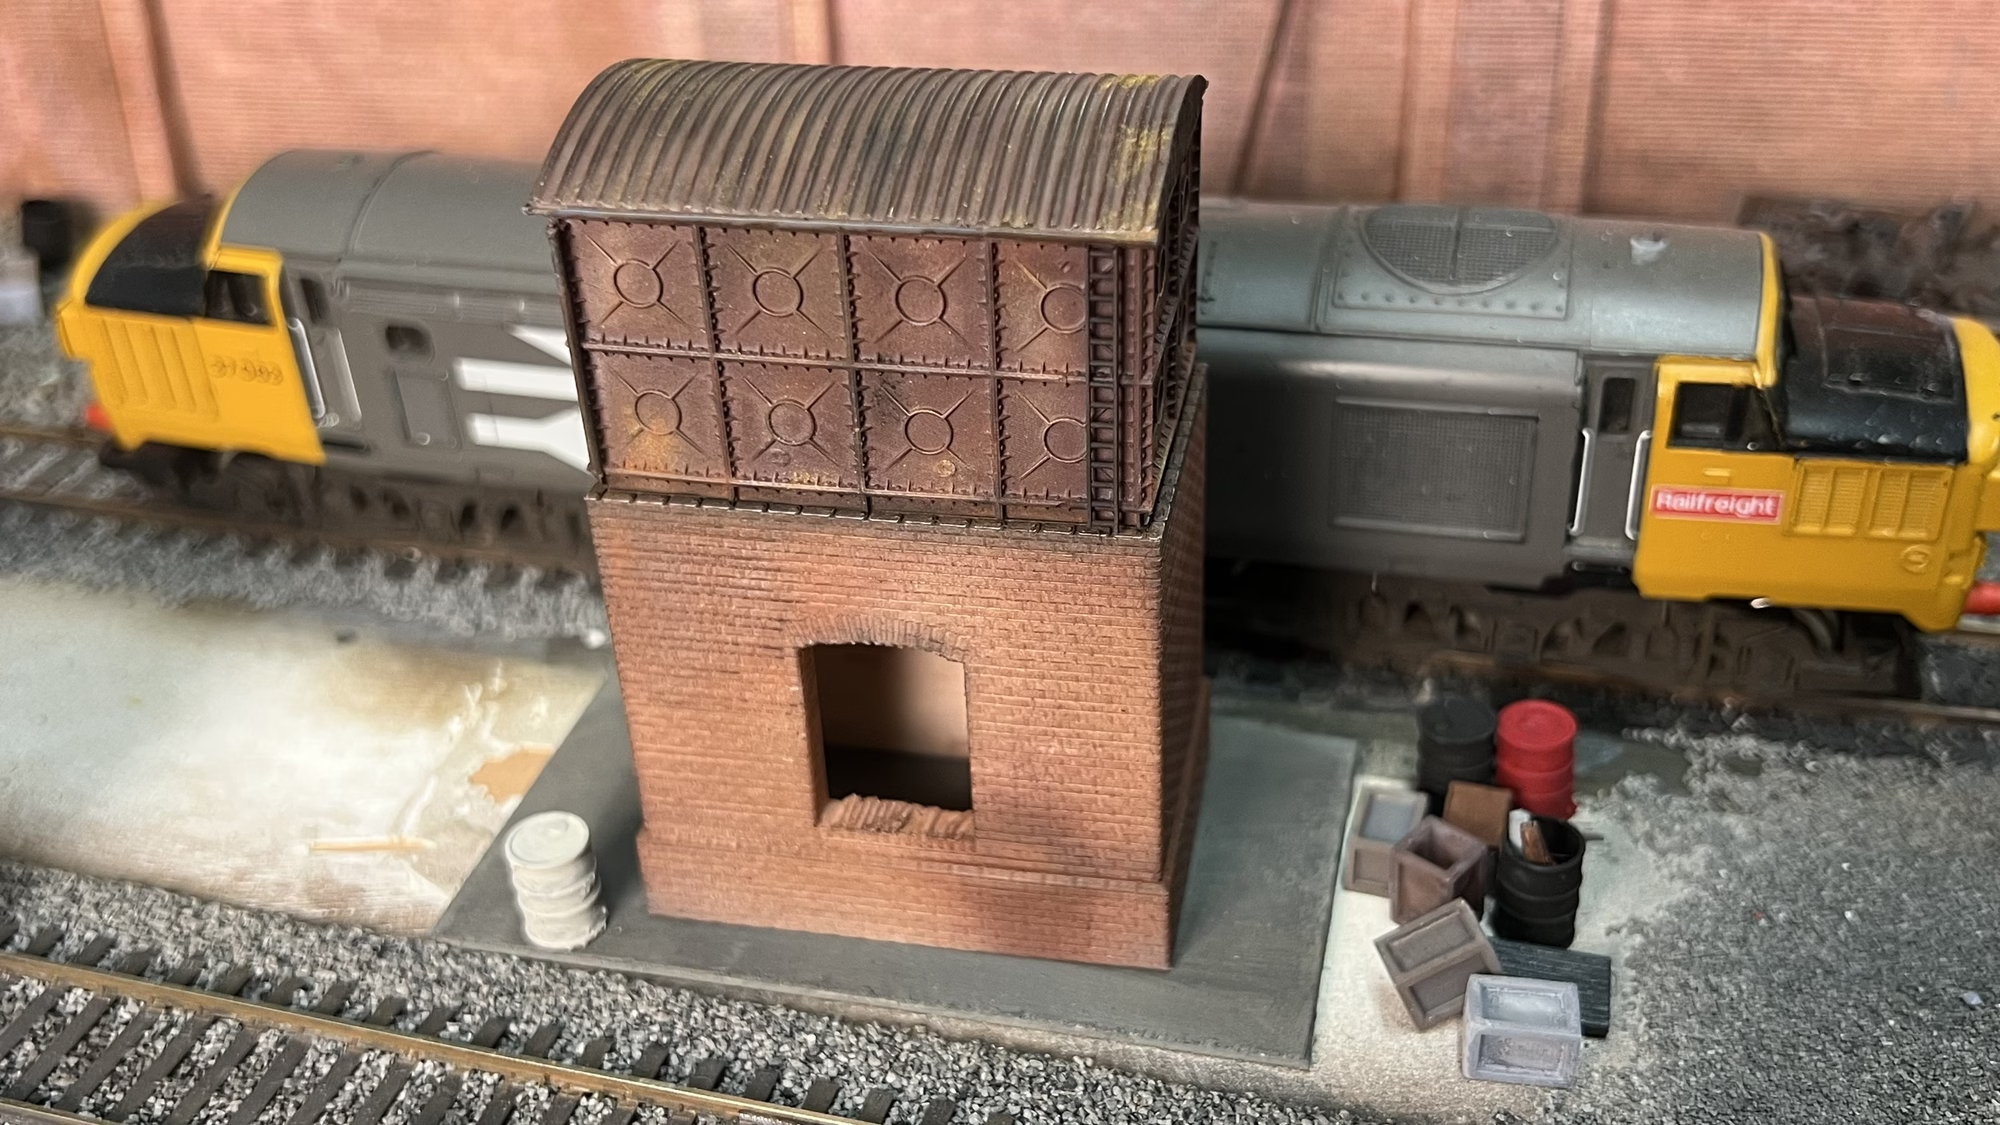
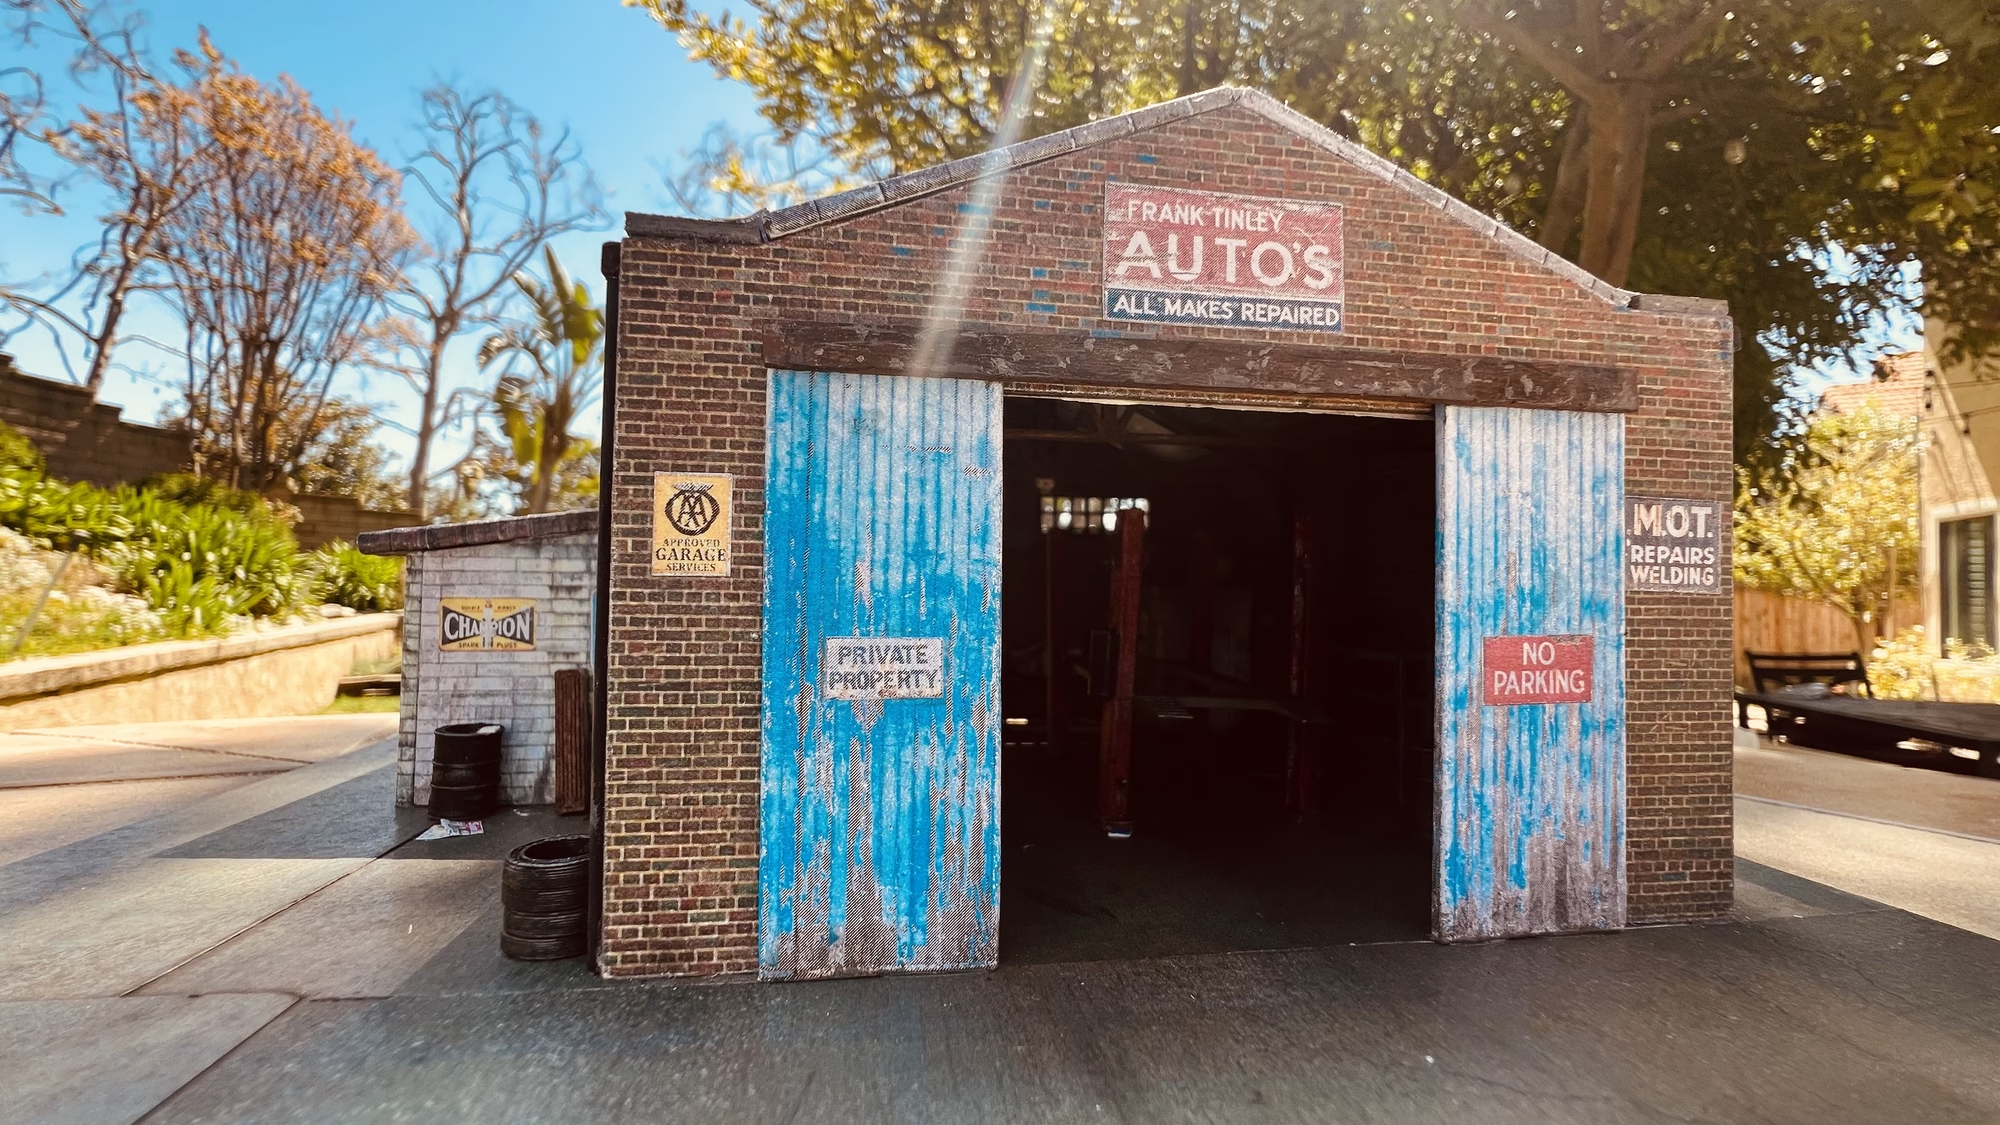
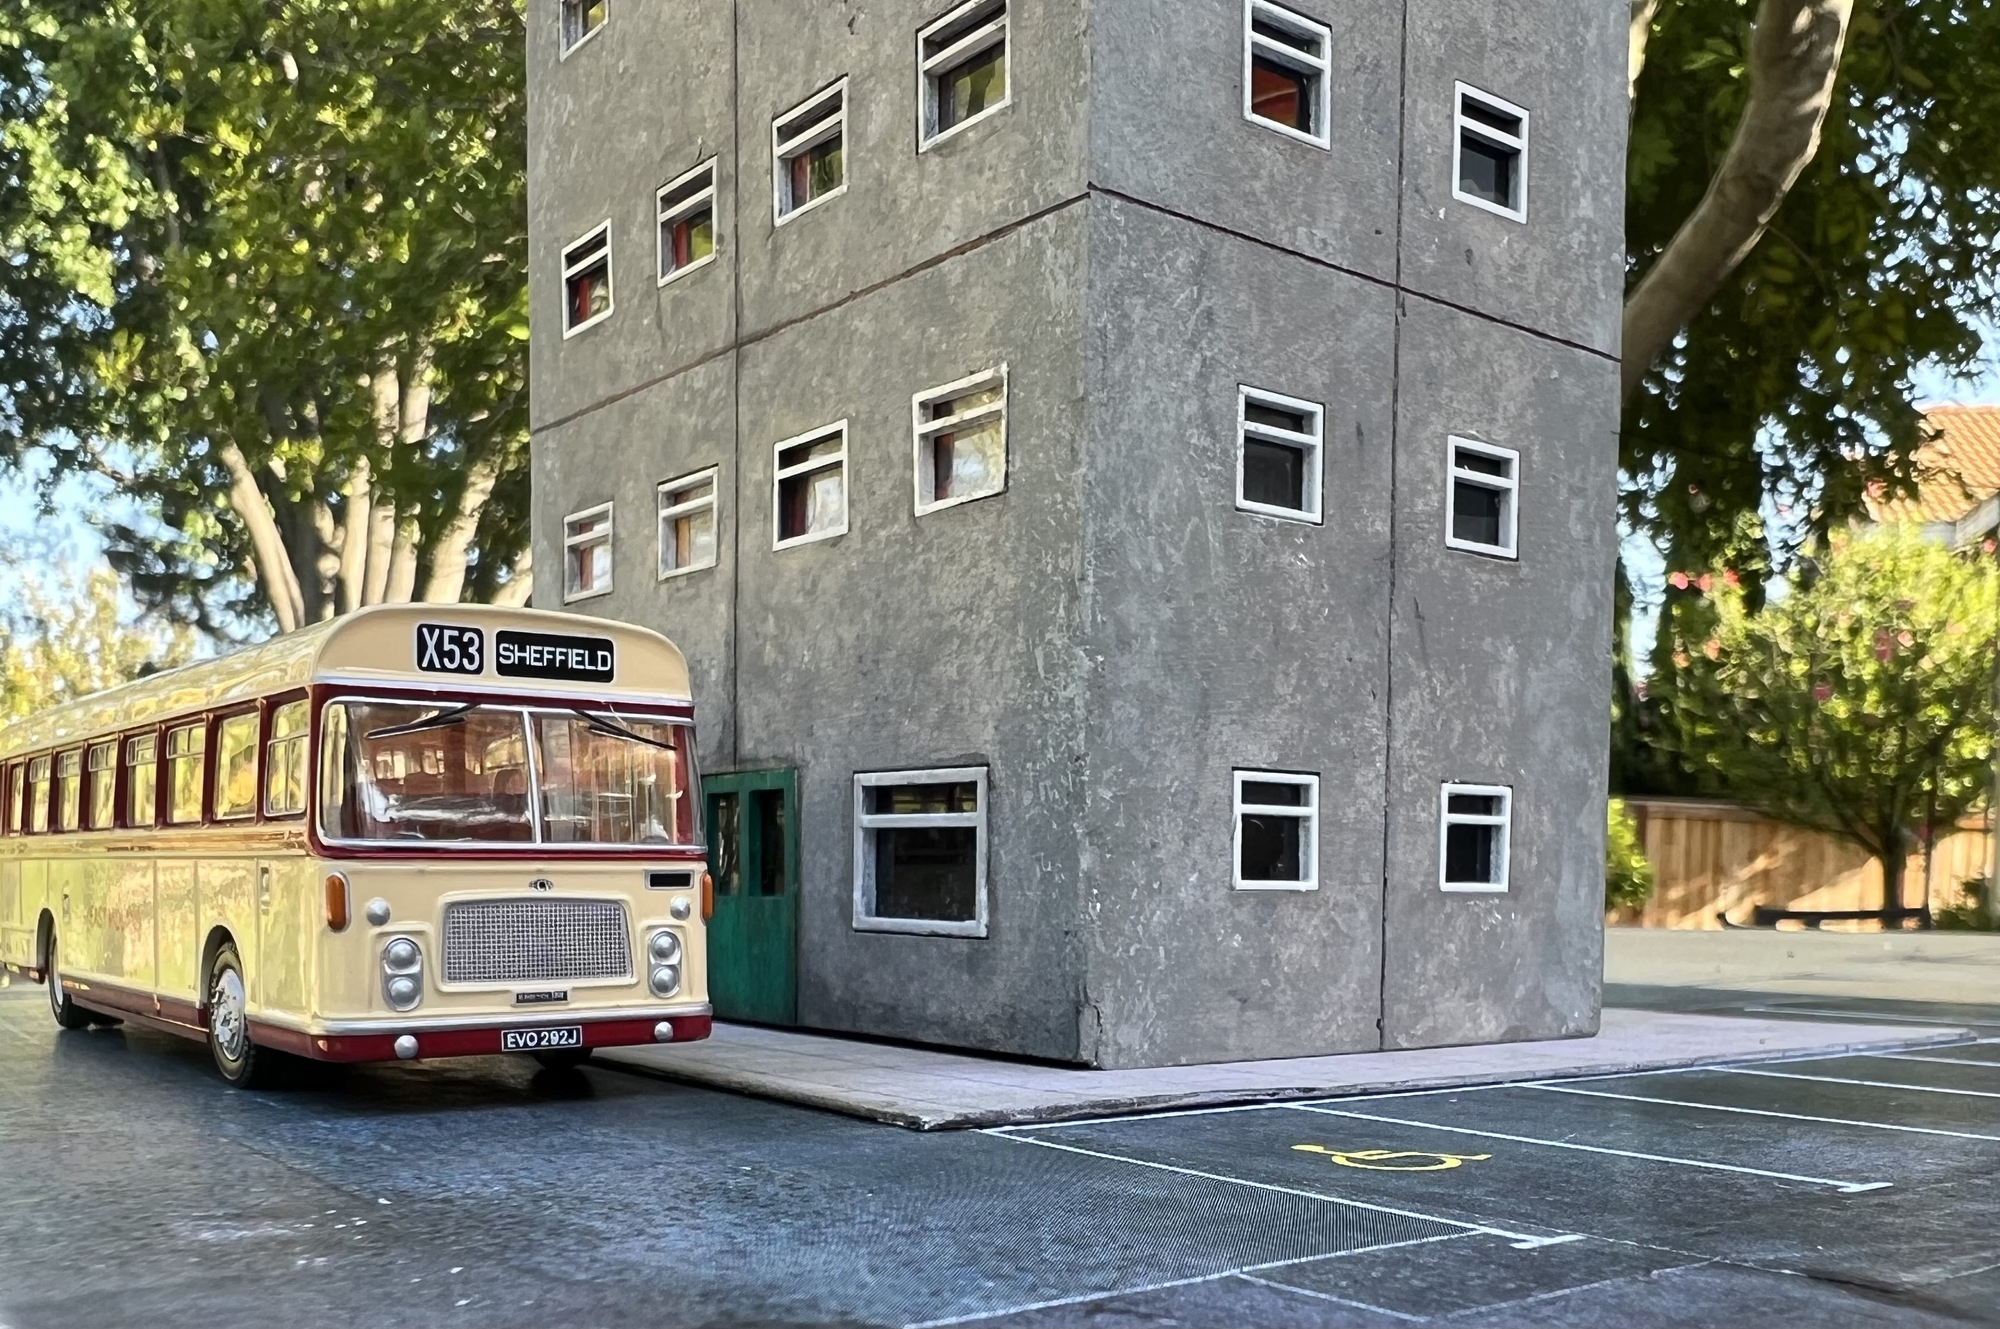
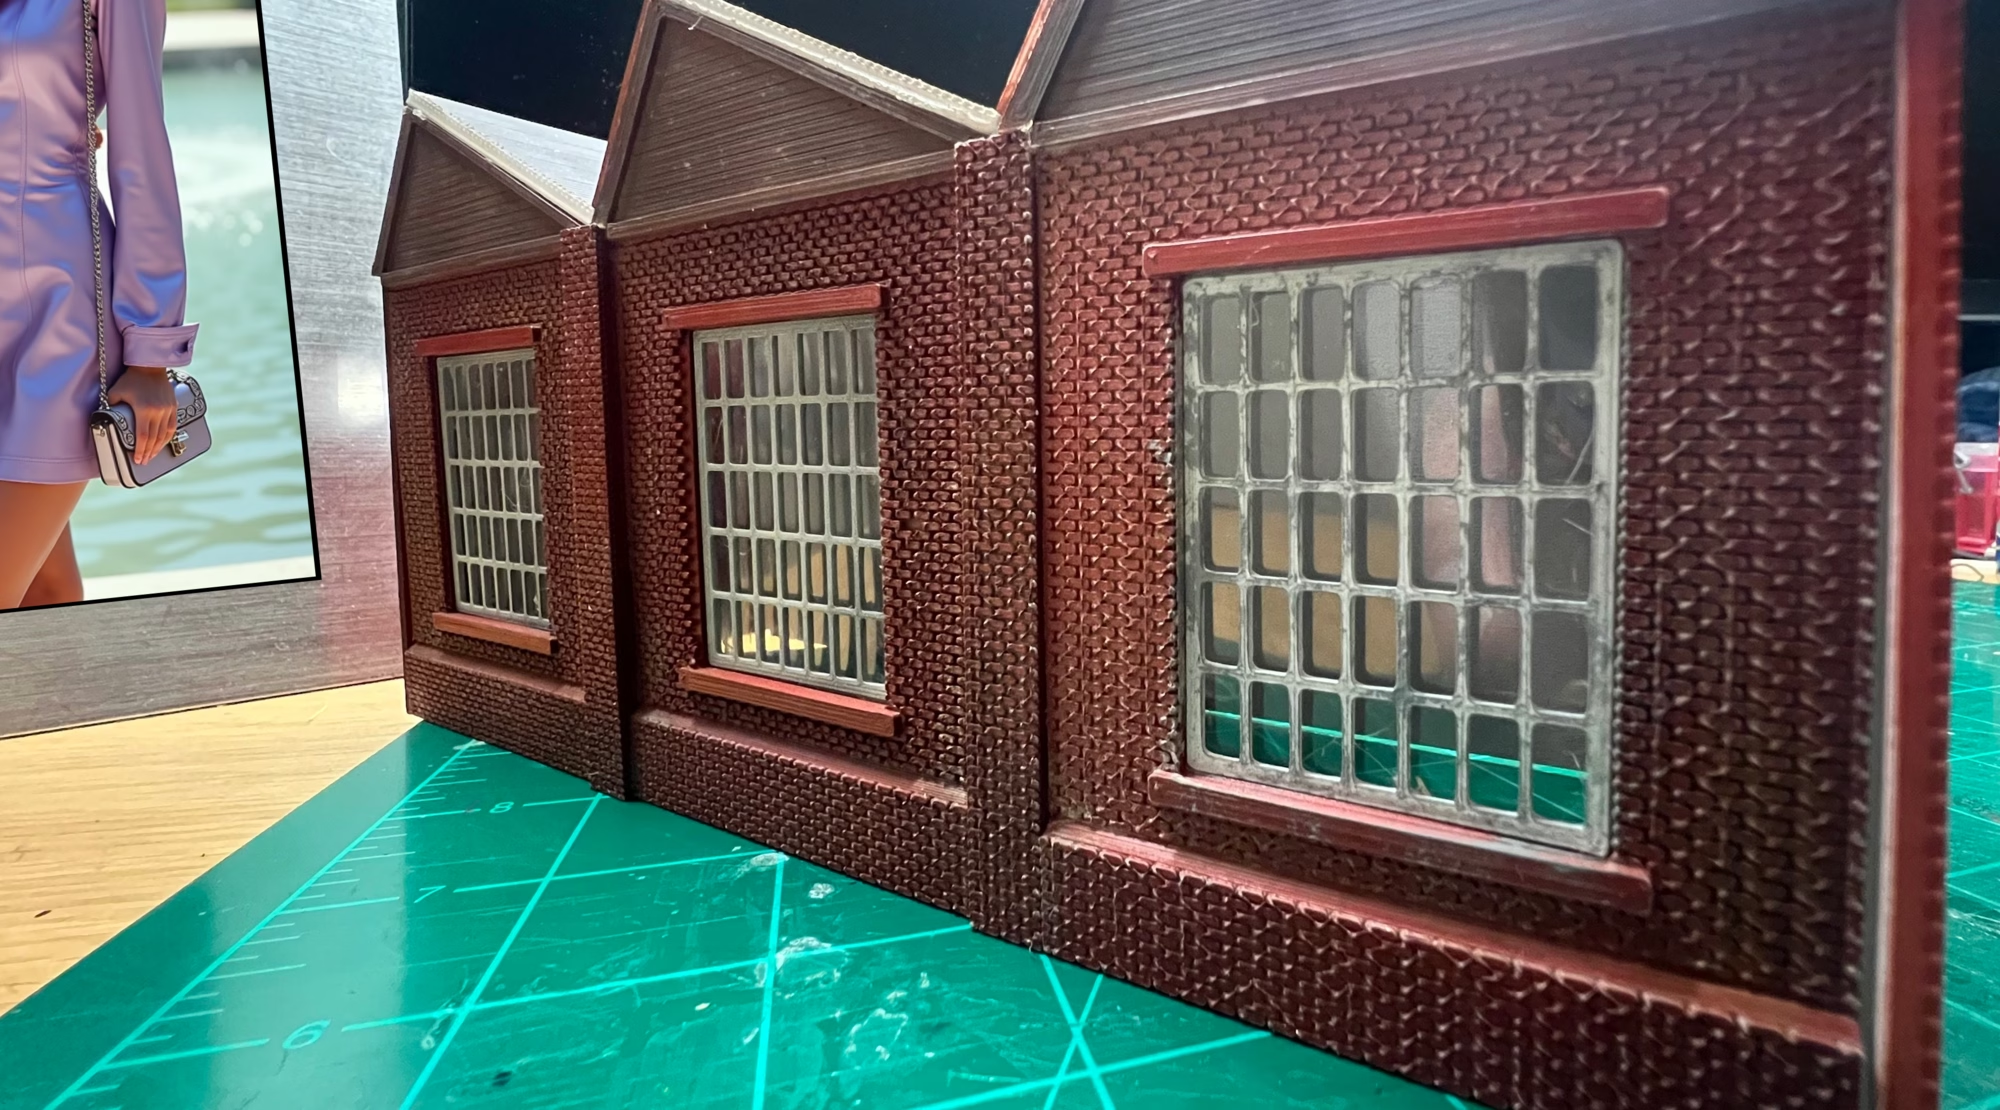
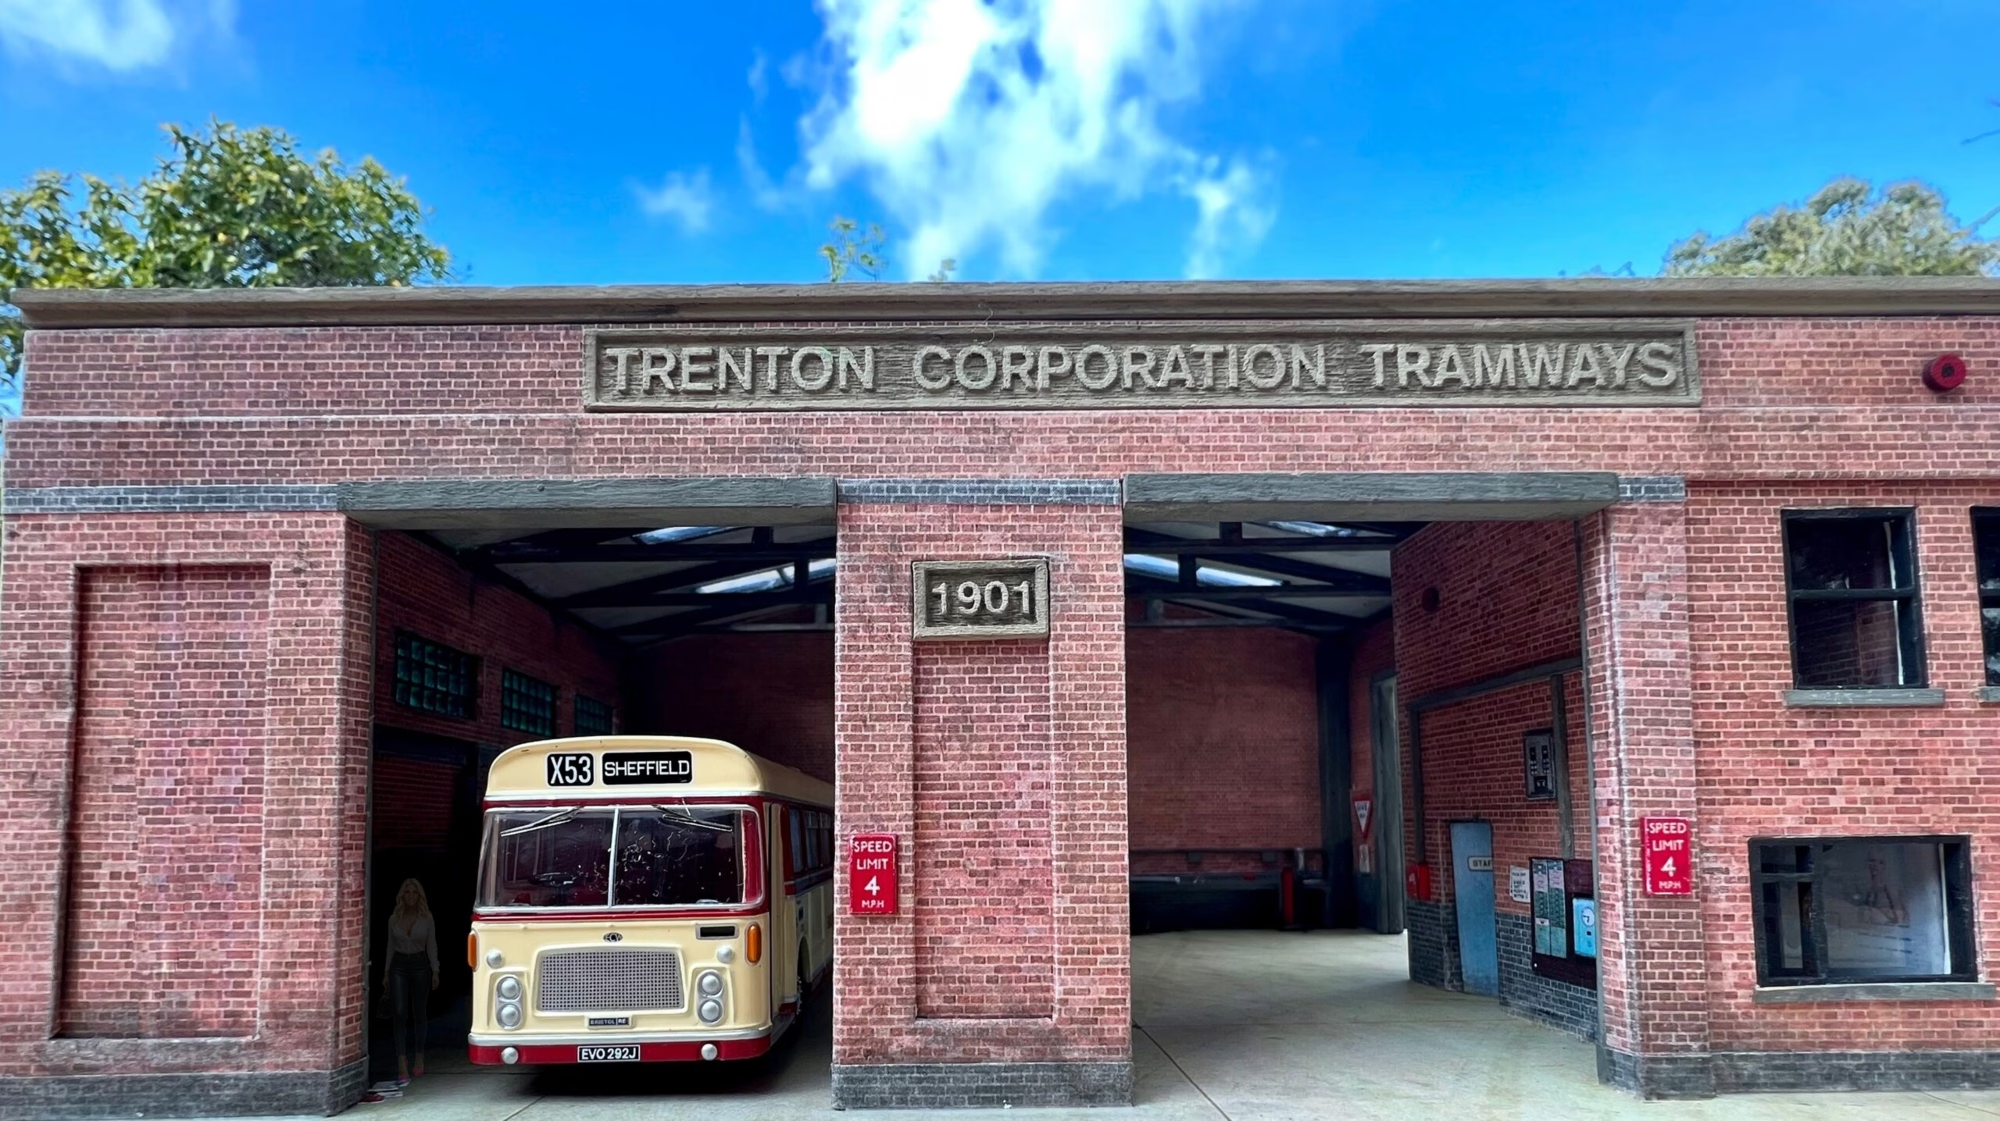
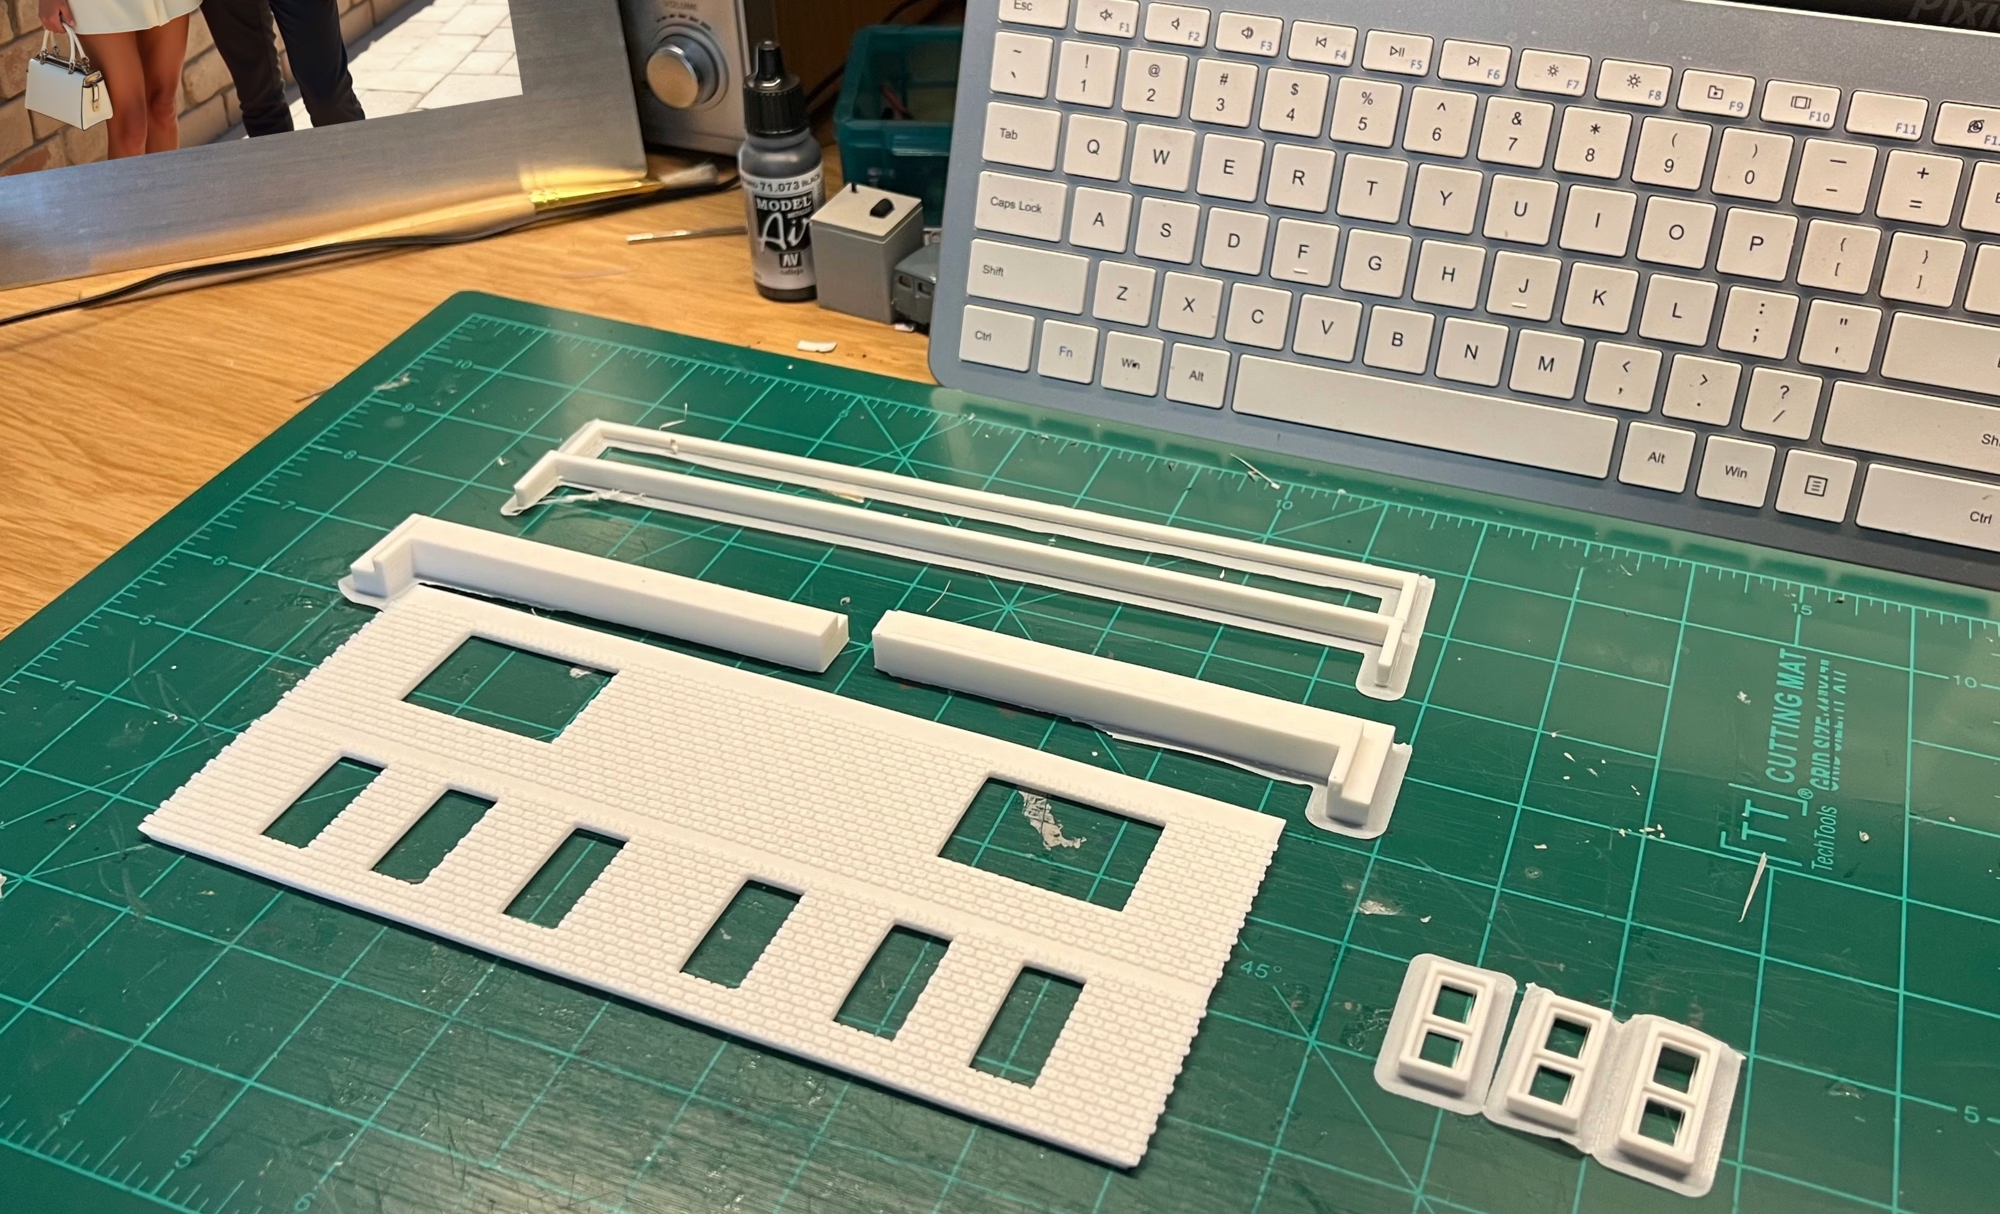
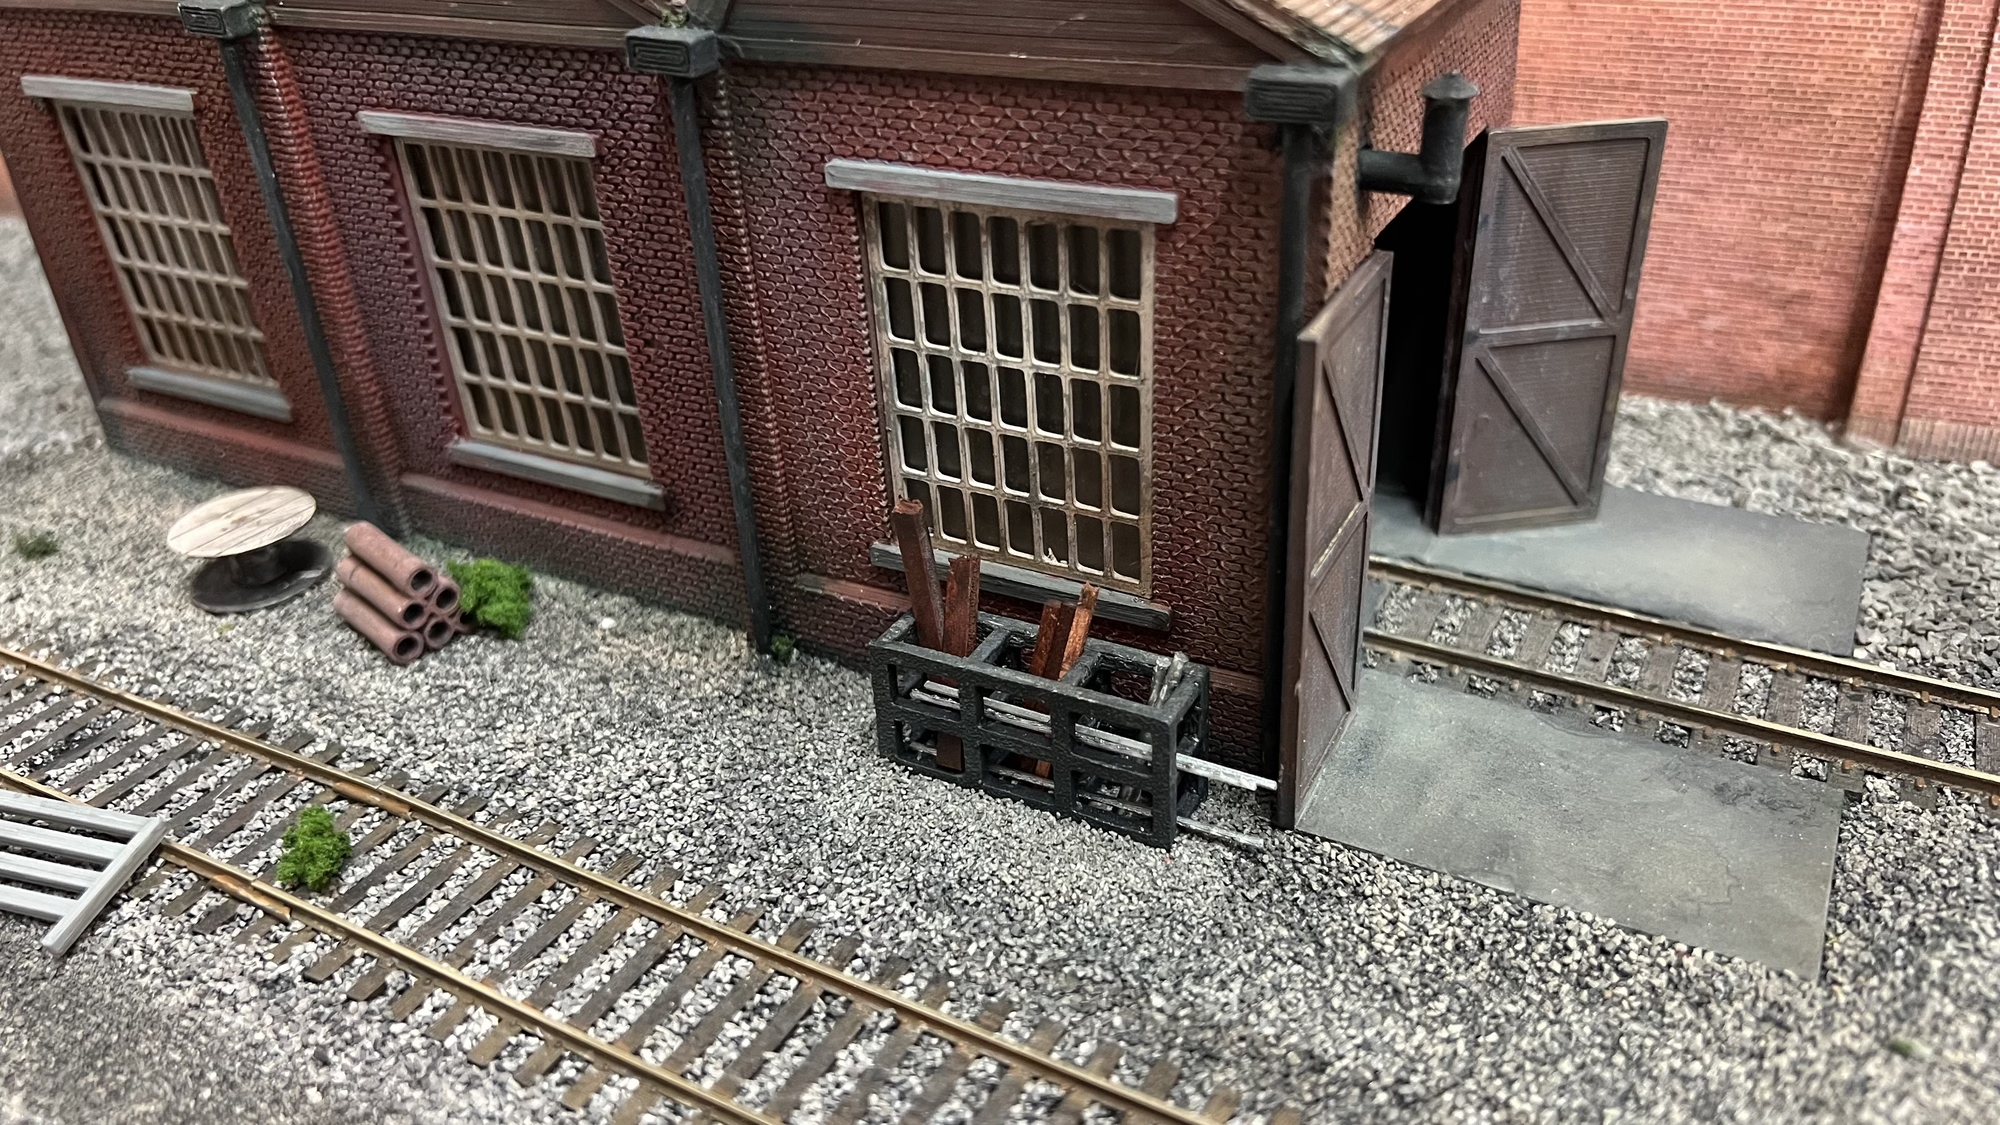
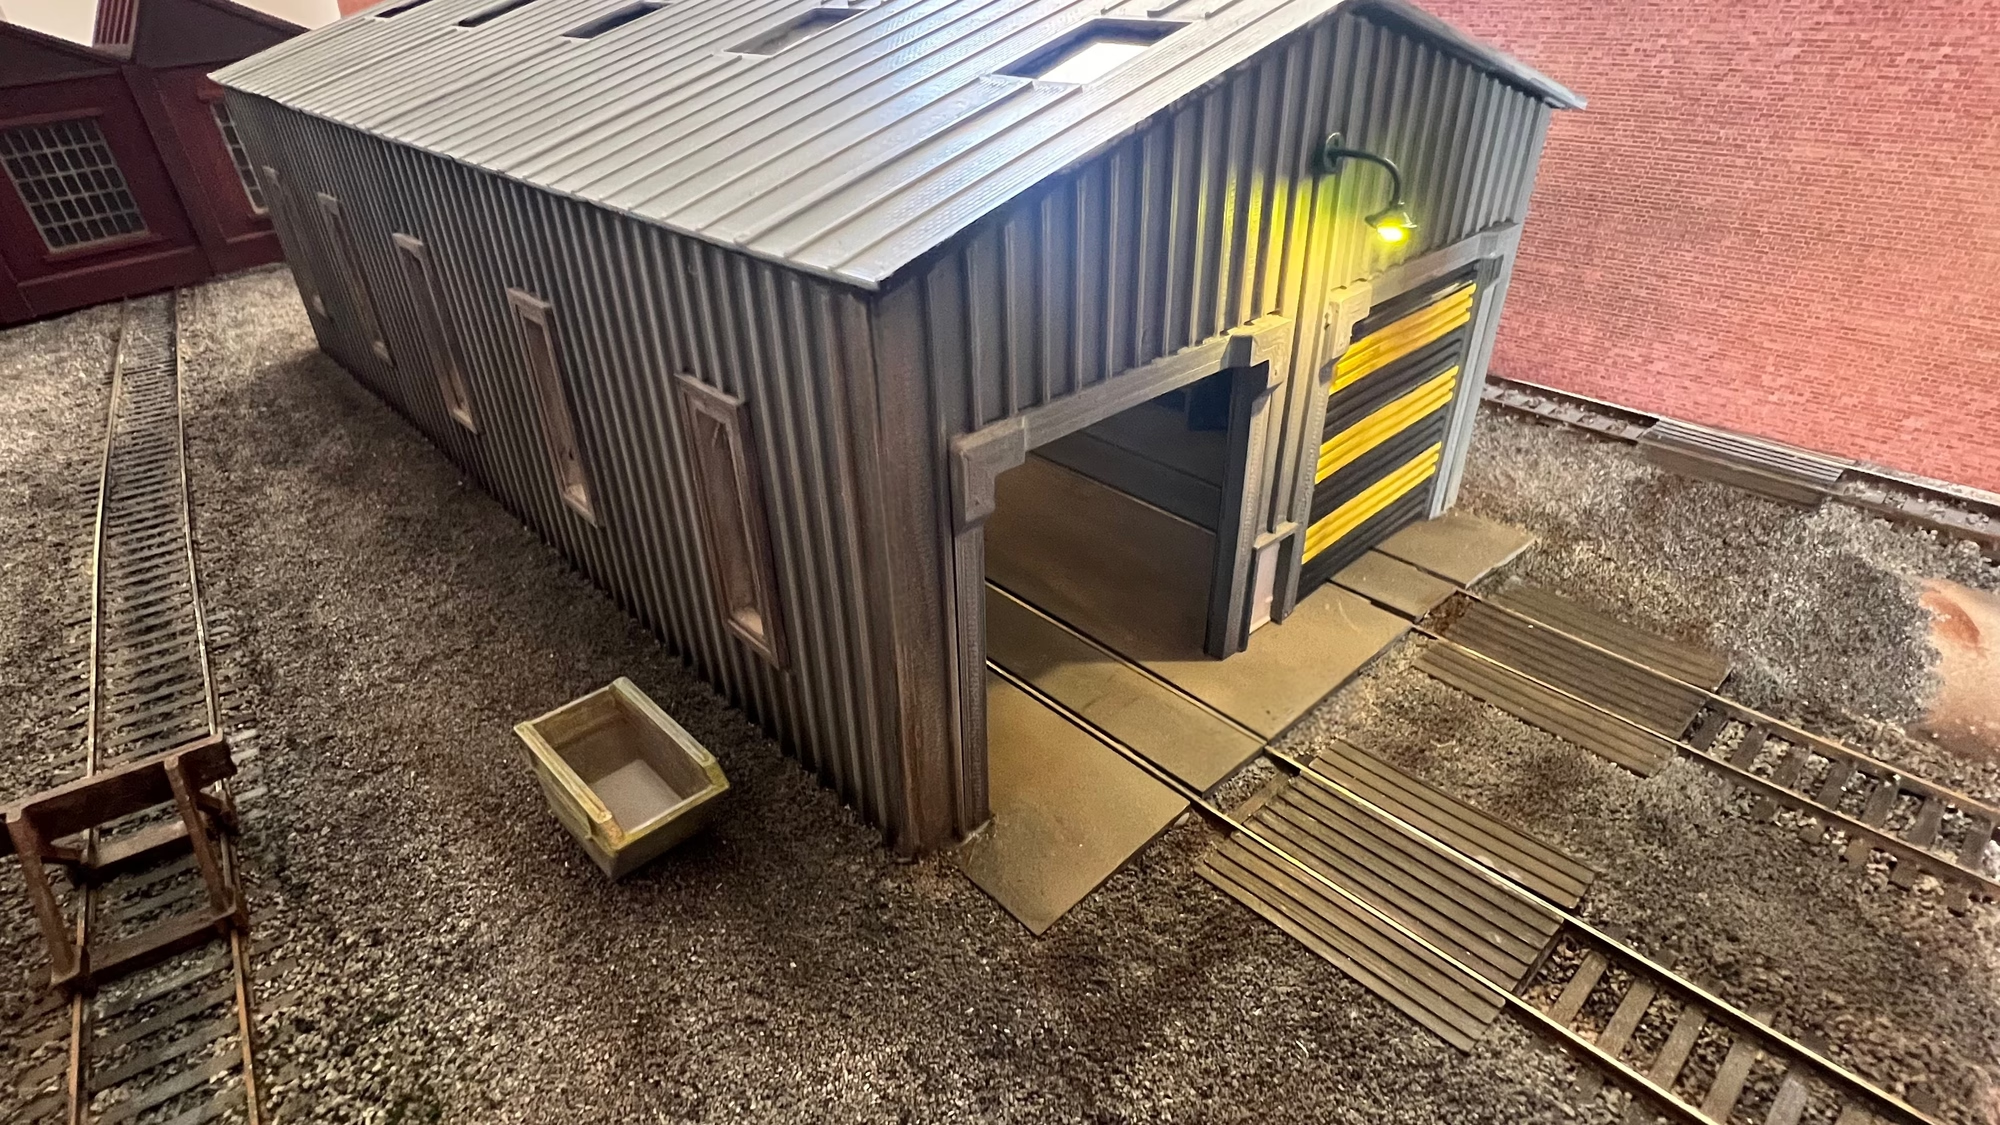
Incorporate buildings, bridges, and other structures to add interest and detail to your layout. Whether you buy pre-made kits or scratch-build your own, ensure they fit the scale and theme of your layout. Place them strategically to create a cohesive and believable scene.
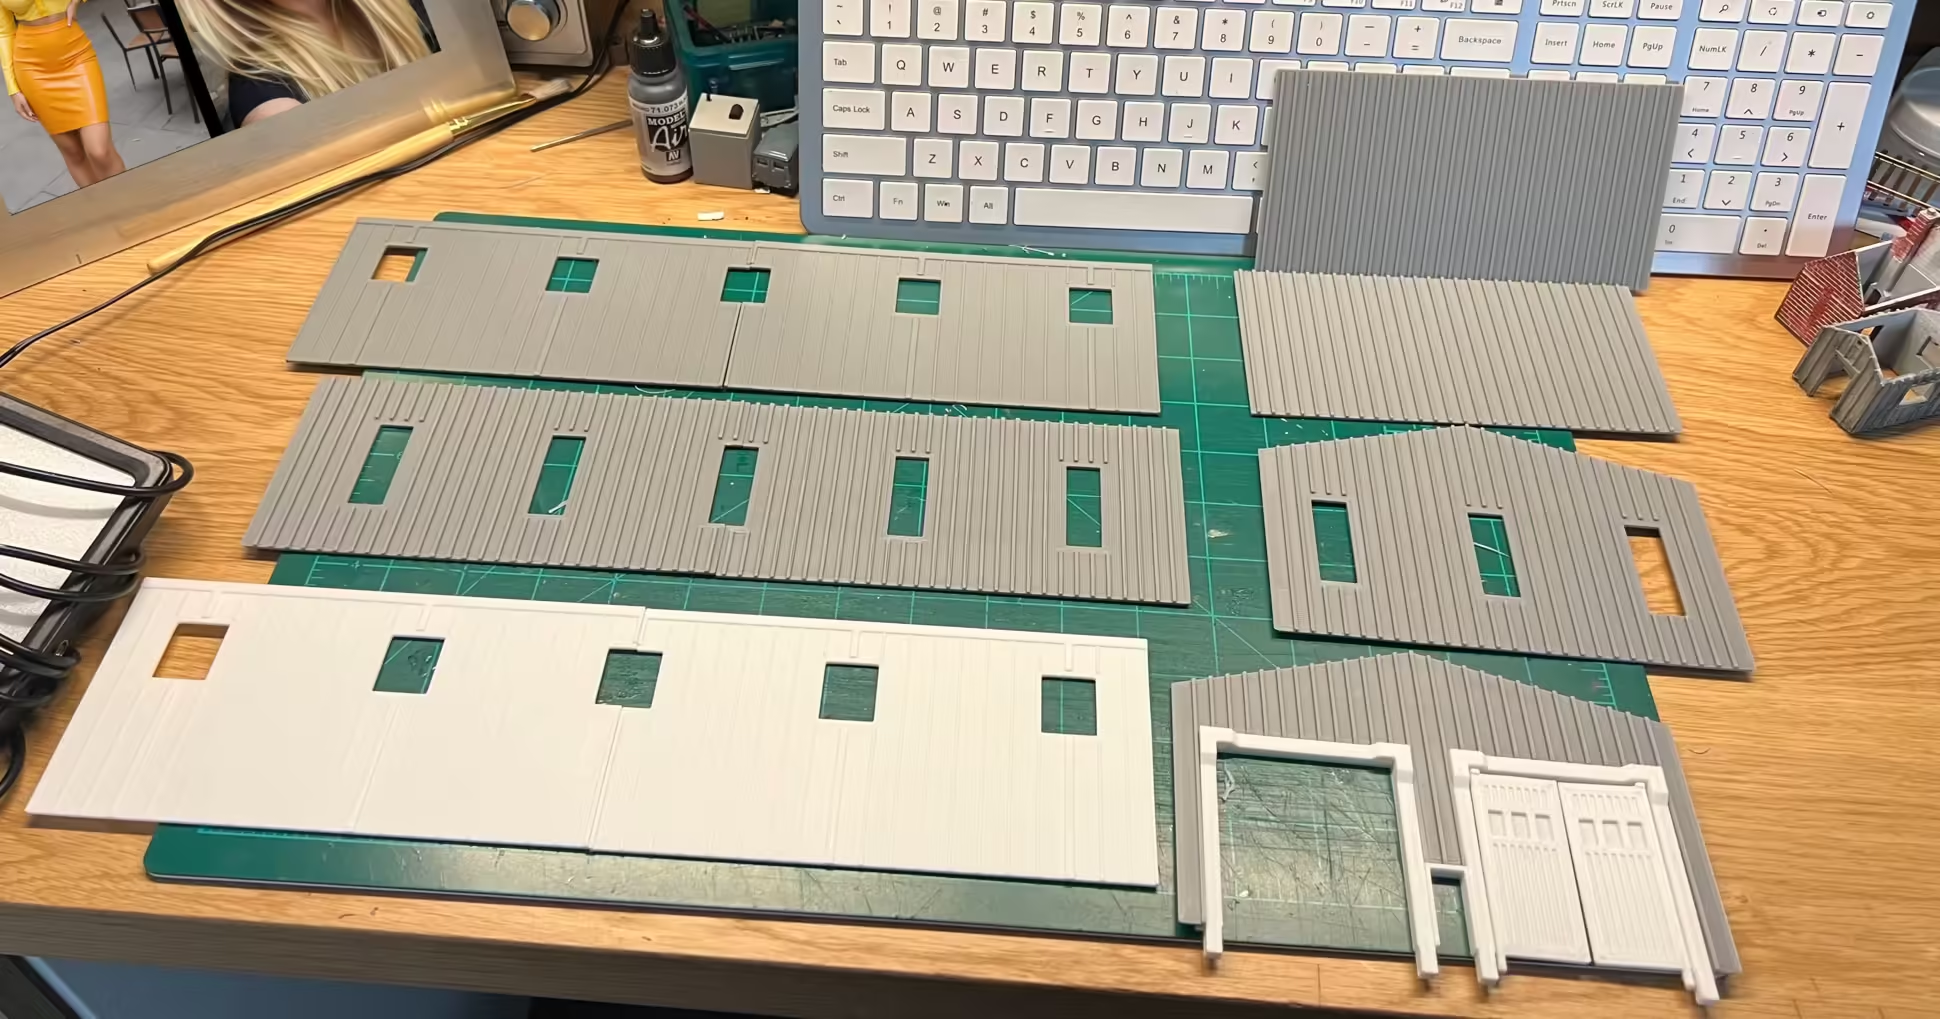
Follow these steps to create your building.
Materials Needed
- Styrene sheets or cardboard
- Craft knife and cutting mat
- Ruler and pencil
- Glue (superglue or PVA glue)
- Paints and brushes
- Weathering powders or pastels
- Detailing parts (windows, doors, etc.)
Steps to Create Realistic Structures
Plan Your Structure:
- Decide on the type of building you want to create (e.g., house, barn, industrial building).
- Draw a rough sketch or find a reference photo to guide your design.
Cutting and Assembling:
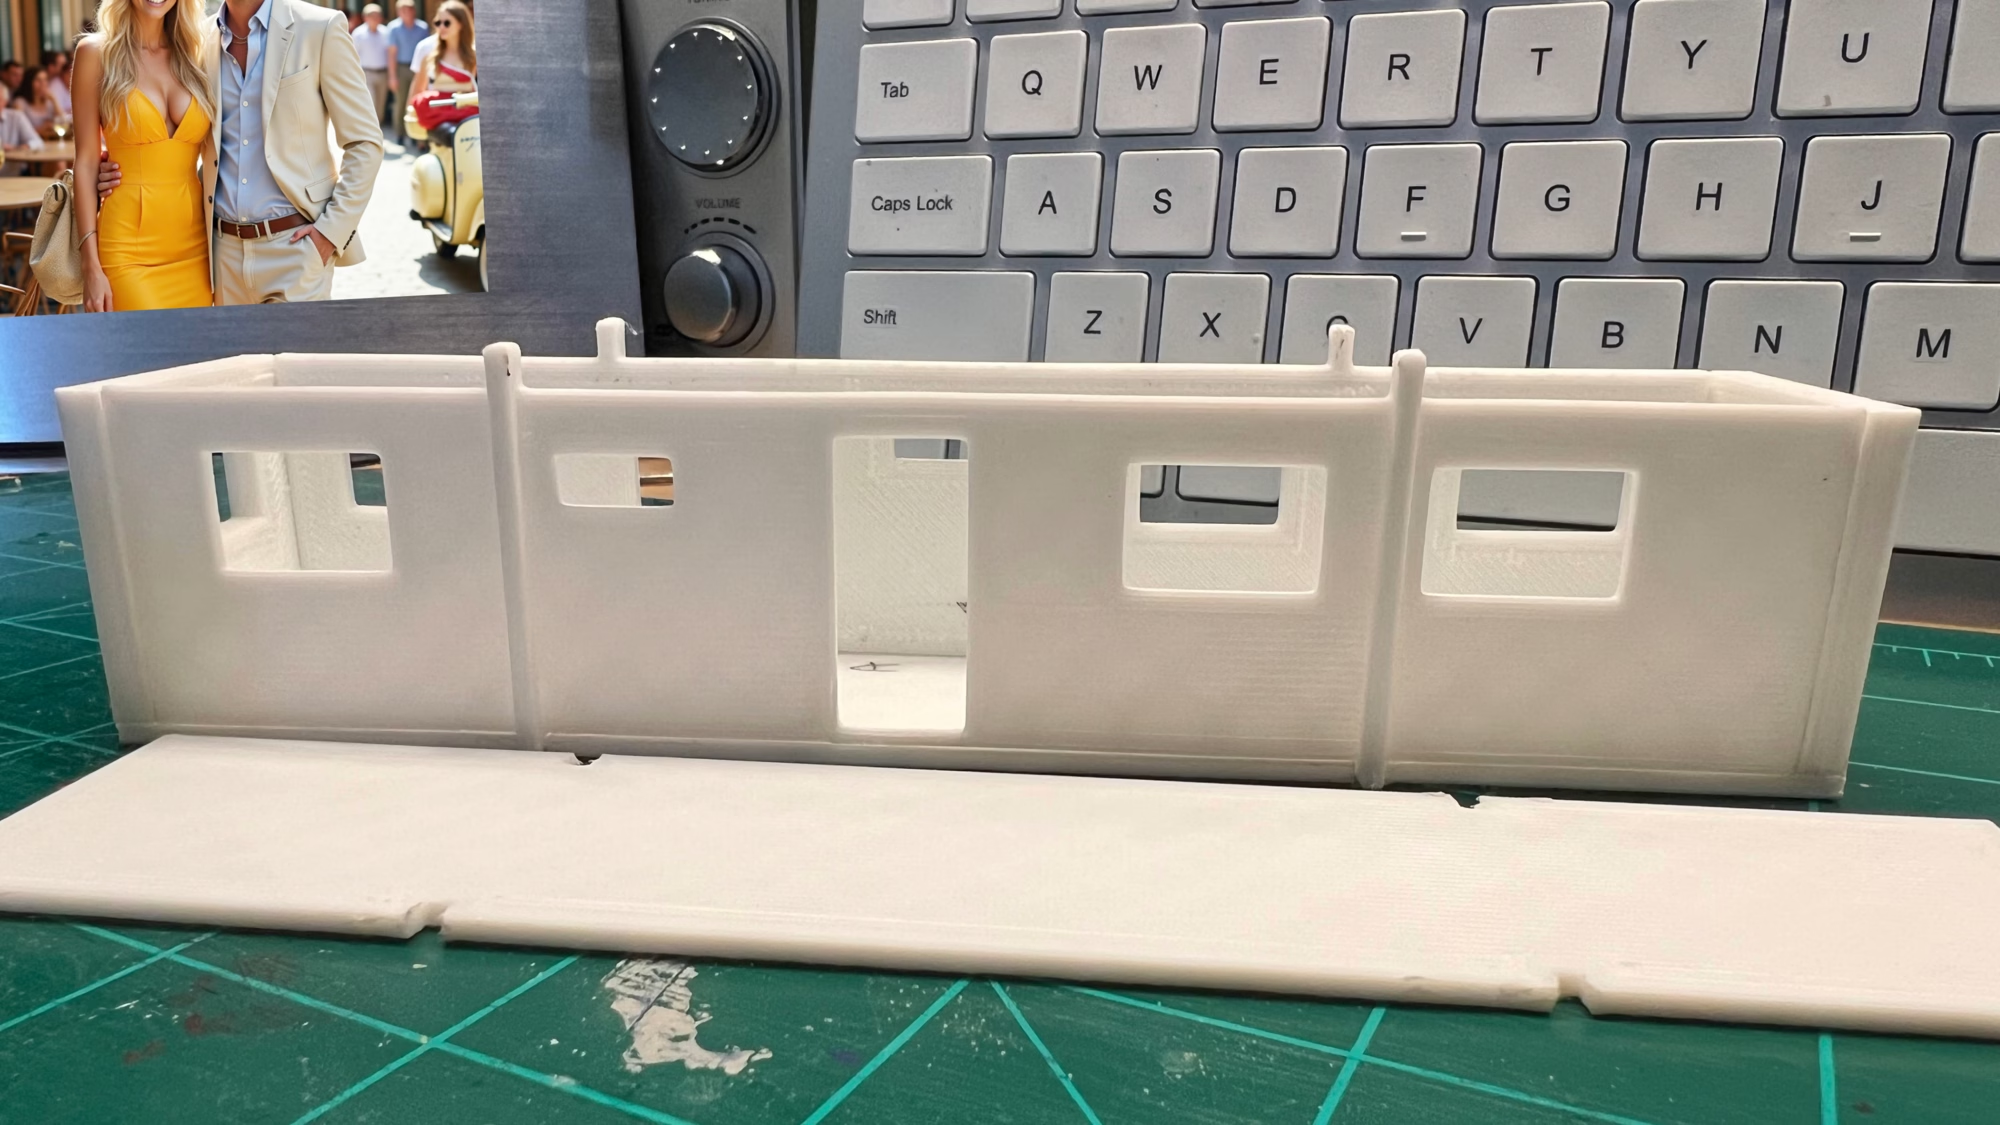
- Use styrene sheets or cardboard to cut out the walls, roof, and other parts of your structure.
- Carefully measure and cut the pieces using a craft knife and ruler.
- Assemble the pieces using glue, ensuring all parts fit together snugly.
Adding Details:
- Add windows, doors, and other details using pre-made parts or by cutting them from styrene sheets.
- Use small pieces of wire or plastic to create railings, gutters, and other architectural features.
Painting and Weathering:
- Paint the structure using appropriate colors for the era and region you are modeling.
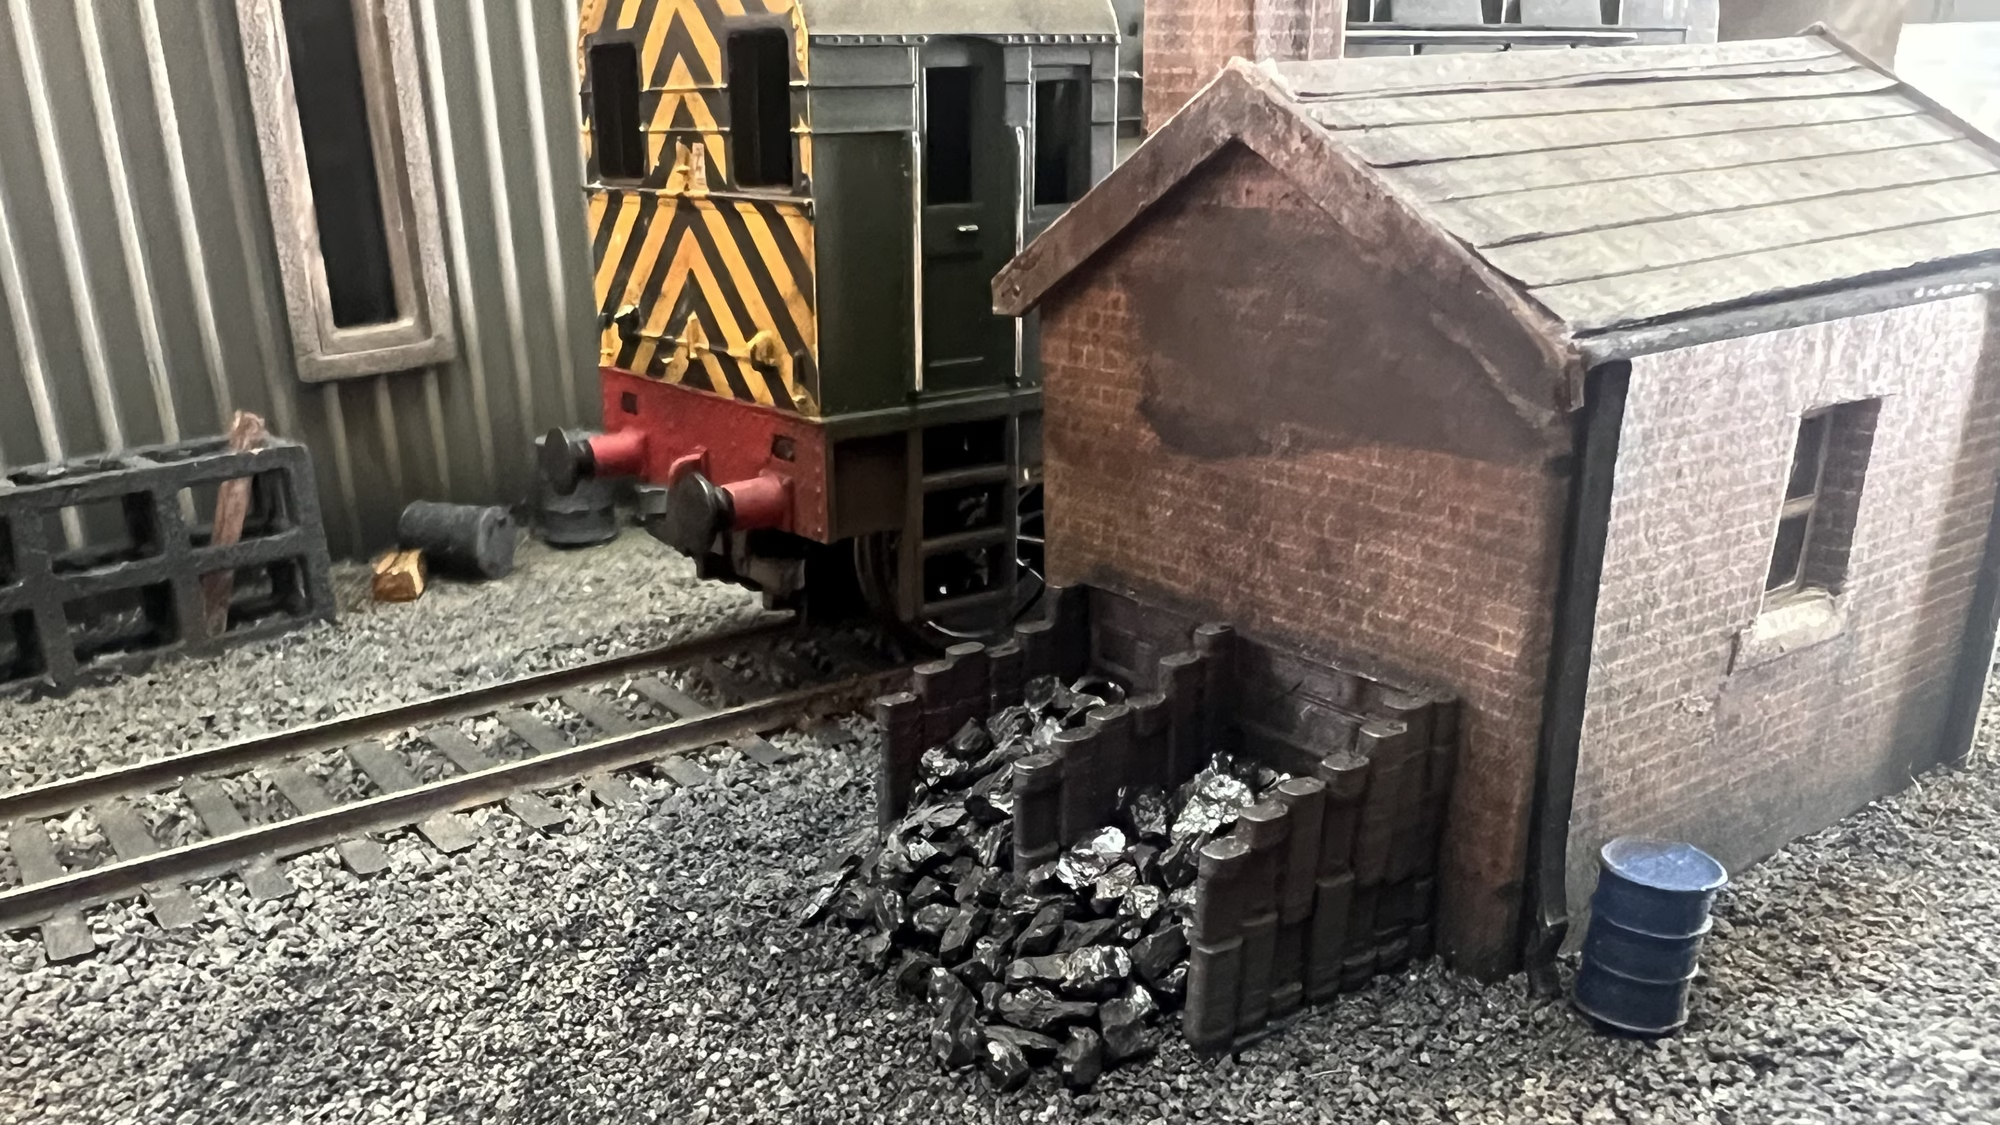
- Apply weathering powders or pastels to give the building a realistic, aged look.
- Use dry brushing techniques to highlight edges and add depth.
Final Touches:
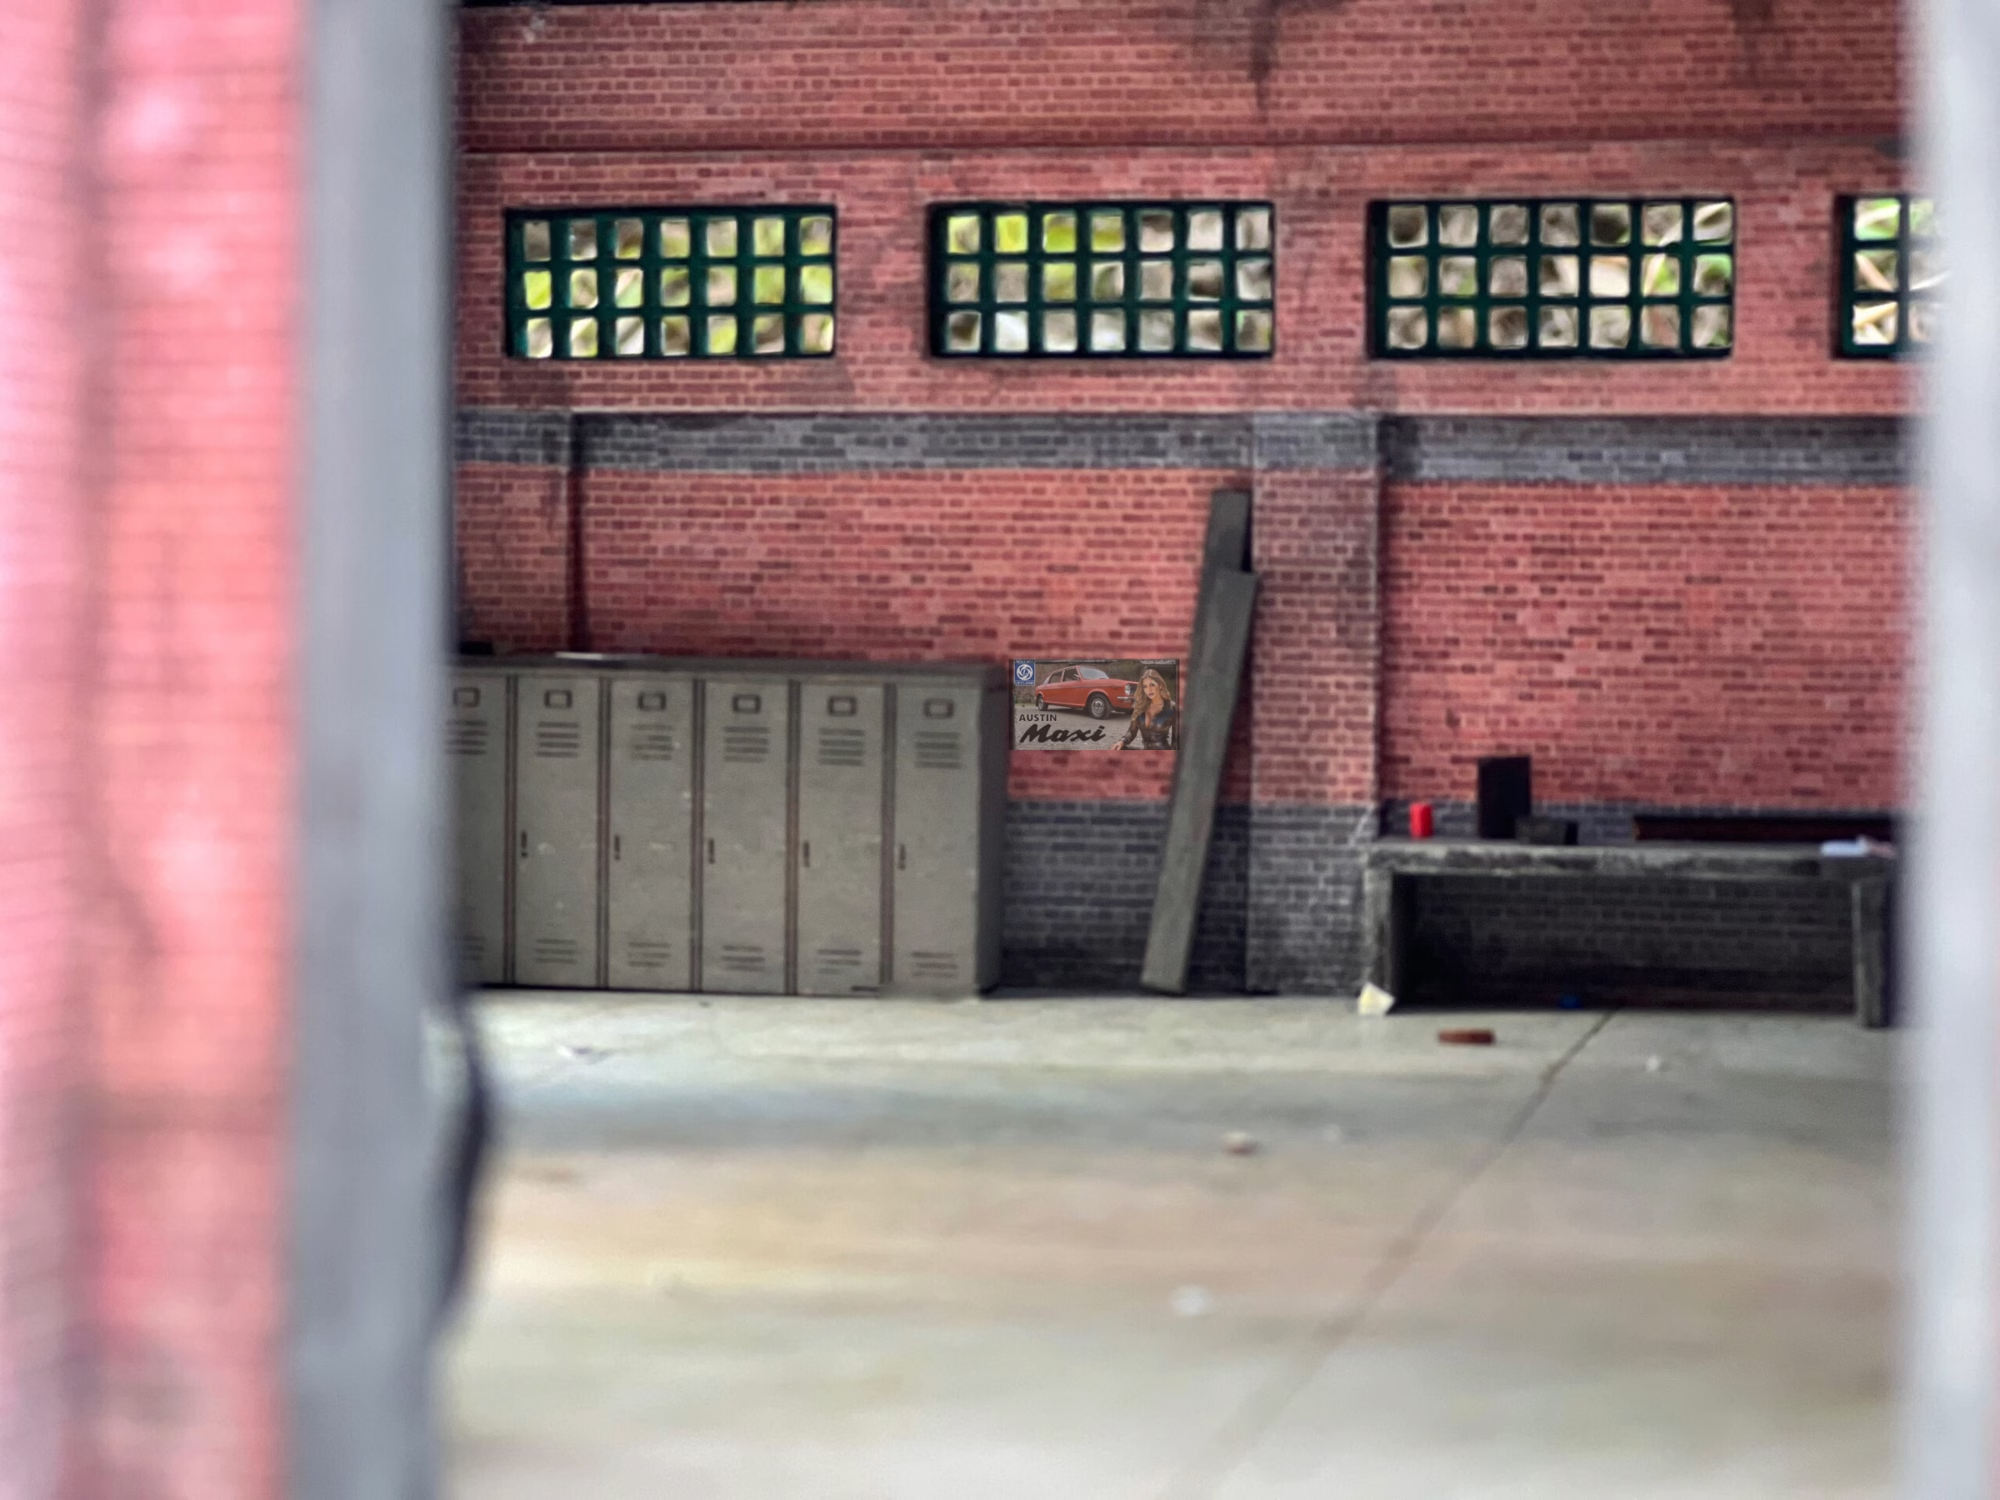
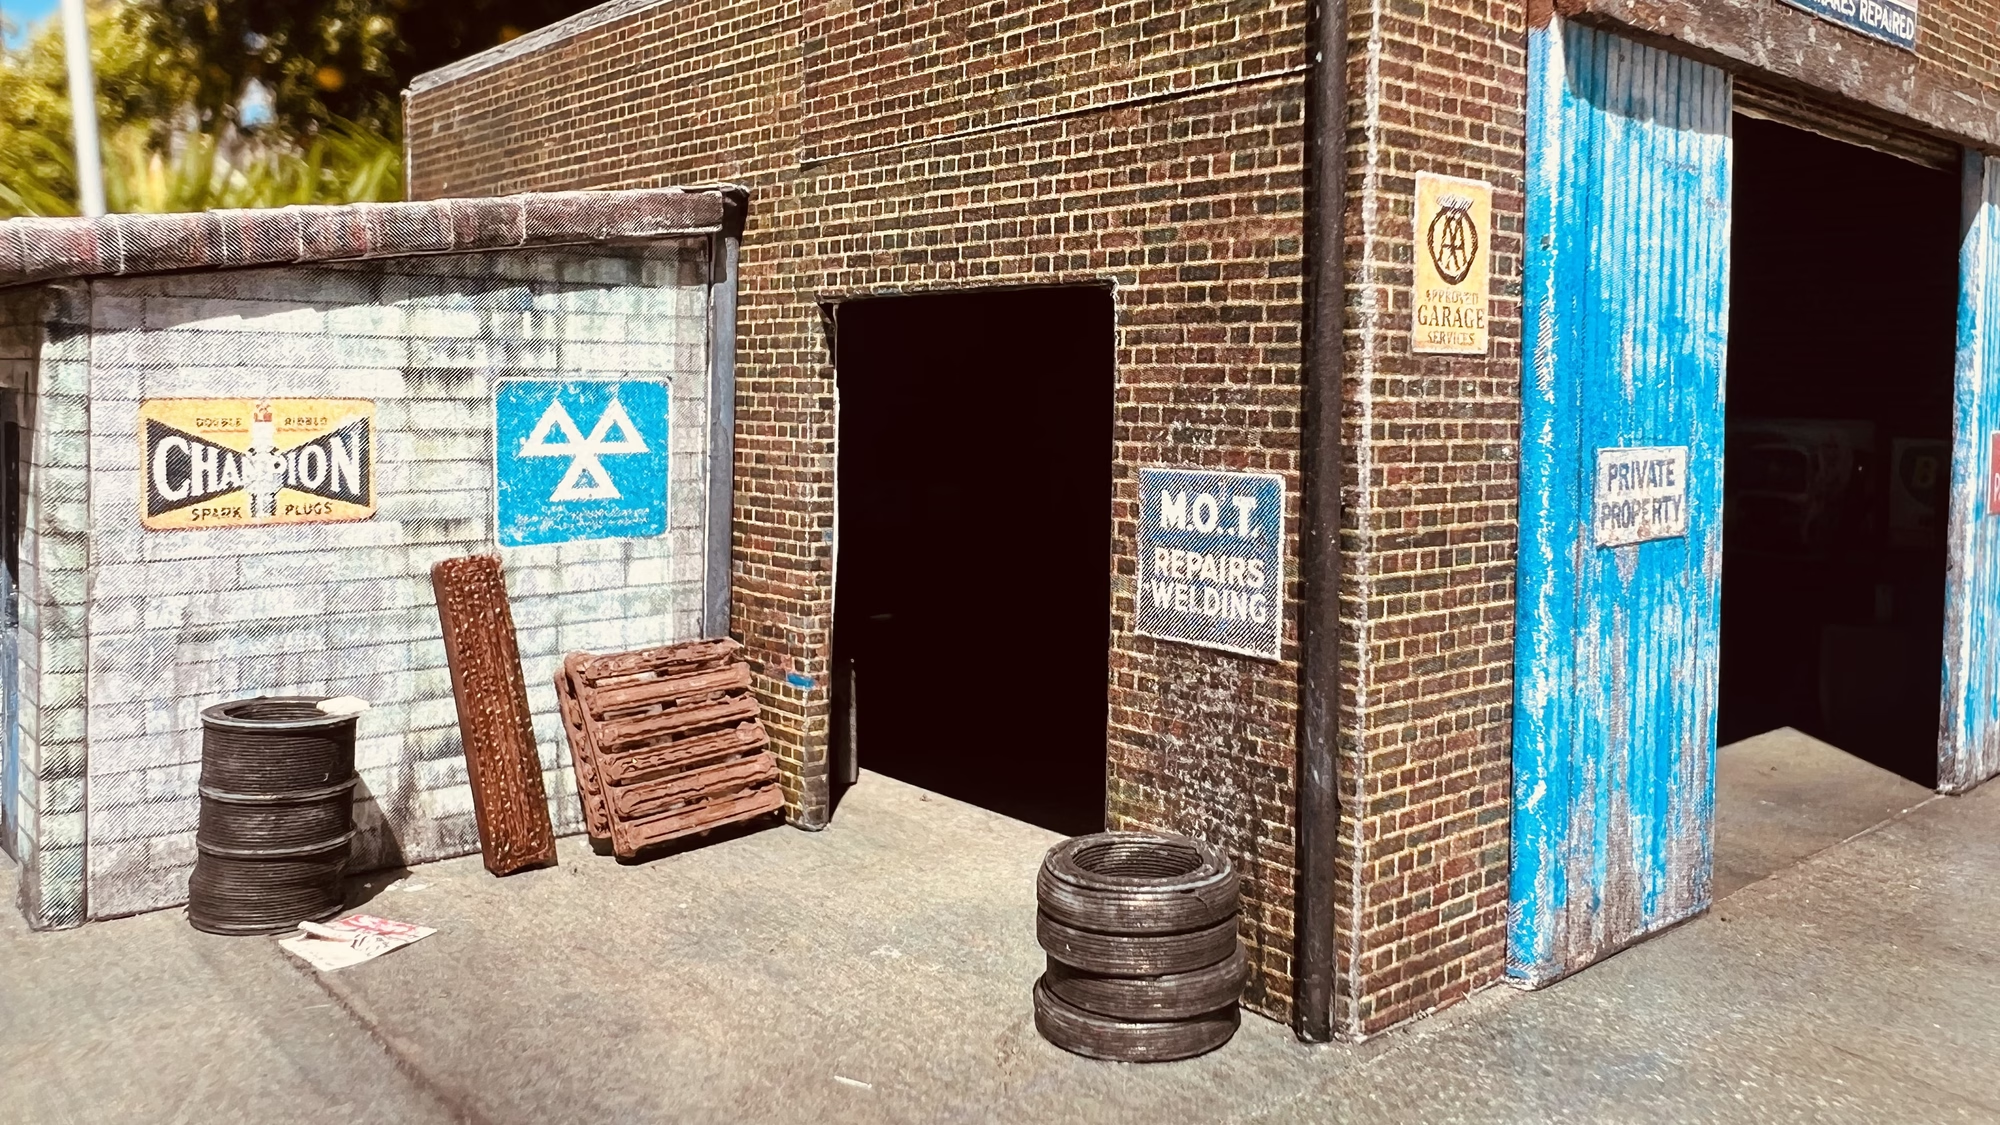
- Add small details like signs, posters, or vegetation around the building to enhance realism.
- Place the structure on your layout and integrate it with the surrounding scenery.
Add Details and Finishing Touches
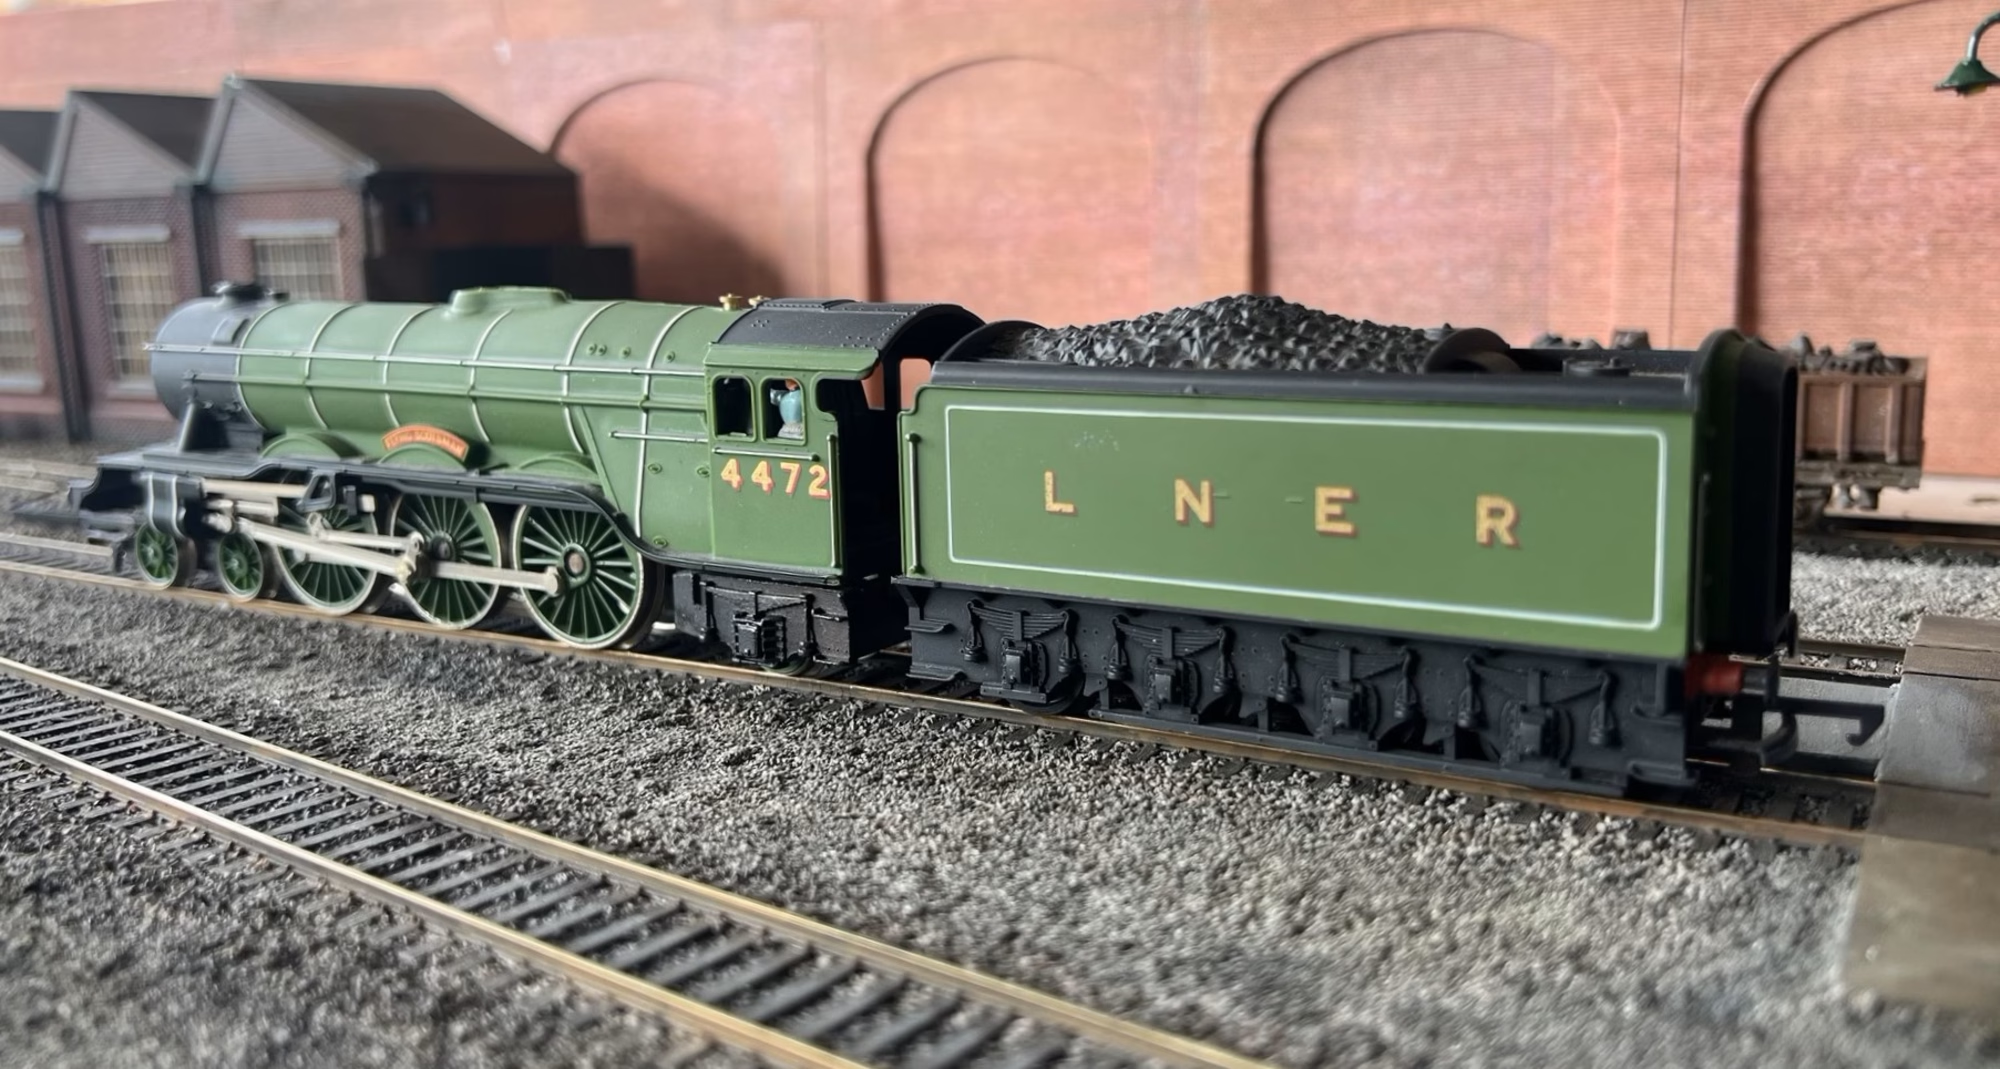
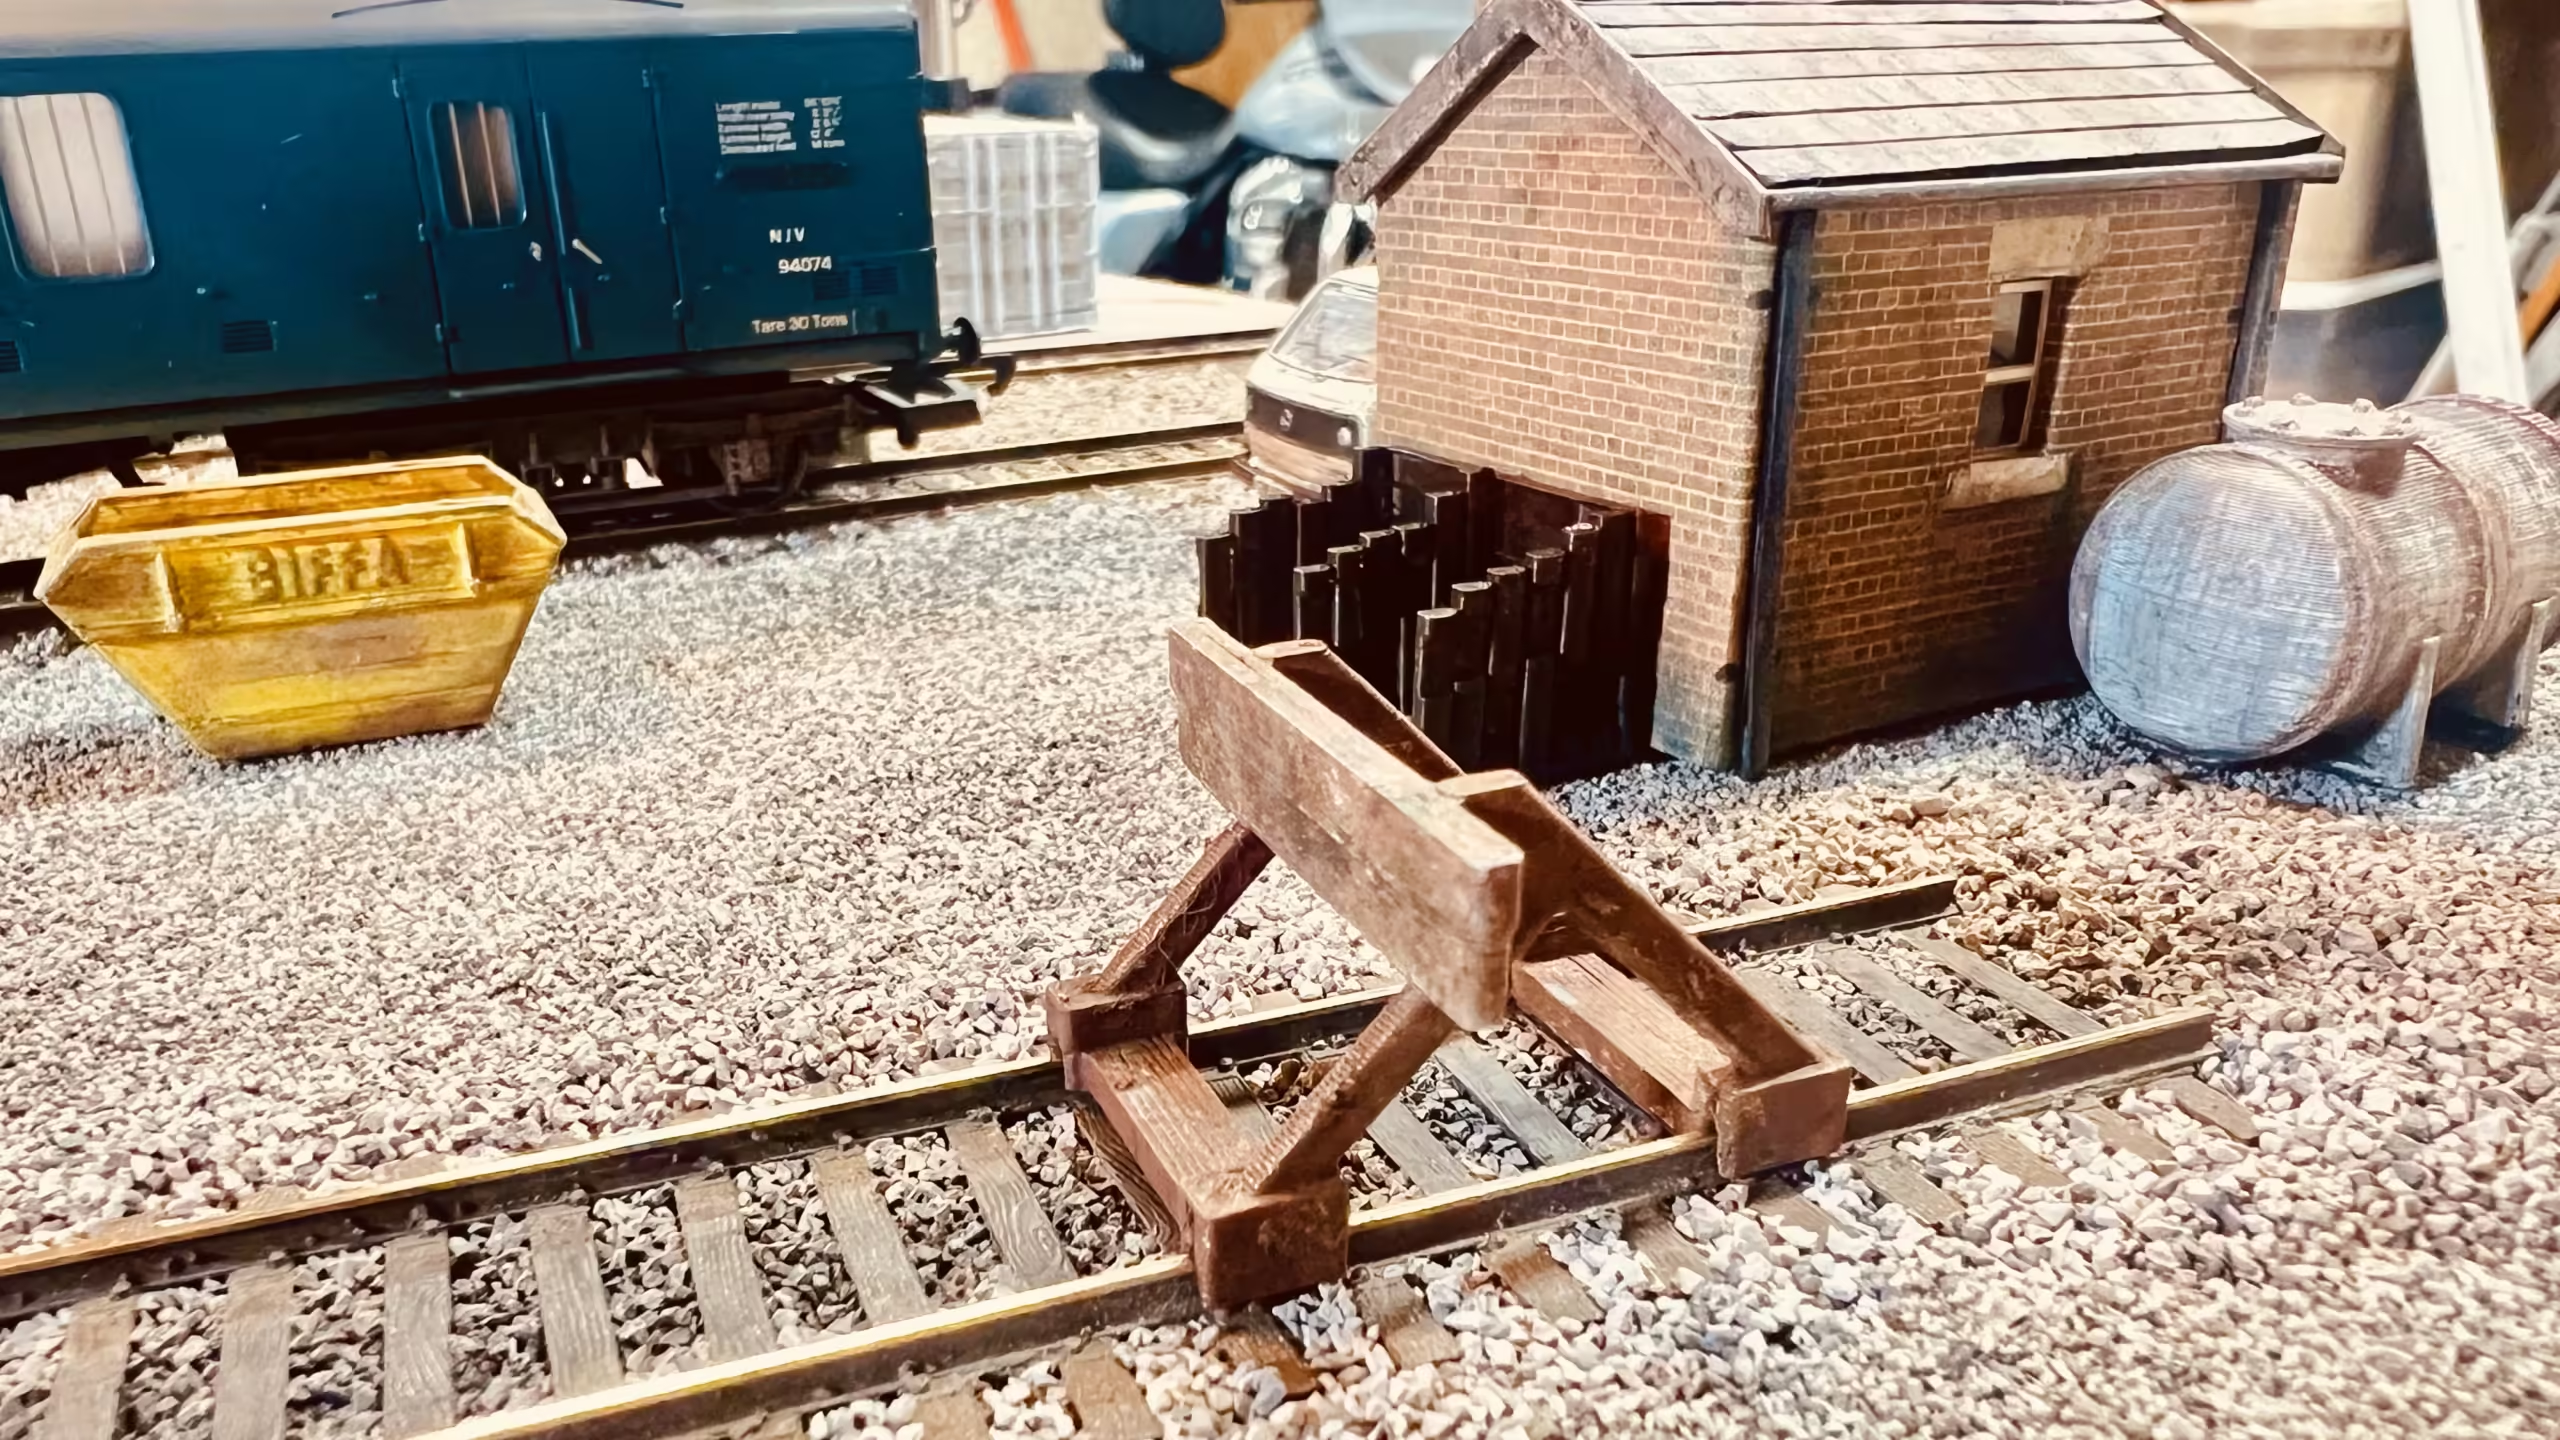
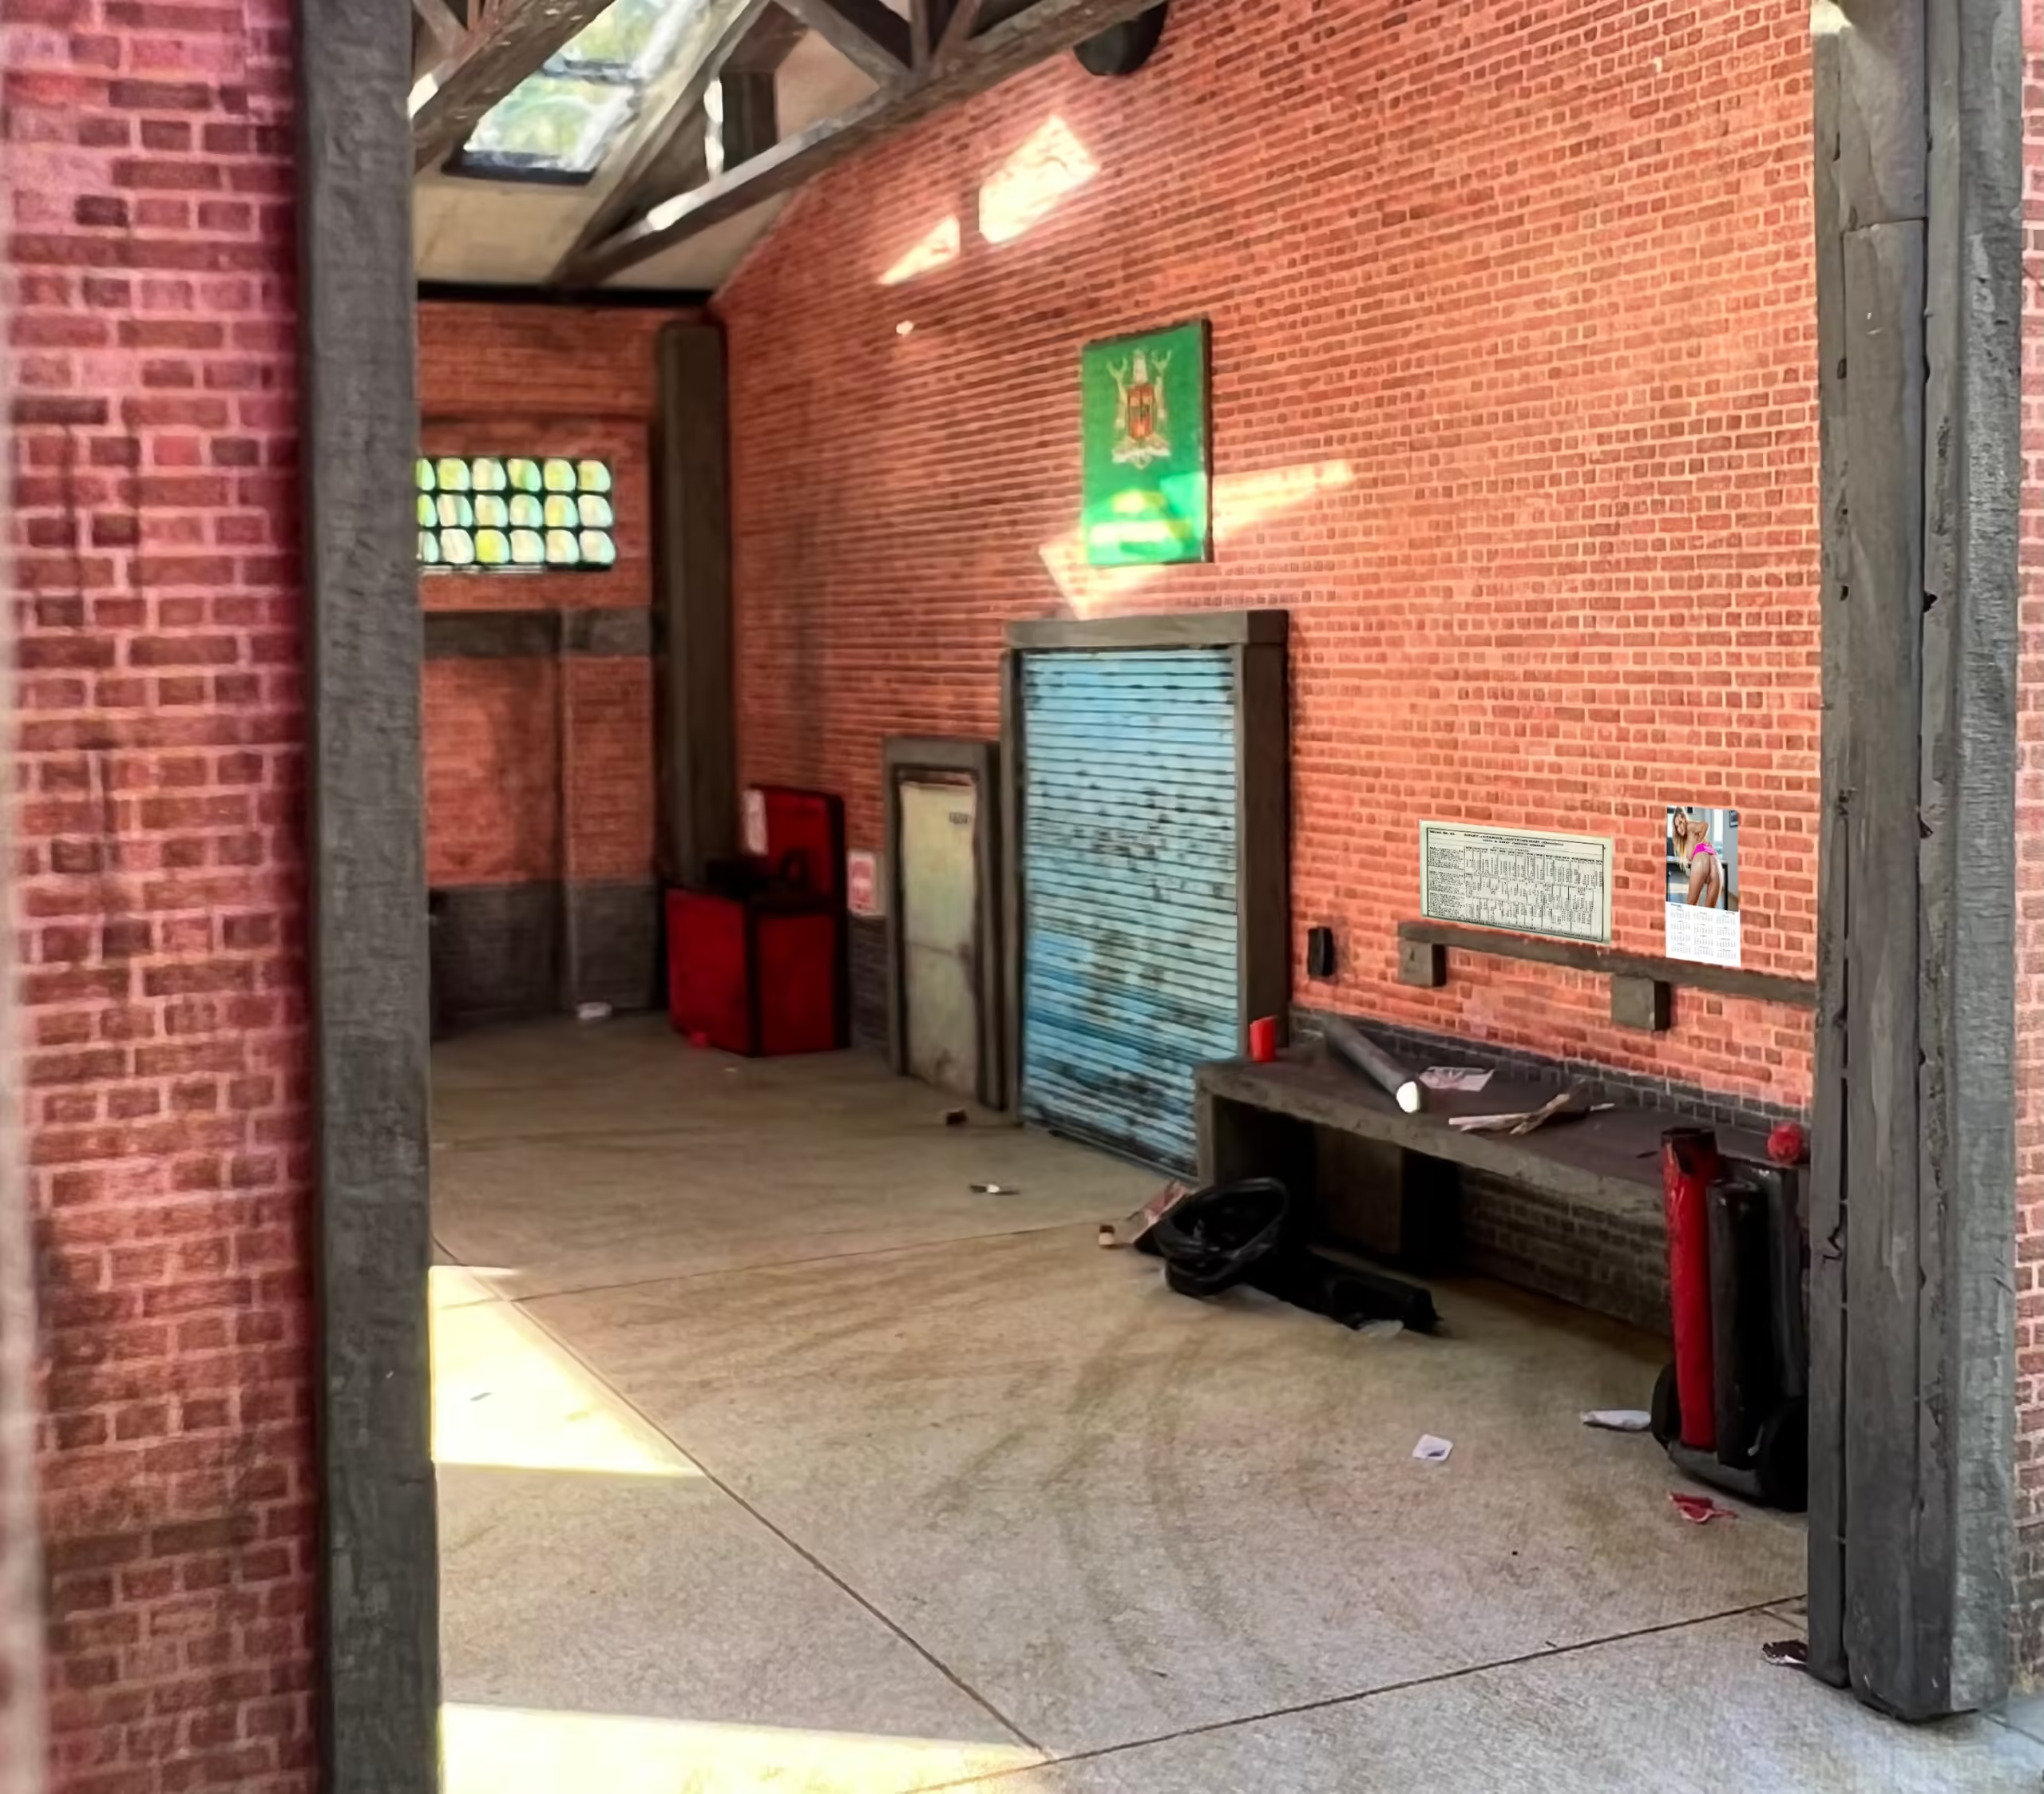
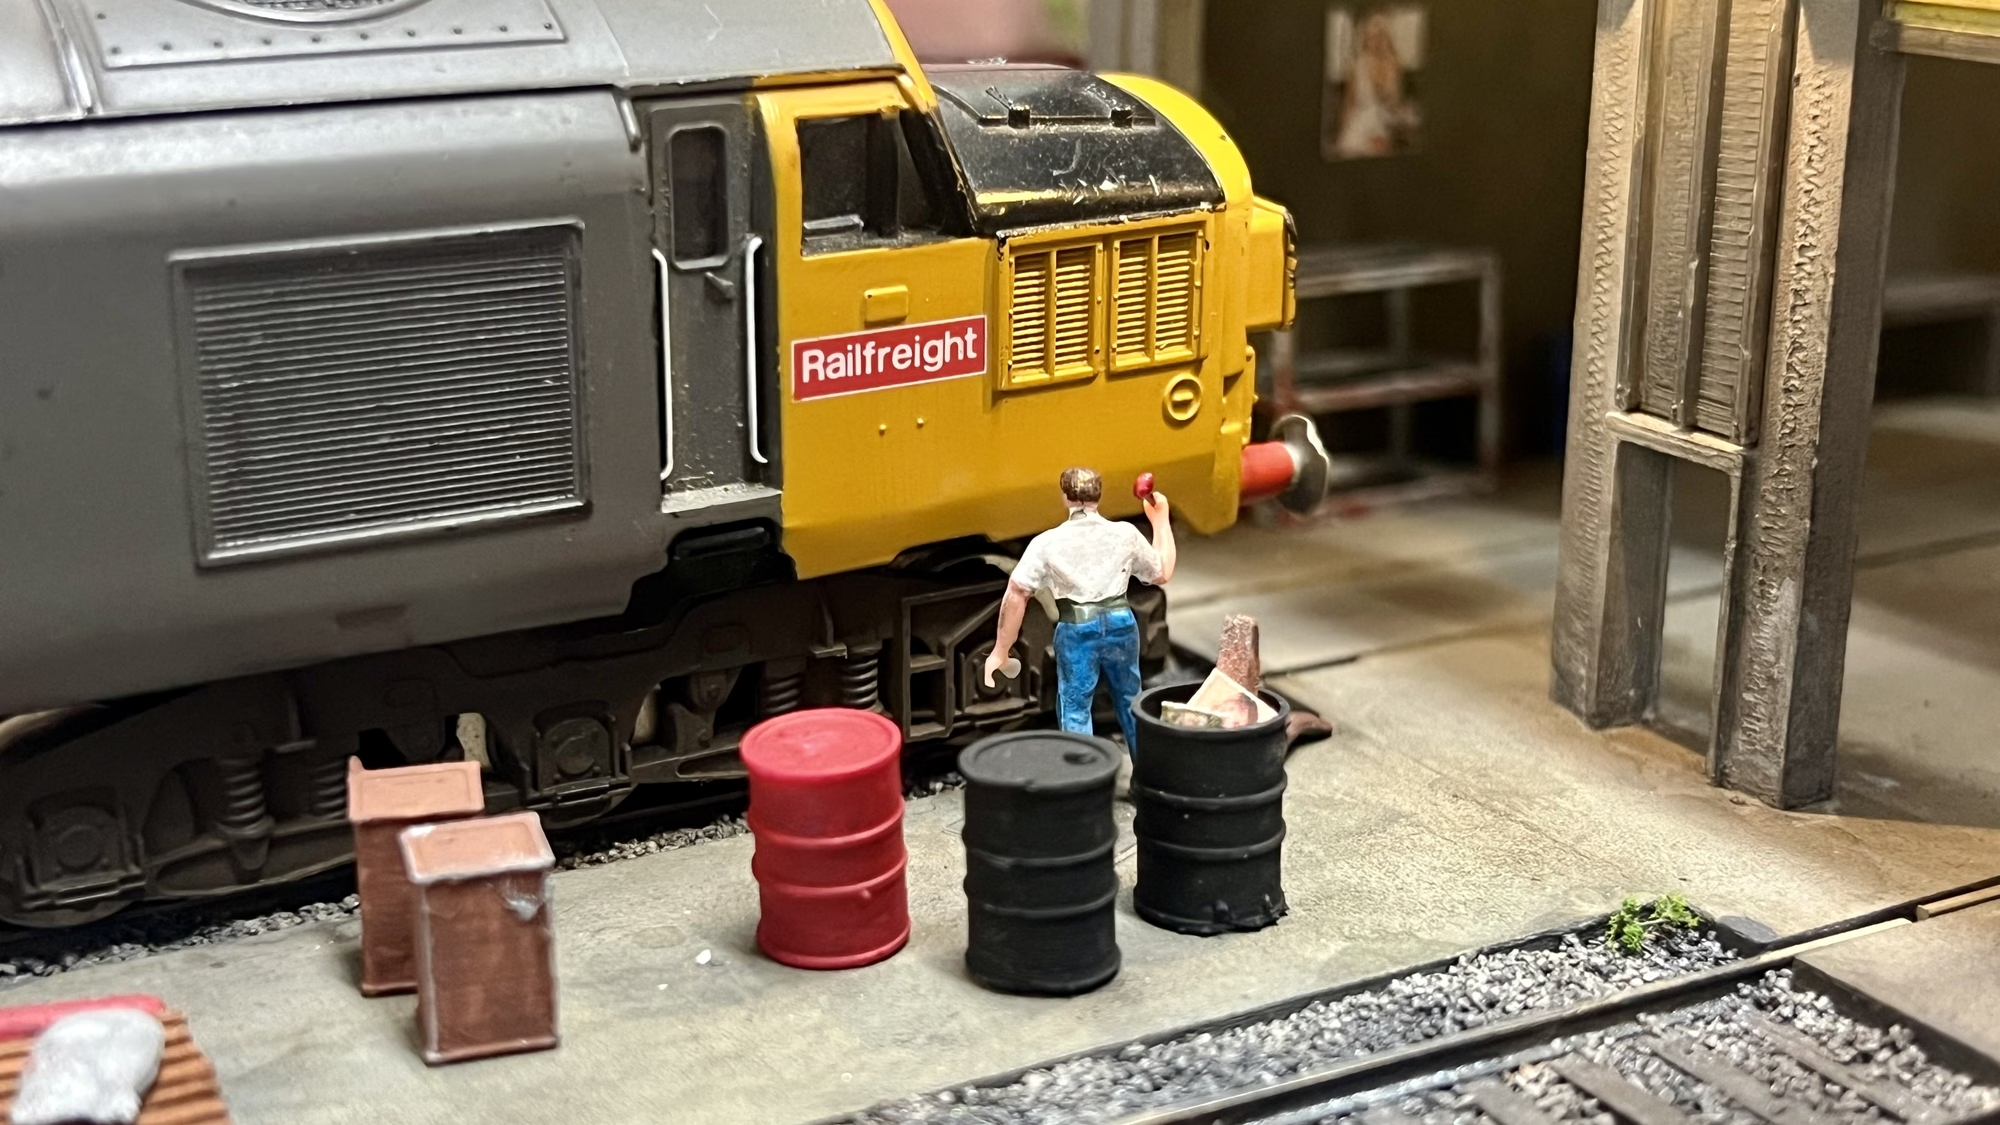
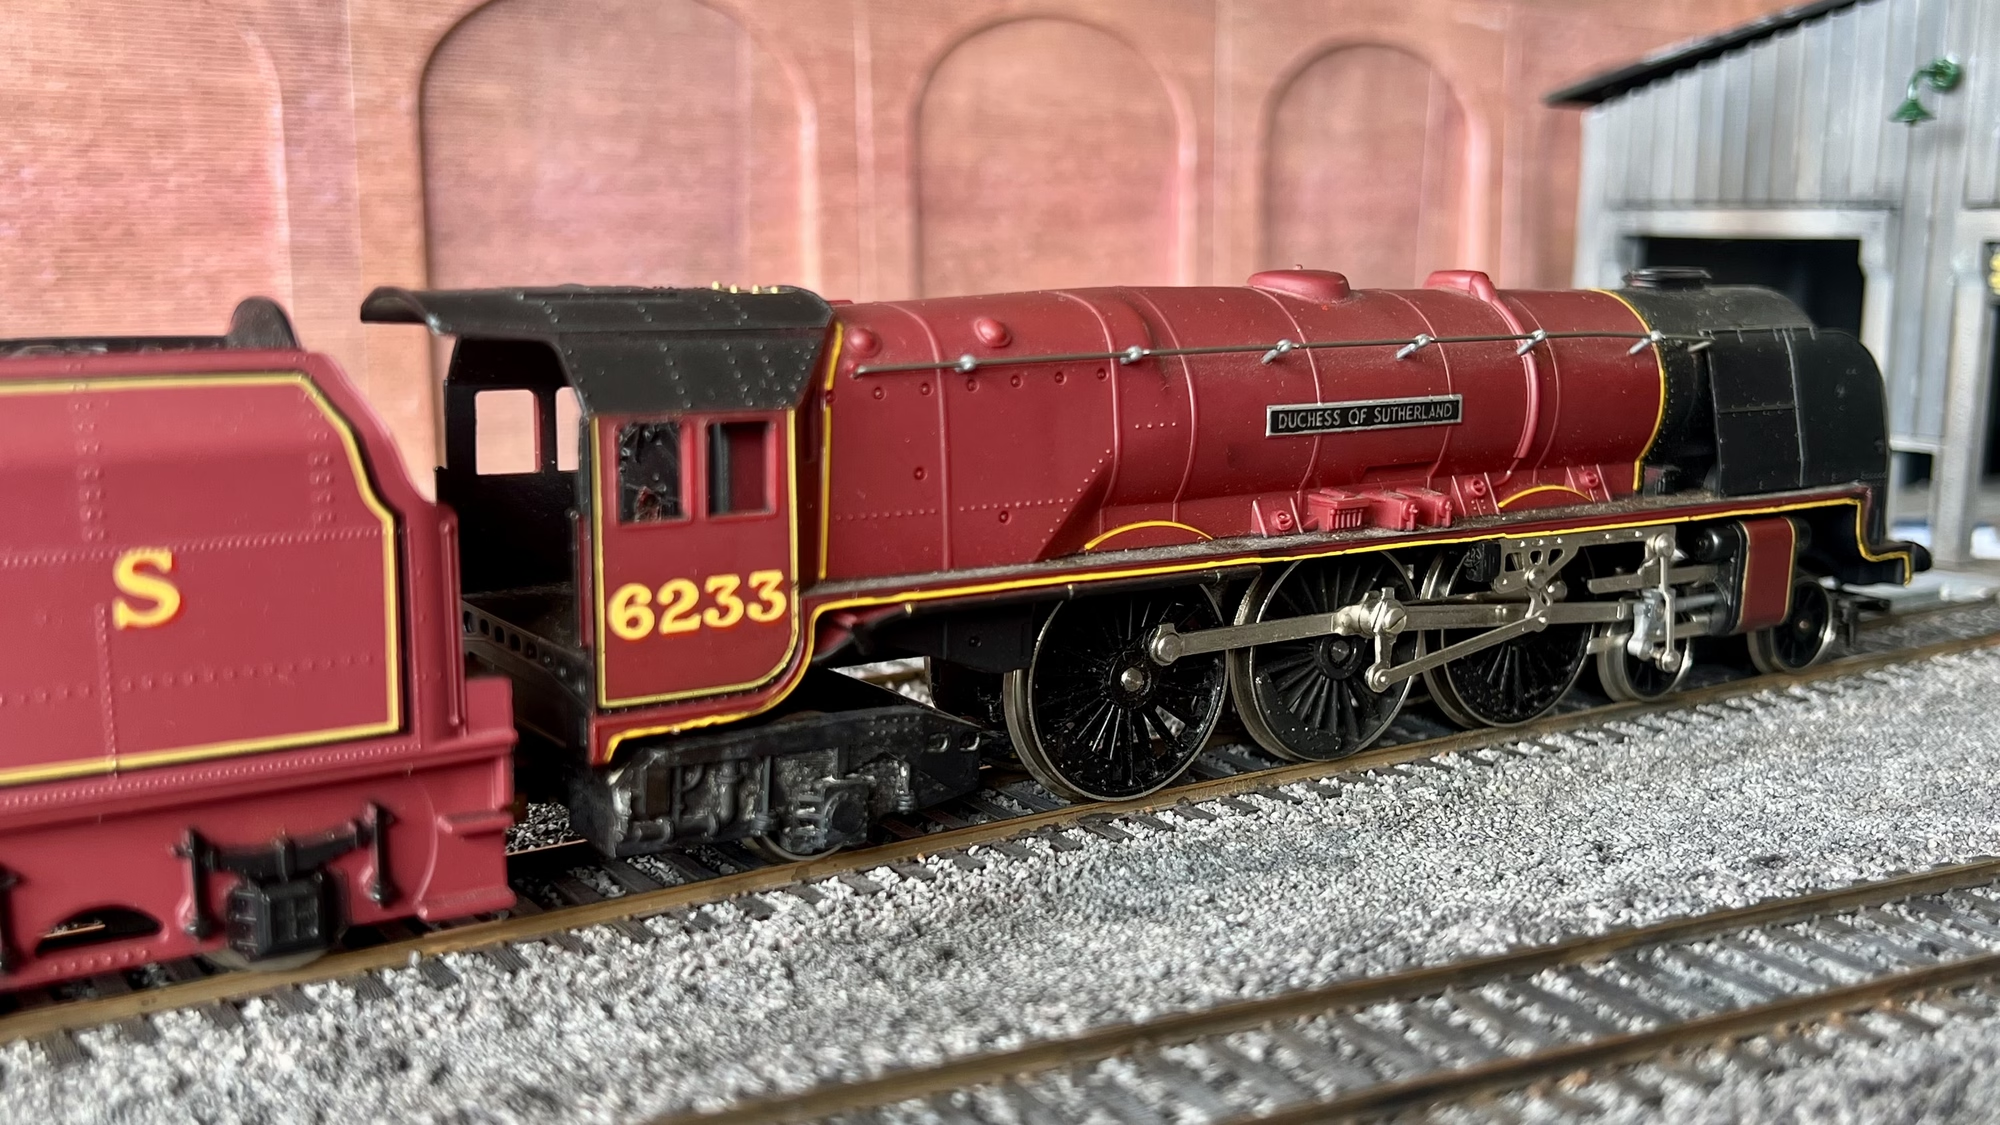
Finally, add the finishing touches that make your scenery truly realistic. Scatter small rocks, fallen leaves, and other debris to mimic natural environments. Use weathering techniques to age buildings and structures, giving them a lived-in look. Don’t forget to add figures, vehicles, and other small details to bring your scene to life.
Conclusion
Creating realistic scenery for your model railroad layout is a journey filled with creativity and satisfaction. By following these steps and using the right materials, you can transform your layout into a stunning miniature world. Remember, the key is to experiment and have fun with the process.

